Do you ever wish to capture beautiful scenic images of your video game or for your important data but cannot find the right way to take a screenshot? You can learn how to take screenshots of games such as Final Fantasy XIV with just the help of a few steps. If you are someone looking for tips about the same, we are bringing you a helpful guide that will show what is the FFXIV screenshot location. You will also get to learn about photo mode in FFXIV and how to take screenshots on Windows 10.
What is the FFXIV Screenshot Location?
Keep reading further to learn about the screenshot location on FFXIV in detail.
How Can You Take Screenshots?
To take screenshots on various devices, such as your phone or PC, use the following commands below:
- To take screenshots on the โทรศัพท์, กด volume up + power button simultaneously and release them to take a screenshot.
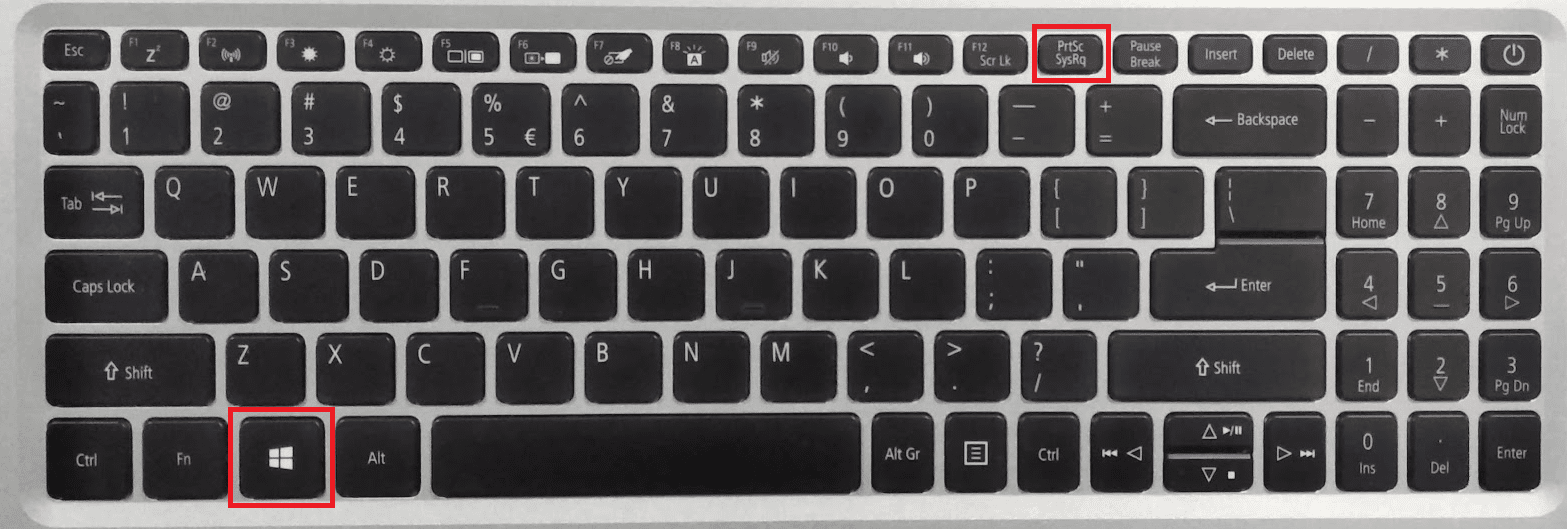
- To take screenshots on your PC, use the Print Screen shortcut key, PrtSc. กด PrtSc + Windows key to take the screenshot.
- To take screenshots on Mac, press คำสั่ง + shift + 3 ปุ่ม

อ่านได้ด้วย: วิธีการแก้ไขไม่สามารถดาวน์โหลดไฟล์ Patch FFXIV
How Can You Take a Screenshot on Windows?
มี สองทาง to take screenshots on Windows:
- ใช้ PrtSc + Windows key shortcut to capture the entire screen.
- หรือใช้ไฟล์ ปุ่ม Windows + Shift + S keys to screenshot a portion of the screen.
How Can You Take Screenshots on Windows 10?
The easiest way to take screenshots on Windows 10 and 11 is through the key combination of Windows + PrtSc keys. Keep reading to learn where is FFXIV screenshot location.
What is the Screenshot Button on Steam?
The default button to take screenshots on Steam is the F12 ปุ่ม.
Where are Your Screenshots Stored?
On most devices, whenever you take screenshots, they get stored in a folder titled จอ by default. If you take a screenshot in Windows, then the screenshot will be held on your PC in the โฟลเดอร์สกรีนช็อต.
How to Screenshot FFXIV?
Let’s how to take an FFXIV ภาพหน้าจอ
- To take screenshots of Final Fantasy XIV on Windows, you can press the PrtSc + Windows key การรวมกัน
- To take a screenshot using PS4, กด หุ้น ปุ่ม
- To take a screenshot using PS5, ใช้ สร้าง ปุ่ม
Read the upcoming sections to learn more about FFXIV and its screenshot location.
อ่านได้ด้วย: How to Take Zoom Meeting Screenshot
How Can You Take a Screenshot in FFXIV PC?
You can take screenshots in FFXIV PC using the Print Screen button PrtSc. กด Windows key + PrtSc keys together to take screenshots of the Final Fantasy XIV game. Also, you can press ปุ่ม Windows + Shift + S กุญแจ to take the screenshot.
Is There a Photo Mode in FFXIV?
ใช่. A photo mode in FFXIV called the ท่ากลุ่ม is used to take screenshots of the Final Fantasy XIV game.
Where Do Screenshots Go on FF14?
All the Final Fantasy XIV screenshots you take in-game get saved in the game’s folder in your local disc by default. The FFXIV screenshot location is in the FFXIV folder with another folder titled จอ which stores all the screenshots you take during the game.
Where Do FFXIV Screenshots Go in Steam?
In Steam, the screenshots you take of the FFXIV game get stored in the เวลาที่ผู้ใช้ โฟลเดอร์ inside the Steam folder in your local disc where you installed it.
Where Do Gshade Screenshots Go for FFXIV?
The Gshade screenshots of your FFXIV game get stored in the location DocumentsMy GamesFINAL FANTASY XIV – A Realm Reborn screenshots by default unless you have changed the location during the installation process.
How Can You Take a Picture with Gpose FFXIV?
If you want to take screenshots of Final Fantasy XIV with Group Pose on Windows, you can press the Print Screen button PrtSc + Windows key. To take a screenshot using PS4 & PS5, press the หุ้น และ สร้าง ปุ่มตามลำดับ
How Can You Exit Gpose?
To exit Group Pose, press the กุญแจ หรือ คีย์ Escape on your PC. And for PS4/PS5, you can press the ปุ่ม Xบนตัวควบคุมของคุณ
แนะนำ:
เราหวังว่าคู่มือนี้จะเป็นประโยชน์และคุณสามารถเรียนรู้ได้ what is the FFXIV screenshot location- อย่าลังเลที่จะติดต่อเราหากมีคำถามและข้อเสนอแนะของคุณผ่านทางส่วนความคิดเห็นด้านล่าง แจ้งให้เราทราบหัวข้อที่คุณต้องการเรียนรู้ในบทความถัดไปของเรา

