Skype is one of the most popular communication platforms. However, there has been a need that Skype has not addressed for some time i.e., sharing sound from our devices with others. We had to rely on third-party applications previously. Only the sound system sharing was available in Skype update 7.33. Later, this option vanished, and the only way to share a screen with sound was to share the entire screen, which too might face lag and other issues. In this article, we will guide you to fix Skype stereo mix not working problem in Windows 10.
How to Fix Skype Stereo Mix Not Working in Windows 10
Your PC microphone, whether it is an internal model or an external USB headset, becomes ineffective as a transmitting source when it is pushed against another speaker. Even if you do not detect a drop in sound quality, irritating audio feedback is always a possibility. Following are some precautions you should take when you are trying Skype Stereo mix.
- When you are on a Skype discussion, it is more beneficial to change system sound input settings so that your Skype friends hear what you hear via your PC speakers.
- It is not straightforward to route audio on Windows 10, and the audio/sound driver that is installed is often the most difficult part. You will need to find out how to get applications to listen to a device once you have found out how to route audio and get programs to listen to it. This allows anybody you are contacting to hear both your voice and the audio from your PC, such as music or a video.
- By default, sound devices do not connect system audio to the mic feed. This may be accomplished using software and hardware. If your sound equipment permits it, you will need to utilize the stereo mix option o isang bagay na katulad.
- If not, you will need to look for third-party virtual audio software that can perform the same thing.
Why is Skype Stereo Mix Not working?
There could be several reasons why you are having trouble with Stereo Mix.
- Damaged or loose cable connections for sound.
- Audio driver issue.
- Incorrect software settings.
Usually, this is a minor issue that can be readily resolved. To discover how to solve Stereo Mix not working, you do not need to be a tech whiz. Continue reading to learn about all possible options for resolving the problem of Skype stereo mix issue to get back to recording audio.
Method 1: Basic Troubleshooting
Before going through the methods to fix your Skype stereo mix not working problem, let us perform some basic hardware troubleshooting.
1. Idiskonekta your microphone and speaker from the PC.
2. Now, check for any damaged wires or cables. If found, then palitan sila or switch to a new device.
3. Panghuli, connect your microphone and speaker to your PC properly.
Method 2: Reset Default Audio Device
For your Stereo mix to work properly, your sound has to go via sound card, and using HDMI audio device will bypass this. It might be possible that your HDMI device is selected as the default device which would prevent Stereo Mix from working. Follow the below steps to set your speakers as default:
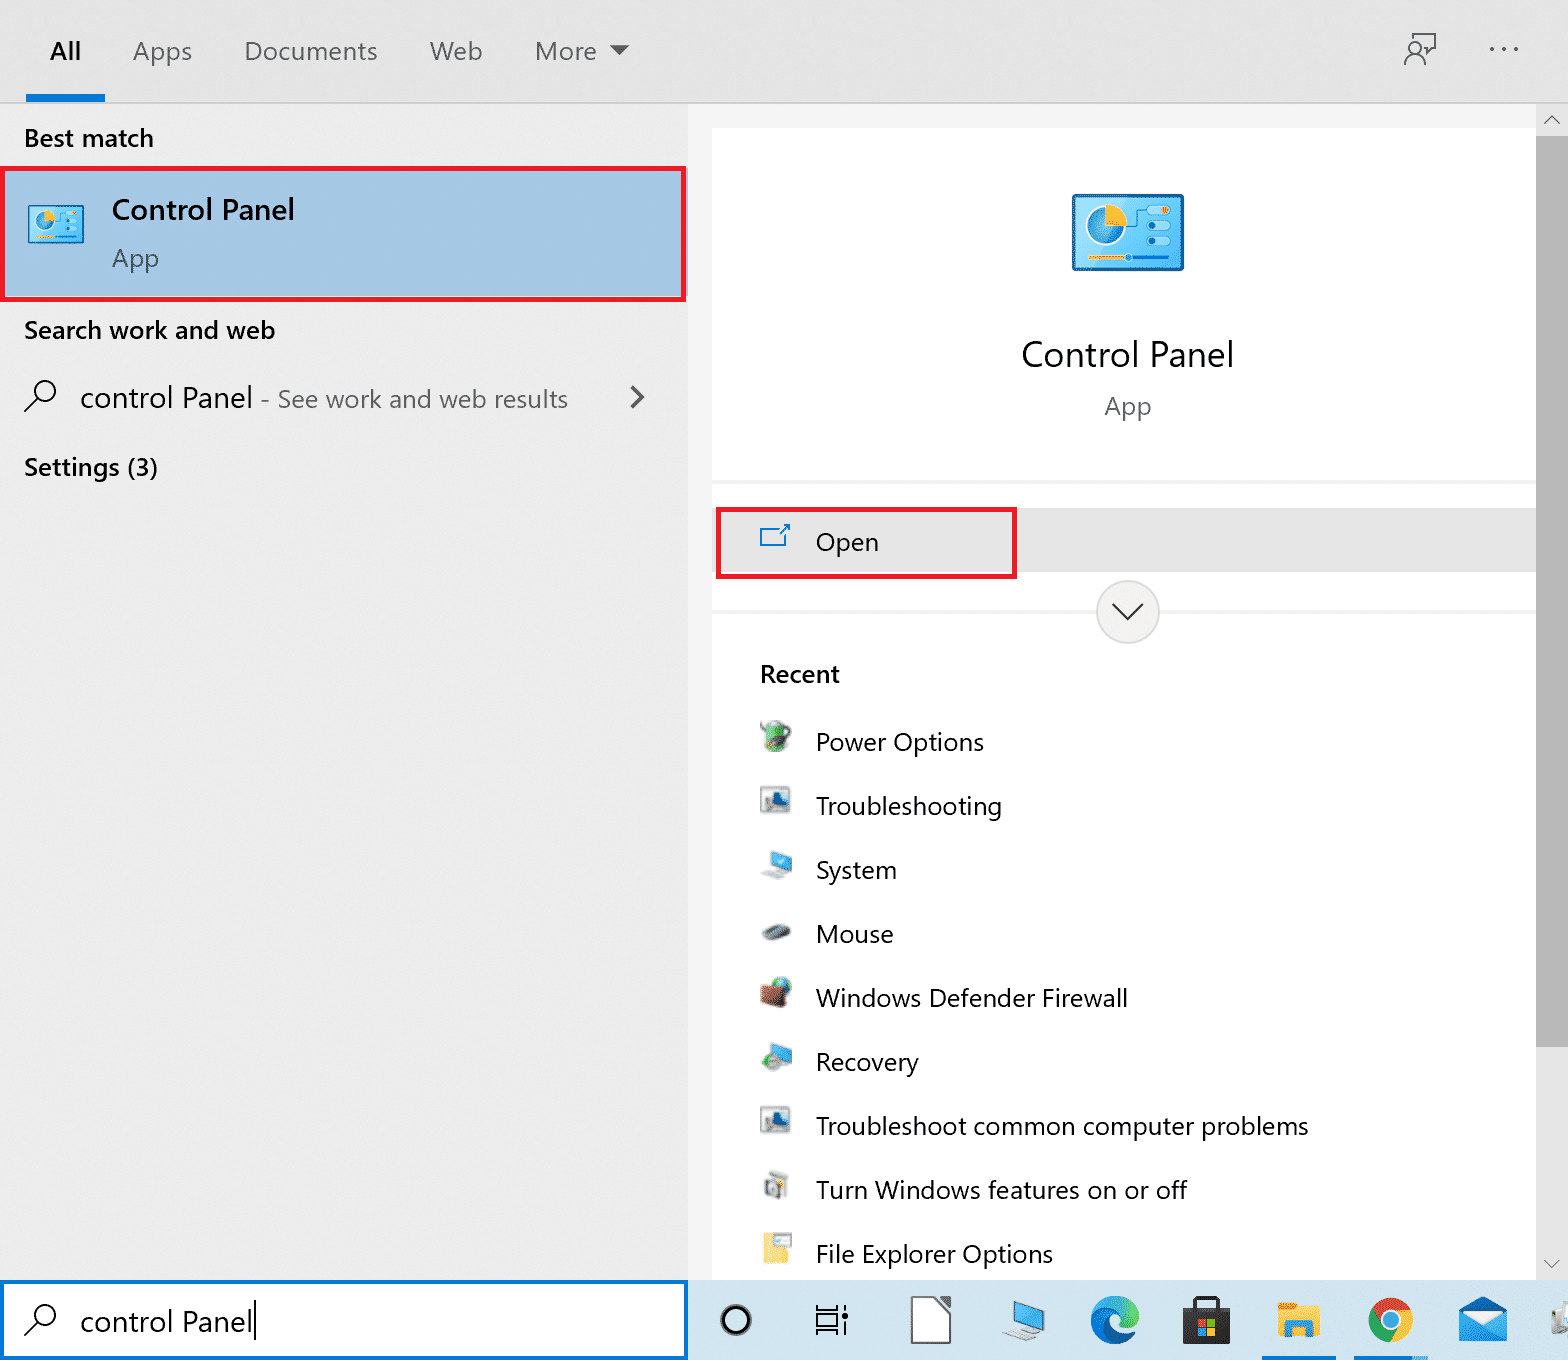
1. pindutin ang Windows + Q keys sabay buksan Paghahanap sa Windows menu.
2. Uri Control Panel sa search bar at i-click Pagbubukas sa kanang pane.
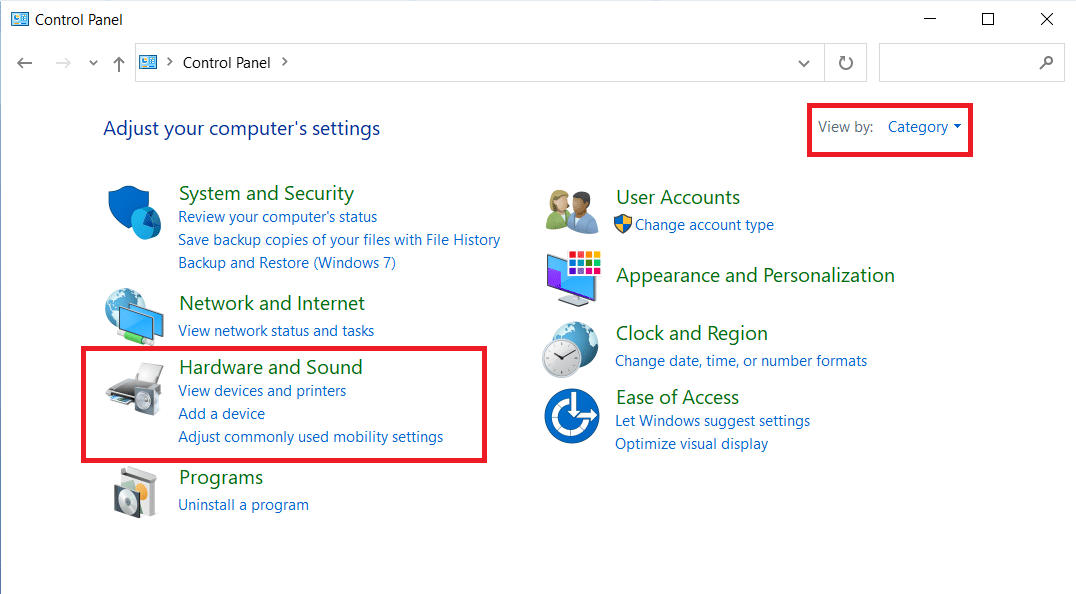
3. Itakda View by: > Category at mag-click sa Hardware at Sound, tulad ng ipinakita.
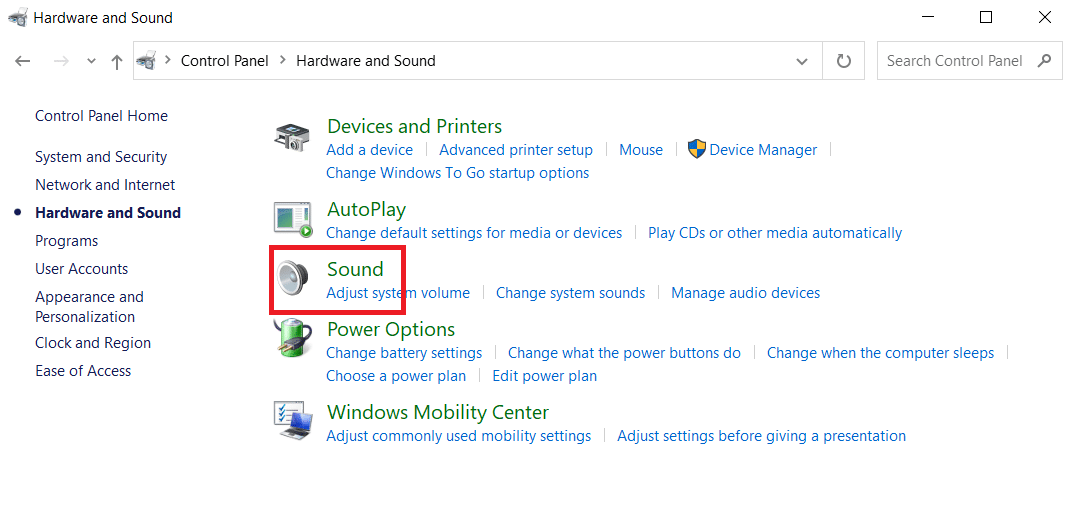
4. Ngayon, mag-click sa Tunog.
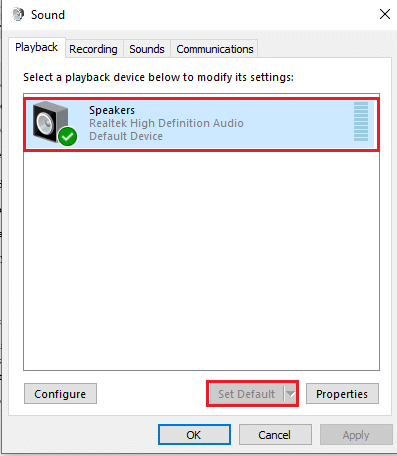
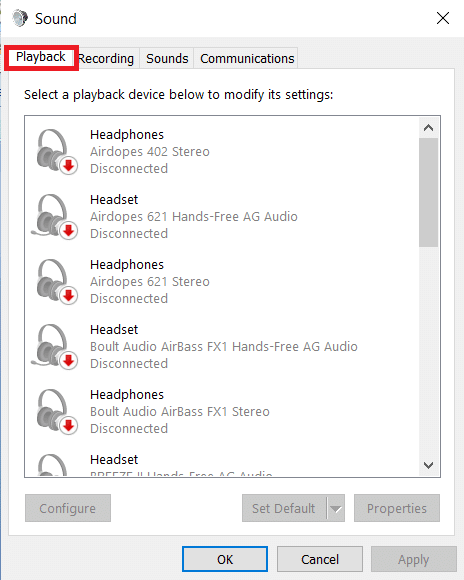
5. Nasa Pag-playback tab, choose the speaker you need to set as default and click the Itakda bilang default button.
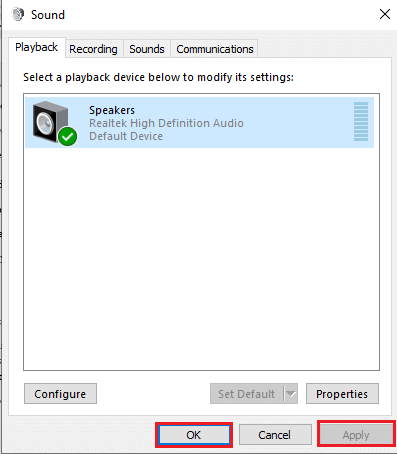
6. click gamitin to save changes and then click OK.
Gayundin Basahin: Ayusin ang Windows 10 Walang Naka-install na Mga Audio Device
Method 3: Unmute Mic or Speaker
It is possible that the problem of Skype stereo mix not working Windows 10 might be caused because microphone has been muted in your playback choices. This problem can be solved by unmuting your microphone, as follows:
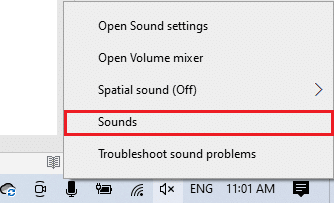
1. Mag-right click sa icon ng speaker on the bottom-right corner in the taskbar.
2. Pumili Tunog mula sa menu ng konteksto.
3. Mag-navigate sa Pag-playback Tab.
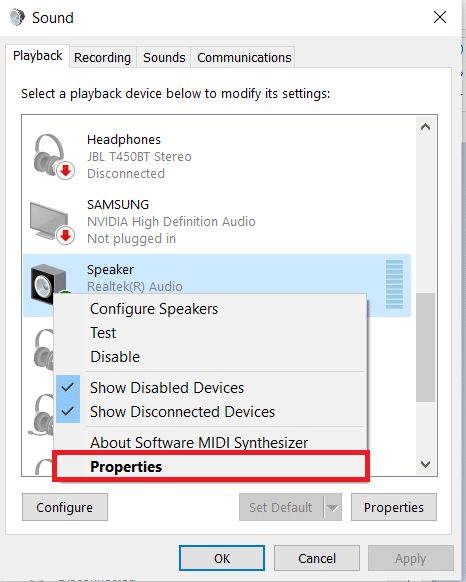
4. Hanapin ang iyong default na aparato sa pag-playback and right-click it. Choose Mga Katangian, tulad ng ipinakita.
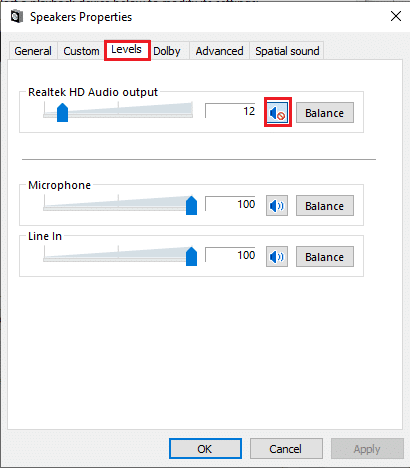
5. Lumipat sa Antas tab at mag-click sa muted speaker icon to unmute the microphone.
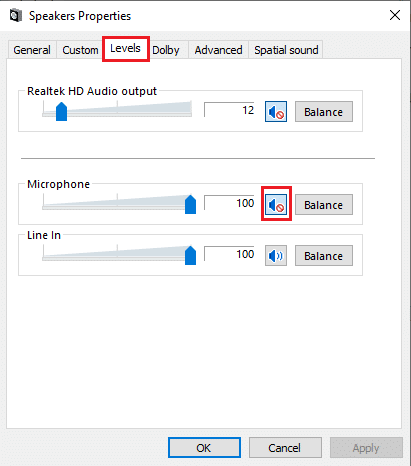
6. Also, click on the muted speaker pindutan para sa Realtek HD Audio output to enable audio, as illustrated below.
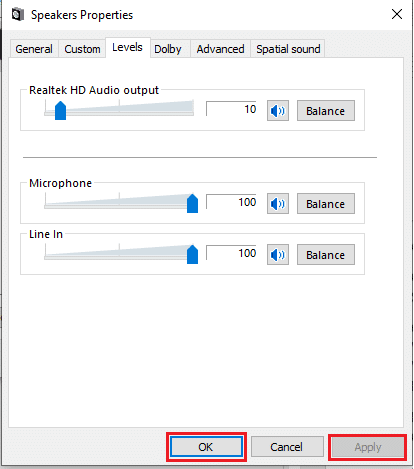
7. When you are finished, click on gamitin to save your changes and click the OK pindutan upang lumabas.
Gayundin Basahin: Paano Ayusin ang Audio Stuttering sa Windows 10
Method 4: Enable & Set up Stereo Mix
A setup error is nearly always the cause of Stereo Mix not functioning with headphones or speakers. It is possible that the software was never turned on, to begin with. As a result, the first remedy you should try is to revert that setting. You should also configure it as the default recording device to ensure that there are no problems when running the application.
1. Mag-navigate sa Control Panel > Hardware at Tunog > Tunog as illustrated in Pamamaraan sa 2.
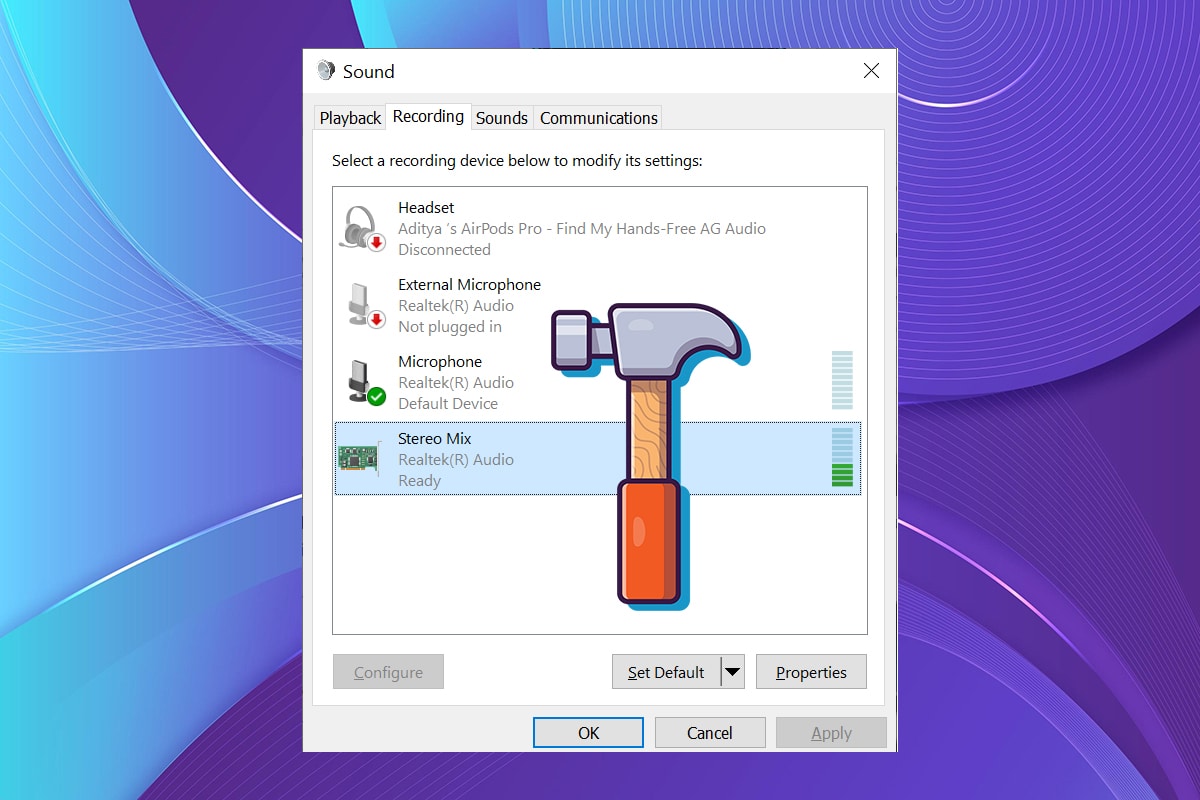
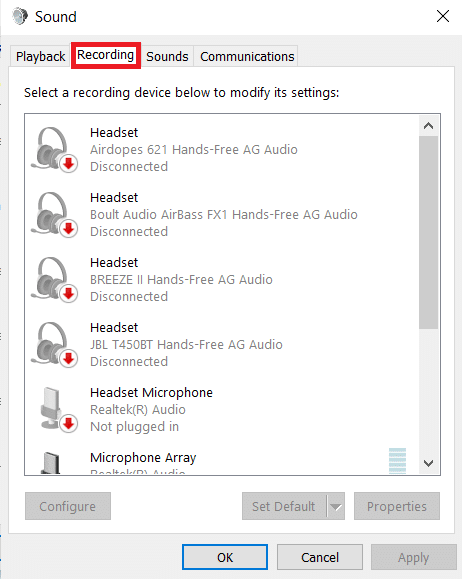
2. Lumipat sa Tab na pagre-record.
3A. Right-click on Paghahalo ng Stereo at mag-click sa Paganahin, gaya ng inilalarawan sa ibaba.

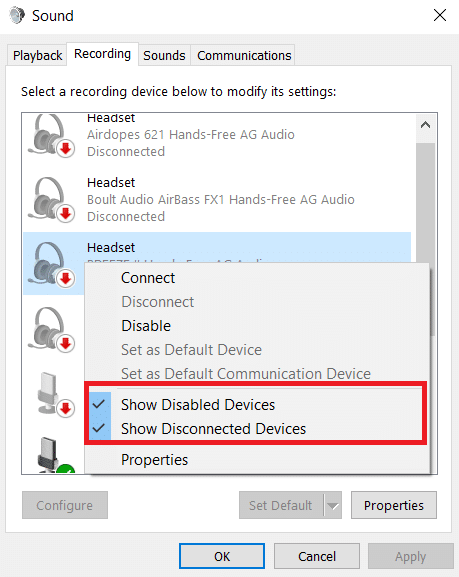
tandaan: Kung hindi mo nakikita Paghahalo ng Stereo, it must be hidden and you need to enable it as follows:
3B. Right-click an walang laman na espasyo in the list and check the following pagpipilian mula sa menu ng konteksto.
- Ipakita ang Mga Hindi Pinagana na Device
- Ipakita ang Mga Hindi Nakakonektang Device
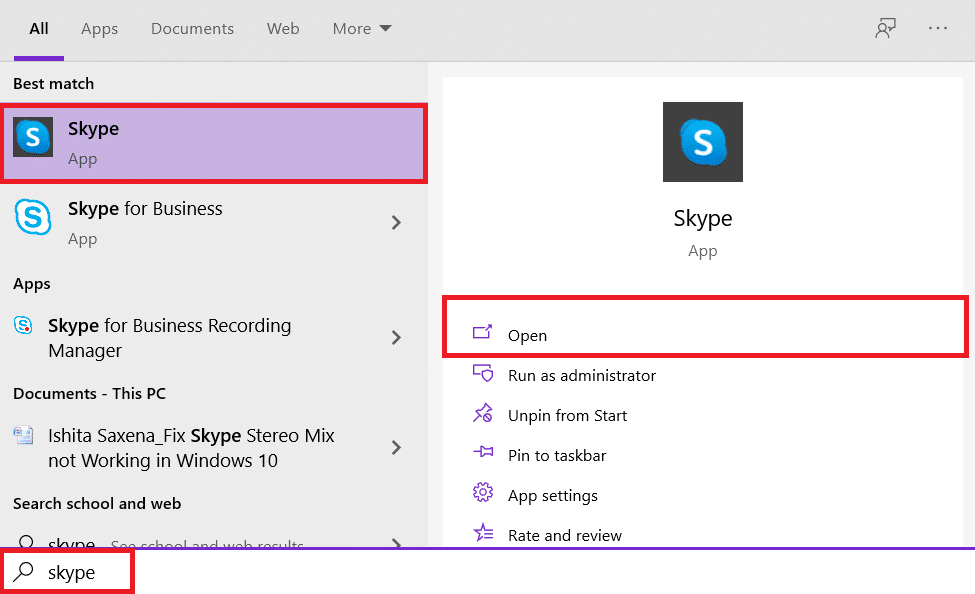
4. Pindutin ang Windows key at uri Skype, pagkatapos ay mag-click sa Pagbubukas.
5. I-click ang tatlong tuldok na icon on the top-right corner and choose Setting, tulad ng ipinakita.

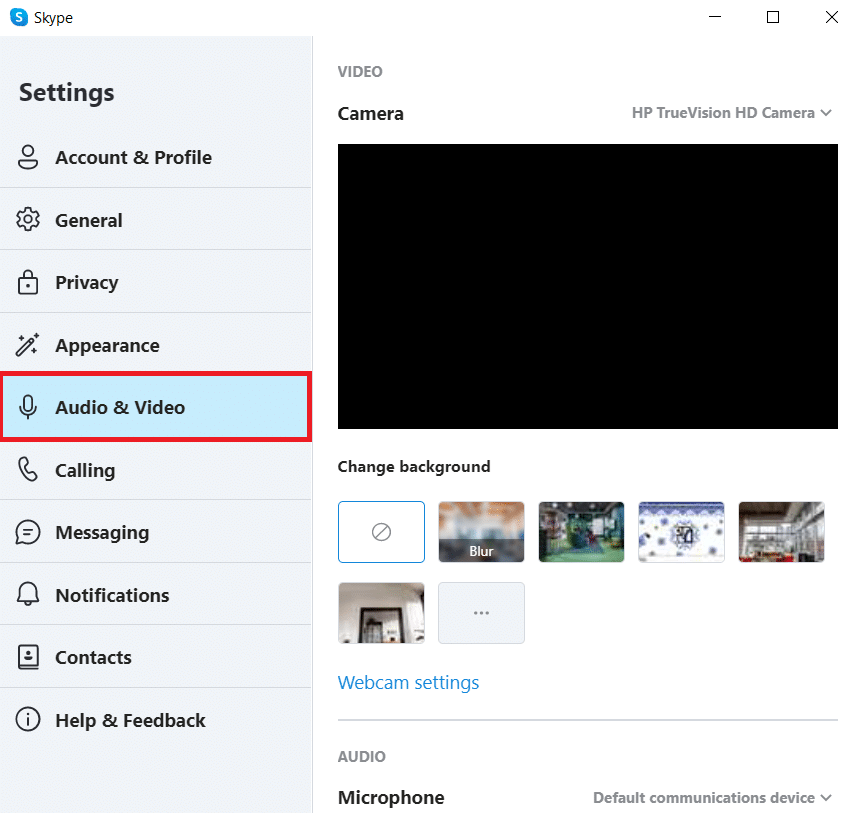
6. Pumunta sa Audio at Video tab sa ilalim Setting sa kaliwang pane.
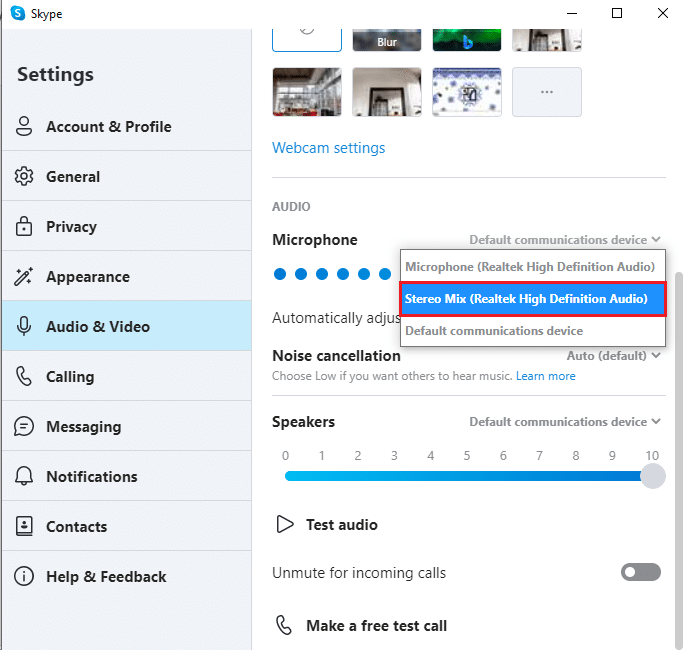
7. Mag-click sa Default communication device drop-down and choose Stereo Mix (Realtek(R) High Definition Audio) gaya ng nakalarawan sa ibaba.
Gayundin Basahin: How to Use Skype Chat Text Effects
Method 5: Update Audio Driver
Another reason for this issue could be incompatible or out-of-date sound drivers. And, updating it to the most recent manufacturer-recommended version would be the best approach.
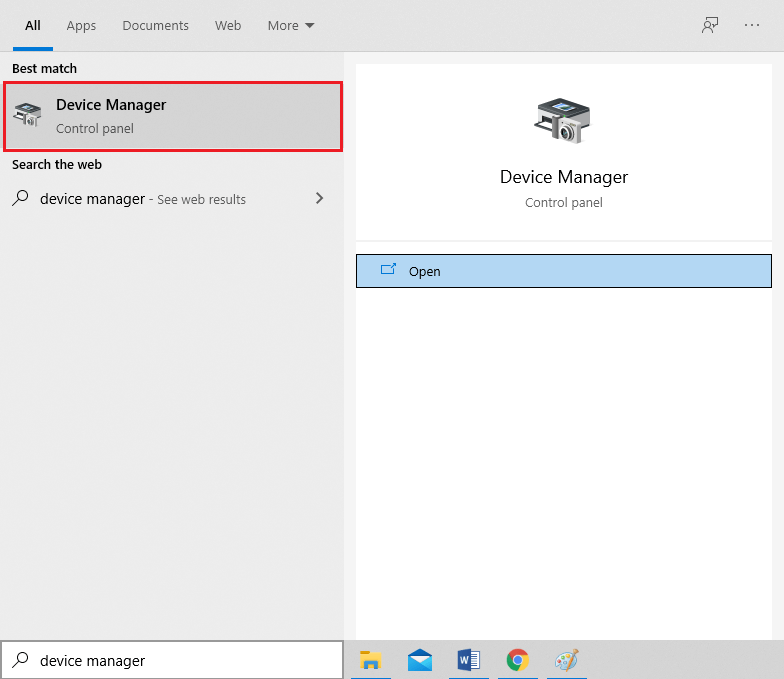
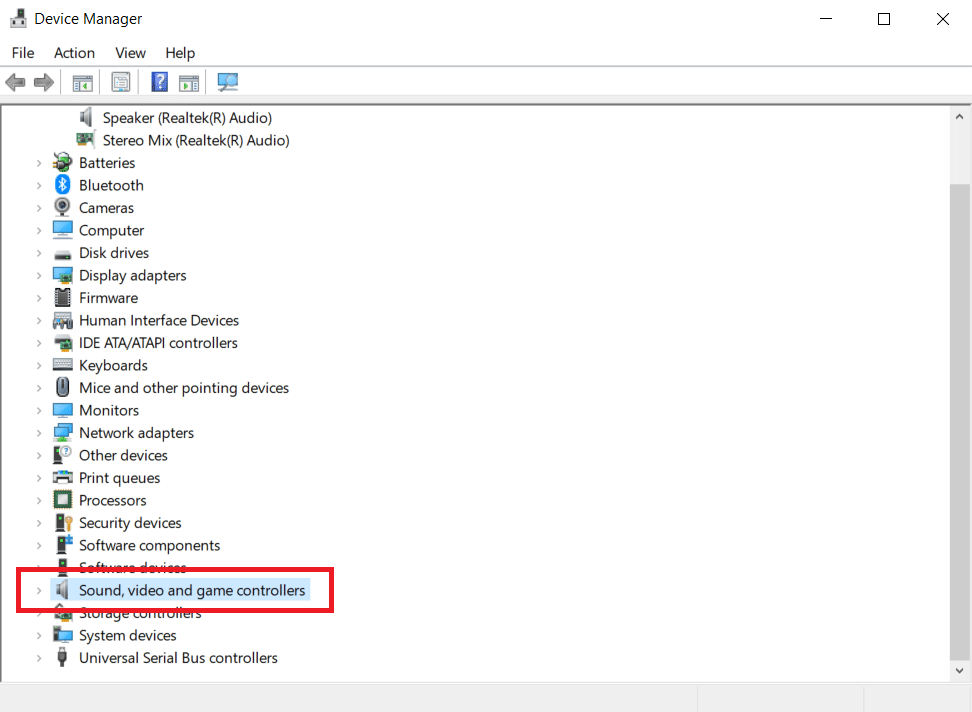
1. Mag-click sa simula, type tagapamahala ng aparato, at pindutin ang Ipasok ang key.
2. Mag-double click sa Mga tunog, video, at mga tagapamahala ng laro upang palawakin ito.
3. Mag-right-click sa iyong audio driver (eg Realtek(R) Audio) and choose I-update ang driver mula sa menu ng konteksto.
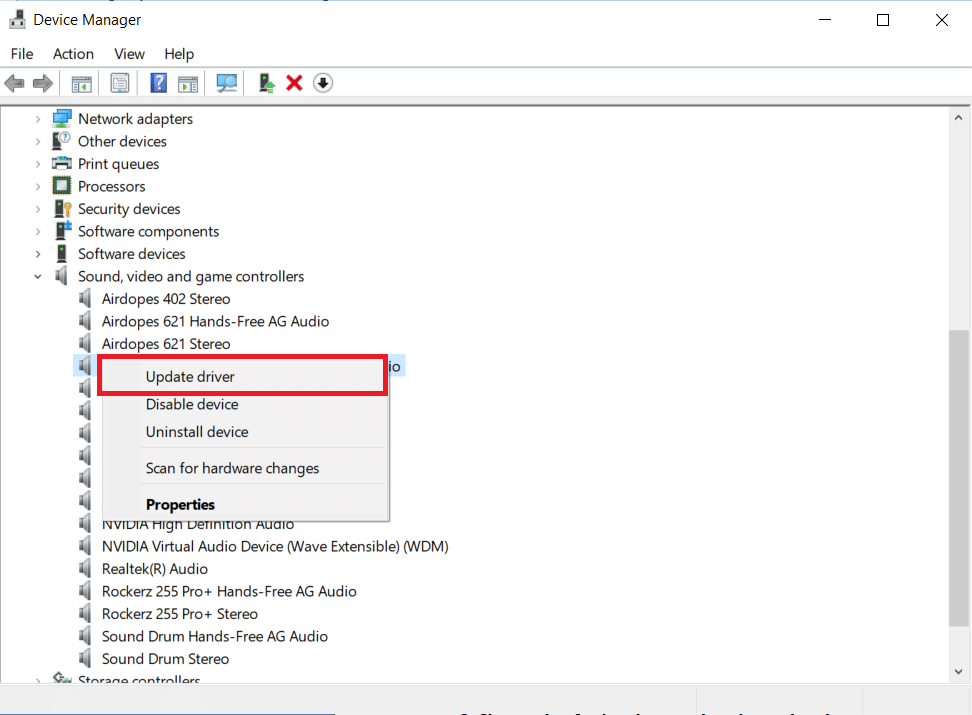
4. Mag-click sa Awtomatikong maghanap para sa mga driver, tulad ng ipinakita.

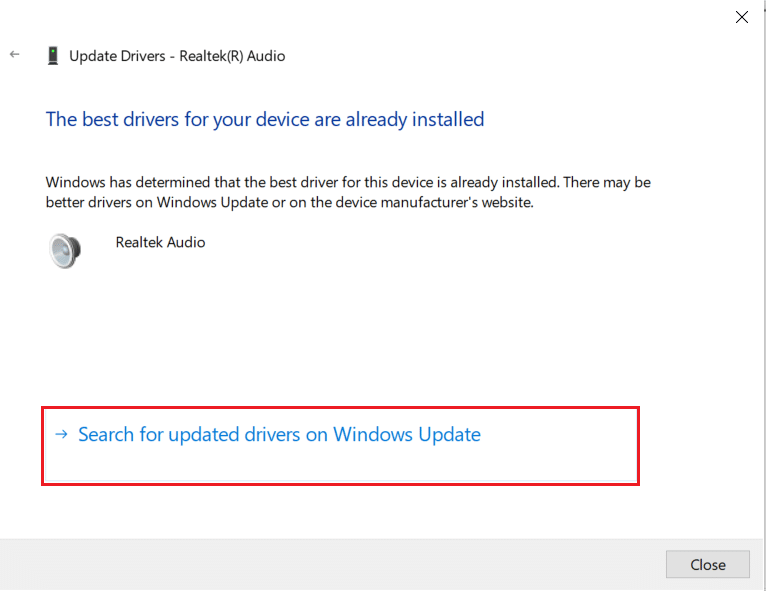
5A.The drivers will be updated to the latest version. I-restart ang iyong PC to implement the changes.
5B. If you see a notification claiming that The best drivers for your device are already installed, mag-click sa Maghanap ng mga na-update na driver sa Windows Update opsyon sa halip.
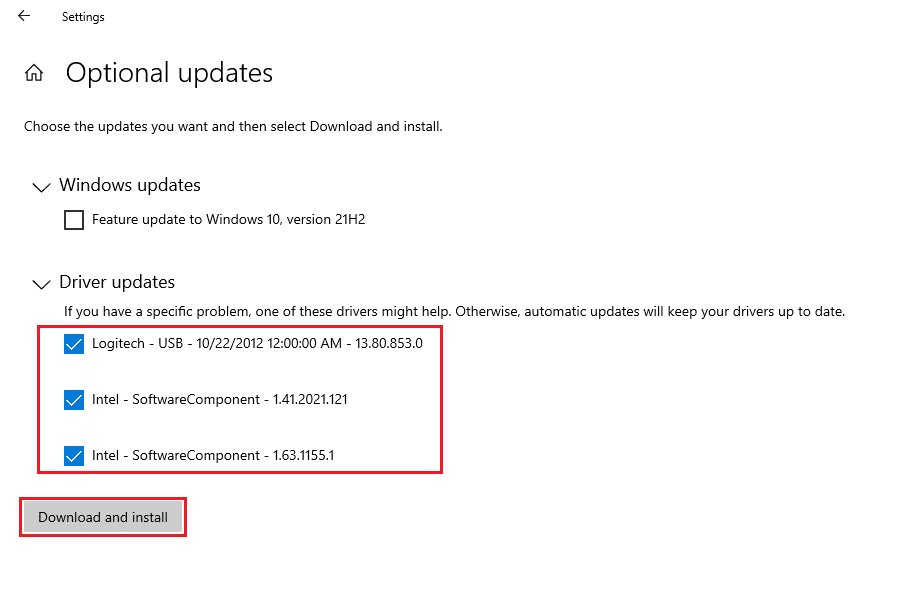
6. Nasa Windows Update tab sa Setting, I-click ang Tingnan ang mga opsyonal na pag-update sa kanang pane.

7. Check the box pertaining to the drivers you want to install, and click the I-download at i-install button.
Gayundin Basahin: Paano Ayusin ang Walang Tunog Sa Mga Larong Steam
Frequently Asked Questions (FAQ)
Q1. What is the purpose of Skype taking over my sound?
Ans. Incoming Skype calls are detected as communications activity by Windows. If you wish to preserve the true volume of your sound, you may need to change the settings on the komunikasyon tab of Windows Sound properties.
Q2. How do I adjust my Skype audio settings?
Ans. From the Skype window, locate and click the icon ng gear. To change the audio or video device settings, go to Tools > Audio Device Settings or Video Device Settings. You can choose the microphone or speaker you want to use from here.
Q3. What is system sound?
Ans. The sound that comes from the speakers built into our PC is known as System sound. Sound from the headphones you have connected is the music on our PCs.
Q4. What are stereo mix alternative Windows 10?
Ans. If Realtek Stereo Mix is not working and gives no sound in Windows 10, you may try other Stereo Mix alternative for Windows 10 like Kapangahasan, Wavepad, Adobe Audition, MixPad, Audio Highjack, etc.
Inirerekomenda:
We hope that this information was useful in resolving Skype stereo mix not working problem in Windows 10. Let us know which technique was the most successful for you. Drop your queries/suggestions in the comments section below.

