If you have 2 in 1 Windows device such as Tablets, you would be familiar with the importance of the screen rotation feature. Users report that the screen rotation feature has stopped working & the Screen Rotation Lock option is greyed out. If you’re facing this issue, then don’t worry as this is just a setting issue which means it can be easily fixed. This guide will walk you through the steps to fix rotation lock greyed out in Windows 10.
Here are issues which can be resolved using this guide:
- Rotation lock missing
- Auto Rotate not working
- Rotation lock greyed out.
- Screen rotation not working
Fix Rotation Lock greyed out in Windows 10
Bir şeyler ters giderse diye bir geri yükleme noktası oluşturduğunuzdan emin olun.
Method – 1: Enable Portrait Mode
One of the methods to fix this problem is to rotate your screen in portrait mode. Once you rotate it to portrait mode, most probably your rotation lock would start working, i.e. clickable again. In case your device is not rotating into portrait mode automatically, try to do it manually.
1. Basın Windows Tuşu + I to open Settings then click on the sistem simgesi.

2. Make sure to select ekran Soldaki menüden
3. Bulun Orientation section where you need to choose Portre açılır menüden.
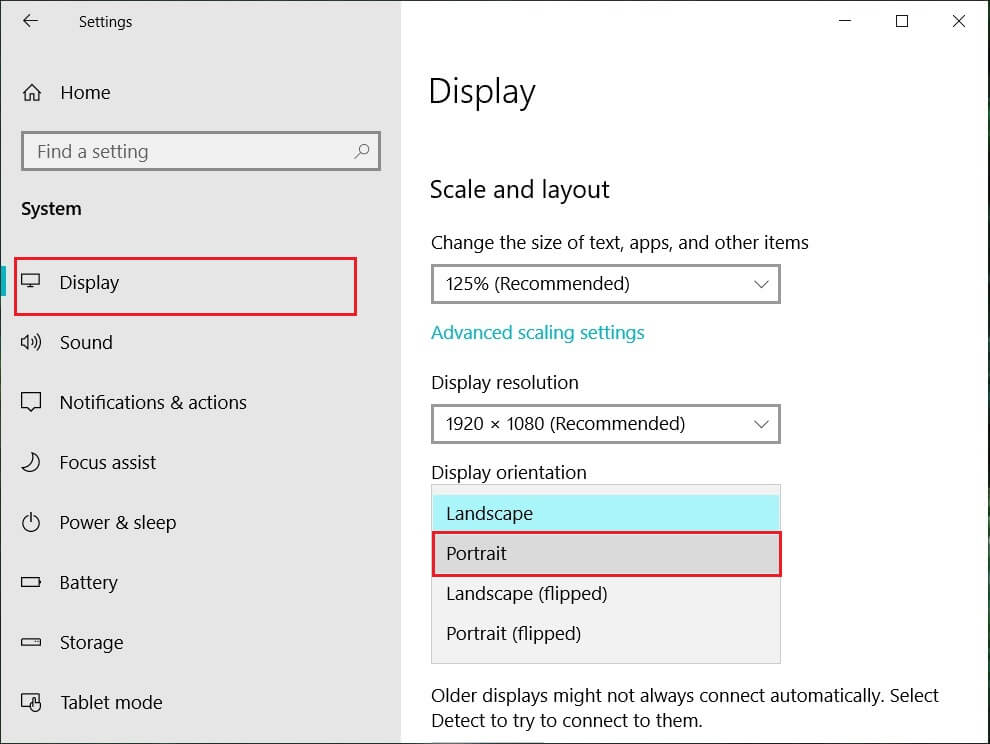
4. Your device will automatically turn into portrait mode.
Method – 2: Use your device in tent mode
Some users, particularly Dell Inspiron, experienced that when their rotation lock is greyed out, the only way to solve this problem is to put your device in Tent Mode.
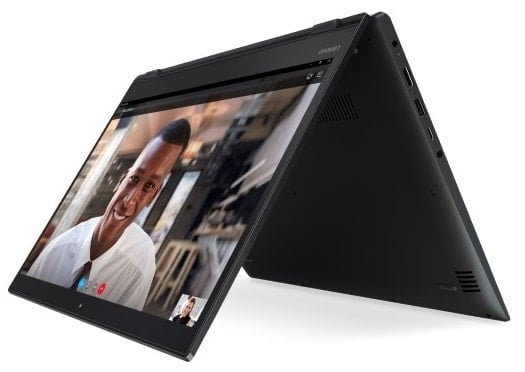
Resim Kredi: Microsoft
1. You need to put your device in Tent Mode. If your display is upside down, you need not worry.
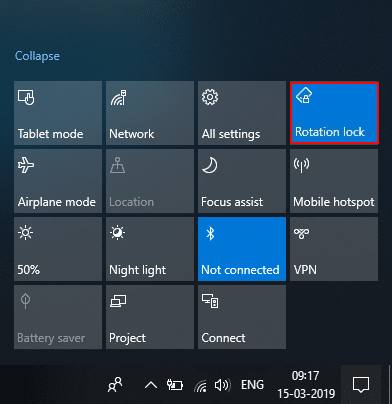
2. Şimdi tıklayın Windows Eylem Merkezi, Rotasyon kilidi will be working. Here you need to turn it off if you want so that your device rotate properly.
Method – 3: Disconnect your keyboard
If rotation lock is greyed in your Dell XPS and Surface Pro 3 (2-in-1 device), you need to disconnect your keyboard, and many users reported that disconnecting the keyboard solves the rotation lock problem. If you own different devices, you can still use this method to fix rotation lock greyed out in Windows 10 issue.
Method – 4: Switch to Tablet Mode
Many users experienced that this rotation greyed out the problem by switching their device into Tablet Mode. If it is switched automatically, it is good; otherwise, you can do it manually.
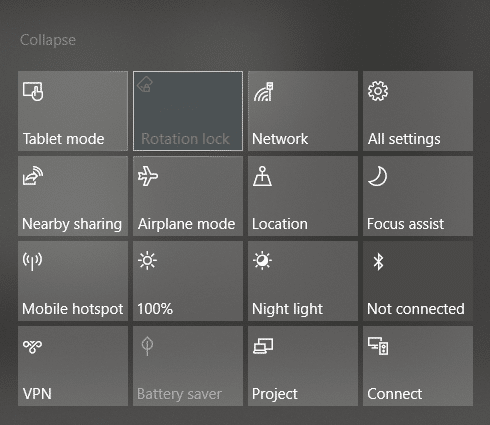
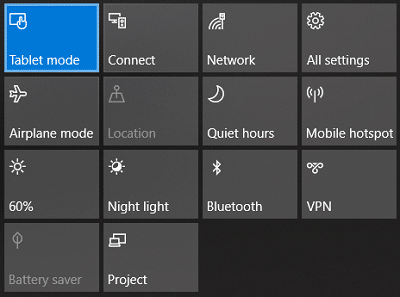
1. Tıklayın Windows Eylem Merkezi.
2. Burada bulacaksınız tablet Modu option, Click on It.
OR
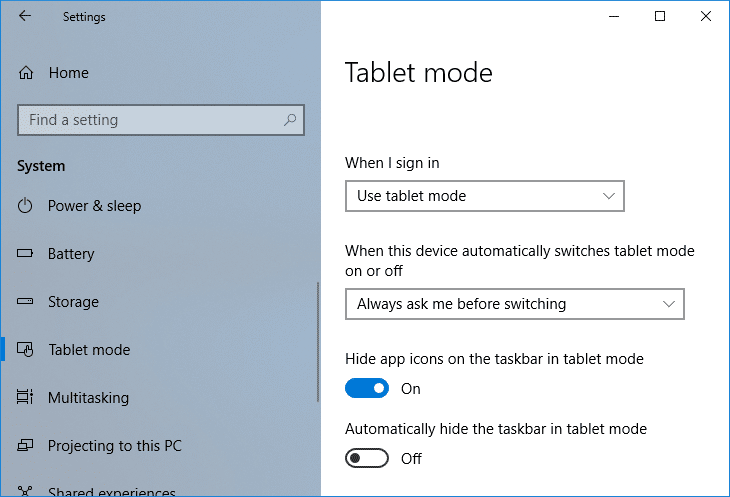
1. Açmak için Windows Tuşu + I tuşlarına basın Ayarlar sonra tıklayın sistem simgesi.
2. Here it would help if you located tablet Modu option under the left window pane.
3. Now from the “When I sign in” drop-down, select “Tablet modunu kullan".
Method – 5: Change LastOrientation Registry Value
If you still experience a problem, you can solve it by changing some registry values.
1. Press Windows +R and enter regedit daha sonra Enter'a basın.

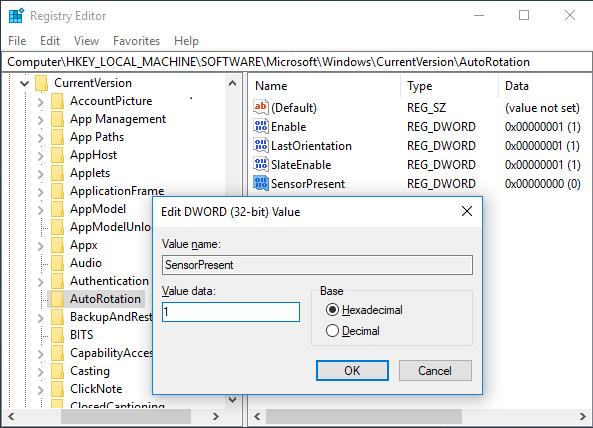
2. Once registry editor opens, you need to navigate to the below path:
HKEY_LOCAL_MACHINESOFTWAREMicrosoftWindowsCurrentVersionAutoRotation
Not: Follow the above folders one by one to locate Auto Rotation.
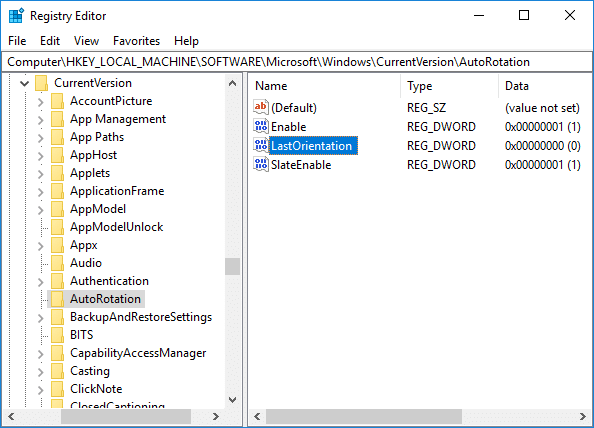
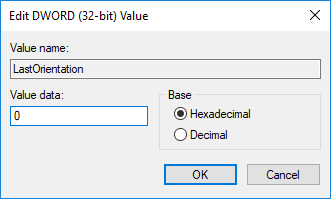
3. Emin ol select AutoRotation daha sonra sağ pencere bölmesinde üzerine çift tıklayın Last Orientation DWORD.
4. Now enter 0 under Value data field ve Tamam'ı tıklayın.
5. Varsa SensorPresent DWORD, double-click on it and set its 1 değerine.
Method – 6: Check Sensor Monitoring Service
Sometimes services of your device can cause a rotation lock problem. Therefore, we can get it sorted with Windows Monitoring services feature.
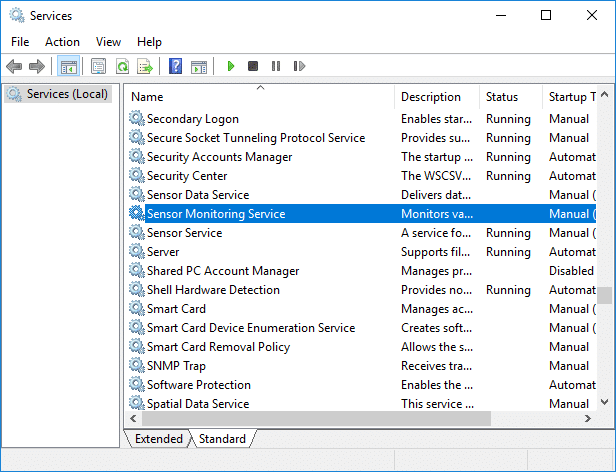
1. Windows + R tuşlarına basın ve yazın services.msc ve Enter'a bas.

2. Once the services window opens, find the Sensor Monitoring services option ve üzerine çift tıklayın.
3. Now, from the Startup type drop-down select Otomatik ve sonra tıklayın Başlama butonu hizmeti başlatmak için.
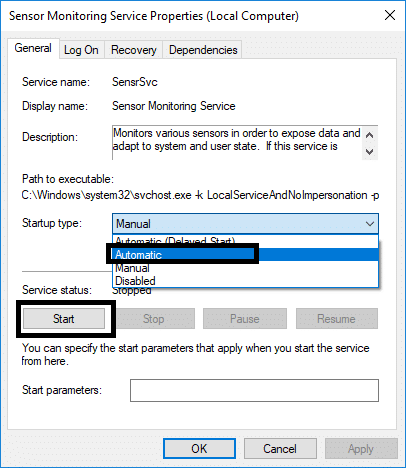
4. Finally, click Apply followed by OK to save the settings, and you can reboot the system to apply the changes.
Method – 7: Disable YMC service
If you are using a Lenovo Yoga device and experiencing this problem, you can fix rotation lock grayed out in the Windows 10 issue by disabling YMC service.
1. Windows + R type services.msc ve Enter'a bas.
2. yerleştirmek YMC services ve çift tıklayın.
3. Başlangıç türünü şu şekilde ayarlayın: Yayından kaldırıldı and click Apply, followed by OK.
Method – 8: Update Display Drivers
One reason for this problem could be the driver update. If your respective driver for the monitor is not updated, it can cause the Rotation Lock greyed out in Windows 10 Issue.
Manually Update Graphics Drivers using Device Manager
1. Windows Tuşu + R tuşlarına basın ve ardından yazın devmgmt.msc ve açmak için enter tuşuna basın Aygıt Yöneticisi.

2. Sonra genişletin Ekran adaptörleri and right-click on your Graphics Card and select Etkinleştirme.

3. Bunu tekrar yaptıktan sonra grafik kartınıza sağ tıklayın ve “Sürücü Güncelleştirme".

4. Seçiniz “Güncellenmiş sürücü yazılımı için otomatik arama”ve işlemi bitirmesine izin verin.

5. If the above steps helped fix the issue then very good, if not then continue.
6. Tekrar grafik kartınıza sağ tıklayın ve “Sürücü Güncelleştirme” ancak bu sefer bir sonraki ekranda “ seçeneğini seçinSürücü yazılımı için bilgisayarıma göz atın.başlıklı bir kılavuz yayınladı

7. Şimdi “Bilgisayarımdaki kullanılabilir sürücüler listesinden seçmeme izin ver".

8. En sonunda, en son sürücüyü seç listeden ve tıklayın Sonraki.
9. Yukarıdaki işlemin tamamlanmasını bekleyin ve değişiklikleri kaydetmek için bilgisayarınızı yeniden başlatın.
Follow the same steps for the integrated graphics card (Intel in this case) to update its drivers. See if you’re able to Fix Rotation Lock greyed out Issue, if not then continue with the next step.
Automatically Update Graphics Drivers from Manufacturer Website
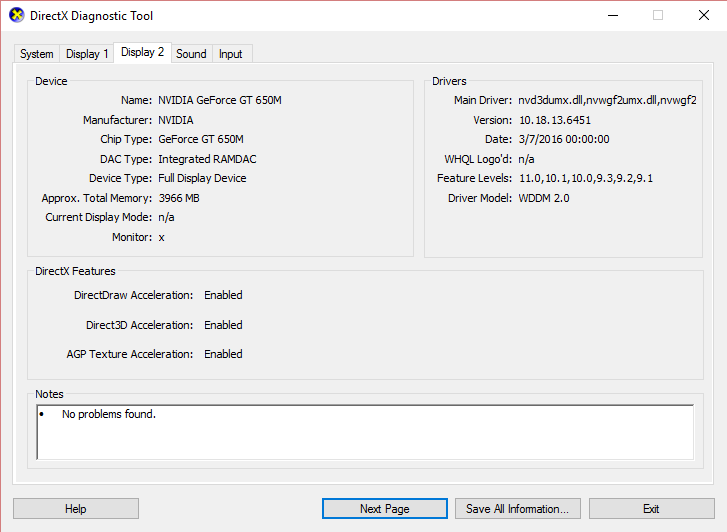
1. Press Windows Key + R and in the dialog box type “dxdiag” ve enter'a basın.

2. After that search for the display tab (there will be two display tabs one for the integrated graphics card and another one will be of Nvidia’s) click on the Display tab and find out your graphics card.
3. Now go to the Nvidia driver web sitesini indir and enter the product details which we find out.
4. Search your drivers after inputting the information, click Agree and download the drivers.

5. After successful download, install the driver, and you have successfully updated your Nvidia drivers manually.
Method – 9: Remove Intel Virtual Buttons Driver
Some users reported that Intel Virtual button drivers cause rotation lock problem on your device. To solve this problem, you can uninstall the driver.
1. Open Device manager on your device by pressing Windows + R and type devmgmt.msc and hit Enter or press Windows X and choose aygıt Yöneticisi seçenekler listesinden.
2. Once Device manager box is opened locate Intel virtual buttons driver.
3. Right-click on it and choose Kaldırın.
Önerilen:
Umarım bu makale yardımcı olmuştur ve artık kolayca yapabilirsiniz Fix Rotation Lock greyed out in Windows 10, ancak bu eğitimle ilgili hala sorularınız varsa yorum bölümünde bunları sormaya çekinmeyin.
")
