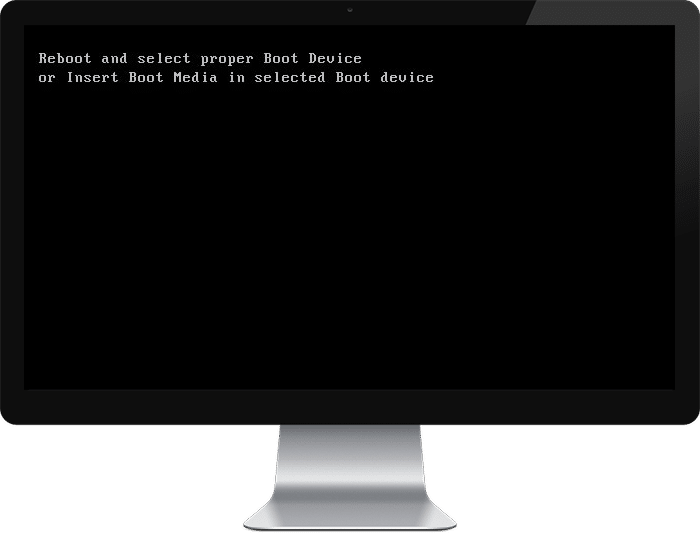
Reboot and Select Proper Boot Device Issue [SOLVED]: This error is caused because of corrupted system files, incorrect boot order or hard disk failure. These are just some common causes due to which this error is caused in Windows. This error comes up when you boot your Windows and even if you restart your computer you won’t be able to boot as you will be faced with a black screen with error message:
Yeniden başlat ve uygun Önyükleme aygıtını seç
Or Insert Boot Media in Selected Boot device and press a key
In some cases even replacing the faulty hard disk doesn’t seem to fix the problem but don’t worry here at troubleshooter, we have listed few possible solutions which will help you troubleshoot this issue easily.
Yeniden Başlatma ve Uygun Önyükleme Aygıtını Seçme Sorunu [ÇÖZÜLDÜ]
Yöntem 1: Doğru Önyükleme Sırasını Ayarlayın
You may be seeing the error “Yeniden başlat ve uygun Önyükleme aygıtını seç” because the boot order is not properly set which means that computer is trying to boot from another source which doesn’t have an operating system thus failing to do so. In order to fix this issue, you need to set the Hard Disk as the top priority in the Boot order. Let’s see how to set proper boot order:
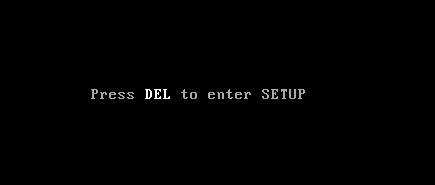
1.Bilgisayarınız başlatıldığında (Önyükleme ekranından veya hata ekranından önce), art arda Sil veya F1 veya F2 tuşuna (Bilgisayarınızın üreticisine bağlı olarak) basarak BIOS kurulumuna girin.
2.BIOS kurulumuna girdikten sonra seçenekler listesinden Önyükleme sekmesini seçin.
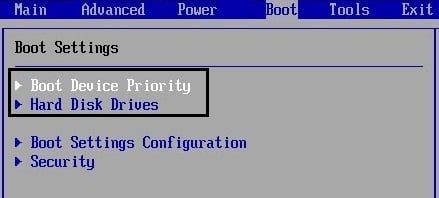
3.Şimdi bilgisayarın Sabit disk veya SSD is set as a top priority in the Boot order. If not then use up or down arrow keys to set hard disk at the top which means the computer will first boot from it rather than any other source.
4.Finally, press F10 to save this change and exit. This must have Fix Reboot and Select Proper Boot Device Issue, değilse devam edin.
Method 2: Check if the Hard Disk is damaged/failed
If the above method weren’t helpful at all then there is a chance that your hard disk might be damaged or corrupted. In any case, you need to replace your previous HDD or SSD with a new one and install Windows again. But before running to any conclusion, you must run a Diagnostic tool to check if you really need to replace HDD/SSD.
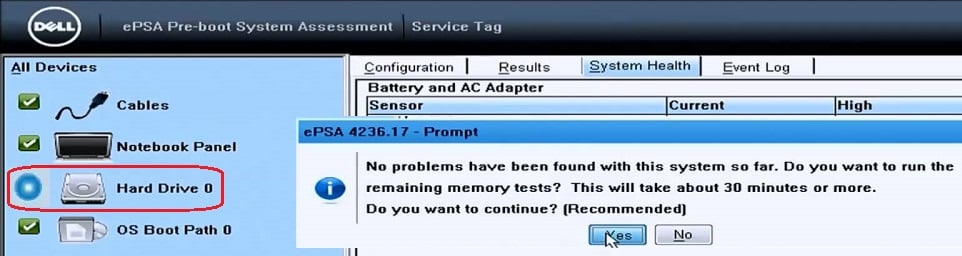
Tanılamayı çalıştırmak için bilgisayarınızı yeniden başlatın ve bilgisayar başlatıldığında (önyükleme ekranından önce), F12 tuşuna basın ve Önyükleme menüsü göründüğünde, Yardımcı Program Bölümüne Önyükleme seçeneğini veya Tanılama seçeneğini vurgulayın ve Tanılamayı başlatmak için enter tuşuna basın. Bu, sisteminizin tüm donanımını otomatik olarak kontrol edecek ve herhangi bir sorun bulunursa geri bildirimde bulunacaktır.
Önerilen: Fix Bad Sector issues with HDD using Hiren’s Boot
Method 3: Check if Hard Disk is properly connected
In 50% of the cases, this problem is caused because of the faulty or loose connection of hard disk and to make sure that this is not the case here you need to check your PC for any type of fault in the connection.
Önemli: It is not recommended to open the casing of your PC if it’s under warranty as it will void your warranty, a better approach, in this case, will be taking your PC in the service center. Also, if you don’t have any technical knowledge then don’t mess with the PC and make sure to look for an expert technician which can help you in checking for faulty or loose connection of hard disk.
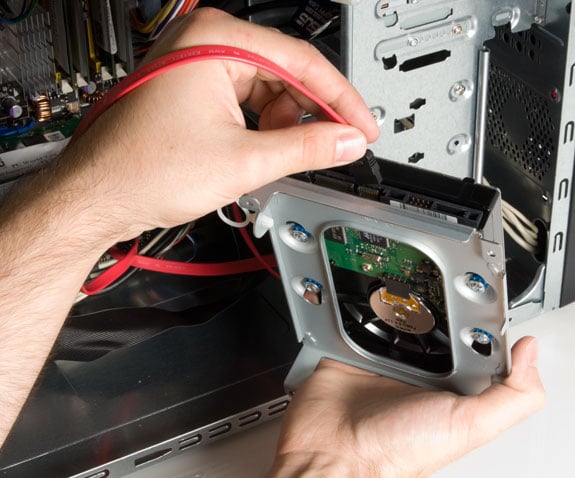
Once you have checked the proper connection of hard disk is established, reboot your PC and this time you may be able to Fix Reboot and Select Proper Boot Device Issue.
Method 4: Run startup/Automatic Repair
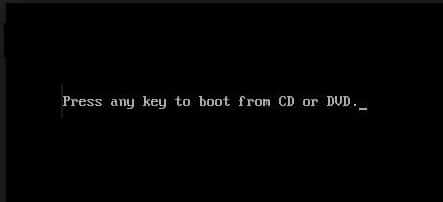
1. Windows 10 önyüklenebilir kurulum DVD'sini takın ve bilgisayarınızı yeniden başlatın.
2.CD veya DVD'den önyükleme yapmak için herhangi bir tuşa basın isteminde bulunulduğunda, devam etmek için herhangi bir tuşa basın.
3.Select your language preferences, and click Next. Click Repair your computer in the bottom-left.

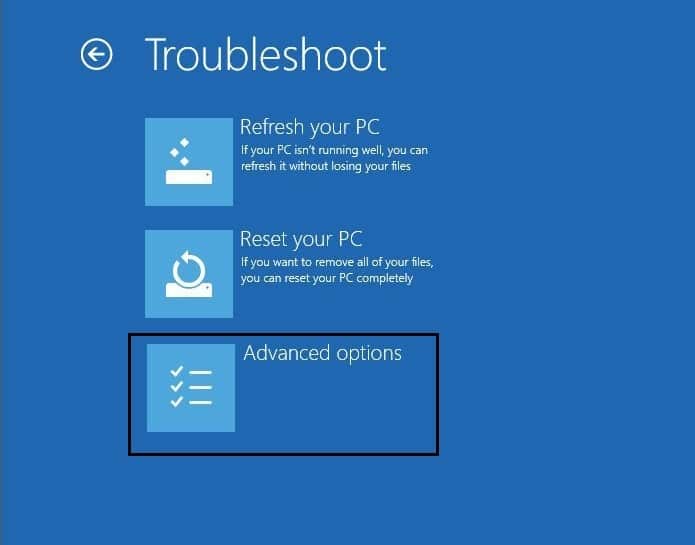
4.On choose an option screen, click Troubleshoot.

5.On Troubleshoot screen, click Advanced option.
6.On the Advanced options screen, click Automatic Repair or Startup Repair.
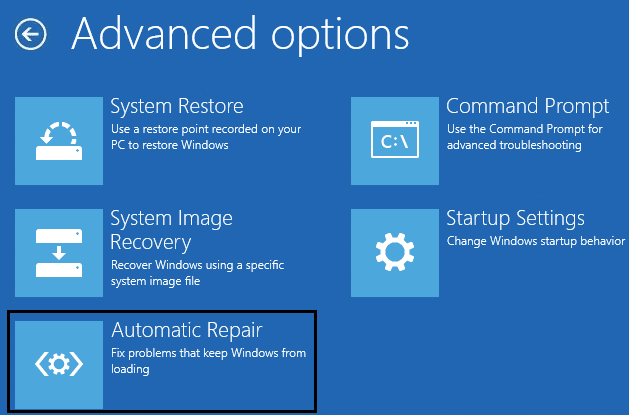
7.Wait til the Windows Automatic/Startup Repairs complete.
8.Yeniden başlatın ve başarıyla tamamladınız Fix Reboot and Select Proper Boot Device issuedeğilse devam edin.
Ayrıca Otomatik Onarımın PC'nizi onaramaması nasıl düzeltilir konusunu da okuyun.
Yöntem 5: UEFI Önyüklemesini Etkinleştir
1.Restart your PC and tap F2 or DEL depending upon your PC to open Boot Setup.
2.The make the following changes:
Önyükleme listesi seçeneğini UEFI Eski Yükü Devre Dışı Bırak seçeneği ROM Güvenli önyüklemeyi etkinleştir olarak değiştirin
3.Sonra, önyükleme ayarını Kaydetmek ve Çıkmak için F10'a dokunun.
Method 6: Change the Active Partition in Windows
1.Again open cmd using Windows installation disk.
2.Type the following command into cmd and hit enter after each one:
Not: Always mark the System Reserved Partition (generally 100mb) active and if you don’t have a System Reserved Partition then mark C: Drive as the active partition.
DiskPart
list disk
select disk 0
list partition
select partition 1
active
exit
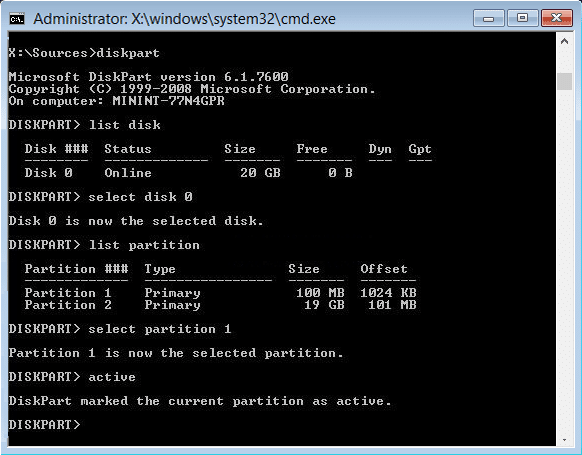
3.Close the command prompt and restart your PC. In many cases, this method was able to Fix Reboot and Select Proper Boot Device issue.
Also, see How to fix BOOTMGR is missing Windows 10
Yöntem 7: Windows 10'u Onarın
Yukarıdaki çözümlerden hiçbiri işinize yaramazsa HDD'nizin iyi olduğundan emin olabilirsiniz ancak "hatasını görüyor olabilirsiniz"Reboot and Select proper Boot device Or Insert Boot Media in Selected Boot device and press a keyçünkü işletim sistemi veya HDD'deki BCD bilgisi bir şekilde silinmiş. Bu durumda Windows yüklemesini onarmayı deneyebilirsiniz, ancak bu da başarısız olursa geriye kalan tek çözüm yeni bir Windows kopyası yüklemektir (Temiz Kurulum).
Başarılı bir şekilde sahip olduğun şey bu sabit Reboot and Select proper Boot device issue ancak bu yazıyla ilgili hala sorularınız varsa yorum bölümünde onlara sormaya çekinmeyin.
![[SOLVED] Failed to Play Test Tone Error](https://lbsite.org/wp-content/uploads/2023/01/Fix-Failed-to-Play-Test-Tone-Error.jpg "[SOLVED] Failed to Play Test Tone Error")
