If you have 2 in 1 Windows device such as Tablets, you would be familiar with the importance of the screen rotation feature. Users report that the screen rotation feature has stopped working & the Screen Rotation Lock option is greyed out. If you’re facing this issue, then don’t worry as this is just a setting issue which means it can be easily fixed. This guide will walk you through the steps to fix rotation lock greyed out in Windows 10.
Here are issues which can be resolved using this guide:
- Rotation lock missing
- Auto Rotate not working
- Rotation lock greyed out.
- Screen rotation not working
Fix Rotation Lock greyed out in Windows 10
کچھ غلط ہونے کی صورت میں بحالی پوائنٹ بنانا یقینی بنائیں۔
Method – 1: Enable Portrait Mode
One of the methods to fix this problem is to rotate your screen in portrait mode. Once you rotate it to portrait mode, most probably your rotation lock would start working, i.e. clickable again. In case your device is not rotating into portrait mode automatically, try to do it manually.
1. دبائیں ونڈوز کلیدی + I to open Settings then click on the نظام آئکن.

2. Make sure to select دکھائیں بائیں ہاتھ کے مینو سے۔
3. تلاش کریں۔ Orientation section where you need to choose پورٹریٹ ڈراپ ڈاؤن مینو سے.
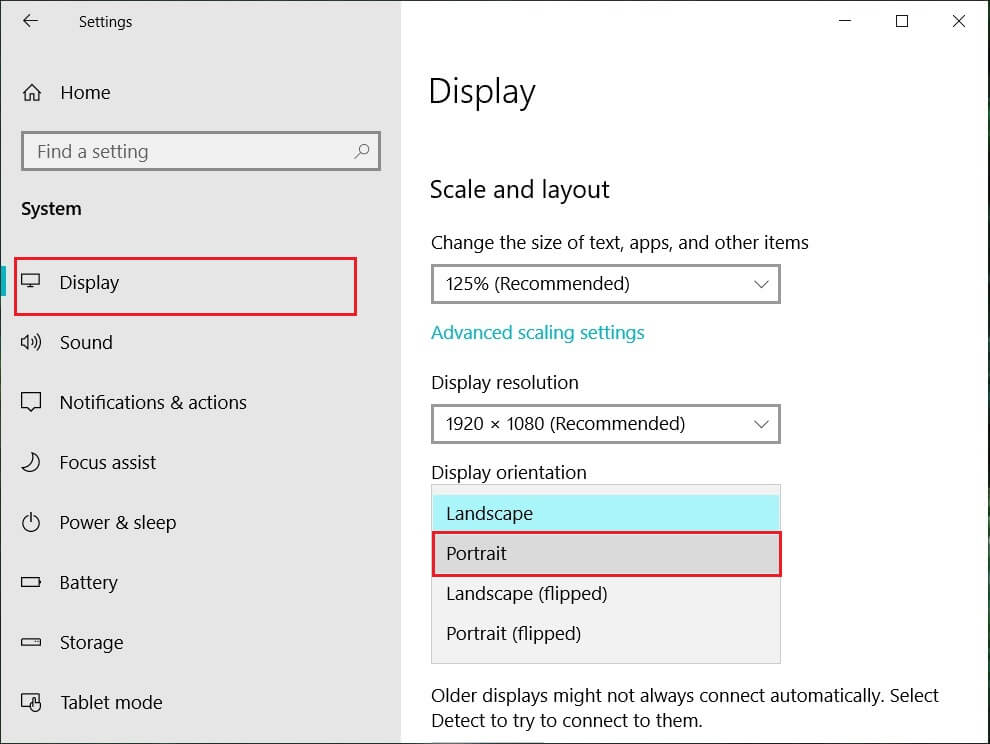
4. Your device will automatically turn into portrait mode.
Method – 2: Use your device in tent mode
Some users, particularly Dell Inspiron, experienced that when their rotation lock is greyed out, the only way to solve this problem is to put your device in Tent Mode.
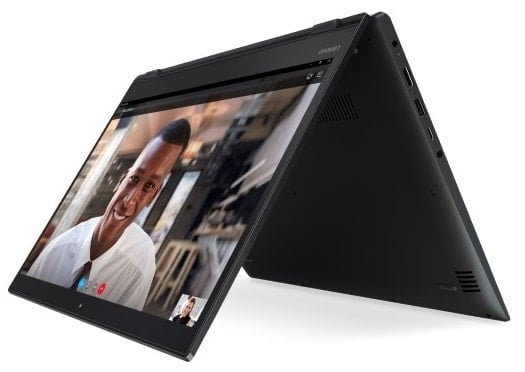
تصویری کریڈٹ: مائیکروسافٹ
1. You need to put your device in Tent Mode. If your display is upside down, you need not worry.
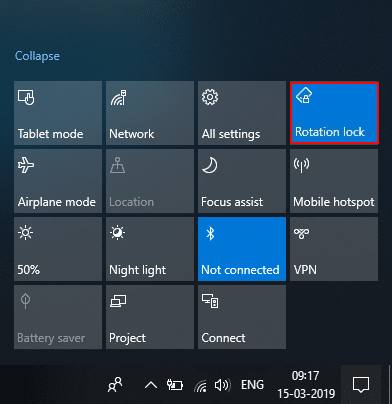
2. اب پر کلک کریں Windows Action Center, گردش تالا۔ will be working. Here you need to turn it off if you want so that your device rotate properly.
Method – 3: Disconnect your keyboard
If rotation lock is greyed in your Dell XPS and Surface Pro 3 (2-in-1 device), you need to disconnect your keyboard, and many users reported that disconnecting the keyboard solves the rotation lock problem. If you own different devices, you can still use this method to fix rotation lock greyed out in Windows 10 issue.
Method – 4: Switch to Tablet Mode
Many users experienced that this rotation greyed out the problem by switching their device into Tablet Mode. If it is switched automatically, it is good; otherwise, you can do it manually.
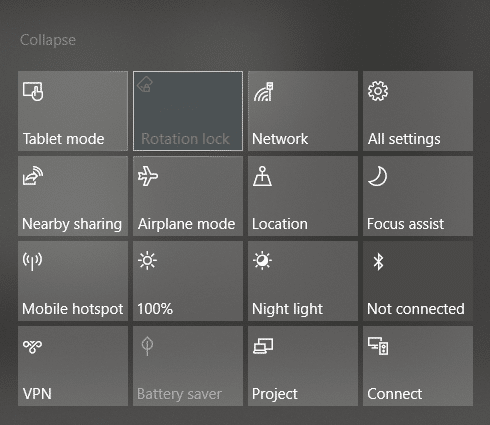
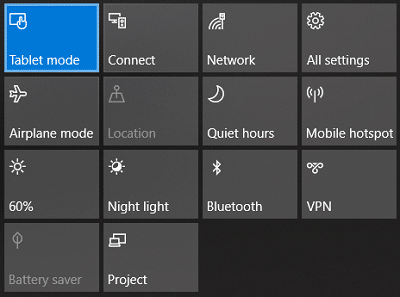
1. پر کلک کریں ونڈوز ایکشن سینٹر۔
2. یہاں، آپ کو مل جائے گا ٹیبلٹ موڈ option, Click on It.
OR
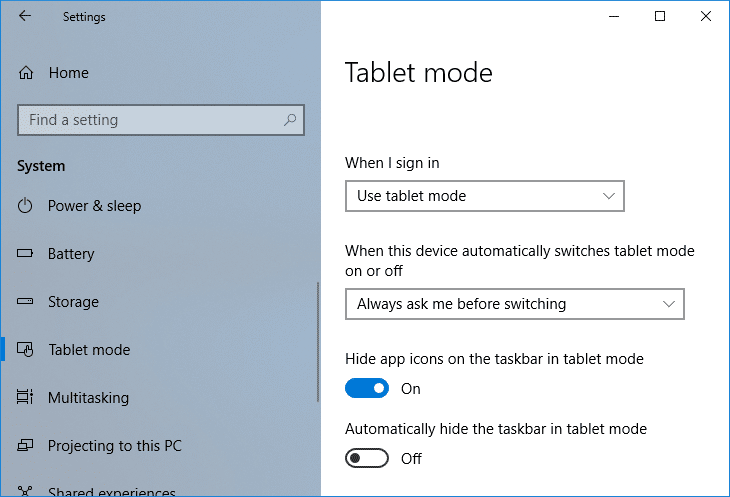
1. کھولنے کے لیے Windows Key + I دبائیں۔ ترتیبات پھر پر کلک کریں نظام آئکن.
2. Here it would help if you located ٹیبلٹ موڈ option under the left window pane.
3. Now from the “When I sign in” drop-down, select “ٹیبلیٹ موڈ استعمال کریں۔".
Method – 5: Change LastOrientation Registry Value
If you still experience a problem, you can solve it by changing some registry values.
1. Press Windows +R and enter کی regedit پھر داخل کریں.

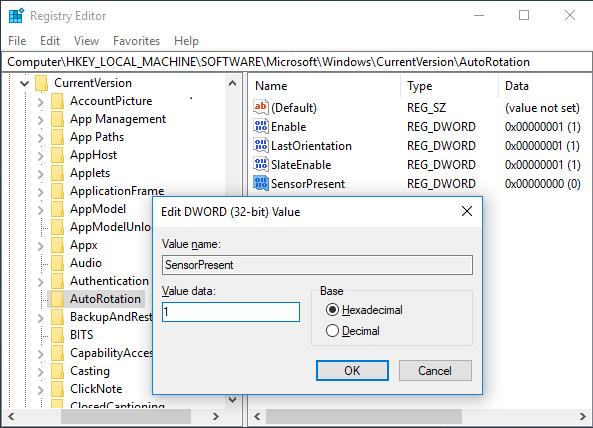
2. Once registry editor opens, you need to navigate to the below path:
HKEY_LOCAL_MACHINESOFTWAREMicrosoftWindowsCurrentVersionAutoRotation
نوٹ: Follow the above folders one by one to locate Auto Rotation.
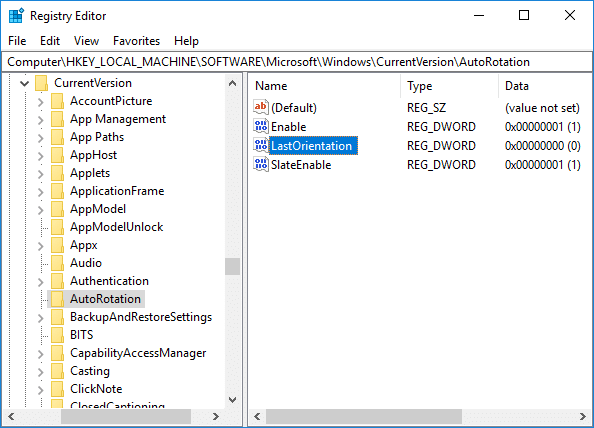
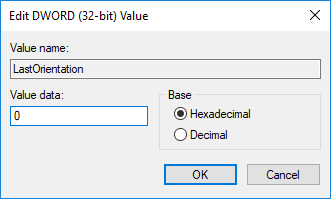
3. یقینی بنائیں select AutoRotation پھر دائیں ونڈو پین پر ڈبل کلک کریں۔ Last Orientation DWORD.
4. Now enter 0 under Value data field اور ٹھیک ہے پر کلک کریں.
5. اگر موجود ہے۔ سینسر پریزنٹ DWORD, double-click on it and set its قیمت 1.
Method – 6: Check Sensor Monitoring Service
Sometimes services of your device can cause a rotation lock problem. Therefore, we can get it sorted with Windows Monitoring services feature.
1. Windows + R دبائیں اور ٹائپ کریں۔ services.msc اور داخل کریں.

2. Once the services window opens, find the Sensor Monitoring services option اور اس پر ڈبل کلک کریں۔
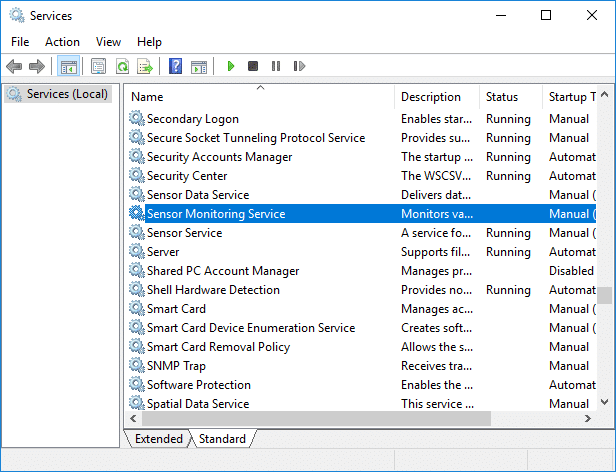
3. Now, from the Startup type drop-down select خودکار اور اس کے بعد پر کلک کریں بٹن کا آغاز کریں to start the service.
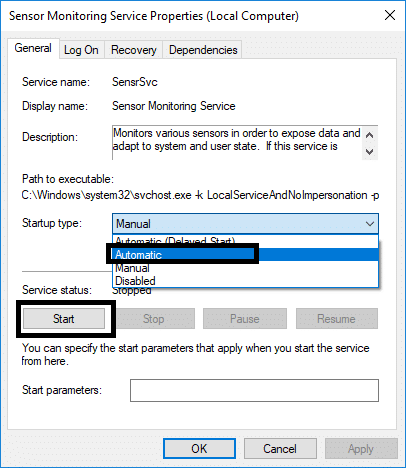
4. Finally, click Apply followed by OK to save the settings, and you can reboot the system to apply the changes.
Method – 7: Disable YMC service
If you are using a Lenovo Yoga device and experiencing this problem, you can fix rotation lock grayed out in the Windows 10 issue by disabling YMC service.
1. Windows + R type services.msc اور داخل کریں.
2 تلاش کریں YMC services اور اس پر ڈبل کلک کریں۔
3. Set the Startup type to غیر فعال کر دیا and click Apply, followed by OK.
Method – 8: Update Display Drivers
One reason for this problem could be the driver update. If your respective driver for the monitor is not updated, it can cause the Rotation Lock greyed out in Windows 10 Issue.
Manually Update Graphics Drivers using Device Manager
1. Windows Key + R دبائیں پھر ٹائپ کریں۔ devmgmt.msc اور کھولنے کے لیے انٹر دبائیں۔ آلہ منتظم.

2. اگلا، پھیلائیں۔ ڈسپلے اڈاپٹر and right-click on your Graphics Card and select فعال.

3. Once you have done this again right-click on your graphics card and select “ڈرائیور کو اپ ڈیٹ کریں".

4 منتخب کریں “تازہ ترین ڈرائیور سافٹ ویئر کے لئے خود بخود تلاش کریںاور اسے عمل مکمل کرنے دیں۔

5. If the above steps helped fix the issue then very good, if not then continue.
6. Again right-click on your graphics card and select “ڈرائیور کو اپ ڈیٹ کریںلیکن اس بار اگلی سکرین پر منتخب کریں "ڈرائیور کے سافٹ ویئر کیلئے میرے کمپیوٹر کو براؤز کریں."

7. اب منتخب کریں "مجھے اپنے کمپیوٹر پر دستیاب ڈرائیوروں کی فہرست سے لے لو".

8. آخر میں، تازہ ترین ڈرائیور کا انتخاب کریں۔ فہرست سے اور کلک کریں۔ اگلا.
9. Let the above process finish and restart your PC to save changes.
Follow the same steps for the integrated graphics card (Intel in this case) to update its drivers. See if you’re able to Fix Rotation Lock greyed out Issue, if not then continue with the next step.
Automatically Update Graphics Drivers from Manufacturer Website
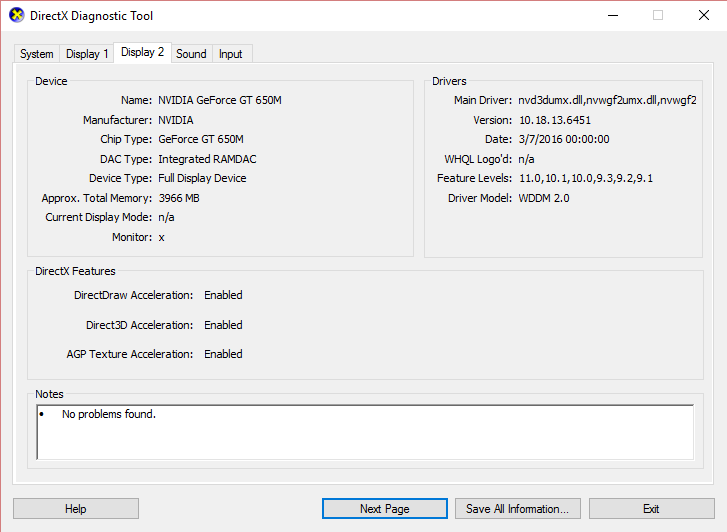
1. Press Windows Key + R and in the dialog box type “dxdiag"اور انٹر کو دبائیں۔

2. After that search for the display tab (there will be two display tabs one for the integrated graphics card and another one will be of Nvidia’s) click on the Display tab and find out your graphics card.
3. Now go to the Nvidia driver ڈاؤن لوڈ، اتارنا ویب سائٹ and enter the product details which we find out.
4. Search your drivers after inputting the information, click Agree and download the drivers.

5. After successful download, install the driver, and you have successfully updated your Nvidia drivers manually.
Method – 9: Remove Intel Virtual Buttons Driver
Some users reported that Intel Virtual button drivers cause rotation lock problem on your device. To solve this problem, you can uninstall the driver.
1. Open Device manager on your device by pressing Windows + R and type devmgmt.msc and hit Enter or press Windows X and choose آلہ منتظم from the options list.
2. Once Device manager box is opened locate Intel virtual buttons driver.
3. Right-click on it and choose انسٹال کریں.
سفارش کی جاتی ہے:
مجھے امید ہے کہ یہ مضمون مددگار تھا اور اب آپ آسانی سے کر سکتے ہیں۔ Fix Rotation Lock greyed out in Windows 10لیکن اگر آپ کے پاس اب بھی اس ٹیوٹوریل کے حوالے سے کوئی سوالات ہیں تو بلا جھجھک ان سے تبصرے کے سیکشن میں پوچھیں۔
")
