While surfing internet in your browser, you may face Server IP address could not be found error. This is a common issue for the Google Chrome users. We bring to you a helpful guide that will fix server IP address could not be found error on Windows 10. So, continue reading!
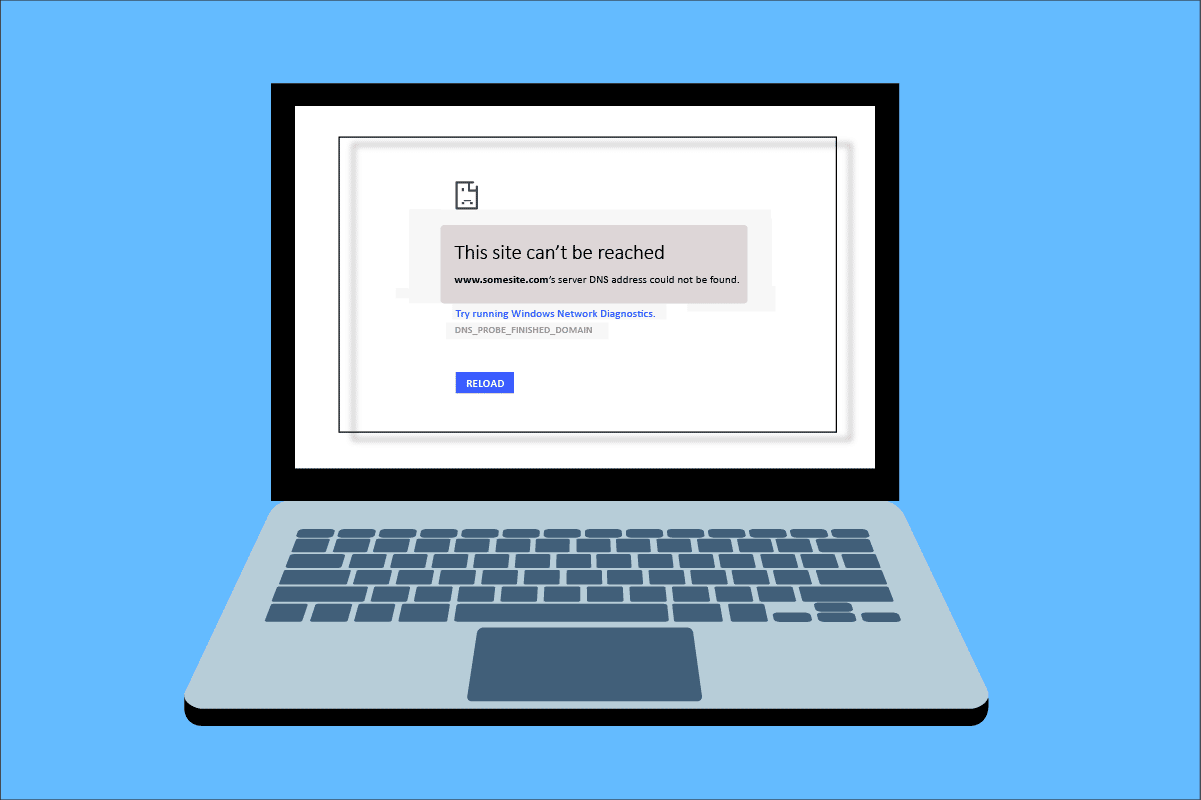
How to Fix Server IP Address Could Not be Found on Windows 10
One of the most popular web browser is Google Chrome. However if you are facing the error while browsing in the Chrome browser, then do not worry! This issue may be caused due to various reasons like;
- غیر مستحکم انٹرنیٹ کنکشن
- Corrupt Browser Cache and Cookies
- Incorrect IP Address
- Corrupt DNS Cache
- Outdated Network Drivers
Here, we have listed all possible methods to fix the said issue on ونڈوز 10.
Method 1: Troubleshoot Network Adapter
The said issue may occur due to your network error. You can run the network adapter troubleshooter to fix any errors with your network adapter. Read our guide to troubleshoot network connectivity on Windows 10.

طریقہ 2: براؤزر کیش کو صاف کریں۔
The cache files in your web browser may get corrupt. You can try to clear the cache and cookies of your browser and try to check if the error still persists or not. Follow these steps to clear browser cache.
1. شروع کریں کروم browser from Windows search bar as shown.

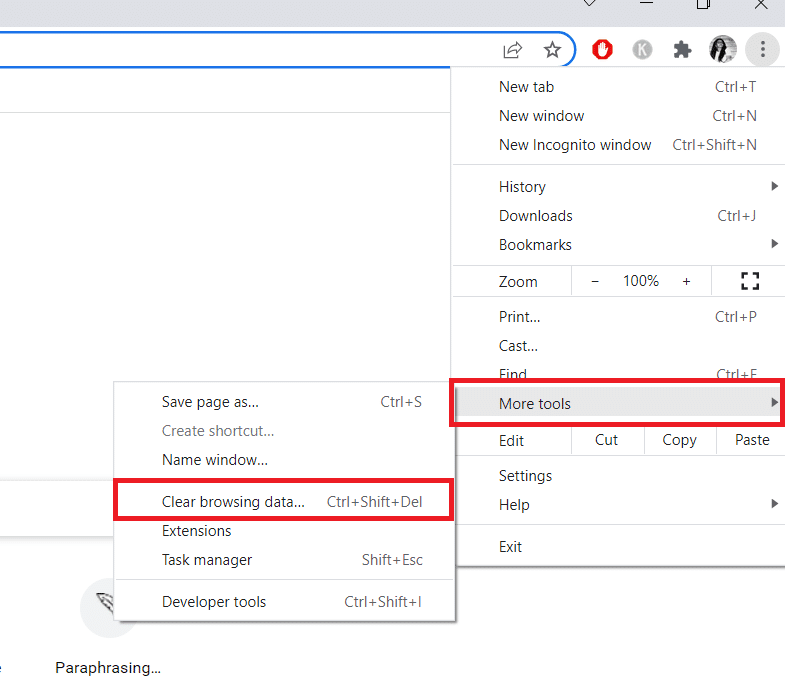
2. اب، پر کلک کریں۔ تین نقطوں والا آئیکن اوپر دائیں کونے میں۔
3. یہاں پر کلک کریں۔ مزید ٹولز آپشن.
4. اگلا، پر کلک کریں براؤزنگ صاف کریں۔ تاریخ… آپشن.
نوٹ: آپ ٹائپ کرسکتے ہیں کروم: // ترتیبات / clearBrowserData in the search bar to launch the browser history page directly.
5. یہاں، منتخب کریں۔ وقت کی حد in the next window. Check the boxes marked:
- کوکیز اور دیگر سائٹ کا ڈیٹا اور
- کیچڈ تصاویر اور فائلیں۔.
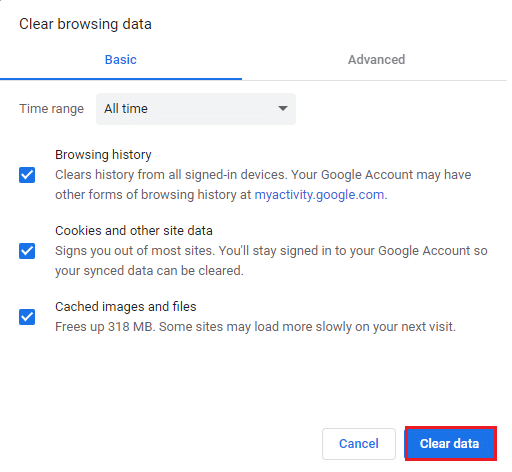
6. آخر میں، پر کلک کریں۔ واضح اعداد و شمار.
بھی پڑھیں: Fix This Plugin is Not Supported error in Chrome
Method 3: Clear DNS Cache
You can try to clear the DNS cache to fix server IP address could not be found error. Follow our guide to flush and reset the DNS cache in Windows 10.
Method 4: Release and Renew IP Address
Here are the steps to release and renew the IP address.
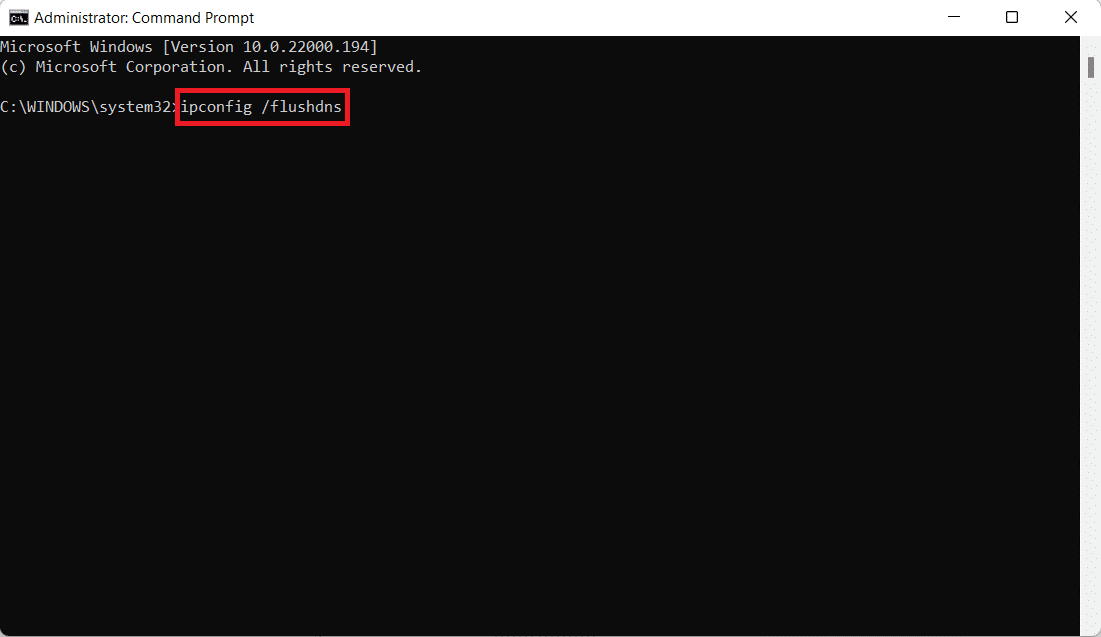
1. مارو ونڈوز کلیدی، قسم کمانڈ پرامپٹ، اور پر کلک کریں انتظامیہ کے طورپر چلانا.

2. Firstly you should flush the DNS cache as shown in طریقہ 2.
3. Once the above process is complete, type ipconfig / رہائی اور دبائیں درج کلید.

4. پھر ٹائپ کریں۔ ipconfig / تجدید اور مارا درج to renew your IP.

بھی پڑھیں: Fix No WiFi Networks Found in Windows 10
طریقہ 5: DNS ایڈریس تبدیل کریں۔
Incorrect DNS address also cause this said Chrome error. You can change your DNS address to fix the error. Follow the given steps to change DNS address.
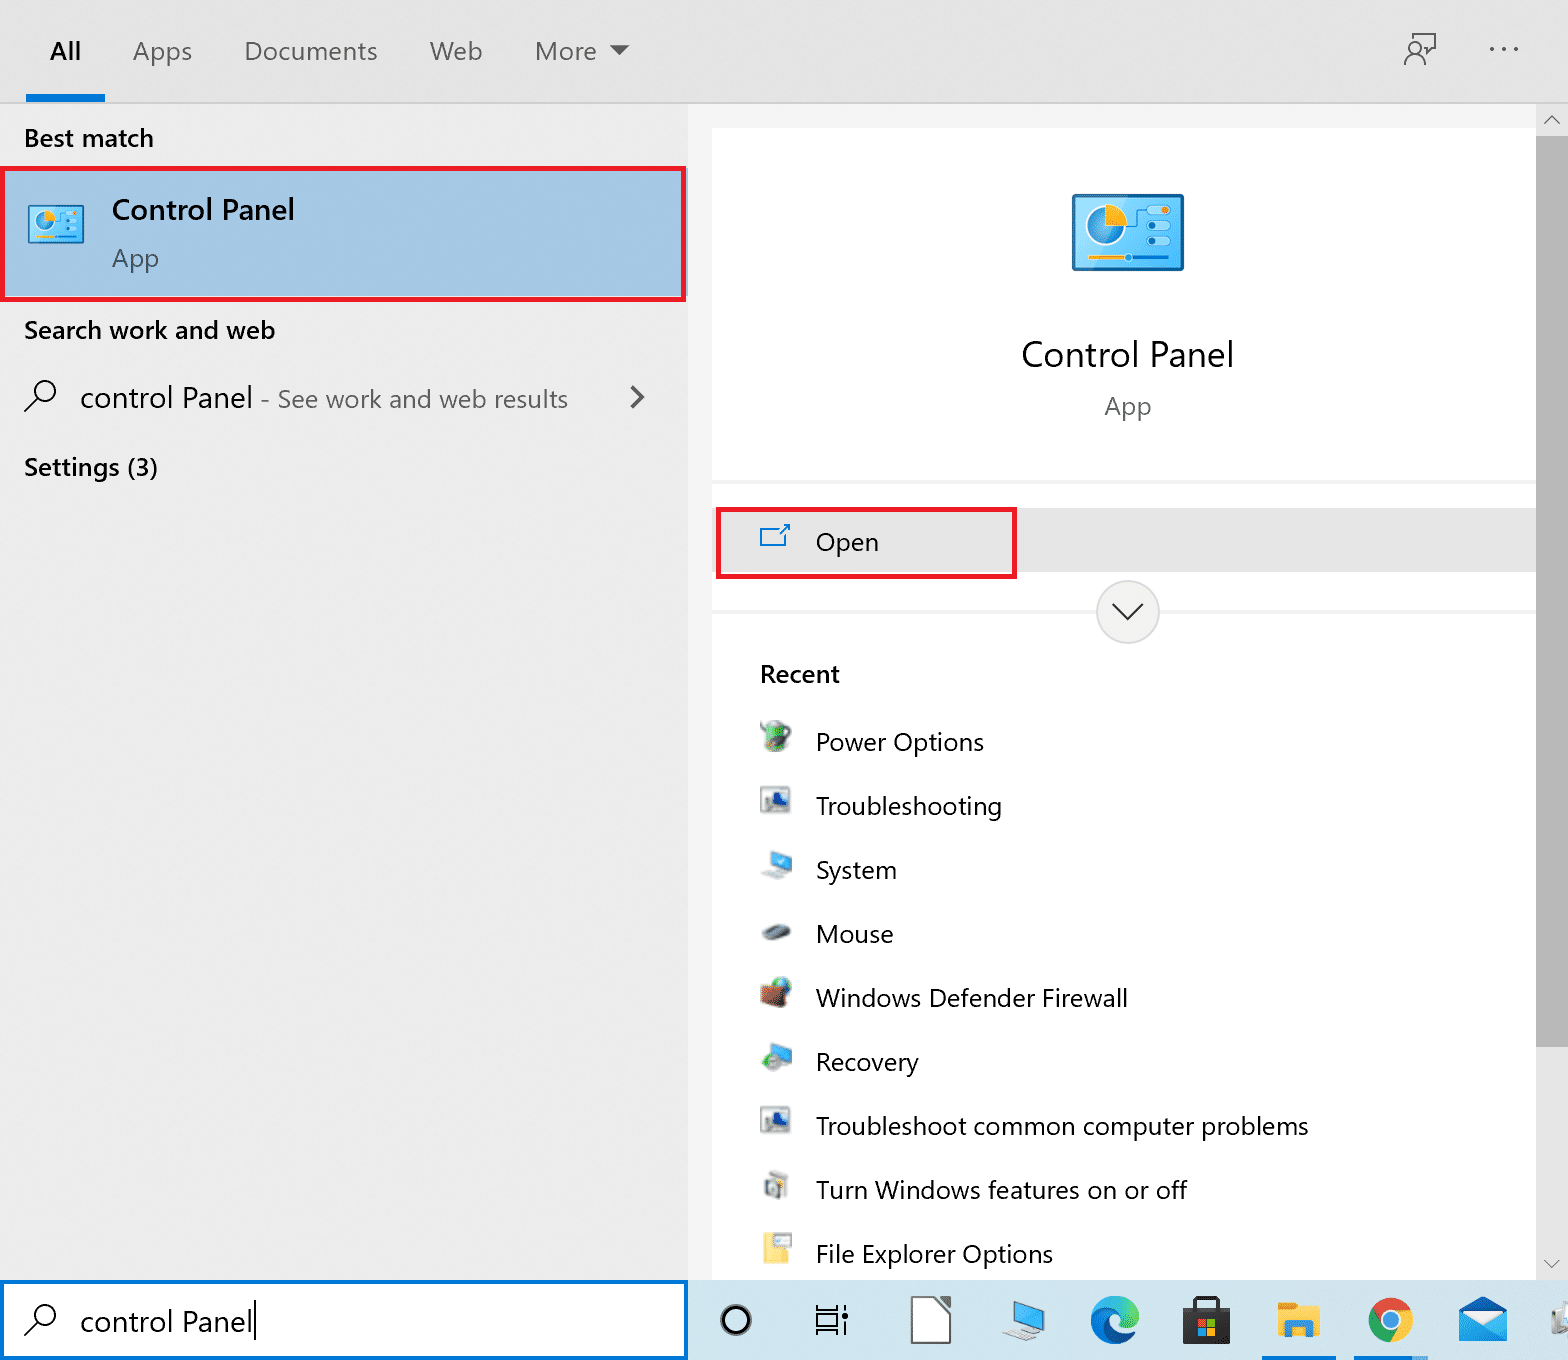
1. دبائیں ونڈوز کلیدی، قسم کنٹرول پینل اور پر کلک کریں اوپن.
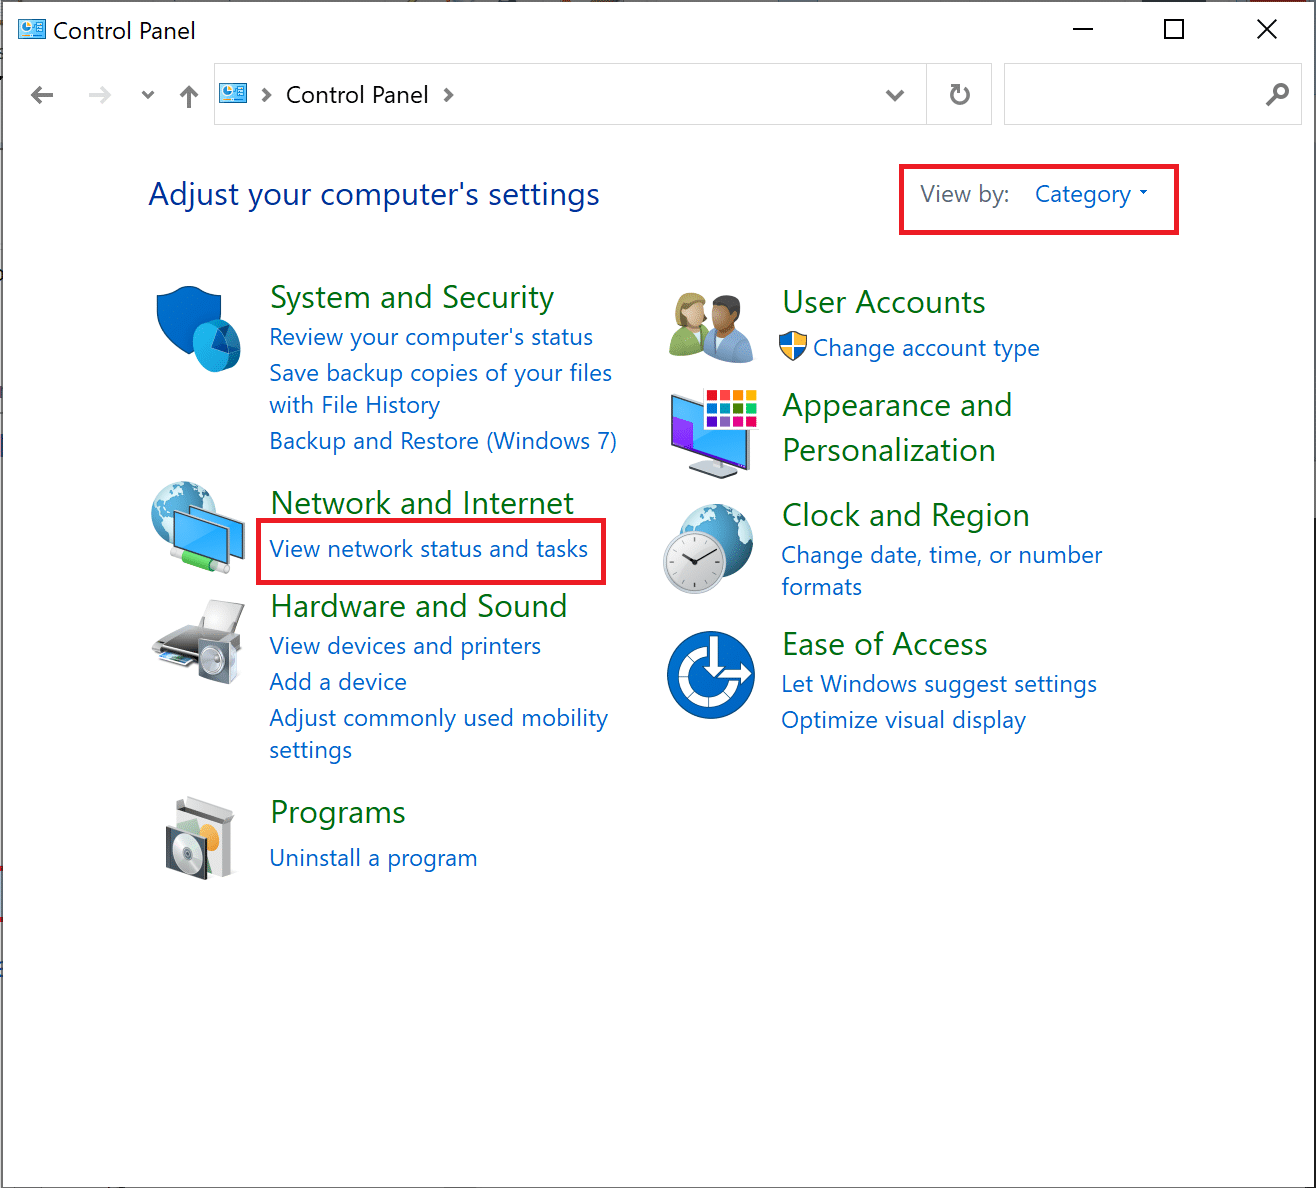
2. سیٹ کریں کی طرف سے دیکھیں > قسم اور پر کلک کریں نیٹ ورک کی حیثیت اور کام دیکھیں.
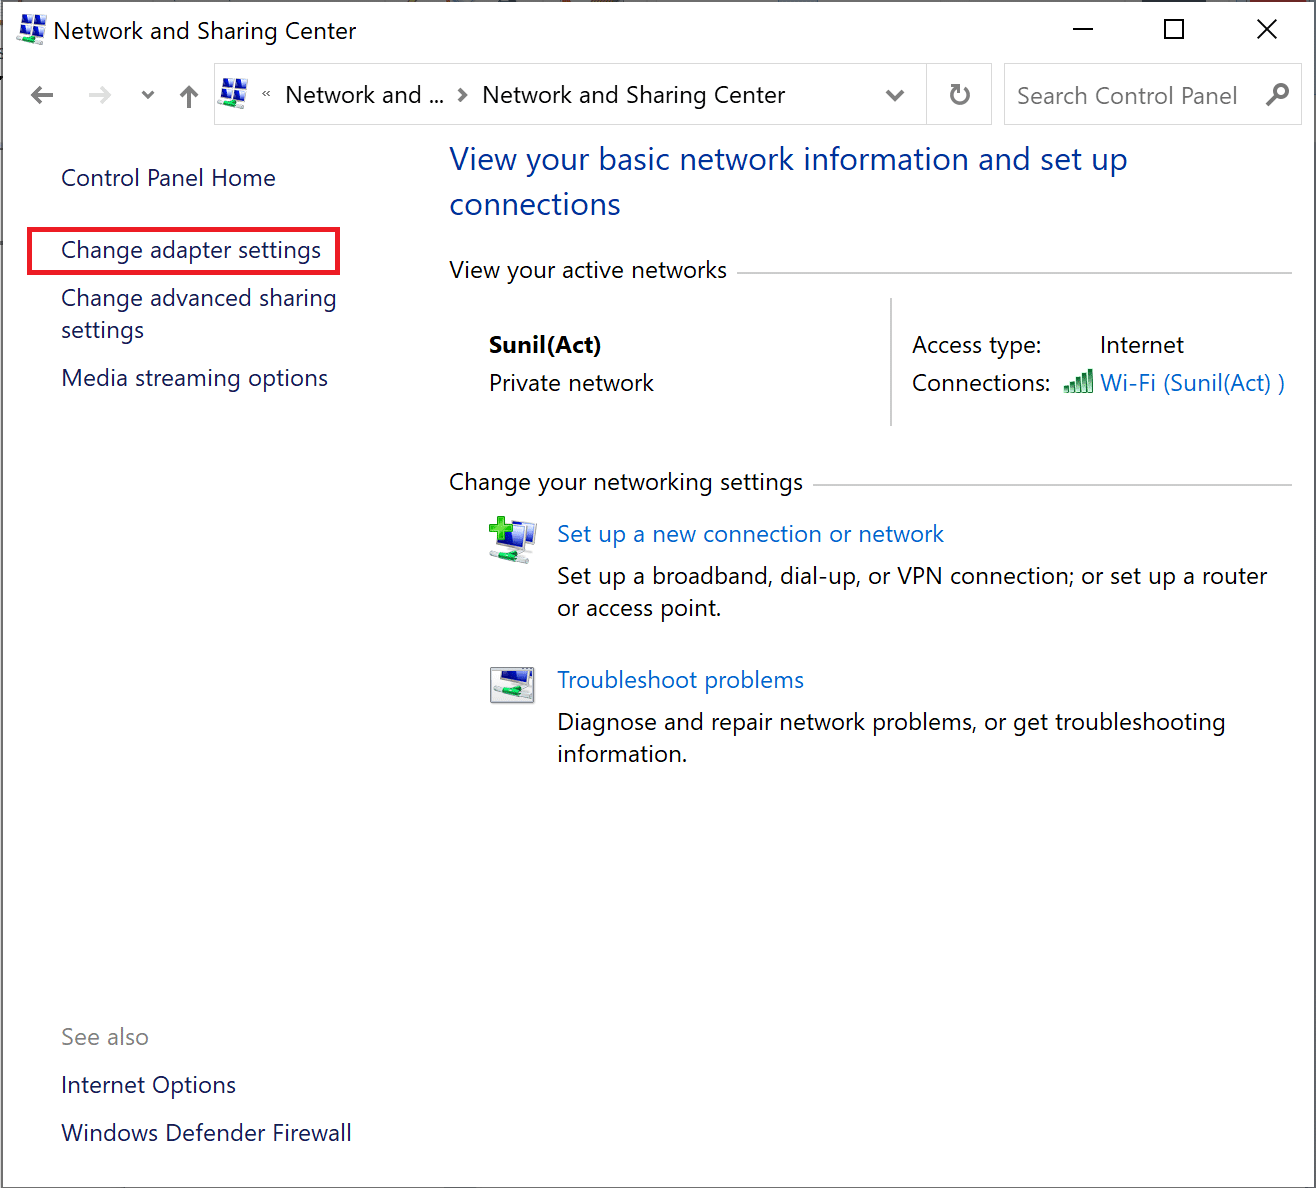
3. اب، پر کلک کریں۔ ایڈاپٹر کی سیٹنگ بدلیں option at the left sidebar.
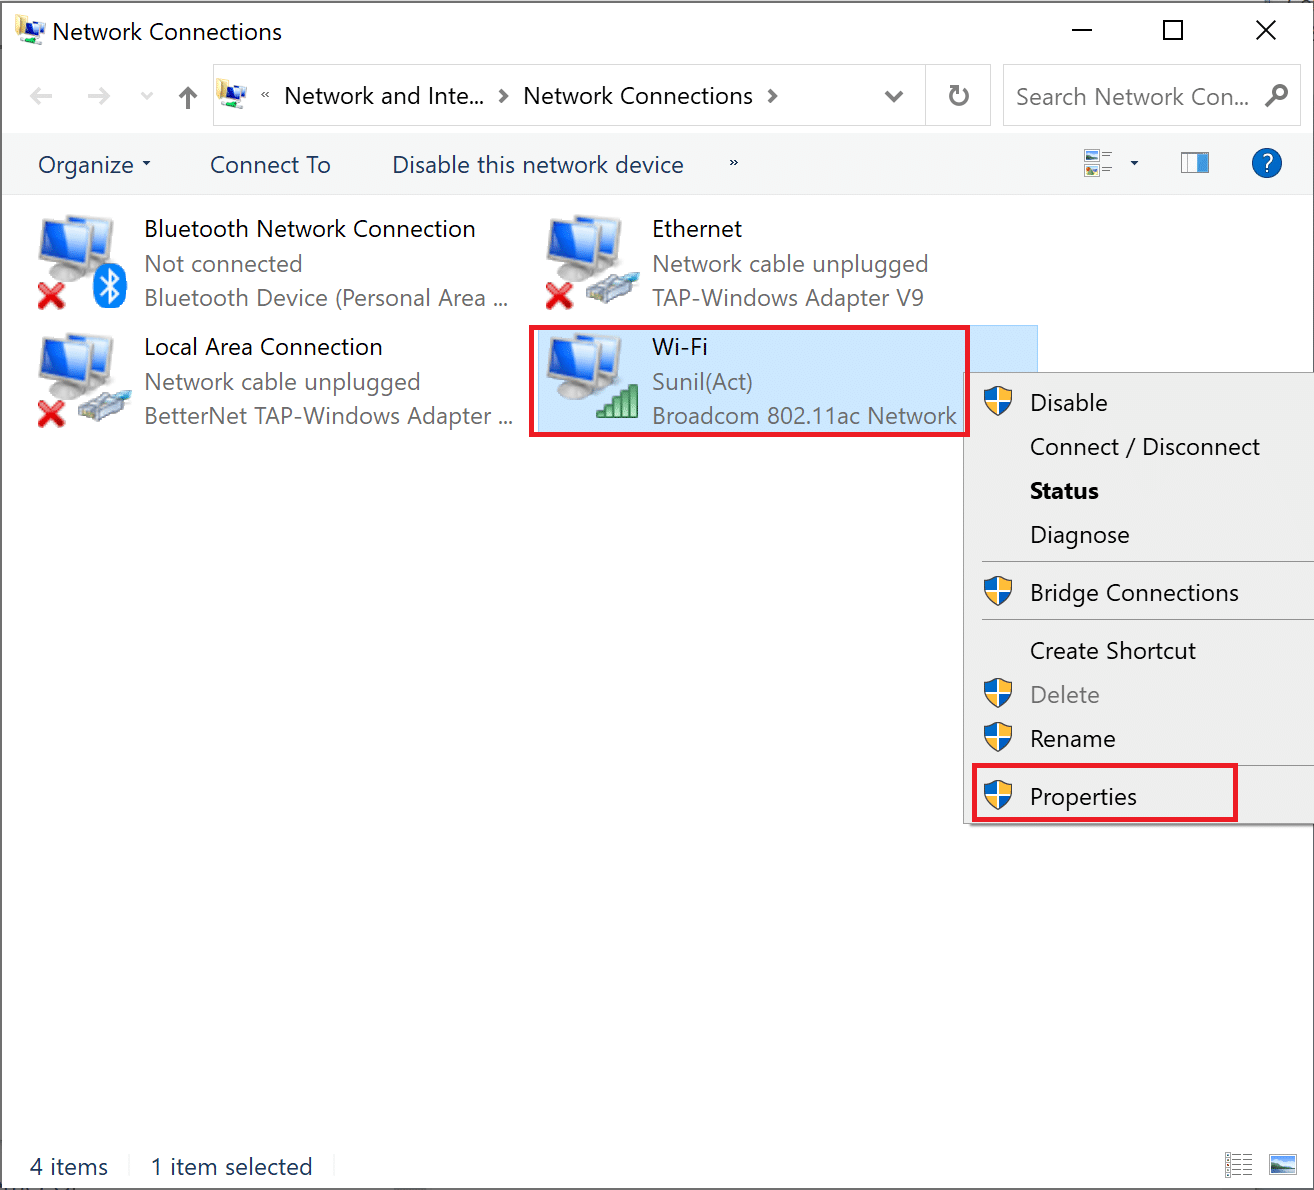
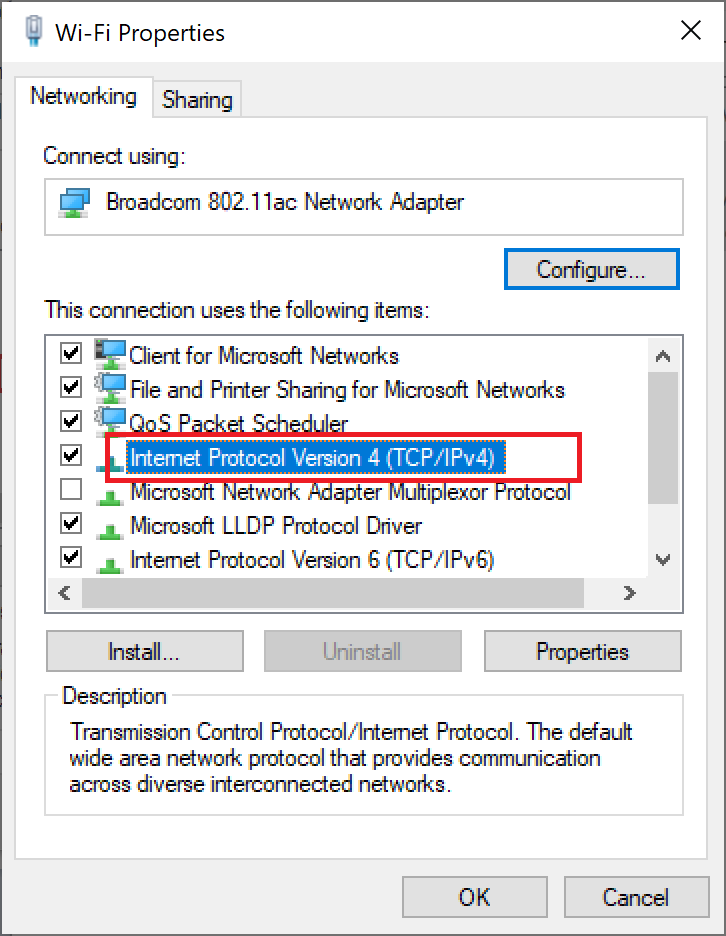
4. Next, right-click on your currently active internet connection and select پراپرٹیز، جیسا کہ روشنی ڈالی گئی ہے۔
5. In the Properties window, double-click on انٹرنیٹ پروٹوکول ورژن 4 (TCP / IPv4).
6. Next, check the options titled خود کار طریقے سے ایک IP پتہ حاصل کریں اور مندرجہ ذیل DNS سرور کے پتوں کا استعمال کریں، جیسا کہ روشنی ڈالی گئی ہے۔
6a. For the Preferred DNS server, enter the Google Public DNS address as: 8.8.8.8
6b. And, In the متبادل DNS سرور, enter the other Google Public DNS as: 8.8.4.4
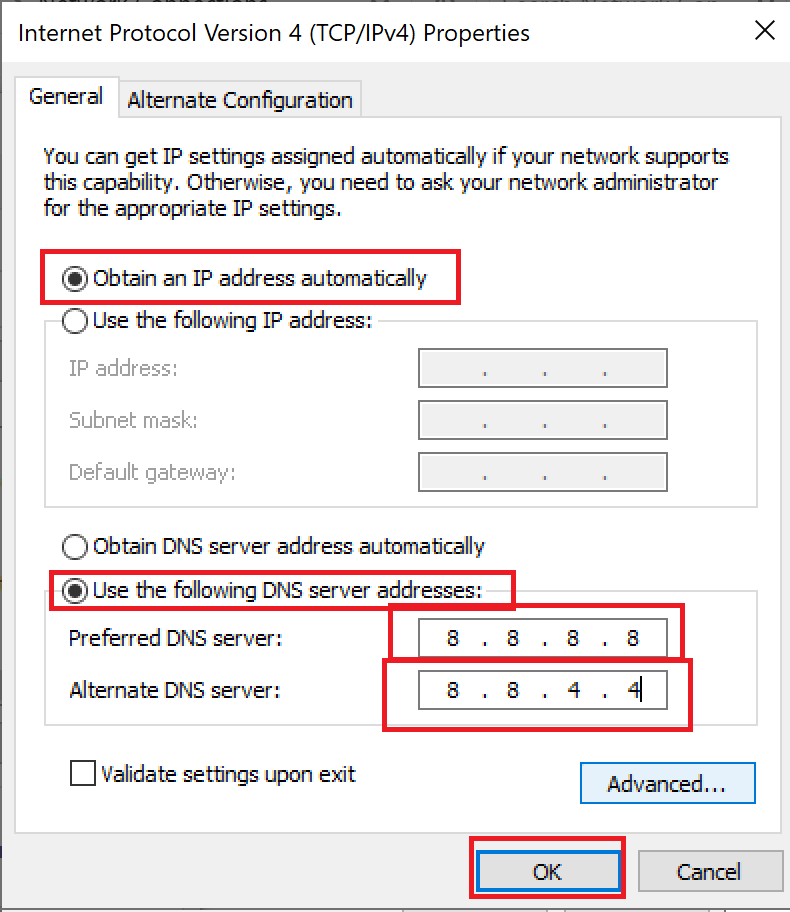
Last. آخر میں ، پر کلک کریں OK تبدیلیوں کو بچانے کے لیے اور پی سی کو دوبارہ شروع کریں.
Method 6: Restart DNS Cache
You can follow these steps to restart DNS cache.
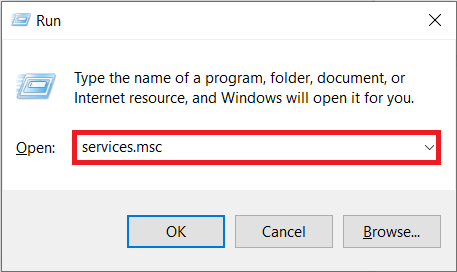
1. دبائیں ونڈوز + آر کیز ایک ساتھ کھولنے کے لئے رن ڈائلاگ باکس.
2. پھر ٹائپ کریں۔ services.msc اور دبائیں کلید درج کریں کھولنے کی سروسز کھڑکی.
3. Right-click on ڈی این ایس کلائنٹ اور منتخب کریں دوبارہ شروع کریں.
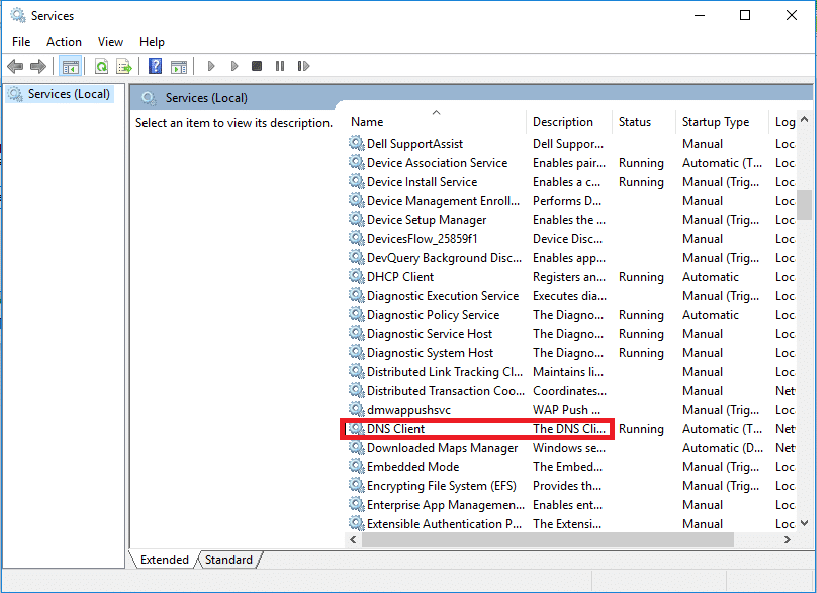
نوٹ: If you find no restart option and unable to restart it from this method, you do not need to worry. You just need to open an elevated Command Prompt on your system.
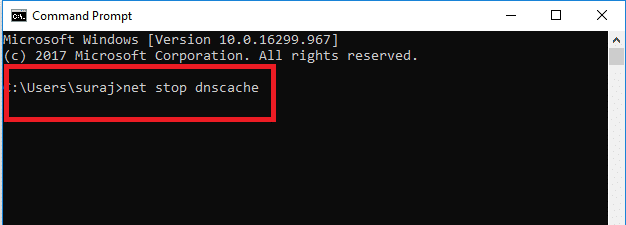
4. درج ذیل کو ٹائپ کریں۔ کمانڈ اور دبائیں کلید درج کریں.
نیٹ اسٹاپ dnscache
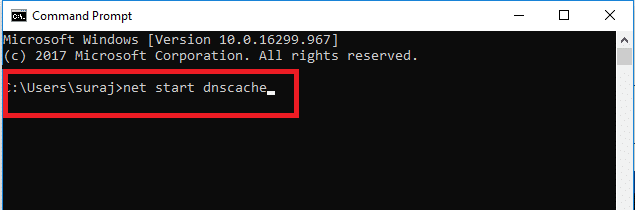
5. To start it again, type the given کمانڈ اور مارا کلید درج کریں.
نیٹ شروع dnscache
بھی پڑھیں: ونڈوز 10 پر نیٹ ورک کی ترتیبات کو کیسے ری سیٹ کریں۔
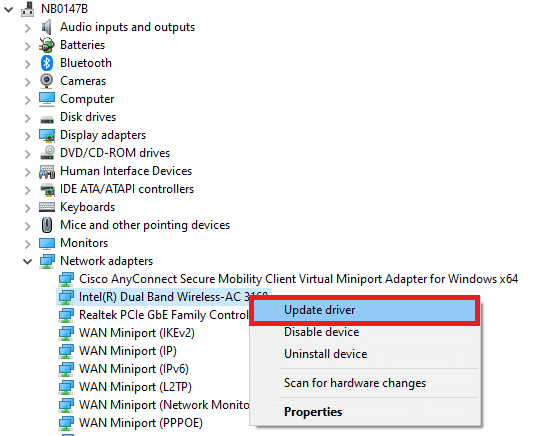
طریقہ 7: نیٹ ورک ڈرائیور کو اپ ڈیٹ کریں۔
Outdated network drive also can cause server IP address could not be found error. If you do not have the latest driver versions installed, then this may create bugs and can result in the unstable network connection. So, updating your network driver is necessary for a good network connection. Read our guide to update network drivers on Windows 10.
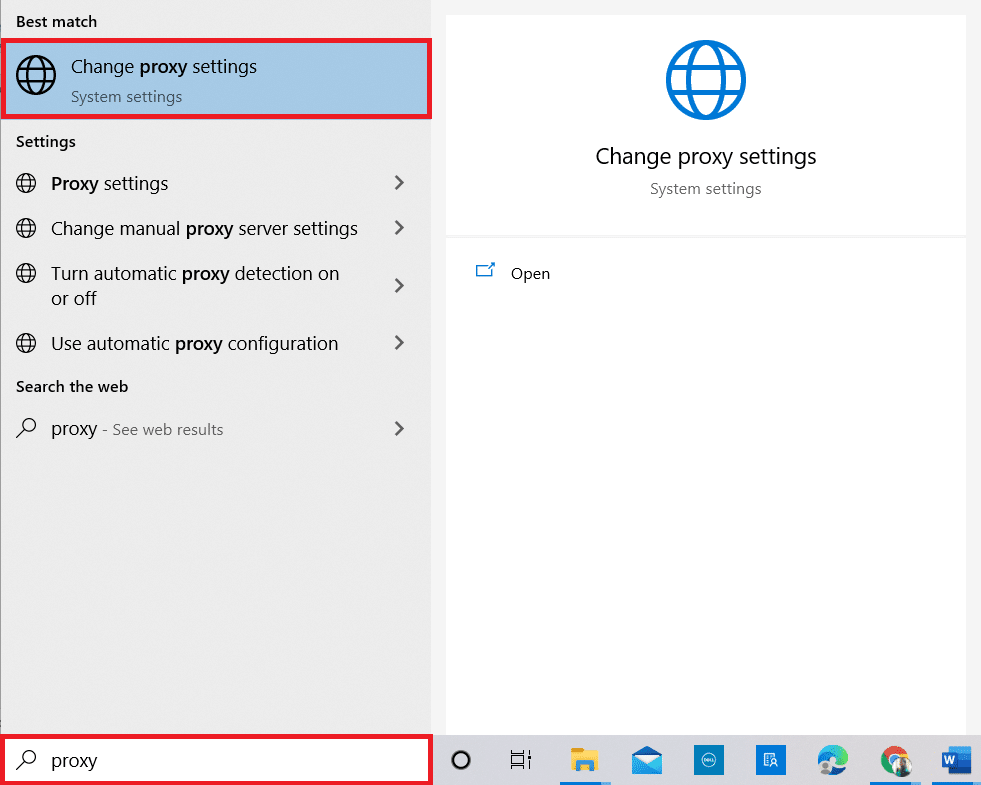
Method 8: Verify Proxy Settings
If you are using a proxy server, then using a particular proxy can create issues with your internet. You can change your proxy server to solve this problem. Follow the steps listed below to verify proxy settings.
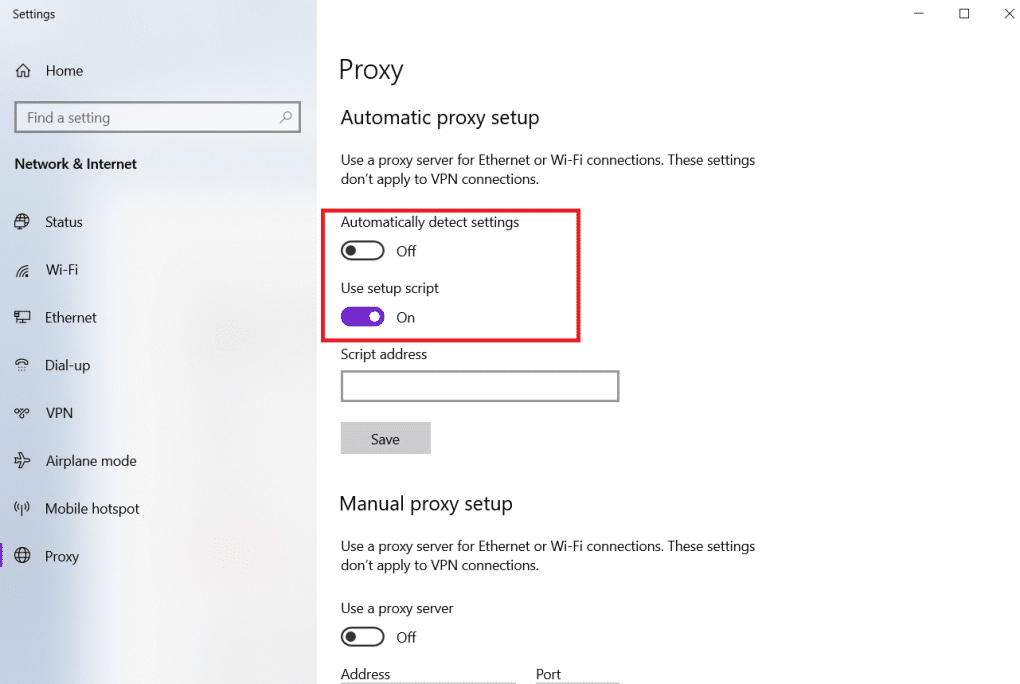
1. مارو ونڈوز کی چابی اور ٹائپ کریں پراکسی اور پر کلک کریں پراکسی ترتیبات کو تبدیل کریں تلاش کے نتائج سے.
2. Here, switch on the toggle for خود بخود ترتیبات کا پتہ لگائیں.
سفارش کی جاتی ہے:
We hope that you learned how to fix server IP address could not be found on Windows 10. Feel free to reach out to us with your queries and suggestions via the comments section below. Let us know what you want to learn about next.

