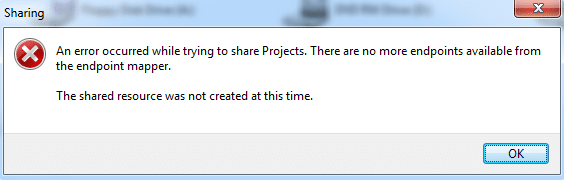
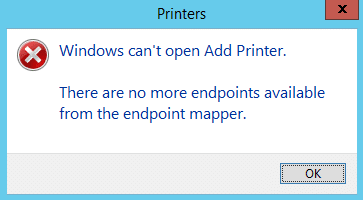
Fix There are no more endpoints available from the endpoint mapper: If you’re facing this error then this means either you are trying to install a printer or you’re sharing your drive within your network. Generally ‘No More Endpoints Available’ error occur when you try to join a domain but the Windows services are corrupted and therefore, conflicting with other services which won’t let you join that particular domain and ultimately causing the error. Anyway, this error is very annoying and that’s why troubleshooter is here to fix this error via the following troubleshooting steps.
When attempting to join a client to an Active Directory domain, you may receive the following error:
The following error occurred attempting to join the domain <domain>:
There are no more endpoints available from the endpoint mapper.
Error 1753: There are no more endpoints available from the endpoint mapper.
Oxirgi nuqta xaritalagichidan boshqa so‘nggi nuqtalar mavjud emas [SOLVED]
Agar biror narsa noto'g'ri bo'lsa, tiklash nuqtasini yaratganingizga ishonch hosil qiling.
Method 1: Delete the Internet key to remove RPC restriction
1.Windows + R tugmalarini bosing va keyin yozing regedit va Ro'yxatga olish kitobi muharririni ochish uchun Enter tugmasini bosing.

2. Quyidagi ro'yxatga olish kitobi kalitiga o'ting:
ComputerHKEY_LOCAL_MACHINESoftwareMicrosoftRpcInternet
3. Sichqonchaning o'ng tugmasi bilan bosing Internet key va tanlash O'chir.
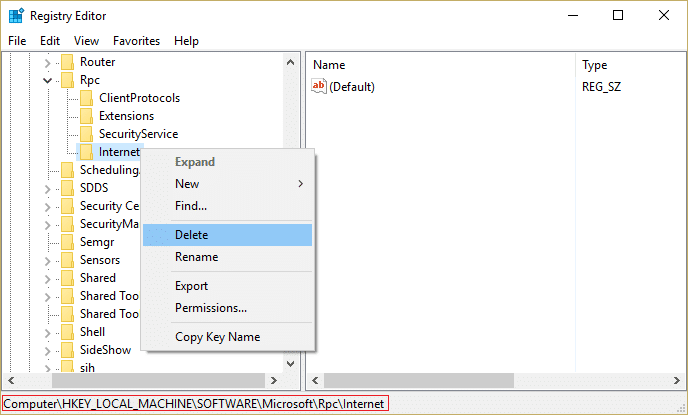
4.O'zgarishlarni saqlash uchun kompyuteringizni qayta ishga tushiring.
Method 2: Verify that Remote Procedure Call (RPC) Services are Started
1.Windows + R tugmalarini bosing va keyin yozing services.msc va Enter tugmasini bosing.

2.Locate the following services:
Masofaviy protsedura chaqiruvi
Remote Procedure Call Locator
ByProcessManager
If you are trouble adding a printer then make sure following services are also running:
Bosib chiqarish vositasi
DCOM serverini ishga tushirish vositasi
RPC Endpoint Mapper
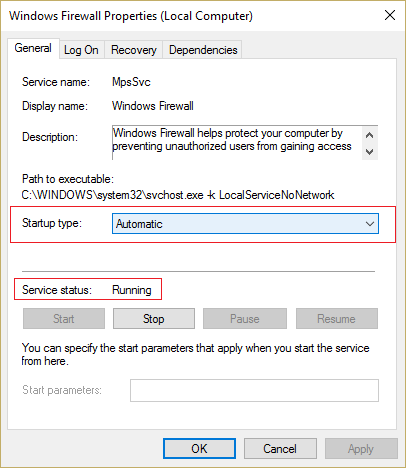
3.Right-click and select xususiyatlari for above services.
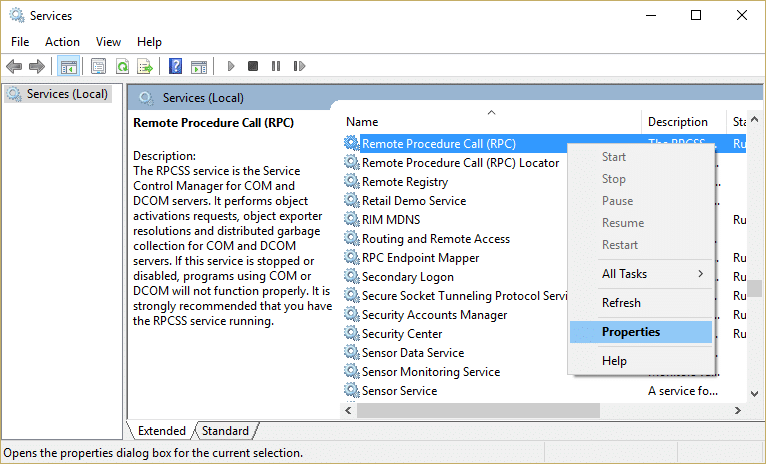
4.Next, make sure the Startup type is Automatic va services are running.
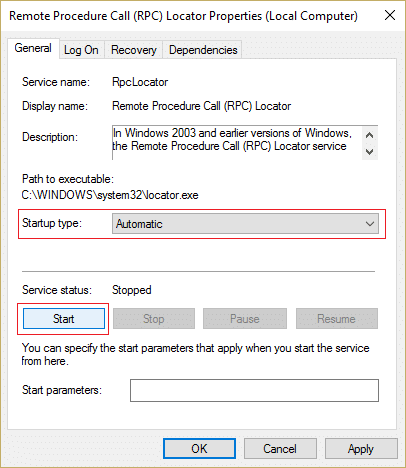
5.If the above services are stopped make sure to yugurish them from properties window.
6.Reboot your PC to save changes and the error “There are no more endpoints available from the endpoint mapper” may be resolved.
Method 3: Temporary Disable antivirus va Faervol
Sometimes the Antivirus program can cause “There are no more endpoints available from the endpoint mapper” and in order to verify this is not the case here, you need to disable your antivirus for a limited time so that you can check if the error still appears when the antivirus is off.
1. Sichqonchaning o'ng tugmasi bilan bosing Antivirus dasturi belgisi tizim tepsisidan tanlang va tanlang O'chirish.

2.Keyin, qaysi vaqt oralig'ini tanlang Antivirus o'chirilgan bo'lib qoladi.

Eslatma: mumkin bo'lgan eng kichik vaqtni tanlang, masalan, 15 daqiqa yoki 30 daqiqa.
3.Once done, again try to connect to the WiFi network and check if the error resolves or not.
4.Windows + I tugmalarini bosing, keyin tanlang Boshqaruv uskunasi.

5.Keyingi, ustiga bosing Tizim va xavfsizlik.
6. Keyin ustiga bosing Windows xavfsizlik devori.

7.Endi chap oyna panelidan Windows xavfsizlik devorini yoqish yoki o'chirish-ni bosing.

8.Windows xavfsizlik devorini o'chirish-ni tanlang va kompyuteringizni qayta yoqing. Again try to connect to the WiFi network and see if the issue is resolved or not.
Yuqoridagi usul ishlamasa, xavfsizlik devorini qayta yoqish uchun xuddi shu amallarni bajarganingizga ishonch hosil qiling.
Method 4: Run Print Troubleshooter
1.Windows Qidiruv satriga “nosozliklarni bartaraf etish” ni kiriting va ustiga bosing Muammolarni bartaraf qilish; nosozliklarni TUZATISH.

2.Keyingi, chap oyna panelidan tanlang Hammasini ko'rish.
3. Keyin kompyuter muammolarini bartaraf etish ro'yxatidan tanlang Printer.

4. Ekrandagi ko'rsatmalarga rioya qiling va Printer nosozliklarini bartaraf etish dasturini ishga tushiring.
5.Restart your PC and the error “There are no more endpoints available from the endpoint mapper” may be resolved.
Method 5: Change advanced sharing settings
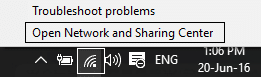
1.Right-click on Wireless icon on system tray and click on Tarmoq va almashish markazini oching.
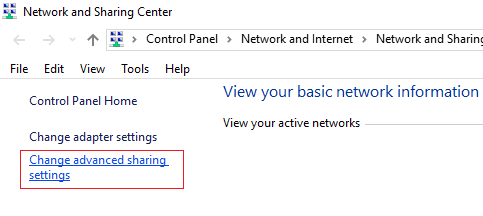
2.ni bosing Murakkab almashinuv sozlamalarini o'zgartiring in the left-hand window.
3.Enable the Network discovery, File and printer sharing and Public folder.
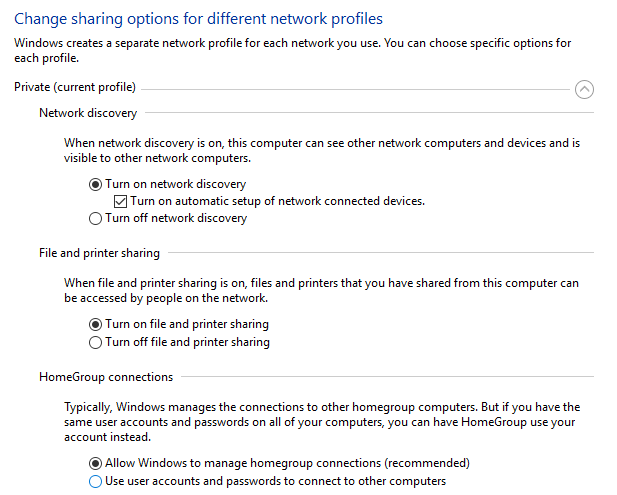
4.Click Save changes and close everything. Reboot your PC to save changes.
Method 6: Registry fix for Sharing error
1. Yuklab oling MpsSvc.reg va BFE.reg files. Double-click on them to run and to add these files to the registry.
2.O'zgarishlarni saqlash uchun kompyuteringizni qayta ishga tushiring.
3.Windows + R tugmalarini bosing va keyin yozing regedit va Ro'yxatga olish kitobi muharririni ochish uchun Enter tugmasini bosing.
4.Keyin, quyidagi ro'yxatga olish kitobi kalitiga o'ting:
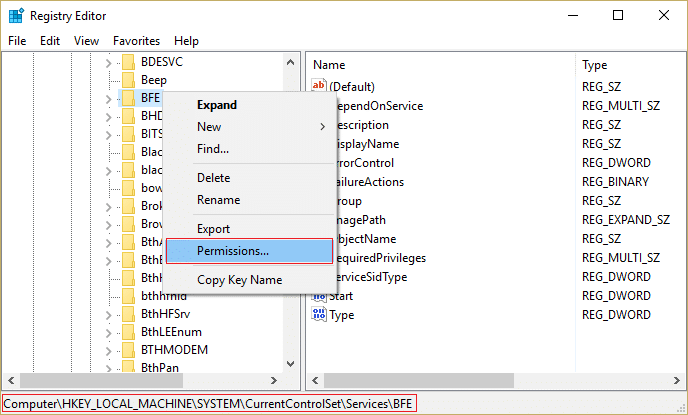
ComputerHKEY_LOCAL_MACHINESYSTEMCurrentControlSetServicesBFE
5.Right-click the BFE key and select Permissions.
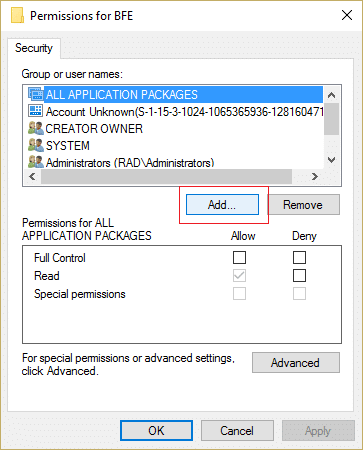
6.In the next window that opens, click the Qo'shish tugmasi.
7.Type “Har kim” (without quotes) under the field Enter the object names to select and then click on Ismlarni tekshiring.
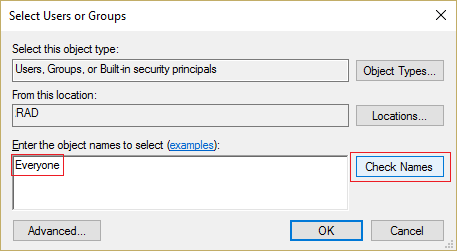
8.Now once the name is verified click OK.
9.Everyone should be now added to the Group or user names section.
10.Tanlaganingizga ishonch hosil qiling Har kim from the list and check mark to'liq nazorat option in Allow column.
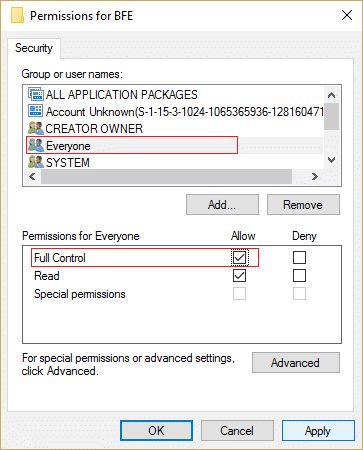
11.Ilova ni, keyin esa OK ni bosing.
12.Windows + R tugmalarini bosing va keyin yozing services.msc va Enter tugmasini bosing.
13.Find the below services and right-click on them then select xususiyatlari:
Filtering Engine
Windows Xavfsizlik devori
14.Enable them both in the Properties window (click on Start) and make sure their Boshlanish turi belgilanadi Avtomatik.
15.That’s it you may have Fix There are no more endpoints available from the endpoint mapper but if not then run SFC and CHKDSK in the next step.
7-usul: Tizim fayllarini tekshirgichni (SFC) ishga tushiring va Diskni tekshiring (CHKDSK)
1.Windows Key + X tugmalarini bosing va keyin bosing Buyruqning satri (Administrator).

2. Endi cmd-ga quyidagilarni kiriting va Enter tugmasini bosing:
Sfc /scannow sfc /scannow /offbootdir=c: /offwindir=c:windows

3.Yuqoridagi jarayon tugashini kuting va tugallangach, kompyuteringizni qayta ishga tushiring.
4.Keyin, bu yerdan CHKDSK ni ishga tushiring Diskni tekshirish yordam dasturi (CHKDSK) yordamida fayl tizimi xatolarini tuzating.
5.Yuqoridagi jarayonni tugallang va o'zgarishlarni saqlash uchun kompyuteringizni qayta ishga tushiring.
8-usul: DISM-ni ishga tushiring (tasvirlarni joylashtirish va boshqarish)
1.Windows Key + X tugmalarini bosing va keyin tanlang Buyruqning satri (Administrator).

2. Cmd-ga quyidagi buyruqni kiriting va Enter tugmasini bosing:
muhim: DISM-ni ishlatganda, sizda Windows o'rnatish muhiti tayyor bo'lishi kerak.
DISM.exe /Onlayn /Cleanup-Image /RestoreHealth /Manba:C:RepairSourceWindows /LimitAccess
Eslatma: C:RepairSourceWindows-ni ta'mirlash manbangiz joylashgan joy bilan almashtiring

2.Yuqoridagi buyruqni bajarish uchun Enter tugmasini bosing va jarayon tugashini kuting, odatda, 15-20 daqiqa davom etadi.
ESLATMA: Yuqoridagi buyruq ishlamasa, quyidagini sinab ko'ring: Dism /Image:C:offline /Cleanup-Image /RestoreHealth /Source:c:testmountwindows Dism /Online /Cleanup-Image /RestoreHealth /Source:c:testmountwindows /LimitAccess
3. DISM jarayoni tugallangandan so'ng, cmd-ga quyidagilarni kiriting va Enter tugmasini bosing: sfc / skanek
4.Let System File Checker run and once it’s complete, restart your PC. Check if the Windows 10 Slow Shutdown problem is resolved or not.
Siz uchun tavsiya etiladi:
Siz muvaffaqiyatga erishdingiz Fix There are no more endpoints available from the endpoint mapper lekin agar sizda hali ham ushbu post bo'yicha savollaringiz bo'lsa, ularni sharhlar bo'limida so'rang.

