4 Ways to Run Disk Error Checking in Windows 10: Once in a while running Disk Error checking ensures that your drive doesn’t have performance issues or drive errors which are caused by bad sectors, improper shutdowns, corrupt or damaged hard disk etc. Disk error checking is nothing but Check Disk (Chkdsk) which checks for any errors in the hard drive. Now there are different ways for running Disk Check in Windows 10 and today in this tutorial we are going to see what are the 4 Ways to Run Disk Error Checking in Windows 10.
4 cách chạy kiểm tra lỗi ổ đĩa trong Windows 10
Đảm bảo tạo điểm khôi phục đề phòng trường hợp xảy ra sự cố.
Method 1: Run Disk Error Checking in Windows 10 using Drive Tools
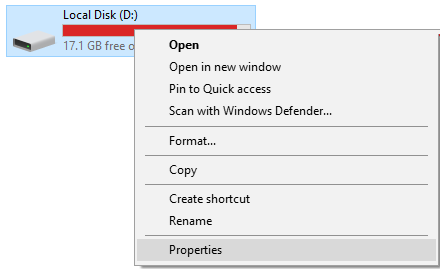
1.Press Windows Key + E to open File Explorer then navigate to “Máy tính này".
2.Right-click on the drive which you want to run the error checking và chọn Tính chất.
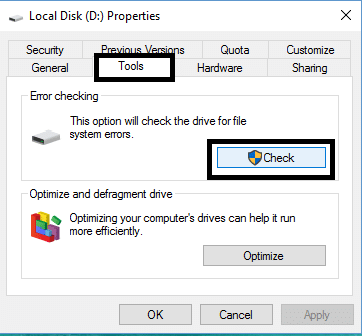
3.Chuyển sang Tab công cụ sau đó nhấp vào “kiểm tra” button under Error checking.
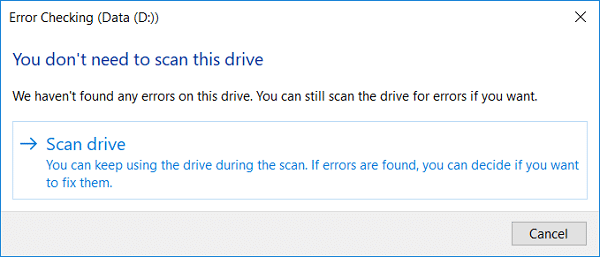
4.Now you can Scan drive or Repair drive (if errors are found).
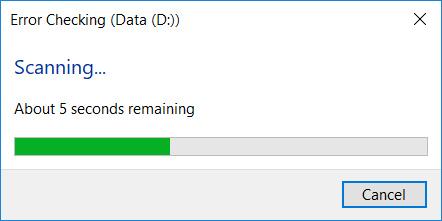
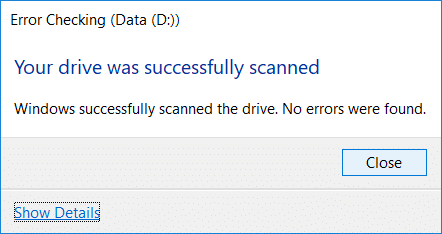
5.After you click Quét ổ đĩa, it will take some time to scan the drive for errors.

Lưu ý: While the Disk Error Checking is running, it best to leave the PC idle.
5.Once the scan is finished you can click on “Hiển thị chi tiết” link to see the Chkdsk scan results in Event Viewer.
6.Click Close once you’re finished and close Event Viewer.
Method 2: Run Disk Error Checking in Windows 10 using Command Prompt
1. Nhấn phím Windows + X rồi chọn Dấu nhắc lệnh (Quản trị viên).

2.Nhập lệnh sau vào cmd và nhấn Enter:
chkdsk C: / f / r / x

Lưu ý: Replace C: with the drive letter on which you want to run Check Disk. Also, in the above command C: is the drive on which we want to run check disk, /f stands for a flag which chkdsk the permission to fix any errors associated with the drive, /r let chkdsk search for bad sectors and perform recovery and /x instructs the check disk to dismount the drive before beginning the process.
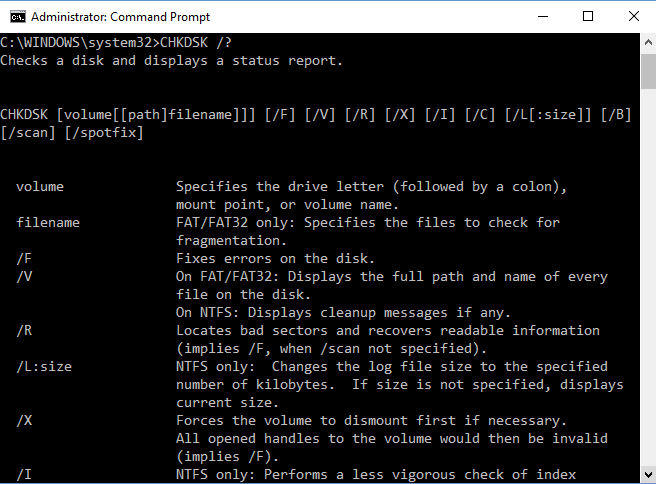
3. You can also substitute the Switches which are /f or /r etc. To know more about switches type the following command into cmd and hit Enter:
CHKDSK /?
4.Wait for the command to finish checking the disk for errors then restart your PC.
Method 3: Run Disk Error Checking in Windows 10 using Security and Maintenance
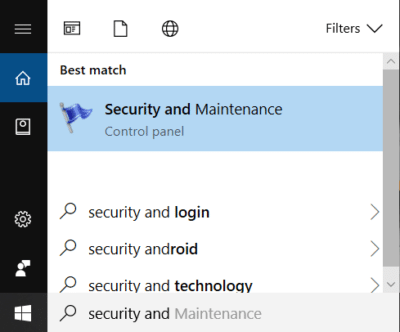
1.Type an ninh trong Windows Search sau đó nhấp vào Bảo mật và Bảo trì from the Search result.
2.Expand Maintenance then under Drive status see the current health of your drives.
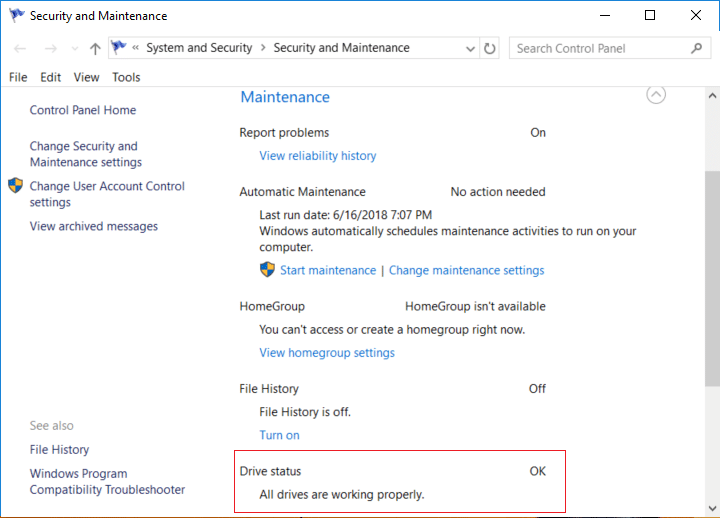
3.If any issues are found with your hard disk drives then you will see an option to scan the drive.
4.Just click on Scan to run disk error checking and let it run until the scan is complete.
5. Khởi động lại PC của bạn để lưu các thay đổi.
Method 4: Run Disk Error Checking in Windows 10 using PowerShell
1.Type PowerShell trong Windows Search sau đó nhấp chuột phải vào PowerShell từ kết quả tìm kiếm và chọn Run as Administrator.
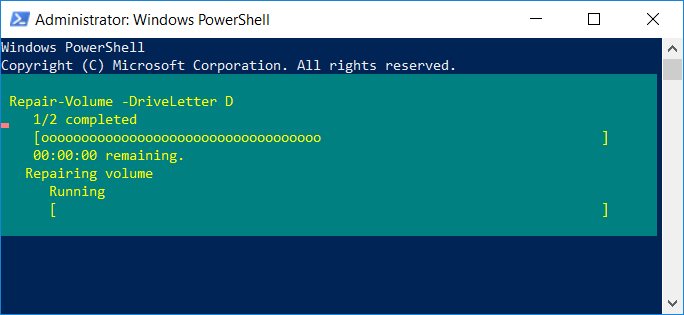
2.Now type one of the following command into PowerShell and hit Enter:
To scan and repair the drive (equivalent to chkdsk): Repair-Volume -DriveLetter drive_letter
To scan the volume offline and fix any errors found (equivalent to chkdsk /f): Repair-Volume -DriveLetter drive_letter -OfflineScanAndFix
To scan the volume without attempting to repair it (equivalent to chkdsk /scan): Repair-Volume -DriveLetter drive_letter -Scan
To take the volume briefly offline and then fixes only issues that are logged in the $corrupt file (equivalent to chkdsk /spotfix): Repair-Volume -DriveLetter drive_letter -SpotFix
Lưu ý: Substitute “ký tự ổ đĩa” in the above command with the actual drive letter you want.
3.Close PowerShell restart your PC to save changes.
Đề nghị:
Thế là bạn đã học thành công How to Run Disk Error Checking in Windows 10 nhưng nếu bạn vẫn có bất kỳ thắc mắc nào liên quan đến bài đăng này thì vui lòng hỏi họ trong phần bình luận.

