While surfing internet in your browser, you may face Server IP address could not be found error. This is a common issue for the Google Chrome users. We bring to you a helpful guide that will fix server IP address could not be found error on Windows 10. So, continue reading!
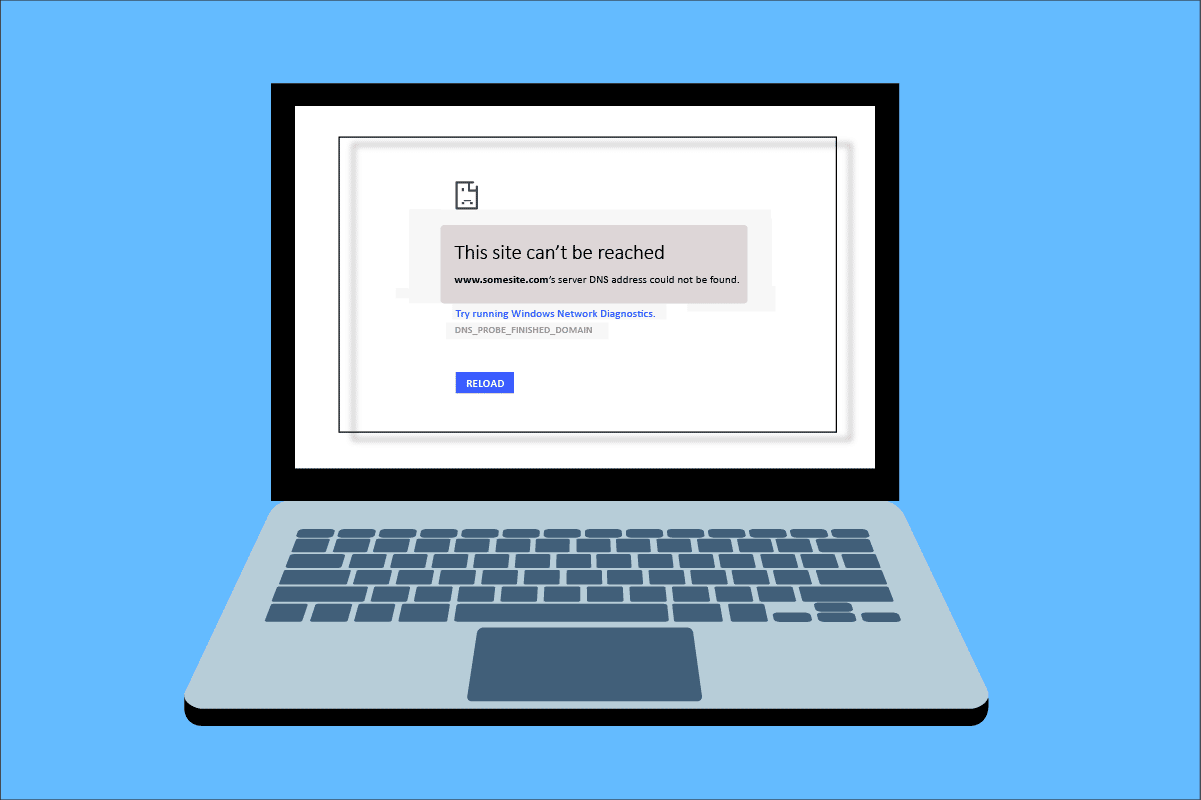
How to Fix Server IP Address Could Not be Found on Windows 10
One of the most popular web browser is Google Chrome. However if you are facing the error while browsing in the Chrome browser, then do not worry! This issue may be caused due to various reasons like;
- Kết nối Internet không ổn định
- Corrupt Browser Cache and Cookies
- Địa chỉ IP không chính xác
- Corrupt DNS Cache
- Trình điều khiển mạng đã lỗi thời
Here, we have listed all possible methods to fix the said issue on cửa sổ 10.
Method 1: Troubleshoot Network Adapter
The said issue may occur due to your network error. You can run the network adapter troubleshooter to fix any errors with your network adapter. Read our guide to troubleshoot network connectivity on Windows 10.

Phương pháp 2: Xóa bộ nhớ cache của trình duyệt
The cache files in your web browser may get corrupt. You can try to clear the cache and cookies of your browser and try to check if the error still persists or not. Follow these steps to clear browser cache.
1. Khởi chạy cơ rôm browser from Windows search bar as shown.

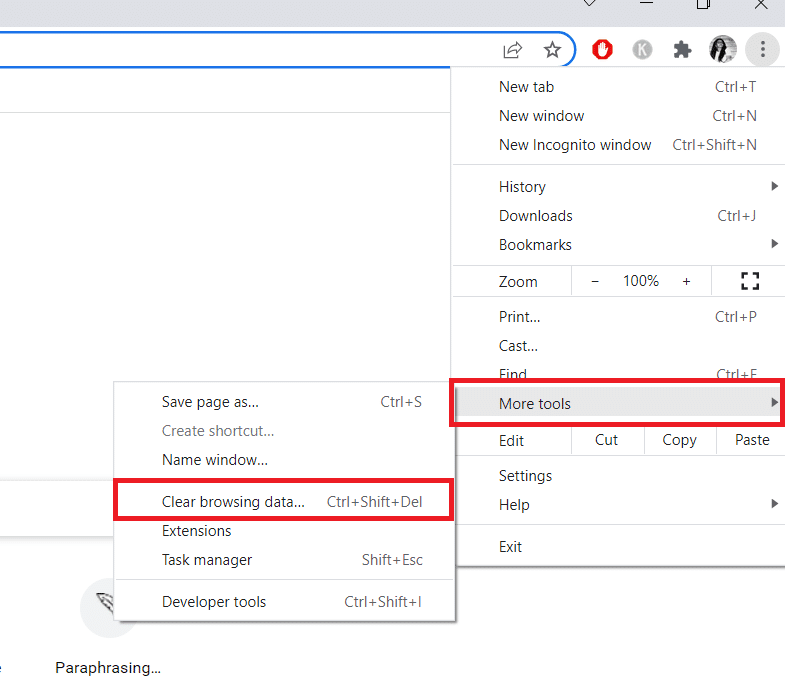
2. Bây giờ, hãy nhấp vào biểu tượng ba chấm ở góc trên cùng bên phải.
3. Tại đây, nhấp vào Thêm công cụ tùy chọn.
4. Tiếp theo, nhấp vào Xóa duyệt dữ liệu… tùy chọn.
Lưu ý: Bạn có thể gõ chrome: // settings / clearBrowserData in the search bar to launch the browser history page directly.
5. Tại đây, chọn Phạm vi thời gian in the next window. Check the boxes marked:
- Cookie và dữ liệu trang web khác và
- Hình ảnh và tập tin lưu trữ.
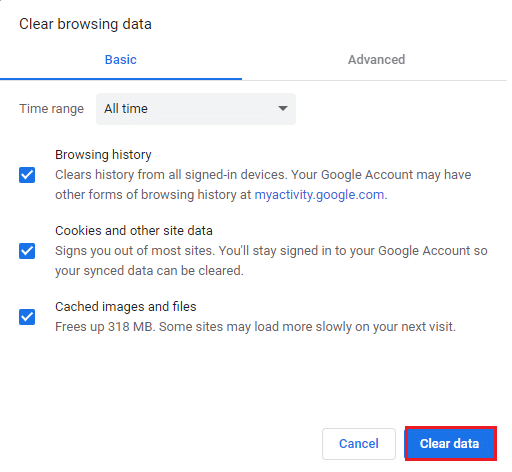
6. Cuối cùng, nhấp vào Rõ ràng ngày.
Cũng đọc: Fix This Plugin is Not Supported error in Chrome
Method 3: Clear DNS Cache
You can try to clear the DNS cache to fix server IP address could not be found error. Follow our guide to flush and reset the DNS cache in Windows 10.
Method 4: Release and Renew IP Address
Here are the steps to release and renew the IP address.
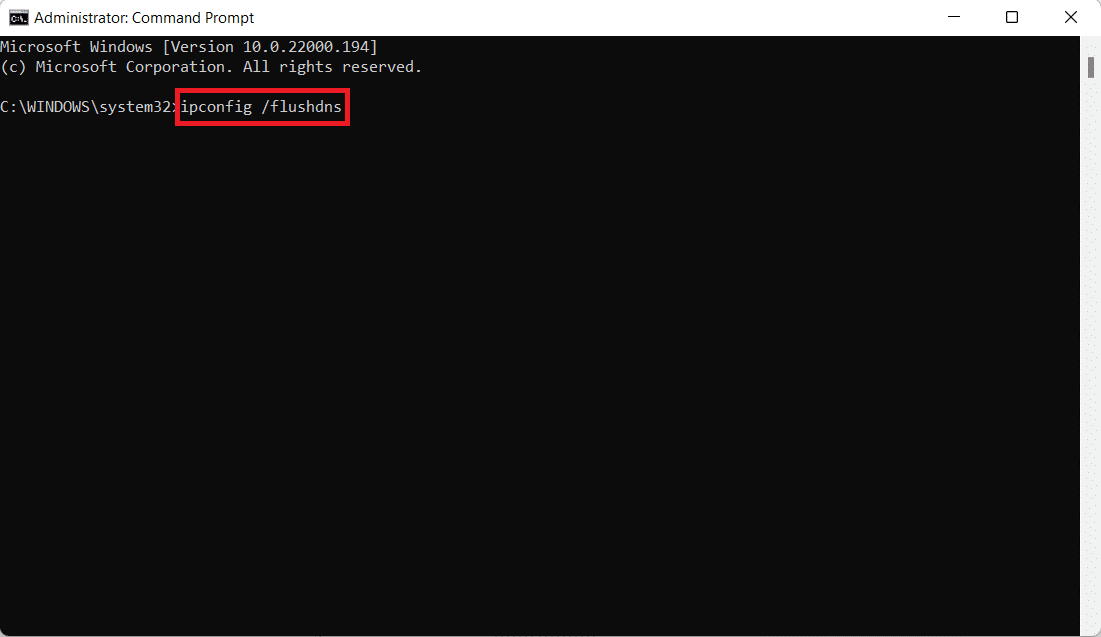
1. Nhấn vào Chốt cửa sổ, kiểu Command Prompt, và nhấp vào Chạy như quản trị viên.

2. Firstly you should flush the DNS cache as shown in Phương pháp 2.
3. Once the above process is complete, type ipconfig / release và nhấn đăng ký hạng mục thi chính.

4. Sau đó, gõ ipconfig / gia hạn va đanh đăng ký hạng mục thi to renew your IP.

Cũng đọc: Fix No WiFi Networks Found in Windows 10
Method 5: Change DNS Address
Incorrect DNS address also cause this said Chrome error. You can change your DNS address to fix the error. Follow the given steps to change DNS address.
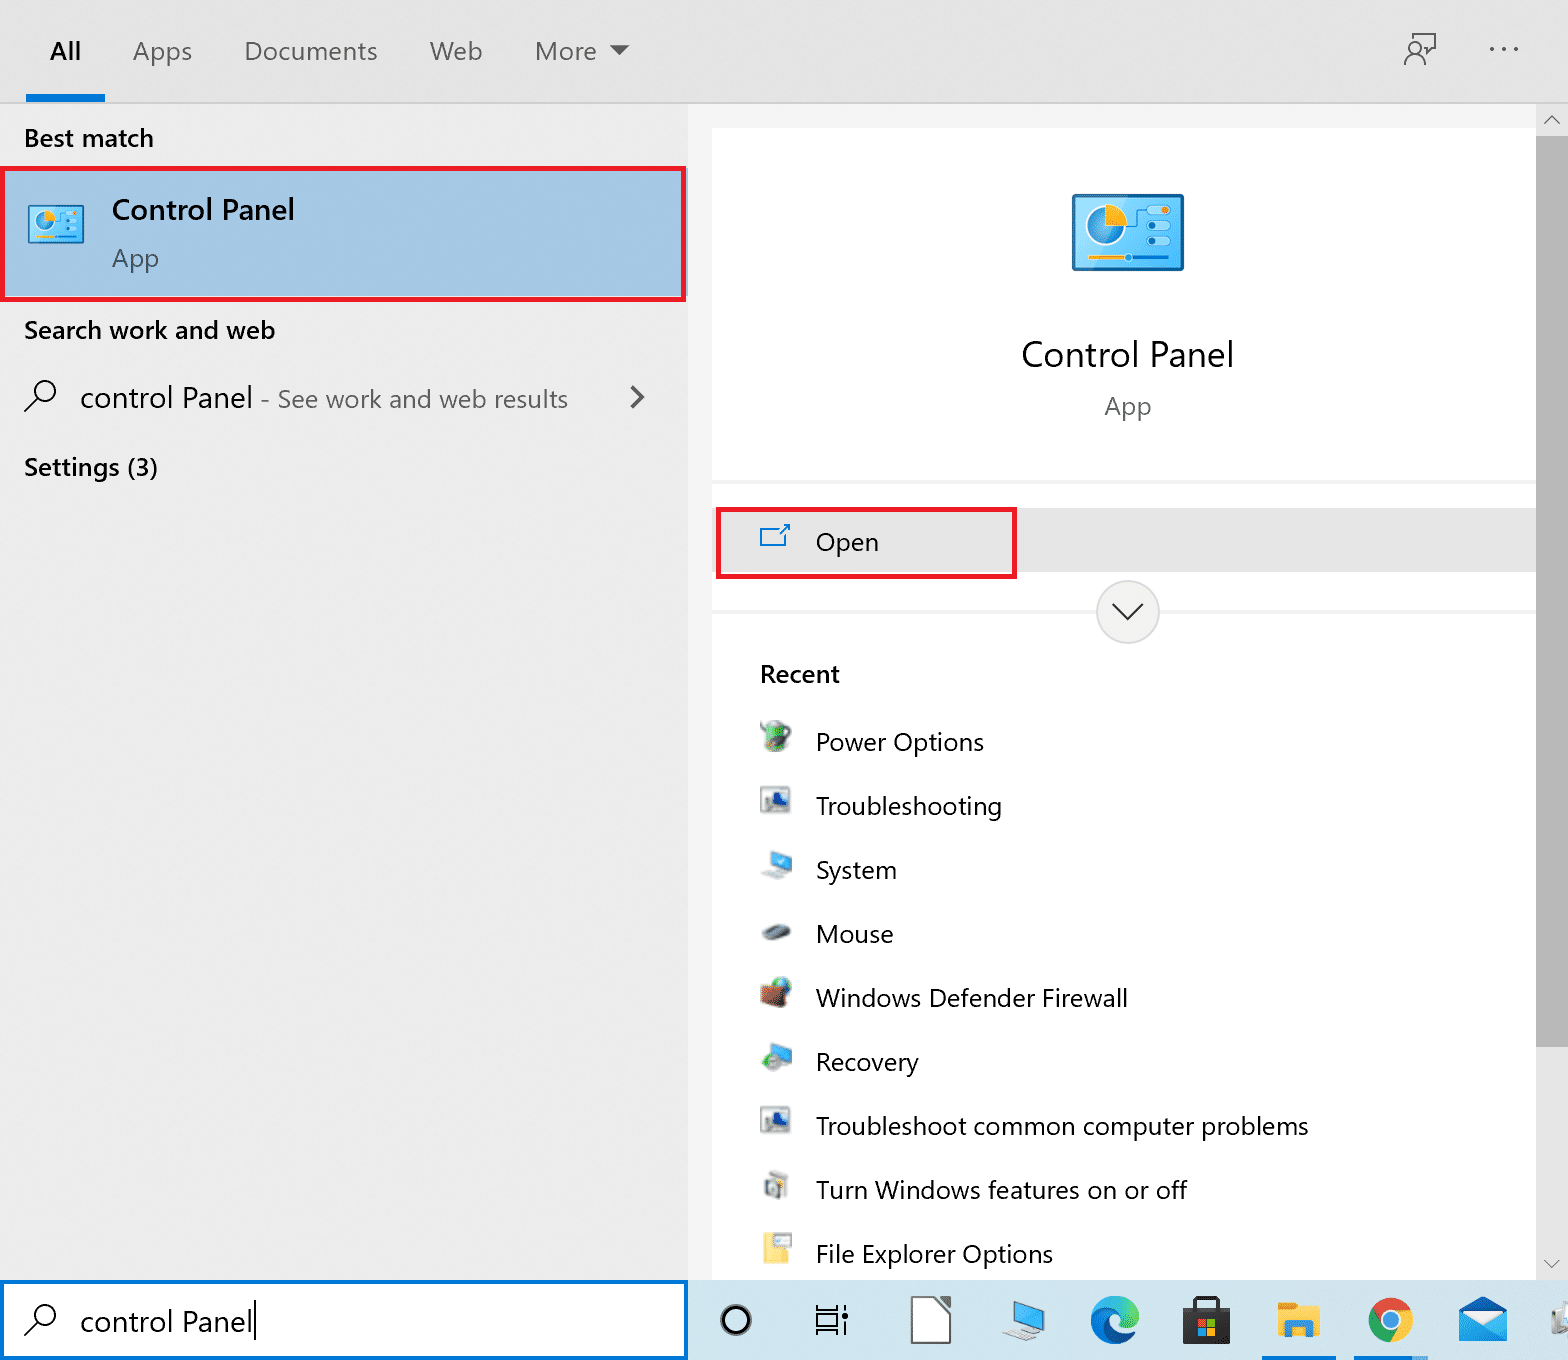
1. Nhấn nút Chốt cửa sổ, kiểu Bảng điều khiển và click vào Mở.
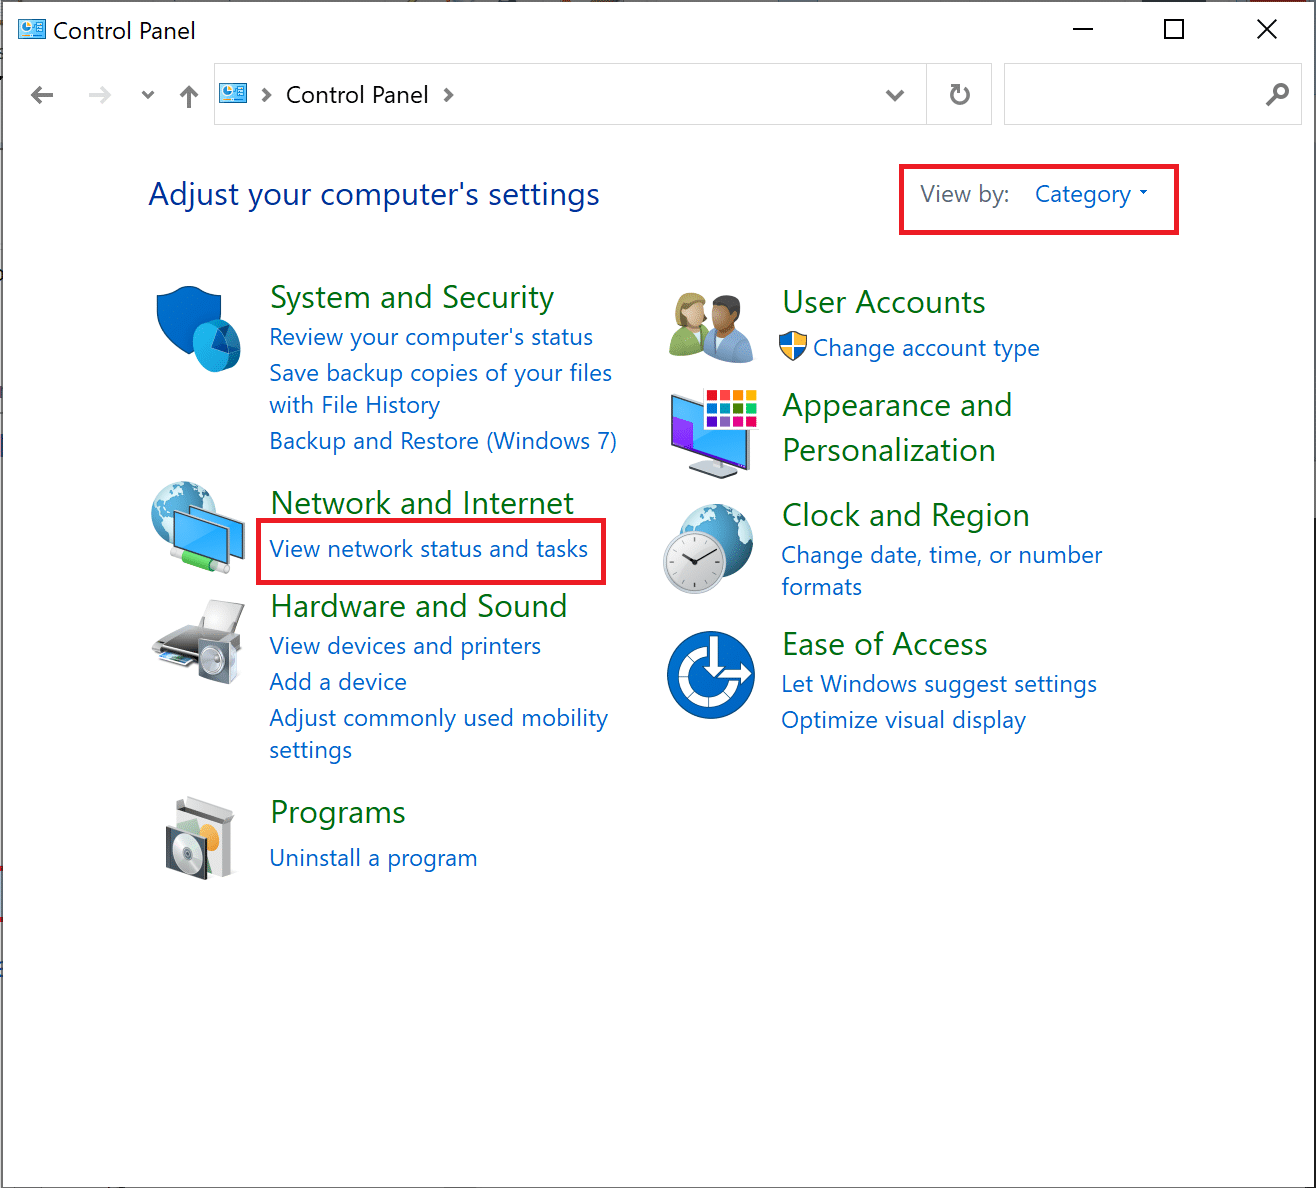
2. Bộ Xem theo > Phân loại và click vào Xem trạng thái mạng và phiên làm việc.
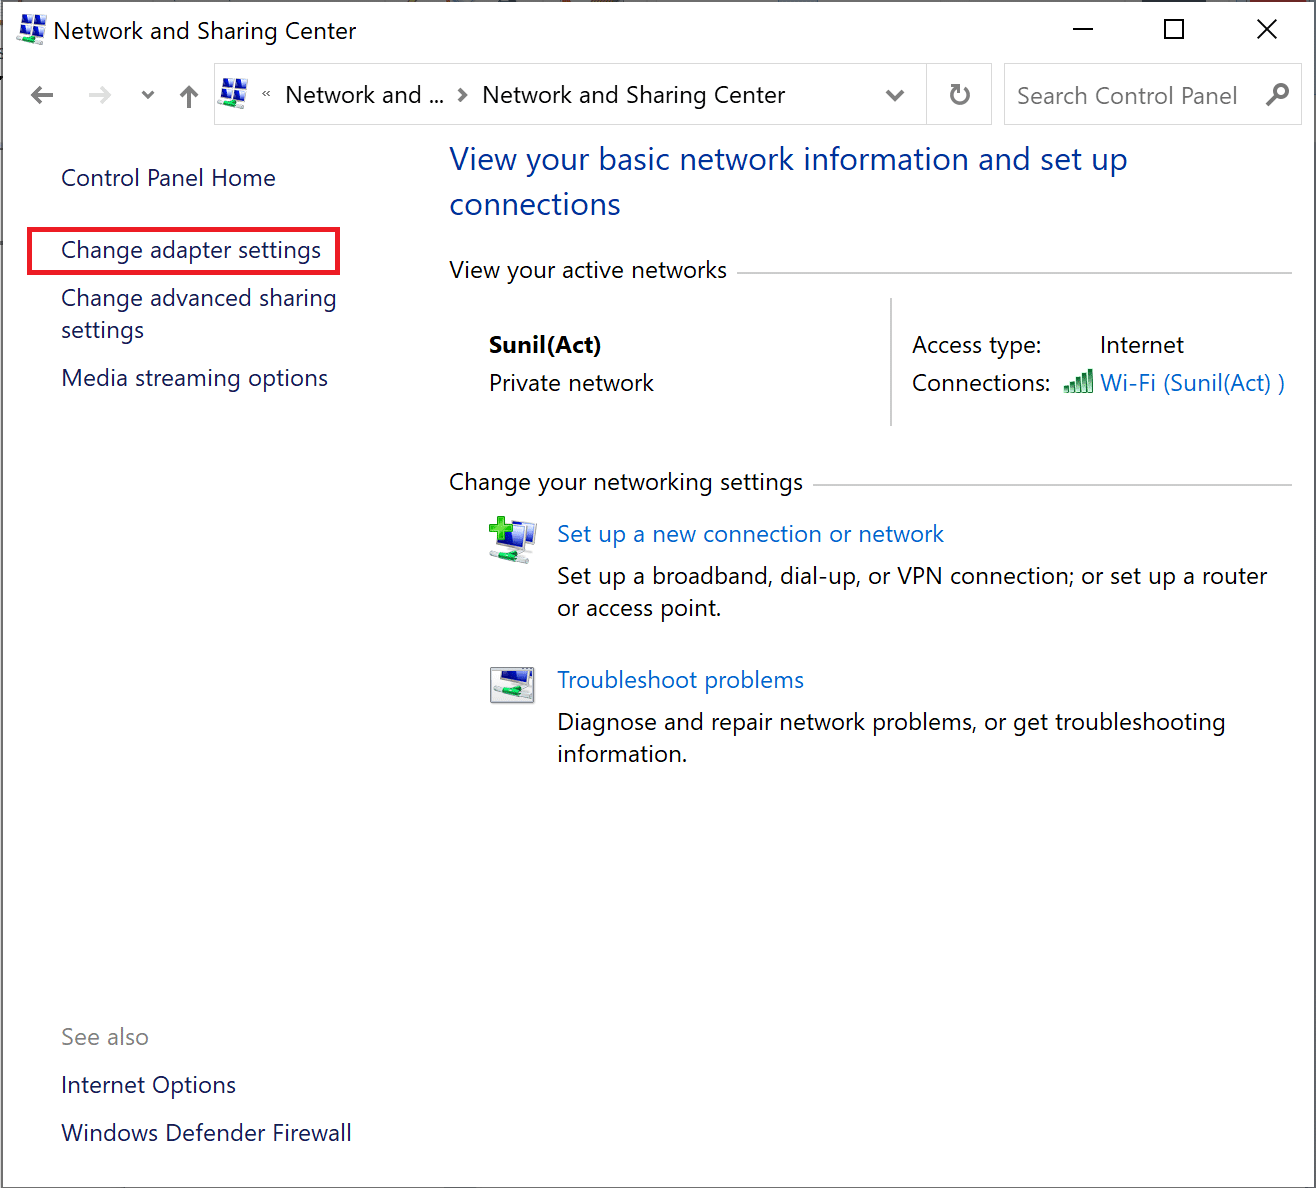
3. Bây giờ, hãy nhấp vào Thay đổi cài đặt bộ chuyển đổi option at the left sidebar.
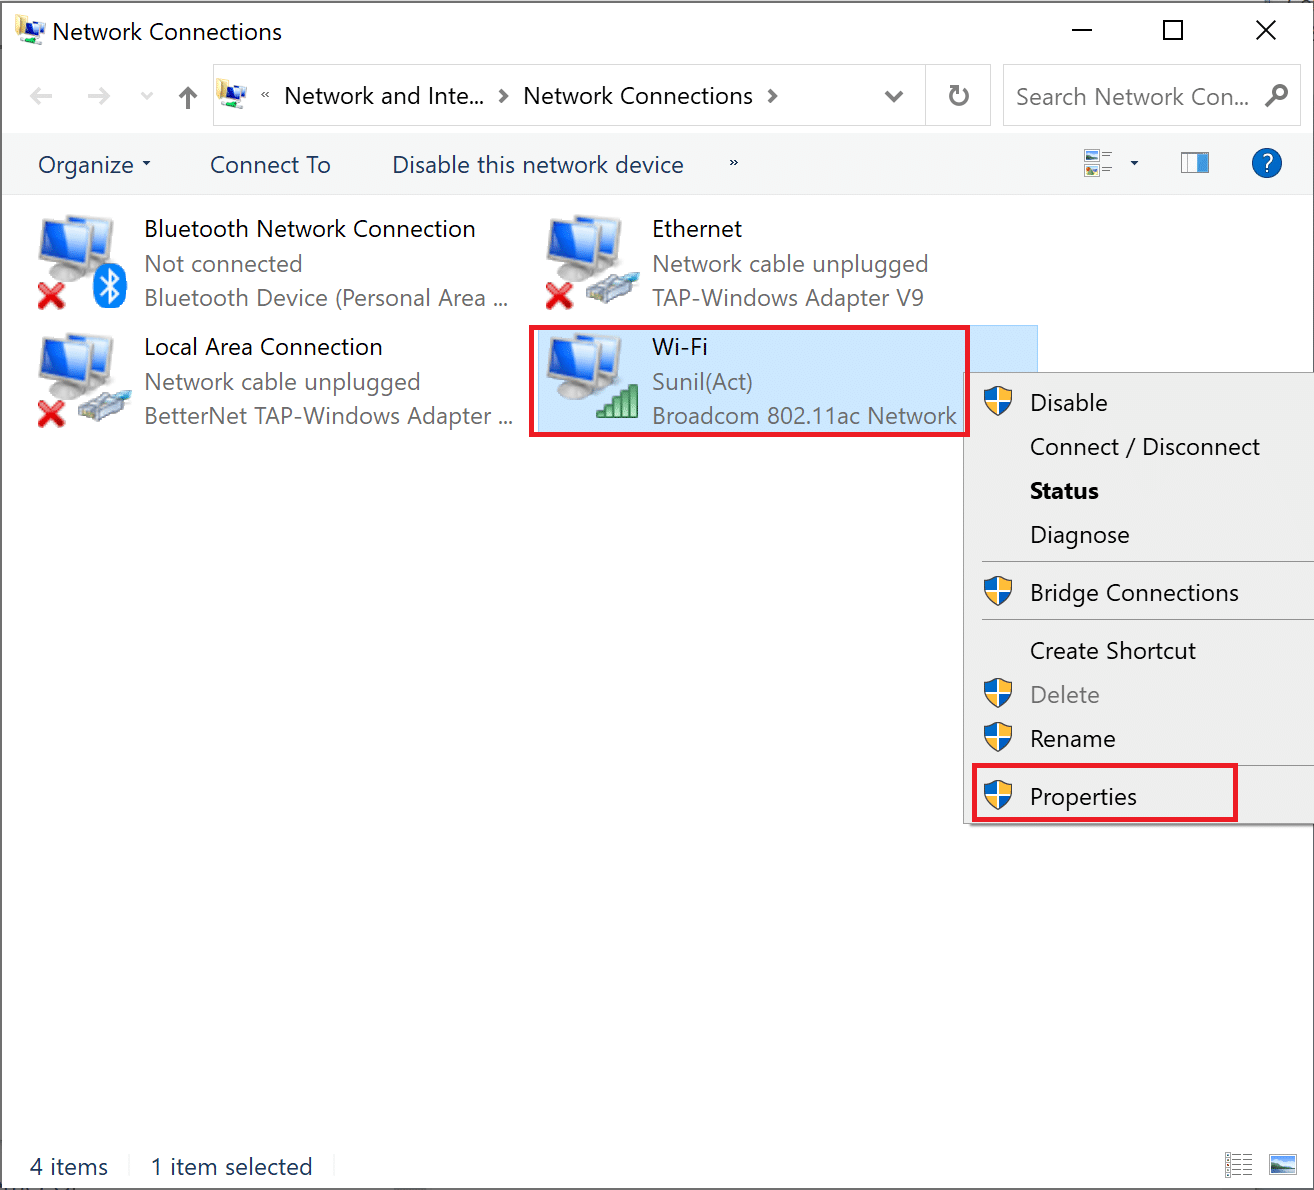
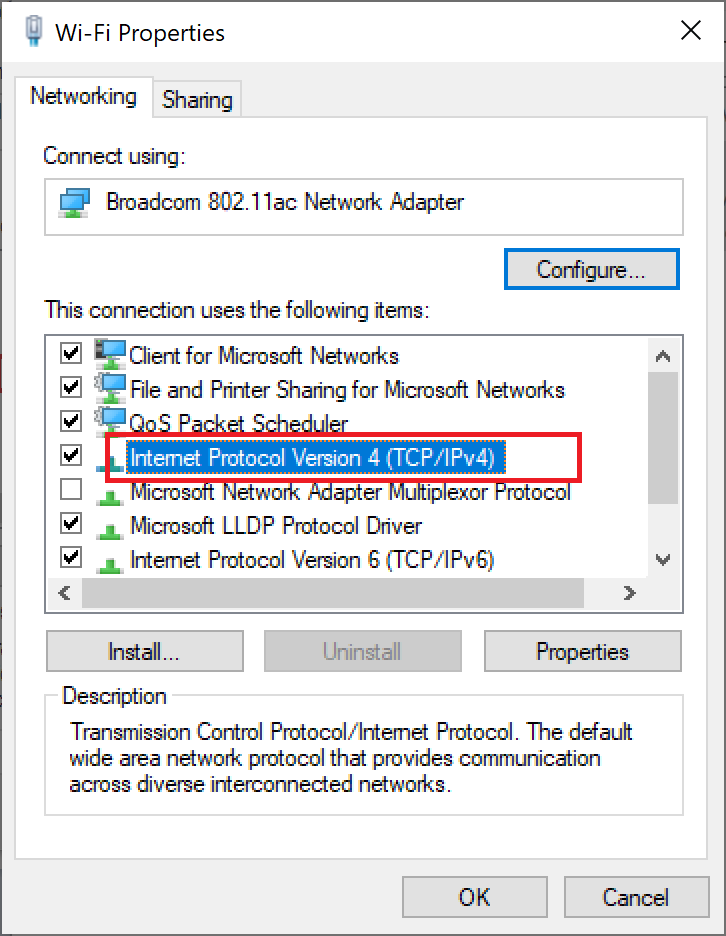
4. Next, right-click on your currently active internet connection and select Bất động sản, như được nhấn mạnh.
5. In the Properties window, double-click on 4 Internet Protocol Version (TCP / IPv4).
6. Tiếp theo, kiểm tra các tùy chọn có tiêu đề Nhận địa chỉ IP tự động và Sử dụng các địa chỉ máy chủ DNS sau, như được nhấn mạnh.
6a. For the Máy chủ dns ưa thích, nhập địa chỉ DNS công cộng của Google dưới dạng: 8.8.8.8
6b. And, In the Máy chủ DNS thay thế, hãy nhập DNS công cộng khác của Google dưới dạng: 8.8.4.4
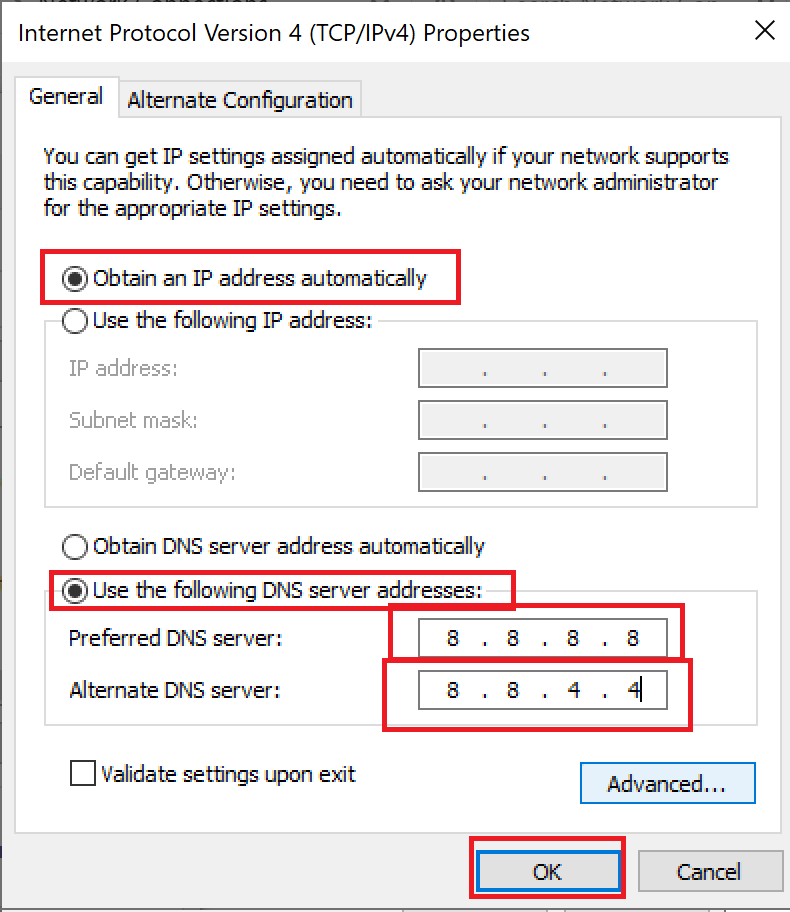
7. Cuối cùng, nhấp vào OK để lưu các thay đổi và khởi động lại PC.
Method 6: Restart DNS Cache
You can follow these steps to restart DNS cache.
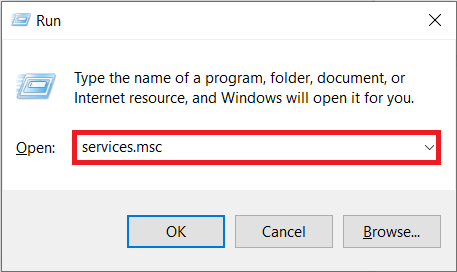
1. Nhấn nút Phím Windows + R cùng nhau mở chạy hộp thoại.
2. Sau đó gõ services.msc và nhấn Nhập khóa để mở DỊCH VỤ cửa sổ.
3. Right-click on DNS Client và chọn Khởi động lại.
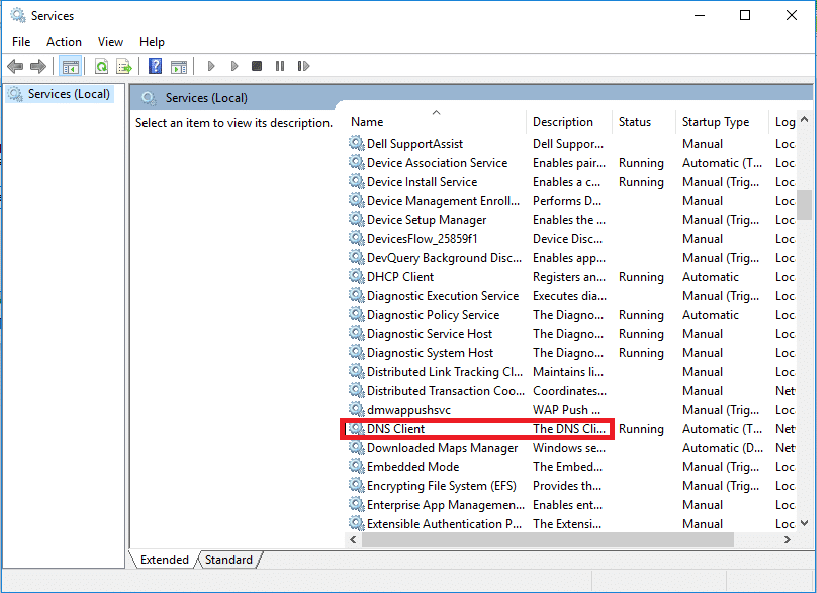
Lưu ý: If you find no restart option and unable to restart it from this method, you do not need to worry. You just need to open an elevated Command Prompt on your system.
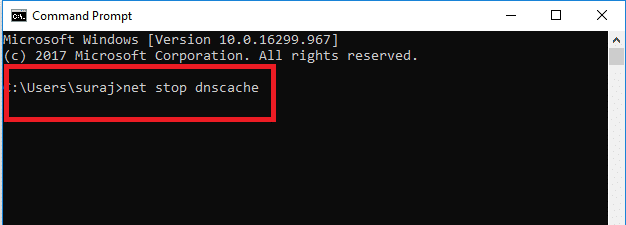
4. Nhập thông tin sau lệnh và nhấn Nhập khóa.
net stop dnscache
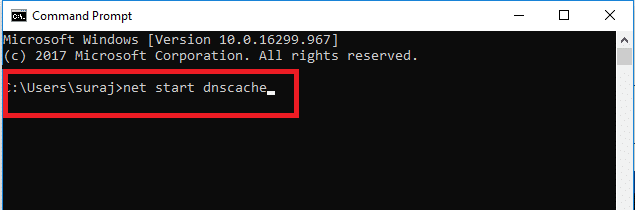
5. To start it again, type the given lệnh và nhấn Nhập khóa.
net bắt đầu dnscache
Cũng đọc: How to Reset Network Settings on Windows 10
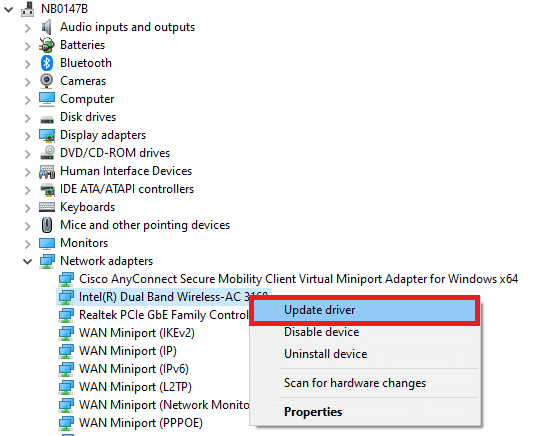
Method 7: Update Network Driver
Outdated network drive also can cause server IP address could not be found error. If you do not have the latest driver versions installed, then this may create bugs and can result in the unstable network connection. So, updating your network driver is necessary for a good network connection. Read our guide to update network drivers on Windows 10.
Method 8: Verify Proxy Settings
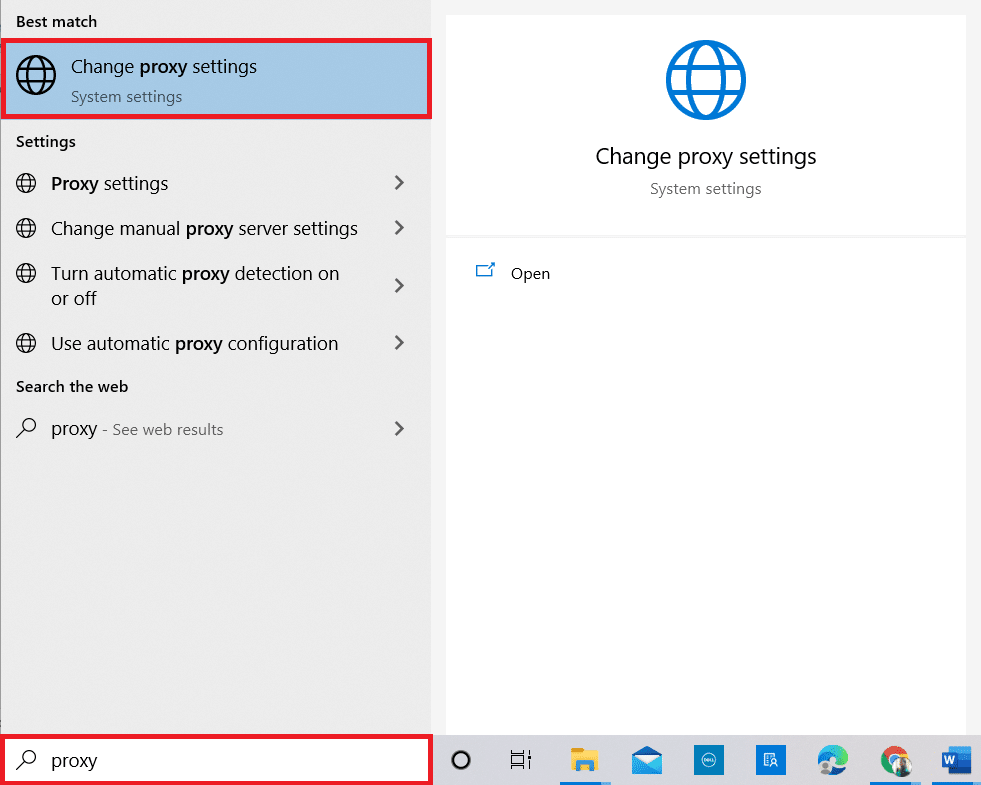
If you are using a proxy server, then using a particular proxy can create issues with your internet. You can change your proxy server to solve this problem. Follow the steps listed below to verify proxy settings.
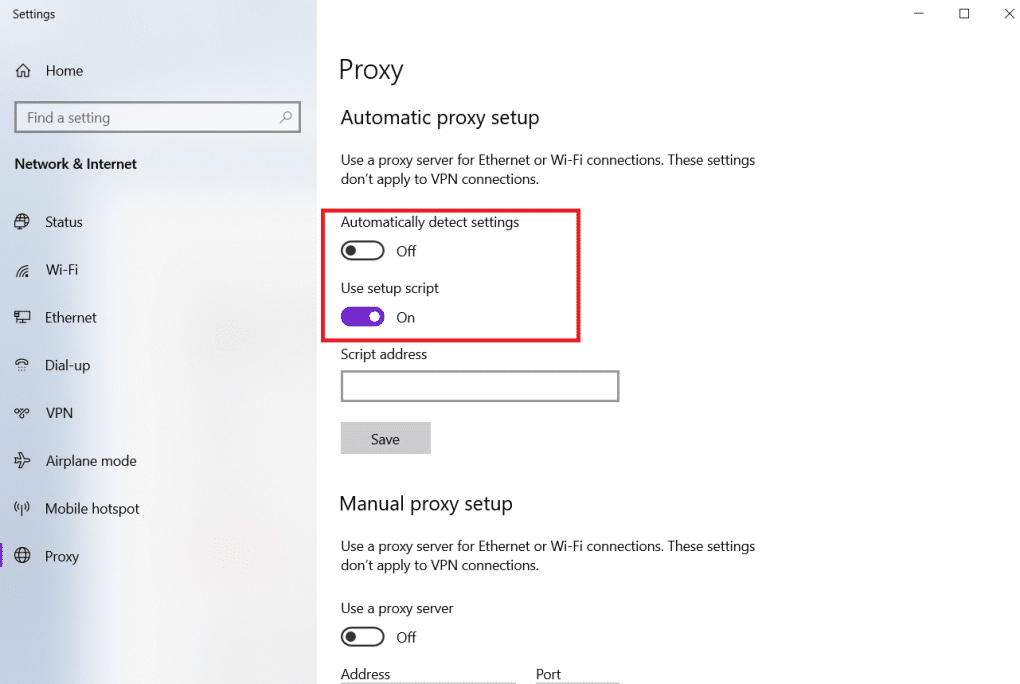
1. Nhấn vào Phím Windows và loại Proxy và click vào Thay đổi cài đặt proxy từ kết quả tìm kiếm.
2. Here, switch on the toggle for Tự động phát hiện các thiết lập.
Đề nghị:
We hope that you learned how to fix server IP address could not be found on Windows 10. Feel free to reach out to us with your queries and suggestions via the comments section below. Let us know what you want to learn about next.

