Steam is a well-known name in the gaming community, being the largest PC game distribution platform. But even the king sees some bad days. It is not uncommon to face issues with Steam PC clients and a lot of users have complained about Steam running slow at times to the point it literally stops to respond. You may eventually observe that Steam is slow and you can’t find your way around your library anymore. But worry not. We have compiled a list of remedies that you can try when you experience Steam is slow problem in Windows 10. So lets see what those methods are.

How to Fix Steam is Slow in Windows 10
There may be numerous reasons behind Steam running slow issue. Some of them are listed below.
- Lack of enough CPU and memory resources causes a computer to overheat.
- Too much cache and cookies
- Trình điều khiển thiết bị lỗi thời
- Outdated Steam app
We have shown all the possible methods to fix Steam is slow issue in the below section. But, before trying the given methods you should boot your system in safe mode. Read our article to boot to safe mode in Windows 10
Phương pháp 1: Chạy Steam với tư cách quản trị viên
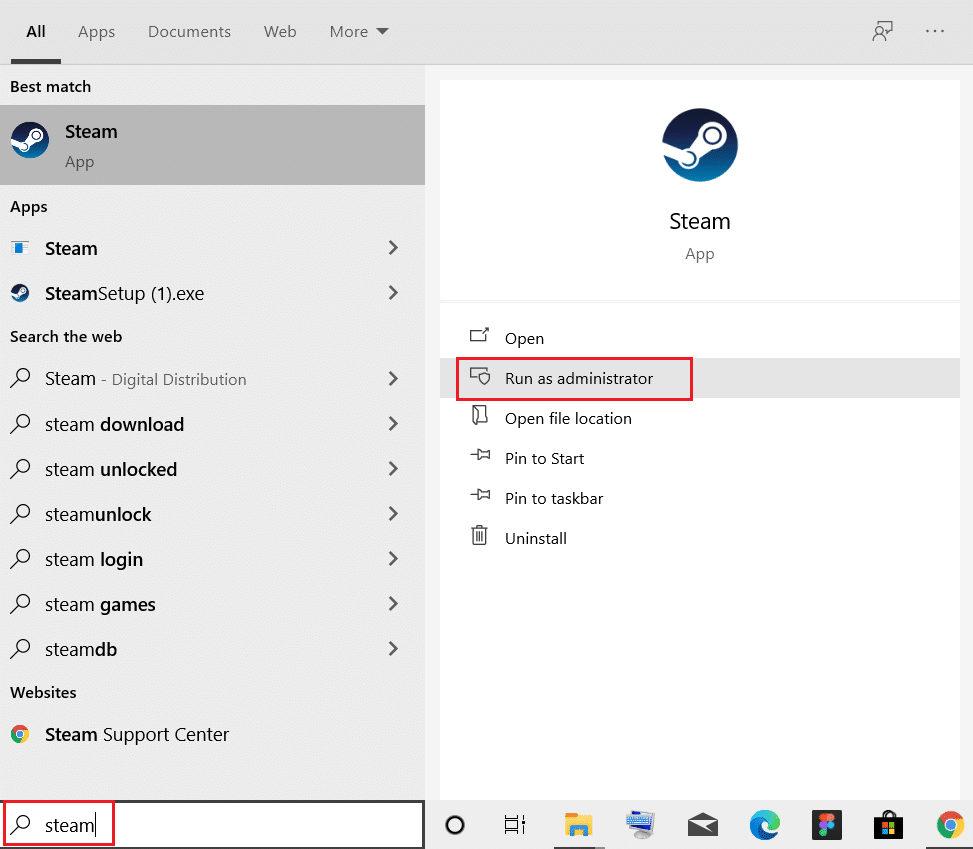
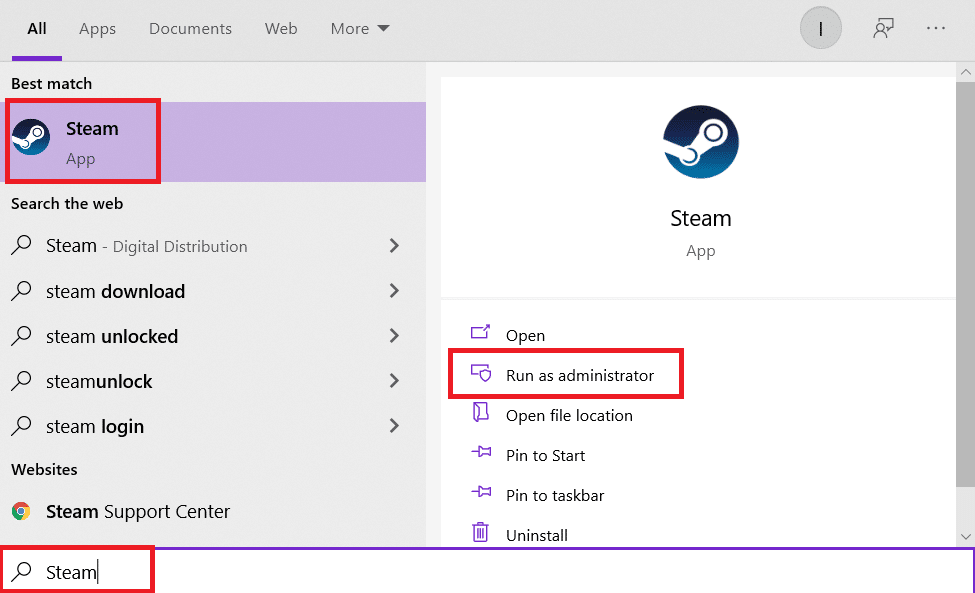
You must always run Steam as administrator as it will give administrative privileges to Steam to run all games. So, follow the given steps to run Steam as administrator.
1. Nhấn vào Chốt cửa sổ và loại hơi nước trong Thanh tim kiêm.
2. Bây giờ, hãy nhấp vào Run as administrator, như được hiển thị.
Method 2: Remove Background Processes
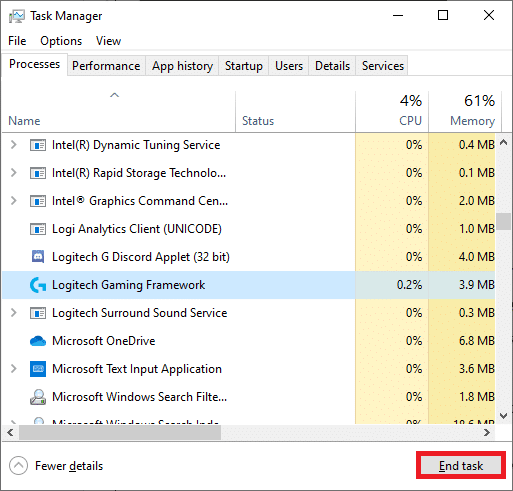
Unnecessary apps running in the background may result in high Memory usage. This can case Steam is slow issue in your system. So, follow these steps to remove background processes.
1. Phóng Task Manager, nhấn Ctrl + Shift + Esc phím cùng một lúc.
2. Xác định vị trí và chọn không mong muốn lý lịch Quy trình using high Bộ nhớ.
3. Sau đó, nhấp vào Kết thúc nhiệm vụ, như được đánh dấu.
Cũng đọc: How to Fix Steam Not Opening on Windows 10
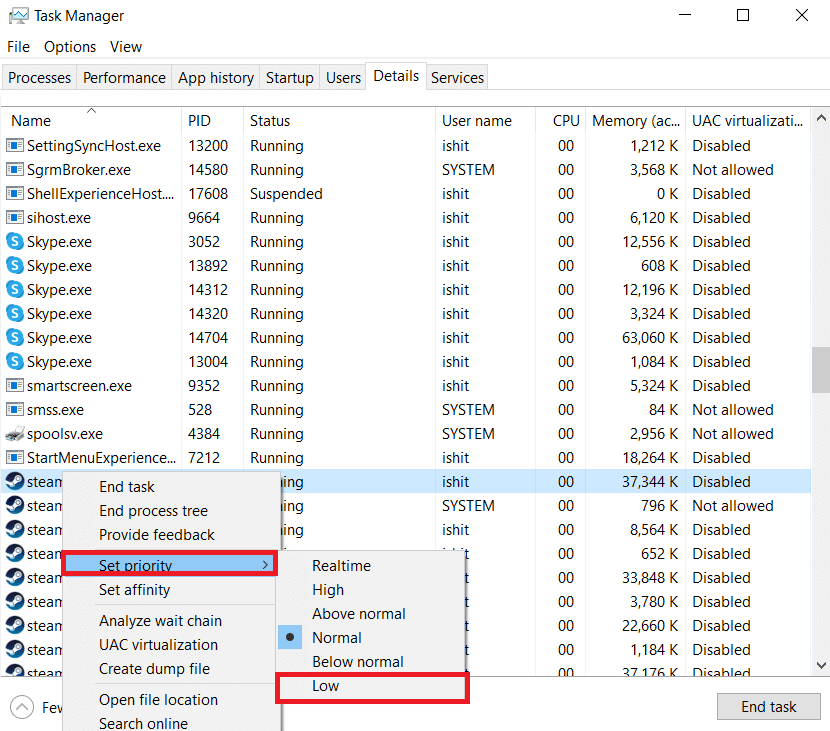
Method 3: Change Steam Process Priority
You can also set Steam priority to high from the Task Manager by following the given steps below.
1. Phóng Task Manager và đi đến Chi tiết tab.
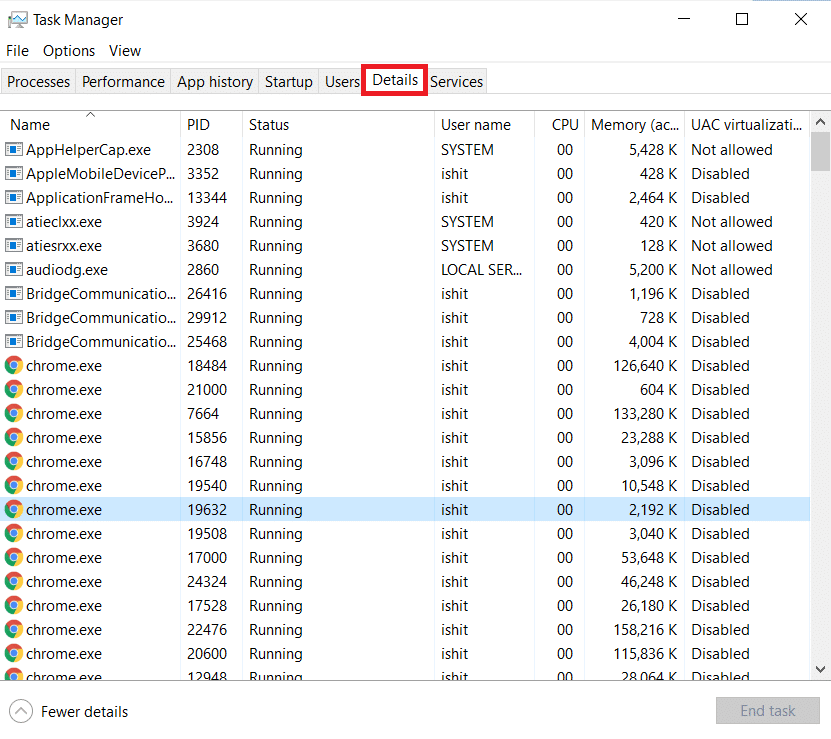
2. Cuộn xuống và chọn steam.exe quá trình.
3. Nhấp chuột phải vào hơi nước process and hover to Thiết lập ưu tiên, then select any one of the below lựa chọn.
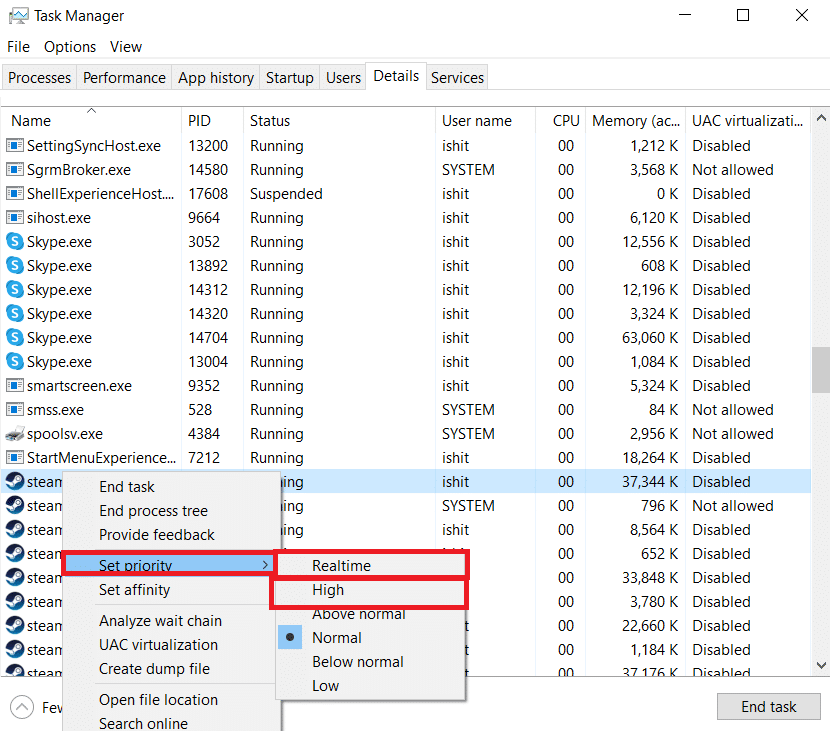
Lưu ý: You can also set the priority to Low if Steam uses high memory by following the above steps and selecting the Thấp tùy chọn trong bước 3.
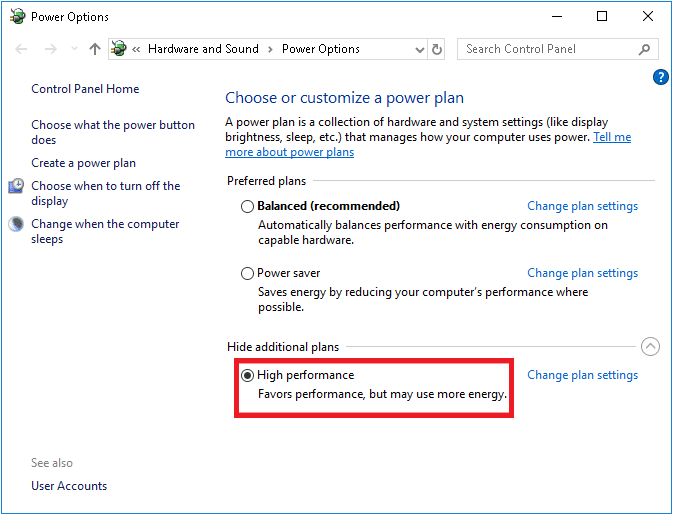
Method 4: Switch to High Performance Power Plan
If you are using a power-saving plan then, it may cause Steam is slow issue. Follow the given steps to switch to high performance power plan to fix Steam running slow issue.
1. Nhấp chuột phải vào Biểu tượng pin trên Thanh tác vụ và chọn Power Options.
![]()
2. Bây giờ, chọn Hiệu suất cao option as highlighted in the pic below.
Cũng đọc: Fix Steam Error Code e502 l3 in Windows 10
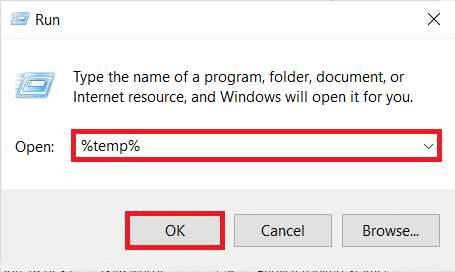
Method 5: Delete HTTP, HTML Cache & Temporary Files
Follow the given steps below to delete the temporary files and HTML cache file to fix Steam is slow issue.
1. Nhấn nút Phím Windows + R cùng nhau khởi động chạy hộp thoại.
2. Kiểu % Temp% và click vào OK.
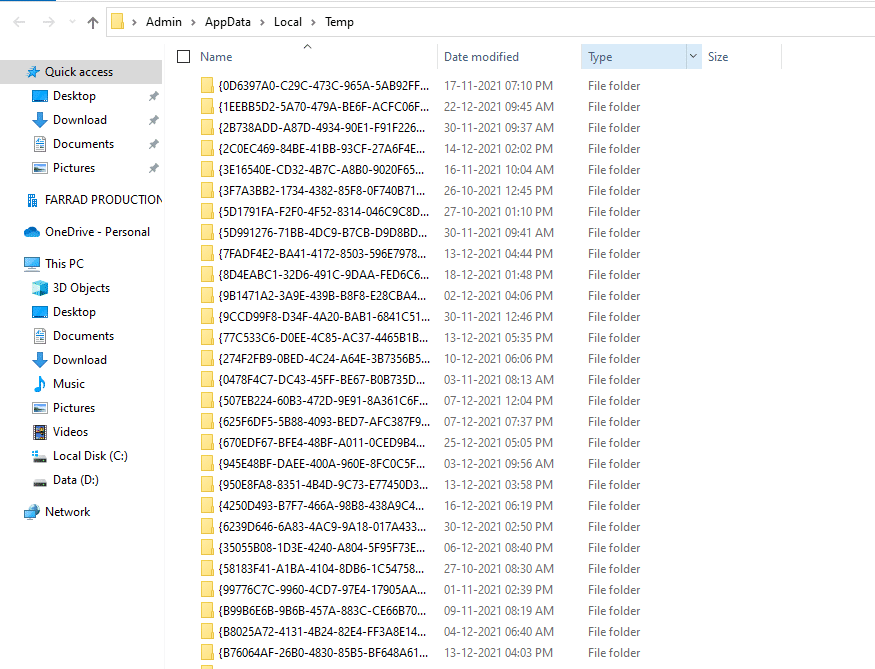
3. nhấn Phím Ctrl + A together to select all the unrequired files and press the Shift + Del keys together to delete them permanently.
Lưu ý: Một số tệp không thể xóa được vì chúng đang được sử dụng nên bạn có thể bỏ qua những tệp này.
4. nhấn Windows + E phím cùng nhau mở File Explorer
5. Navigate to the location where you installed Steam: C: Program Files (x86) Steam
Lưu ý: If you are not sure, read our guide: Where are Steam Games installed? here.
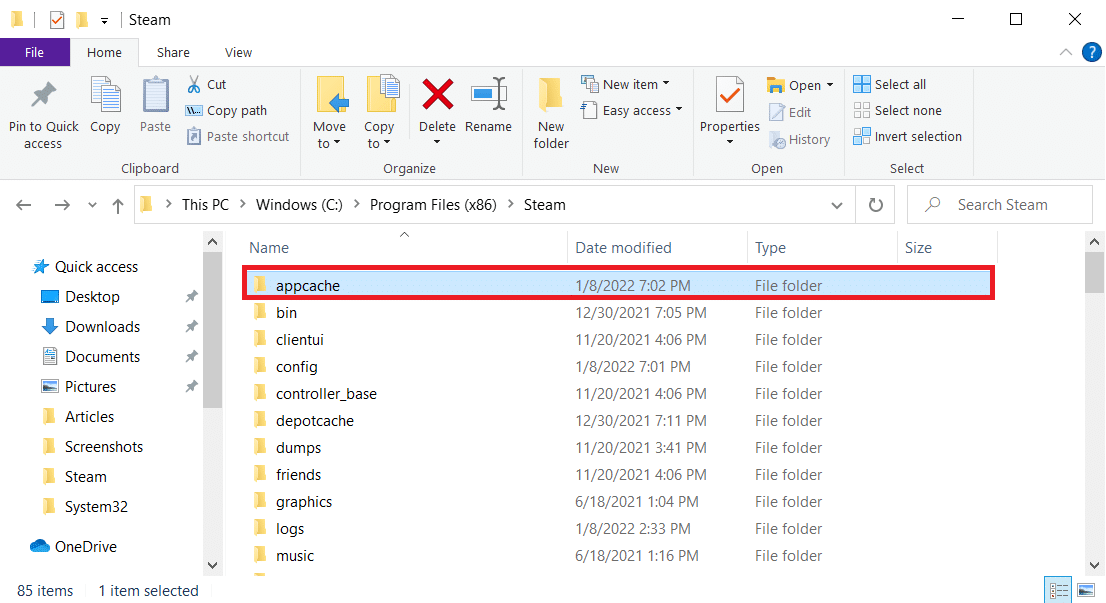
6. Nhấp đúp chuột vào bộ đệm ứng dụng thư mục.
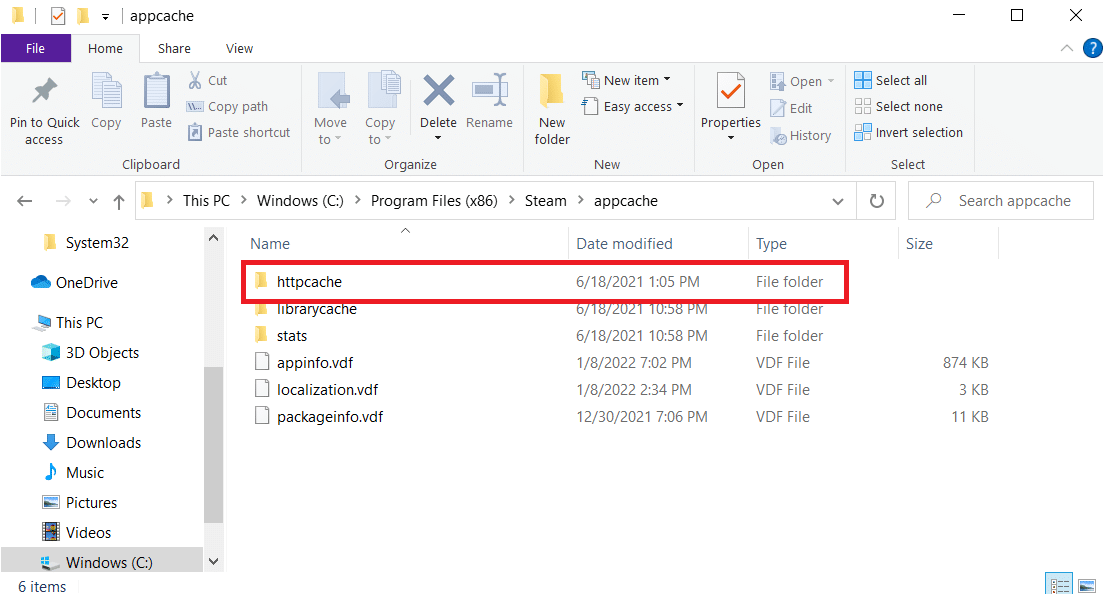
7. Here, delete the httpcache thư mục.
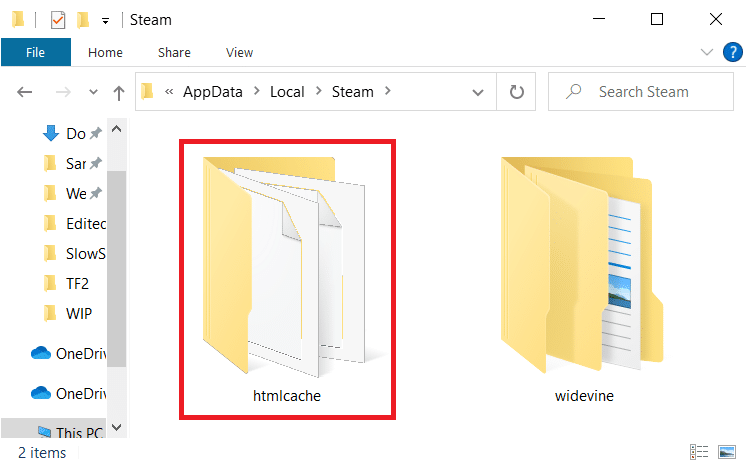
8. Then, go to the following con đường và xóa bộ đệm html thư mục.
C:Users<UserName>AppDataLocalSteam
9. Cuối cùng, khởi động lại máy tính của bạn and check if the issue persists or not.
Cũng đọc: Fix Steam Stopping Downloads on Windows 10
Method 6: Clear Steam Browser Cache & Cookies
Here is how to fix Steam is slow issue by clearing Steam web browser cache and cookies.
1. Nhấn vào Chốt cửa sổ, kiểu hơi nước, và nhấp vào Run as administrator.
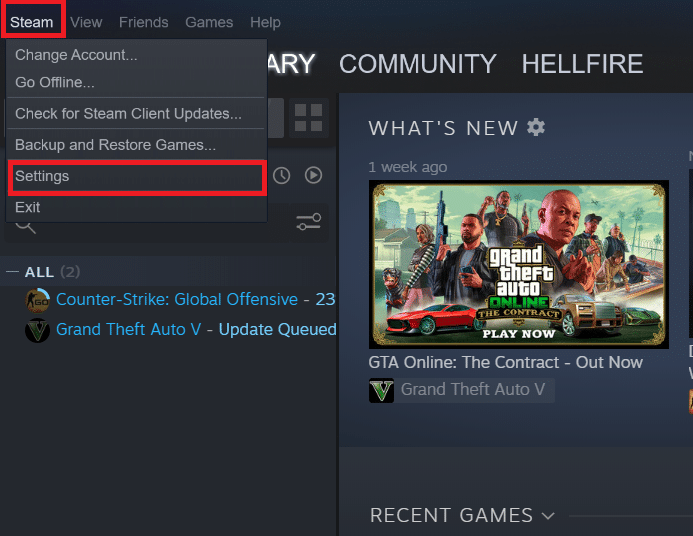
2. In the upper left corner of the window, click on the hơi nước Tab và chọn Cài đặt từ hộp thả xuống.
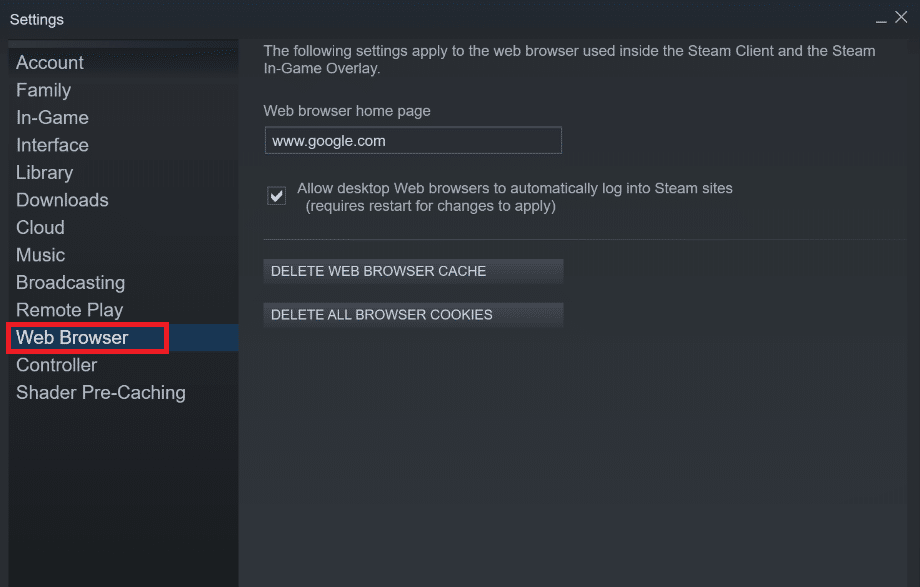
3. Sau đó, đi đến Trình duyệt web settings from the left pane.
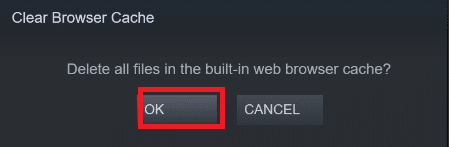
4. Click on both the given nút to delete web browser cache and cookies respectively.
- Xóa bộ nhớ cache của trình duyệt web
- Delete Web Browser Cookies
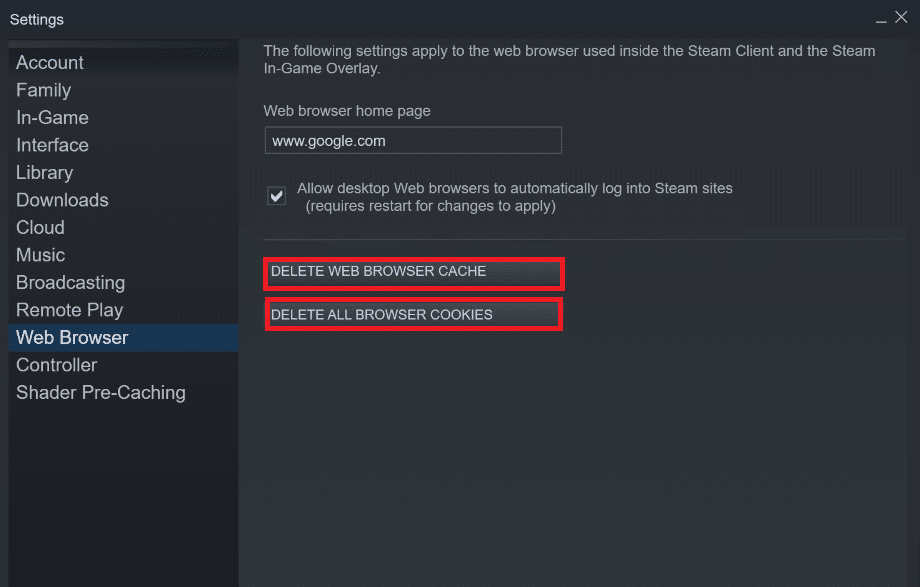
5. Nhấp vào OK in the confirmation prompt of both options.
6. Cuối cùng, khởi động lại Steam to check if Steam running slow issue is fixed or not.
Cũng đọc: Cách tắt lớp phủ Steam trong Windows 10
Phương pháp 7: Xóa bộ nhớ đệm tải xuống
There may be download cache of the games in Steam which can result in Steam is slow issue. So, here are the steps to clear download cache.
1. Khởi chạy hơi nước app as administrator.
2. Bây giờ, hãy chuyển đến hơi nước Tab và chọn Cài đặt from the drop-down menu. Refer to the pic below.

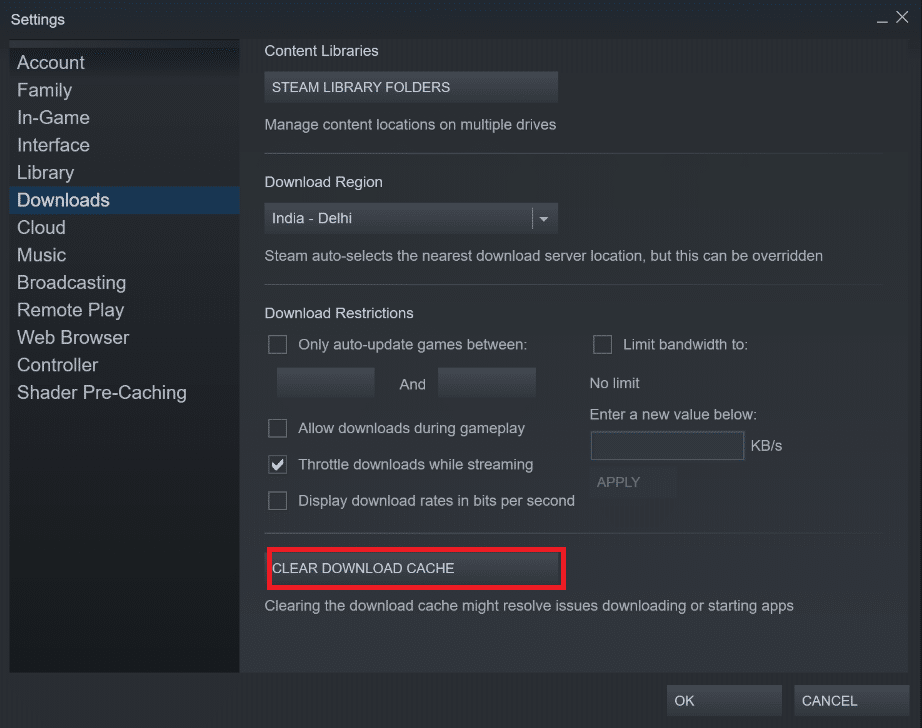
3. Chọn Tải thư liệu settings on the left pane.
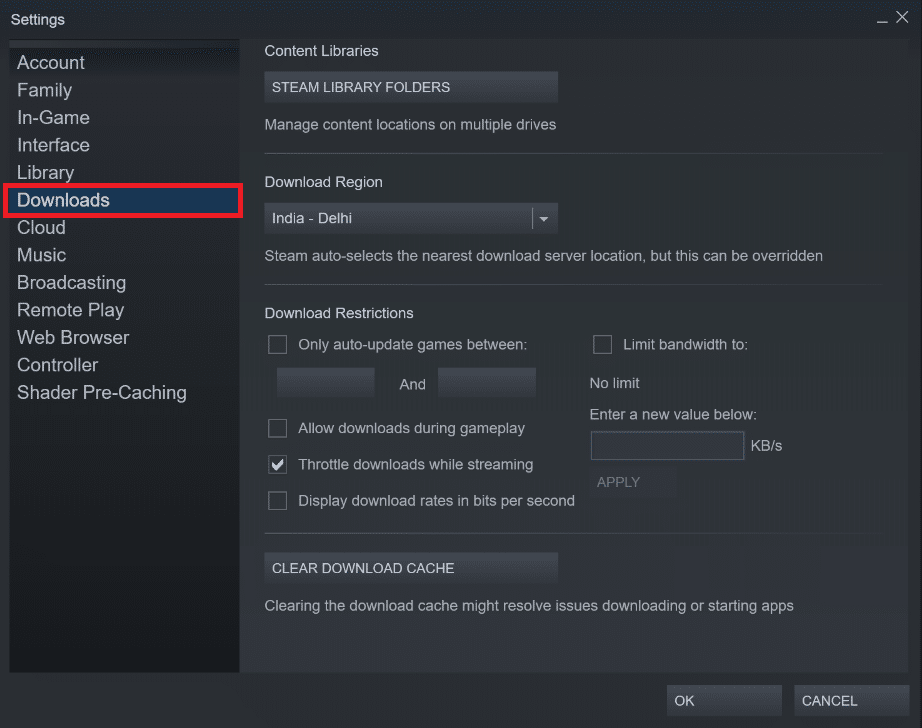
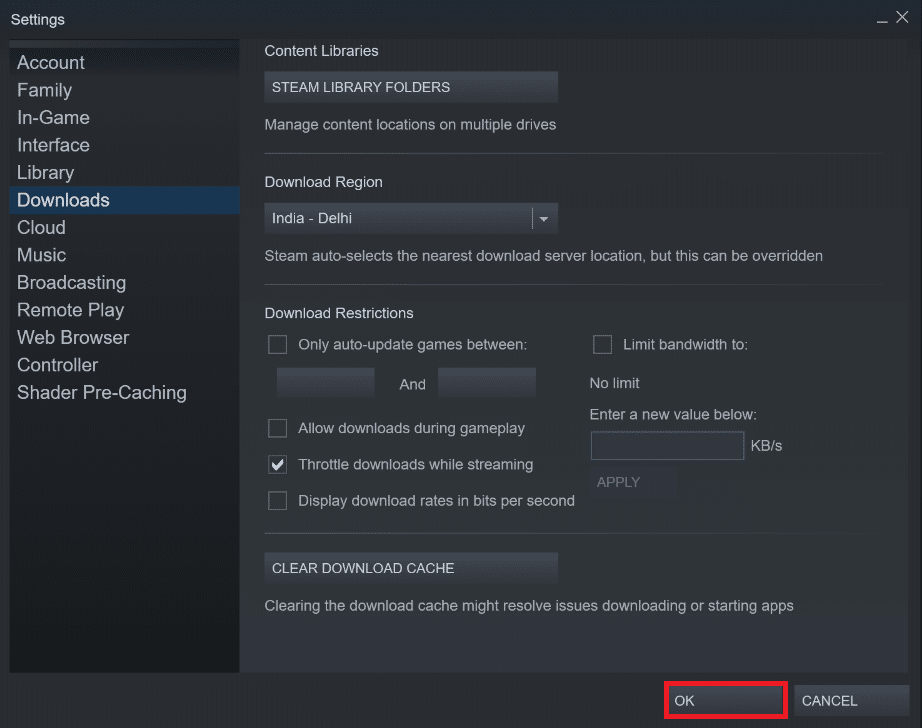
4. Cuộn xuống phía dưới và nhấp vào XÓA BỘ NHỚ TẢI XUỐNG .
5. Nhấp vào OK trong Xóa bộ nhớ đệm tải xuống dấu nhắc xác nhận.
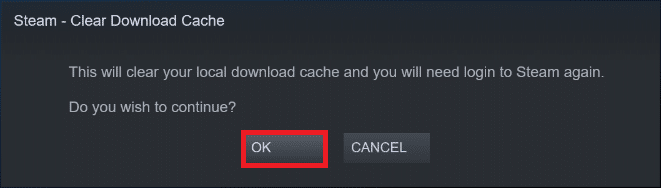
6. Cuối cùng, nhấp vào OK để lưu thay đổi.
Phương pháp 8: Chạy Steam ở Chế độ tương thích
You can also try running Steam in compatibility mode on different Windows versions to solve Steam is slow problem.
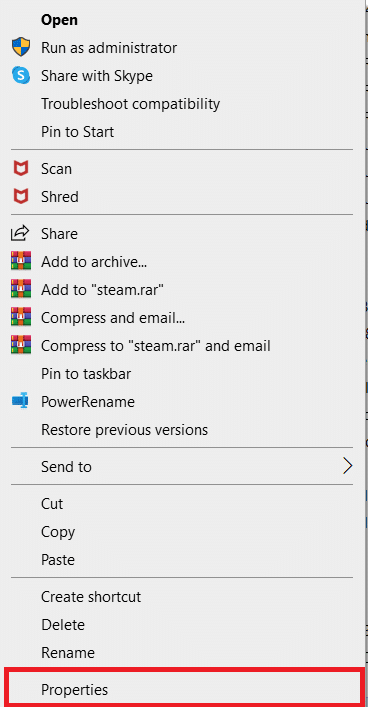
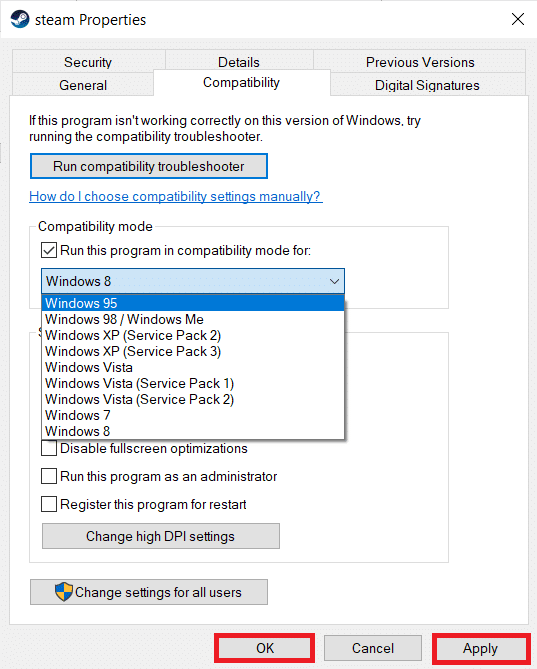
1. Nhấp chuột phải vào Steam executable file Và chọn Bất động sản tùy chọn.
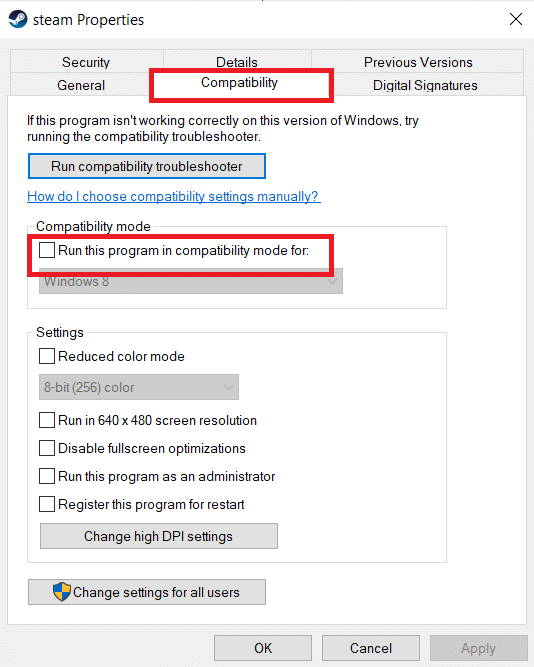
2. Đi đến Khả năng tương thích tab trong Steam Properties window and check the Run this Program in Compatibility Mode for tùy chọn.
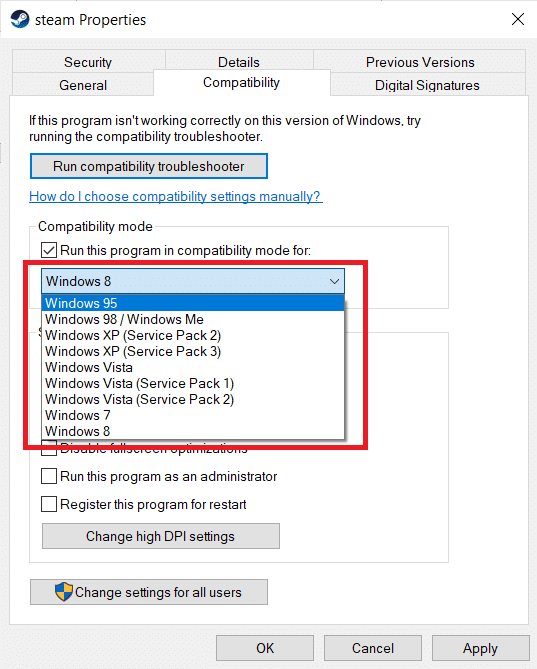
3. Chọn Phiên bản Windows từ trình đơn thả xuống.
4. Nhấp vào Áp dụng> OK to save changes and run Steam as administrator.
5. Check if the issue is fixed, else try running Steam in different Windows versions by repeating the above steps.
Cũng đọc: Sửa lỗi hình ảnh Steam không tải lên được
Phương pháp 9: Xác minh tính toàn vẹn của tệp trò chơi
If you experience Steam running slow problem while playing a particular game then, you should check the integrity of that game file on Steam. Read our easy-to-follow tutorial on How to Verify Integrity of Game Files on Steam.
Method 10: Modify Graphics Driver Settings
Follow these steps to modify graphics driver settings to fix Steam is slow issue.
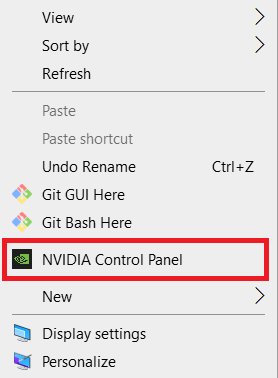
1. Nhấp chuột phải vào không gian trống in the Desktop and select Bảng điều khiển NVIDIA.
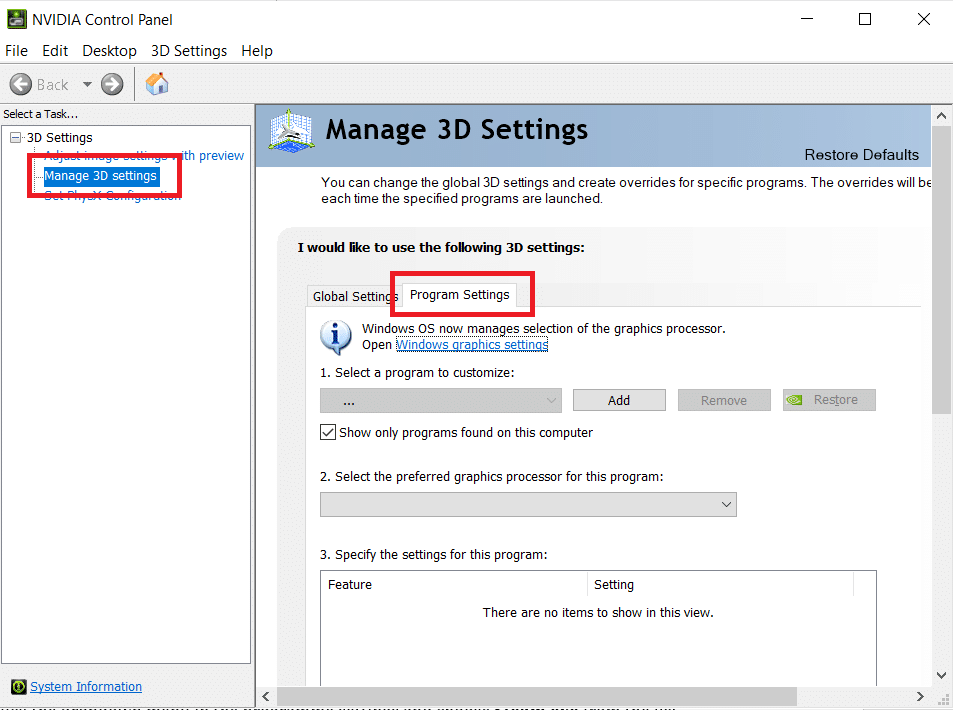
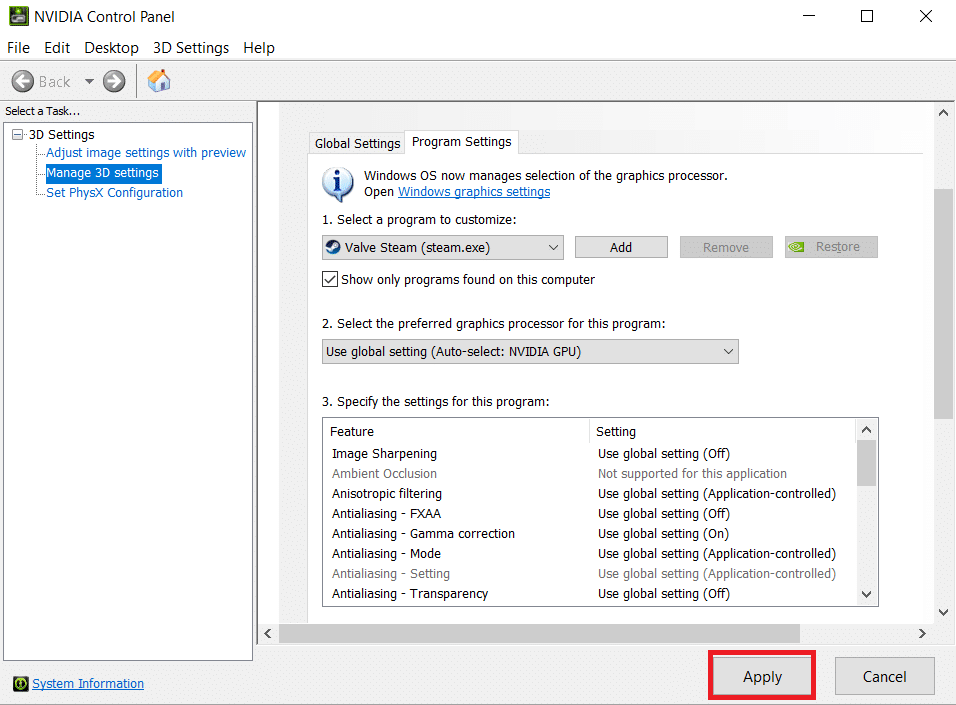
2. Bấm vào Quản lý cài đặt 3D option in the left pane and go to the Cài đặt chương trình tab.
3. Chọn hơi nước từ Chọn một chương trình để tùy chỉnh danh sách thả xuống.
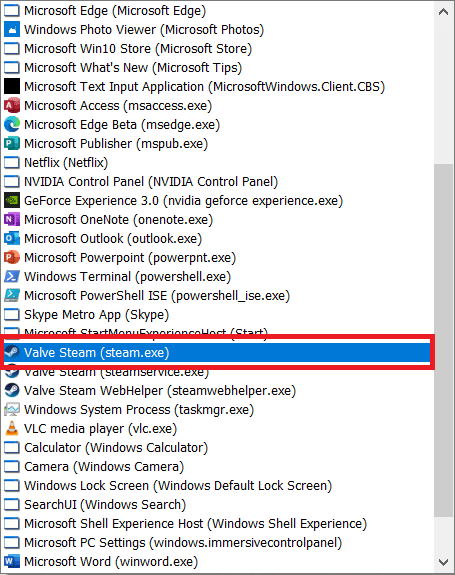
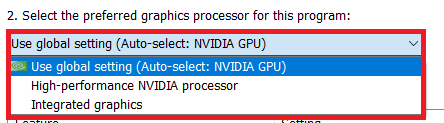
4. Sau đó, select the preferred graphics processor for this program. We recommend you select the High-performance NVIDIA processor.
5. Cuối cùng, nhấp vào Đăng Nhập để lưu thay đổi.
Method 11: Modify LAN Settings
There may be network configuration issues which is resulting in Steam running slow problem. So, here are the steps to Modify LAN configuration settings.
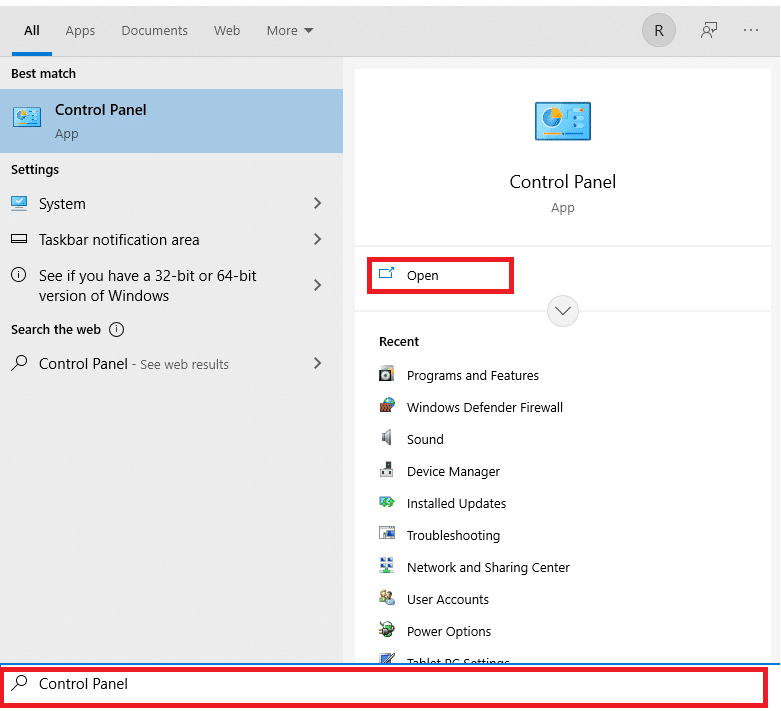
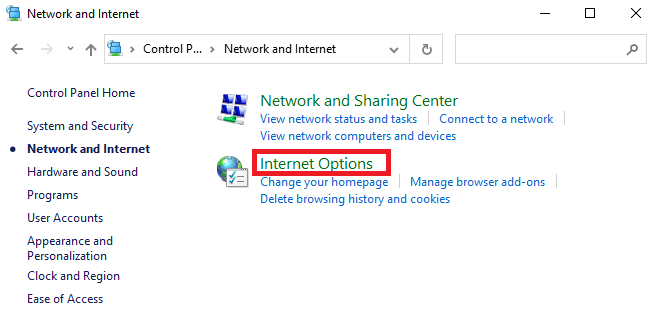
1. Nhấn nút Chốt cửa sổ, kiểu bảng điều khiển, và nhấp vào Mở.
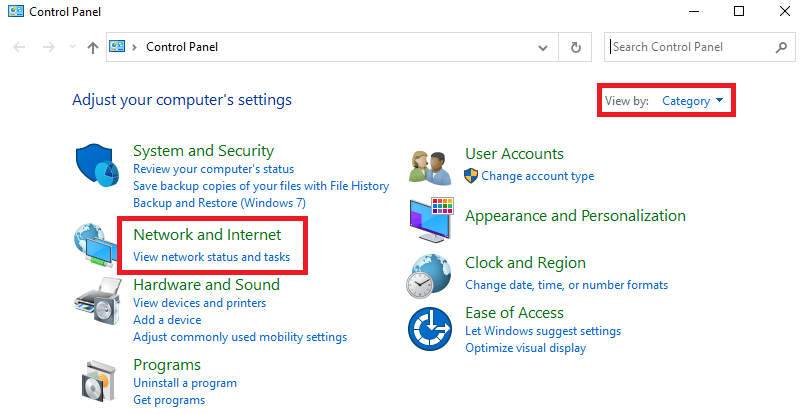
2. Bây giờ, hãy đặt Xem theo tùy chọn để Phân loại Và chọn Mạng và Internet liên kết như hình dưới đây.
3. Tại đây, hãy nhấp vào Internet Options như hình dưới đây.
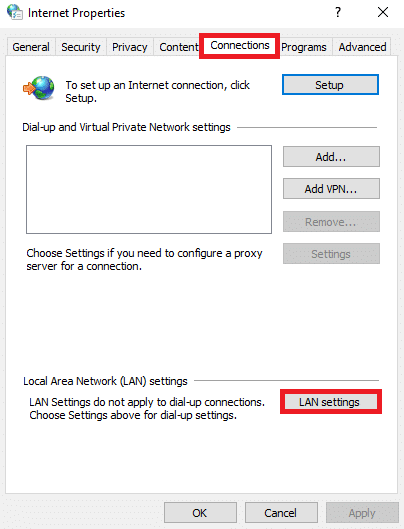
4. bên trong Internet Properties cửa sổ, chuyển sang Kết nối Tab và chọn cài đặt mạng Lan như hình dưới đây.
5. Now, in Local Area Network (LAN) Settings, check the box to Tự động phát hiện các thiết lập trong cấu hình tự động phần.

6. Also, uncheck the checkbox for Sử dụng một máy chủ proxy cho lan của bạn.
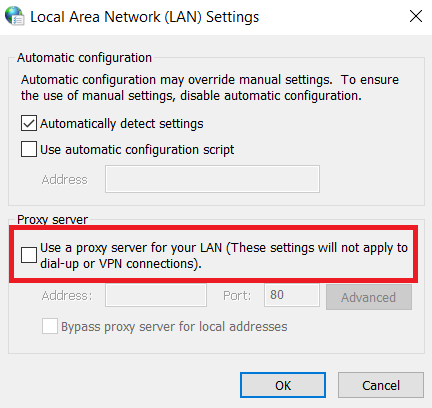
7. Cuối cùng, nhấp vào OK để lưu các thay đổi và khởi chạy lại hơi nước to observe any performance improvement.
Cũng đọc: Sửa lỗi Steam liên tục bị treo
Phương pháp 12: Cập nhật trình điều khiển thiết bị
Outdated drivers may also result in Steam running slow problem. So, following are the steps to update the device drivers.
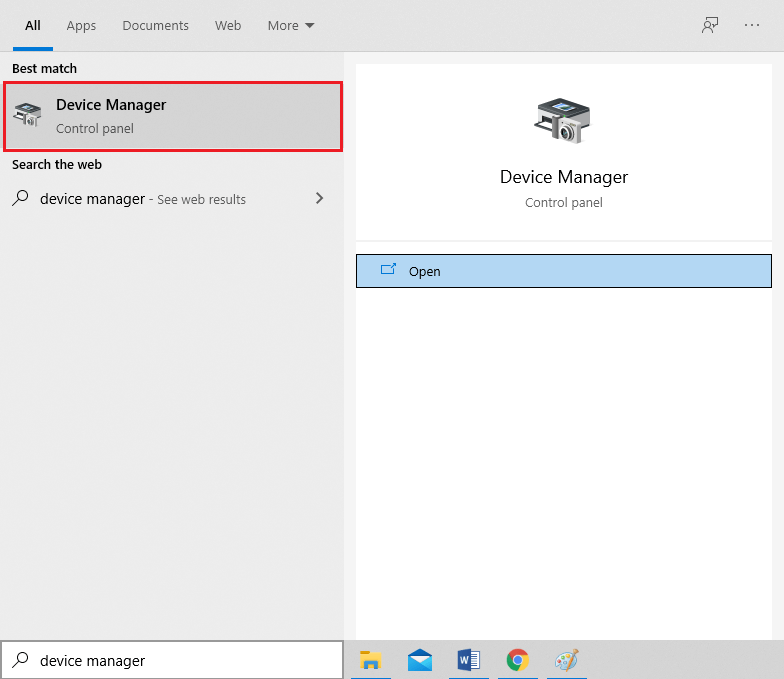
1. Nhấp vào Bắt đầu, kiểu quản lý thiết bịvà nhấn Nhập khóa.
2. Nhấp đúp vào card màn hình để mở rộng nó.
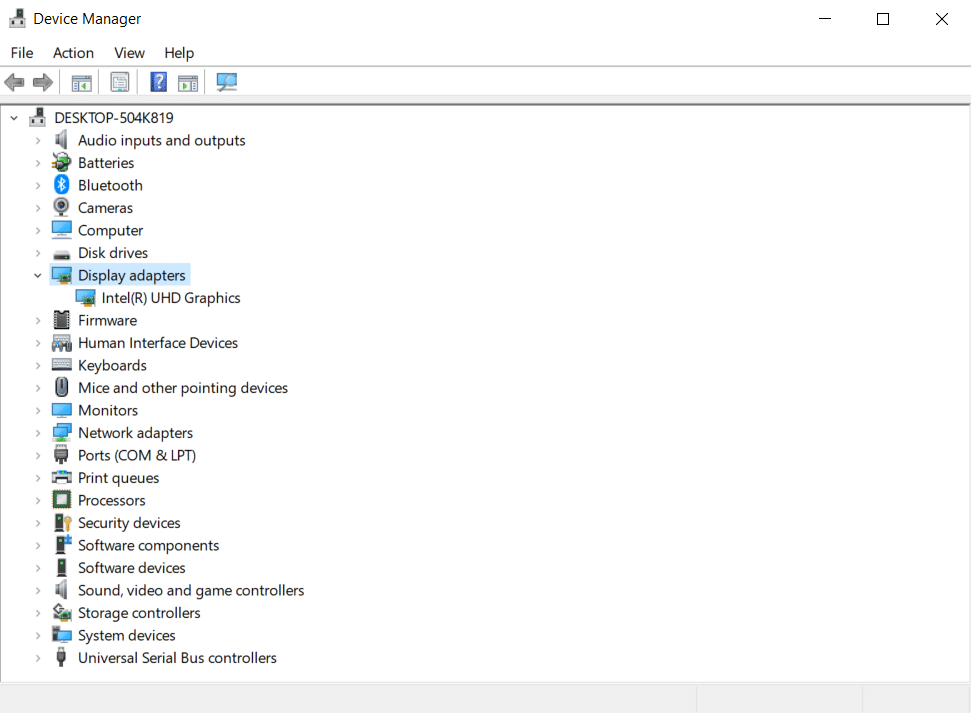
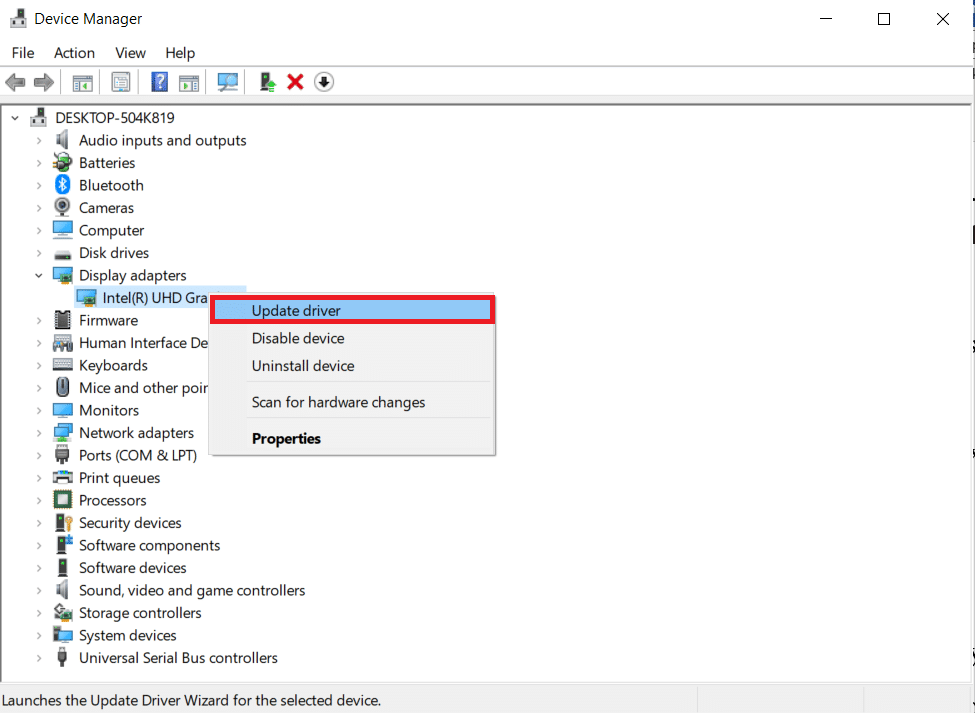
3. Nhấp chuột phải vào video driver (ví dụ Intel (R) UHD Graphics) và lựa chọn Cập nhật driver như mô tả dưới đây.
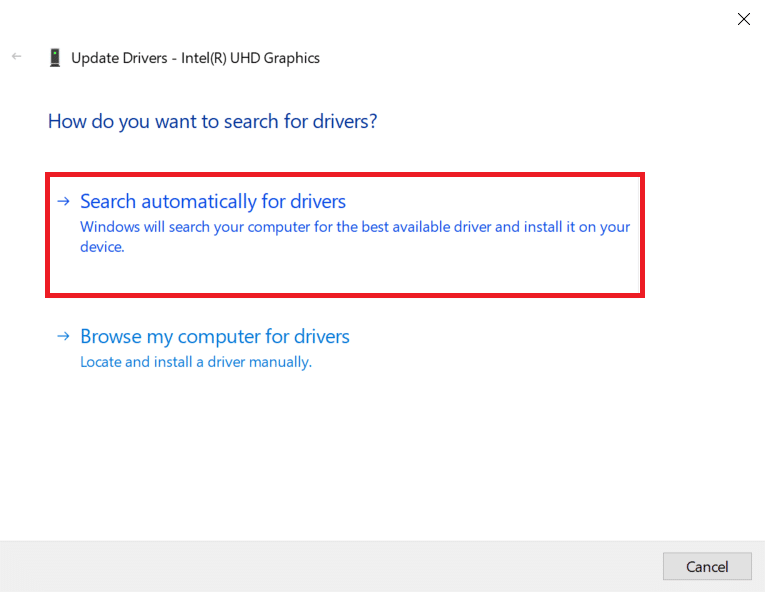
KHAI THÁC. Tiếp theo, nhấp vào Tự động tìm kiếm trình điều khiển như hình.
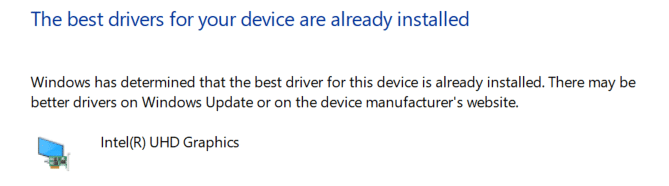
5A. If the drivers have been updated already, it shows Trình điều khiển tốt nhất cho thiết bị của bạn đã được cài đặt.
5B. If the drivers are outdated, then they will get cập nhật tự động.
6. Finally, update all the outdated drivers by following the above steps and khởi động lại máy tính của bạn.
Method 13: Update Steam
Here are the steps to update Steam to fix the bugs and errors causing Steam is slow issue.
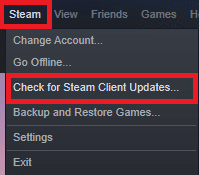
1. Phóng hơi nước và điều hướng đến thực đơn quán ba.
2. Bây giờ, hãy nhấp vào hơi nước tiếp theo Kiểm tra cập nhật ứng dụng khách Steam…
3A. Steam – Self Updater will download updates automatically, if available. Click RESTART STEAM to apply the update.

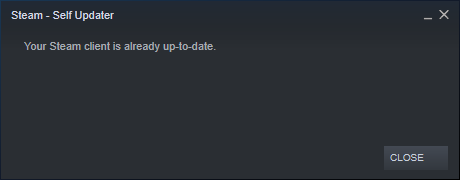
3B. If you have no updates, Your Steam client is already up-to-date message will be displayed, as follows.
Cũng đọc: How to Download Steam Games on External Hard Drive
Phương pháp 14: Sửa chữa hơi nước
Follow these steps to repair Steam app to fix Steam is slow problem.
1. Nhấn nút Chốt cửa sổ, kiểu windows powershell và click vào Run as administrator.

2. nhấp chuột Có trong User Account Control lời nhắc.
3. Nhập thông tin sau lệnh va đanh Nhập khóa.
“C:Tệp chương trình (x86)SteambinSteamService.exe” /sửa chữa
Lưu ý: If your Steam file is placed in another location, you need to enter that directory instead. Read our guide: Where are Steam Games installed? here.
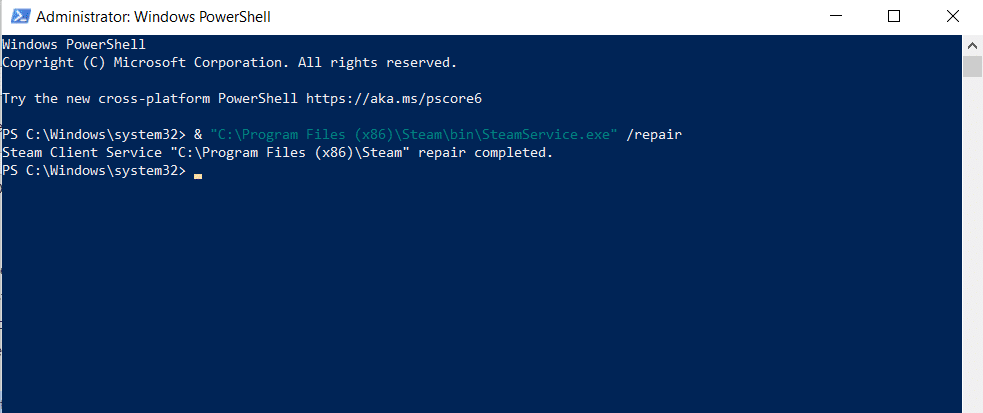
KHAI THÁC. Một khi sửa chữa hoàn thành message is displayed, khởi động lại máy tính cá nhân của bạn.
Cũng đọc: Cách gỡ cài đặt trò chơi Steam
Phương pháp 15: Cài đặt lại Steam
If none of the above methods works for you, then reinstalling Steam is the last option to fix Steam is slow problem. Follow the given steps to reinstall Steam.
1. Firstly, go to the hơi nước folder and right-click on ứng dụng hơi nước thư mục, sau đó chọn Sao chép tùy chọn.
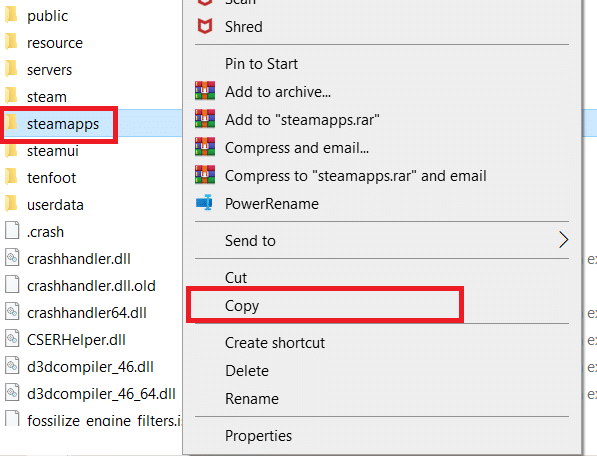
2. Sau đó, paste the folder in the other location to tạo một bản sao lưu of the installed games.
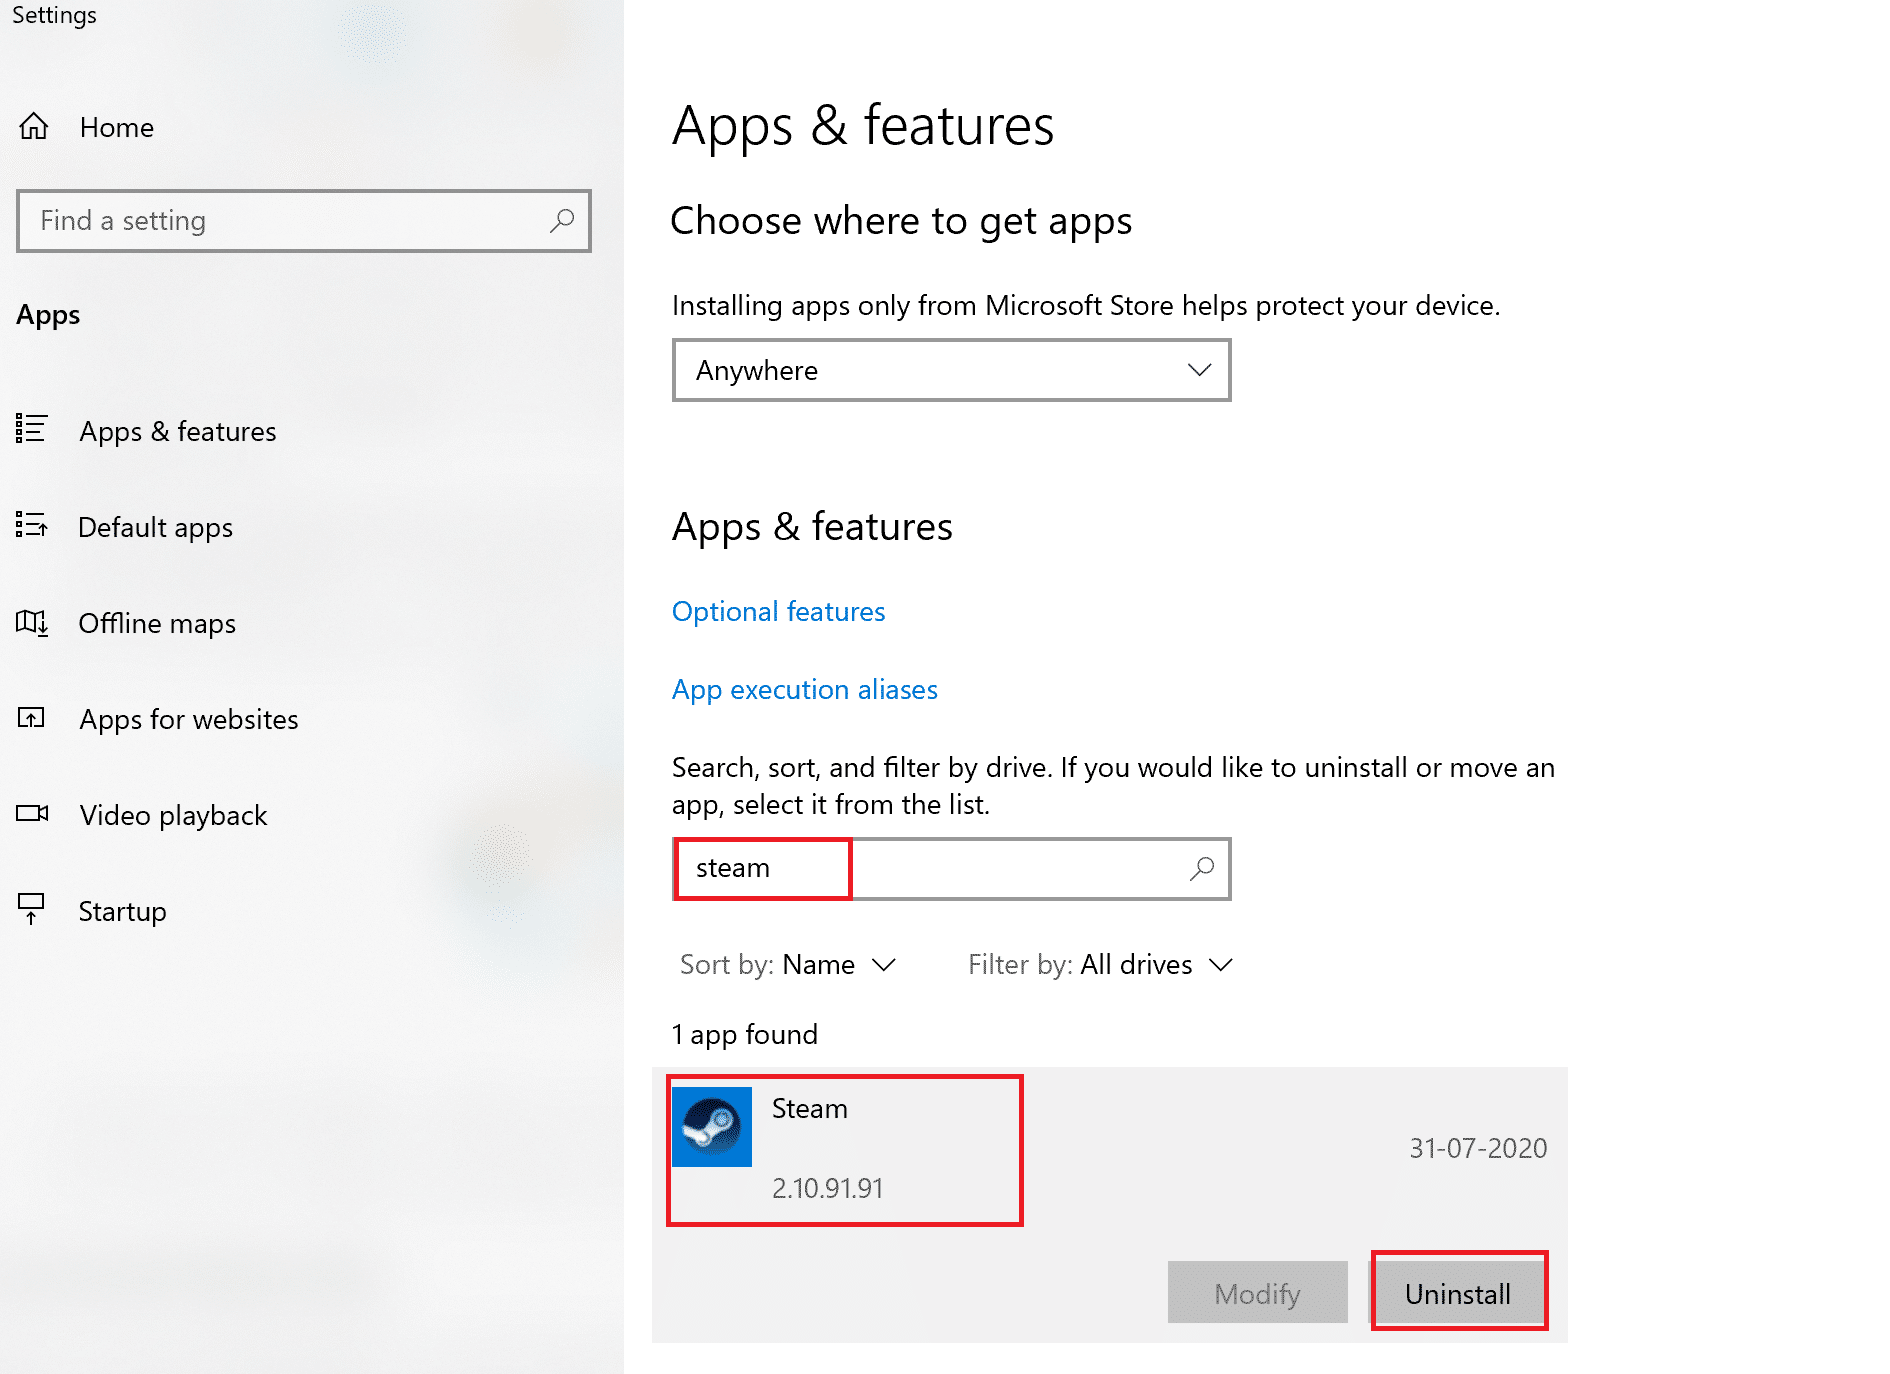
3. Now hit the Chốt cửa sổ, kiểu Ứng dụng và tính năng, và nhấp vào Mở.
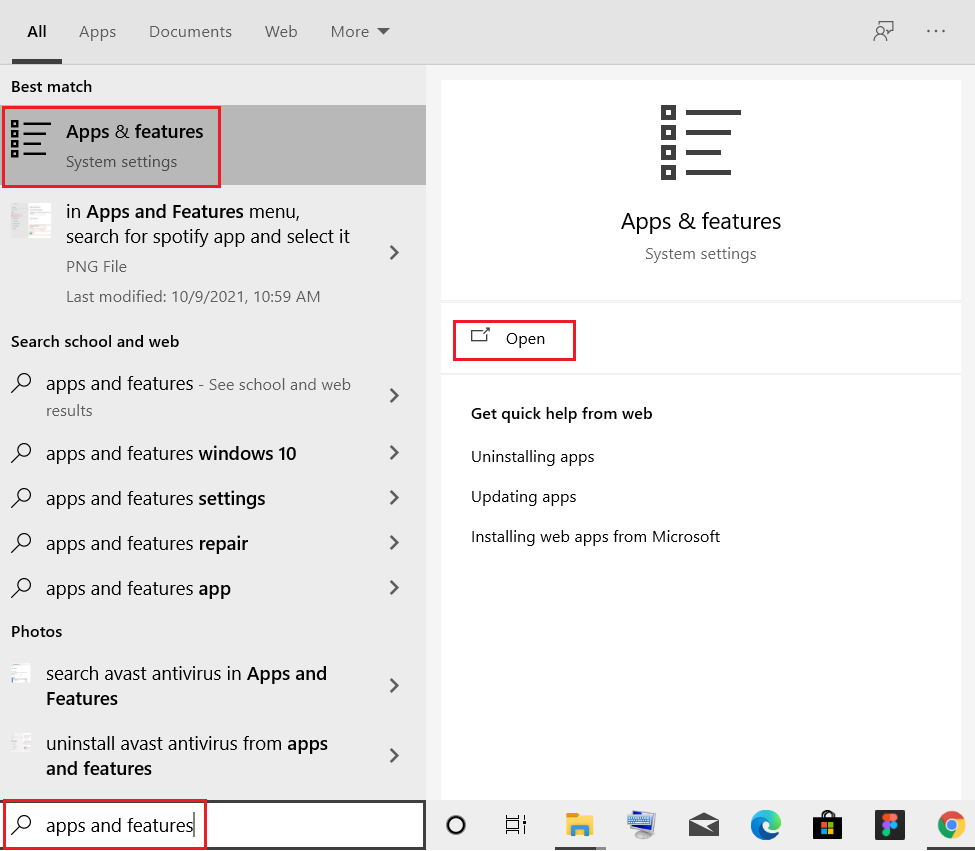
4. Lựa chọn hơi nước và bấm vào Gỡ bỏ cài đặt nút hiển thị được đánh dấu.
5. Một lần nữa, nhấp vào Gỡ bỏ cài đặt xác nhận.
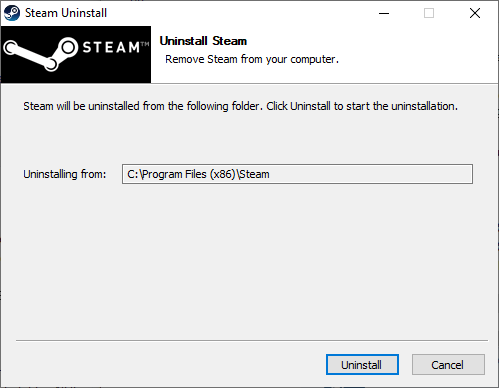
6. bên trong Steam Uninstall cửa sổ, bấm vào Gỡ bỏ cài đặt to remove Steam.
7. Sau đó, khởi động lại your Windows PC.
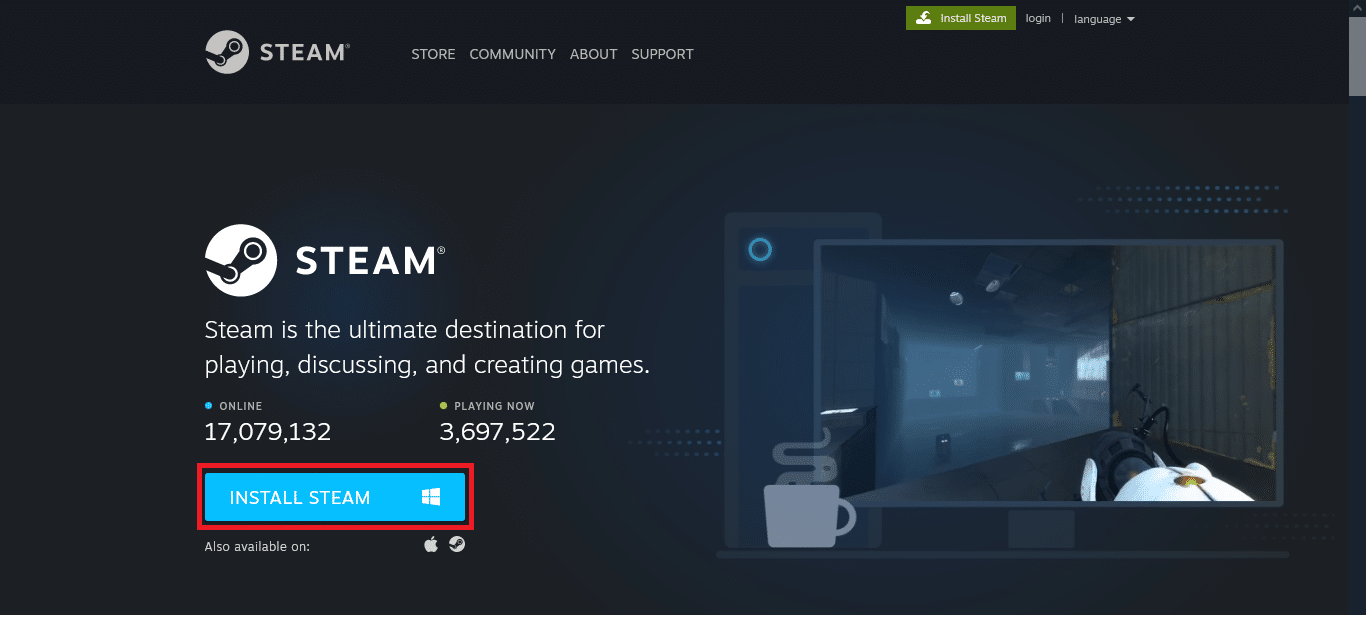
8. Tải về phiên bản mới nhất of hơi nước from your web browser, as shown.
9. After downloading, run the downloaded SteamSetup.exe tập tin bằng cách nhấp đúp vào nó.
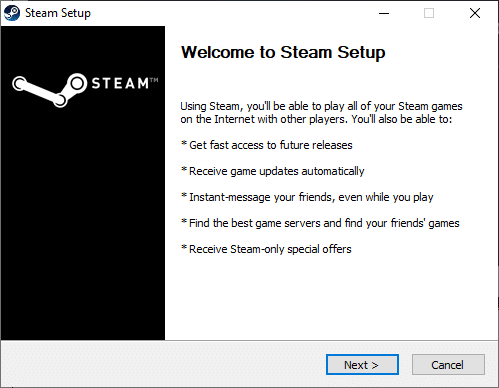
10. bên trong Steam Setup wizard, click on the Sau .
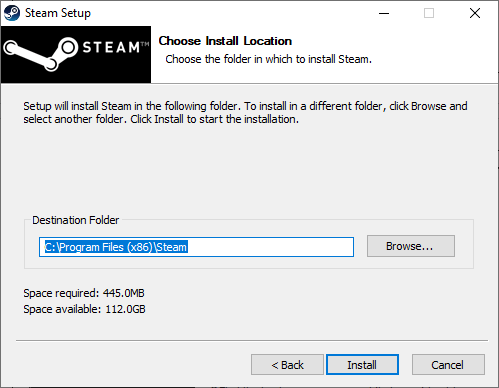
KHAI THÁC. Chọn Thư mục đích bằng cách sử dụng Duyệt qua ... option or keep the tùy chọn mặc định. Sau đó, nhấp vào đặt, như được mô tả dưới đây.
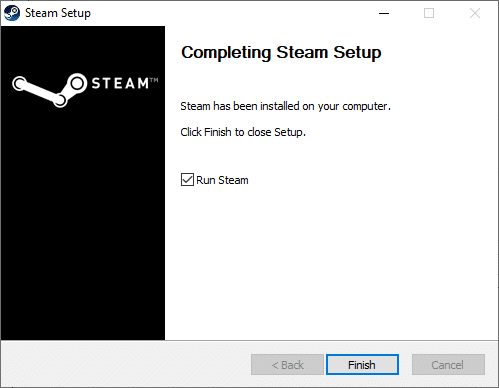
12. Wait for the installation to be completed and click on Kết thúc, như được hiển thị.
13. After installing Steam, move the ứng dụng hơi nước backup folder you previously made to the installed Steam folder.
14. Cuối cùng, khởi động lại máy tính của bạn.
Đề nghị:
We hope this information was helpful and that you were able to fix Steam is slow issue. Please let us know which best method worked best for you. If you have any questions or comments, please leave them in the comments area.

