Windows repeatedly waking up PC from sleep mode can be irritating and cause several issues. MoUSO Core Worker Process is responsible for this error. It is a program that coordinates Windows Update operation. It exclusively works in the back end and doesn’t hinder regular processes. But, sometimes in sleep mode it often wakes your system without permission. We bring to a perfect guide to fix MoUsoCoreWorker.exe process issue in Windows 10.
How to Fix MoUSO Core Worker Process in Windows 10
Here are some plausible reasons why MoUSO Core Worker Process may wake up your PC from sleep.
- Outdated Windows
- Incorrect Power Settings
- Interference by third party applications
- Orchestrator Service issues
After understanding why MoUsoCoreWorker.exe keeps waking up your PC from sleep, let us go to into the method for resolving this MoUsoCoreWorker.exe process error in Windows 10.
Method 1: Uninstall GoodSync
Syncing third-party applications can keep your PC engaged causing MoUSO Core Worker Process to run continuously. They may cause this MoUsoCoreWorker.exe process error. GoodSync app is well-known for causing such issues. You can fix this by disabling or uninstalling such programs using the steps below.
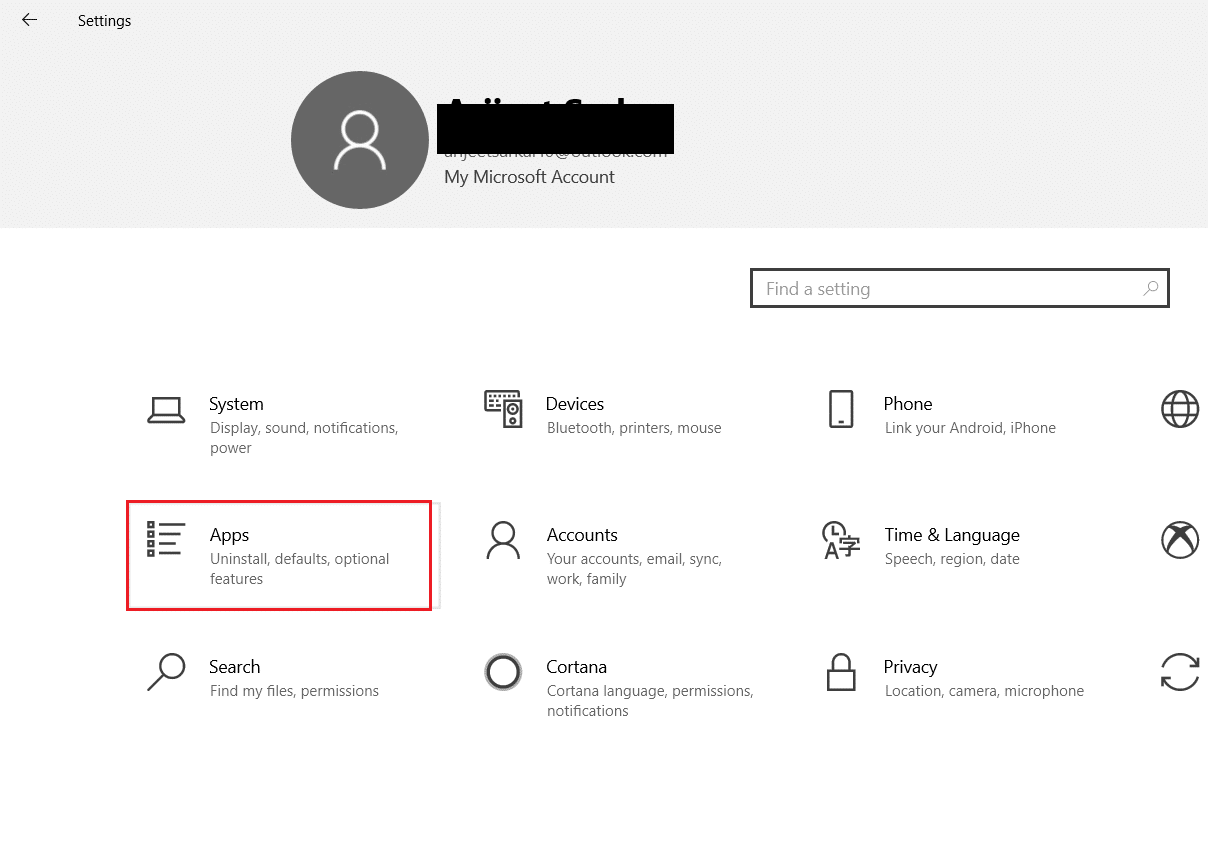
1. Tẹ awọn Awọn bọtini Windows + I papo lati ṣii Eto.
2. Yan Apps aṣayan lati Eto window.
3. Yan Awọn ohun elo ati awọn ẹya ara ẹrọ on the left pane. After that, scroll down in the right pane and select GoodSync app ki o si tẹ lori Aifi Bọtini.
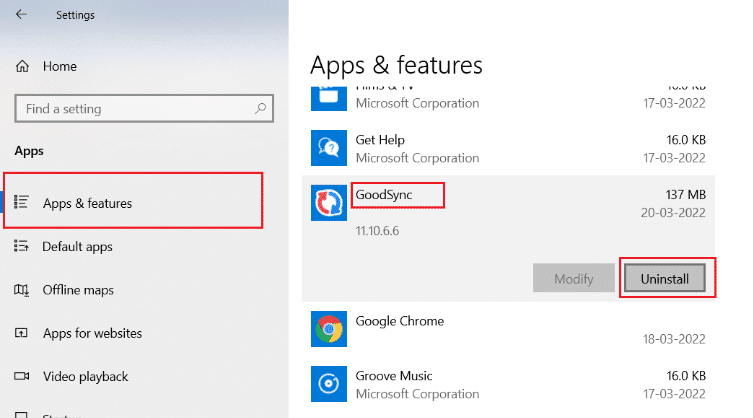
4. Tẹ Aifi lori ibere ìmúdájú.

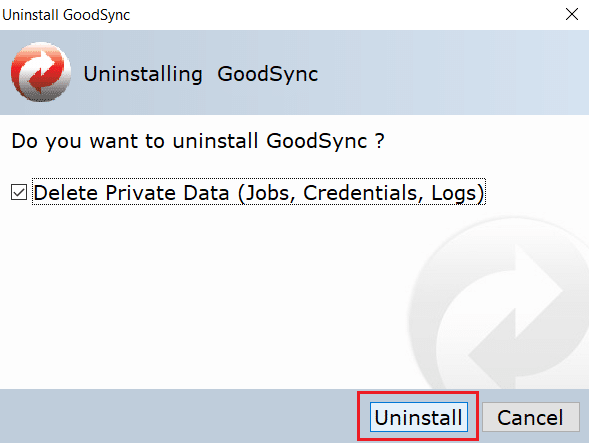
5. Again, click Aifi on Uninstall GoodSync window.
akiyesi: You can check the box marked Delete Private Data (Jobs, Credentials, Logs) if you have a backup of your private data.
6. Tẹ Bẹẹni on GoodSync Alakoso gbe jade.

7. After uninstallation is complete, bẹrẹ PC.
Tun Ka: Fix the Trust Relationship Between This Workstation and the Primary Domain Failed
Method 2: Disable Wake Timers
Wake timers are used for waking your PC automatically to complete specified tasks at a certain time. Sometimes they can disturb PC when it is on Sleep mode, thus causing this MoUsoCoreWorker.exe process error. Follow the steps given below and disable them.
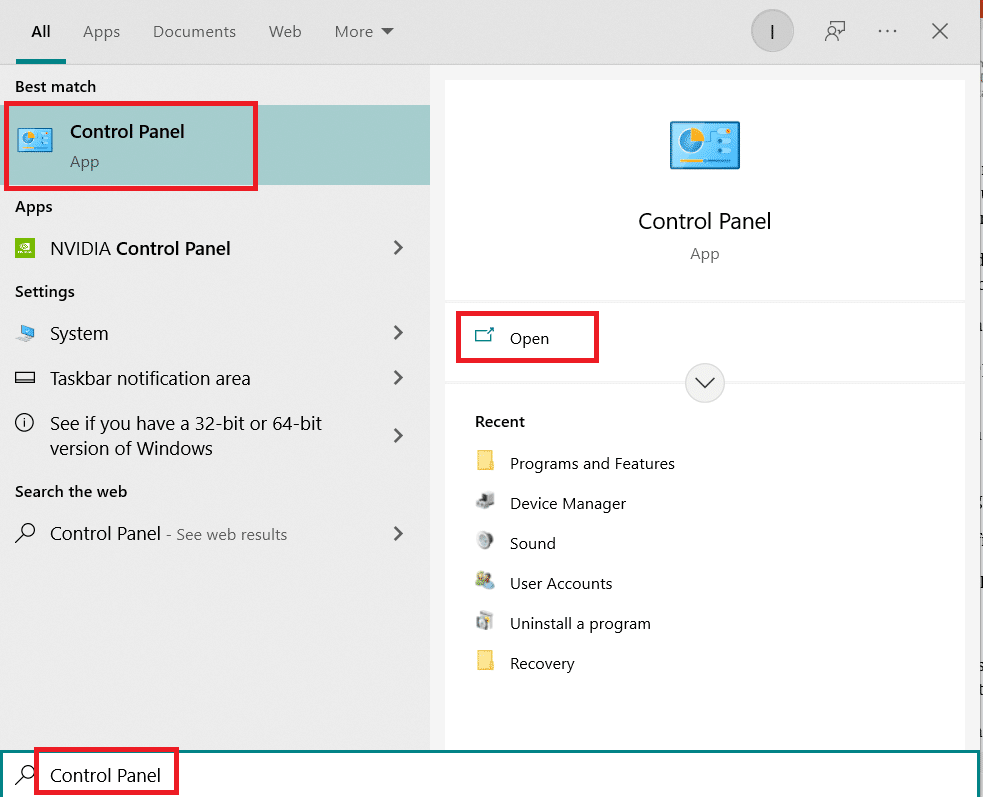
1. Tẹ awọn Windows bọtini ati iru ibi iwaju alabujuto, ki o tẹ lori Open.
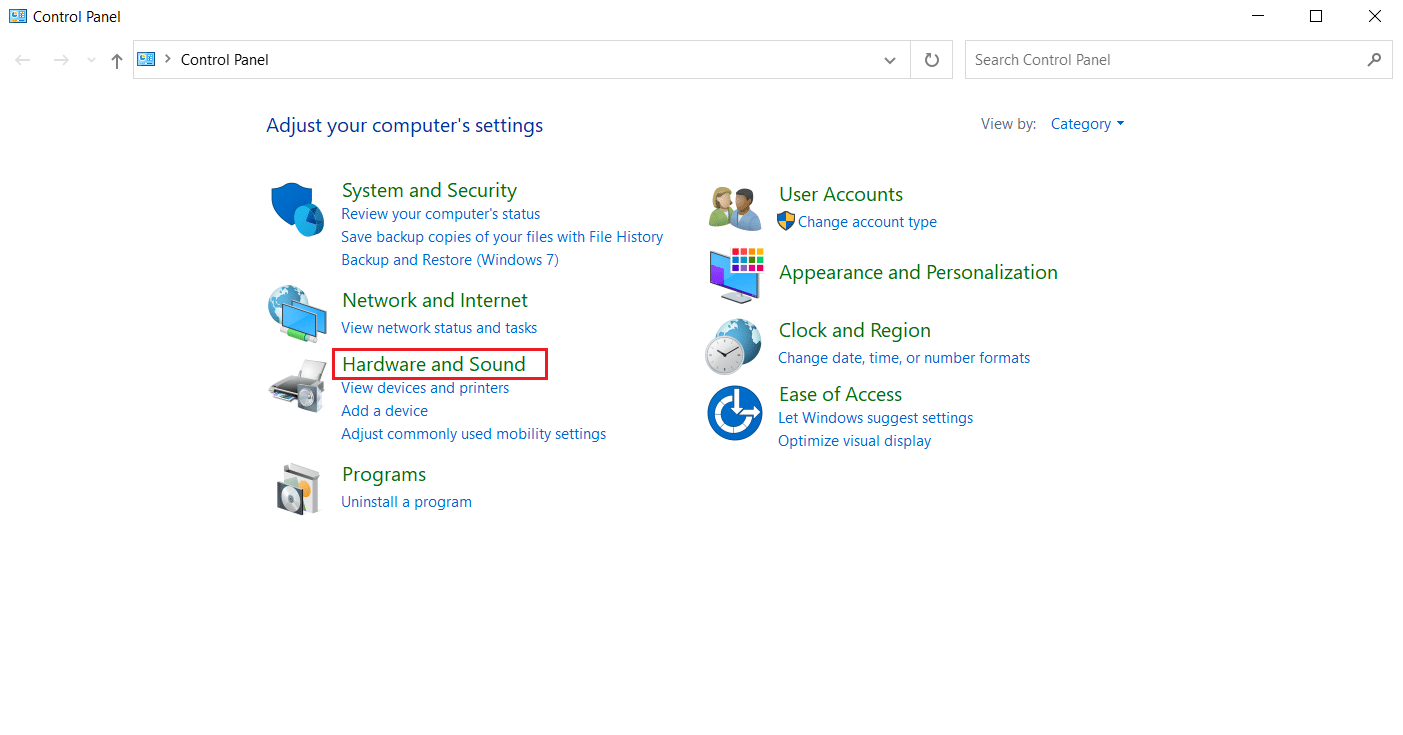
2. Yan Ohun elo ati Ohun aṣayan.
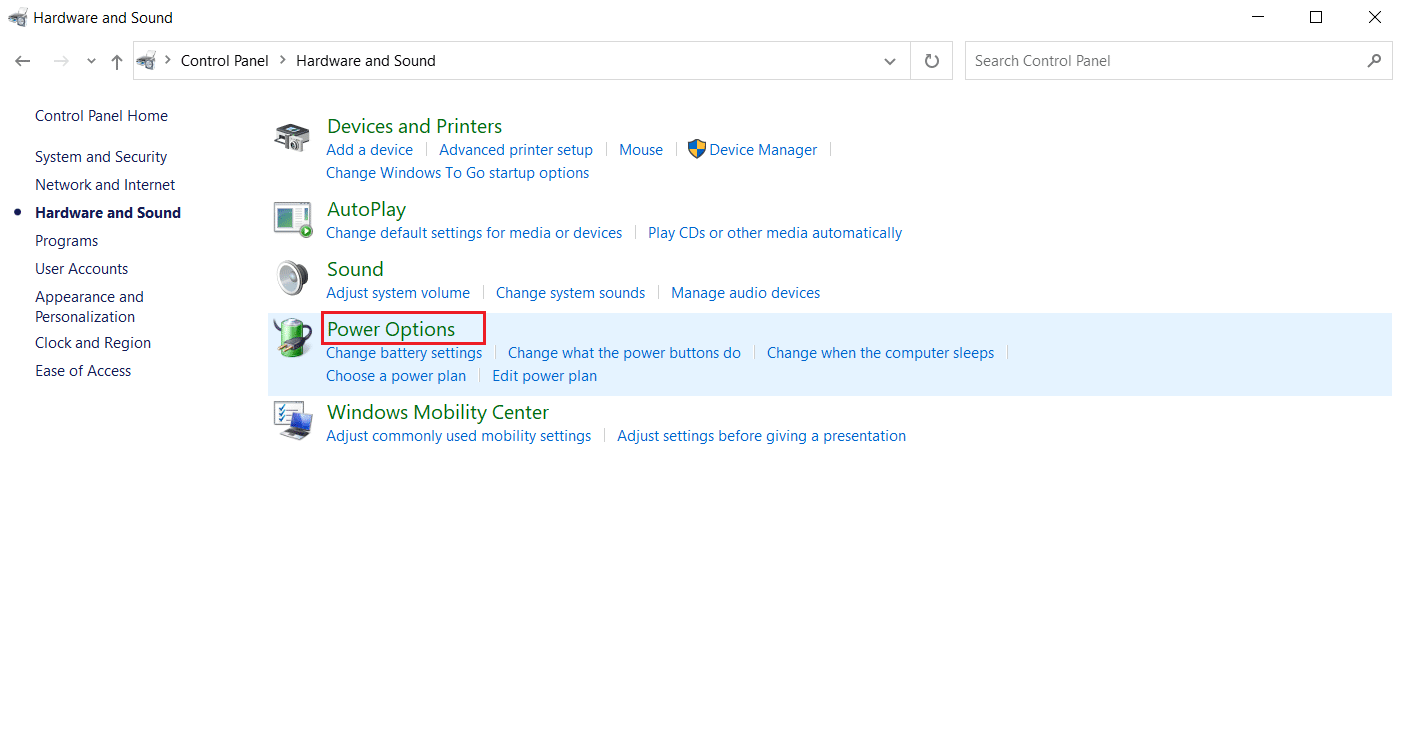
3. Yan Awọn aṣayan Agbara on Ohun elo ati Ohun iwe.
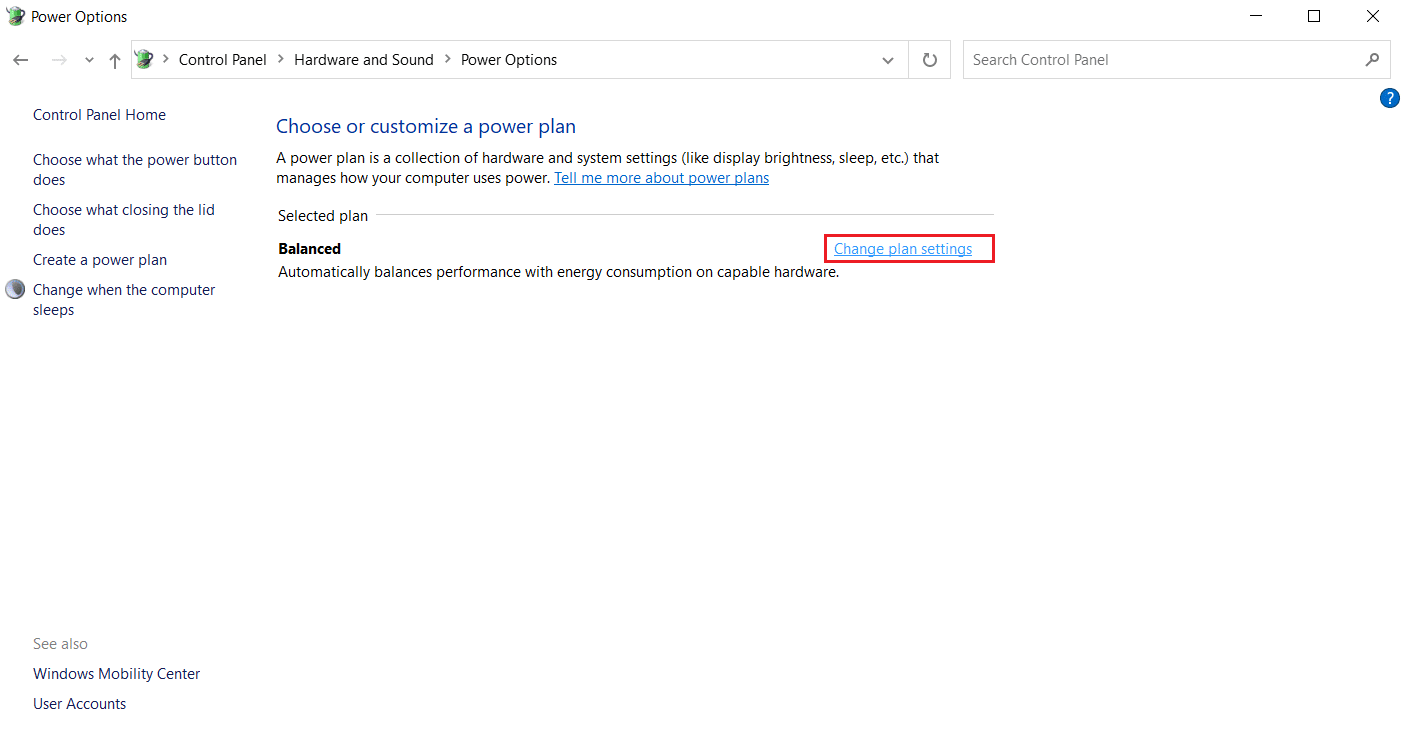
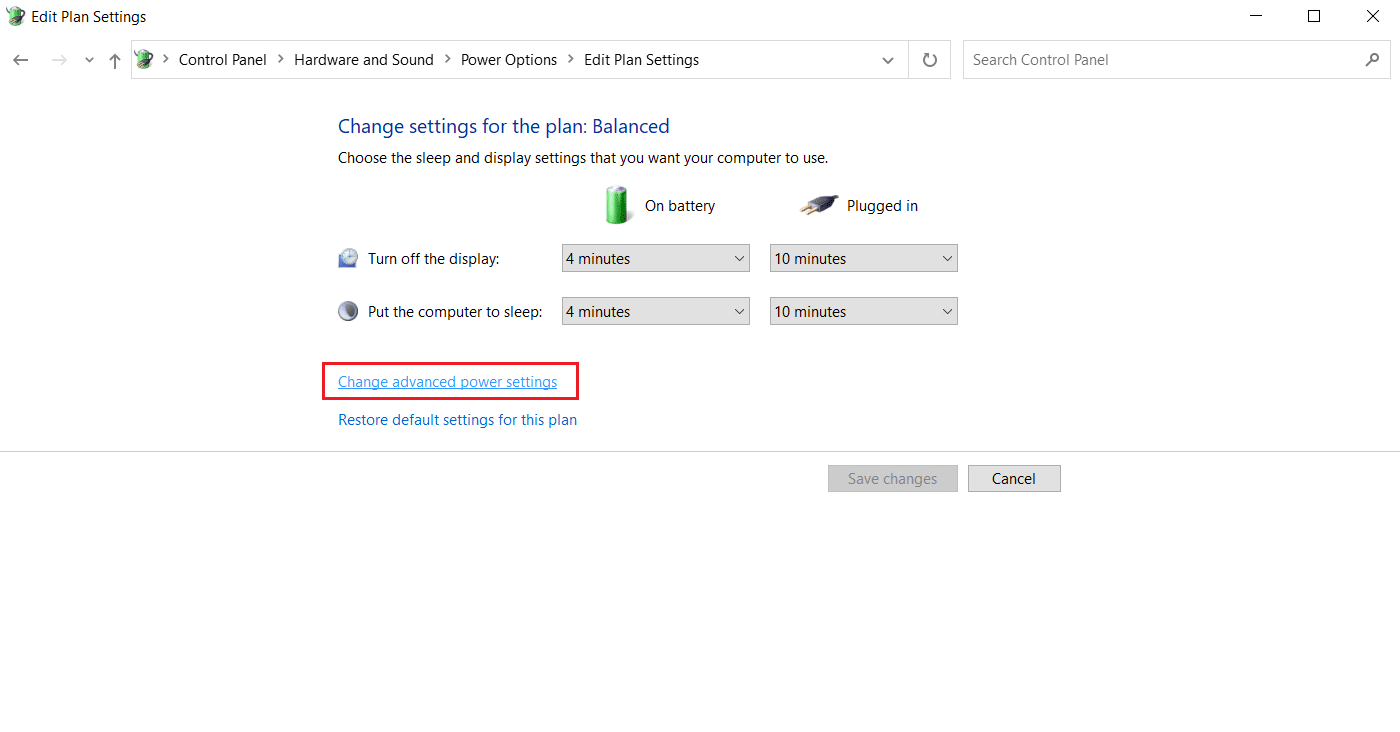
4. Tẹ Yi eto eto pada bi han.
5. Tẹ Yi eto agbara to ti ni ilọsiwaju pada. Awọn aṣayan Agbara window yoo ṣii.
akiyesi: You can directly open Awọn aṣayan Agbara from Desktop by running control.exe powercfg.cpl ,,3 pipaṣẹ ni Run apoti ibanisọrọ.
6. Wa orun ki o si tẹ lori + aami to expand it. You will see Allow Wake Timers aṣayan.
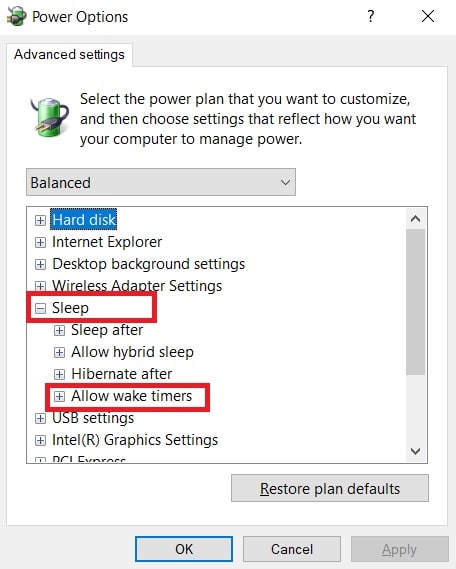
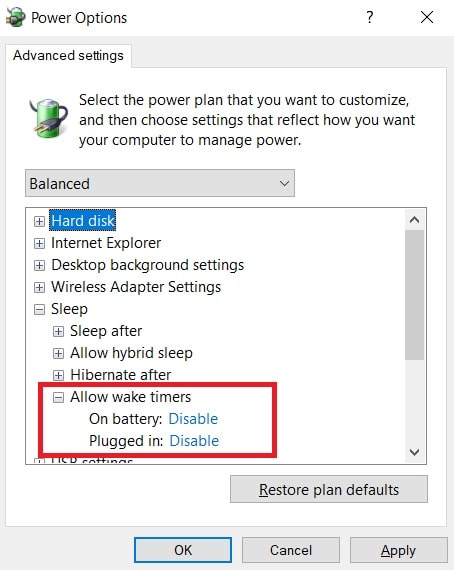
7. Lẹẹkansi tẹ lori awọn + aami lati faagun Allow Wake Timers ki o si yan mu Mejeeji Lori Batiri ati Ti fi sinu sinu.
8. Tẹ waye ati OK lati fi awọn ayipada pamọ.
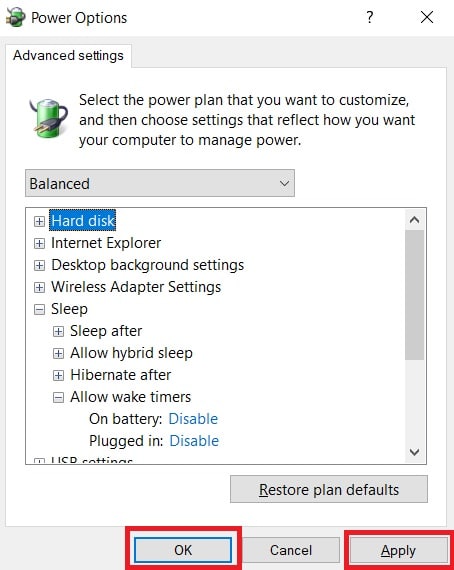
9.Lẹ́yìn náà, atunbere PC.
Check if this MoUsoCoreWorker.exe process error is fixed.
Tun Ka: Fix Multiple Google Chrome Processes Running
Method 3: Stop Update Orchestrator Service
UsoSVC or Update Orchestrator Service organises updates released by Windows and does tasks like downloading, verifying and installing updates. It may trigger MoUSO Core Worker Process and could be the cause behind this error. To fix this issue, you can disable UsoSVC by following these steps.
akiyesi: You will need to enable update orchestrator service whenever you update your PC.
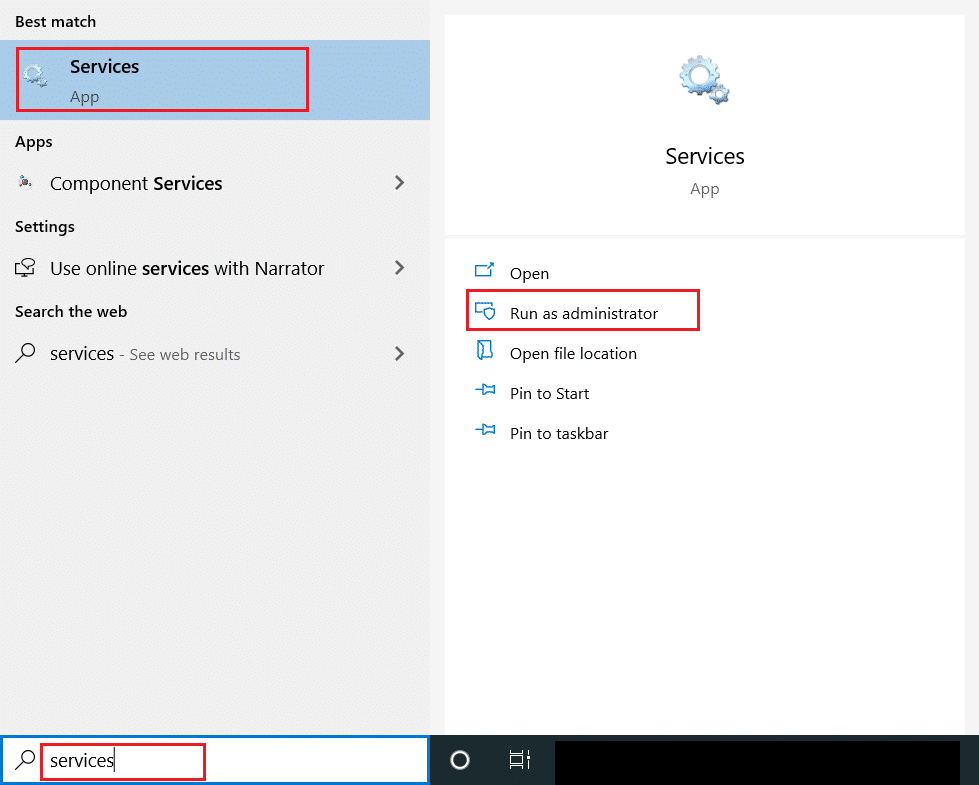
1. Lu awọn Bọtini Windows, tẹ awọn iṣẹ, ki o tẹ lori Ṣiṣe bi olutọju.

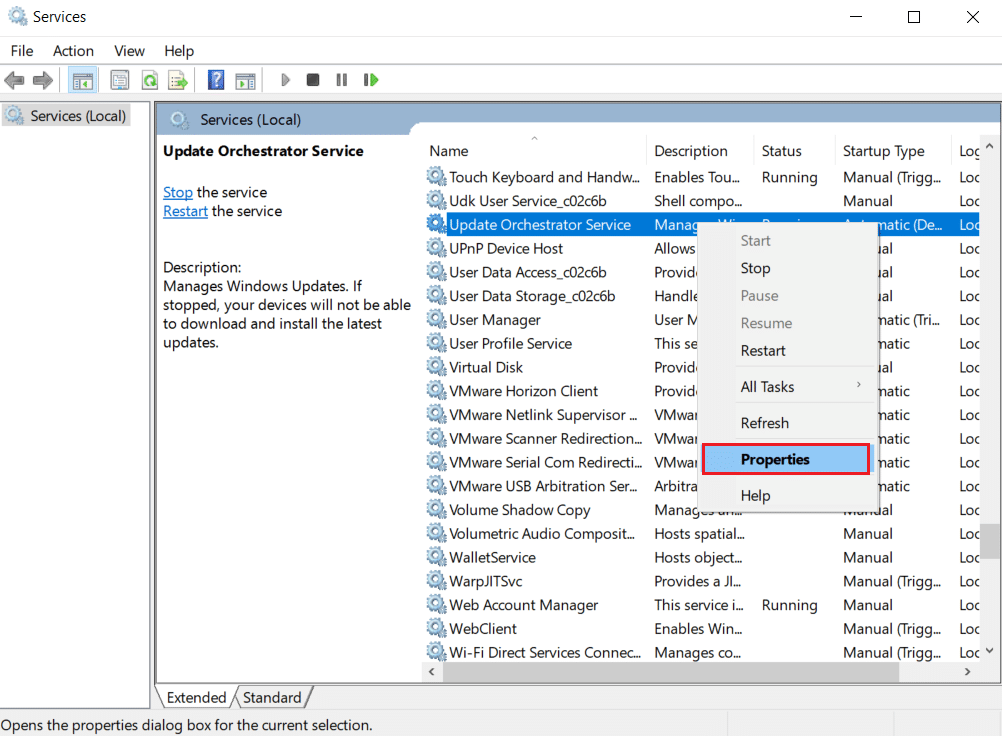
2. Wa ki o si tẹ-ọtun lori Imudojuiwọn Iṣẹ Orchestrator ki o si yan Properties.
3. Nínú Gbogbogbo taabu, iyipada Ibẹrẹ iru si Alaabo.
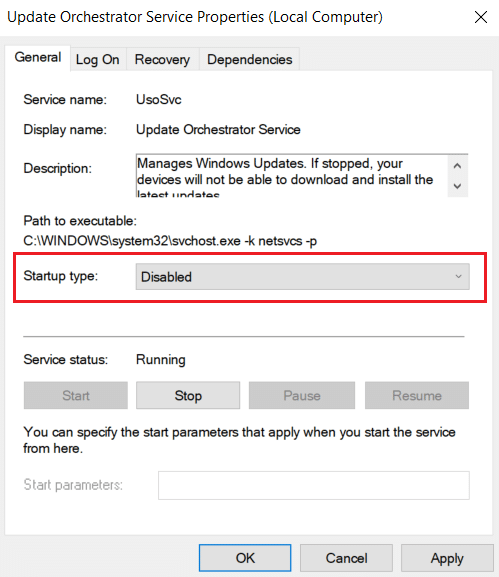
4. Tẹ waye ati OK lati jẹrisi awọn ayipada.
Method 4: Disable Task Scheduler
Task Scheduler is a service that enables you to schedule and perform any task on your PC without manual intervention at any specific time. Sometimes a planned automated task can wake PC from sleep, causing this MoUsoCoreWorker.exe process issue. Follow the instructions below to turn off Task Scheduler.
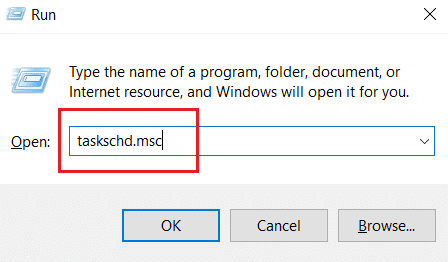
1. Tẹ Windows + R awọn bọtini nigbakanna lati ṣii Run apoti ibanisọrọ.

2. Iru awọn iṣẹ ṣiṣe.msc on Run Dialog Box ki o si tẹ Tẹ lati bẹrẹ Atọka Iṣẹ.
3. Ni Atọka Iṣẹ Window, navigate to the Task Scheduler Library > Microsoft > Windows > UpdateOrchestrator folder on the left pane.
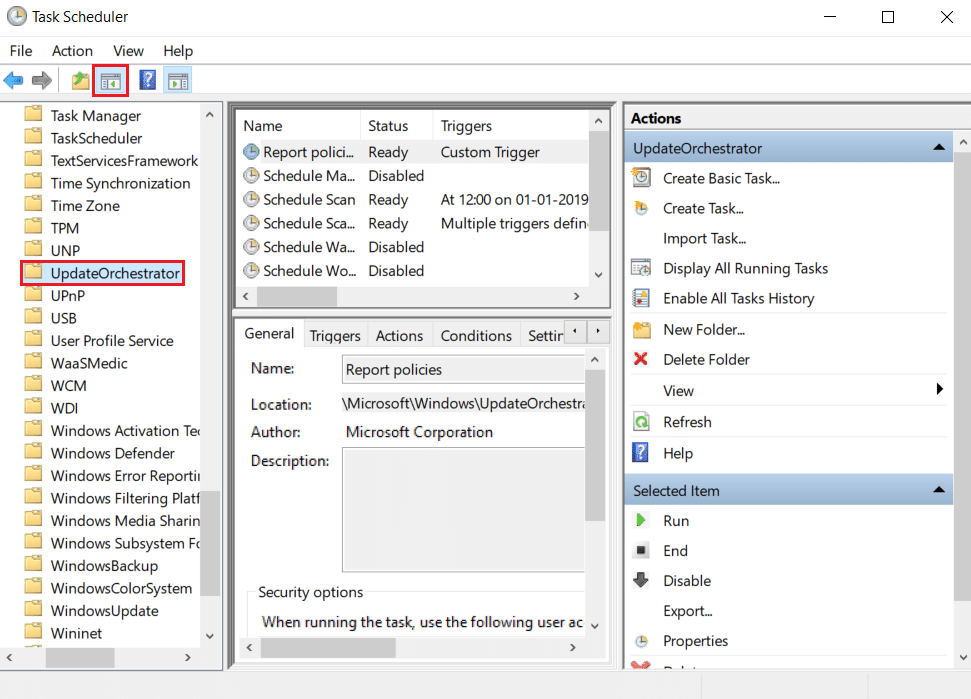
4. Nínú ImudojuiwọnOrchestrator folder, find and right-click Schedule scan task ki o si yan mu.
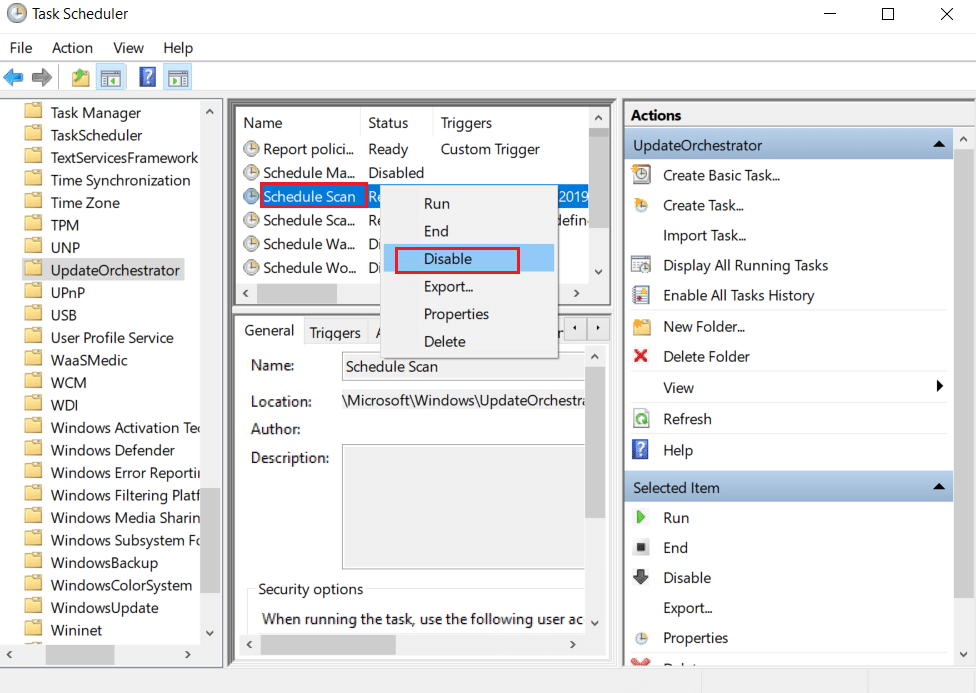
5. Exit Task Scheduler and bẹrẹ PC naa.
Tun Ka: How to Check How Much VRAM Do I Have on Windows 10
Ọna 5: Ṣe imudojuiwọn Windows
Outdated Windows PC can create compatibility issues. Microsoft team releases updates to fix bugs and add other useful features. Updating Windows may fix this MoUsoCoreWorker.exe process issue. Follow these to do so.
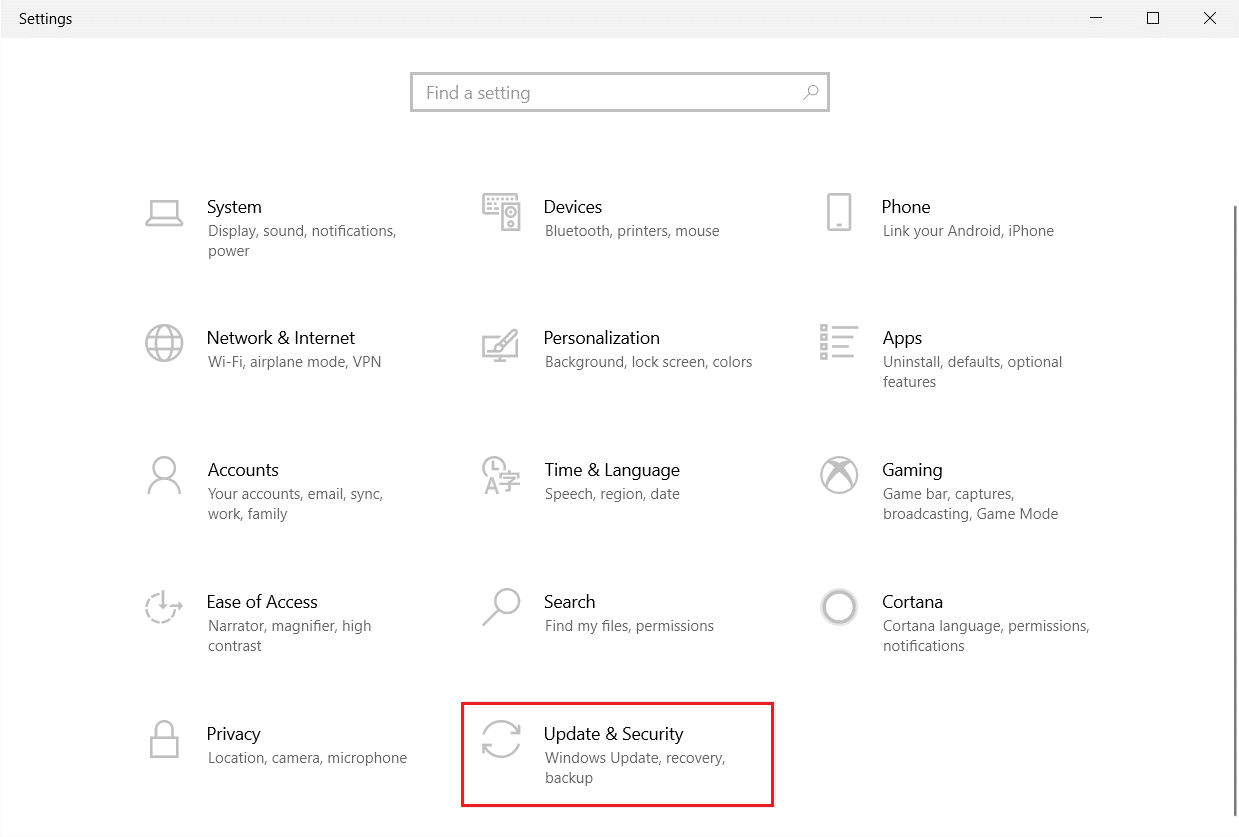
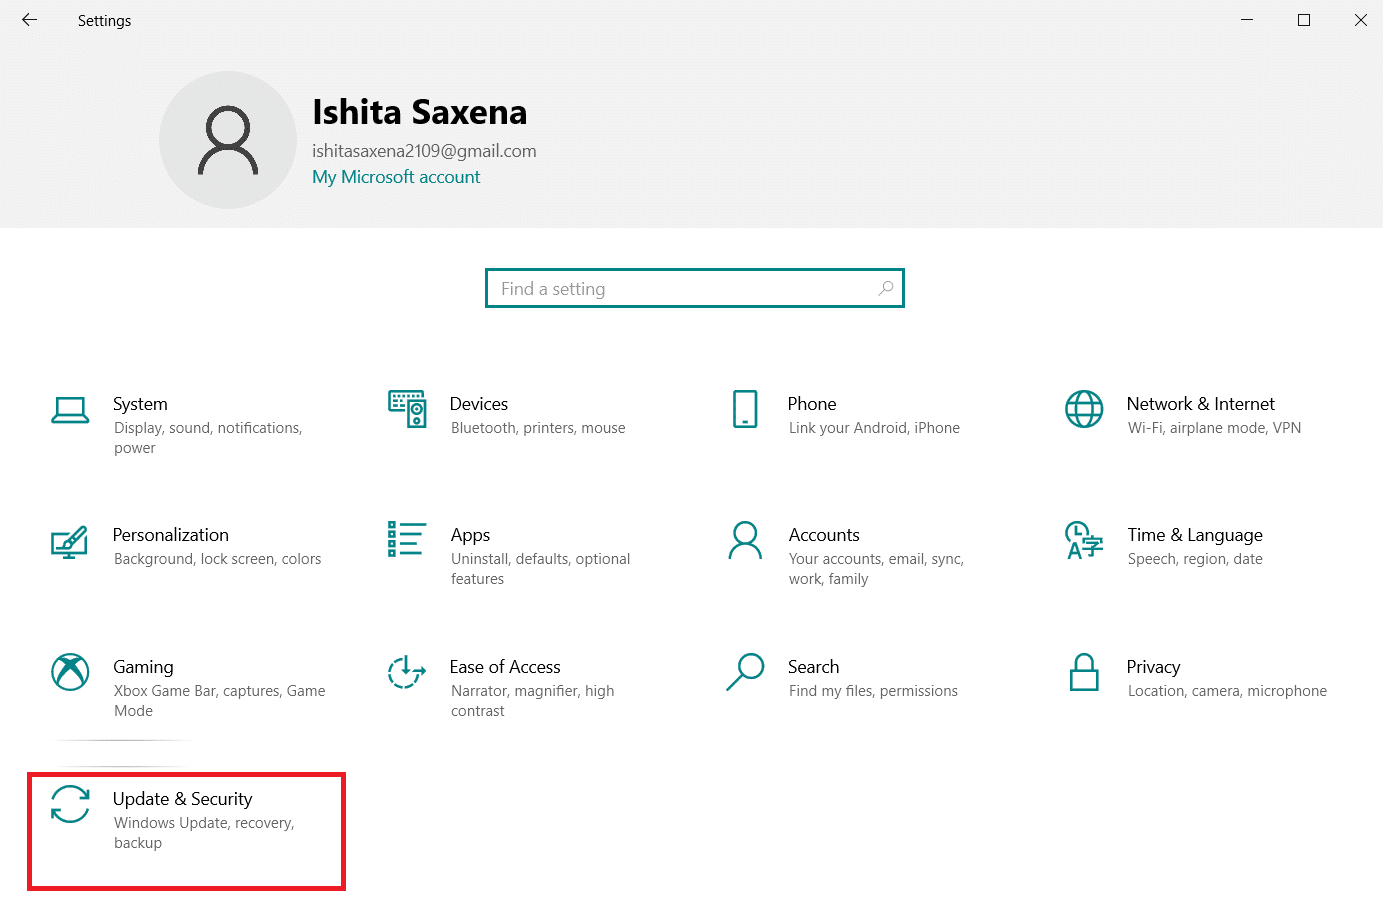
1. Tẹ awọn Awọn bọtini Windows + I nigbakanna lati lọlẹ Eto.
2. Tẹ lori Imudojuiwọn & Aabo tile, bi han.
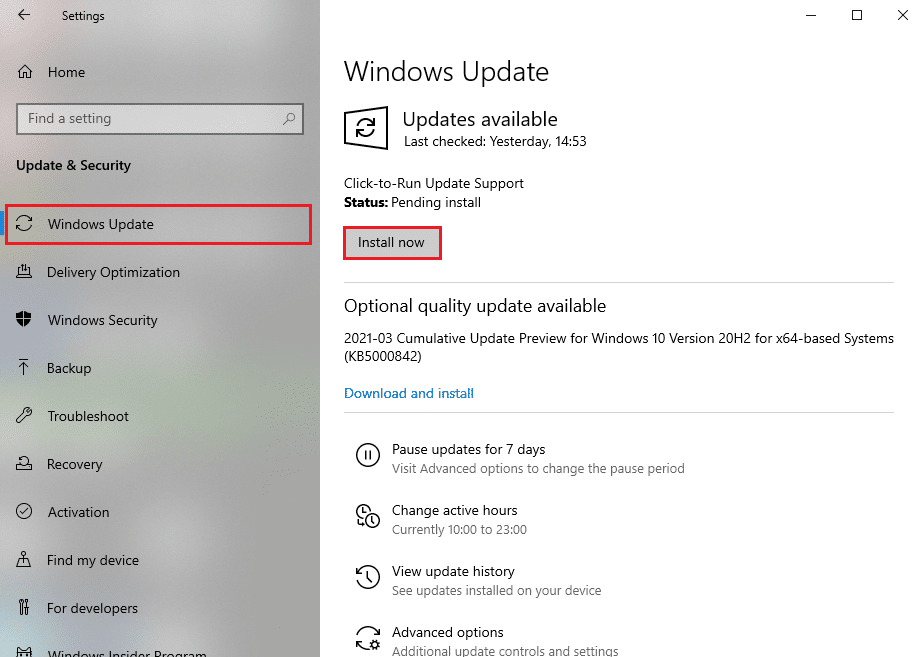
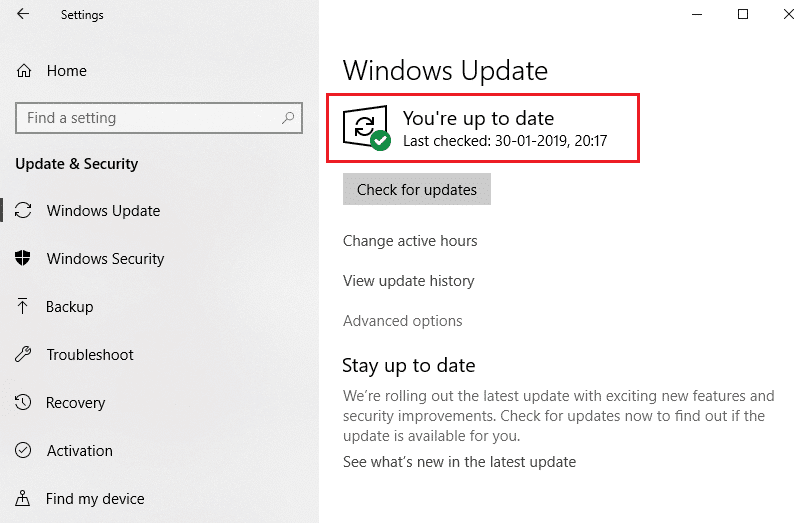
3. Nínú Windows Update taabu, tẹ lori Ṣayẹwo fun awọn imudojuiwọn Bọtini.
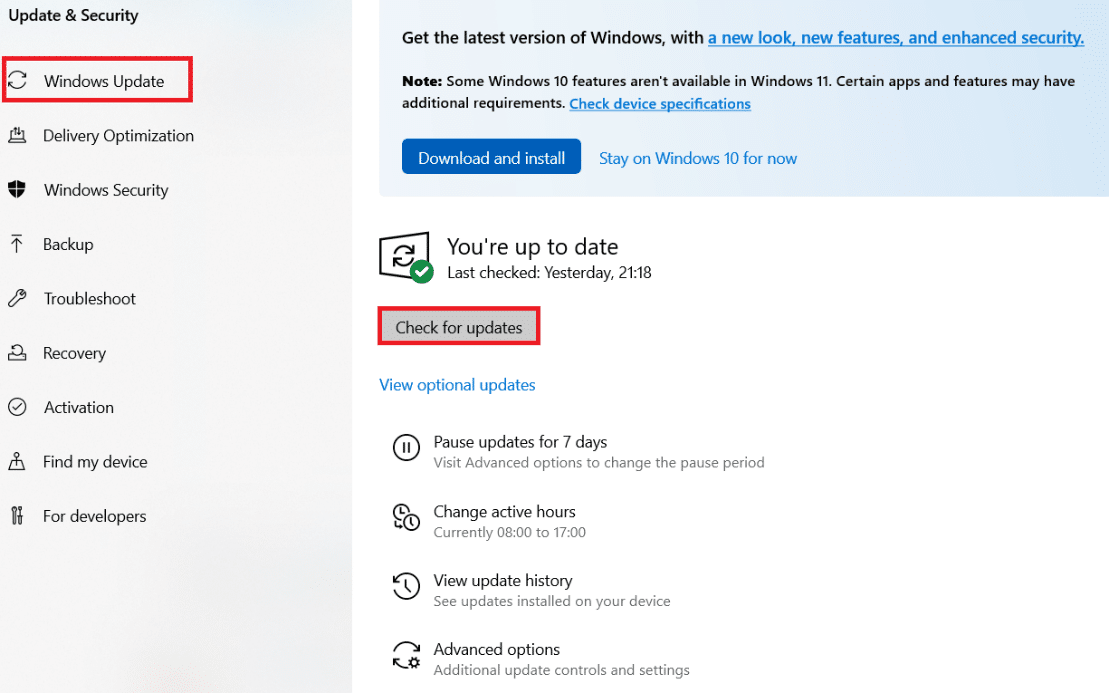
4A. Ti imudojuiwọn tuntun ba wa, lẹhinna tẹ Fi sori Bayi ki o si tẹle awọn ilana lati mu.
4B. Bibẹẹkọ, ti Windows ba wa ni imudojuiwọn, lẹhinna o yoo han O ti wa ni imudojuiwọn ifiranṣẹ.
Ọna 6: Lo Olootu Iforukọsilẹ
Registry Editor is a repository containing all configurations, values and settings for Windows. We can use it to create NoAutoRebootWithLoggedOnUsers DWORD which will stop PC from auto rebooting and may fix this MoUsoCoreWorker.exe MoUSO Core Worker process error. Follow the below-mentioned steps to do it.
akiyesi: Modifying Registry Editor may cause issues. Create Registry backup before following this method as shown below.
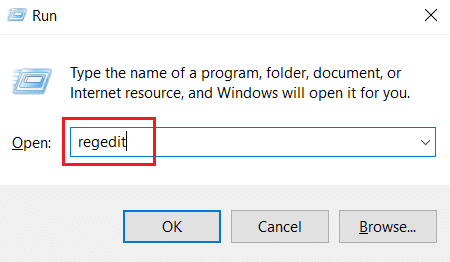
1. Tẹ Windows + R awọn bọtini papo lati ṣii awọn Run apoti ibanisọrọ.
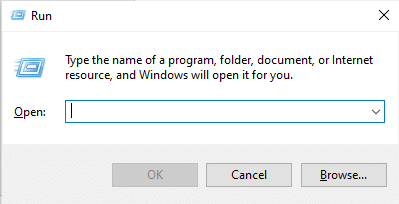
2. Iru regedit ki o si tẹ OK lati bẹrẹ Alakoso iforukọsilẹ.
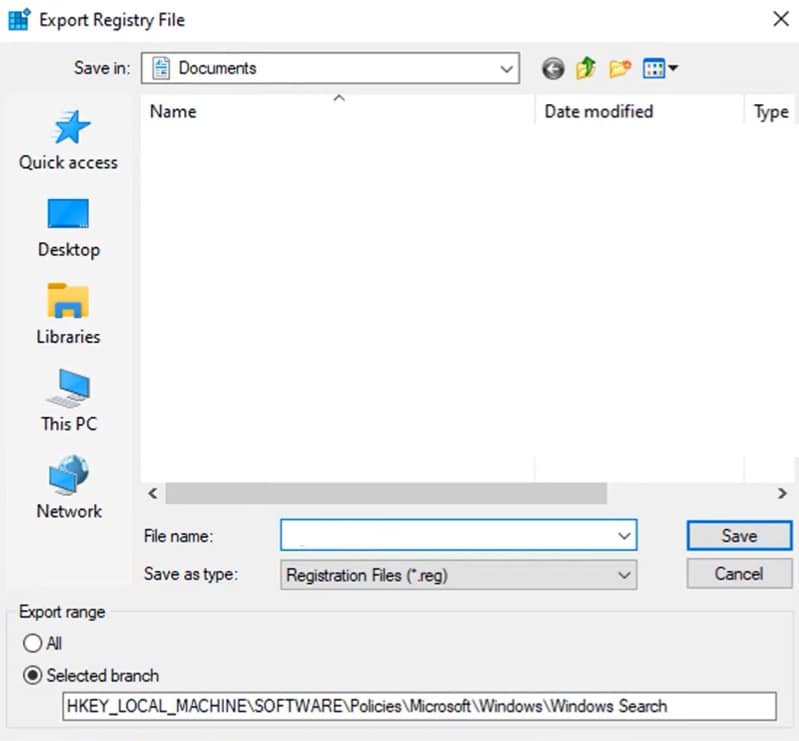
3. Tẹ lori faili ki o si yan okeere… option. It will open Faili Iforukọsilẹ si okeere window.
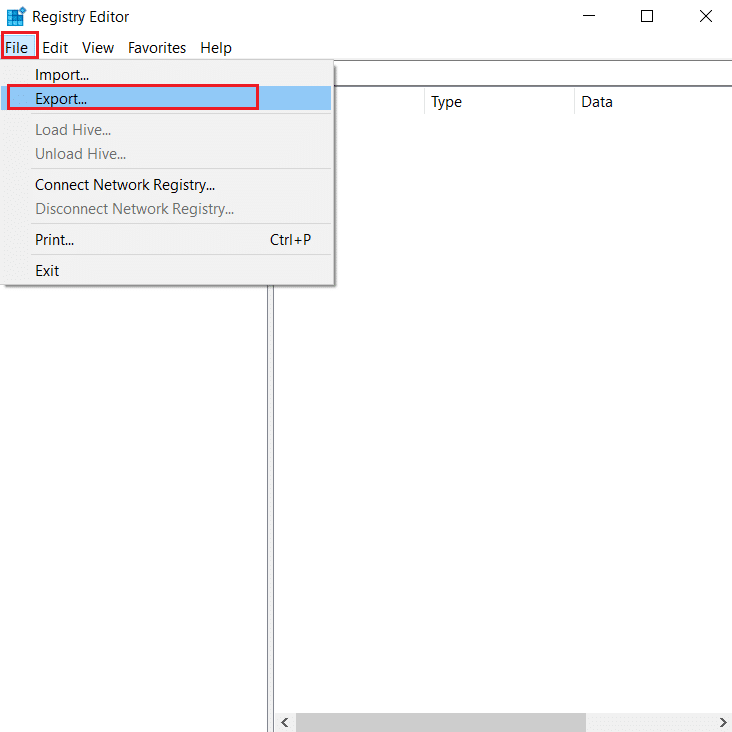
4. Name it accordingly and click on Fipamọ. Registry Backup will be created which you can import if things go wrong.
5. After creating backup, navigate to the following path in Alakoso iforukọsilẹ.
HKEY_LOCAL_MACHINESOFTWARE Awọn ofinMicrosoftWindowsWindowsUddateAU
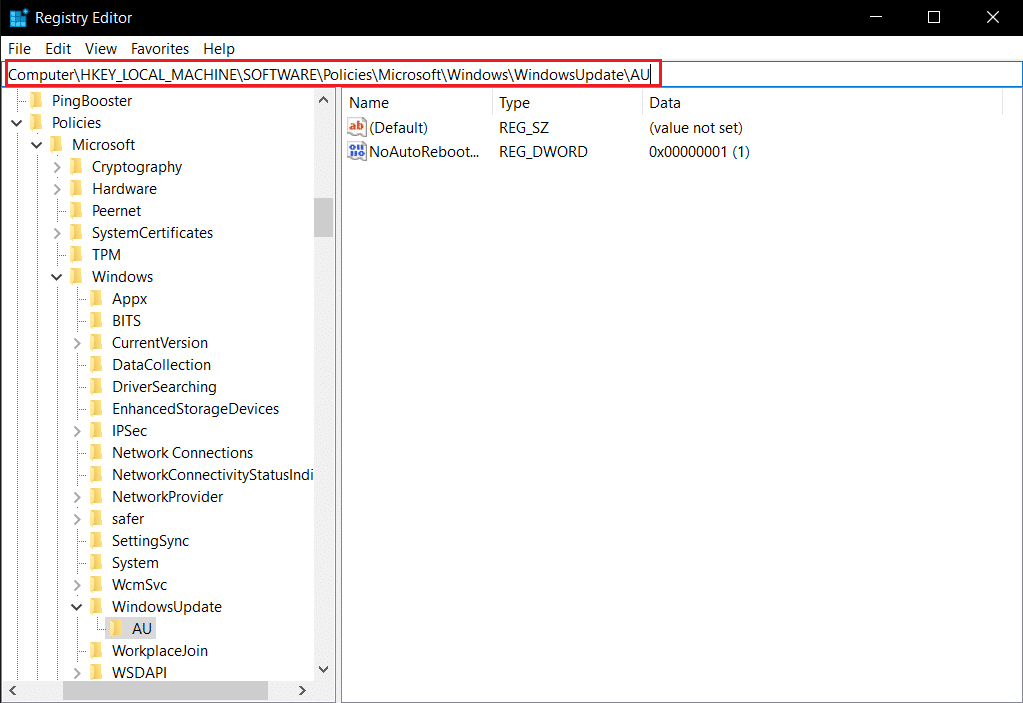
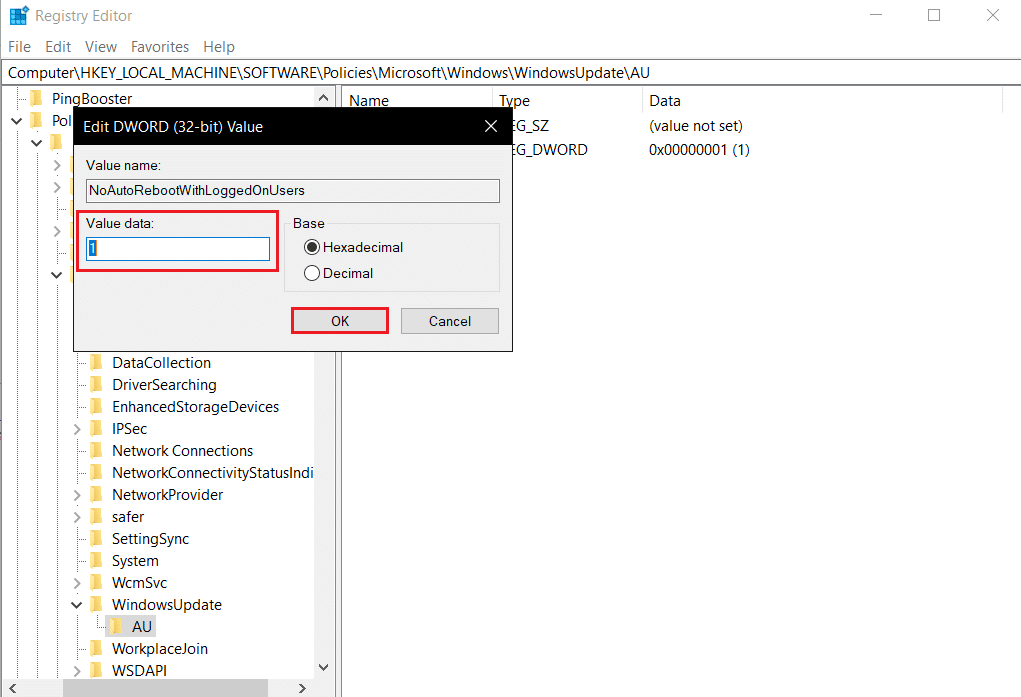
6. In the right pane, locate and double click NoAutoRebootWithLoggedOnUsers bọtini.
7. Ṣeto Alaye iye owo as 1 on the popup and click OK lati fi awọn ayipada pamọ.
8. Exit Registry Editor and bẹrẹ PC naa.
Tun Ka: How to Fix hkcmd High CPU Usage
Ọna 7: Tun iṣẹ imudojuiwọn Windows bẹrẹ
If your PC is unable to Sleep it may be because Windows Update service not working properly because of various errors. To resolve this, restart Windows Update service by following these steps.
1. Tẹ awọn Windows bọtini ati iru awọn iṣẹ o si tẹ lori Ṣiṣe bi olutọju lati bẹrẹ awọn iṣẹ window.
2. Wa ki o si tẹ-ọtun lori Windows Update isẹ ati yan Duro.
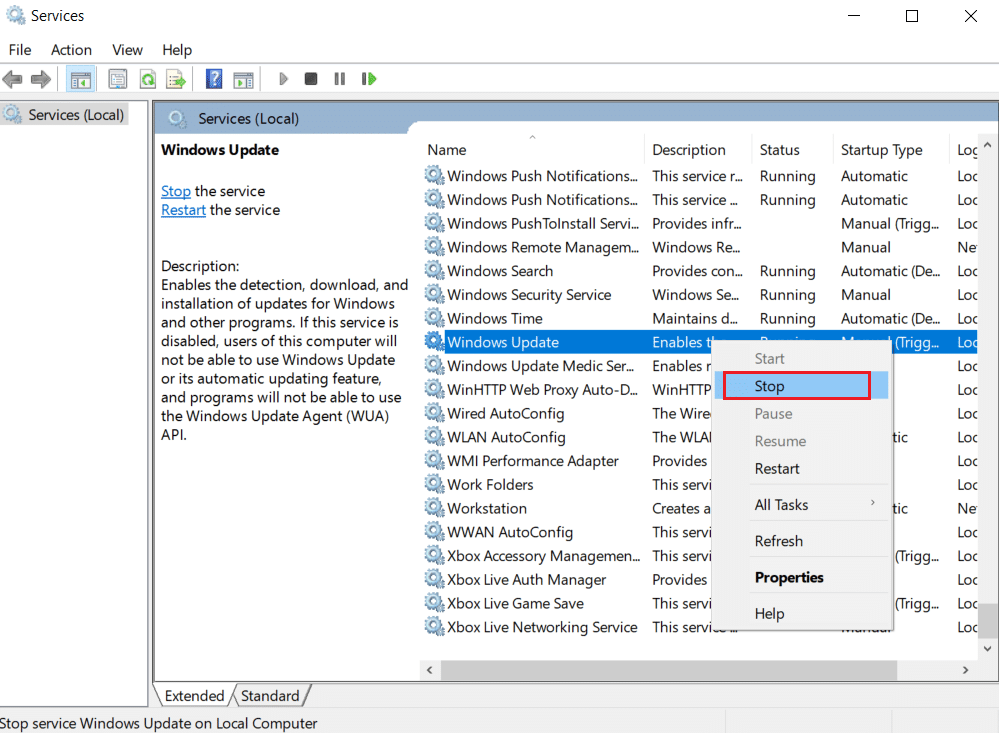
3. After that, minimize Service window.
4. Tẹ Konturolu + Shift + Awọn bọtini Esc nigbakanna lati ṣii Task Manager.
5. Tẹ lori Awọn alaye sii.

6. Wa ki o si tẹ-ọtun lori MoUSO Core Worker Process ki o si yan Iṣẹ-ṣiṣe ipari.
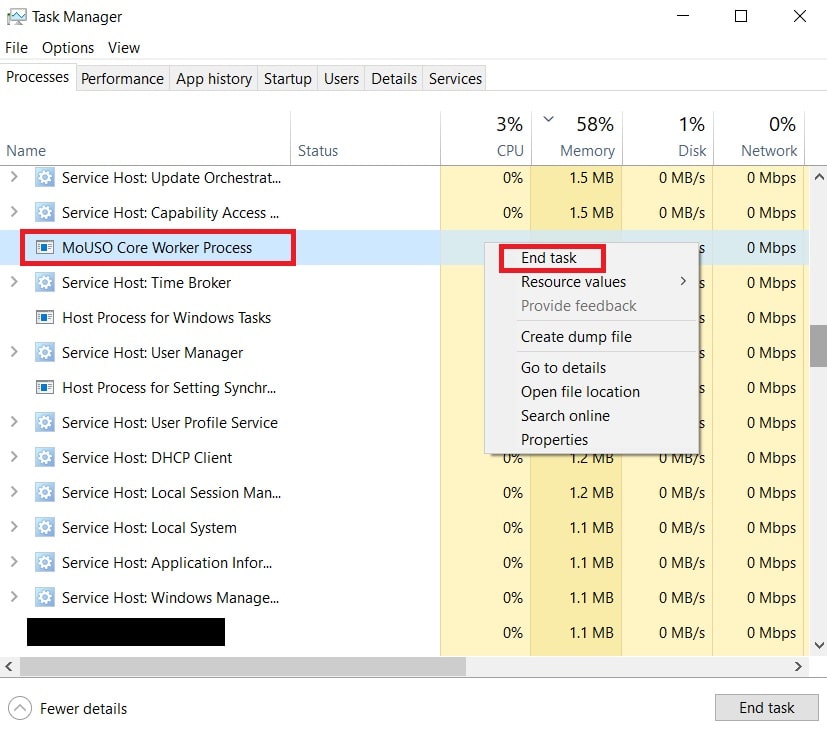
7. Close Task Manager and maximize awọn iṣẹ window.
8. Tẹ-ọtun lori Windows Update ki o si yan Bẹrẹ.
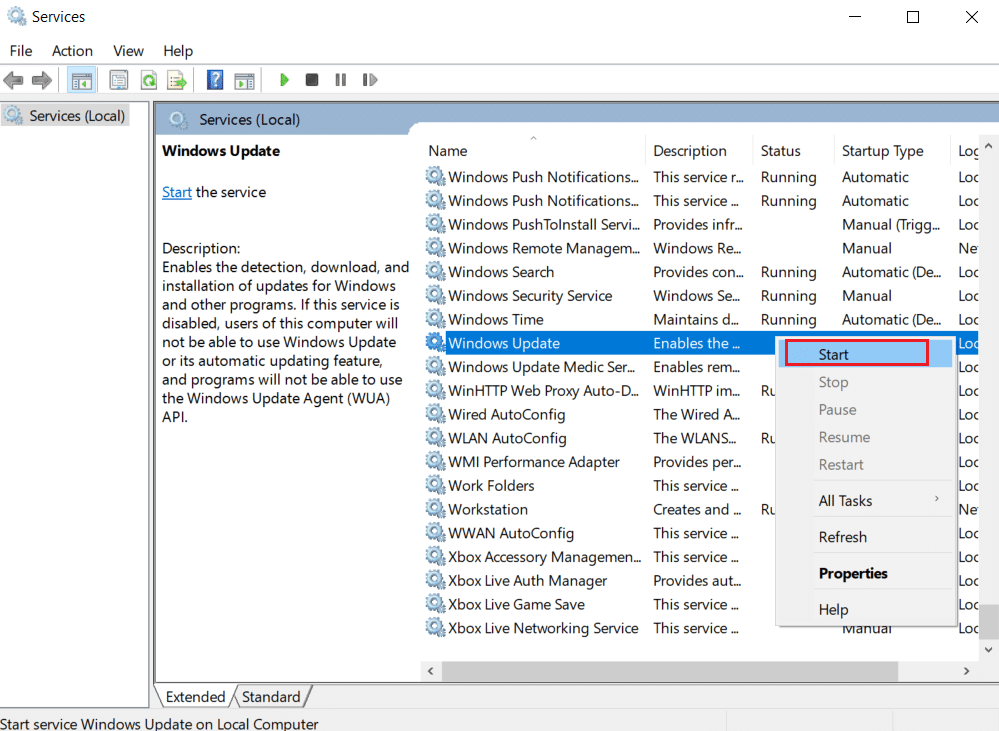
After restarting Windows Update service, check if this MoUsoCoreWorker.exe process error is resolved.
Method 8: Change Windows Update Service Startup Mode
If the Windows Update service is set as manual in Startup type, it can sometimes freeze during its processes which may trigger PC to wake up from sleep. You can fix this issue by changing its Startup type to Automatic and to do that follow the steps below.
1. Tẹle igbese 1 lati ọna 7 lati ṣii awọn iṣẹ.
2. Wa ki o tẹ-ọtun Windows Update isẹ ati yan Properties to open Properties window.
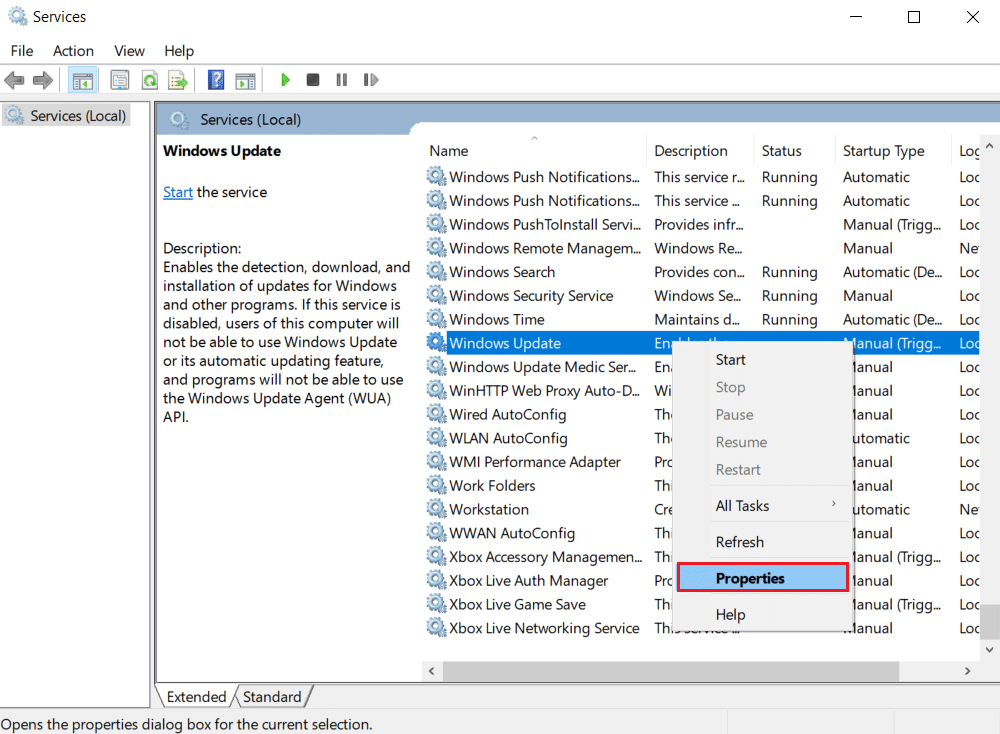
3. Ni Gbogbogbo taabu, iyipada Iru ibẹrẹ si laifọwọyi from drop down list.
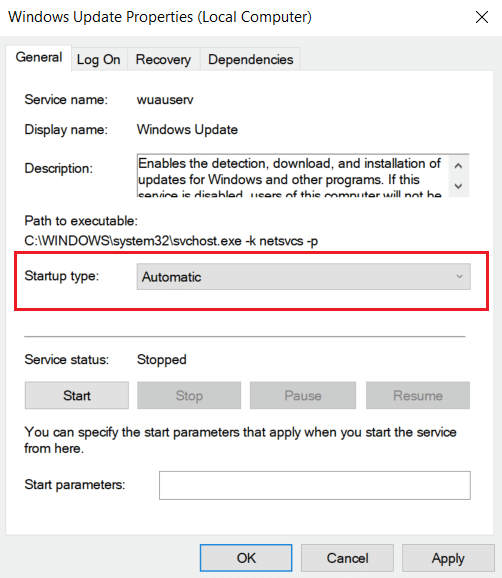
4. Tẹ waye ati OK lati fi awọn ayipada pamọ.
5. Ni awọn iṣẹ window right-click on Windows Update isẹ lẹẹkansi ati yan Tun bẹrẹ.
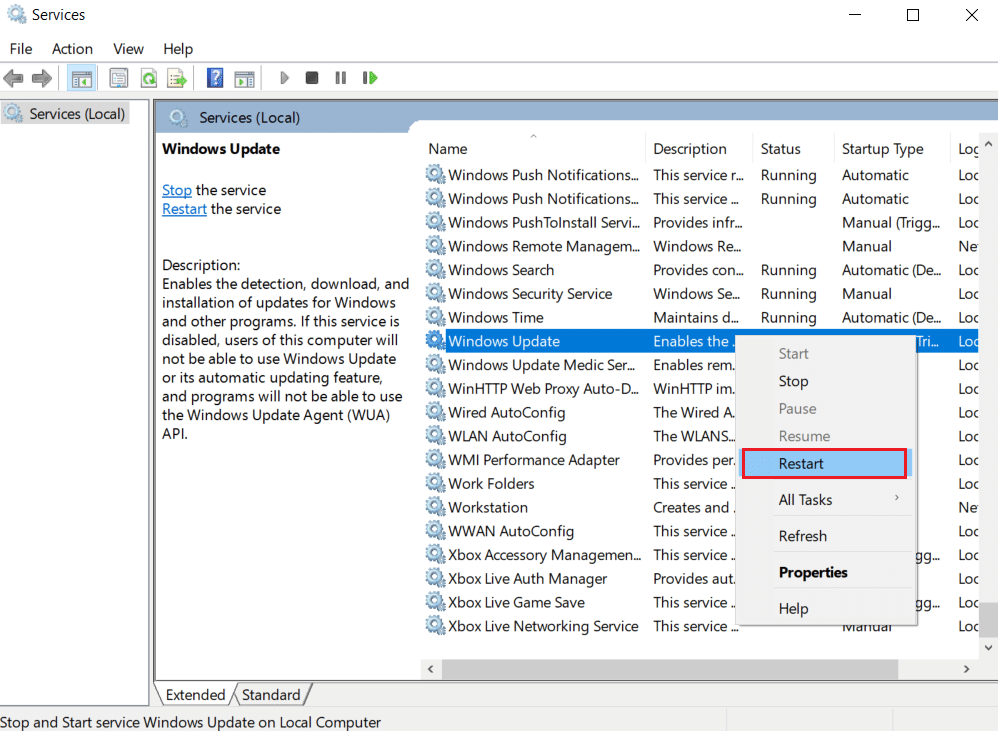
6. When Windows update has restarted, close awọn iṣẹ window.
akiyesi: If the error persists, try to stop automatic updates and check if it works for you.
Method 9: Run Windows Update Troubleshooter and Power
Troubleshooting detects and resolves any problem present within a program. As MoUSO Core Worker Process is related to Windows updates, running Windows update troubleshooter can resolve the error. You can do it by following our guide to Run Windows Update Troubleshooter.
Tun Ka: Fix .NET Runtime Ti o dara ju Service High Sipiyu Lilo
Method 10: Run Power Troubleshooter
If you are still facing this issue after running Windows Update Troubleshooter, try running Power troubleshooter to see if it resolves it. Follow the steps to do the same.
1. Lu awọn Awọn bọtini Windows + I papo lati ṣii Eto.
2. Yan Imudojuiwọn ati Aabo on Eto iwe.
3. Tẹ lori Laasigbotitusita menu on the left pane.
4. Lẹhinna, yan awọn Agbara aṣayan labẹ Wa ki o ṣatunṣe awọn iṣoro miiran apakan ki o si tẹ lori Ṣiṣe awọn oluṣakoso naa Bọtini.
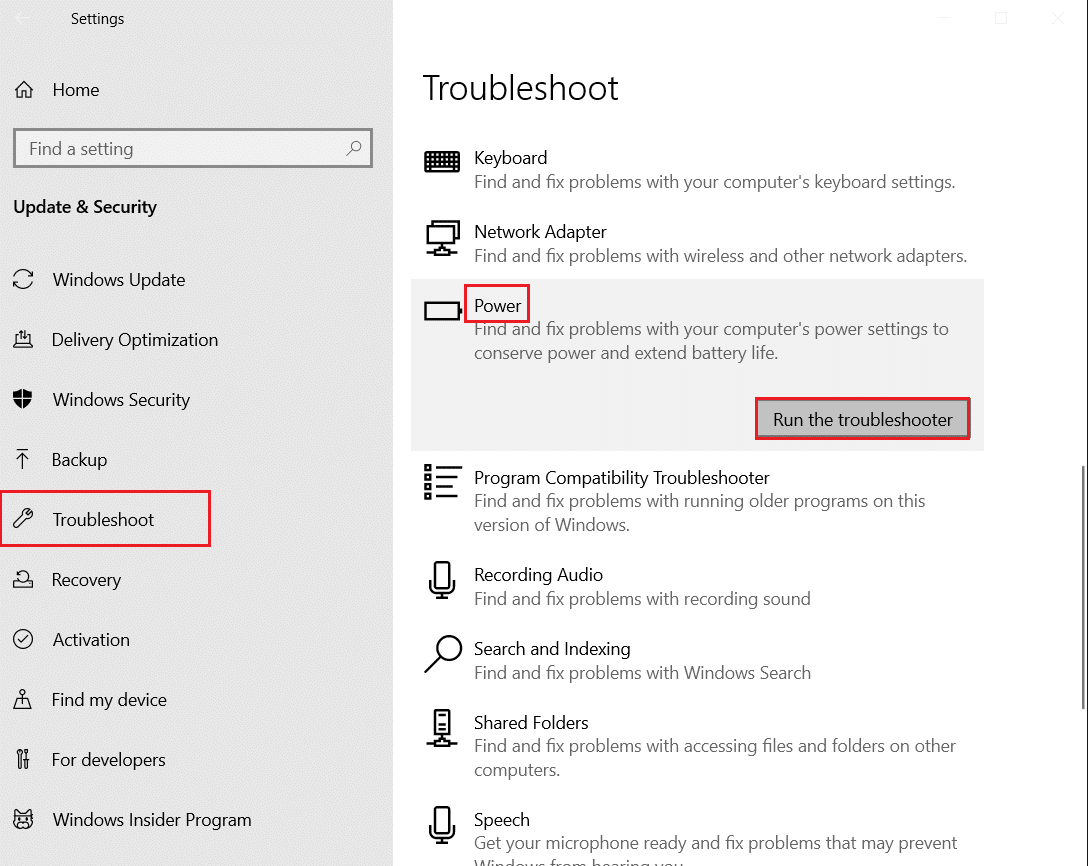
5. Wait for the troubleshooting process to complete and atunbere PC rẹ.
Method 11: Restore Default Power Settings
If power settings are misconfigured, then can affect functioning of sleep mode on PC. Try changing power settings to default and see if it fixes this MoUsoCoreWorker.exe process issue. To do so, follow the given steps.
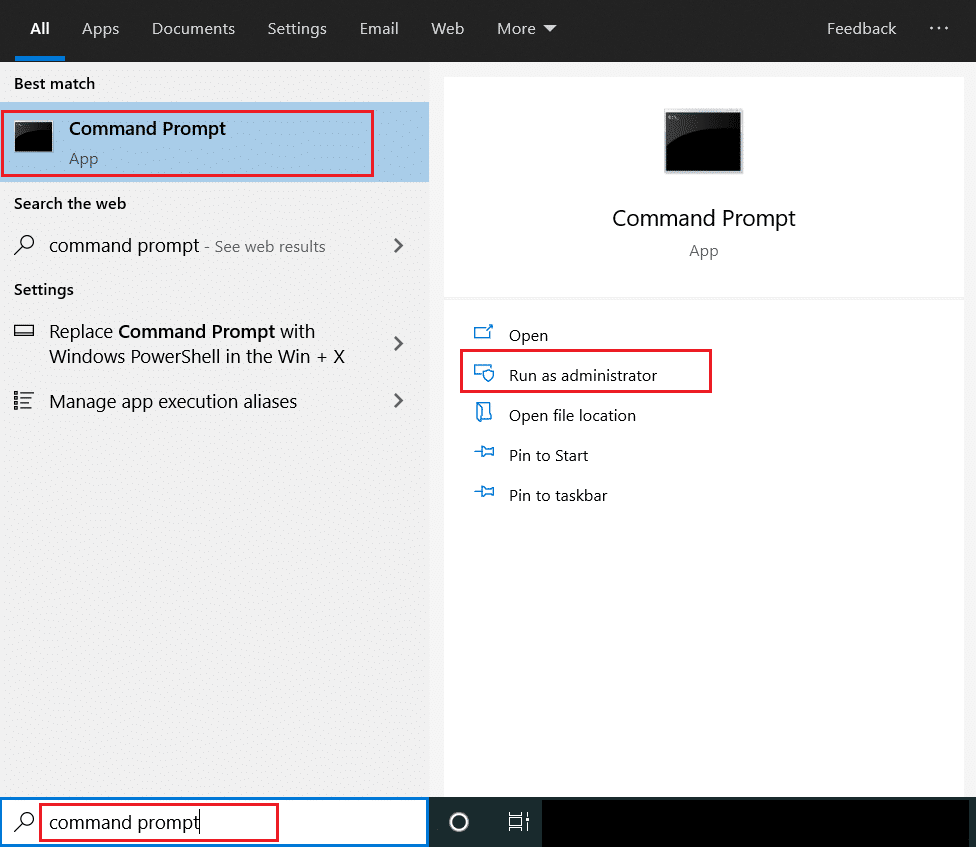
1. Tẹ awọn Windows bọtini ati iru aṣẹ tọ ki o si yan Ṣiṣe bi olutọju lati bẹrẹ Òfin Tọ.
2. Type the following command in Òfin Tọ ki o si tẹ Tẹ bọtini to execute it. Once command is executed, power settings will revert to default settings.
powercfg -restoredefaultschemes
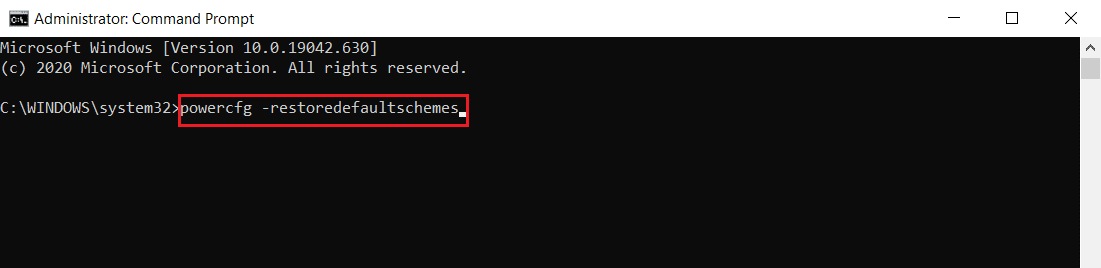
3. Exit Command Prompt and atunbere PC.
Method 12: Overrule MoUSO Core Worker Process Request
Another way to fix this issue is by modifying your power settings to overrule MoUSO Core Worker Process request. To do it, follow these instructions carefully.
1. Tẹle igbese 1 lati ọna 11 lati ṣii Òfin Tọ bi alakoso.
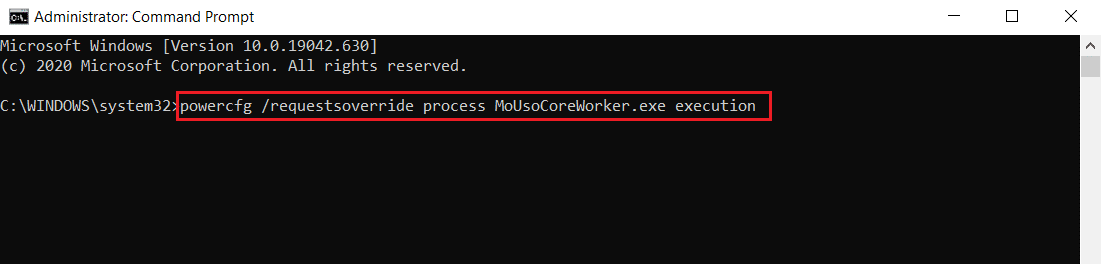
2. Type the following command to overrule MoUSO Core Worker Process request and press the Tẹ bọtini.
powercfg /requestsoverride process MoUsoCoreWorker.exe execution
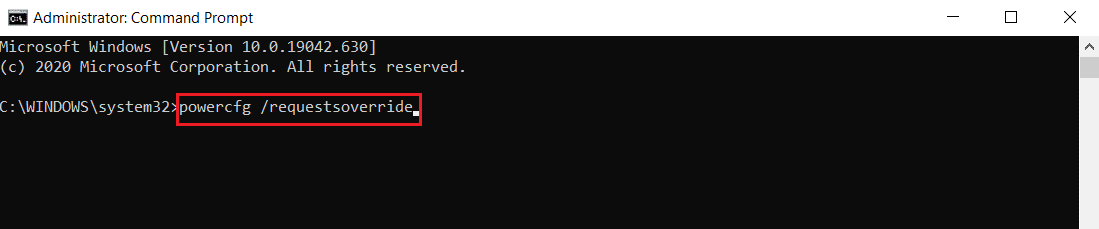
3. After executing the previous command, type the following command to verify the overrule process and press the Tẹ bọtini.
powercfg /requestsoverride
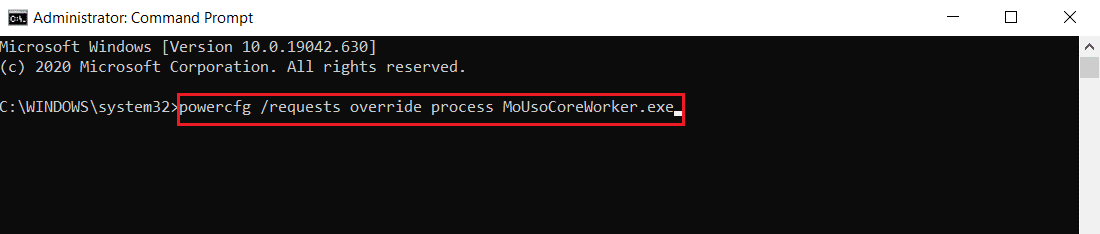
akiyesi: In case you want to stop overruling MoUSO Core Worker Process request, simply execute this command in Òfin Tọ.
powercfg /requests override process MoUsoCoreWorker.exe
Tun Ka: Fix DISM Host Servicing Process High CPU Usage
Method 13: Disable Troublesome Hardware Components
MoUSO Core Worker Process may stay if it is unable to power off certain hardware components. It can be fixed by disconnecting such hardware devices by enabling PC to power them off. Follow the steps below do the same
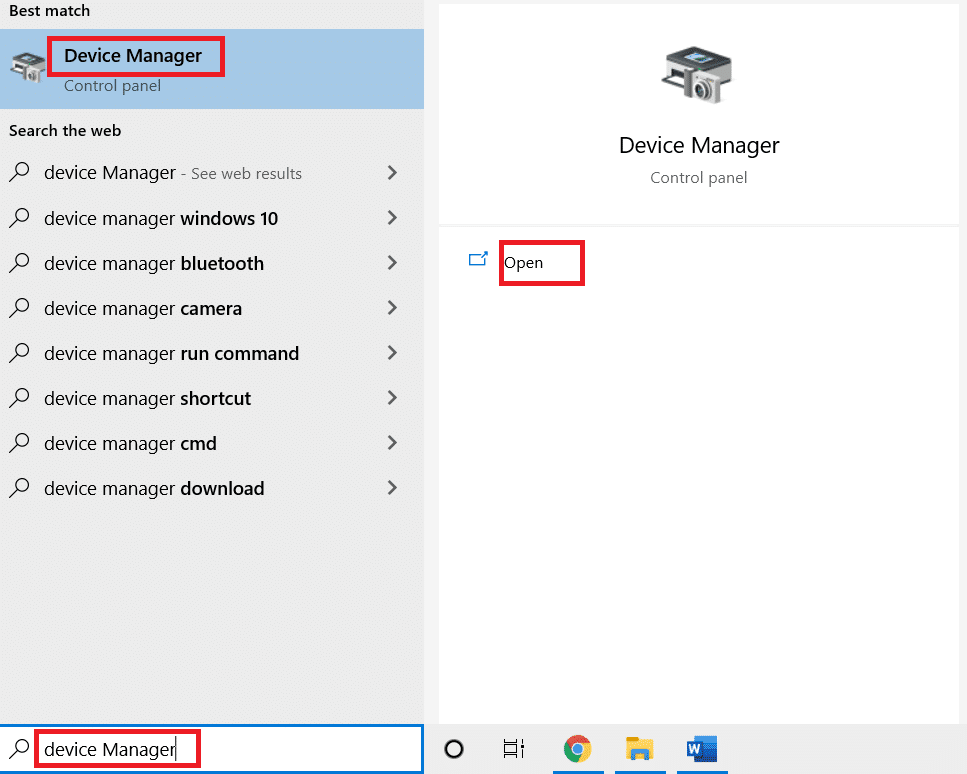
1. Tẹ awọn Bọtini Windows, tẹ Ero iseakoso o si tẹ lori Open.
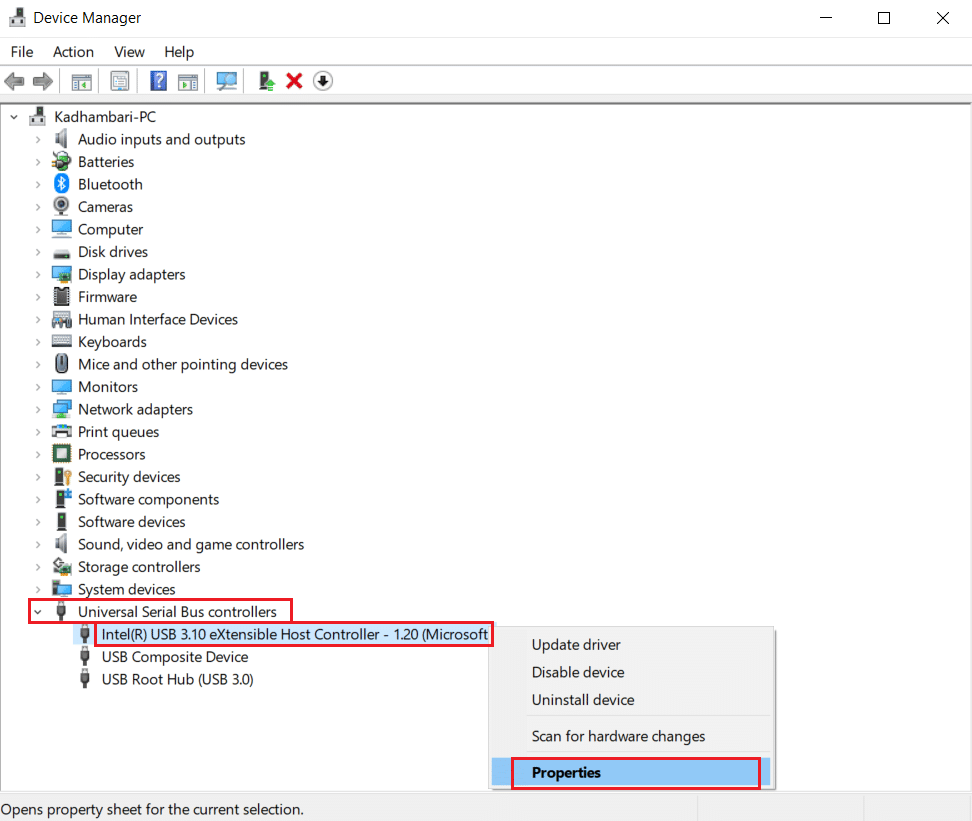
2. Yan ati faagun Universal Serial Bus Adarí. Choose a device, right-click on it and select Properties. It will open Properties window.
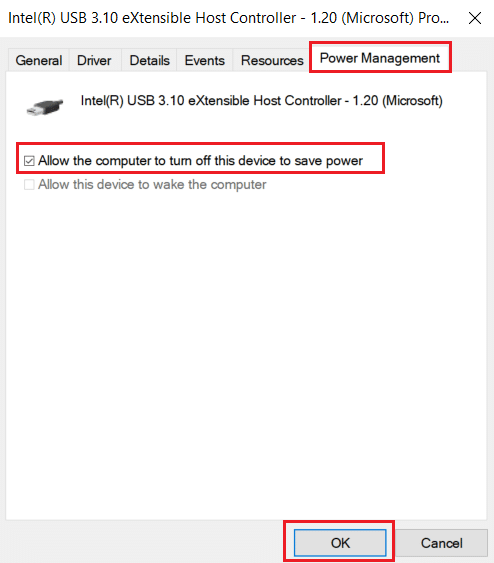
3. Lọ si Isakoso agbara tab, check the box marked Gba kọmputa laaye lati pa ẹrọ yii lati fi agbara pamọ ki o si tẹ OK lati fi awọn ayipada pamọ.
4. Repeat the process for all other devices to identify which ones are the problematic hardware devices and disable them.
5. If the issue persists, you can run the following command to check which devices are not powered off and hit the Tẹ bọtini.
powercfg -ohun elo wake_armed
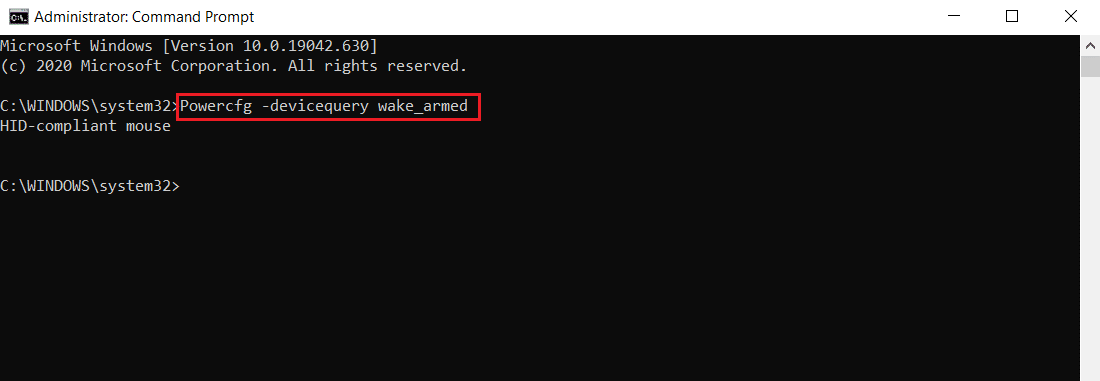
6. After this command is executed unplug the device mentioned in Command Prompt or modify its properties by going to the Isakoso agbara taabu bi o han ni igbese 3.
Ọna 14: Ṣe Mu pada Eto
If none of the above solutions works, your final option is to perform System Restore. If you are unable to identify any program or driver causing MoUSO Core Worker Process to constantly wake up PC from sleep, restore your PC to a previous date by following our guide to Use System Restore on Windows 10. This method will surely fix the issue.
niyanju:
We hope that this guide was helpful and you were able to stop MoUSO Core Worker Process from waking your PC from sleep. Let us know which method worked for you the best. If you have any queries or suggestions then feel free to drop them in the comments section.

