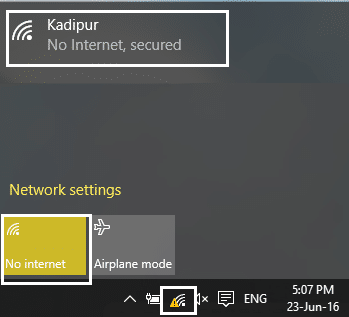
If a WiFi network has the ‘limited connectivity’ sign next to it, it means that you’re connected to the network but do not have access to the internet. The main reason for this issue is that the DHCP server is not responding. And when the DHCP server doesn’t respond the computer automatically assigns an IP address to itself because the DHCP server was unable to assign the IP address. Hence the ‘Limited or No connectivity’ error.
Lungisa ukufinyelela okulinganiselwe noma kungabikho izinkinga zokuxhuma ze-WiFi
Method 1: Run Network troubleshooter
1. Qhafaza kwesokudla ku- isithonjana senethiwekhi at the taskbar and click on Xazulula izinkinga.
![]()
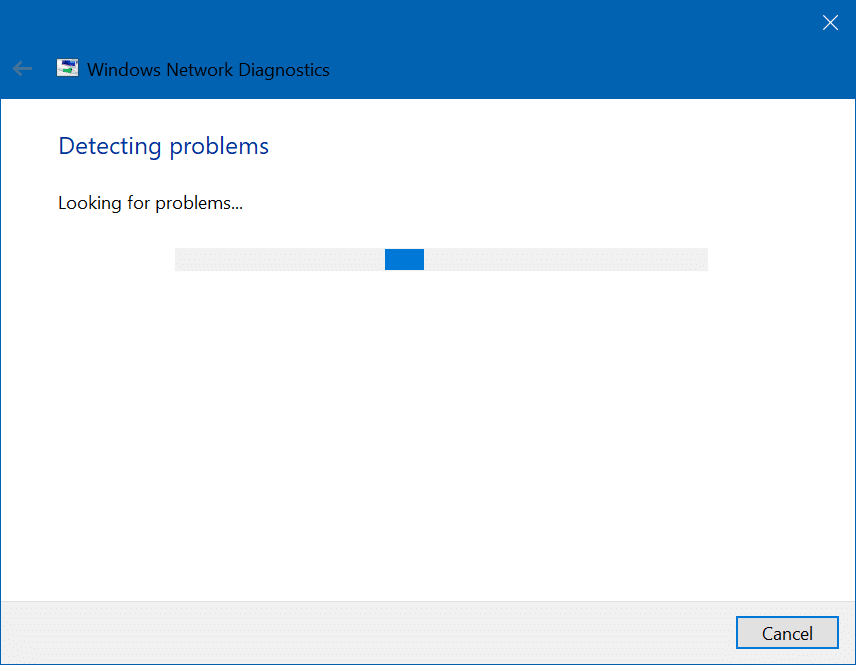
2. The Network Diagnostics window will open. Follow the on-screen instructions to run the Troubleshooter.
Indlela 2: Setha kabusha i-TCP / IP
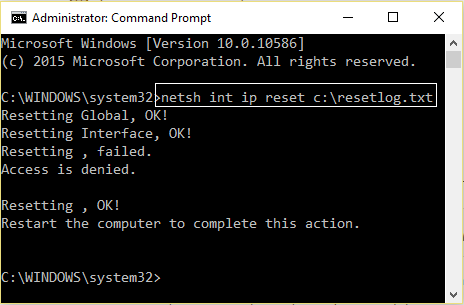
1. Right-click on the Windows button and select “Command Prompt(Admin).”

2. Thayipha umyalo olandelayo: netsh int ip reset c:resetlog.txt
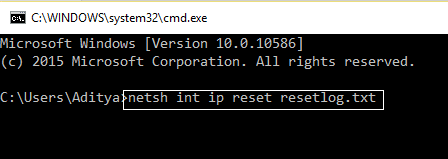
3. If you don’t want to specify the directory path then use this command: netsh int ip reset resetlog.txt
4. Qalisa kabusha i-PC.
Indlela 3: Shintsha izilungiselelo ze-Bitdefender firewall (Noma i-Antivirus Firewall yakho)
1. Open Settings of Bitdefender Internet Security and choose I-Firewall.
2. Chofoza ku- “Izilungiselelo ezithuthukile"Inkinobho.
3. Qiniseka ukuthi “Nika amandla ukwabelana ngoxhumo lwe-inthanethi” ihloliwe.
QAPHELA: If you don’t have the above setting then disable “Block Internet Connection Sharing” instead of above.
4. Click the OK button to save changes.
5. And if it doesn’t work try disabling your Antivirus Firewall and enabling Windows Firewall.
For maximum people changing firewall settings fixes the limited access or no connectivity WiFi problem, but if it didn’t work for you don’t lose hope we still have a long way to go, so follow the next method.
Method 4: Change adapter settings
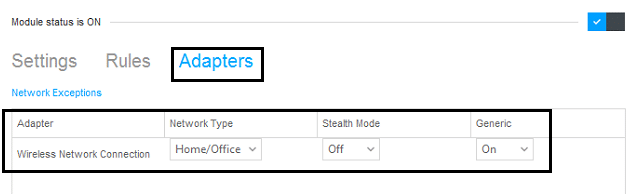
1. Open the Bitdefender, then select Protection module bese uchofoza ku Firewall feature.
2. Make sure the Firewall is turned ON and then go to the Adapters tab and perform the following changes:
Set Network type to "Home/Office"
Set Stealth Mode to "Off"
Set Generic to "On"
3. Restart your PC to apply these changes.
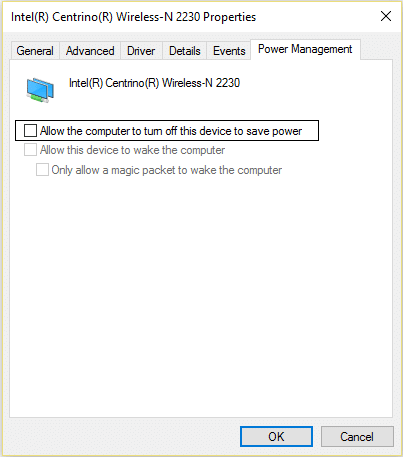
Method 5: Wake up your Wi-Fi Adapter
1. Chofoza ngakwesokudla on the network icon in the notification area and select Vula Network & Internet Settings.

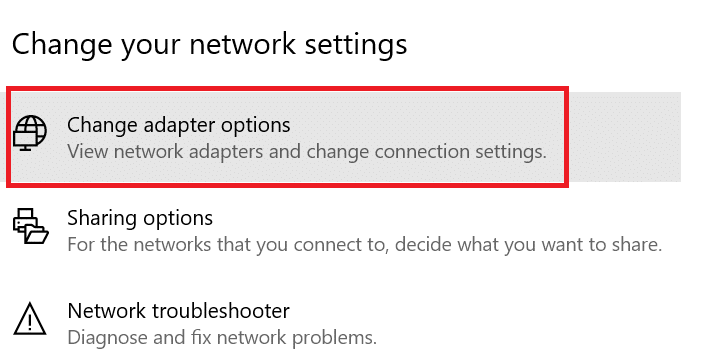
I-2. Ngaphansi Shintsha izilungiselelo zakho zenethiwekhi, chofoza Change Adapter Options.
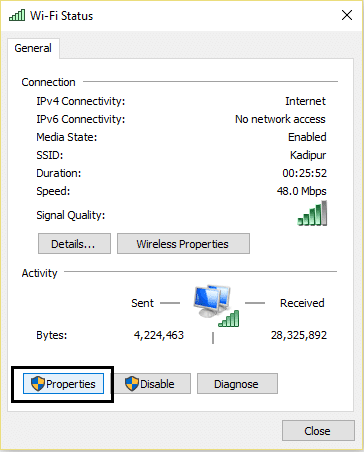
3. Chofoza kufayela lakho le- Inethiwekhi ye-WiFi Bese ukhetha Properties.
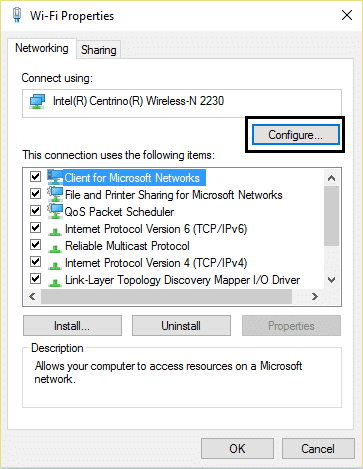
4. Manje ngena Izakhiwo ze-WiFi chofoza ku Lungiselela.
5. Go to the Power Management tab and uncheck “Vumela ikhompuyutha ukuthi ivale le divayisi ukuze wonge amandla."
6. Qala kabusha i-PC yakho.
Indlela 6: Sebenzisa i-Google DNS
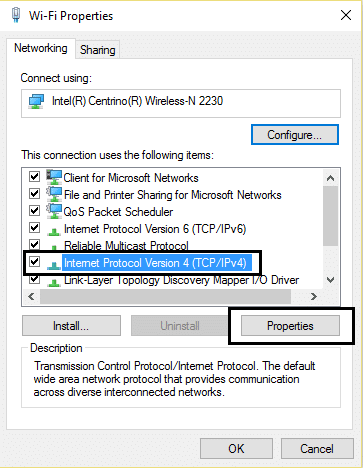
1. Again go to your Wi-Fi properties.
2. Manje khetha I-Protocol Protocol ye-Inthanethi 4 (TCP / IPv4) bese uchofoza Properties.
3. Check the box saying “Sebenzisa amakheli we-DNS wesiphakeli alandelayo” and enter the following:
Iseva ye-DNS ethandwayo: 8.8.8.8
Iseva ye-DNS ehlukile: 8.8.4.4
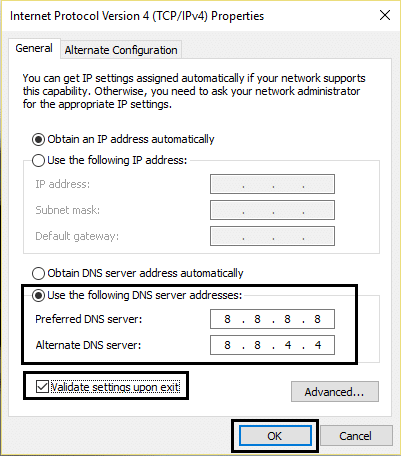
4. Click OK to save, then click close and Qala kabusha i-PC yakho.
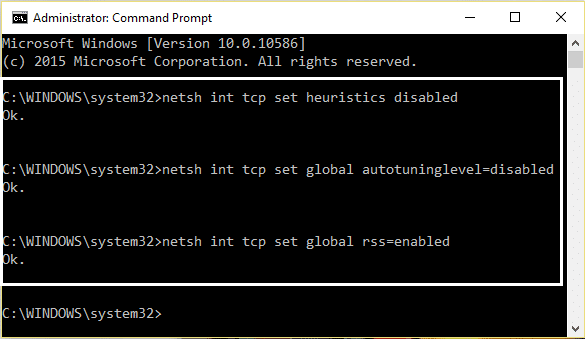
Method 7: Reset TCP/IP Auto-tuning
1. Right-click on the Windows key and select “I-Command Prompt (Admin)."
2. Type the following commands:
netsh int tcp set heuristics disabled
netsh int tcp set global autotuninglevel=disabled
netsh int tcp set global rss=enabled
3. Qala kabusha i-PC yakho.
Method 8: Enable Download over metered connections
1. Chofoza ku- Ukhiye weWindows Bese ukhetha Izilungiselelo.
2. Now in settings click on Inethiwekhi ne-inthanethi.

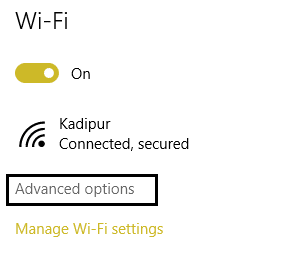
3. Here you will see Izinketho eziphambili, chofoza kukho.
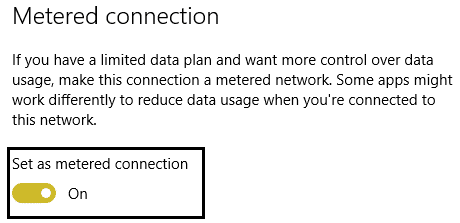
4. Make sure your Metered connection is set to VULA.
5. Qala kabusha ukusebenzisa izinguquko.
Yeah, I admit, this is a stupid step but hey for some people it worked out so why not try it and who knows your limited access or no connectivity WiFi issues may be fixed.
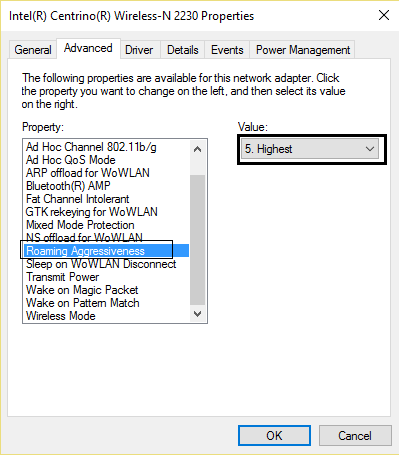
Method 9: Set Roaming Aggressiveness to Maximum
1. Chofoza ngakwesokudla on the network icon in the notification area and select Vula Network & Internet Settings.
I-2. Ngaphansi Shintsha izilungiselelo zakho zenethiwekhi, chofoza Change Adapter Options.
3. Manje khetha eyakho Wi-Fi bese uchofoza Properties.
4. Inside Wi-Fi properties click on Lungiselela.
I-5. Zulalela ku the Advanced tab bese uthola Ukuzulazula Ulaka ukusetha.
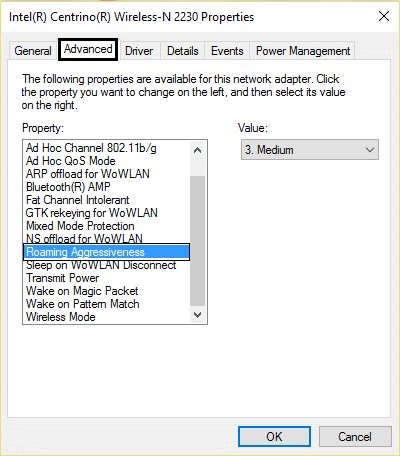
6. Change the value from Medium to Highest bese uchofoza OK.
7. Qala kabusha ukusebenzisa izinguquko.
Indlela 10: Buyekeza Abashayeli
1. Cindezela ukhiye we-Windows + R bese uthayipha “devmgmt.msc” in Run dialogue box to open the umphathi wedivayisi.

2. Nweba Ama-adapters wenethiwekhi, bese uchofoza kwesokudla kweyakho Isilawuli se-Wi-Fi(ngokwesibonelo Broadcom noma Intel) bese ukhetha Buyekeza Abashayeli.

3. In the Update Driver Software Windows, select “Ngibhekabheka ikhompyutha yami nge-software yokushayela."

4. Manje khetha “Ake ngikhethe ohlwini lwabashayeli bedivayisi ekhompyuter yami."

5. Zama ukwenza kanjalo buyekeza abashayeli ezinguqulweni ezisohlwini.
6. If the above didn’t work then go to the iwebhusayithi yomkhiqizi to update drivers: https://downloadcenter.intel.com/
7. Qala kabusha ukusebenzisa izinguquko.
Kukhona Ongakuthanda:
I hope by now any one of the methods must have worked for you to fix limited access or no connectivity WiFi issues. If you still have any queries regarding this guide please feel free to ask them in the comments.
![[SOLVED] keyboard has stopped working on Windows 10](https://lbsite.org/wp-content/uploads/2023/01/Solved-keyboard-has-stopped-working-on-Windows-10.png "[SOLVED] keyboard has stopped working on Windows 10")
