በዊንዶውስ 10 ላይ የስካይፕ ስህተትን በመልሶ ማጫወት መሣሪያ ያስተካክሉ

Skype is one of the most famous Video Calling services in the world; Skype was one of the first apps to provide video call services to users. Over the years Skype has raised in popularity, the application has also added new features to help provide a more interactive to better user experience. Skype sometimes can run into various errors; one of such errors is a Skype error with playback device on Windows 10; this error can cause audio errors with the Skype program. Skype playback error is a common error that Windows 10 users often have while using the application. In this guide, we will discuss reasons and methods for Skype error playback device.
How to Fix Skype Error with Playback Device on Windows 10
በርካታ ምክንያቶች ሊኖሩ ይችላሉ። Skype error with playback device on Windows 10; some of the common reasons for this error are listed below.
- Mostly this error is associated with Application bugs and errors
- System speaker errors can also cause the playback device error
- Improper speaker settings on your computer can also cause this error on your computer
- Outdated or corrupted audio drivers on your computer can also cause this error
The following guide will discuss methods to resolve Skype error with playback device on windows 10.
Method 1: Relaunch Skype
Generally Skype error with playback device on Windows 10 is associated with minor bugs and lags with the Skype app; you can easily resolve this error by closing and relaunching the Skype app. Many users found that closing and relaunching the app resolved the issue.
Method 2: Enable Speakers
It is also possible that Skype error with playback device on Windows 10 was caused by the system speakers, to resolve the issues with system Speakers, you can try to enable and disable the speakers.
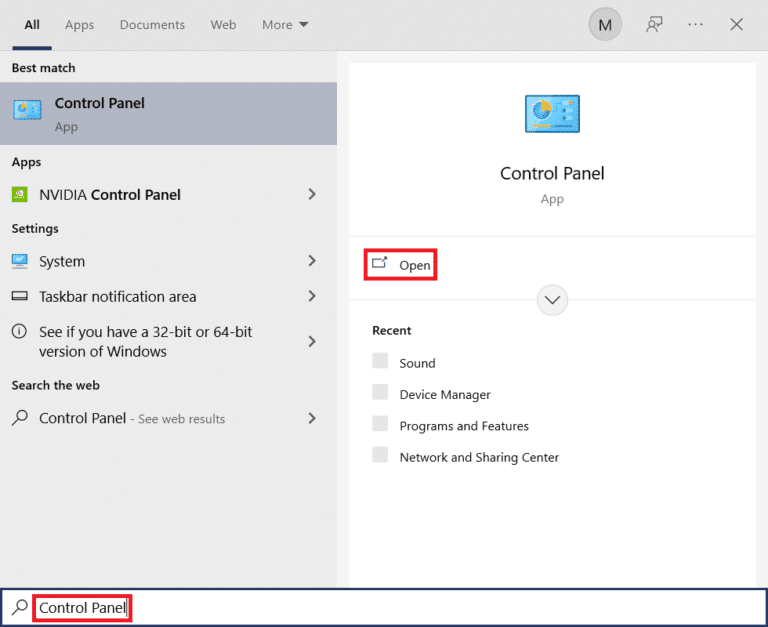
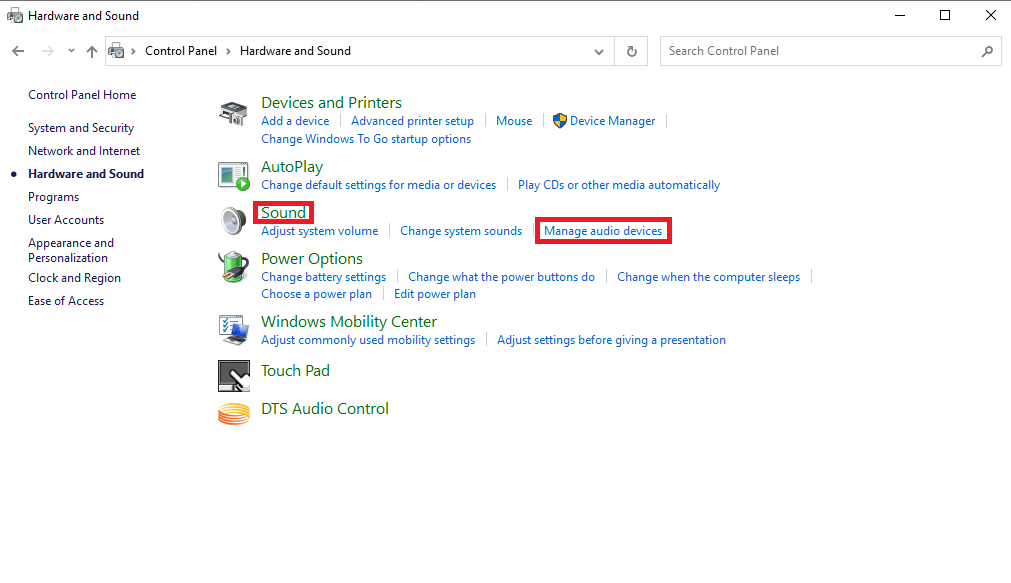
1. ን ይጫኑ የዊንዶውስ ቁልፍ, ይተይቡ መቆጣጠሪያ ሰሌዳ, ከዚያ ጠቅ ያድርጉ ክፈት.
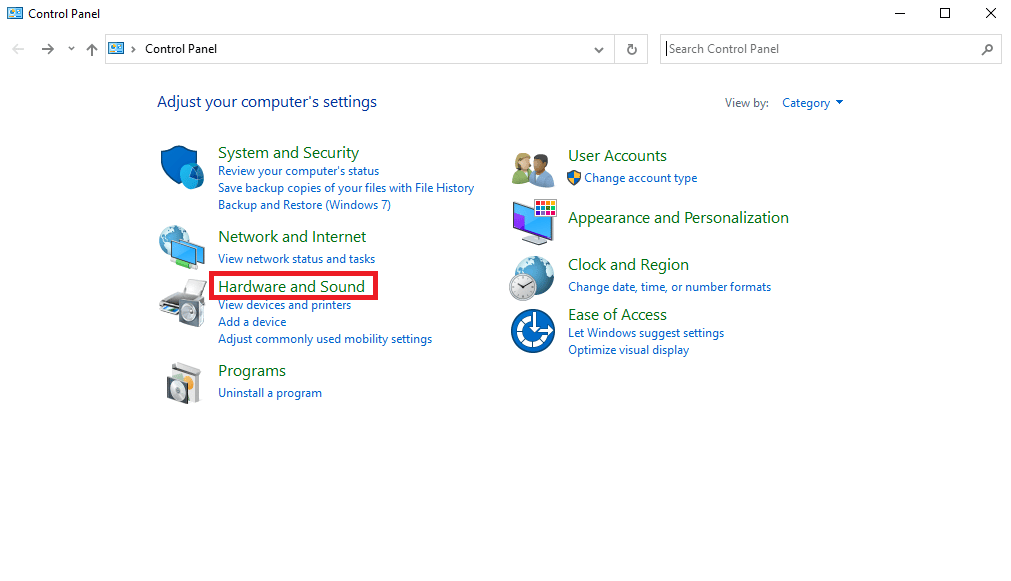
2. አዘጋጅ በ> ምድብ ይመልከቱ, ከዚያ ጠቅ ያድርጉ ሃርድ ዌር እና ድምጽ ቅንብር.
3. በታች ጤናማ አማራጮች, ላይ ጠቅ ያድርጉ የድምፅ መሳሪያዎችን ያቀናብሩ.
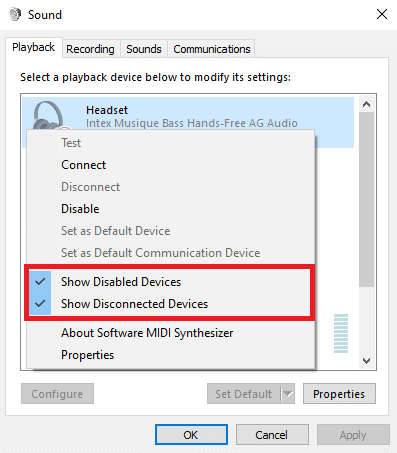
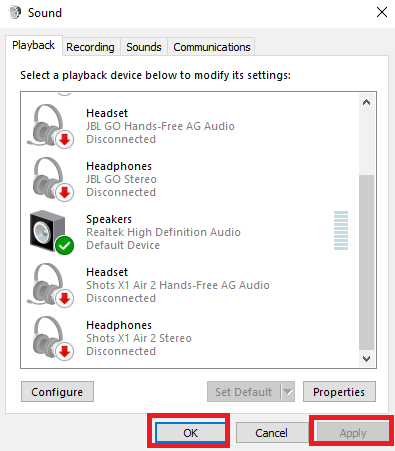
4. Right-click anywhere on the ጤናማ window and check the following options:
- የአካል ጉዳተኛ መሣሪያዎችን አሳይ
- የተቋረጡ መሣሪያዎችን አሳይ
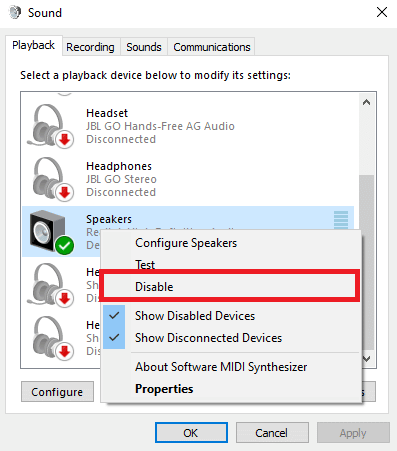
5. Now, Right-click on the ተናጋሪዎች እና ጠቅ ያድርጉ አሰናክል.
6. አሁን, በ ላይ ቀኝ-ጠቅ ያድርጉ ድምጽ ማጉያ again and click አንቃ.
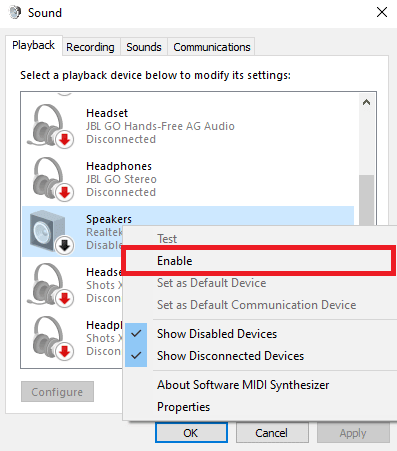
7. ላይ ጠቅ ያድርጉ ተግብር እና ከዛ OK ለውጦቹን ለማስቀመጥ።
Enabling and disabling the speakers should often resolve Skype playback error, if not and you still have issues with Skype error playback device, move on to the next method.
እንዲሁም ይህን አንብብ: የስካይፕ ስቴሪዮ ድብልቅን በዊንዶውስ 10 ውስጥ አይሰራም
Method 3: Run Playing Audio Troubleshooter
To resolve various Skype error playback device issues on your computer, such as Skype playback error you can try to run the Windows 10 in-built audio troubleshooter. Follow these steps to run audio troubleshooter.
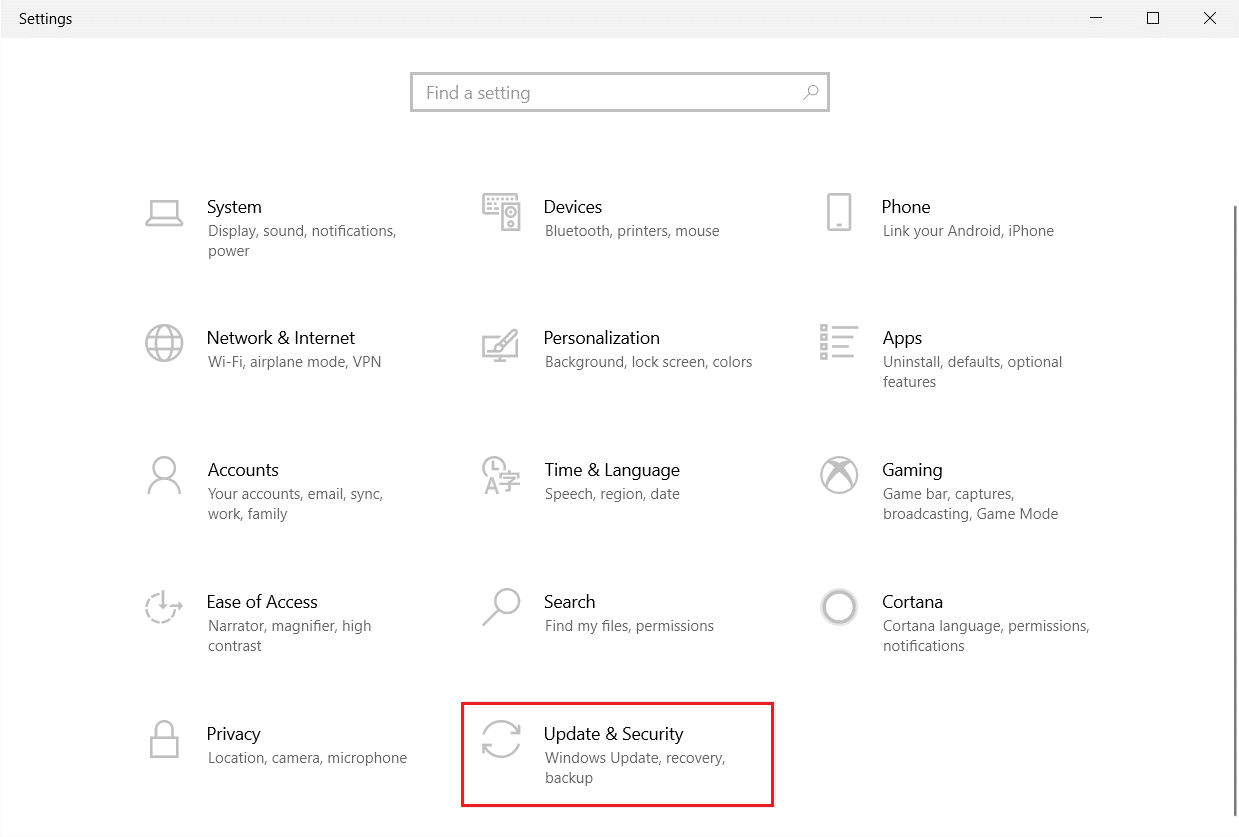
1. ይጫኑ የዊንዶውስ + I ቁልፎች በአንድ ጊዜ ለማስጀመር ቅንብሮች.
2. ላይ ጠቅ ያድርጉ ዝመና እና ደህንነት tile, እንደሚታየው.
3. መሄድ መላ ፈልግ ምናሌ በግራ መቃን ውስጥ.
4. ይምረጡ ኦዲዮ በማጫወት ላይ መላ ፈላጊ እና ጠቅ ያድርጉ መላ መፈለጊያውን አሂድ ከታች የደመቀው አዝራር ይታያል።
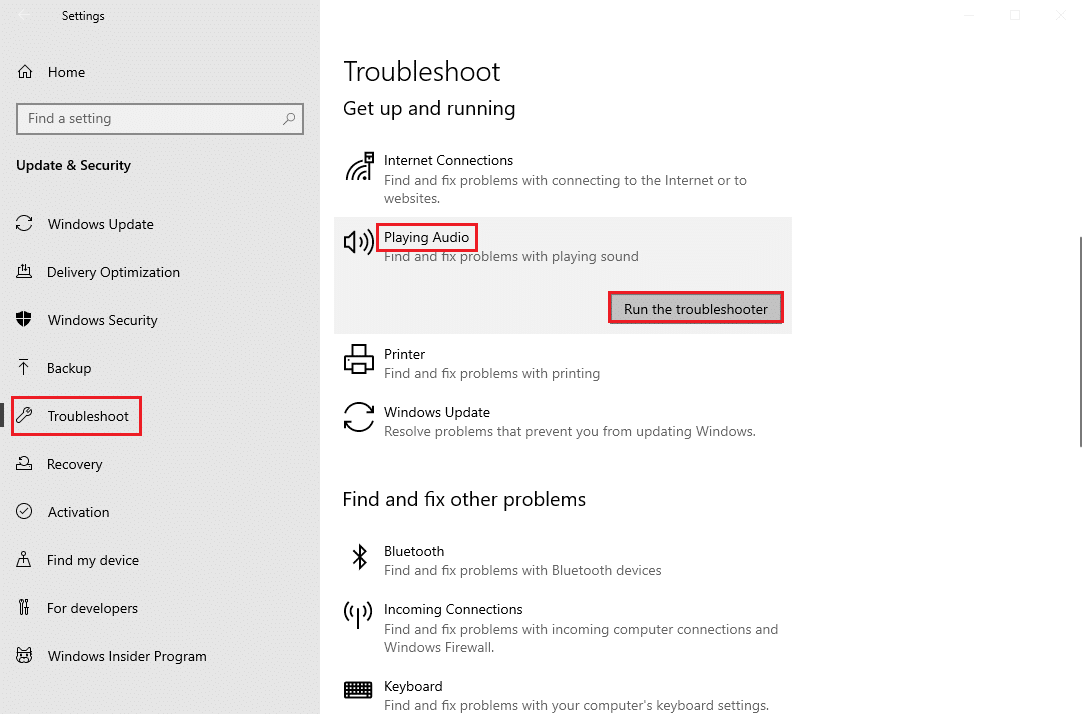
5. Wait for the troubleshooter to detect and fix the problem. Once the process is complete, click ይህን ጥገና ተግብር ና እንደገና ጀምር የእርስዎ ፒሲ.
Method 4: Re-enable Audio Device
The issue can also be caused by your system audio devices, in this case, you can try to resolve the issue by temporarily disabling the audio device on your computer and enabling it again.
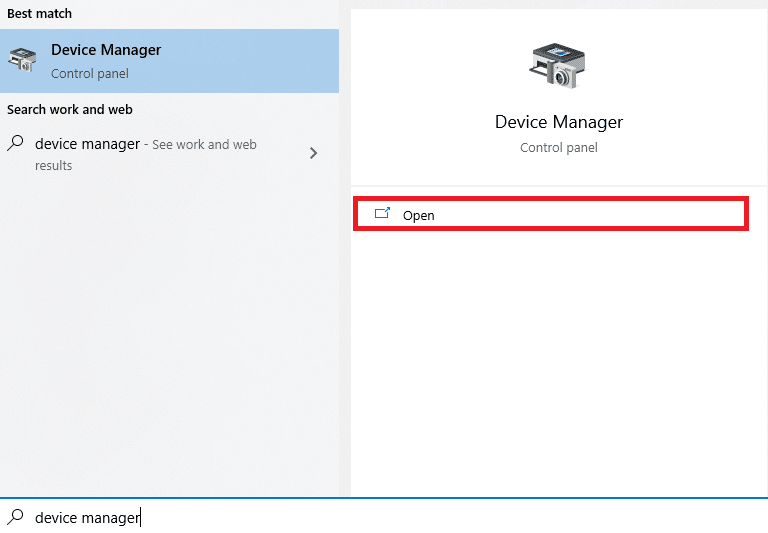
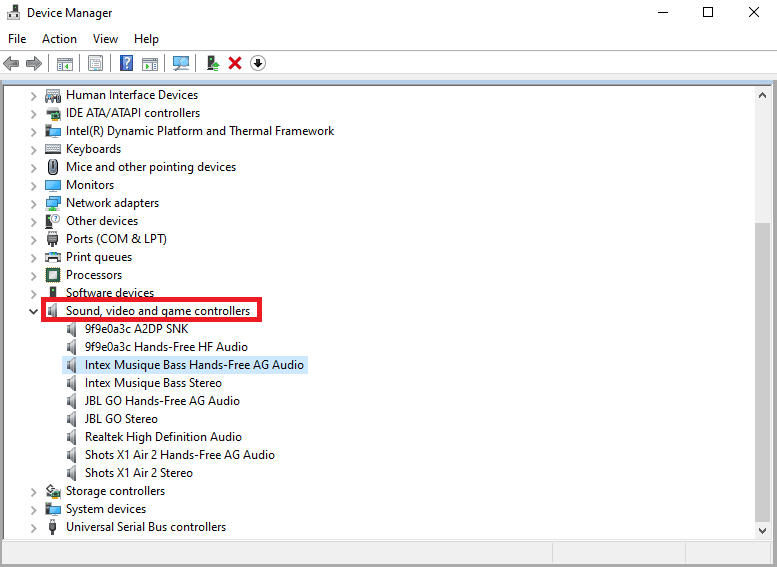
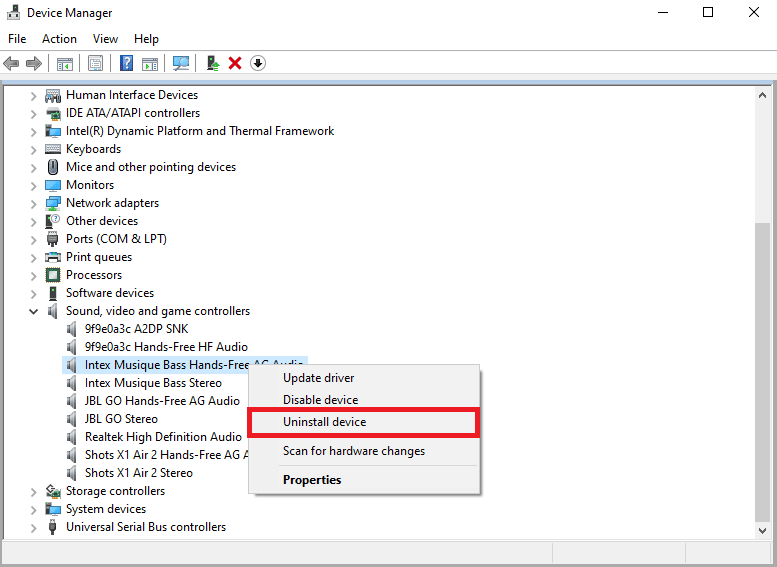
1. ን ይምቱ የዊንዶውስ ቁልፍ, ይተይቡ እቃ አስተዳደርላይ ጠቅ ያድርጉ እና ጠቅ ያድርጉ። ክፈት.
2. Locate and expand the የድምጽ, ቪዲዮ እና የጨዋታ መቆጣጠሪያዎች.
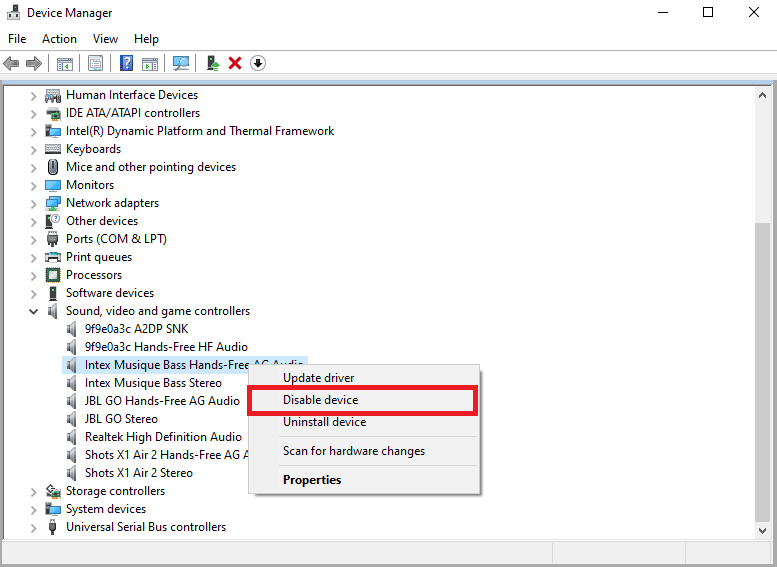
3. ከዚያም በ ላይ በቀኝ ጠቅ ያድርጉ የድምፅ ነጂ ከዚያም ይህንን ይጫኑ መሣሪያን አሰናክል.
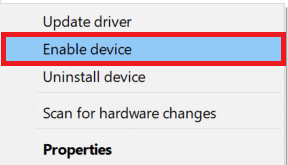
4. Again, right-click on the driver and select መሣሪያ አንቃ option after a few minutes.
እንዲሁም ይህን አንብብ: የስካይፕ ውይይት የጽሑፍ ተጽዕኖዎችን እንዴት መጠቀም እንደሚቻል
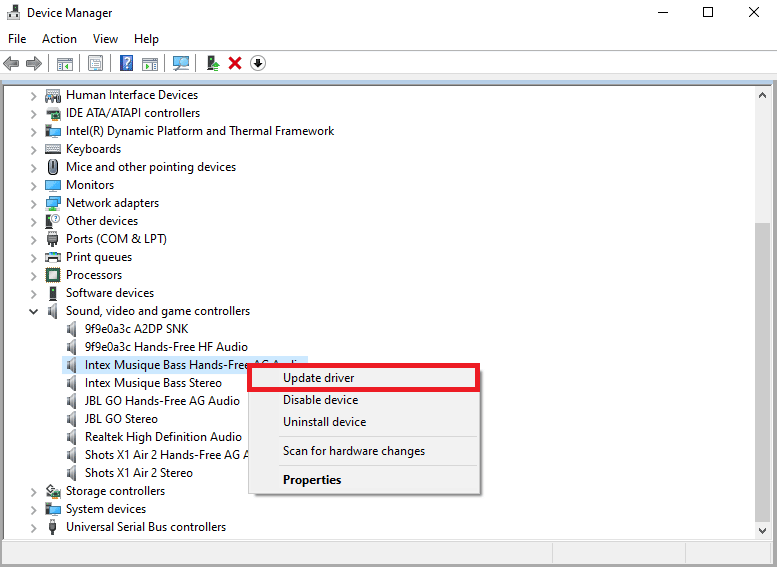
ዘዴ 5 የድምጽ ነጂዎችን ያዘምኑ
Corrupted and outdated drivers are one of the main reasons for Skype error with playback device on Windows 10. To resolve the issues caused by audio drivers, you can try to update audio drivers read our guide on how to update device drivers on Windows 10.
ዘዴ 6 የድምጽ አንፃፊን እንደገና ይጫኑ
If Skype error with playback device on Windows 10 with the computer audio device continues. You can try to delete it entirely. Many users found that deleting their audio device also effectively resolved the issue. Follow our guide to uninstall and reinstall drivers on Windows 10.
Method 7: Reset Skype Configuration Files
If the previous methods don’t resolve Skype error with playback device on Windows 10 issues, you can also try to reset the Skype configuration files to resolve most of the Skype issues
1. If you are running the Skype application close it.
2. ይጫኑ Windows + R ቁልፎች አንድ ላይ ለመክፈት ሩጫ የመገናኛ ሳጥን.
3. ይተይቡ % appdata% እና ይጫኑ ቁልፍ ያስገቡ ለመክፈት አፕዶታ አቃፊ.
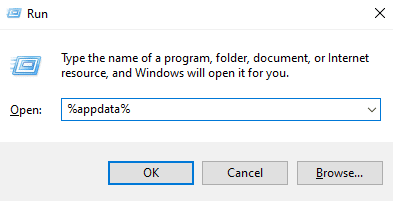
4. አግኝ እና በ ላይ በቀኝ ጠቅ ያድርጉ Skype አቃፊ.
5. ላይ ጠቅ ያድርጉ እንደገና ይሰይሙ and rename the folder as Skype.old.
6. አሁን ፣ እንደገና ጀምር the Skype app.
In most cases, this method was helpful to many users, if it doesn’t work, move on to the next method.
እንዲሁም ይህን አንብብ: የስካይፕ ኮድን በተገቢው ቅርጸት እንዴት እንደሚልክ
ዘዴ 8: የስካይፕ መተግበሪያን እንደገና ይጫኑ
If none of the previous method work, and you continue to have Skype error playback device issues, try reinstalling the Skype app.
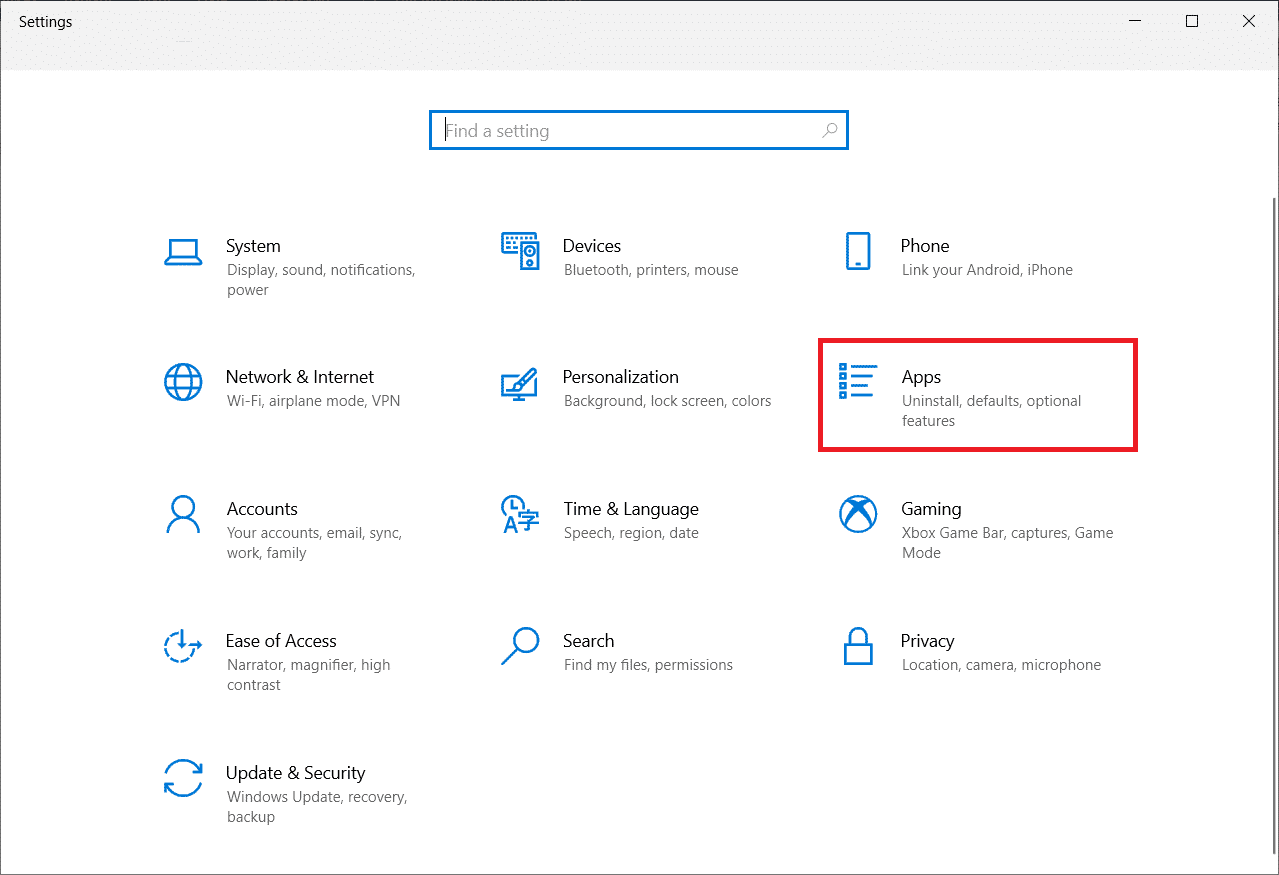
1. ተጭነው ይያዙ የዊንዶውስ + I ቁልፎች አንድ ላይ ለመክፈት የ Windows ቅንብሮች.
2. አሁን, ጠቅ አድርግ መተግበሪያዎች.
3. አሁን, ይፈልጉ እና ጠቅ ያድርጉ Skype እና ይምረጡ ያራግፉ አማራጭ.

4. አሁን፣ ካለ አረጋግጥ፣ እና ፒሲውን እንደገና ያስነሱ once you have uninstalled Skype.
5. Once the uninstallation process has finished, go to start menu search and type የ Microsoft መደብር ና ክፍት ነው.
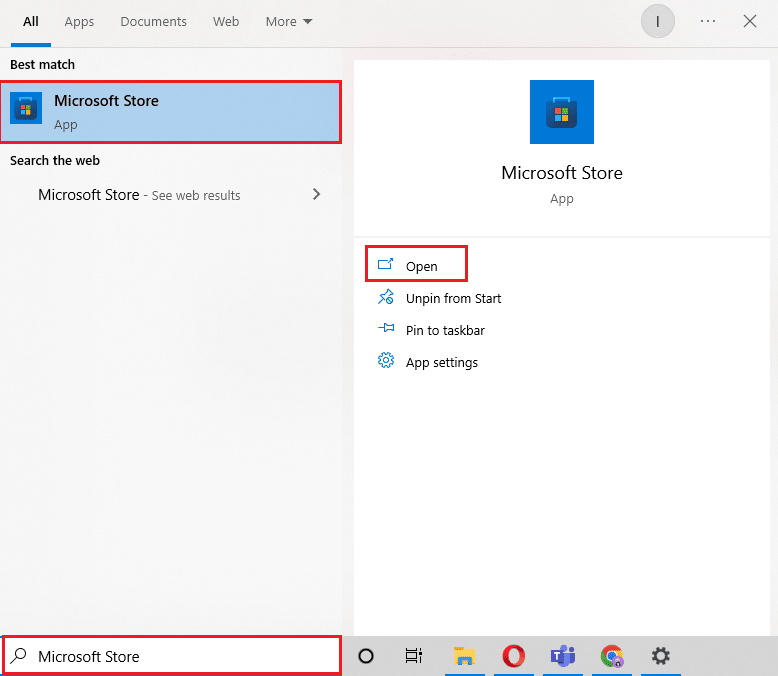
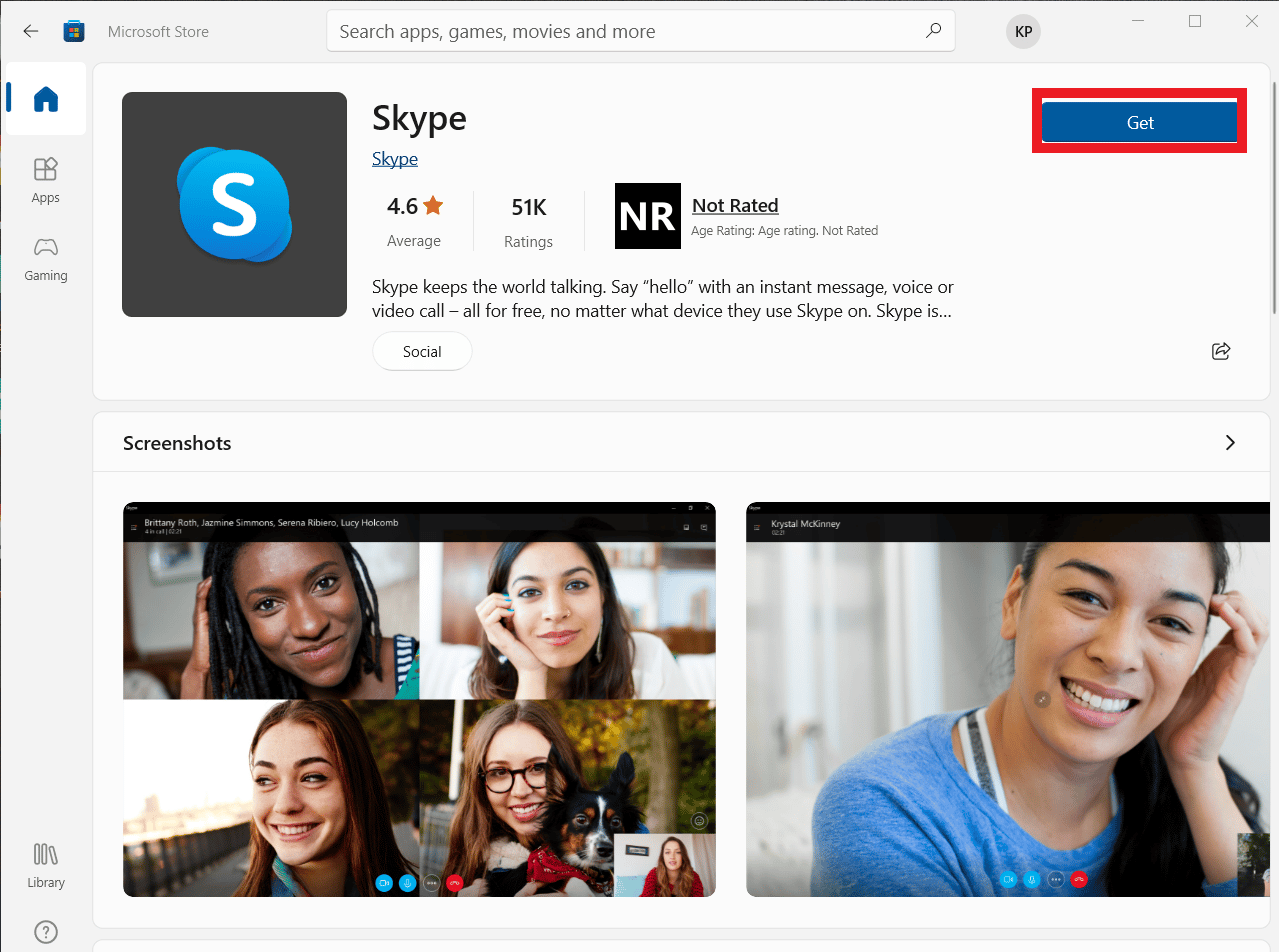
6. በ Microsoft መደብር ውስጥ, ይፈልጉ Skype.
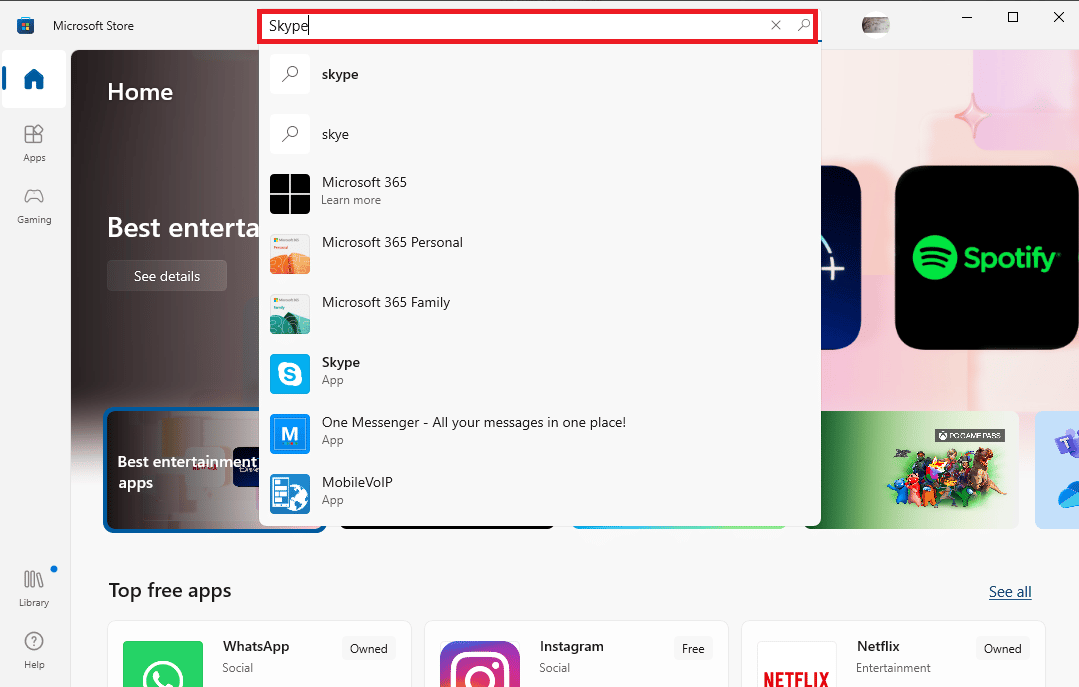
7. ላይ ጠቅ ያድርጉ ያግኙ button to install the Skype app on your device.
8. መጫኑ እስኪጠናቀቅ ድረስ ይጠብቁ.
Reinstalling the Skype app should resolve Skype playback error on your computer.
ተዘውትረው የሚጠየቁ ጥያቄዎች (ተየጥ)
Q1. Why can’t I connect audio on Skype?
መ. Audio errors are common Skype errors. This issue occurs due to failure in device audio drives and Skype settings.
Q2. How to resolve Skype audio issues?
መ. There can be multiple methods to resolve the Skype audio errors, such as updating system drivers, እና changing the Skype configuration settings.
Q3. What are audio issues on Skype?
መ. Skype can run into many audio issues such as microphone issues, and speaker issues. These errors can lead to interruptions during video calls.
የሚመከር:
ይህ መመሪያ ለእርስዎ ጠቃሚ እንደነበረ እና እርስዎ ማስተካከል እንደቻሉ ተስፋ እናደርጋለን Skype error with playback device on Windows 10. Let us know which method worked for you. If you have any suggestions or queries, please let us know in the comment section.