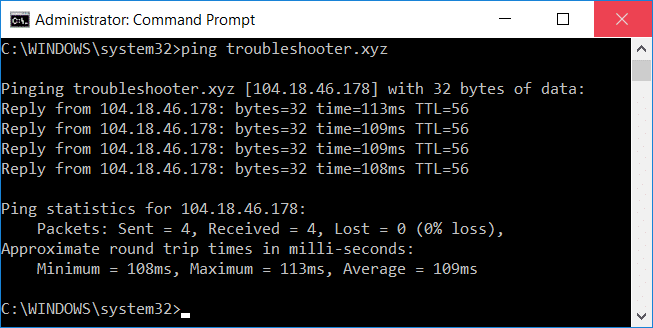
Fix High Ping on Windows 10: It becomes really irritating for online gamers who use the internet for playing games to have a high ping on your system. And having a high ping is definitely not good for your system and while playing online having high ping doesn’t help at all. Sometimes, you will get such pings when you have high configuration system. Пробване can be defined as the computational speed of your connection or, more particularly, the латентност of its connection. If you facing problems while playing the game due to the interruption of such above-mentioned issue, here is an article for you that will show some methods through which you can reduce ping latency on your Windows 10 system.
5 начина за коригиране на висок пинг на Windows 10
Не забравяйте да създадете точка за възстановяване, в случай че нещо се обърка.
Method 1: Disable Network Throttling using Registry
1.Press Windows Key + R to open Run then type регентство и натиснете Enter, за да отворите Редактор на системния регистър.

2. Придвижете се до следния ключ на системния регистър:
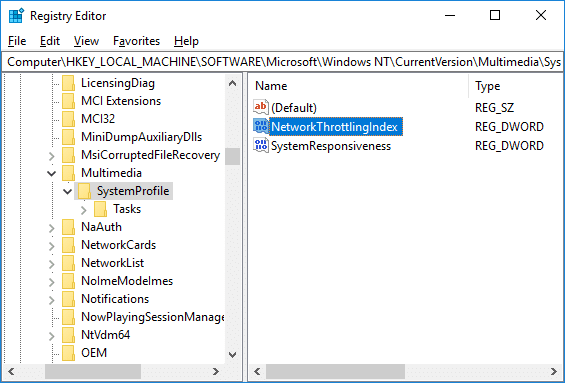
HKEY_LOCAL_MACHINESOFTWAREMicrosoftWindows NTCurrentVersionMultimediaSystemProfile
3.Select Системен профил then in the right window pane double-click on “NetworkThrottlingIndex".
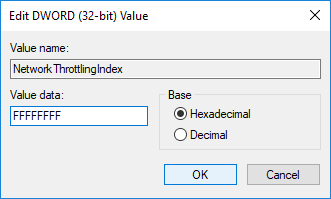
4.First, make sure the Base is selected as “Hexadecimal” then in the value data field type “FFFFFFFF”И щракнете върху OK.
5. Сега отидете до следния ключ на системния регистър:
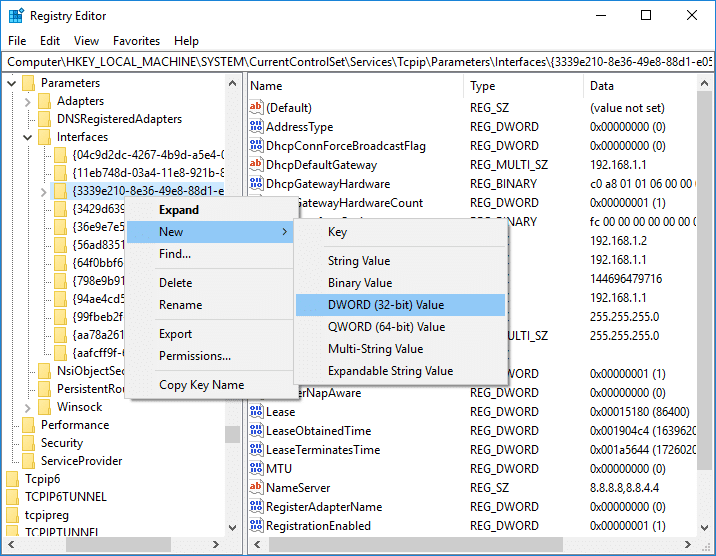
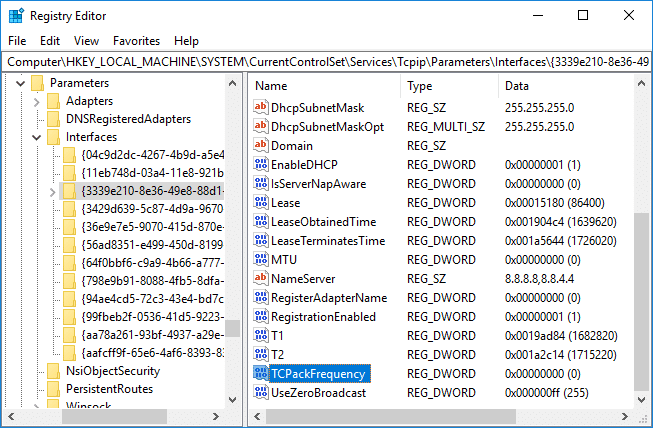
HKEY_LOCAL_MACHINESYSTEMCcurrentControlSetServicesTcpipParametersInterfaces
6.Here you need to select a подключа (folder) which represents your мрежова връзка. To identify the correct folder you need to check the subkey for your IP address, gateway, etc information.

7.Now right-click on the above subkey then select Ново > DWORD (32-битова) стойност.
8.Name this newly created DWORD as “TCPackFrequencyИ натиснете Enter.
9.Similarly, again create a new DWORD and name it as “TCPNoDelay".
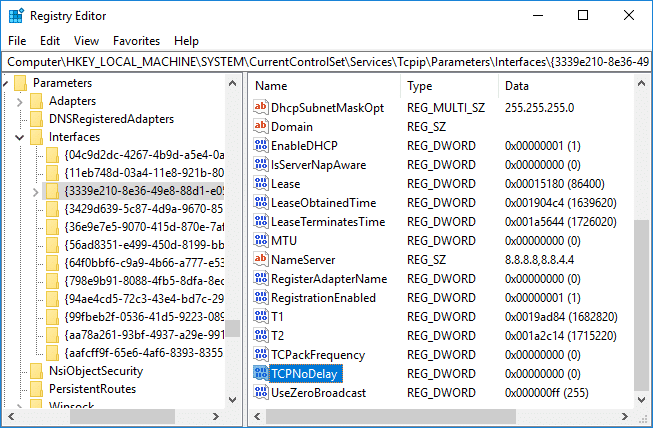
10.Set the Value of both “TCPackFrequency” & “TCPNoDelay” DWORD to 1 & click OK to save changes.

11. След това отидете до следния ключ на системния регистър:
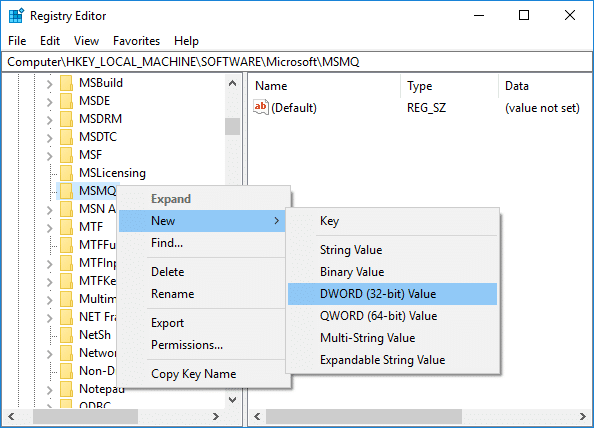
HKEY_LOCAL_MACHINESOFTWAREMicrosoftMSMQ
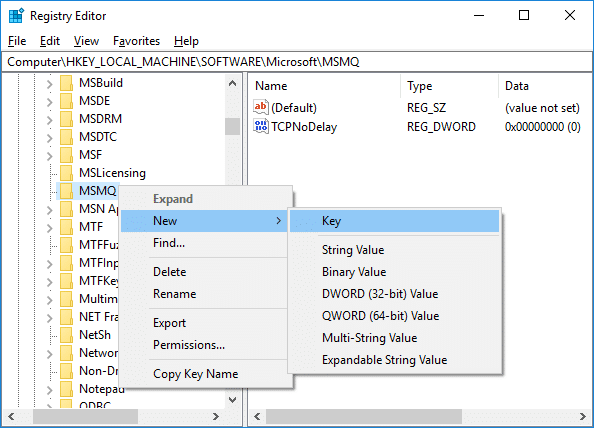
12.Right-click on MSMQ then select Ново > DWORD (32-битова) стойност.
13.Name this DWORD as “TCPNoDelayИ натиснете Enter.
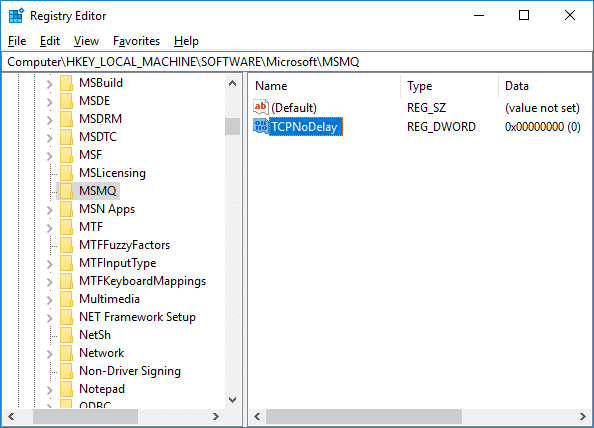
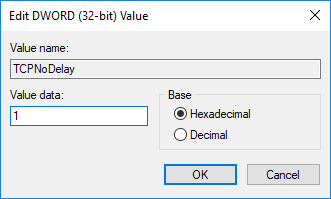
14.Double-click on “TCPNoDelay” then set the value as 1 под вальор field and click OK.
15.Разширяване MSMQ key and make sure it has параметри подключ.
16.If you can’t find параметри folder then right-click on MSMQ & изберете Ново > Ключ.
17. Наименувайте този ключ като параметри & hit Enter.
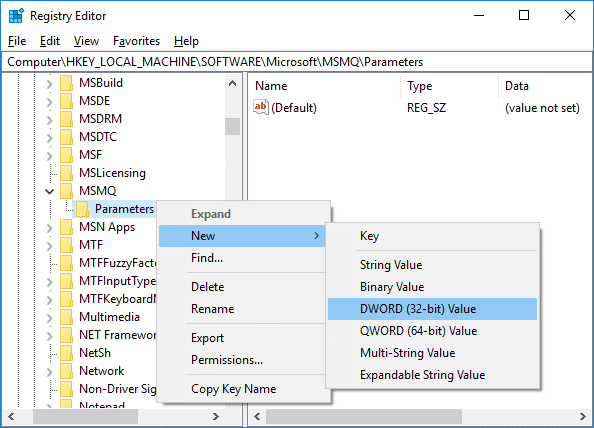
18.Щракнете с десния бутон върху параметри & изберете Ново > DWORD (32-битова) стойност.
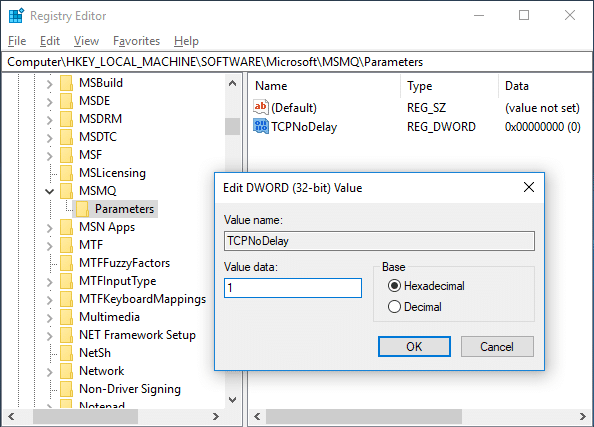
19.Name this DWORD as “TCPNoDelay” and set it’s value to 1.
20.Click OK to save changes and reboot your PC.
Method 2: Disable Apps with High Network Usage using Task Manager
Usually, Windows 10 permits its users to observe which applications are employing or eating up the most network bandwidth in the background.
1. Натиснете Ctrl + Shift + Esc клавиши заедно, за да се отворят Task Manager.

2. Щракнете върху „Повече информация” to expand Task Manager.
3.You can sort the “мрежа” column of Task Manager in descending order which will allow you to see those applications which are taking the most bandwidth.
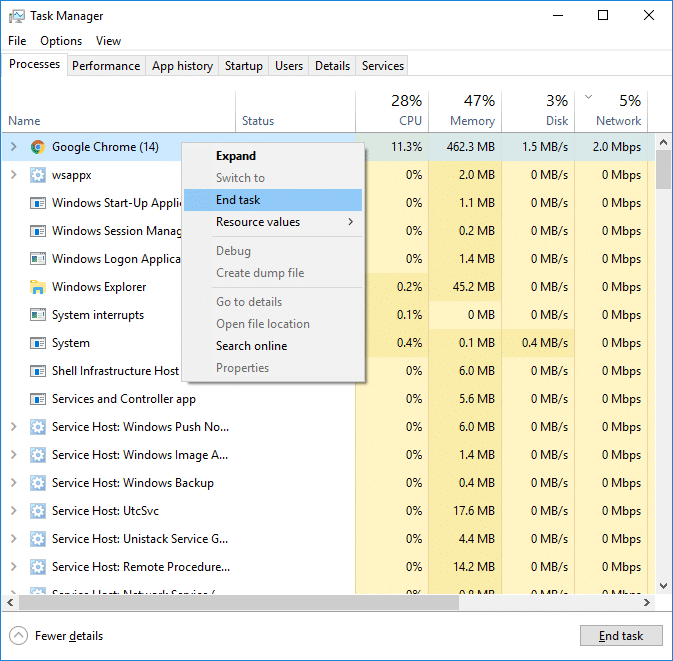
4.Close тези приложения Това има eating a high amount of bandwidth,
Забележка: Don’t close the processes which are a system process.
Method 3: Disable Windows Auto-Updates
Windows usually download system updates with no notification or permission. Hence it may eat up your internet with high ping & slow your game. That time you cannot hiatus an update which has already started; & may ruin your online game experience. So you can stop your Windows update so that it doesn’t eat up your internet bandwidth.
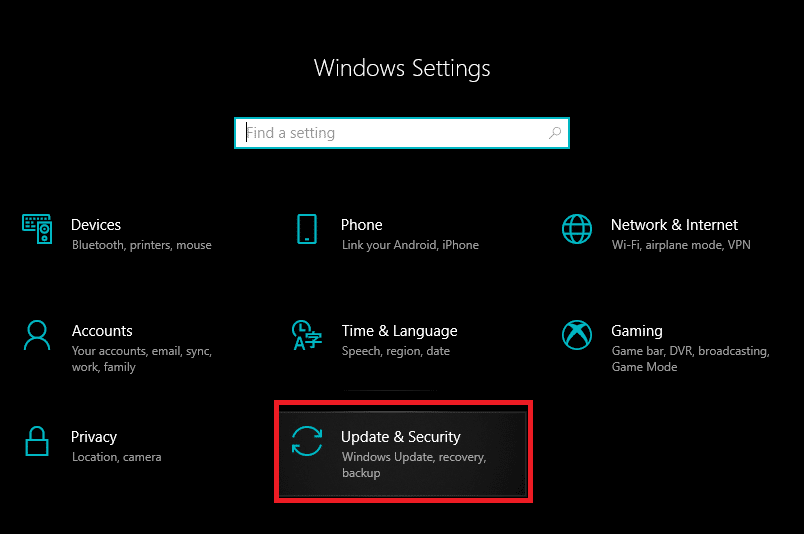
1.Press Windows Key + I to open Settings then click on “Актуализация и сигурностИкона.
2.From the left-hand window select “Windows Update".
3.Now under Windows Update click on “Подробно" настроики.
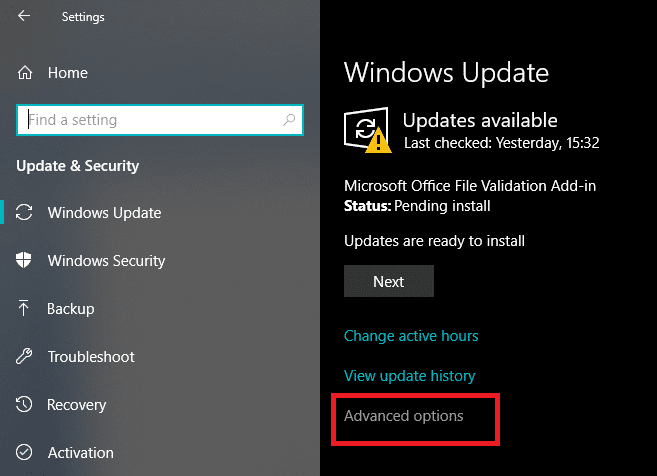
4.Now look for “Оптимизация на доставките” option & click on it.

5.Again click on “Разширени опции".

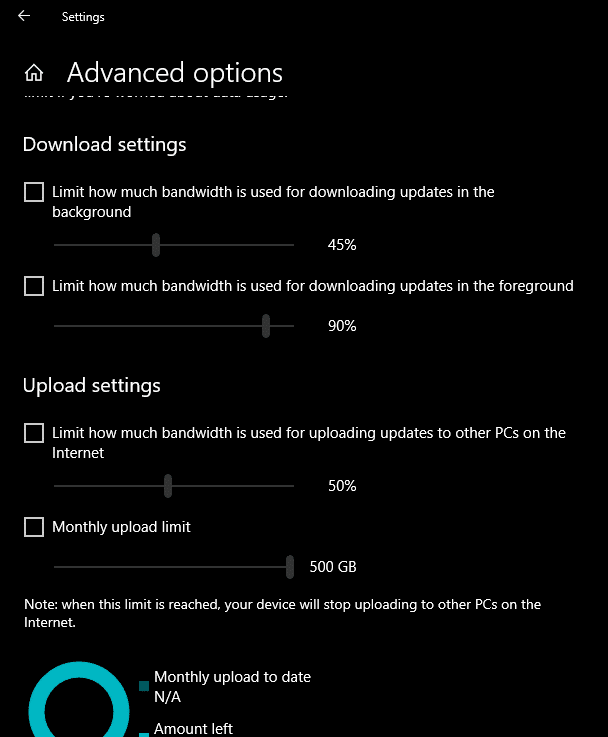
6.Сега adjust your Download & Upload Bandwidth процент.
If you don’t want to mess System updates then another way to Fix High Ping on Windows 10 issue is to set your network connection as премерена. This will let system think that you’re on a metered connection and hence it will not download the Windows updates automatically.
1.Кликнете върху Старт бутон след това отидете на Настройки.
2.From Settings window click on “Мрежа и интернетИкона.
![]()
3.Now make sure you select Ethernet option from the left window pane.
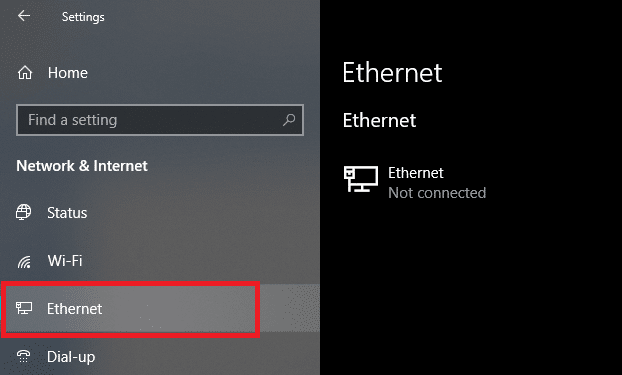
4.Choose the Network which you currently connected to.
5.Turn ON the toggle for “Задайте като измерена връзка".

Метод 4: Нулирайте мрежовата връзка
1. Натиснете клавиша Windows + I, за да отворите Настройки, след което щракнете върху Мрежа и интернет.

2. От левия панел на прозореца щракнете върху Състояние.
3. Превъртете надолу до дъното и щракнете върху Нулиране на мрежата.

4. В следващия прозорец щракнете върху Нулирайте сега.

5. Ако поиска потвърждение, изберете Да.
6. Рестартирайте компютъра си, за да запазите промените и вижте дали можете Fix High Ping on Windows 10 Issue.
Method 5: Disable WiFi Sense
1. Натиснете клавиша Windows + I, за да отворите Настройки, след което щракнете върху Мрежа и интернет.
2. Сега щракнете върху Wi-Fi from the left window pane and make sure to Disable everything under Wi-Fi Sense.
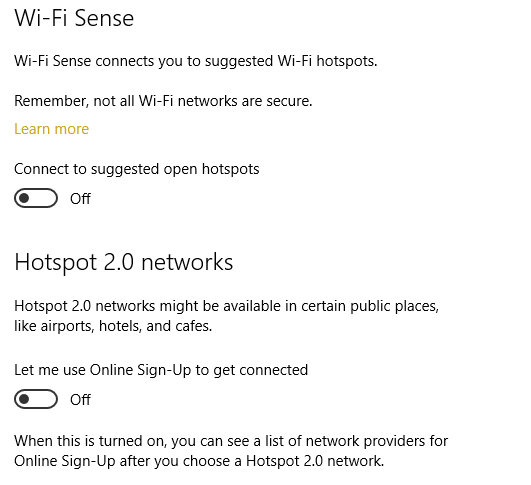
3.Also, make sure to disable Hotspot 2.0 networks and Paid Wi-Fi services.
Препоръчва се:
Надявам се, че тази статия е била полезна и сега можете лесно Fix High Ping on Windows 10, но ако все още имате въпроси относно това ръководство, не се колебайте да ги зададете в секцията за коментари.
")
