- in okna by administrátor
Povolte nebo zakažte Credential Guard ve Windows 10

Enable or Disable Credential Guard in Windows 10: Windows Credential Guard uses virtualization-based security to isolate secrets so that only privileged system software can access them. Unauthorized access to these secrets can lead to credential theft attacks, such as Pass-the-Hash or Pass-The-Ticket. Windows Credential Guard prevents these attacks by protecting NTLM password hashes, Kerberos Ticket Granting Tickets, and credentials stored by applications as domain credentials.
By enabling Windows Credential Guard the following features and solutions are provided:
Hardwarové zabezpečení
Zabezpečení založené na virtualizaci
Better protection against advanced persistent threats
Now you know the importance of the Credential Guard, you should definitely enable this for your system. So without wasting any time let’s see How to Enable or Disable Credential Guard in Windows 10 with the help of the below-listed tutorial.
Povolte nebo zakažte Credential Guard ve Windows 10
Nezapomeňte vytvořit bod obnovení pro případ, že by se něco pokazilo.
Method 1: Enable or Disable Credential Guard in Windows 10 using Group Policy Editor
Poznámka: This method only works if you have Windows Pro, Education, or Enterprise Edtion. For Windows Home version users skip this method and follow the next one.
1. Stiskněte klávesu Windows + R a zadejte regedit a otevřete stisknutím Enter Editor zásad skupiny.

2. Přejděte na následující cestu:
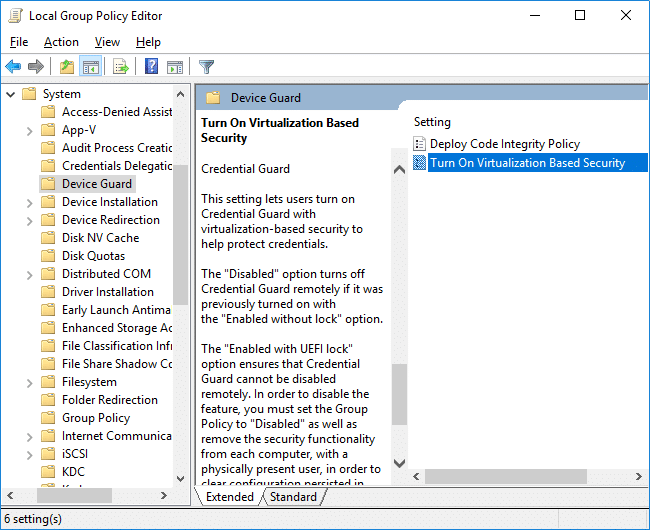
Konfigurace počítače > Šablony pro správu > Systém > Ochrana zařízení
3. Ujistěte se, že jste vybrali Strážce zařízení than in right window pane double-click on “Turn On Virtualization Based Security” politika.
4.In the Properties window of the above policy make sure to select Povoleno.
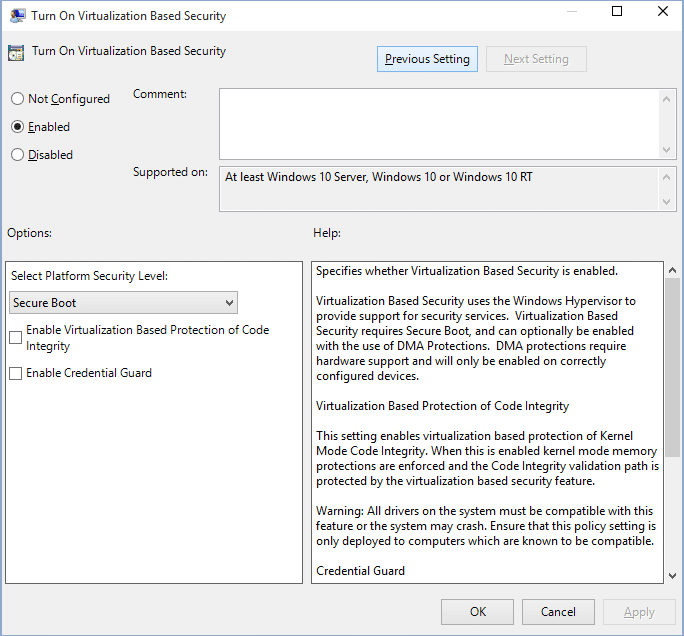
5.Now from the “Select Platform Security Level” drop-down select Secure Boot or Secure Boot and DMA Ochrana.
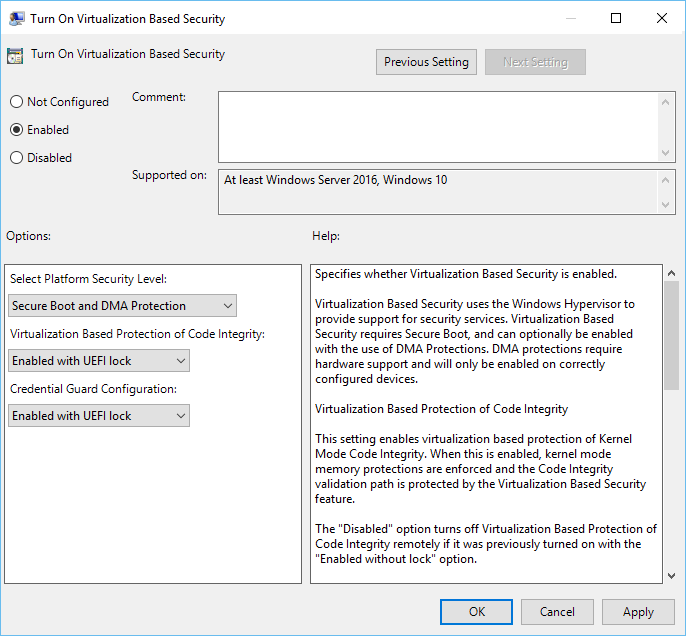
6.Next, from “Credential Guard Configuration” drop-down select Enabled with UEFI lock. If you want to turn off Credential Guard remotely, choose Enabled without lock instead of Enabled with UEFI lock.
7.Once finished, click Apply followed by OK.
8. Pro uložení změn restartujte počítač.
Method 2: Enable or Disable Credential Guard in Windows 10 using Registry Editor
Credential Guard uses virtualization-based security features which have to be enabled first from Windows feature before you can enable or disable Credential Guard in Registry Editor. Make sure to only use one of the below-listed methods to enable virtualization-based security features.
Add the virtualization-based security features by using Programs and Features
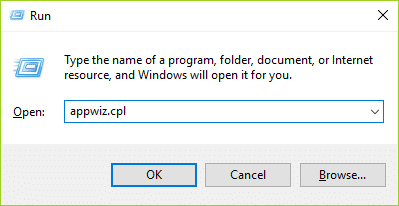
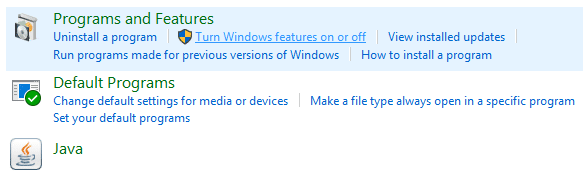
1. Stiskněte klávesu Windows + R a zadejte appwiz.cpl a otevřete stisknutím Enter Program and Features.
2.From the left-hand window click on “Zapnout nebo vypnout funkce Windows".
3.Find and expand Hyper-V then similarly expand Hyper-V Platform.
4.Under Hyper-V Platform zaškrtnutí "Hyper-V Hypervisor".
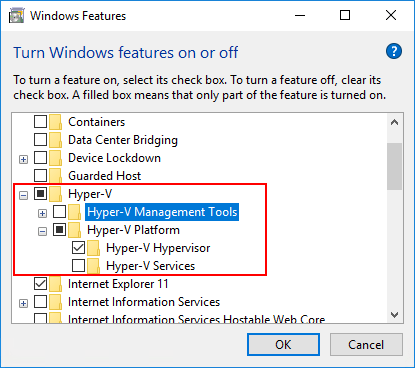
5.Now scroll down and checkmark “Isolated User Mode” a klepněte na tlačítko OK.
Add the virtualization-based security features to an offline image by using DISM
1. Stiskněte klávesu Windows + X a vyberte Příkazový řádek (Admin).

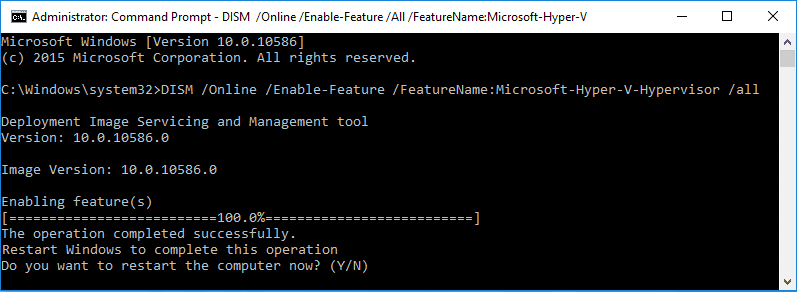
2.Type the following command into cmd to add the Hyper-V Hypervisor and hit Enter:
dism /image:<WIM file name> /Enable-Feature /FeatureName:Microsoft-Hyper-V-Hypervisor /all
OR
dism /Online /Enable-Feature:Microsoft-Hyper-V /All
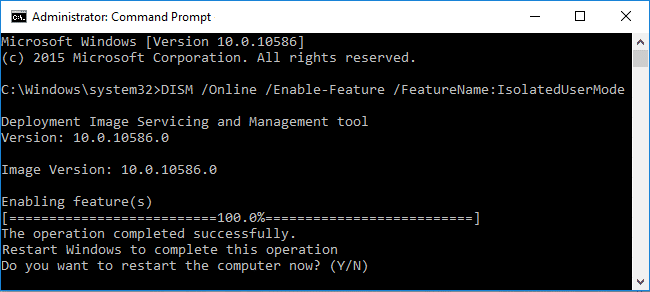
3.Add the Isolated User Mode feature by running the following command:
dism /image:<WIM file name> /Enable-Feature /FeatureName:IsolatedUserMode
OR
dism /Online /Enable-Feature /FeatureName:IsolatedUserMode
4. Po dokončení můžete zavřít příkazový řádek.
Povolte nebo zakažte Credential Guard ve Windows 10
1. Stiskněte klávesu Windows + R a zadejte regedit a otevřete stisknutím Enter Editor registru.
2. Přejděte na následující klíč registru:
HKEY_LOCAL_MACHINESystemCurrentControlSetControlDeviceGuard
3. Klikněte pravým tlačítkem na DeviceGuard Potom vyberte Nové > Hodnota DWORD (32 bitů).
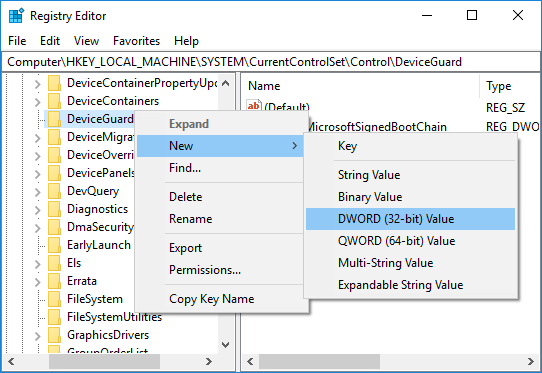
4. Pojmenujte tento nově vytvořený DWORD jako EnableVirtualizationBasedSecurity a stiskněte klávesu Enter.
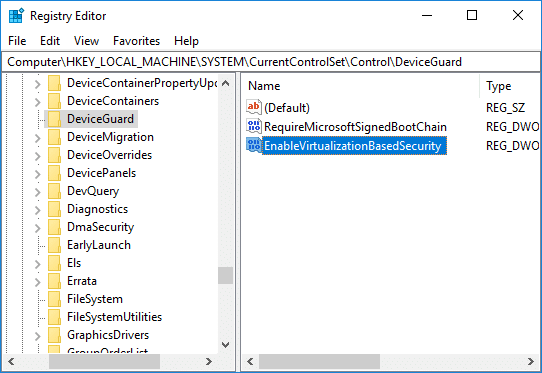
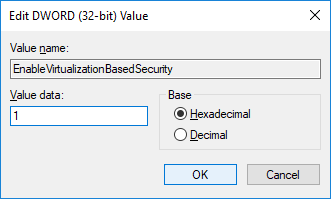
5.Double-click on EnableVirtualizationBasedSecurity DWORD then change its value to:
To Enable Virtualization-based Security: 1
To Disable Virtualization-based Security: 0
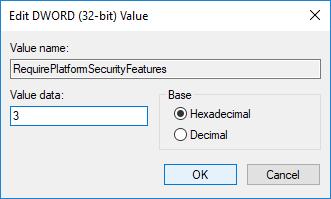
6.Now again right-click on DeviceGuard then select Nová> DWORD (32bitová) hodnota a pojmenujte tento DWORD jako RequirePlatformSecurityFeatures potom stiskněte klávesu Enter.
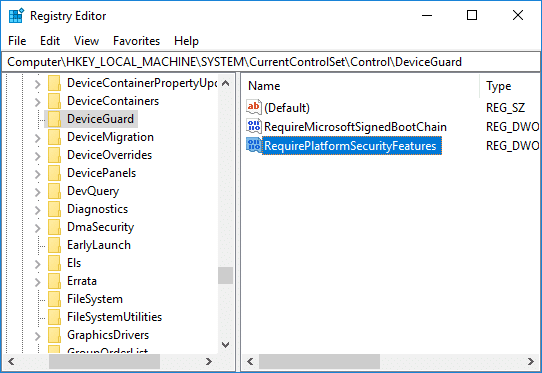
7.Double-click on RequirePlatformSecurityFeatures DWORD and change it’s value to 1 to use Secure Boot only or set it to 3 to use Secure Boot and DMA protection.
8. Nyní přejděte na následující klíč registru:
HKEY_LOCAL_MACHINESystemCurrentControlSetControlLSA
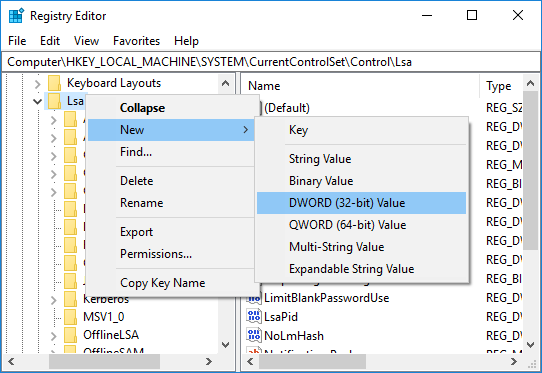
9.Right-click on LSA then select Nová> DWORD (32bitová) hodnota then name this DWORD as LsaCfgFlags a stiskněte klávesu Enter.
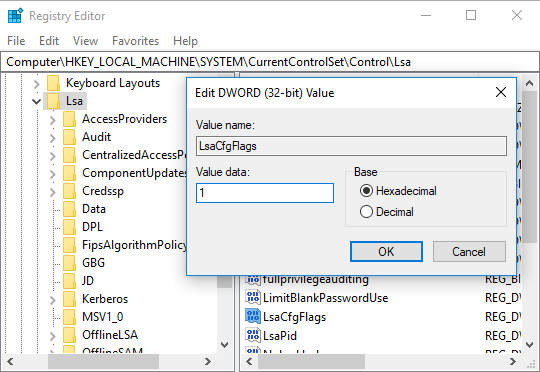
10.Double-click on LsaCfgFlags DWORD and change its value according to:
Disable Credential Guard: 0
Enable Credential Guard with UEFI lock: 1
Enable Credential Guard without lock: 2
11.Once finished, close Registry Editor.
Disable Credential Guard in Windows 10
If Credential Guard was enabled without UEFI Lock then you can Disable Windows Credential Guard s použitím Device Guard and Credential Guard hardware readiness tool or the following method:
1. Stiskněte klávesu Windows + R a zadejte regedit a otevřete stisknutím Enter Editor registru.
2.Navigate and delete the following registry keys:
HKEY_LOCAL_MACHINESystemCurrentControlSetControlLSALsaCfgFlags
HKEY_LOCAL_MACHINESoftwarePoliciesMicrosoftWindowsDeviceGuardEnableVirtualizationBasedSecurity
HKEY_LOCAL_MACHINESoftwarePoliciesMicrosoftWindowsDeviceGuardRequirePlatformSecurityFeatures

3.Delete the Windows Credential Guard EFI variables by using bcdedit. Press Windows Key + X then select Příkazový řádek (Admin).
4. Zadejte následující příkaz do cmd a stiskněte Enter:
mountvol X: /s
copy %WINDIR%System32SecConfig.efi X:EFIMicrosoftBootSecConfig.efi /Y
bcdedit /create {0cb3b571-2f2e-4343-a879-d86a476d7215} /d "DebugTool" /application osloader
bcdedit /set {0cb3b571-2f2e-4343-a879-d86a476d7215} path "EFIMicrosoftBootSecConfig.efi"
bcdedit /set {bootmgr} bootsequence {0cb3b571-2f2e-4343-a879-d86a476d7215}
bcdedit /set {0cb3b571-2f2e-4343-a879-d86a476d7215} loadoptions DISABLE-LSA-ISO
bcdedit /set {0cb3b571-2f2e-4343-a879-d86a476d7215} device partition=X:
mountvol X: /d
5.Once finished, close command prompt and reboot your PC.
6.Accept the prompt to disable Windows Credential Guard.
Doporučená:
To jste se úspěšně naučili How to Enable or Disable Credential Guard in Windows 10 ale pokud máte stále nějaké dotazy týkající se tohoto tutoriálu, neváhejte se jich zeptat v sekci komentářů.