Change Compatibility Mode for Apps in Windows 10

With the introduction of Windows 10, many earlier apps are having issues with the latest operating system by Microsoft. Although Windows 10 supports a variety of apps created for an earlier version of Windows, some older apps might have a problem in the running in Windows 10. Few apps might have a problem with scaling especially if you have a high-resolution display while some other apps might not run depending on the system architecture. But don’t worry you can still run your older version of software on Windows 10 with the help of a feature called Compatibility Mode.
Compatibility mode settings in Windows 10 are specially made for this purpose: to detect and fix compatibility problems of older application built for the earlier version of Windows. Anyway without wasting any time let’s see How to Change Compatibility Mode for Apps in Windows 10 with the help of the below-listed tutorial.
Change Compatibility Mode for Apps in Windows 10
Sørg for at oprette et gendannelsespunkt, hvis noget går galt.
But before moving forward to this tutorial, let’s see what all the compatibility options Windows 10 offers are:
Kør dette program i kompatibilitetsmodus til – With this option you can run your app in compatibility mode for Windows 95, Windows 98/Me, Windows XP SP2, Windows XP SP3, Windows Vista, Windows Vista SP1, Windows Vista SP2, Windows 7 and Windows 8.
Reduced colour mode – App uses a limited set of colours that might be useful for some older apps that could only run in 256 colour mode.
Kør i 640 × 480 skærmopløsning – If graphics for the app appears incorrectly rendered or if you want to change the display resolution to VGA mode (Video Graphics Array).
Tilsidesæt høj DPI-skaleringsadfærd – Well you could override high DPI scaling mode which can be performed by either the Application, System, or System (Enhanced).
Deaktiver optimering af fuldskærm – Improves the compatibility of the full-screen apps.
Kør dette program som administrator – This will run the application elevated as the administrator.
Method 1: Change Compatibility Mode Settings
1. Right-click on the application then selects Egenskaber.
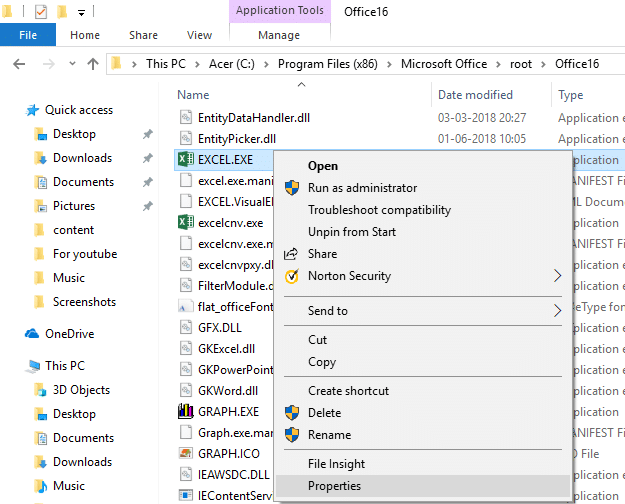
Bemærk: You need to right-click on the .exe file of the application.
2. Now in the Properties window switch to Kompatibilitet.
3. Afkrydsning the box which says “Kør dette program i kompatibilitetsmodus til".
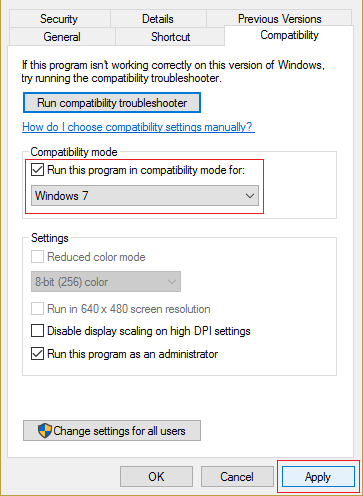
4. From the drop-down below the above box, select the Windows version you want to use for your application.
5. You could also checkmark “Kør dette program som administrator".
Bemærk: For this, you need to be signed in as administrator.
6. Klik på Anvend efterfulgt af OK.
7. See if the application works or not, also remember that all these changes will kun anvendes på your personal user account.
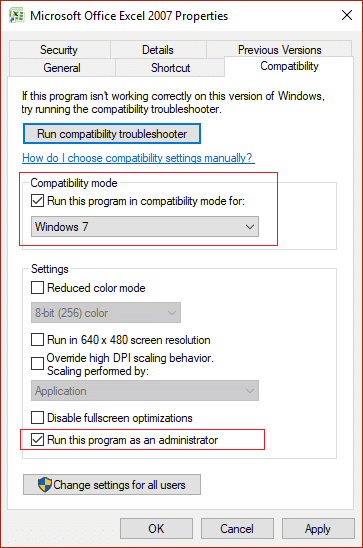
8. If you want to apply these settings for all the user account, make sure you are signed in as administrator then click the button “Skift indstillinger for alle brugere” in the property window of the application.
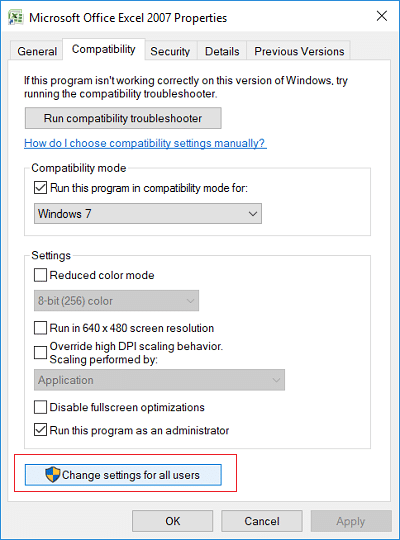
9. Next, a new property window will open, but all the changes you make here will be applied to all user accounts on your PC.
This is how you Change Compatibility Mode for Apps in Windows 10, but don’t worry if this method didn’t work out for you. Another method with which you can easily change the compatibility mode for apps using the program compatibility troubleshooter.
Metode 2: Kør Programkompatibilitetsfejlfinding
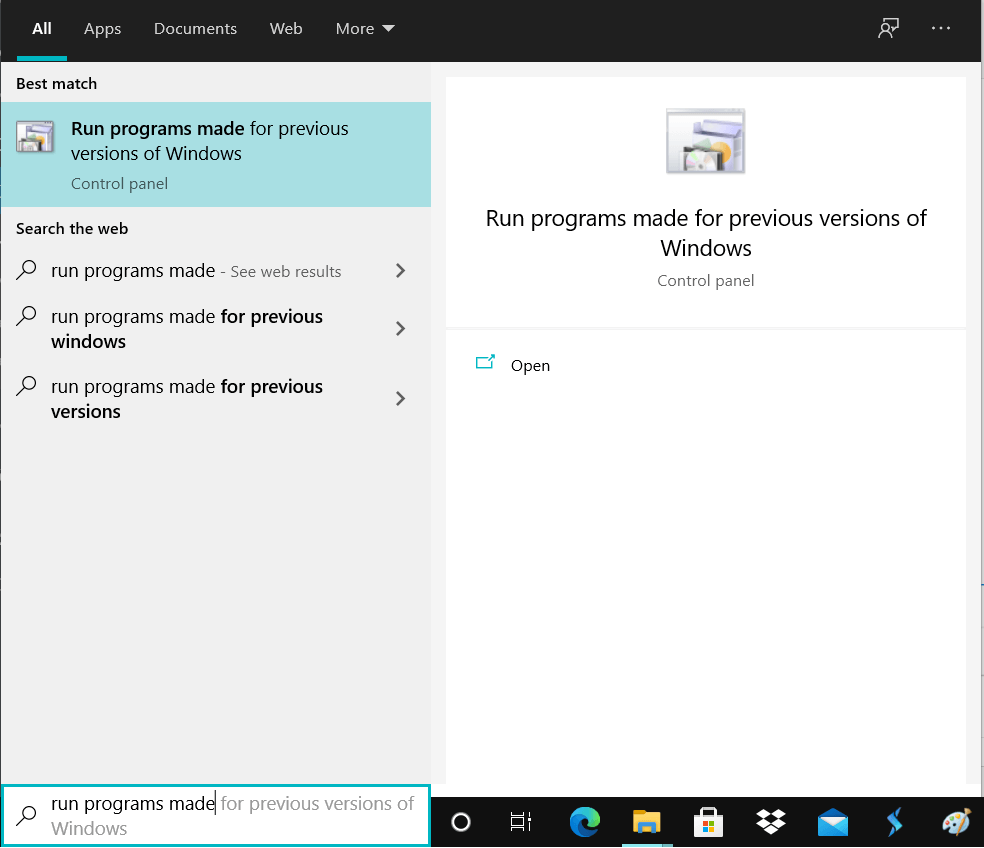
1. Type “run programs made” in the Windows Search box then click on the “Run Program made for previous versions of Windows”Fra søgeresultaterne.
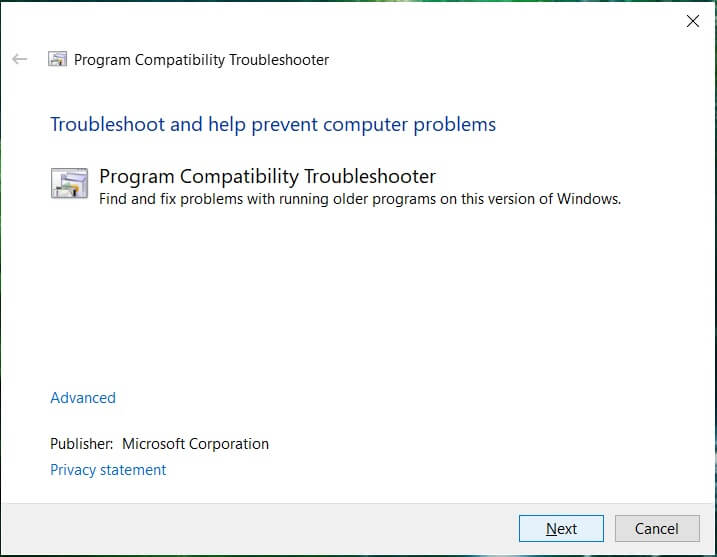
2. På den Fejlfinding af programkompatibilitet vindue klik Næste.
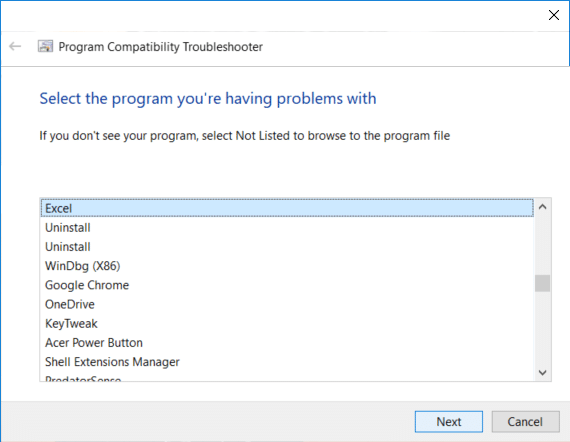
3. Now wait for a few seconds for the troubleshooter to generate a list of programs.
4. Næste, select the particular program from the list, which is having the compatibility issues and then click Næste.
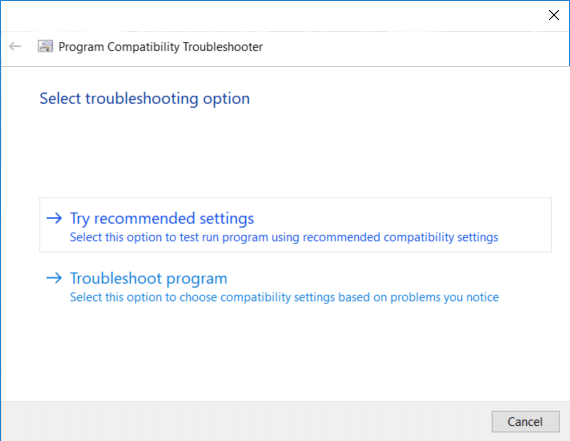
5. On the Select troubleshooting options window, click on “Prøv anbefalede indstillinger".
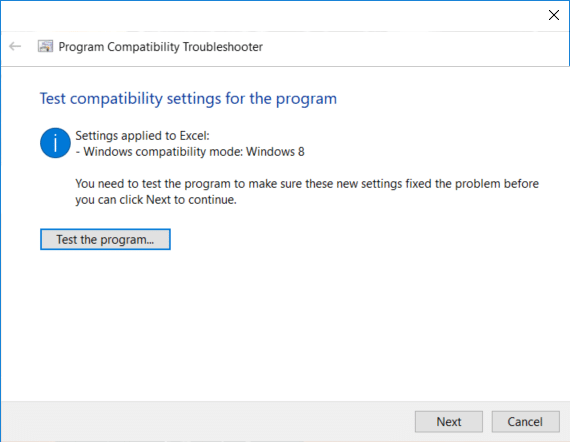
6. klik Test programmet and if everything works well, then close the program and click Næste.
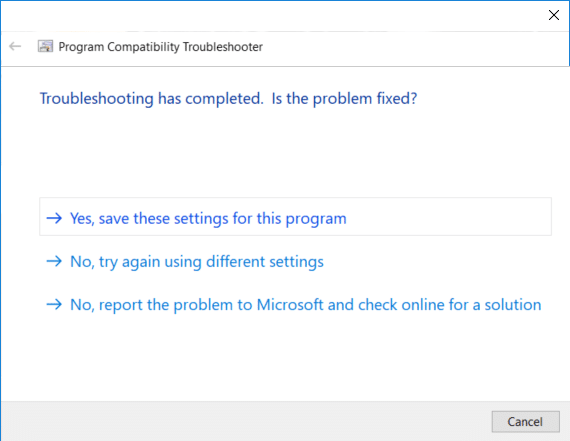
7. Finally, select “Ja, gem disse indstillinger til dette program” but if the program didn’t run correctly, select “Nej, prøv igen ved hjælp af forskellige indstillinger".
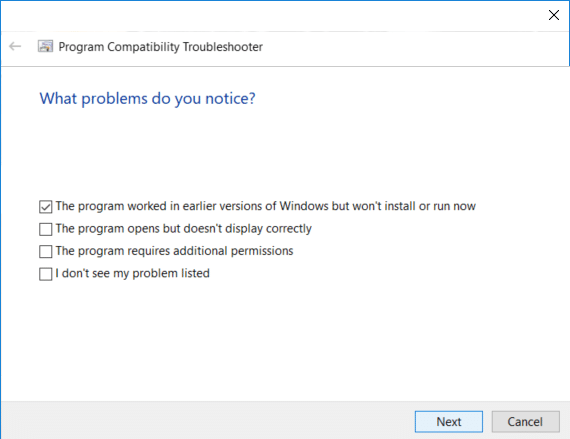
8. After you select “Nej, prøv igen ved hjælp af forskellige indstillinger” you would be taken to “What problem do you notice” window. If you would have chosen “Fejlfinding af program” in Select troubleshooting option window, you would see the same window: “What problem do you notice".
9. Nu choose one of the four options that fit your situation and then follow the on-screen instructions to let Window collect enough information to start troubleshooting the compatibility issue.
10. If you have more than one program facing the incompatibility problem, you need to repeat all the above steps for that program.
Anbefalet:
Det er det, du har med succes lært How to Change Compatibility Mode for Apps in Windows 10, men hvis du stadig har spørgsmål vedrørende denne tutorial, er du velkommen til at stille dem i kommentarfeltet.