Fix Computer starter ikke, før den genstartes flere gange

Fix Computer does not start until restarted multiple times: There seems to be a new issue with PC users, which is when they first turn ON their PC the power comes ON, fans start to spin but everything suddenly stops and PC never gets a display, in short, PC automatically turned OFF without any warning. Now if the user, powers off the PC and then turned it back ON, the computer boots normally without any additional issues. Basically, Computer does not start until restarted multiple times which is very annoying for basic Windows users.
Sometimes you need to boot up to 4-5 time before you could see the display or even boot your PC, but there is no guarantee that it will boot. Now living in this uncertainty, that you may or may not be able to use your PC next day is not such a good thing, so you need to address this problem immediately.
Now there are only a few issues which can cause this problem, so you can definitely troubleshoot this issue easily. The problem sometimes can be related to software like the main culprit seems to be Fast Startup in many cases and disabling it seems to fix the issue. But if this doesn’t fix the issue then you can be sure that the issue is related to hardware. In hardware, this can be a memory issue, faulty power supply, BIOS Settings or CMOS battery dried up, etc. So without wasting any time let’s see how to Fix Computer does not start until restarted multiple times with the help of the below-listed guide.
Fix Computer starter ikke, før den genstartes flere gange
Sørg for at oprette et gendannelsespunkt, bare hvis noget går galt.
Bemærk: Some of the methods require expert supervision as you can seriously damage your PC while performing the steps, so if you don’t know what you’re doing then take your laptop/PC to a service repair center. If your PC is under warranty then opening the case can temper/void the warranty.
Metode 1: Slå Hurtig opstart fra
1. Tryk på Windows-tasten + R, skriv derefter kontrol og tryk på Enter for at åbne Kontrolpanel.

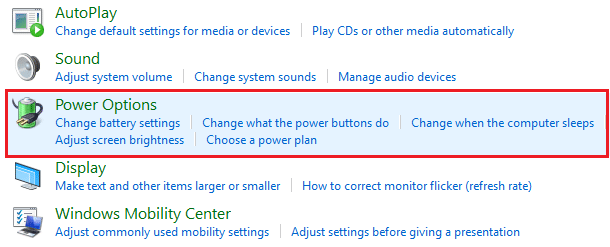
2.Klik på Hardware og lyd Klik derefter på Strømstyring.
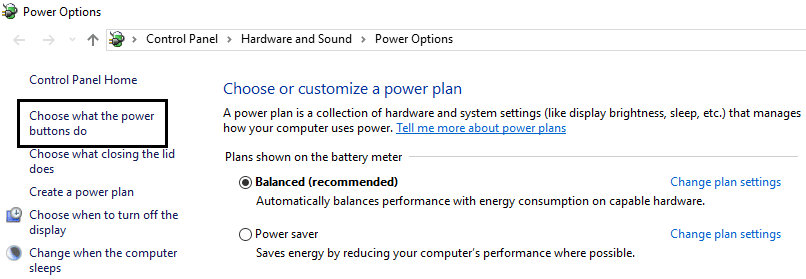
3. Vælg derefter fra venstre vinduesrude "Vælg, hvad tænd / sluk-knapperne gør."
4. Klik nu på "Skift indstillinger, der ikke er tilgængelige i øjeblikket."

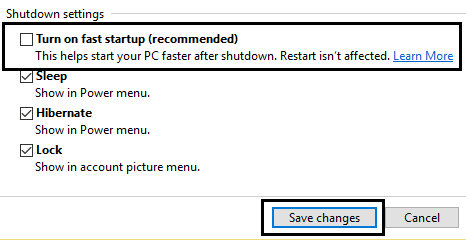
5. Fjern markeringen af "Tænd for hurtigstart” og klik på Gem ændringer.
Metode 2: Kør automatisk reparation
1.Indsæt den bootbare installations-dvd til Windows 10 og genstart din pc.
2.When prompted to Tryk på en vilkårlig tast for at starte fra cd eller dvd skal du trykke på en vilkårlig tast for at fortsætte.

3.Vælg dine sprogpræferencer, og klik på Næste. Klik på Reparer din computer nederst til venstre.

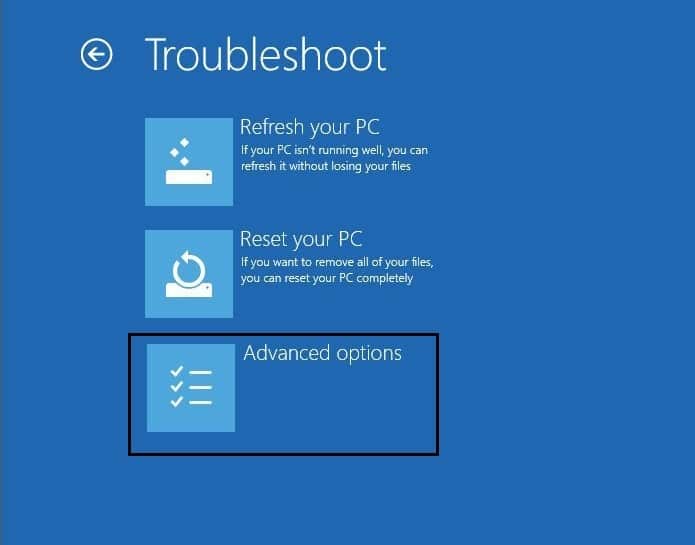
4. Klik på skærmbilledet for valg af indstilling Fejlfinding.

5. Klik på på skærmen Fejlfinding Avanceret indstilling.
6. Klik på på skærmen Avancerede indstillinger Automatisk reparation eller opstartsreparation.
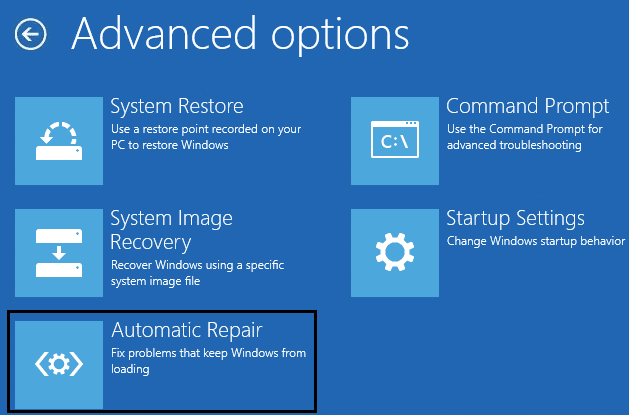
7.Vent til Windows Automatisk/Startup Reparationer komplet.
8. Genstart, og du har succes Fix Computer does not start until restarted multiple times issue, hvis ikke, fortsæt.
Læs også Sådan repareres Automatic Repair kunne ikke reparere din pc.
Metode 3: Nulstil BIOS til standardindstillinger
1. Sluk din bærbare computer, og tænd den derefter samtidig tryk på F2, DEL eller F12 (afhængigt af din producent) at indgå BIOS opsætning.

2.Nu skal du finde nulstillingsmuligheden til indlæs standardkonfigurationen og det kan være navngivet som Nulstil til standard, Indlæs fabriksindstillinger, Ryd BIOS-indstillinger, Indlæs opsætningsstandarder eller noget lignende.

3.Vælg det med dine piletaster, tryk på Enter, og bekræft handlingen. Din BIOS vil nu bruge den standardindstillinger.
4.Once you’re logged into Windows see if you’re able to Fix Computer does not start until restarted multiple times issue.
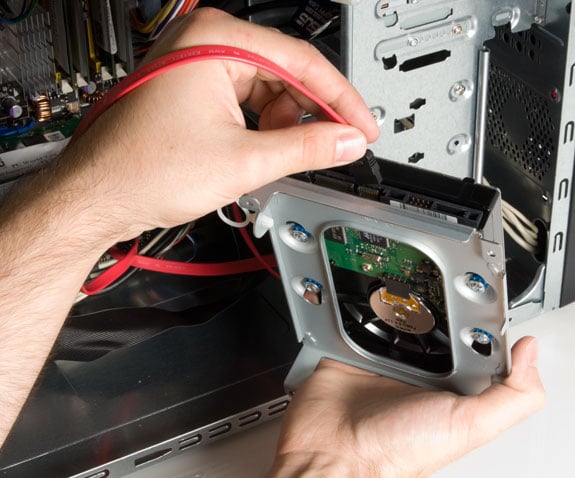
Method 4: Check if hard disk is failing
In many cases, the issue occurs because of the failing hard disk and to check if this is the problem here you need to disconnect the hard disk from your PC and connect it to another PC and try to boot from it. If you can boot from the hard disk without any issue on the other PC then you can be sure that the issue is not related to it.
Another way to test your hard disk is download and burn the SeaTools for DOS on a CD then run the test to check if your hard disk is failing or not. You will need to set the first boot to CD/DVD from BIOS in order for this to work.
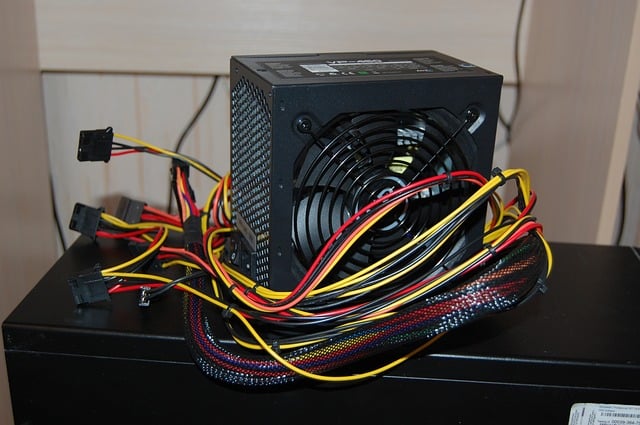
Metode 5: Tjek strømforsyningen
A faulty or failing Power Supply is generally the cause for PC not starting at the first boot. Because if the power consumption of hard disk is not met, it won’t get enough power to run and subsequently you may need to restart the PC several times before it can take the adequate power from PSU. In this case, you may need to replace the power supply with a new one or you could borrow a spare power supply to test if this is the case here.
If you have recently installed a new hardware such as video card then chances are the PSU is not able to deliver the necessary power needed by the graphic card. Just temporary remove the hardware and see if this fixes the issue. If the issue is resolved then in order to use the graphic card you may need to purchase a higher voltage Power Supply Unit.
Method 6: Replace CMOS battery
If CMOS battery has dried up or no longer deliver powers then your PC won’t start and after few days it will eventually start hanging up. In order to fix the issue, it’s advised to replace your CMOS battery.
Metode 7: ATX-nulstilling
Bemærk: Denne proces gælder generelt for bærbare computere, så hvis du har en computer, så forlad denne metode.
1.Power off your laptop then remove the power cord, leave it for few minutes.
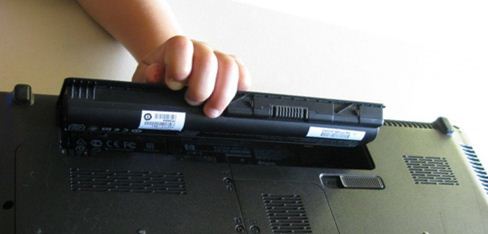
2. Nu fjern batteriet bagfra og tryk og hold tænd/sluk-knappen nede i 15-20 sekunder.
Bemærk: Tilslut ikke netledningen endnu, vi fortæller dig, hvornår du skal gøre det.
3.Now plug in din strømledning (batteri skal ikke indsættes) og prøver at starte din bærbare computer op.
4.If it’s boot properly then again turn off your laptop. Put in the battery and again start your laptop.
If the problem is still there again turn off your laptop, remove power cord & battery. Press & hold the power button for 15-20 seconds and then insert the battery. Power on the laptop and this should fix the issue.
Now if any of the above methods weren’t helpful then it means the problem is with your motherboard and unfortunately, you need to replace it in order to fix the issue.
Anbefalet:
Det er det du har med succes Fix Computer does not start until restarted multiple times issue men hvis du stadig har spørgsmål vedrørende denne vejledning, er du velkommen til at stille dem i kommentarfeltet.