- in παράθυρα by διαχειριστής
Fix Windows PC Won’t Connect to TV

The computer is connected to a Smart TV using an HDMI cable. Using HDMI, you can have a home theatre setup by connecting an HDTV or video projector to a computer. This cable will help in connecting to components for both audio and video. However, users have reported that sometimes computers do not recognize TV. If you are facing your PC won’t connect to TV issue, then you are in the right place. This article on how to fix computer won’t connect to TV issue will resolve the issue.
How to Fix Windows 10 PC Won’t Connect to TV HDMI
Whenever an external device is connected to the computer, Windows 10 sets the device ready to work with that device. For instance, when you connect a pen drive, you will see a prompt for File Explorer to run it. The process is similar when you connect a TV. If your computer fails to recognize the TV, then follow any of the methods below to resolve the issue.
Why Computer won’t Connect to TV?
Below are some of the reasons why your PC won’t connect to TV:
- Ξεπερασμένο πρόγραμμα οδήγησης
- Issues with the HDMI cable
- Issues with HDMI port
Βασικές συμβουλές αντιμετώπισης προβλημάτων
Before trying advanced troubleshooting methods, let us try some of the basic troubleshooting methods:
- Loosen up the HDMI coil if it is coiled tightly.
- Since HDMI is sensitive, check whether the pins on the HDMI are damaged.
- Use another HDMI cable.
- Καταργήστε άλλες συνδέσεις of the TV using the HDMI hub or switch.
- Προσπαθήστε να connect HDMI cable directly to the TV.
- Προσπαθήστε να connect to another HDMI port if your TV has multiple ports.
- Discharge the computer by removing AC adapters, power cables, and peripheral devices.
- Disconnect all ports and restart your computer and TV. Then, reconnect them.
Method 1: Enable Projection Mode
If Windows 10 has failed to automatically detect the connection to the TV, then you can enable the projection mode:
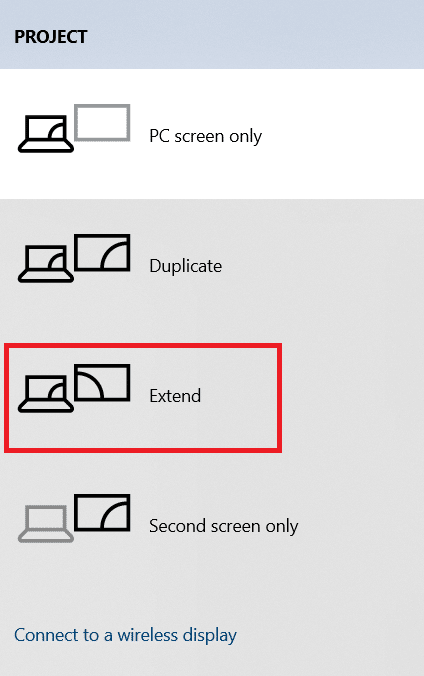
1. Τύπος Των Windows + P πλήκτρα simultaneously on the keyboard.
2. επιλέξτε Επεκτείνετε to display your computer screen on the TV.
Σημείωση: Μπορείτε επίσης να επιλέξετε αντίγραφο.
Method 2: Select Input Source on TV
If a TV has more than one display port, it might not detect the incoming video signal automatically and cause Windows 10 DisplayPort Not Working issue and cause Windows 10 DisplayPort Not Working issue. In this case, you can select input on the TV. Follow the steps below:
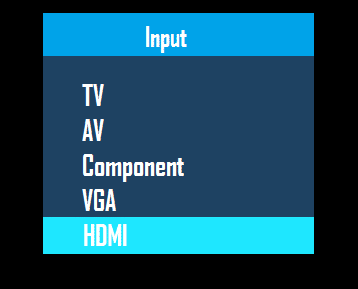
1. Πάτα το Μενού Πηγή εισόδου κουμπί για το τηλεχειριστήριο τηλεόρασης.
2. επιλέξτε HDMI. This will display the screen of the computer.
Διαβάστε επίσης: How to Convert Coaxial Cable to HDMI
Μέθοδος 3: Εκτελέστε το εργαλείο αντιμετώπισης προβλημάτων υλικού και συσκευών
If there is any issue with the PC hardware, running the troubleshooter will automatically diagnose the problems and fix them. Follow the steps written below to run the Hardware and Devices Troubleshooter to fix Computer won’t Connect to TV issue.
1. Πάτα το Windows κλειδί, τύπου Γραμμή εντολών και κάντε κλικ στο Εκτέλεση ως διαχειριστής.
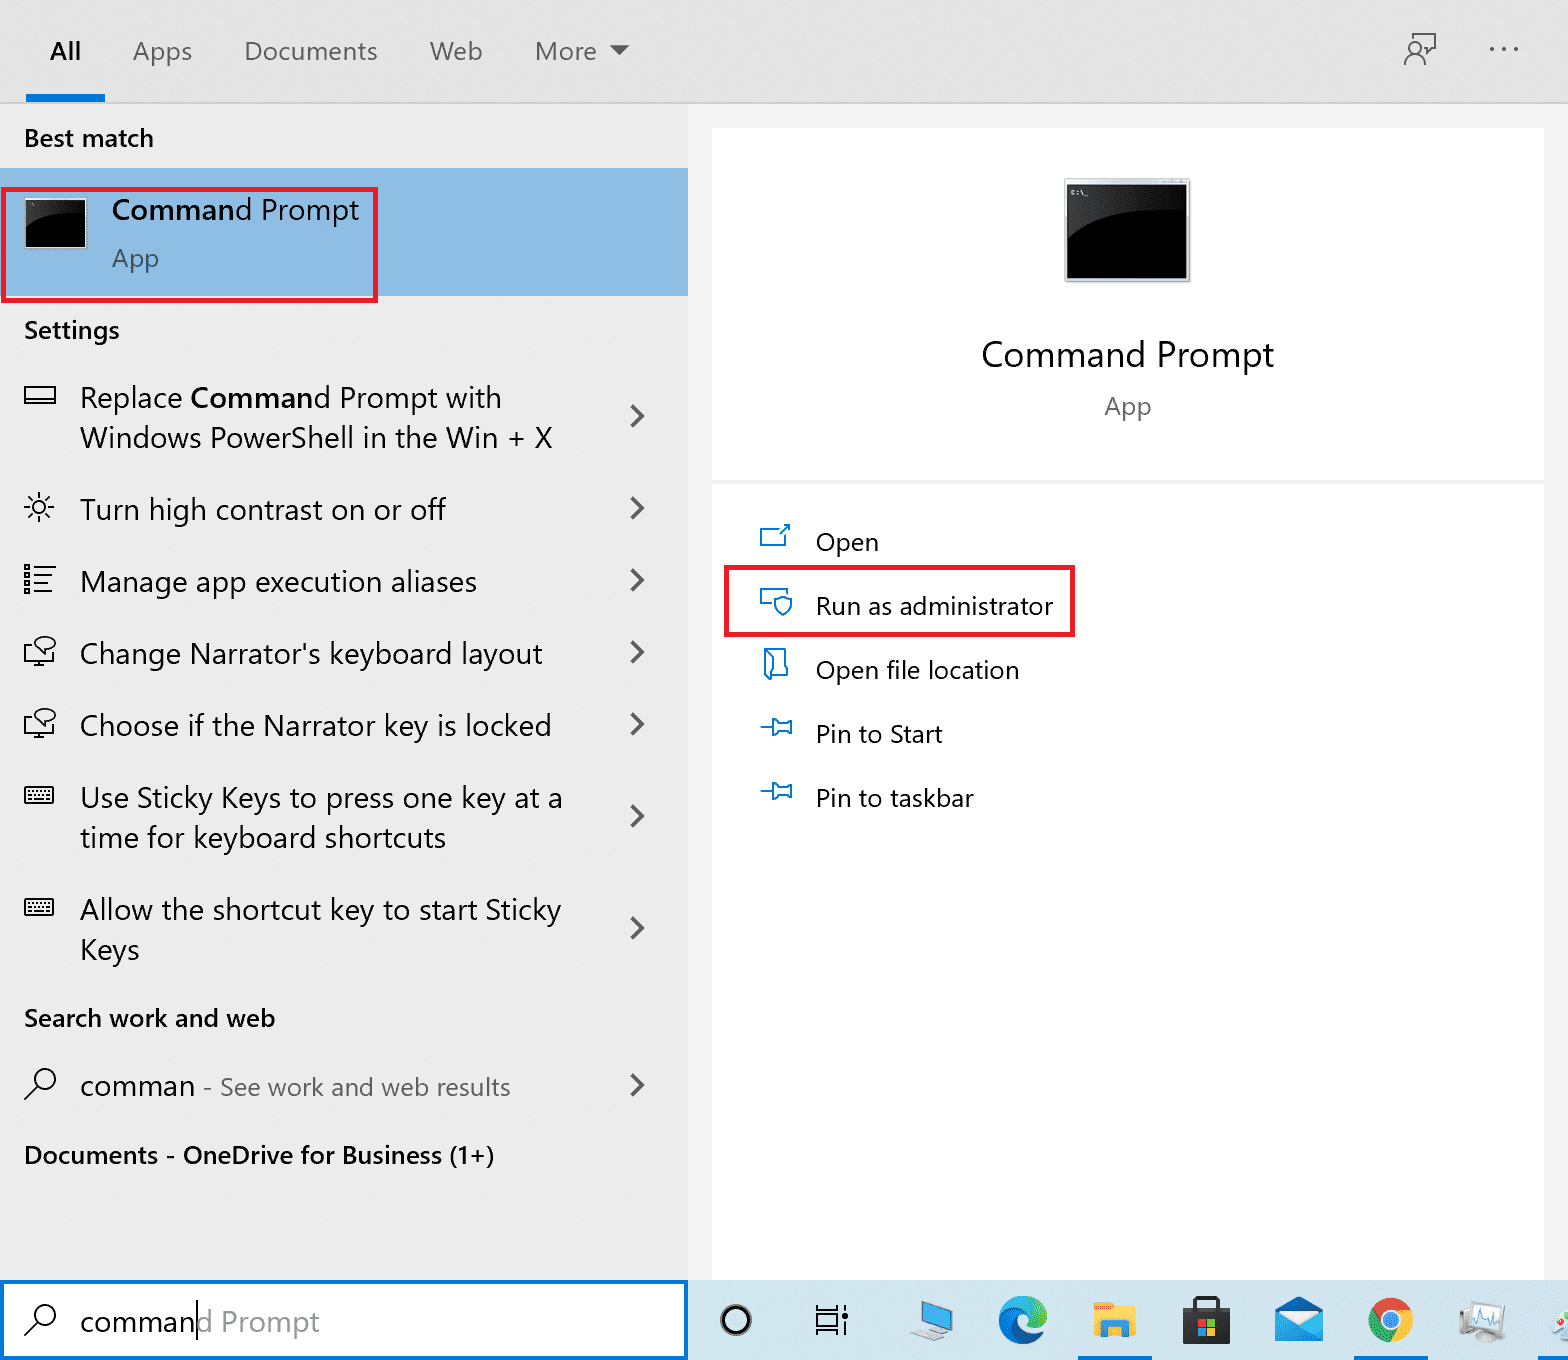
2. κλικ Ναι στο Έλεγχος λογαριασμού χρήστη προτροπή.
3. Πληκτρολογήστε την εντολή msdt.exe -id DeviceDiagnostic και πατήστε το πλήκτρο εισάγετε.
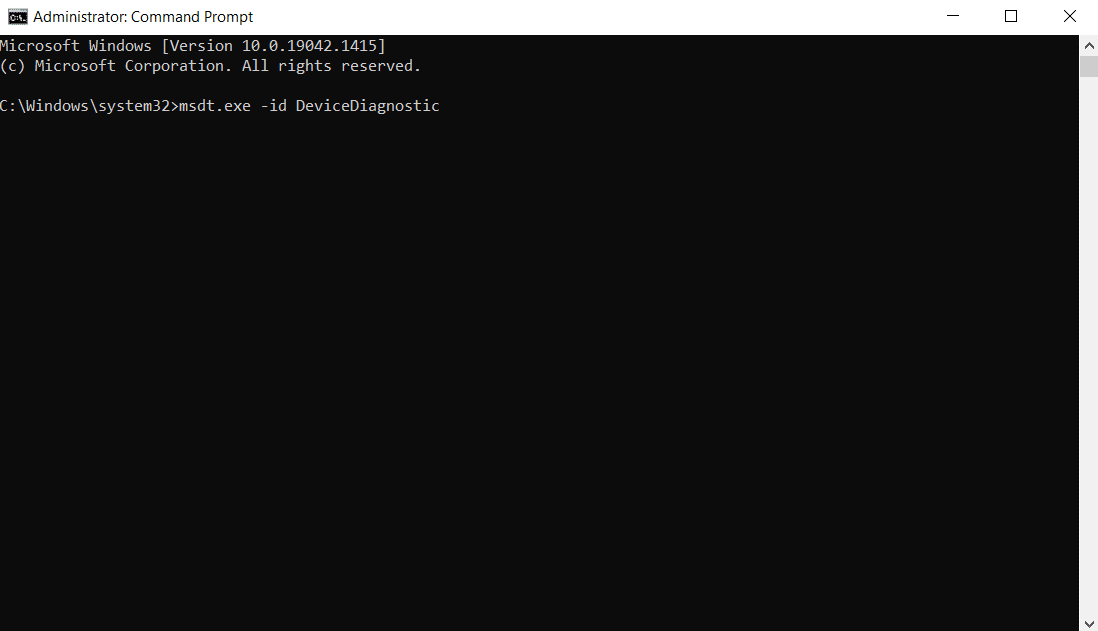
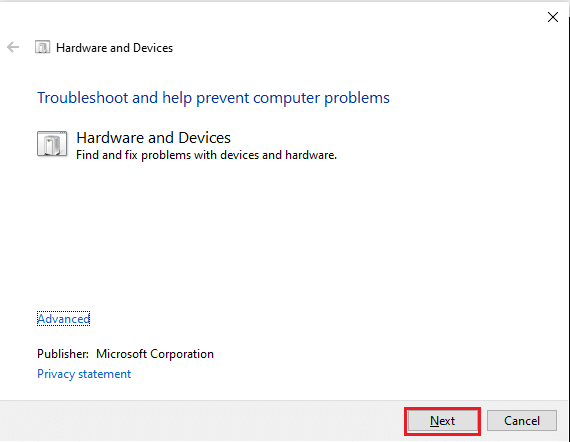
4. Κάντε κλικ στο Προηγμένη επιλογή, όπως φαίνεται.

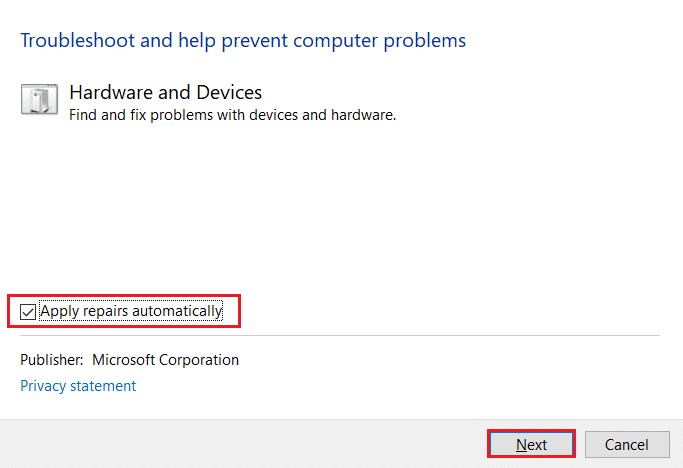
5. Ελεγξε το Εφαρμόστε αυτόματα επισκευές επιλογή και κάντε κλικ στο Επόμενο.
6. Κάντε κλικ στο Επόμενο να προχωρήσει.
7. The troubleshooter will now run. If problems are detected, it will display two options:
- Εφαρμόστε αυτήν την ενημέρωση κώδικα
- Παράβλεψη αυτής της επιδιόρθωσης
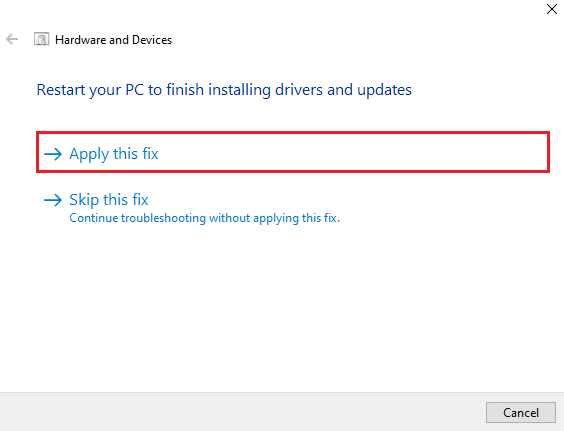
8. Εδώ, κάντε κλικ στο Εφαρμόστε αυτήν την ενημέρωση κώδικα, να επανεκκίνηση υπολογιστή σας.
If the issue occurs on your PC even after running the troubleshooter, then you can try updating the video driver.
Μέθοδος 4: Ενημερώστε το πρόγραμμα οδήγησης οθόνης
Outdated or damaged video drivers can also be one of the reasons behind PC won’t connect to TV issues. Follow the steps below:
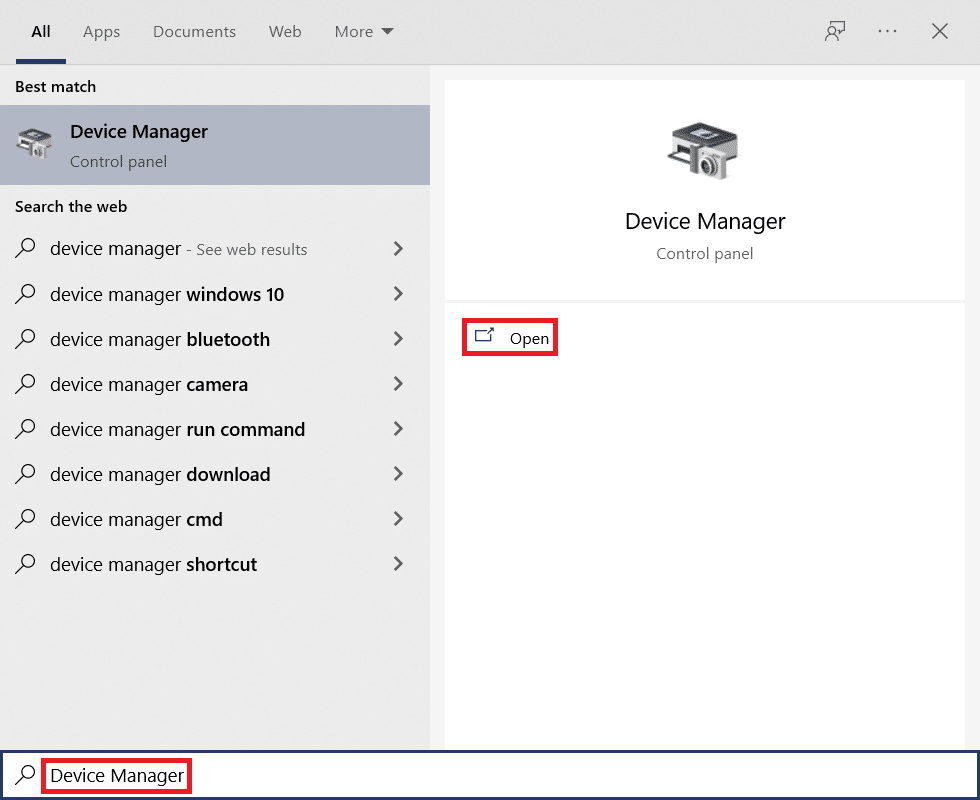
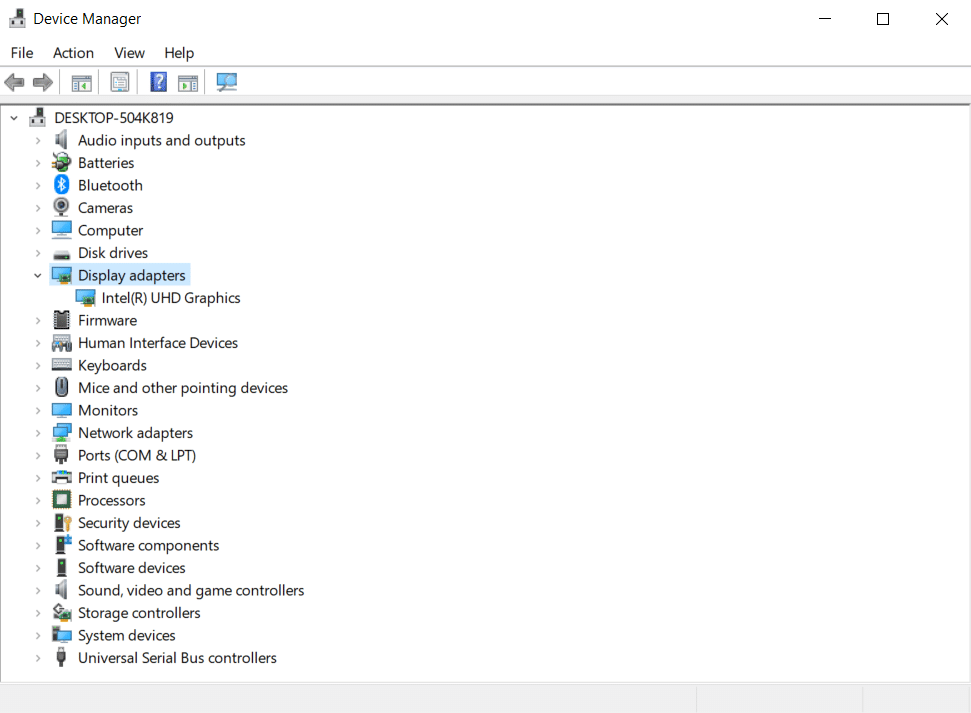
1. Κάντε κλικ στο Αρχική και τον τύπο Διαχειριστή της συσκευής. Κάντε κλικ στο Ανοικτό.
2. Διπλό κλικ Προσαρμογείς οθόνης για να το επεκτείνει.
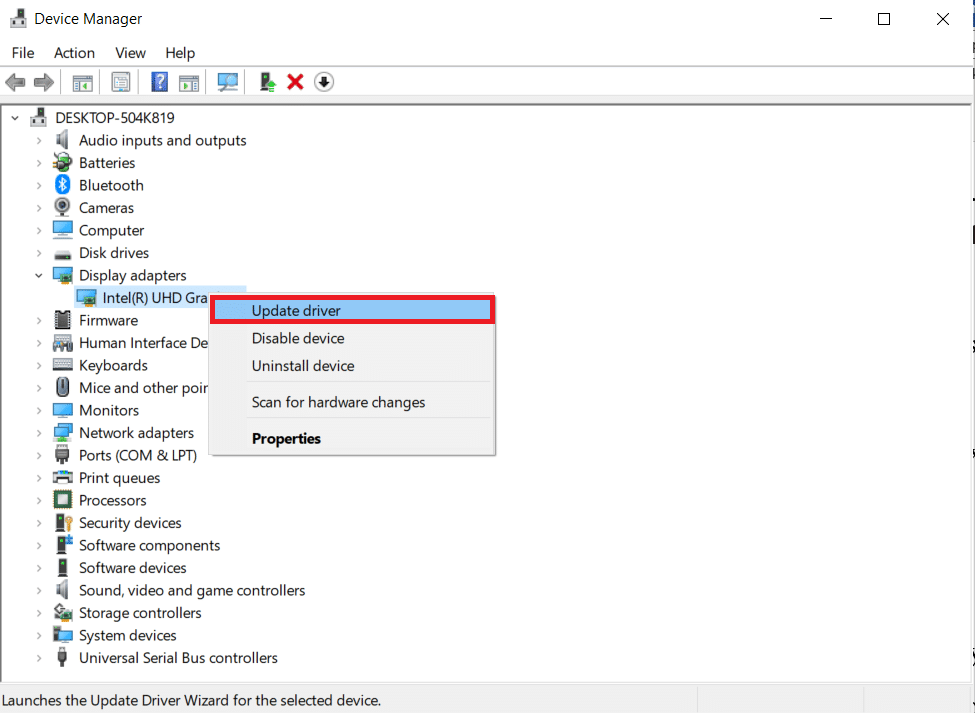
3. Κάντε δεξί κλικ στο δικό σας προσαρμογείς οθόνης και επιλέξτε Ενημέρωση προγράμματος οδήγησης.
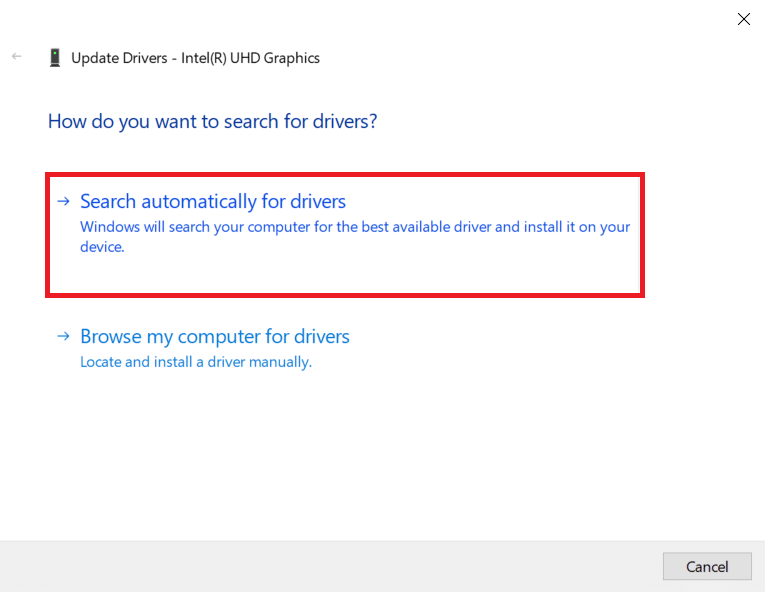
4. Στη συνέχεια, επιλέξτε Αναζήτηση αυτόματα για προγράμματα οδήγησης.
5Α. Εάν τα προγράμματα οδήγησης έχουν ήδη ενημερωθεί, εμφανίζεται Τα καλύτερα προγράμματα οδήγησης για τη συσκευή σας είναι ήδη εγκατεστημένα.
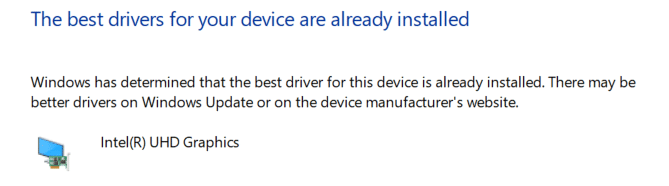
5B. If any updates are available then, Windows will install them automatically.
6. After this process, επανεκκίνηση ο υπολογιστής σου.
Διαβάστε επίσης: Πώς να εγκαταστήσετε το Kodi σε Smart TV
Method 5: Reinstall Driver in Compatibility Mode
If you face PC won’t connect to TV issue, then you have to use the driver in compatibility mode for a previous Windows version. Follow the steps below.
1. ανοιχτό Διαχείριση Συσκευών και να πάει να Προσαρμογείς οθόνης όπως φαίνεται στο Μέθοδος 4.
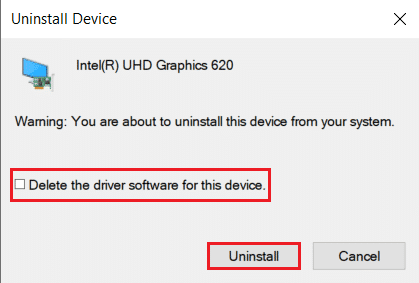
2. Κάντε δεξί κλικ στο video device και επιλέξτε Καταργήστε την εγκατάσταση της συσκευής.

3. Ελεγξε το Διαγράψτε το λογισμικό προγράμματος οδήγησης για αυτήν τη συσκευή επιλογή. Στη συνέχεια, κάντε κλικ στο απεγκατάσταση button in the confirmation prompt.
4. Επανεκκινήστε τον υπολογιστή σας after uninstalling the driver.
5. Next, download the appropriate driver from the του κατασκευαστή.
Σημείωση: Για παράδειγμα, επισκεφθείτε Της Intel Επίσημη ιστοσελίδα to download the latest USB driver for Intel Graphics.
6. Once the file is downloaded, go to the download location and select the αρχείο εγκατάστασης.
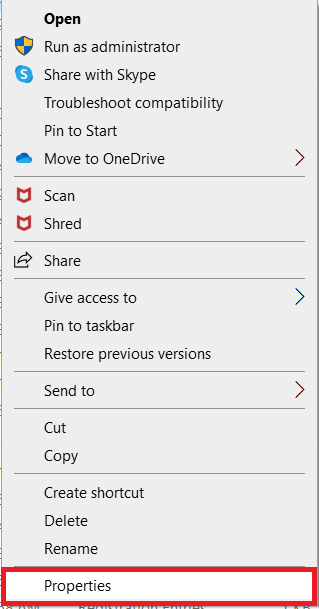
7. Κάντε δεξί κλικ στο .exe setup file and then select Ιδιοκτησίες από το μενού.
8. Τώρα, μεταβείτε στο Συμβατότητα Tab.
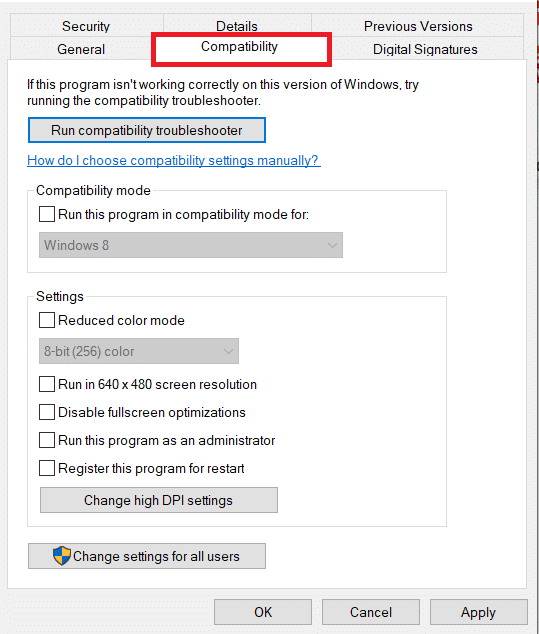
9. Next, check the box next to Εκτελέστε αυτό το πρόγραμμα σε λειτουργία συμβατότητας για.
10. From the drop-down menu, select a previous Windows OS version.
11. κλικ Εφαρμογή και στη συνέχεια OK για να αποθηκεύσετε αλλαγές.

12. Τέλος, επανεκκινήστε τον υπολογιστή σας πάλι.
Μέθοδος 6: Αλλαγή ρυθμίσεων οθόνης
Changing the display settings to the recommended settings will help resolve computer won’t connect to TV issue. Follow the steps below:
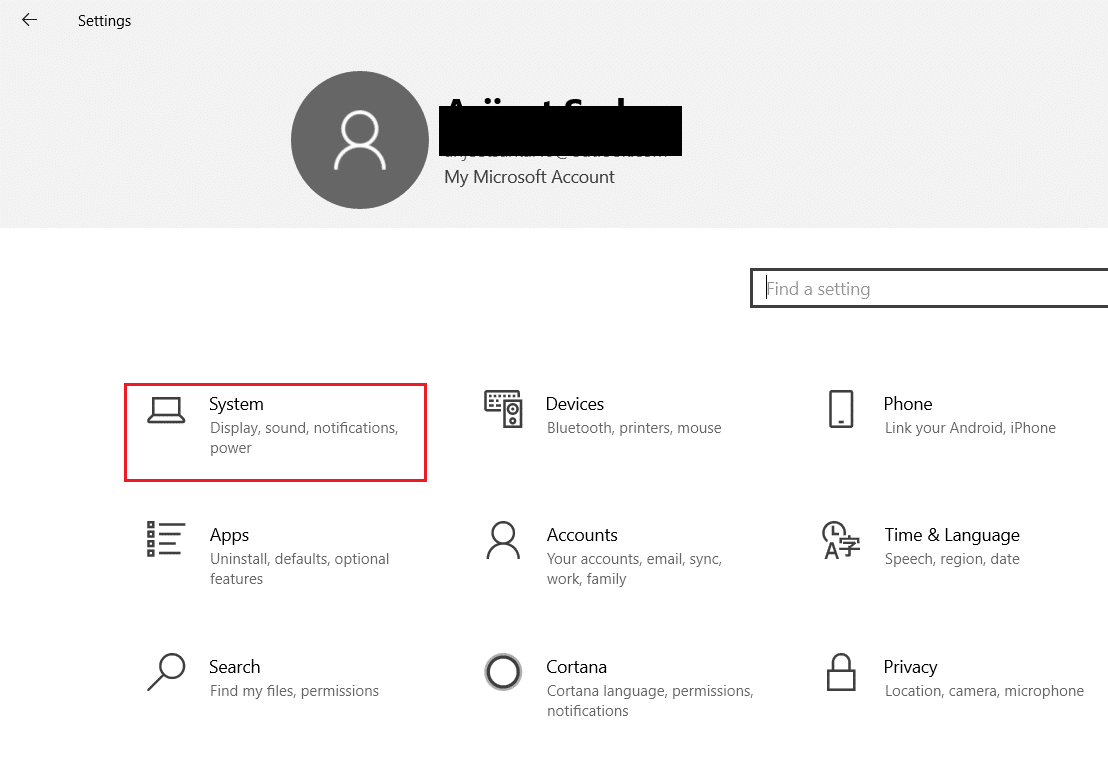
1. ανοιχτό ρυθμίσεις πατώντας Κλειδιά Windows + I ΤΑΥΤΟΧΡΟΝΑ.
2. Επιλέξτε το σύστημα ρυθμίσεις.
3. In the left-hand menu select Display.
4. Εδώ, ορίστε το Συνιστάται επιλογές για Κλίμακα και διάταξη, να ανάλυση οθόνης.

5. Τώρα, κάντε κλικ στο Προηγμένες ρυθμίσεις εμφάνισης.
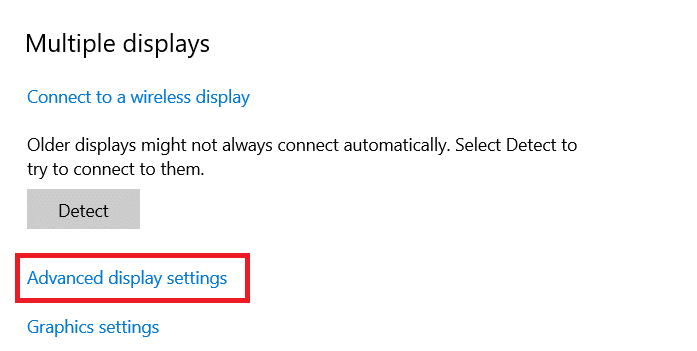
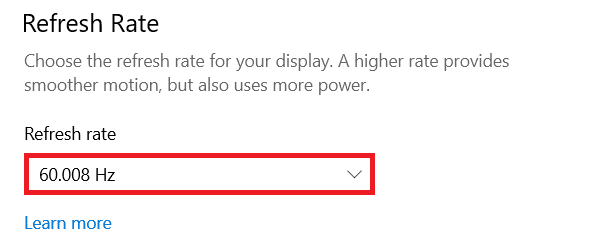
6. Επιλέξτε το recommended and required rate (π.χ 60.008 Hz) υπό Ρυθμός ανανέωσης.
Διαβάστε επίσης: Διορθώστε ότι η Οικογενειακή κοινή χρήση YouTube TV δεν λειτουργεί
Method 7: Perform Factory Reset on TV
If none of the methods above worked, then factory reset your TV to resolve your PC won’t connect to TV problem. Follow the given steps to perform factory reset on TV.
Σημείωση: The settings may vary depending on the manufacturer of the TV. Below settings and methods are based on the Samsung R series.
1. Press the Home button on the TV remote.
2. επιλέξτε ρυθμίσεις, Τότε Υποστήριξη στο αριστερό παράθυρο.
3. Εδώ, επιλέξτε το Αυτοδιάγνωση επιλογή.
4. Τώρα, επιλέξτε το Επαναφορά επιλογή και εισάγετε το PIN.
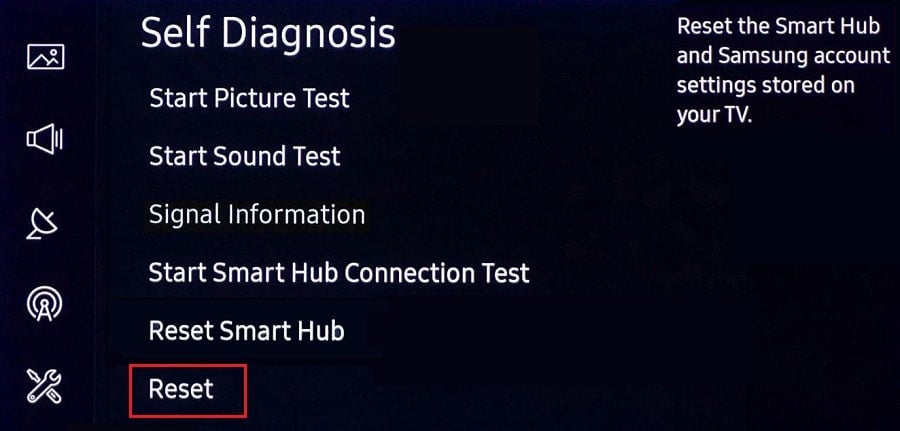
5. Τέλος, επιλέξτε Ναι για να επιβεβαιώσετε.
Συχνές Ερωτήσεις (FAQs)
Q1. How can I check whether my display output is working well?
Ans. Μετά τη σύνδεση του καλώδιο HDMI, κάντε δεξί κλικ στο Υπολογιστής και επιλέξτε Εξατομικεύστε. Here, you can see your Smart TV as a second monitor.
Q2. Do I have to reset my PC to resolve the computer that did not recognize the TV issue?
Απ. Οχι, there is no need to factory reset your PC. If none of the troubleshooting methods worked, then you can reset your Smart TV as a last resort.
Q3. What are the different ways to connect a PC to a TV?
Ans. You can connect your computer to the TV using HDMI cable, DVI or VGA, or Wi-Fi. Using Wi-Fi to connect your computer to TV depends on the manufacturer & TV model.
Συνιστάται:
We hope our article was helpful and you were able to fix Windows PC won’t connect to TV issue was helpful to you. In case, you have any suggestions or queries regarding this article, feel free to reach out to us in the comment section below.