Ebligu aŭ Malebligu Kredential Guard en Windows 10

Enable or Disable Credential Guard in Windows 10: Windows Credential Guard uses virtualization-based security to isolate secrets so that only privileged system software can access them. Unauthorized access to these secrets can lead to credential theft attacks, such as Pass-the-Hash or Pass-The-Ticket. Windows Credential Guard prevents these attacks by protecting NTLM password hashes, Kerberos Ticket Granting Tickets, and credentials stored by applications as domain credentials.
By enabling Windows Credential Guard the following features and solutions are provided:
Aparatara sekureco
Sekureco bazita en virtualigo
Better protection against advanced persistent threats
Now you know the importance of the Credential Guard, you should definitely enable this for your system. So without wasting any time let’s see How to Enable or Disable Credential Guard in Windows 10 with the help of the below-listed tutorial.
Ebligu aŭ Malebligu Kredential Guard en Windows 10
Nepre kreu restarigin punkton por se io misfunkcias.
Method 1: Enable or Disable Credential Guard in Windows 10 using Group Policy Editor
Noto: This method only works if you have Windows Pro, Education, or Enterprise Edtion. For Windows Home version users skip this method and follow the next one.
1.Premu Vindozan Ŝlosilon + R kaj tiam tajpu regado kaj premu Enter por malfermi Grupa Politiko Redaktoro.

2. Navigu al la sekva vojo:
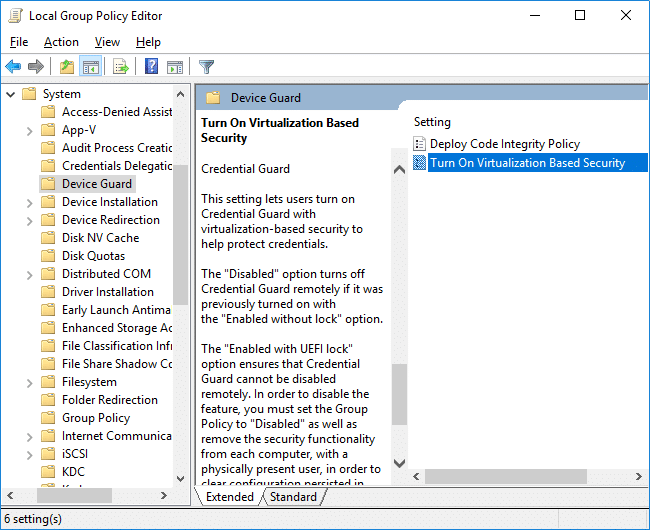
Computer Configuration > Administrative Templates > System > Device Guard
3.Make certe elekti Aparata Gardisto than in right window pane double-click on “Turn On Virtualization Based Security” politiko.
4.In the Properties window of the above policy make sure to select Ebligita.
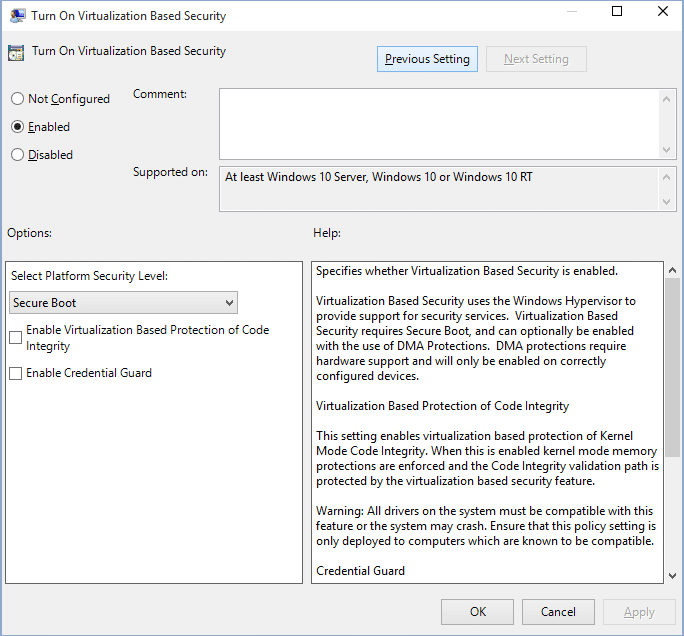
5.Now from the “Select Platform Security Level” drop-down select Secure Boot or Secure Boot and DMA Protekto.
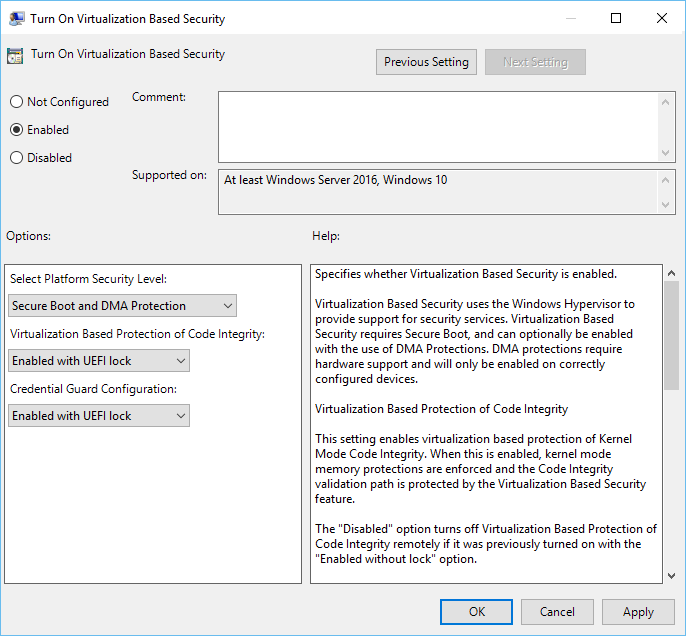
6.Next, from “Credential Guard Configuration” drop-down select Enabled with UEFI lock. If you want to turn off Credential Guard remotely, choose Enabled without lock instead of Enabled with UEFI lock.
7.Once finished, click Apply followed by OK.
8.Rekomencu vian komputilon por konservi ŝanĝojn.
Method 2: Enable or Disable Credential Guard in Windows 10 using Registry Editor
Credential Guard uses virtualization-based security features which have to be enabled first from Windows feature before you can enable or disable Credential Guard in Registry Editor. Make sure to only use one of the below-listed methods to enable virtualization-based security features.
Add the virtualization-based security features by using Programs and Features
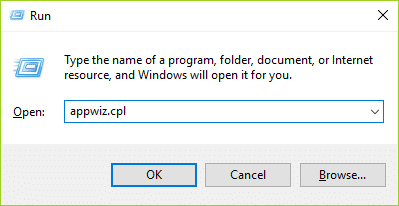
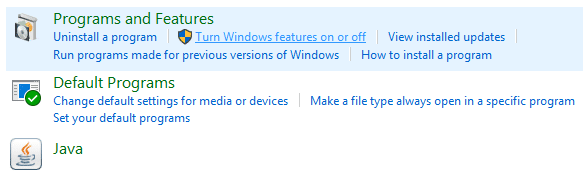
1.Premu Vindozan Ŝlosilon + R kaj tiam tajpu appwiz.cpl kaj premu Enter por malfermi Program and Features.
2.From the left-hand window click on “Ŝaltu aŭ malŝaltu Vindozajn Trajtojn".
3.Find and expand Hiper-V then similarly expand Hyper-V Platform.
4.Under Hyper-V Platform markobutono "Hyper-V Hypervisor".
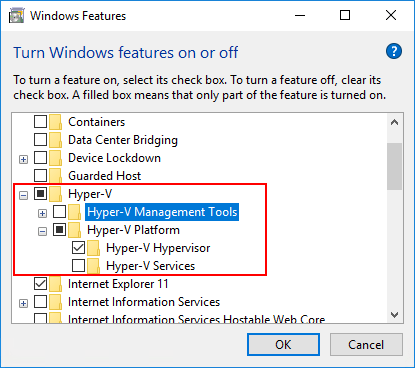
5.Now scroll down and checkmark “Isolated User Mode” kaj alklaku OK.
Add the virtualization-based security features to an offline image by using DISM
1.Premu Vindozan Ŝlosilon + X kaj tiam elektu Komanda instigo (Admin).

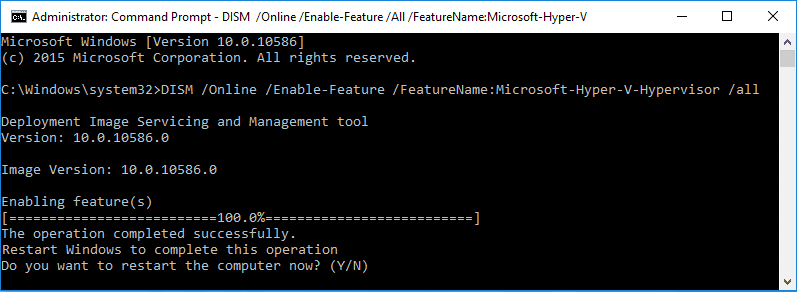
2.Type the following command into cmd to add the Hyper-V Hypervisor and hit Enter:
dism /image:<WIM file name> /Enable-Feature /FeatureName:Microsoft-Hyper-V-Hypervisor /all
OR
dism /Online /Enable-Feature:Microsoft-Hyper-V /All
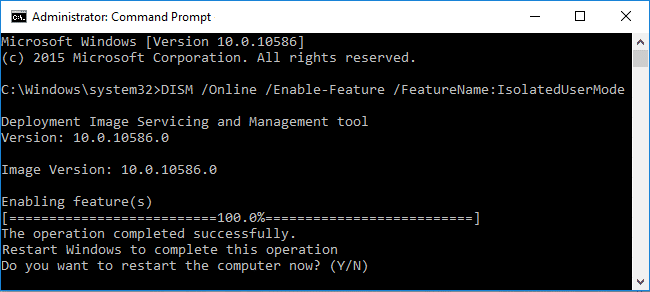
3.Add the Isolated User Mode feature by running the following command:
dism /image:<WIM file name> /Enable-Feature /FeatureName:IsolatedUserMode
OR
dism /Online /Enable-Feature /FeatureName:IsolatedUserMode
4.Once finished, you can close the command prompt.
Ebligu aŭ Malebligu Kredential Guard en Windows 10
1.Premu Vindozan Ŝlosilon + R kaj tiam tajpu regado kaj premu Enter por malfermi Registristo.
2.Navigu al la sekva registra ŝlosilo:
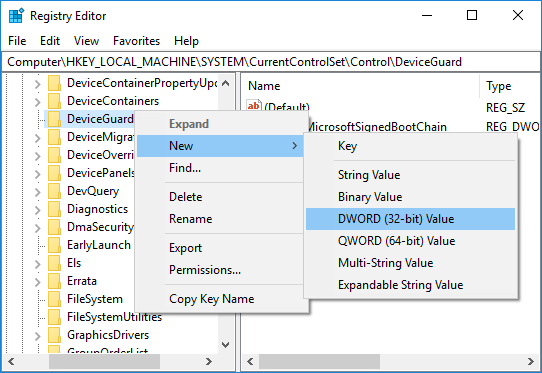
HKEY_LOCAL_MACHINESystemCurrentControlSetControlDeviceGuard
3.Dekstre alklaku DeviceGuard tiam elektu Nova > DWORD (32-bita) Valoro.
4.Nomu ĉi tiun nove kreitan DWORD kiel EbliguVirtualizationBasedSecurity kaj batis Enter.
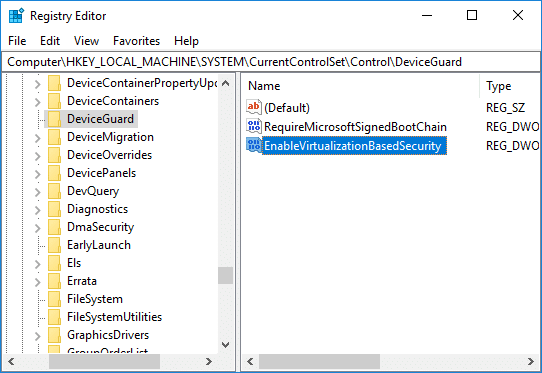
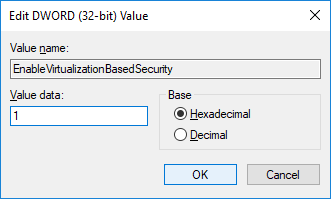
5.Double-click on EnableVirtualizationBasedSecurity DWORD then change its value to:
To Enable Virtualization-based Security: 1
To Disable Virtualization-based Security: 0
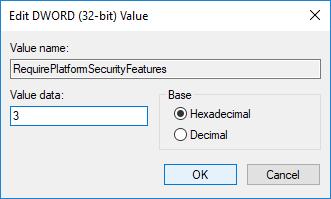
6.Now again right-click on DeviceGuard then select Nova> DWORD (32-bita) Valoro kaj nomu ĉi tiun DWORD kiel RequirePlatformSecurityFeatures tiam premu Enen.
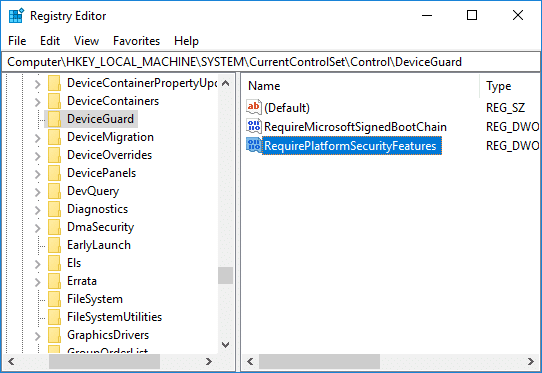
7.Double-click on RequirePlatformSecurityFeatures DWORD and change it’s value to 1 to use Secure Boot only or set it to 3 to use Secure Boot and DMA protection.
8.Now navigate to the following registry key:
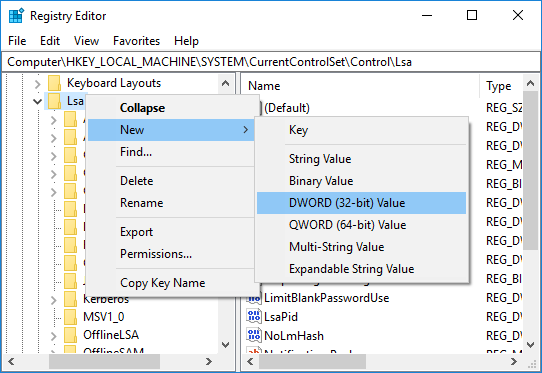
HKEY_LOCAL_MACHINESystemCurrentControlSetControlLSA
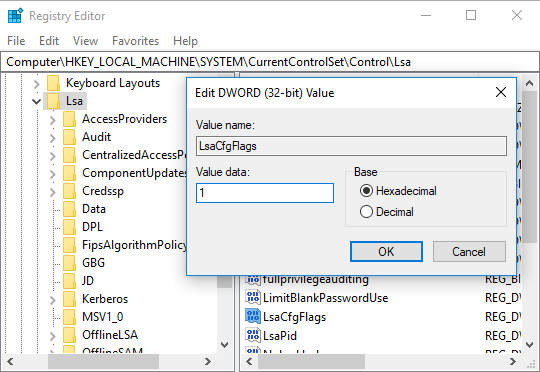
9.Right-click on LSA then select Nova> DWORD (32-bita) Valoro then name this DWORD as LsaCfgFlags kaj batis Enter.
10.Double-click on LsaCfgFlags DWORD and change its value according to:
Disable Credential Guard: 0
Enable Credential Guard with UEFI lock: 1
Enable Credential Guard without lock: 2
11.Once finished, close Registry Editor.
Disable Credential Guard in Windows 10
If Credential Guard was enabled without UEFI Lock then you can Disable Windows Credential Guard uzante la Device Guard and Credential Guard hardware readiness tool or the following method:
1.Premu Vindozan Ŝlosilon + R kaj tiam tajpu regado kaj premu Enter por malfermi Registristo.
2.Navigate and delete the following registry keys:
HKEY_LOCAL_MACHINESystemCurrentControlSetControlLSALsaCfgFlags
HKEY_LOCAL_MACHINESoftwarePoliciesMicrosoftWindowsDeviceGuardEnableVirtualizationBasedSecurity
HKEY_LOCAL_MACHINESoftwarePoliciesMicrosoftWindowsDeviceGuardRequirePlatformSecurityFeatures

3.Delete the Windows Credential Guard EFI variables by using bcdedit. Press Windows Key + X then select Komanda instigo (Admin).
4. Tajpu la sekvan komandon en cmd kaj premu Enigu:
mountvol X: /s
copy %WINDIR%System32SecConfig.efi X:EFIMicrosoftBootSecConfig.efi /Y
bcdedit /create {0cb3b571-2f2e-4343-a879-d86a476d7215} /d "DebugTool" /application osloader
bcdedit /set {0cb3b571-2f2e-4343-a879-d86a476d7215} path "EFIMicrosoftBootSecConfig.efi"
bcdedit /set {bootmgr} bootsequence {0cb3b571-2f2e-4343-a879-d86a476d7215}
bcdedit /set {0cb3b571-2f2e-4343-a879-d86a476d7215} loadoptions DISABLE-LSA-ISO
bcdedit /set {0cb3b571-2f2e-4343-a879-d86a476d7215} device partition=X:
mountvol X: /d
5.Once finished, close command prompt and reboot your PC.
6.Accept the prompt to disable Windows Credential Guard.
rekomendita:
Tion vi sukcese lernis How to Enable or Disable Credential Guard in Windows 10 sed se vi ankoraŭ havas demandojn pri ĉi tiu lernilo, bonvolu demandi ilin en la sekcio de komentoj.