- in ventanas by Administración
Cómo instalar la herramienta de gráficos en Windows 11

DirectX Graphics Tools is not installed by default in Windows 11. But, it can be added via operating system Optional features. Today, we bring to you a helpful guide that will teach you how to install or uninstall Graphics Tool in Windows 11, as need be. A few noteworthy features of this tool include:
- It is essential for performing graphics diagnostics and other related functions.
- También se puede usar para create Direct3D debug devices.
- Moreover, it can be used to develop DirectX games & applications.
- In addition to 3D-related functions, this technology also allows you to track real-time GPU consumption and when & which apps or games employ Direct3D technology.
How to Install In-built DirectX Graphics Tool in Windows 11
Follow the given steps to install Graphics Tool on Windows 11 PC:
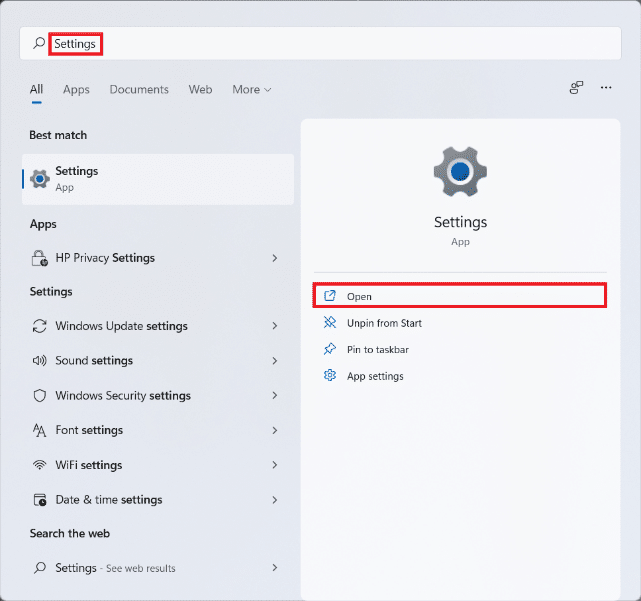
1. Haga clic en el Icono de búsqueda y el tipo Ajustes, luego haz clic en Abierto, como se muestra.
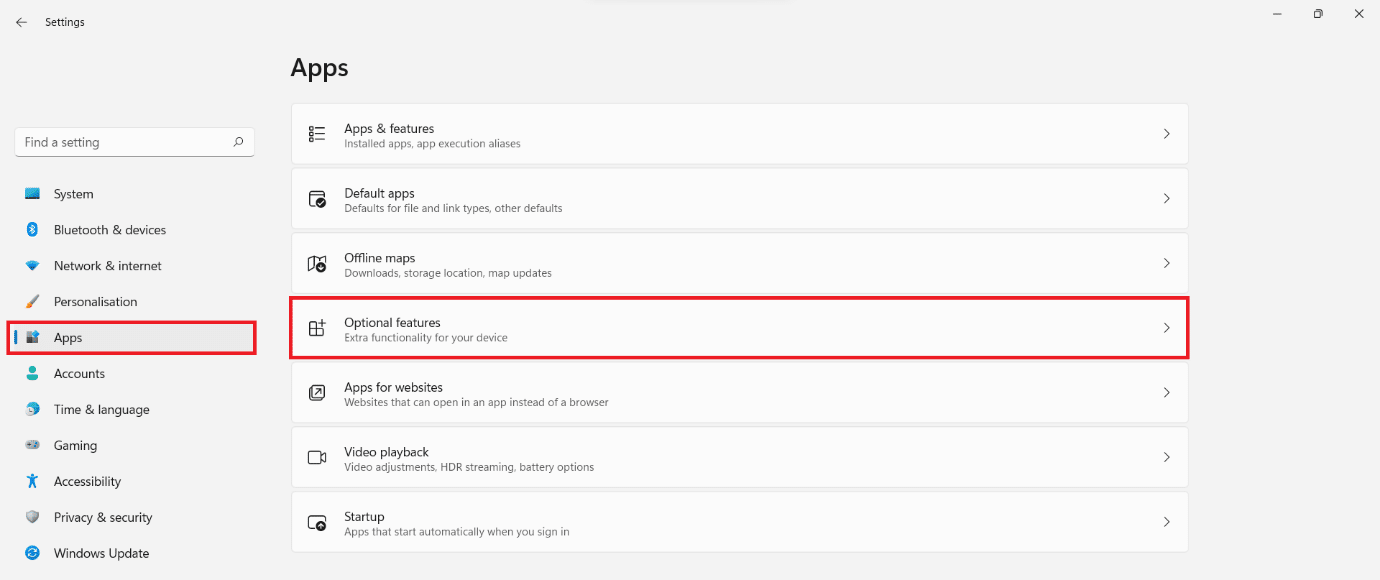
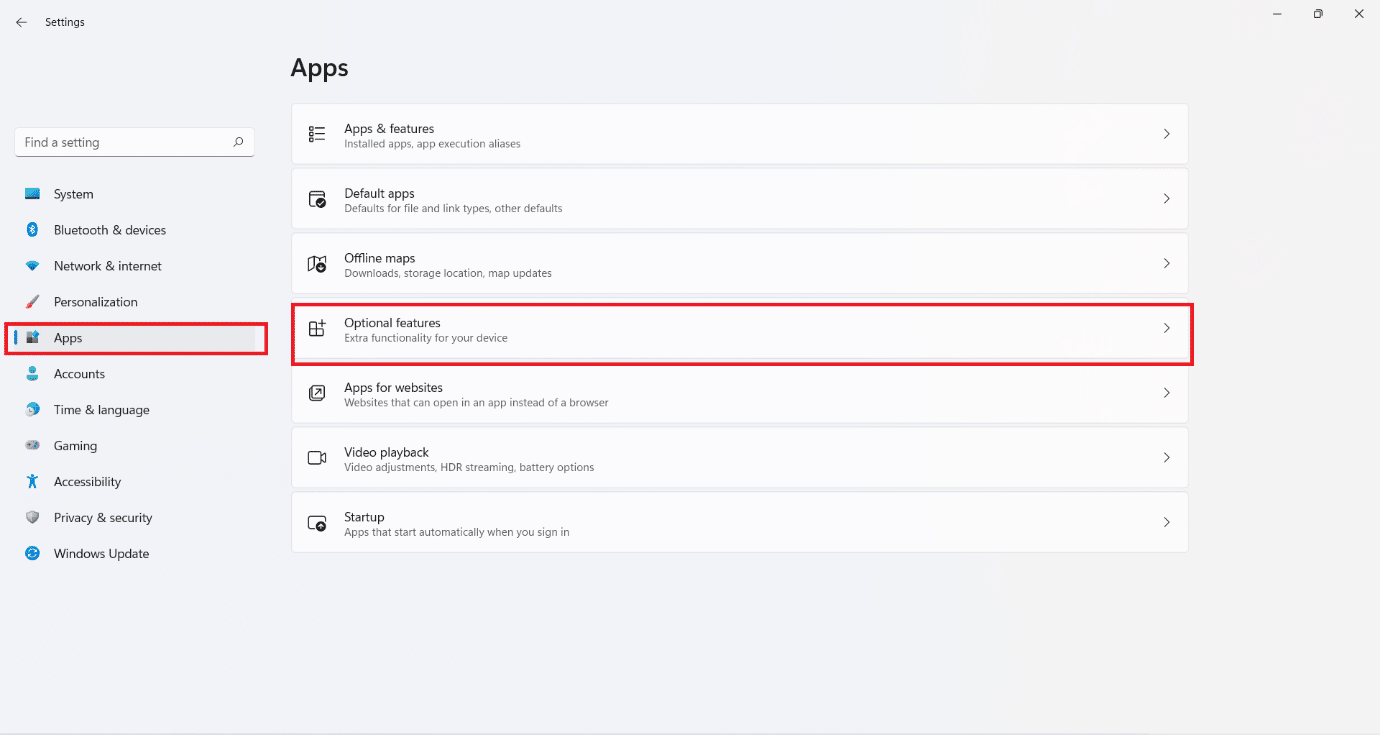
2. Hacer clic en Apps en el panel izquierdo.
3 Luego, haga clic en Opcional Características, como se muestra a continuación.
4. A continuación, haga clic en Ver Características.

5. Escribe graphics tools in the search bar provided in the Agregar una característica opcional ventana.
6. Marque la casilla marcada Herramientas gráficas y haga clic en Siguiente, como se ilustra a continuación.

7. Ahora, haga clic en el Instalar del botón.
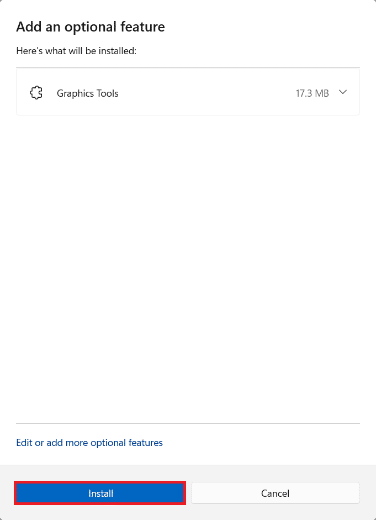
8. Deje que el Herramientas gráficas be instalado. You can see the progress under Las acciones recientes .

Lea también How to Install XPS Viewer in Windows 11
How to Use DirectX Graphics Tools on Windows 11
Microsoft hosts a dedicated page on DirectX Programming. Here are the steps to use Windows 11 Graphics Diagnostic Tools:
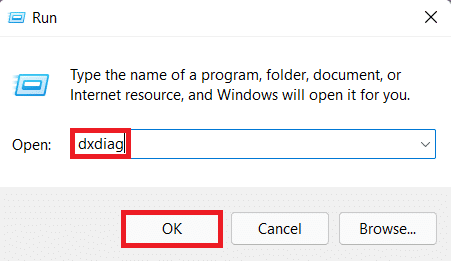
1. Prensa Teclas Windows + R simultáneamente para abrir Ejecutar caja de diálogo.
2. Escribe dXDIAG y haga clic en OK almorzar Herramienta de diagnóstico de DirectX ventana.
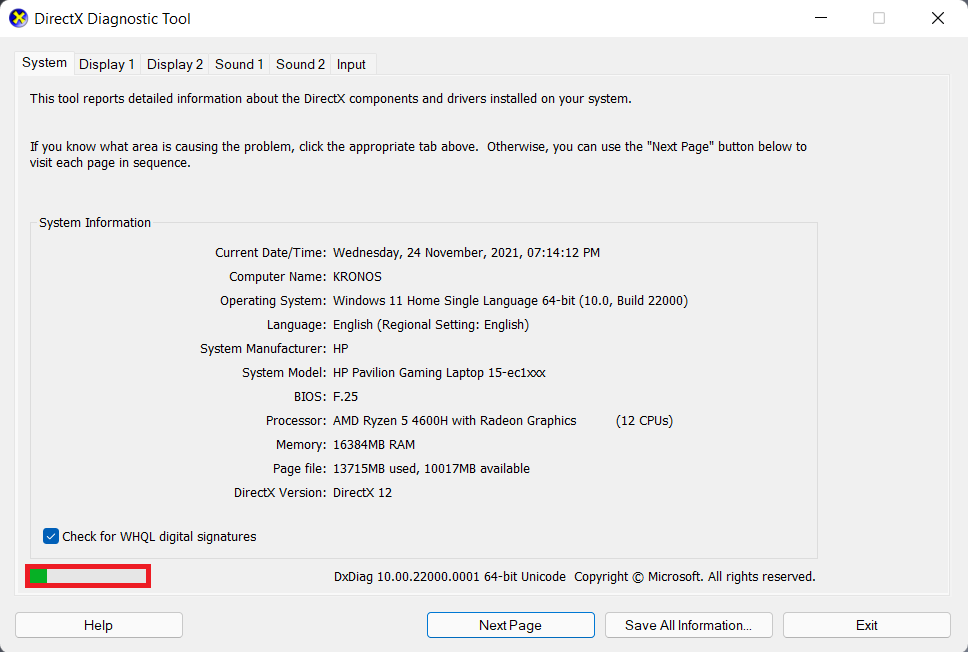
3. You may notice a green progress bar at the bottom left corner, shown highlighted. This means that the diagnostic process is active. Wait for the process to be completed.
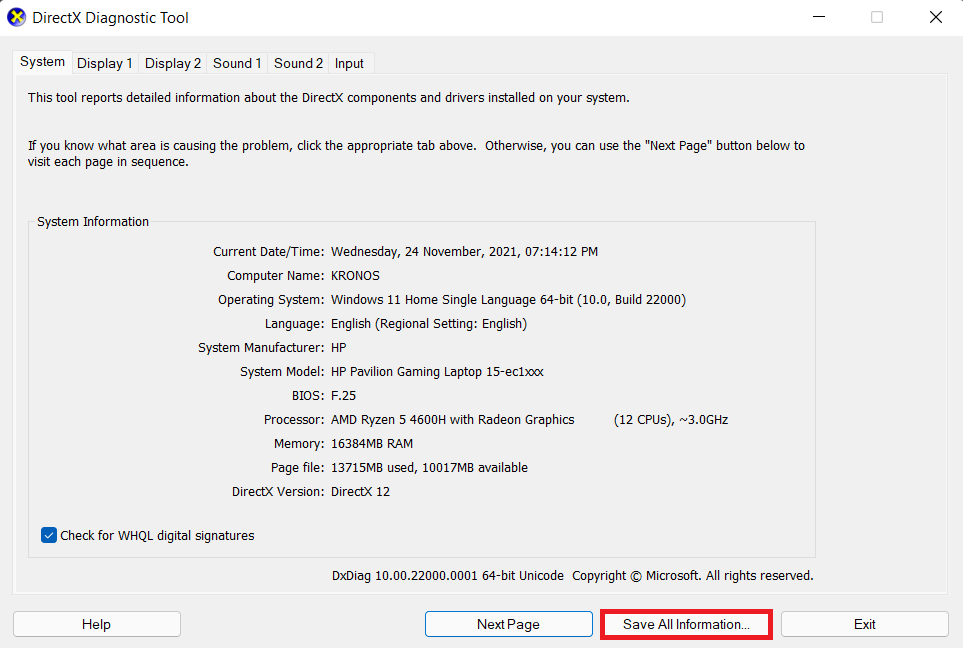
4. When the diagnosis is complete, the green progress bar will disappear. Click on Guardar toda la información… botón como se muestra a continuación.
Lea también How to Use PowerToys on Windows 11
How to Uninstall DirectX Graphics Tools
To uninstall Windows 11 Graphics Tools, follow the steps mentioned below:
1. Lanzamiento Ajustes como se muestra.
2. Ir Apps > Características opcionales, como se representa.
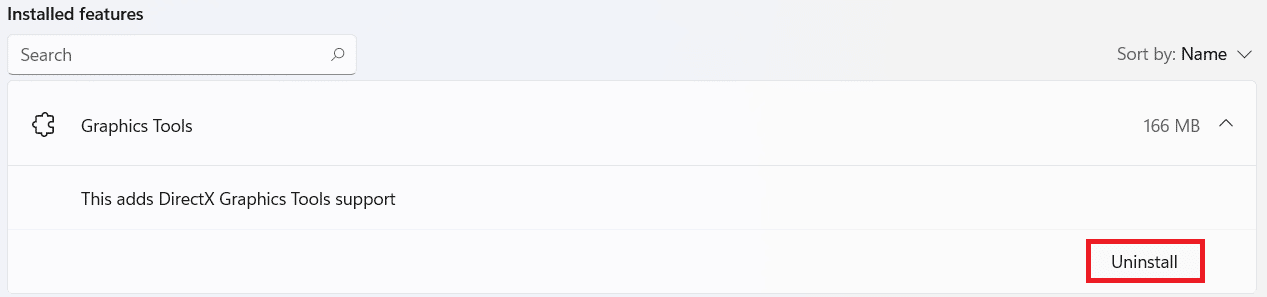
3. Scroll down the list of Funciones instaladas o buscar Herramientas gráficas in the search bar provided to locate it.
4. Haga clic en el downward-pointing arrow existentes Herramientas gráficas tile and click on Desinstalar, como se muestra.
5. Once the uninstallation process is finished, you will see Desinstalado etiqueta debajo Las acciones recientes .

Recomendado:
Esperamos que este artículo le haya resultado útil sobre how to install, use or uninstall DirectX Graphics Tool in Windows 11. Drop your suggestions and queries in the comment section below. We would love to hear from you. Stay tuned for more such info!