Kuidas installida Google Assistant operatsioonisüsteemi Windows 10

How to Install Google Assistant on Windows 10: Google Assistant is a virtual personal assistant rolled out by Google to Android devices to enter the AI assistants’ market. Today, many AI assistants are claiming to be the best, like Siri, Amazon Alexa, Cortana, etc. However, by far, Google Assistant is one of the best available on the market. The only problem with Google Assistant is that it’s not available on PC, as it is only available on mobile and smart home devices.
To get Google Assistant on PC, you need to follow command-line instructions, which is the only way to get it on PC. Anyway, without wasting any time, let’s see How to Get Google Assistant on Windows 10 with the below-listed guide’s help.
Kuidas installida Google Assistant operatsioonisüsteemi Windows 10
Looge kindlasti taastepunkt juhuks, kui midagi läheb valesti.
Eeldused:
1. First, you need to laadige alla Python oma arvutis.
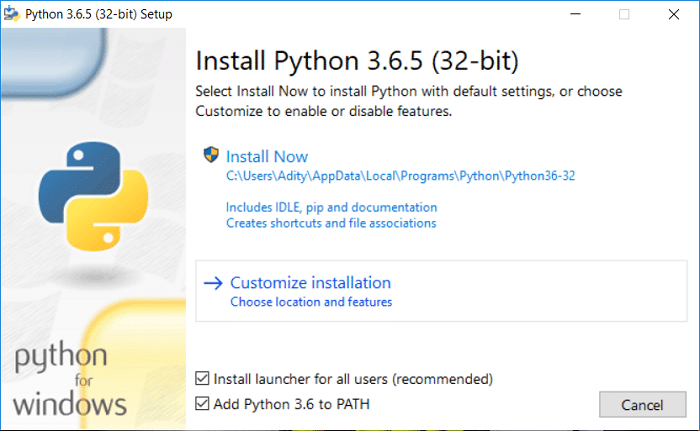
2. Download Python 3.6.4 from the link, then double-click on python-3.6.4.exe to run the setup.
3. Märkige linnuke "Add Python 3.6 to PATH,” ja seejärel klõpsake nuppu Customize installation.
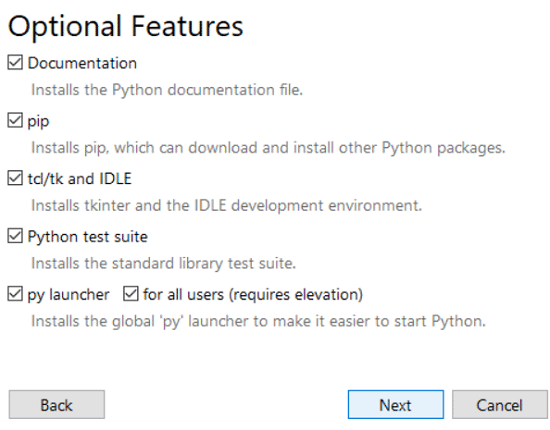
4. Make sure everything is checked in the window, then click Järgmine.
5. On the next screen, just make sure to Linnuke "Add Python to environment variables. "
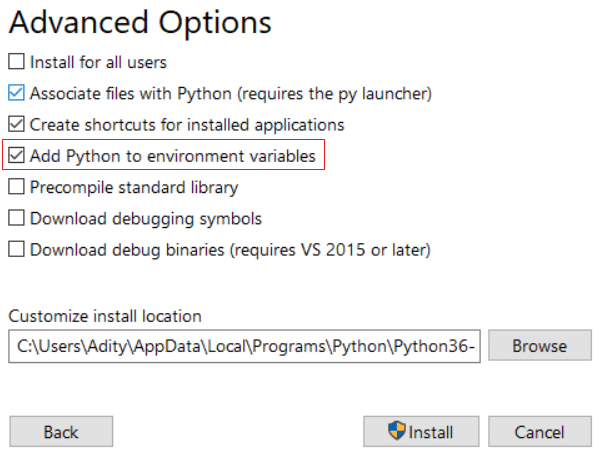
6. Click Install, then wait for Python to get installed on your PC.
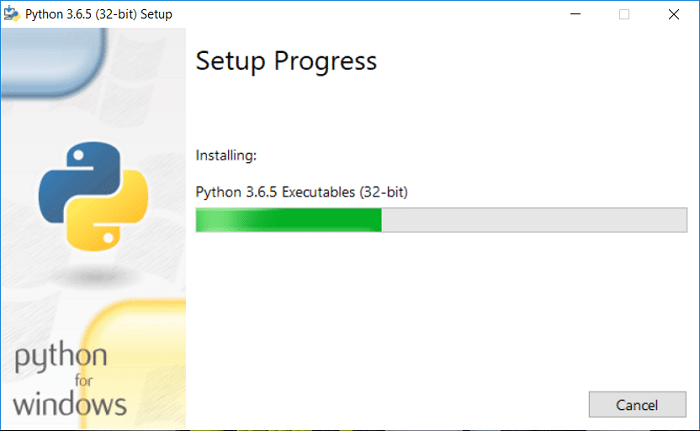
7. Once the installation is complete, restart your PC.
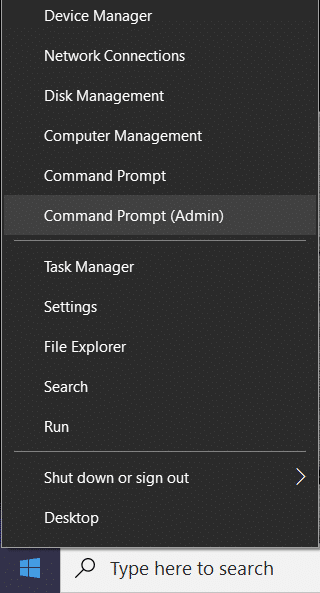
8. Now, press Windows Key + X, then select Käsuviip (admin).
9. Tippige cmd-sse järgmine käsk ja vajutage sisestusklahvi:
püüton
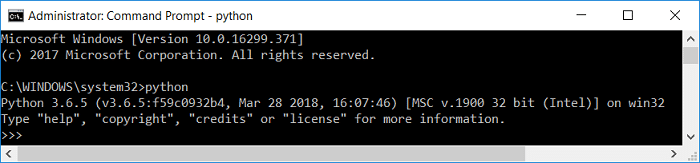
10. If the above command will return the current Python version on your computer, then you have successfully installed Python NumPy on your PC.
Samm 1: Seadistage Google Assistant API
With this step, you can use Google Assistant on Windows, Mac, or Linux. Just install the python on each of these OS to properly configure Google Assistant API.
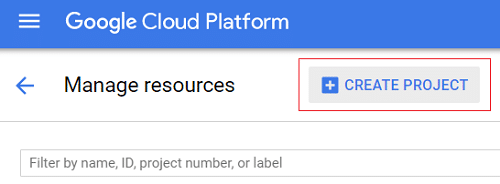
1. Kõigepealt minge lehele Google Cloud Platform Console website ja kliki CREATE PROJECT.
Märge: You might need to sign in with your Google account.
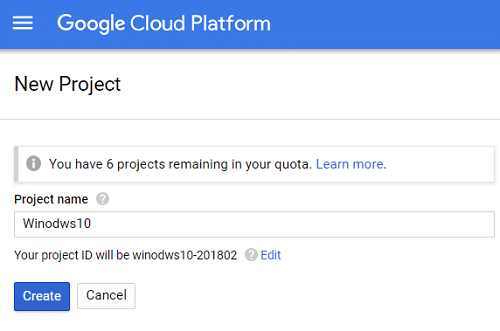
2. Name your project appropriately, siis klõpsake nuppu Loo.
Märge: Make sure to note down the project ID, in our case, its windows10-201802.
3. Wait till your new project is created (you will notice a spinning circle on the bell icon at the top right corner).

4. Once the process is done click on the bell icon and select your project.
![]()
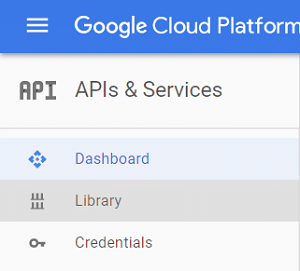
5. On the project page, from the left-hand menu, click on APIs & Services, siis vali Raamatukogu.
6. On the library page, search for “Google Assistant” (without quotes) in the search console.
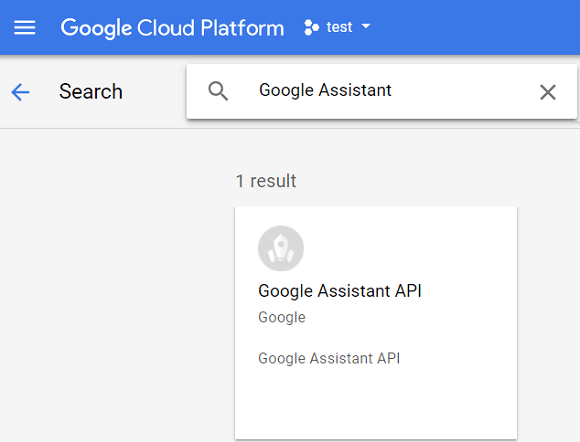
7. Click on Google Assistant API search result and then click on Luba

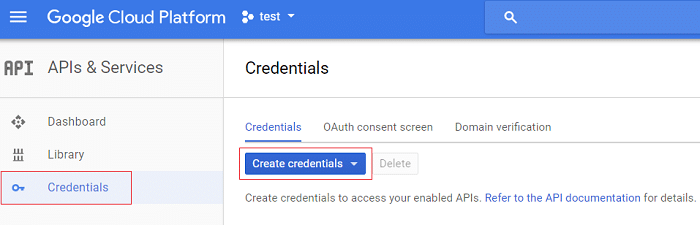
8. Now, from the left-hand menu, click on Credentials, then click “Looma volikiri” ja seejärel valige Help me choose.
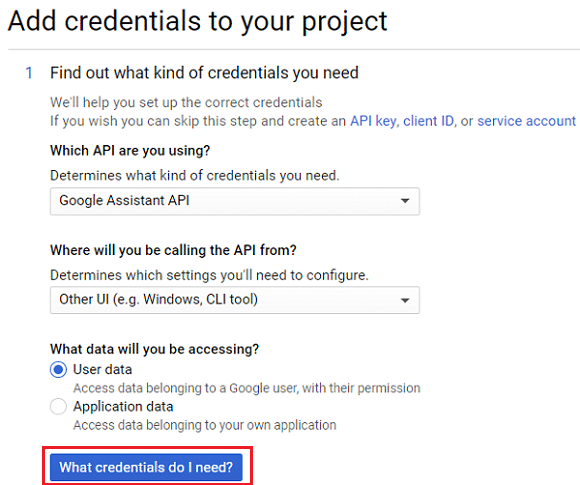
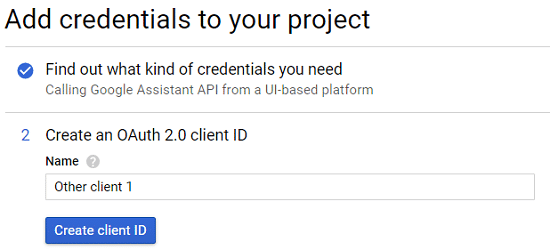
9. Choose the following information on the “Add credentials to your project” screen:
Question: Which API are you using?
Answer: Google Assistant API

Question: Where will you be calling the API form?
Answer: Other UI (e.g. Windows, CLI tool)

Question: What data will you be accessing?
Answer: User data
10. After answering all of the above questions, click on “What credentials do I need?".
11. Vali Set up consent screen and choose the Application type to sisemine. Type the project name in the Application name and click Säästa.
12. Again, go back to the “Add credentials to your project” screen, then click on Loo volikirja ja valige Aidake mul valida. Follow the same instructions as you did on step 9 and proceed forward.
13. Järgmine type the name of the Client ID (name it anything you like) to create OAuth 2.0 client ID ja kliki Create Client ID nuppu.
14. klõps Valmis then open a new tab and go to Activity controls from seda linki.

15. Make sure all the toggles are turned ON ja siis minge tagasi Credentials tab.
16. Klõpsake allalaadimise ikooni in the far right of the screen to download the credentials.
![]()
Märge: Save the credentials file somewhere easily accessible.
Samm 2: Install Google Assistant Sample Python Project
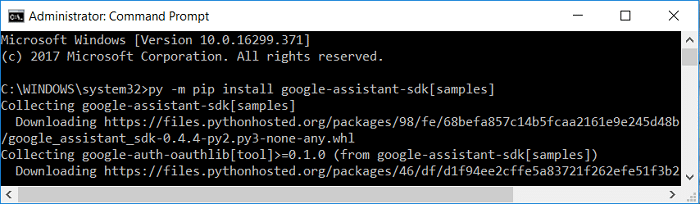
1. Vajutage Windowsi klahv + X ja seejärel valige Käsuviip (admin).
2. Tippige cmd-sse järgmine käsk ja vajutage iga käsu järel sisestusklahvi:
py -m pip install google-assistant-sdk[samples]
3. Once the above command finishes executing, type the below command and hit Enter.
pip install --upgrade google-auth-oauthlib[tool]
4. Navigate to the JSON file location that you downloaded earlier and paremklõpsake seda ja valige Atribuudid. In the name field, copy the file name and paste it inside notepad.
5. Now enter the below command but make sure to replace the “path/to/client_secret_XXXXX.json” with the actual path of your JSON file which you copied above:
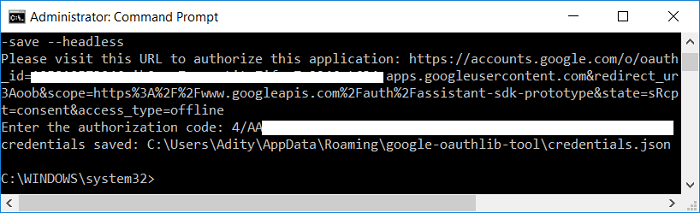
google-oauthlib-tool --client-secrets path/to/client_secret_XXXXX.json --scope https://www.googleapis.com/auth/assistant-sdk-prototype --save --headless
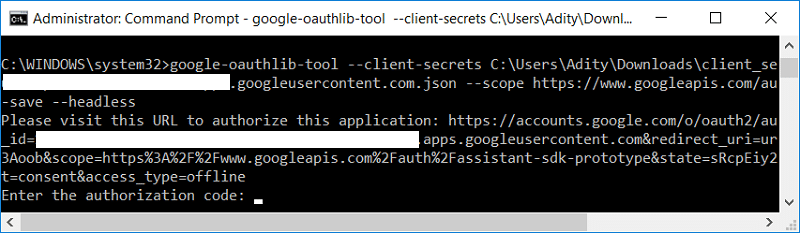
6. Once the above command finishes processing, you get a URL as the output. Veenduge, et copy this URL as you will require it in the next step.
Märge: Don’t close the Command Prompt just yet.
7. Open your Web browser and navigate to this URL, then select the same Google konto that you used to configure the Google Assistant API.
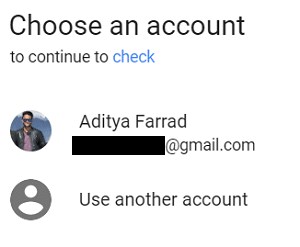
8. Klõpsake kindlasti nuppu lubama to grant the necessary permission to run Google Assitant.
9. On the next page, you will see some code that will be your client’s Access Token.
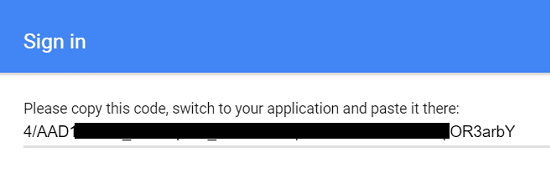
10. Now switch back to the Command prompt and copy this code & paste it into cmd. If everything goes alright you see an output that says that your credentials have been saved.
Samm 3: Testing Google Assistant on Windows 10 PC
1. Vajutage Windowsi klahv + X ja seejärel valige Käsuviip (admin).
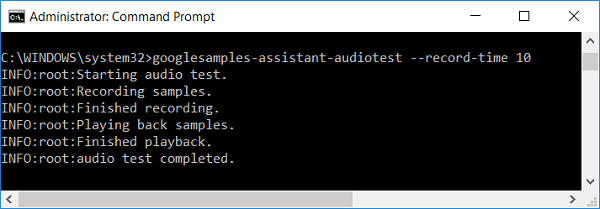
2. Now we need to test if Google Assistant can properly access your microphone. Type the below command into cmd and hit Enter, which will start a 5-second audio recording:
py -m googlesamples.assistant.grpc.audio_helpers
3. If you can successfully hear the 5-second audio recording back, you can move to the next step.
Märge: You can also use the below command as an alternative:
googlesamples-assistant-audiotest --record-time 10
4. You need to Register your Device before you can start using Google Assistant on Windows 10 PC.
5. Next, type the below command and press Enter:
cd C:GoogleAssistant
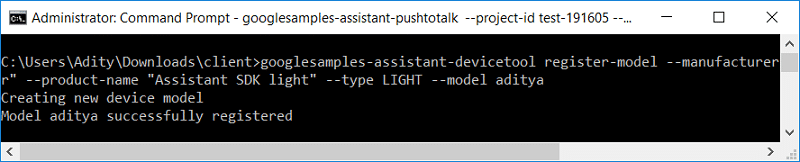
6. Now type the following command but replace the “project-id” with the actual project id that you have created in the first step. In our case it was windows10-201802.
googlesamples-assistant-devicetool --project-id register-model --manufacturer "Assistant SDK developer" --product-name "Assistant SDK light" --type LIGHT --model "GA4W"
7. Next, to enable Google Assistant Push to Talk (PTT) capabilities, enter the below command below but make sure to replace “project-id” with the actual project id:
py -m googlesamples.assistant.grpc.pushtotalk --device-model-id “GA4W” --project-id
Märge: The Google Assistant API supports every command that Google Assistant supports on Android and Google Home.
You have successfully installed & configured Google Assistant on your Windows 10 PC. Once you enter the above command, simply press Enter and you can ask any questions directly to Google Assistant without having to say “OK, Google” command.
Soovitan:
Loodame, et sellest juhendist oli abi ja te suutsite seda teha install Google Assistant on Windows 10 PC without any issues. But if you still have any questions regarding this guide, then feel free to ask them in the comment section.