Fix Windows PC Won’t Connect to TV

The computer is connected to a Smart TV using an HDMI cable. Using HDMI, you can have a home theatre setup by connecting an HDTV or video projector to a computer. This cable will help in connecting to components for both audio and video. However, users have reported that sometimes computers do not recognize TV. If you are facing your PC won’t connect to TV issue, then you are in the right place. This article on how to fix computer won’t connect to TV issue will resolve the issue.
How to Fix Windows 10 PC Won’t Connect to TV HDMI
Whenever an external device is connected to the computer, Windows 10 sets the device ready to work with that device. For instance, when you connect a pen drive, you will see a prompt for File Explorer to run it. The process is similar when you connect a TV. If your computer fails to recognize the TV, then follow any of the methods below to resolve the issue.
Why Computer won’t Connect to TV?
Below are some of the reasons why your PC won’t connect to TV:
- Gidaria zaharkitua
- Issues with the HDMI cable
- Issues with HDMI port
Arazoak konpontzeko oinarrizko aholkuak
Before trying advanced troubleshooting methods, let us try some of the basic troubleshooting methods:
- Loosen up the HDMI coil if it is coiled tightly.
- Since HDMI is sensitive, check whether the pins on the HDMI are damaged.
- Use another HDMI cable.
- Kendu beste konexio batzuk of the TV using the HDMI hub or switch.
- Saiatu connect HDMI cable directly to the TV.
- Saiatu connect to another HDMI port if your TV has multiple ports.
- Discharge the computer by removing AC adapters, power cables, and peripheral devices.
- Disconnect all ports and restart your computer and TV. Then, reconnect them.
Method 1: Enable Projection Mode
If Windows 10 has failed to automatically detect the connection to the TV, then you can enable the projection mode:
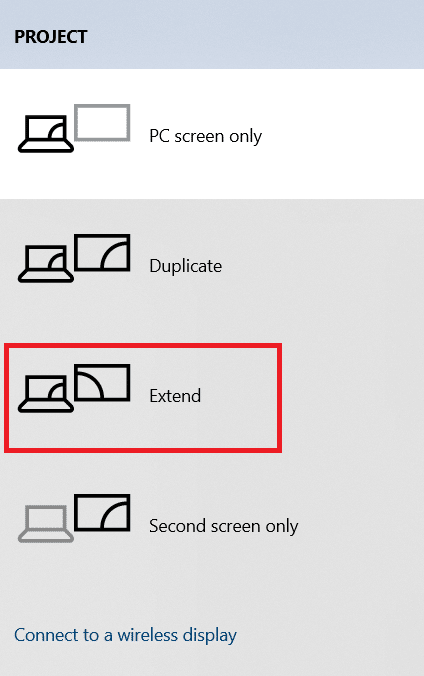
1. Prentsa Windows + P gakoak simultaneously on the keyboard.
2. Aukeratu Luzatu to display your computer screen on the TV.
Ohar: Aukera dezakezu ere Bikoiztu.
Method 2: Select Input Source on TV
If a TV has more than one display port, it might not detect the incoming video signal automatically and cause Windows 10 DisplayPort Not Working issue and cause Windows 10 DisplayPort Not Working issue. In this case, you can select input on the TV. Follow the steps below:
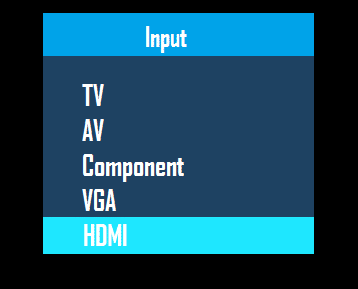
1. Sakatu Input Source menu botoian Telebistako urrunekoa.
2. Aukeratu HDMI. This will display the screen of the computer.
Era berean, irakurri: How to Convert Coaxial Cable to HDMI
3. metodoa: Exekutatu hardware eta gailuen arazoak konpontzeko
If there is any issue with the PC hardware, running the troubleshooter will automatically diagnose the problems and fix them. Follow the steps written below to run the Hardware and Devices Troubleshooter to fix Computer won’t Connect to TV issue.
1. Sakatu Windows gakoidatzi, idatzi Command gonbitetik eta klikatu Exekutatu administratzaileari.
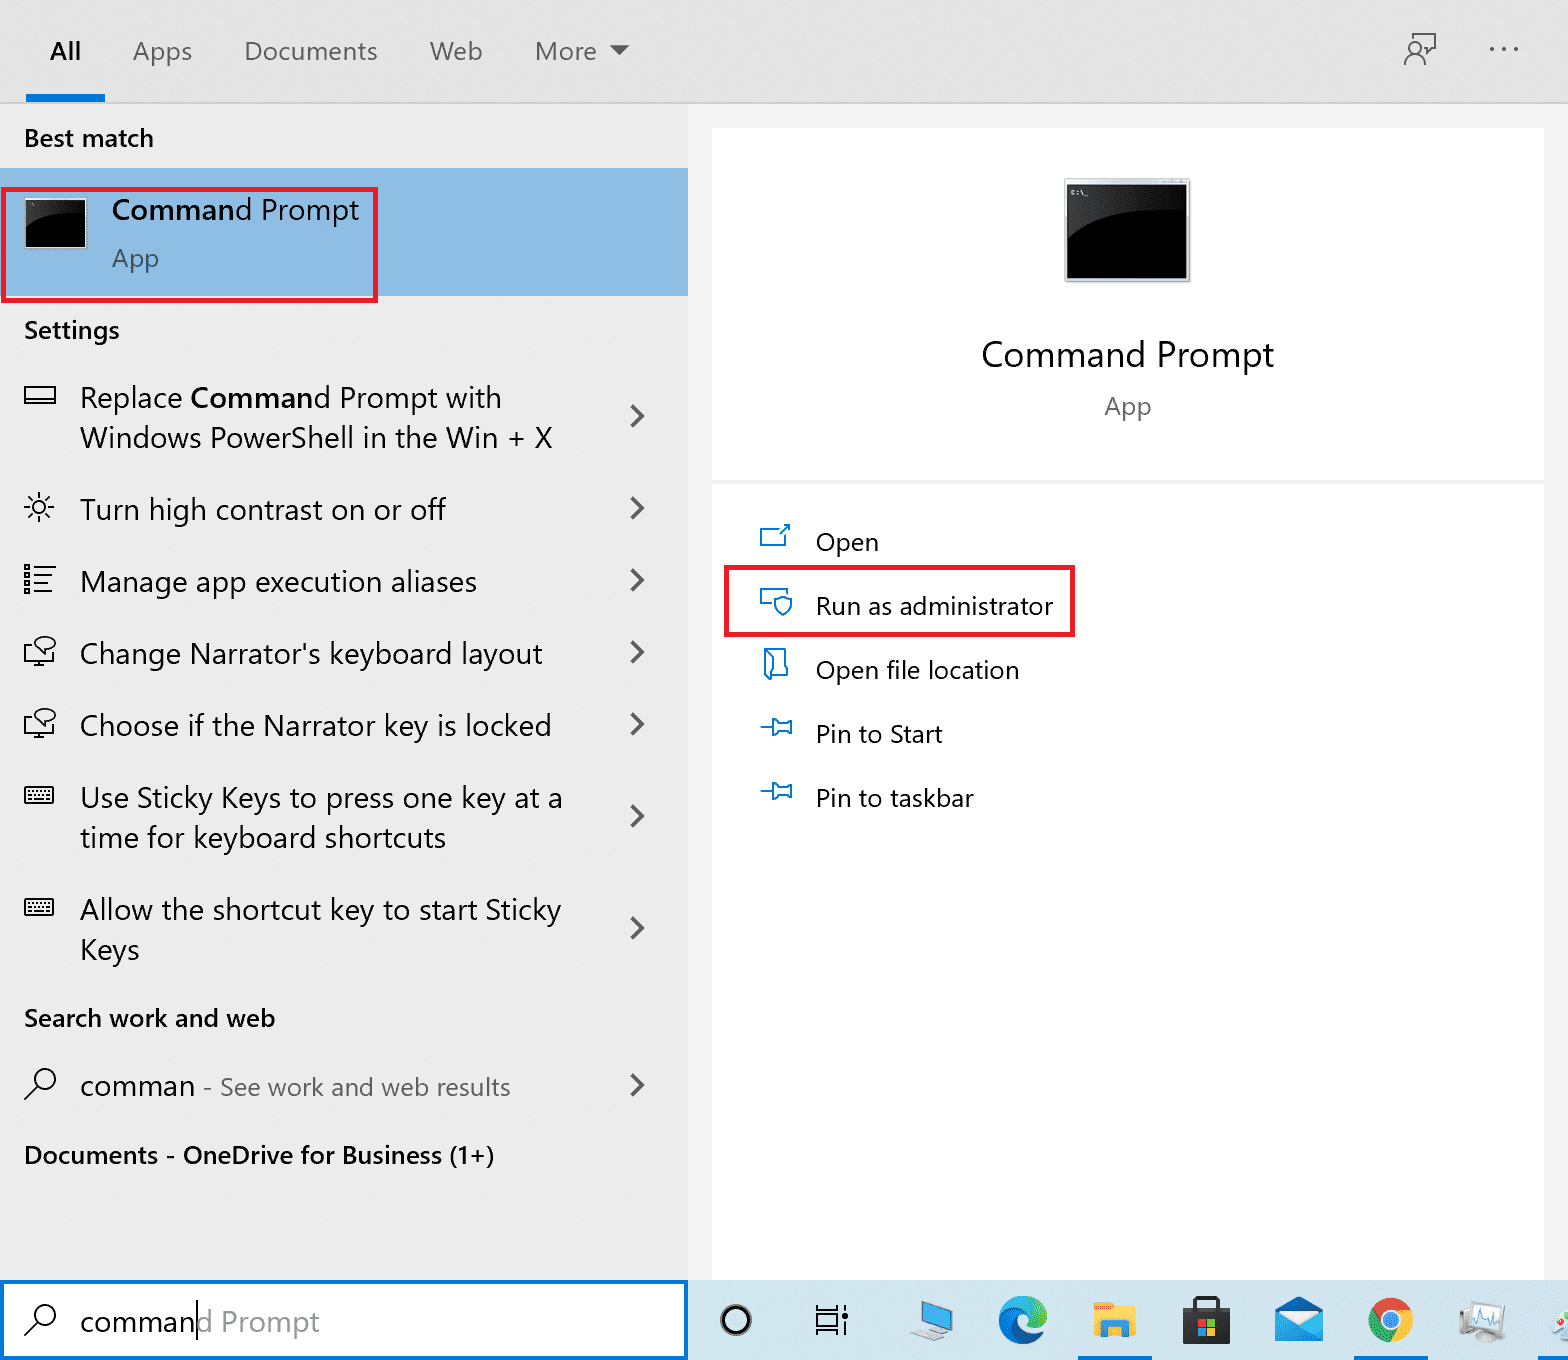
2. klik Bai in the Erabiltzaile-izen gonbita.
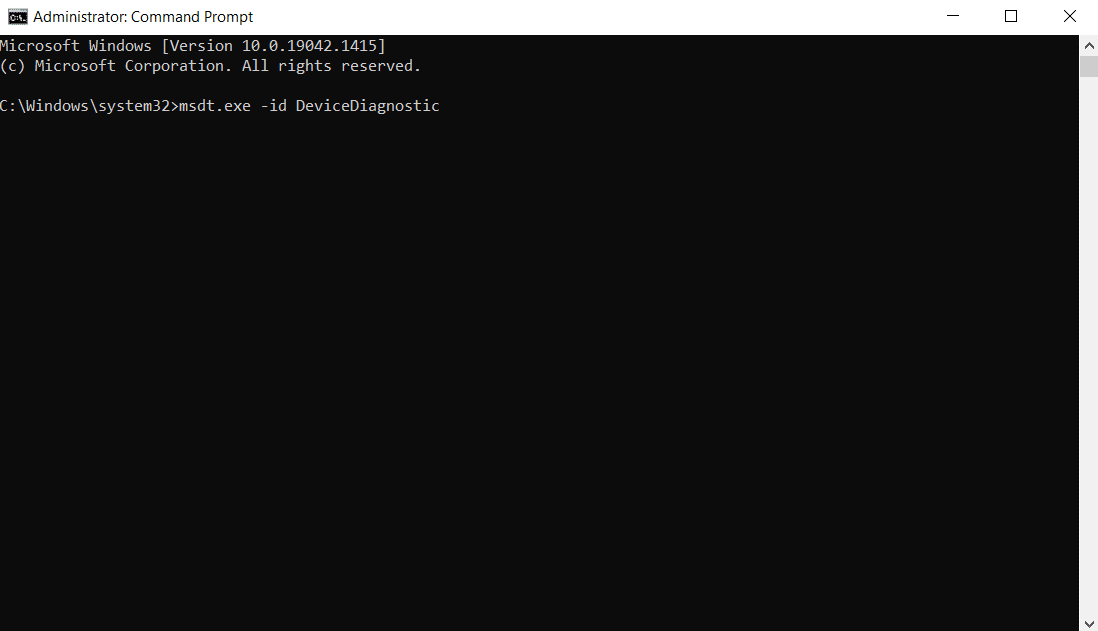
3. Idatzi komandoa msdt.exe -id Gailuaren diagnostikoa eta prentsa Sartu.
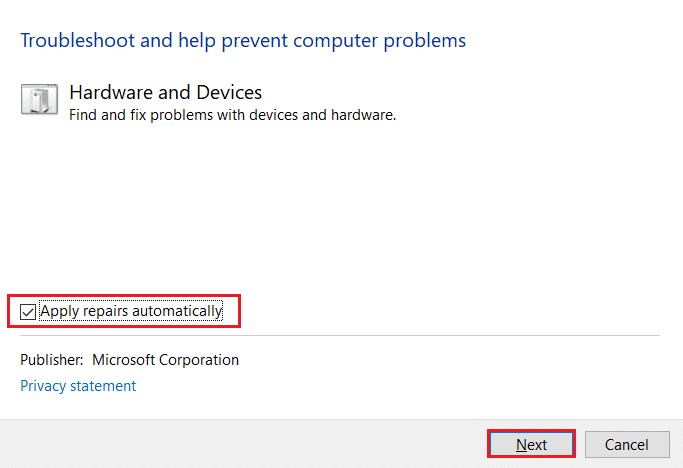
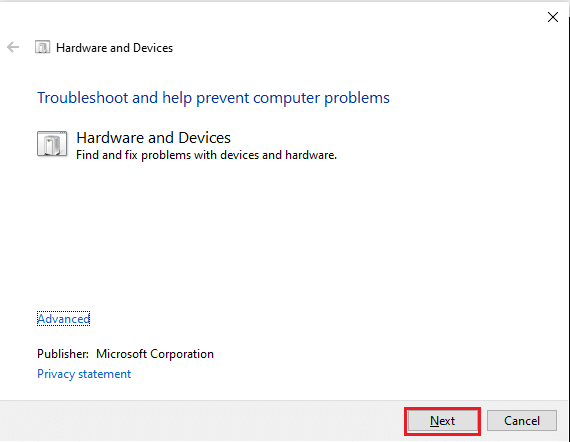
4. Egin klik gainean Aurreratua aukera, erakusten den moduan.

5. Begiratu Aplikatu konponketak automatikoki aukera eta egin klik hurrengo.
6. Egin klik hurrengo jarraitu.
7. Arazoak konpontzeko tresna abiaraziko da. Arazoak hautematen badira, bi aukera agertuko dira:
- Aplikatu konponketa hau
- Skip this fix
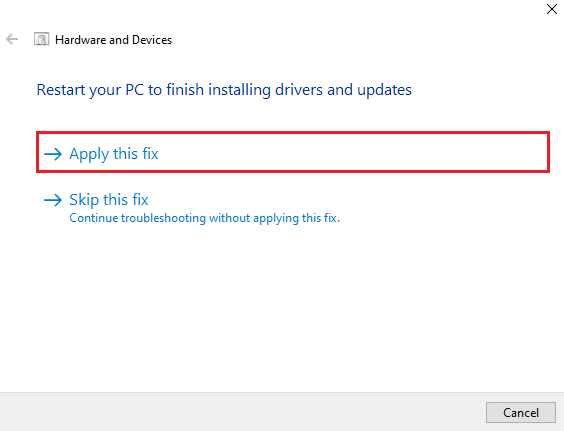
8. Hemen, egin klik Aplikatu konponketa hau, eta berrabiarazi zure ordenagailua.
If the issue occurs on your PC even after running the troubleshooter, then you can try updating the video driver.
Method 4: Update Display Driver
Outdated or damaged video drivers can also be one of the reasons behind PC won’t connect to TV issues. Follow the steps below:
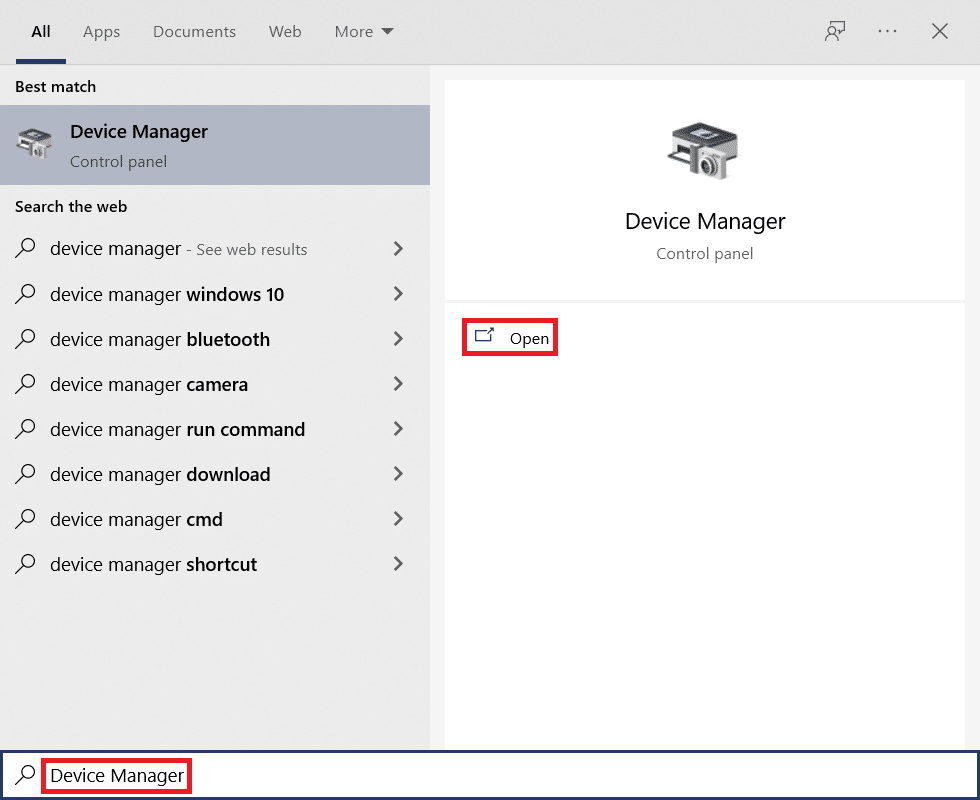
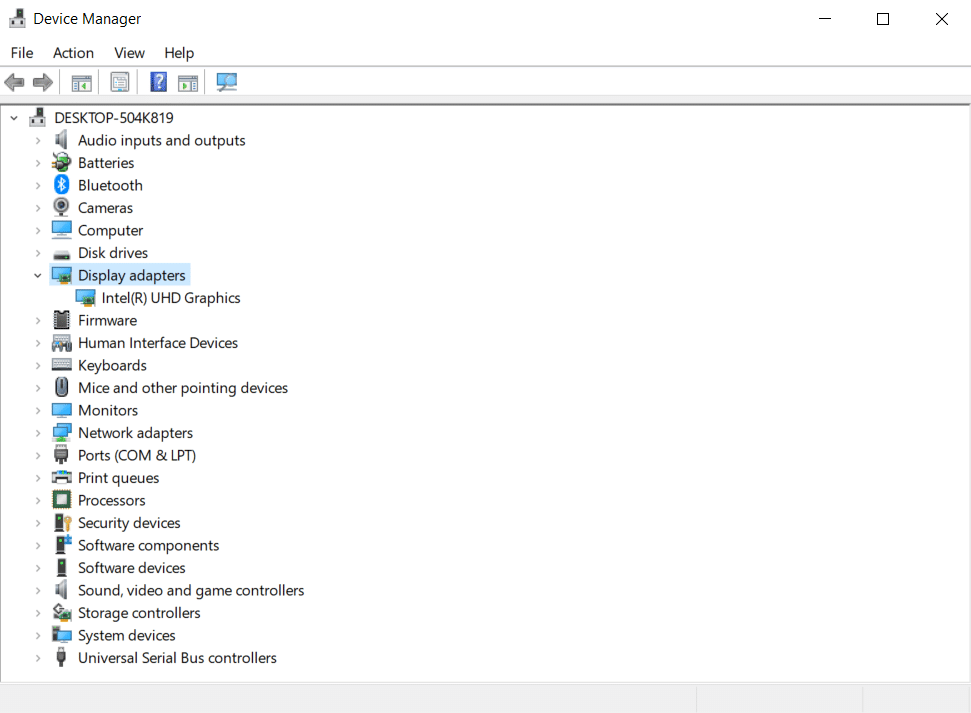
1. Egin klik start eta idatzi Gailu kudeatzailea. klik on Ireki.
2. Egin klik bikoitza Bistaratze egokigailuak zabaltzeko.
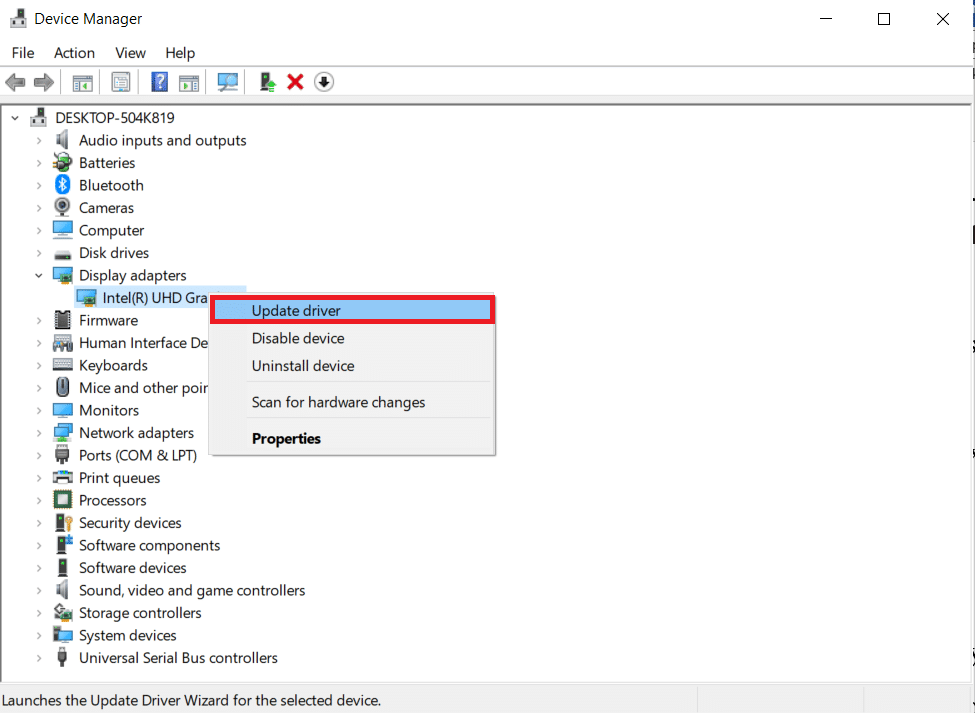
3. Egin klik eskuineko botoiarekin zure gainean pantaila-egokitzaileak eta hautatu Eguneratu gidaria.
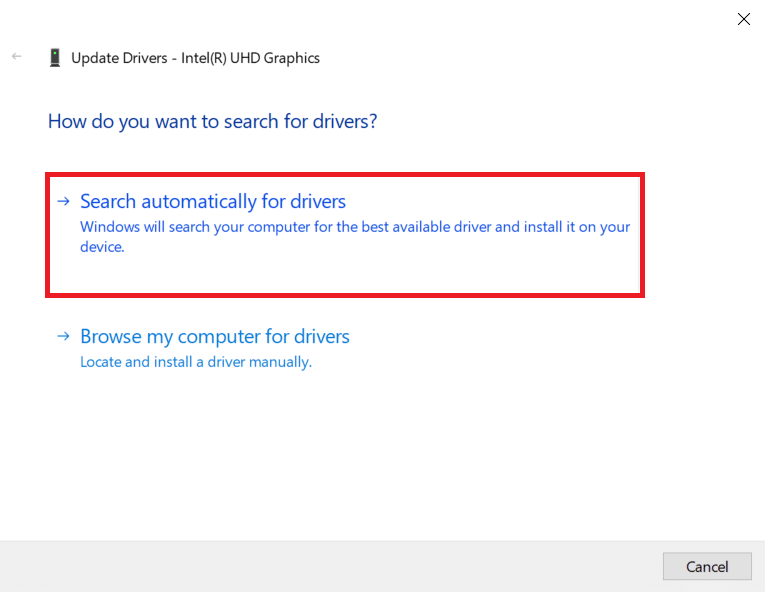
4. Ondoren, hautatu Bilatu automatikoki gidariak.
5A. Gidariak dagoeneko eguneratu badira, erakusten du Zure gailurako kontrolatzaile onenak instalatuta daude dagoeneko.
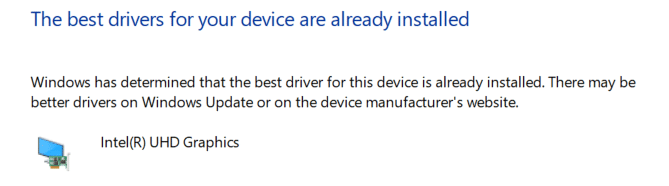
5B. If any updates are available then, Windows will install them automatically.
6. After this process, berrabiarazi zure ordenagailua.
Era berean, irakurri: Nola instalatu Kodi Smart TV-n
Method 5: Reinstall Driver in Compatibility Mode
If you face PC won’t connect to TV issue, then you have to use the driver in compatibility mode for a previous Windows version. Follow the steps below.
1. Open Gailu kudeatzailea eta joan Bistaratze egokigailuak urtean erakusten den moduan Metodoa 4.
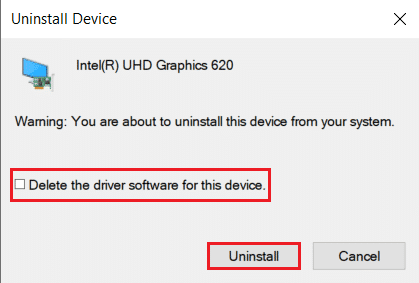
2. Egin klik eskuineko botoiarekin video device eta hautatu Desinstalatu gailua.

3. Begiratu Gailuaren softwarea ezabatu gailu honetarako option. Then, click on Desinstalatu button in the confirmation prompt.
4. Berrabiarazi ordenagailua after uninstalling the driver.
5. Next, download the appropriate driver from the fabrikatzailearen webgunea.
Ohar: For example, visit Intelen web-orri ofiziala to download the latest USB driver for Intel grafikoak.
6. Once the file is downloaded, go to the download location and select the konfigurazio fitxategia.
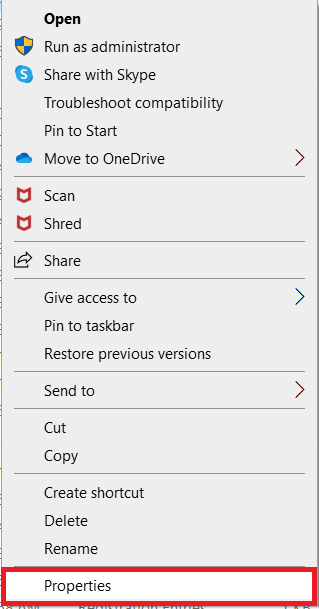
7. Egin klik eskuineko botoiarekin .exe setup file and then select Properties menuan.
8. Orain, joan Compatibility fitxa.
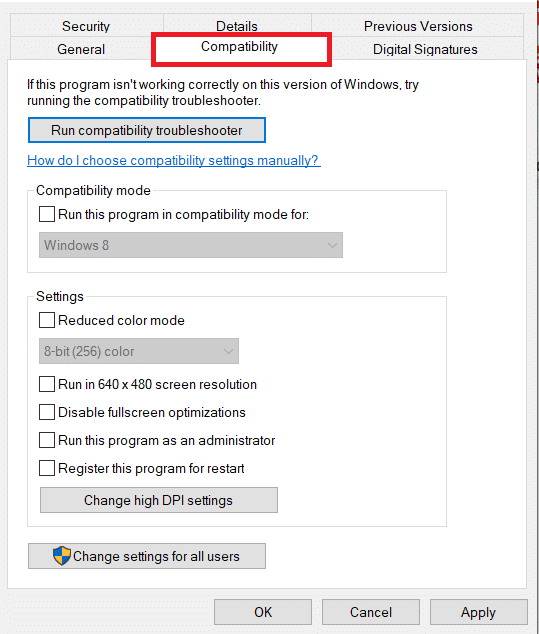
9. Next, check the box next to Exekutatu programa hau bateragarritasun moduan.
10. From the drop-down menu, select a previous Windows OS version.
11. klik Aplikatu eta gero OK aldaketak gordetzeko.

12. Azkenik, berrabiarazi ordenagailua berriro.
6. metodoa: Aldatu pantailaren ezarpenak
Changing the display settings to the recommended settings will help resolve computer won’t connect to TV issue. Follow the steps below:
1. Open Ezarpenak sakatuz Windows + I teklak aldi berean.
2. Aukeratu Sistema ezarpenak.
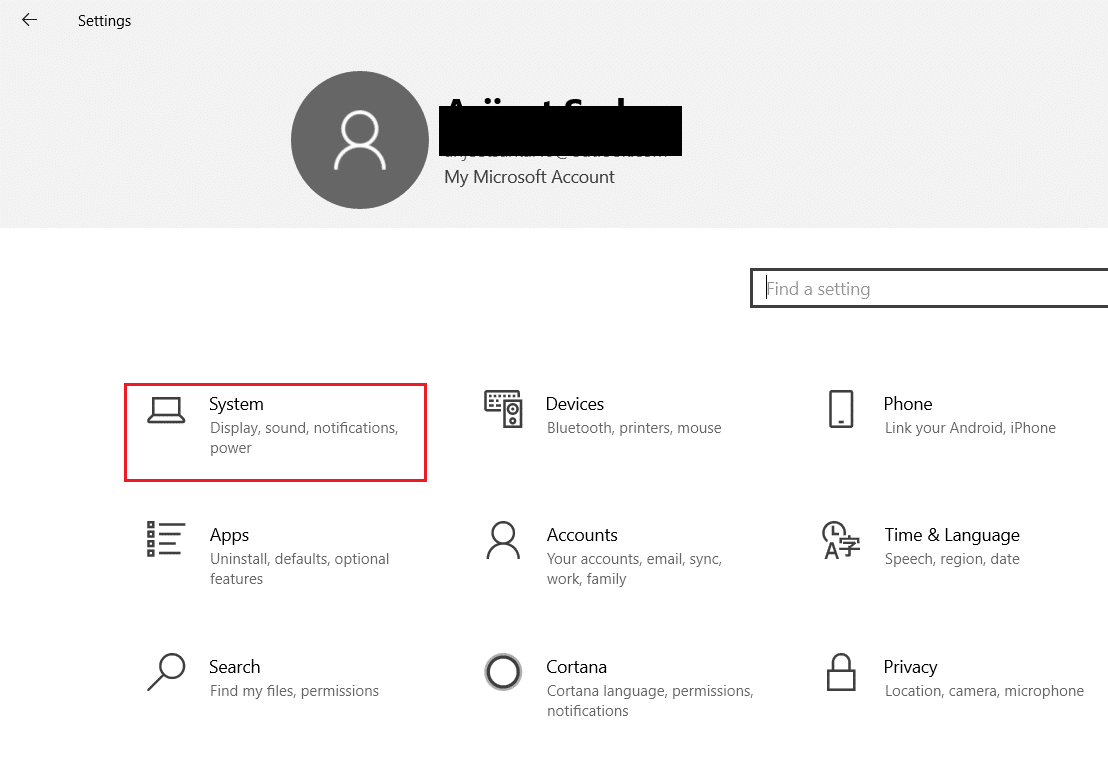
3. In the left-hand menu select Display.
4. Hemen, ezarri gomendatua aukerak Eskala eta diseinua, eta Display ebazpena.

5. Orain, egin klik gainean Bistaratze ezarpen aurreratuak.
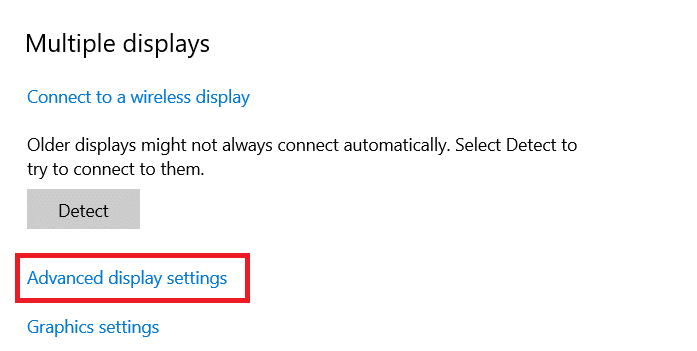
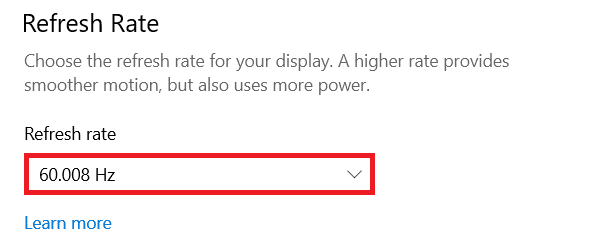
6. Aukeratu recommended and required rate (adibidez, 60.008 Hz) azpian Freskatze tasa.
Era berean, irakurri: Konpondu Familian partekatzea YouTube TV ez dabil
Method 7: Perform Factory Reset on TV
If none of the methods above worked, then factory reset your TV to resolve your PC won’t connect to TV problem. Follow the given steps to perform factory reset on TV.
Ohar: The settings may vary depending on the manufacturer of the TV. Below settings and methods are based on the Samsung R series.
1. Press the Home button on the TV remote.
2. Aukeratu EzarpenakEta, ondoren, Laguntzarako ezkerreko panelean.
3. Hemen, hautatu Autodiagnostikoa aukera.
4. Orain, hautatu Berrezarri aukera eta sartu PIN.
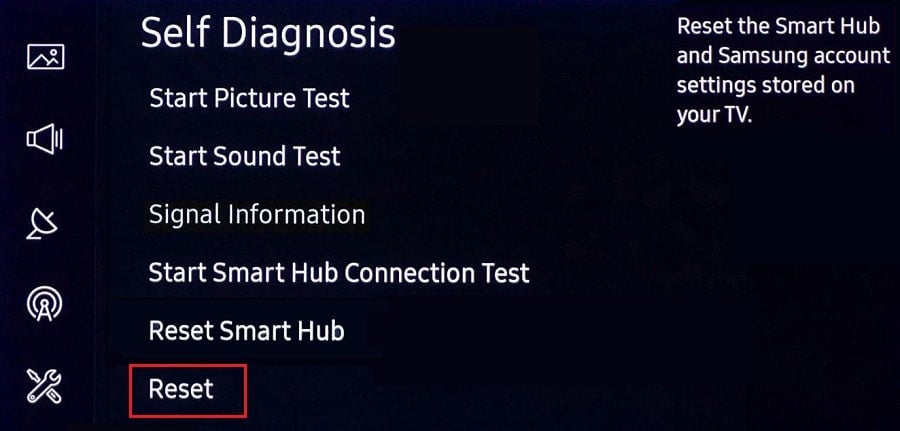
5. Azkenik, hautatu Bai berretsi.
Galdera arruntak (ohiko galderak)
Q1. How can I check whether my display output is working well?
Ans. Lotu ondoren HDMI kable, egin klik eskuineko botoiarekin Desktop eta hautatu pertsonalizatu. Here, you can see your Smart TV as a second monitor.
Q2. Do I have to reset my PC to resolve the computer that did not recognize the TV issue?
Erantzun. Ez, there is no need to factory reset your PC. If none of the troubleshooting methods worked, then you can reset your Smart TV as a last resort.
Q3. What are the different ways to connect a PC to a TV?
Ans. You can connect your computer to the TV using HDMI cable, DVI or VGA, or Wi-Fi. Using Wi-Fi to connect your computer to TV depends on the manufacturer & TV model.
Gomendatzen da:
We hope our article was helpful and you were able to fix Windows PC won’t connect to TV issue was helpful to you. In case, you have any suggestions or queries regarding this article, feel free to reach out to us in the comment section below.