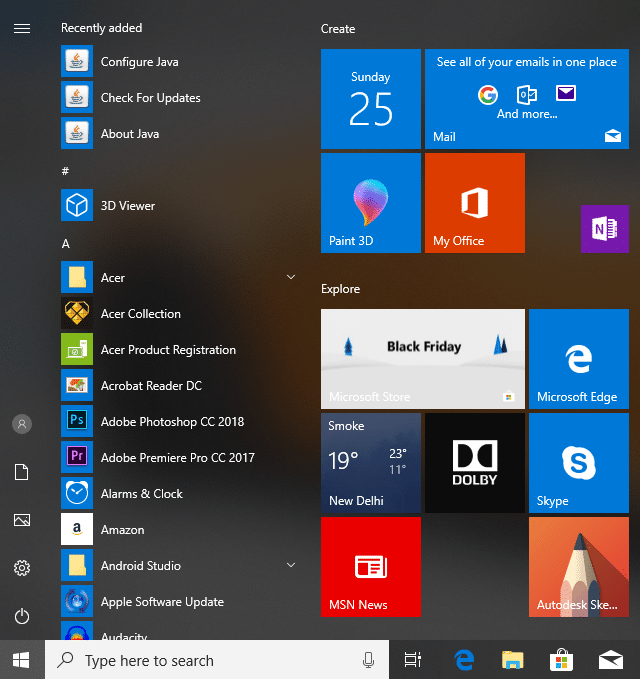
رفع عدم کارکرد منوی استارت در ویندوز 10

If you have recently updated or upgraded to Windows 10, then chances are your Start Menu may not work properly, making it impossible for users to navigate around Windows 10. Users are experiencing various issues with Start Menu such as Start Menu does not open, Start Button is not working, or Start Menu freezes etc. If your Start Menu isn’t working then don’t worry as today we will see a way to fix this issue.
This exact cause is different for different users because each user has a different system configuration and environment. But the problem can be related to anything like corrupted user account or drivers, damaged system files, etc. So without wasting any time, let’s see How to Fix Start Menu Not Working in Windows 10 with the help of the below-listed tutorial.
مطمئن شوید که یک نقطه بازیابی را فقط در صورتی که مشکلی پیش بیاید ایجاد کنید.
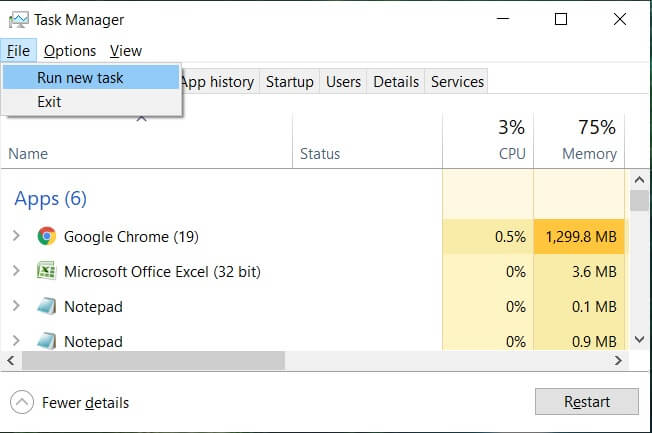
To run Command Prompt as an administrator, press Ctrl + Shift + Esc to open Task Manager. Then click on پرونده سپس انتخاب کنید کار جدید را اجرا کنید. تایپ کنید cmd.exe را و علامت زدن "این کار را با امتیازات اداری ایجاد کنید” then click OK. Similarly, to open PowerShell, type powershell.exe and again checkmark the above field then hit Enter.

روش 1: Windows Explorer را مجدداً راه اندازی کنید
1 مطبوعات Ctrl + Shift + Esc کلیدها با هم برای راه اندازی مدیر وظیفه
2. پیدا کنید explorer.exe در لیست و سپس بر روی آن کلیک راست کرده و پایان کار را انتخاب کنید.

3. اکنون با این کار Explorer می بندد و برای اجرای مجدد آن، روی فایل > اجرای وظیفه جدید کلیک کنید.
4. نوع explorer.exe و OK را بزنید تا اکسپلورر راه اندازی مجدد شود.

5. Exit Task Manager and see if you’re able to Fix Start Menu Not Working in Windows 10.
6. If you’re still facing the issue, then log out from your account and re-login.
7 مطبوعات Ctrl+Shift+Del key at the same time and click on Signout.
8. Type in your password to login to Windows and see if you’re able to fix the issue.
Method 2: Create a new local administrator account
If you’re signed with your Microsoft account, then first remove the link to that account by:
1. Windows Key + R را فشار دهید و سپس تایپ کنیدms-settings:” (بدون نقل قول) و Enter را بزنید.
2 انتخاب کنید Account > Sign in with a local account instead.
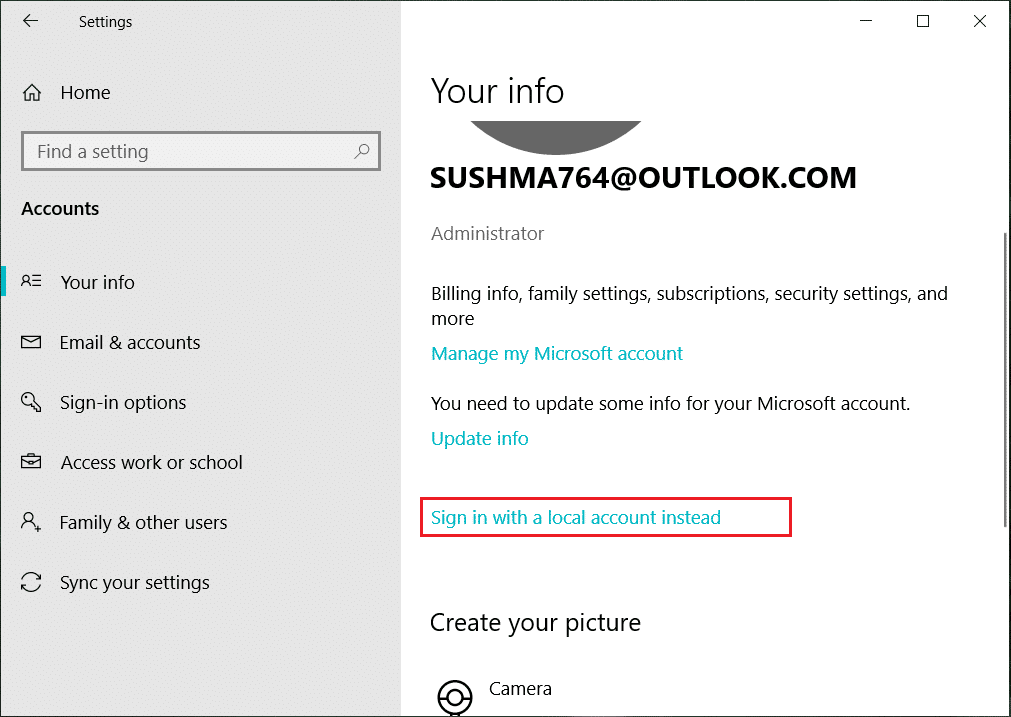
3. نوع خود را تایپ کنید رمز عبور مایکروسافت کلیک کنید و بعدی.
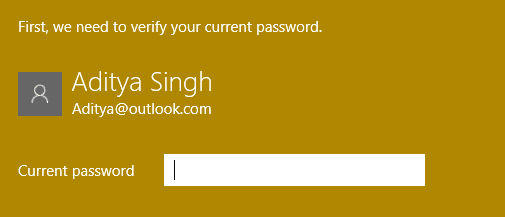
4. a را انتخاب کنید new account name and password, and then select Finish and sign out.
#1. Create the new administrator account:
1. Windows Key + I را فشار دهید تا Settings باز شود و سپس کلیک کنید حساب ها.
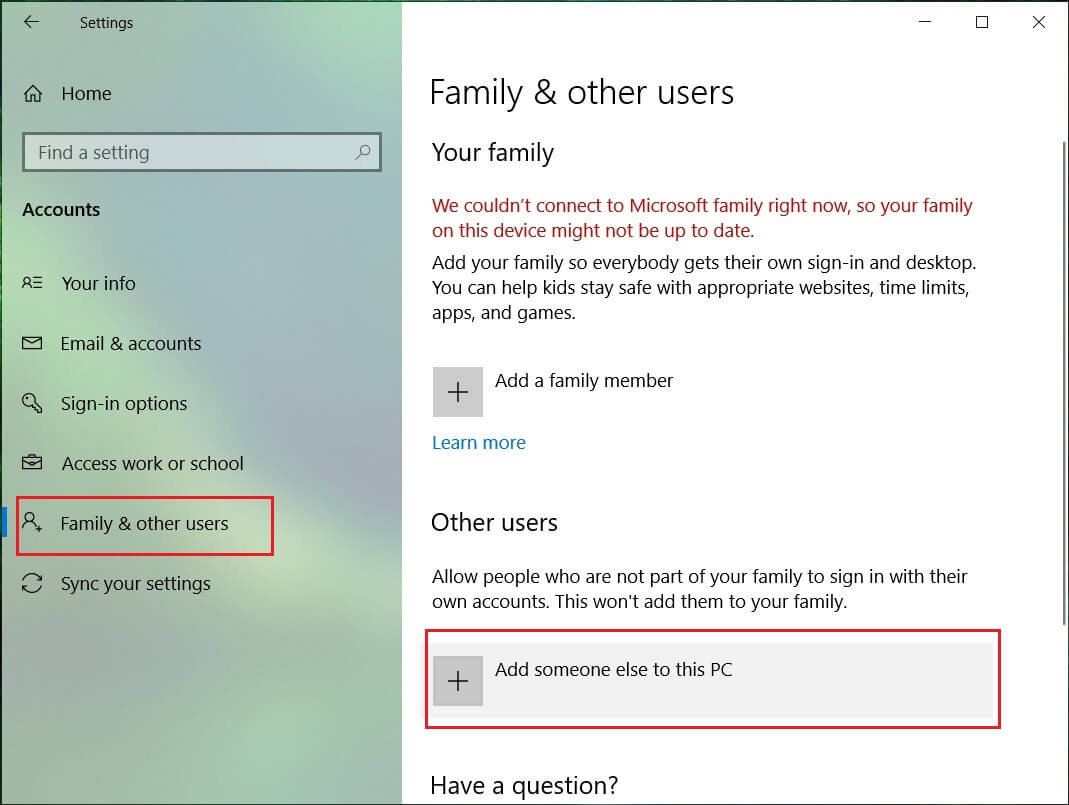
2. سپس به خانواده و افراد دیگر
3. Under Other people click on “Add someone else to this PC."
4. Next, provide a name for the user and a password then select Next.
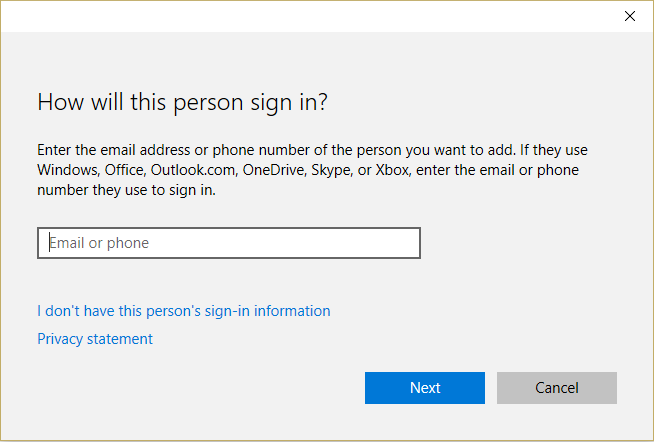
5 تنظیم a نام کاربری و رمز عبور، سپس انتخاب کنید بعدی> پایان
#2. Next, make the new account an administrator account:
1. Again open تنظیمات ویندوز و کلیک بر روی حساب.

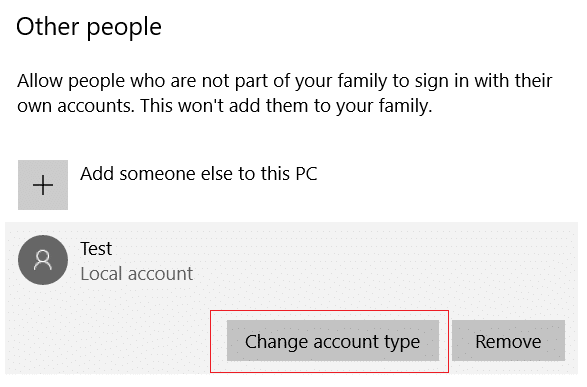
2. برو به برگه خانواده و افراد دیگر.
3. Other people choose the account you just created and then selected a Change account type.
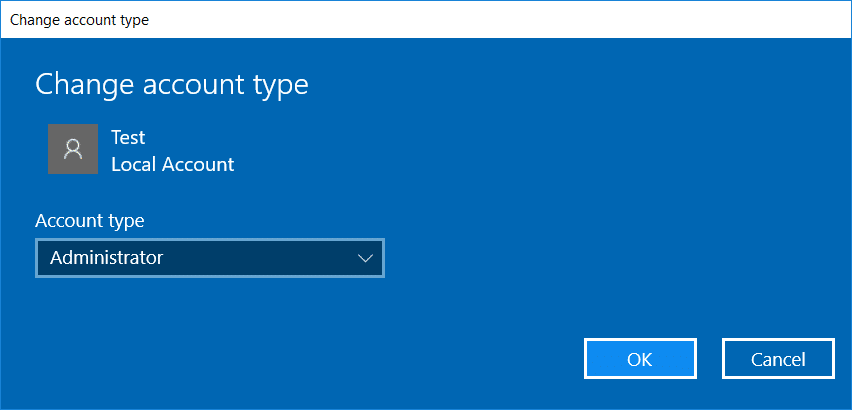
4. Under Account type, select مدیر سپس کلیک کنید OK را بزنید.
#3. If the issue persists try deleting the old administrator account:
1. Again go to Windows Settings then Account > Family & other people.
2. Under Other users, select the old administrator account, click برداشتن، را انتخاب کنید و Delete account and data.

3. If you were using a Microsoft account to sign in before, you can associate it with the new administrator by following the next step.
4 که در Windows Settings > Accounts, select Sign in with a Microsoft account instead and enter your account info.
Finally, you should be able to رفع عدم کارکرد منوی استارت در ویندوز 10 as this step seems to fix the issue in most cases.
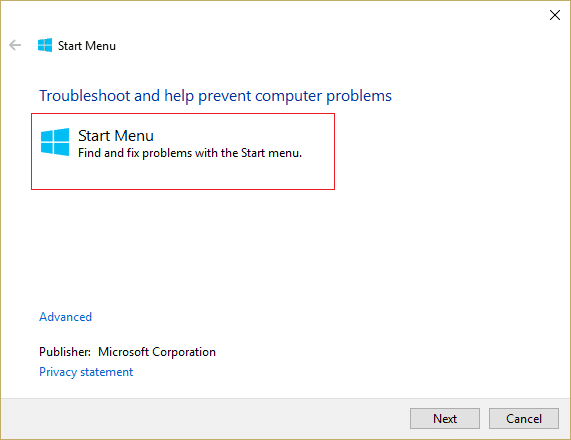
If you continue to experience Start Menu’s issue, it’s recommended to download and run Start Menu Troubleshooter.
1. Download and run Start Menu Troubleshooter.
2. بر روی آن دوبار کلیک کنید فایل دانلود شده و سپس کلیک کنید بعدی.
3. Let it finds and automatically Fixes Start Menu Not Working in Windows 10.
Method 4: Run System File Checker (SFC) and Check Disk
1. Command Prompt را باز کنید. کاربر می تواند این مرحله را با جستجو انجام دهد 'cmd' و سپس Enter را فشار دهید.

2. حالا عبارت زیر را در cmd تایپ کنید و اینتر را بزنید:
Sfc /scannow sfc /scannow /offbootdir=c: /offwindir=c:windows

3. منتظر بمانید تا فرآیند فوق به پایان برسد و پس از اتمام، کامپیوتر خود را مجددا راه اندازی کنید.
4. سپس CHKDSK را اجرا کنید رفع خطاهای سیستم فایل با Check Disk Utility (CHKDSK).
5. اجازه دهید فرآیند بالا کامل شود و دوباره کامپیوتر خود را راه اندازی مجدد کنید تا تغییرات ذخیره شود.
Method 5: Force Cortana to Rebuild Settings
Open Command Prompt with administrative rights then type the following one by one and hit Enter after each command:
CD /d "%LOCALAPPDATA%PackagesMicrosoft.Windows.Cortana_cw5n1h2txyewy"
Taskkill /F /IM SearchUI.exe
RD /S /Q Settings
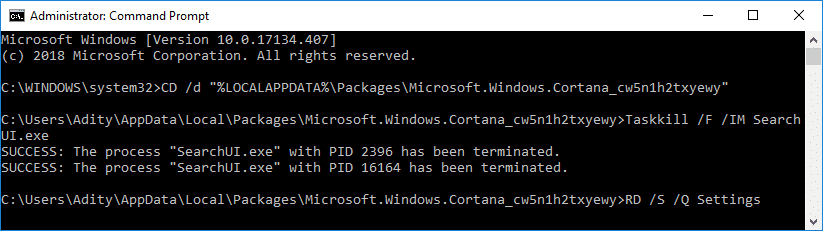
This will force Cortana to rebuild the settings and will Fix Start Menu and Cortana Not Working in Windows 10.
If the issue is still not resolved, follow this guide to fix any issues related to Cortana.
Method 6: Re-Register Windows App
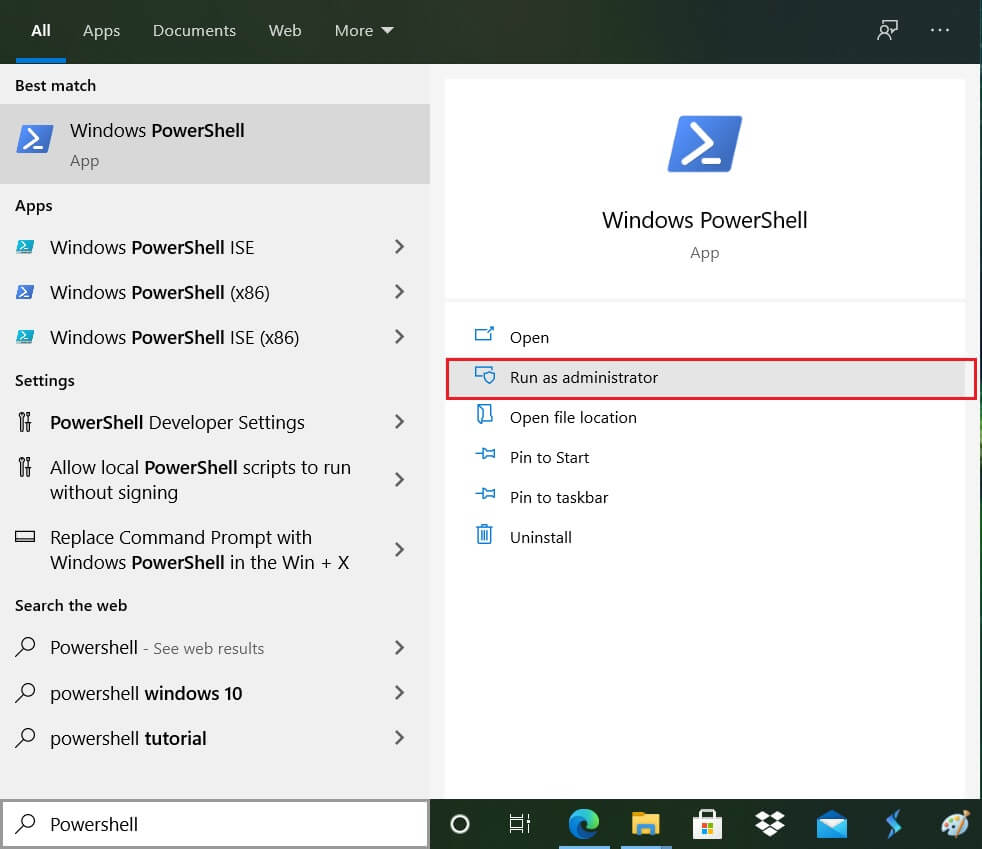
1. نوع PowerShell را در جستجوی ویندوز و سپس روی PowerShell راست کلیک کرده و انتخاب کنید اجرا به عنوان مدیر
2. اکنون دستور زیر را در پنجره PowerShell تایپ کنید:
Get-AppXPackage-AllUsers | Foreach {Add-AppxPackage -DisableDevelopmentMode -Register "$ ($ _. InstallLocation) AppXManifest.xml"}

3. منتظر بمانید تا Powershell دستور فوق را اجرا کند و از چند خطا که ممکن است پیش بیاید چشم پوشی کنید.
4. برای ذخیره تغییرات کامپیوتر خود را ریبوت کنید.
روش 7: رفع رجیستری
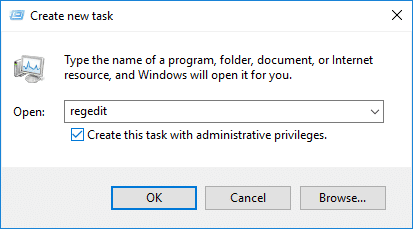
1. Press Ctrl + Shift + Esc to open Task Manager then click on پرونده را انتخاب کنید و کار جدید را اجرا کنید
2. نوع regedit را و علامت زدن "این کار را با امتیازات اداری ایجاد کنید” then click OK.
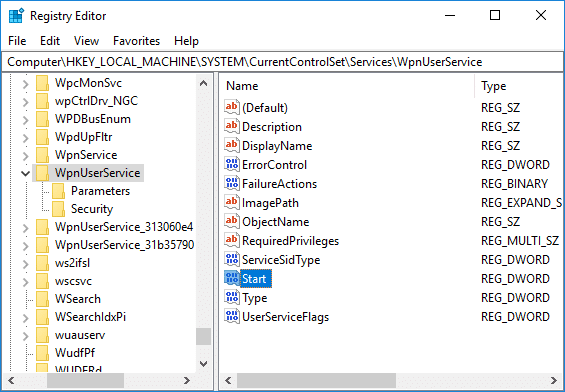
3. Now navigate to the following registry key in the Registry Editor:
ComputerHKEY_LOCAL_MACHINESYSTEMCurrentControlSetServicesWpnUserService
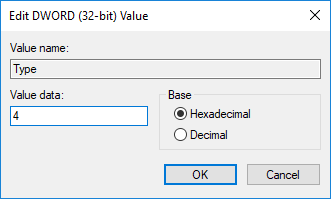
4. حتما انتخاب کنید WpnUserService then in the right window double-click on the DWORD را شروع کنید.
5. Change its value to 4 then click OK را بزنید.
6. برای ذخیره تغییرات کامپیوتر خود را ریبوت کنید.
روش 8: ویندوز 10 را بازخوانی یا بازنشانی کنید
توجه داشته باشید: If you can’t access your PC, restart your PC a few times until you start تعمیر اتوماتیک. سپس به عیب یابی > این رایانه شخصی را بازنشانی کنید > همه چیز را حذف کنید.
1. Windows Key + I را فشار دهید تا Settings باز شود و سپس روی آن کلیک کنید نماد به روز رسانی و امنیت
![]()
2. از منوی سمت چپ انتخاب کنید بهبود.
3 زیر تنظیم مجدد این رایانه کلیک کنید روی "شروع کنید"را فشار دهید.

4. گزینه to را انتخاب کنید فایل های خود را نگه دارید.

5. For the next step, you might be asked to insert Windows 10 installation media, so ensure you have it ready.
6. Now, select your Windows version and click فقط در درایوی که ویندوز در آن نصب شده است > remove my files.

5. در را کلیک کنید دکمه تنظیم مجدد.
6. دستورالعمل های روی صفحه را دنبال کنید تا بازنشانی کامل شود.
توصیه می شود:
این چیزی است که شما با موفقیت انجام داده اید رفع عدم کارکرد منوی استارت در ویندوز 10 اما اگر هنوز سؤالی در مورد این آموزش دارید، در قسمت نظرات از آنها بپرسید.