How to install Internet Explorer on Windows 10

How to install Internet Explorer on Windows 10: هر چند مایکروسافت لبه is the default browser that is pre-installed on Windows 10 but many users still prefer to use Internet Explorer over other web browsers. As a user, you cannot uninstall Internet Explorer because it’s a Windows feature. But there are ways to turn on and off IE on Windows 10. If Internet Explorer is turned off in the Windows feature then you won’t be able to use IE on your system. IE will essentially be hidden until you again turn on Internet Explorer. In this article, you will learn about how to install/uninstall Internet Explorer in Windows 10.
Internet Explorer is Missing on Windows 10?
Users are reporting that they are not being able to open Internet Explorer on their Windows 10 PC. Another case is when users are doing a clean installation of Windows 10 they are unable to find Internet Explorer. In reality, Internet Explorer is turned off in Windows feature, although you can’t uninstall Internet Explorer, but you can turn it off or on.
How to install Internet Explorer on Windows 10
مطمئن شوید که یک نقطه بازیابی را فقط در صورتی که مشکلی پیش بیاید ایجاد کنید.
Method 1: Pin the IE to your Taskbar in Windows 10
This Internet Explorer will most likely be installed on your system, so you have to search it and then pin it to your taskbar so that it becomes easily available. To do this the steps are –
1. فشار دهید Windows Key + S to bring up the search then type “اینترنت اکسپلورر".
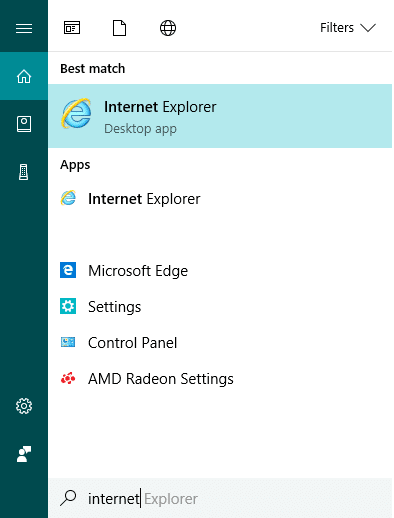
2.You will see that Internet Explorer will come in the top result of the search list.
3.Right-click on IE and choose the option “پین به نوار وظیفه".
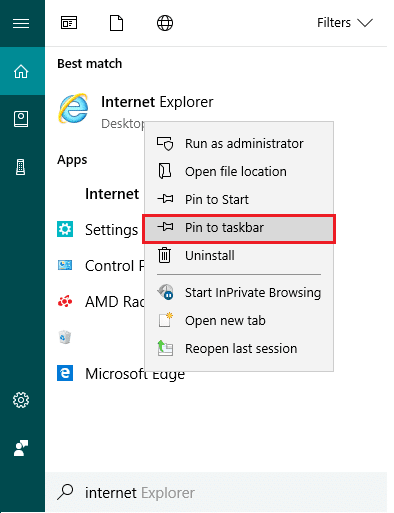
4.Now, you will see the Internet Explorer icon on your taskbar using which you can easily access IE anytime you want.
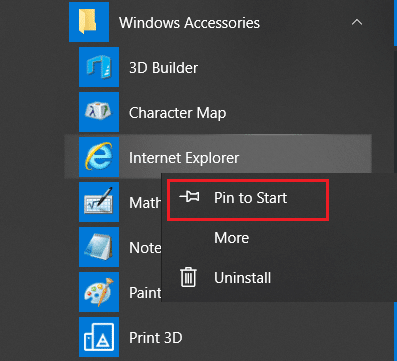
Method 2: Find Internet Explorer using Windows Accessories
Another way to find & pin Internet Explorer on Desktop is by using Windows 10 Settings:
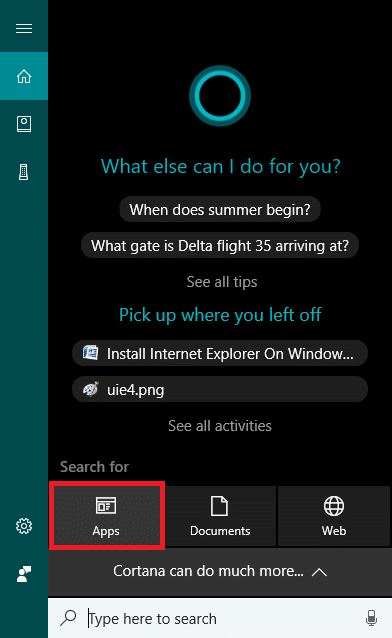
1.Go to the Start button then click on “همه برنامه ها“. Or you can click on نرم افزار under the Cortana search.

2.From there, you have to scroll down until you find the “لوازم جانبی ویندوز"پوشه
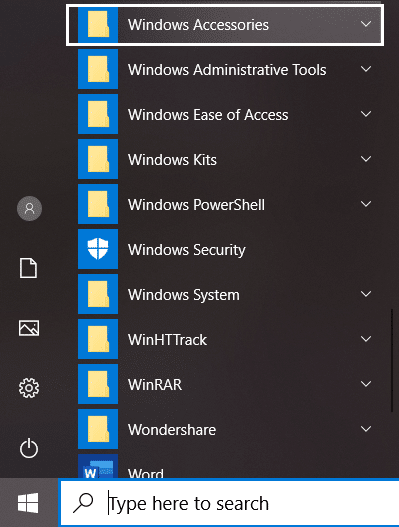
3.Click on it and you will find Internet Explorer in the list.
5.Right-click on Internet Explorer & choose the option “پین به نوار وظیفه".
Method 3: Turn On/Off Internet Explorer
In this step, we will learn how you can Turn On or Off Internet Explorer on your PC. To do this the steps are –
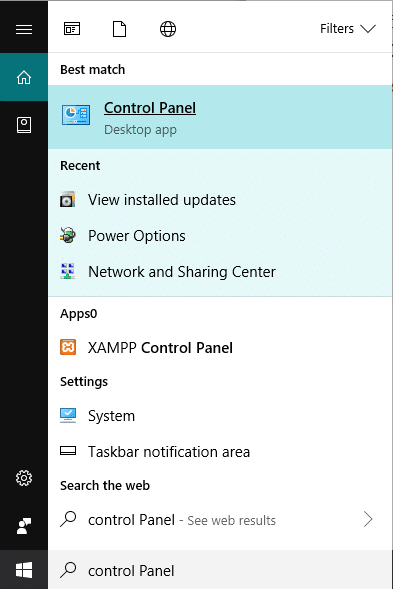
1. تایپ کنید کنترل در جستجوی ویندوز و سپس بر روی آن کلیک کنید صفحه کنترل از نتیجه جستجو
2-روی ” کلیک کنیدیک برنامه را حذف کنید” under Control Panel.

3.From the left-hand menu click on “Turn Windows feature on or off".
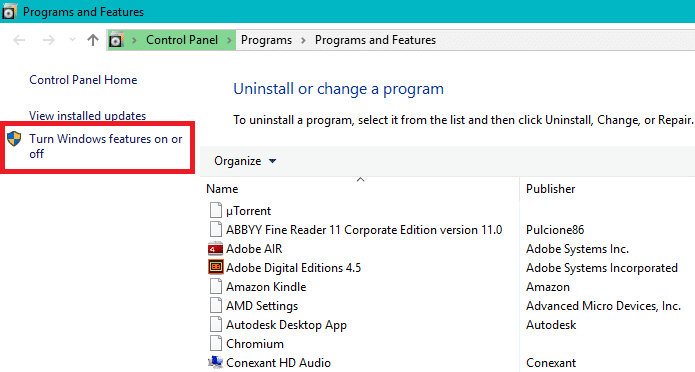
4.You will see a new pop up window will open (which is Windows Feature Window).
5.In the list, checkmark the box next to the Internet Explorer. This will turn ON the Internet Explorer on your system.
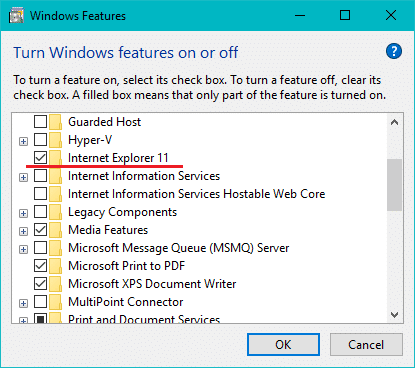
6.One done, click OK to save changes.
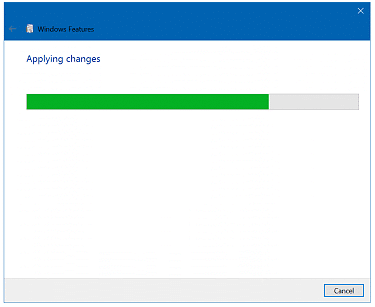
توجه داشته باشید: It will take some time for Windows to apply the changes.
7. برای ذخیره تغییرات، کامپیوتر خود را مجددا راه اندازی کنید.
Once the PC restart, you will notice that Internet Explorer is easily accessible through Windows search.
Method 4: Install or Uninstall Internet Explorer on Windows 10
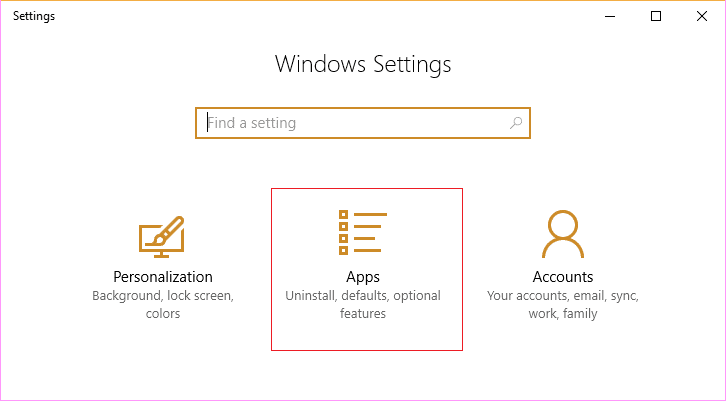
1. Windows Key + I را فشار دهید تا Settings باز شود و سپس بر روی آن کلیک کنید برنامه ها
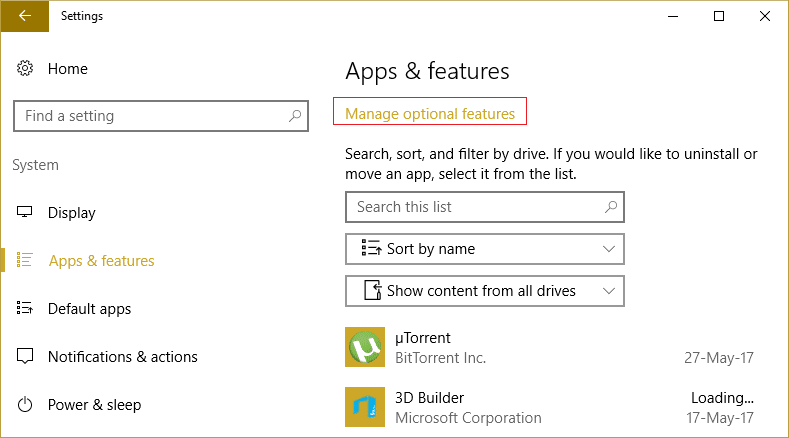
2. از منوی سمت چپ، روی آن کلیک کنید برنامه ها و ویژگی ها
3.Now under Apps & features, click on “ویژگی های اختیاری مدیریت" یا "ویژگی های اختیاری".
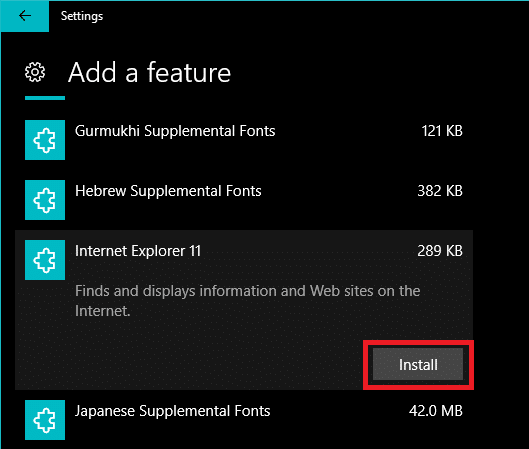
4.Scroll down the list and look for Internet Explorer.
5.Once you find it, you can either Uninstall Internet Explorer (if IE is installed) or آن را نصب کنید (if IE is uninstalled) on your system.
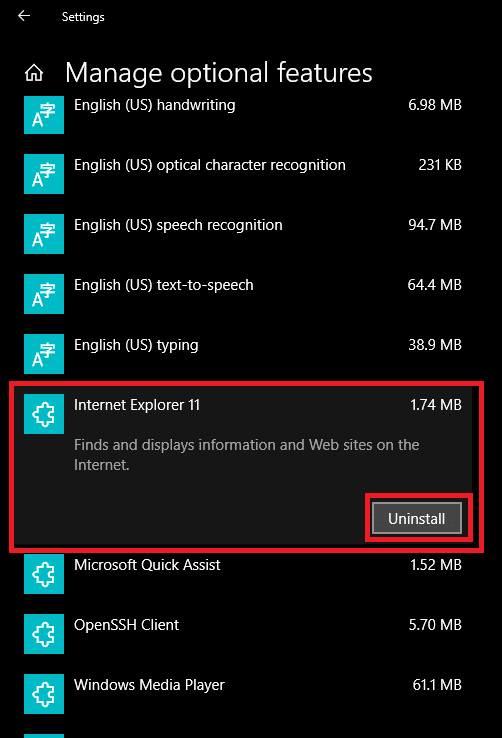
6. اکنون کلیک کنید Install or Uninstall button depending upon the status of IE on your system.
7.Once finished, reboot your PC to save changes.
Method 5: Use PowerShell to Install or Uninstall Internet Explorer
Another way to Install or Uninstall Internet Explorer on Windows 10 is via PowerShell. To do this the steps you need to follow are –
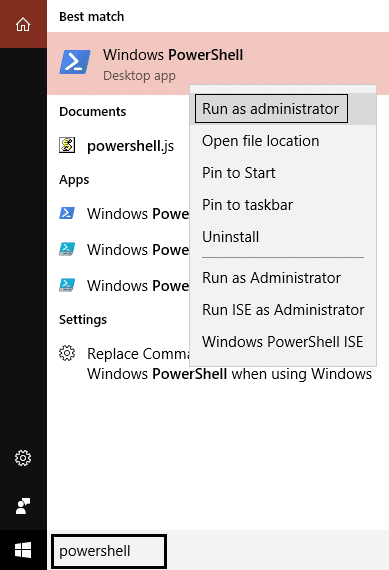
1.Click the Start and search the term “پاورشلمن ".
2.Right-click the PowerShell application, and open it as “اجرا به عنوان مدیرحالت "
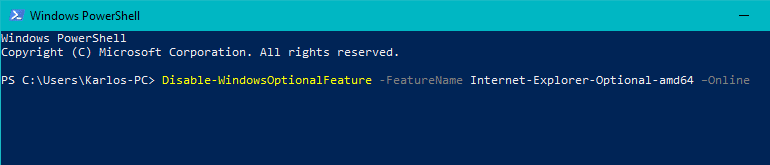
3.Type the following command depending on your choice:
To Uninstall Internet Explorer:
Disable-WindowsOptionalFeature –FeatureName "Internet-Explorer-Optional-amd64" -Online

To Install Internet Explorer:
Enable-WindowsOptionalFeature –FeatureName "Internet-Explorer-Optional-amd64" -All –Online
4.Once you type any one of the above commands and hit Enter, it will then prompt you to restart your system. You have to نوع Y و دکمه Enter را فشار دهید.
5.Your system will reboot to apply changes.
توصیه می شود:
این در صورتی است که چگونه با موفقیت یاد گرفته باشید Uninstall or Install Internet Explorer on Windows 10 اما اگر هنوز در مورد این مقاله سؤالی دارید، لطفاً در بخش نظرات بپرسید.