What is “Limit Reservable Bandwidth” in Windows and Why You Shouldn’t Change It

There’s an old myth that your Windows PC will only use 80% of its available bandwidth, and that by tweaking a setting, you can speed up all of your downloads. This simply isn’t true, and altering the associated settings can have detrimental effects on your PC’s functioning.
In this article, we’ll explain where this myth came from and why you should avoid changing the “Limit Reservable Bandwidth” setting.
What is the QoS Packet Scheduler?
In Windows, there is a feature known as the QoS Packet Scheduler. It has existed since Windows XP and is there to prioritize certain traffic over your network. QoS stands for “Quality of Service”.
Essentially, the QoS Packet Scheduler ensures that high-priority actions taken by your operating system (such as Windows Update) get a larger slice of the network bandwidth pie.

The default setting reserves 20% of your connection’s bandwidth for these high-priority network tasks. Many apps can use this reserved bandwidth, they just have to tell Windows that the traffic is high priority.
Here’s the kicker. If no applications are using that 20% reserved bandwidth, Windows by default makes it available for other applications. So, at any one time, your PC is always using 100% of the available internet bandwidth.
Keep in mind that Microsoft primarily uses this function for things like zero-day security patches which can protect your operating system against malware and other security threats.
What Does “Limit Reservable Bandwidth” Do?
The Limit Reservable Bandwidth setting is found within the QoS Packet Scheduler component and allows you to set a maximum bandwidth that Windows will reserve for important network functions.
The original “tweak” stated that if you change this setting to “0”, then your PC will allow your applications to use the total network bandwidth, effectively speeding up your internet connection. However, as we’ve seen, this isn’t how the QoS function works.
Instead, setting it to “0” will prevent your high priority applications from accessing the bandwidth ahead of the low priority applications. This can result in your applications being less responsive and making your experience worse rather than better.
Essentially, most people have no reason to tweak this setting — especially with internet performance better than ever in most places. Changing it is more likely to negatively impact your experience rather than improve it, while also introducing potential security risks.
How to Change the Bandwidth Limit
In Windows Home Pro, you can change the bandwidth limit via the Local Group Policy Editor:
- رسانه ها و مطبوعات ویندوز + R برای باز کردن اجرای
- نوع gpedit.msc را and hit enter to open the Group Policy Editor.

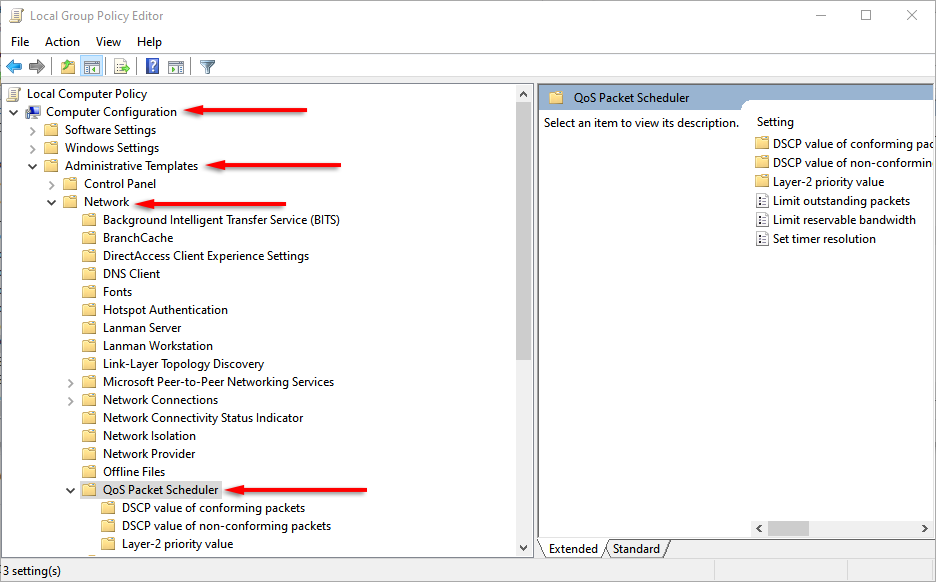
- In the left-hand menu, double-click پیکربندی کامپیوتر (if the drop-down menu isn’t visible). Then double-click قالب اداری > شبکه ارتباطی > زمانبندی بسته QoS to open each drop-down menu.
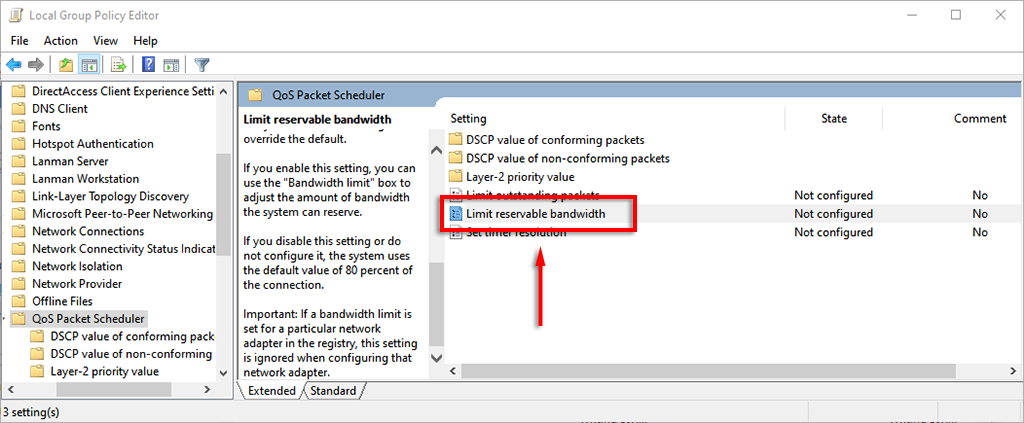
- با زمانبندی بسته QoS selected, double-click پهنای باند قابل ذخیره را محدود کنید در صفحه سمت راست
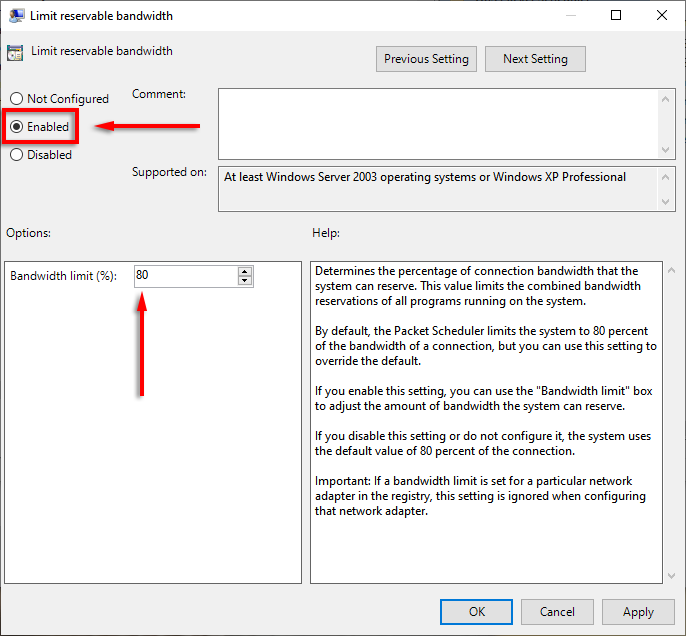
- کلیک کنید فعال. Now, you can adjust the default values. Where it says محدودیت پهنای باند (%) enter the amount you’d like.
Alternatively, you can change the reservable bandwidth settings via the Windows registry.
- Open the registry editor by typing regedit را به جعبه محاوره را اجرا کنید و فشار دادن وارد.
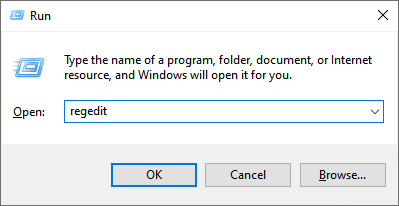
- هدایت به:
ComputerHKEY_LOCAL_MACHINESOFTWAREPoliciesMicrosoftWindowsPsched
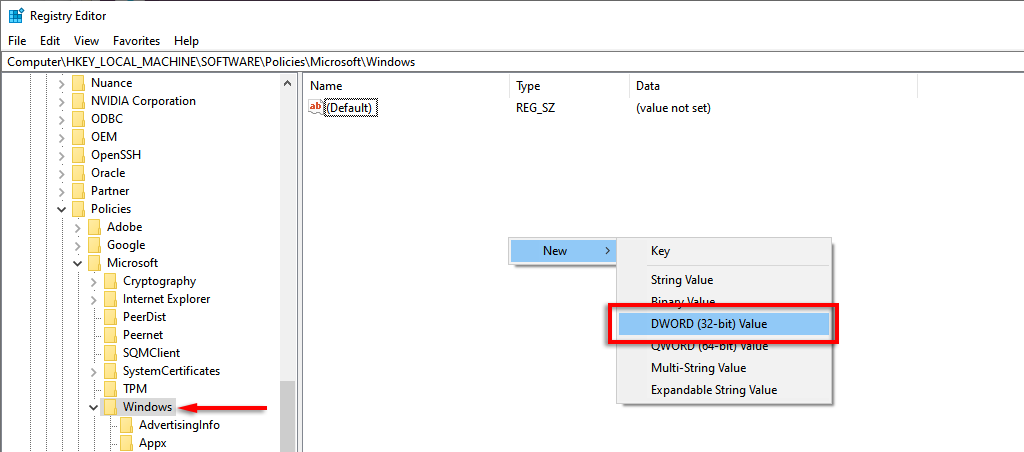
- If Psched doesn’t exist, select ویندوز, right-click somewhere in the right-hand pane, and select جدید > مقدار DWORD (32 بیت).
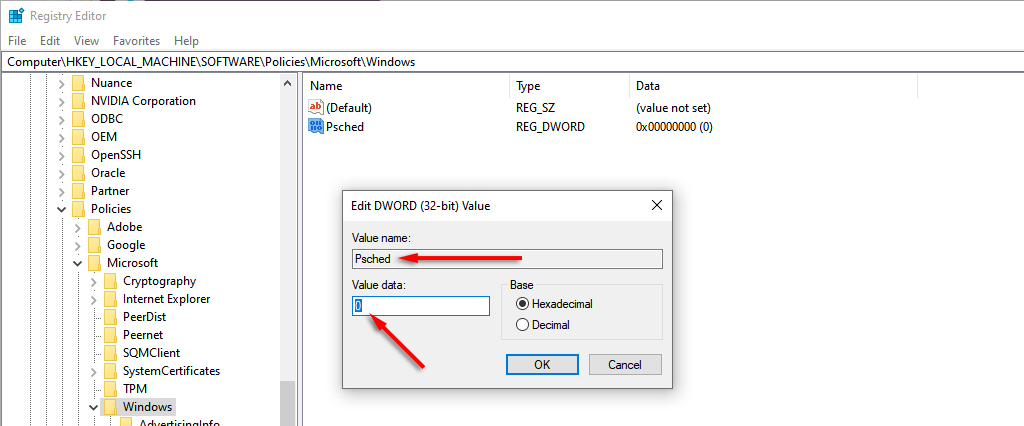
- نام ببرید Psched. You will now be able to alter the default reservable bandwidth percentage under داده های ارزش. انتخاب OK تا تغییرات خود را ذخیره کنید.
To change the amount of your bandwidth that’s reserved for updates in Windows 10 home, do the following:
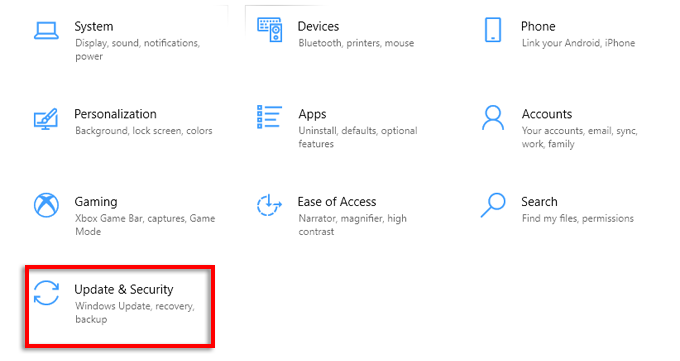
- رسانه ها و مطبوعات کلید ویندوز + I برای باز کردن تنظیمات.
- انتخاب کنید به روز رسانی و امنیت.
- انتخاب کنید گزینه های پیشرفته.
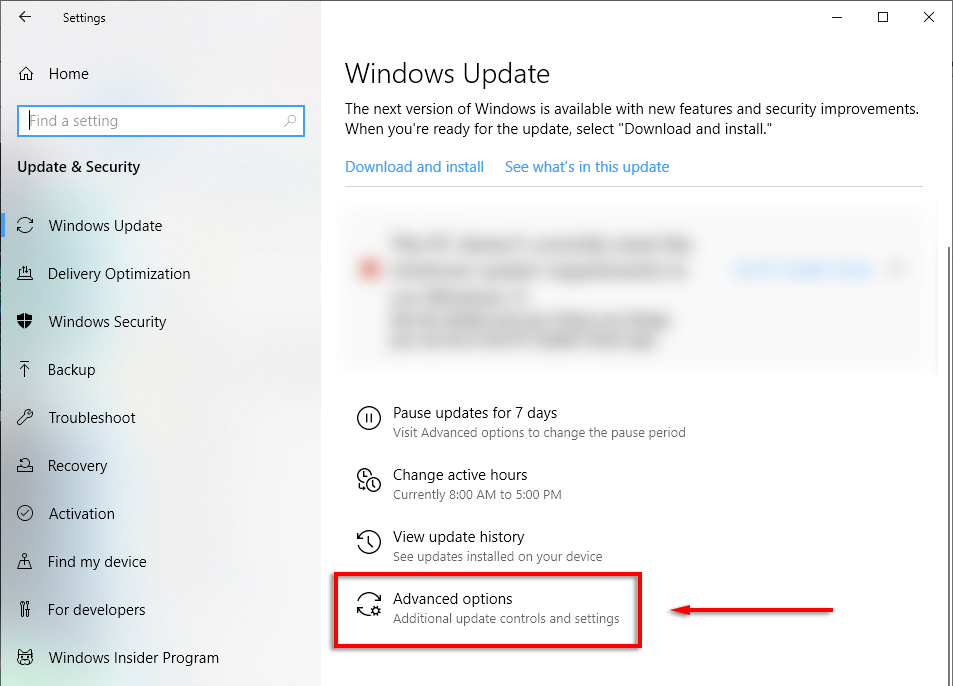
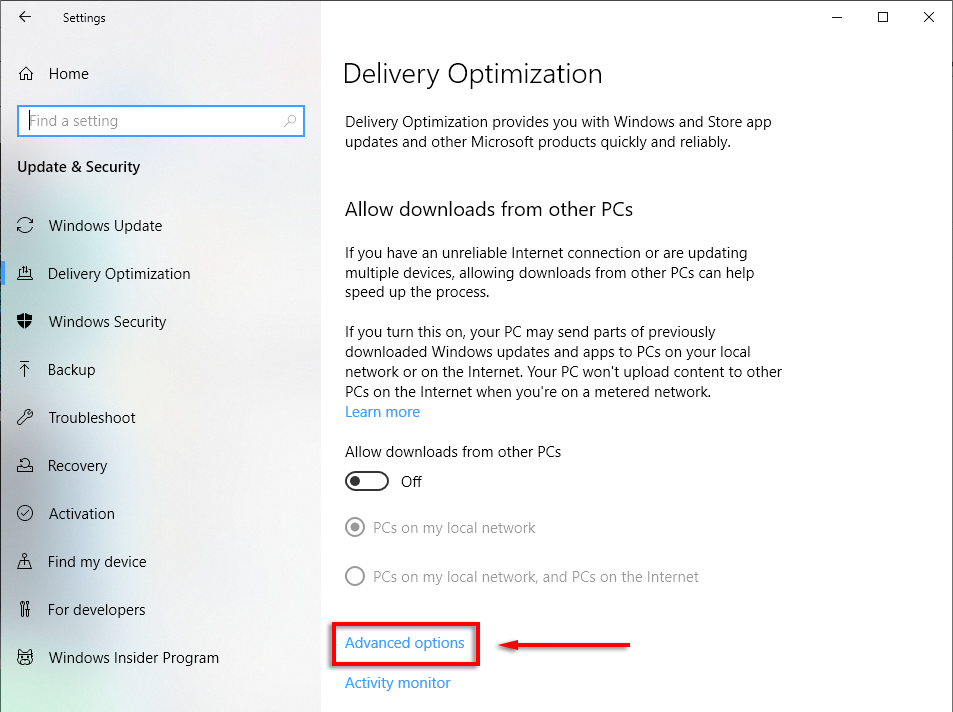
- به پایین بروید و انتخاب کنید بهینه سازی تحویل.

- کلیک کنید گزینه های پیشرفته.
- Here, you’re able to change the sliders for both download and upload settings and adjust the amount of bandwidth that you’d like to reserve for updates.
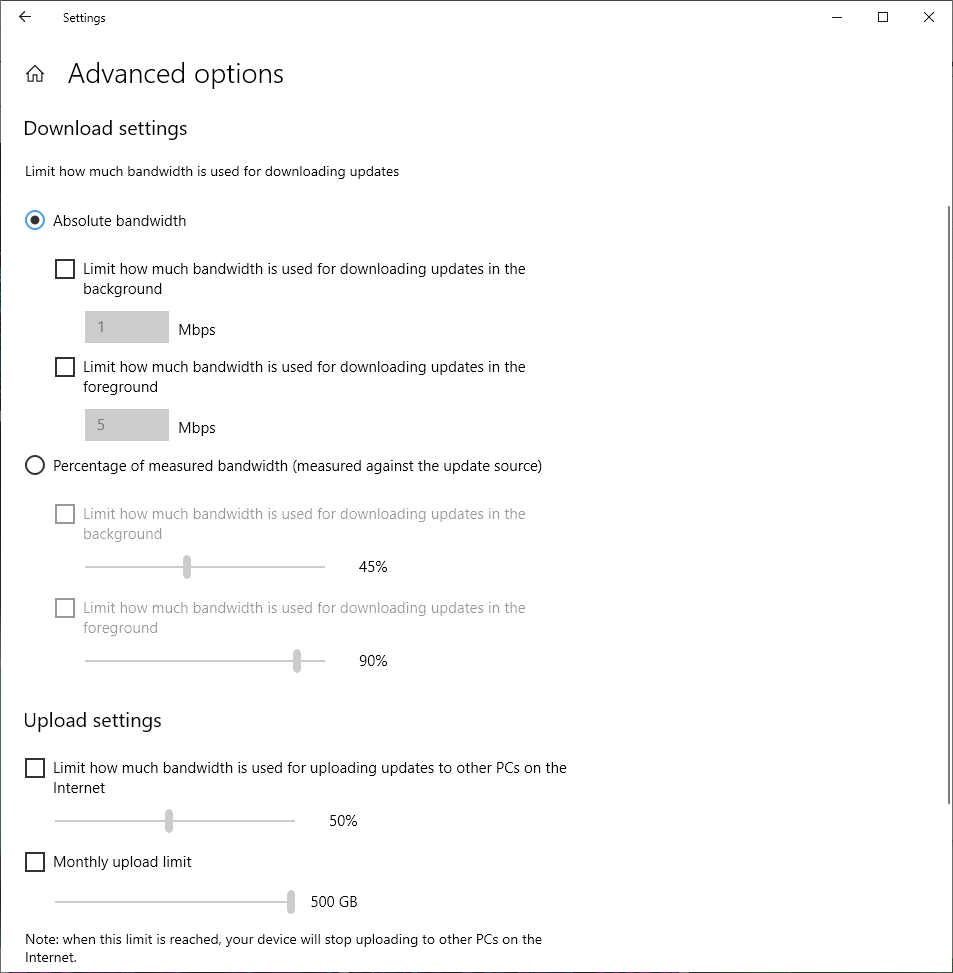
توجه داشته باشید: We recommend leaving these values at default unless you have no other choice and understand the setting well.
چگونه سرعت اینترنت خود را افزایش دهیم
There are several safe methods you can use to increase your upload and download speeds. While you’re at it, here’s a handful of tips to get faster internet easily by avoiding common mistakes when it comes to bandwidth usage, like leaving your VPN running.
If you’re having consistent issues, try troubleshooting your slow internet or Wi-Fi connection.
Boost Your Download Speeds the Right Way
For whatever reason, the “Limit Reservable Bandwidth” myth has persisted for almost 20 years. As we’ve covered in this article, it’s best to leave this setting alone unless you really know what you’re doing. Either way, we hope you can safely improve your network speeds and get back to whatever you need it for!