How to Convert Your Facebook Profile to a Business Page

Convert Your Facebook Profile to Facebook Business Page: As you all know that Facebook is one of the most popular social networking sites that provide individual identity in digital form. At the same time, Facebook also provides pages for promoting business and organization. This is because there are more stout features available on Facebook pages for enterprises and organizations and are appropriate enough to meet business needs. But it can be still seen that various companies and recruiting agencies use a personal Facebook profile for business promotion.
How to convert your Facebook Profile to a Business Page
If you come under such category, then you need a change or else there will be a risk of losing your profile as stated clearly by Facebook. In this article, you will learn about the steps to convert your personal Facebook profile into a business page. This conversion will also eliminate the restriction of having 5000 friend connections and will allow you to have followers if you change it to a Business Facebook page.
Step 1: Make a Backup of Your Profile Data
Before you convert your Facebook page to a business page make sure you understand that only your profile photo and friends (which will be converted to likes) will be migrated to your business page. No other data will migrate to your new page. So you need to make sure to download all your Facebook data before you convert your profile to a page.
1. Téigh go dtí do Roghchlár Cuntais from the top right section of the Facebook page and choose the Socruithe rogha.
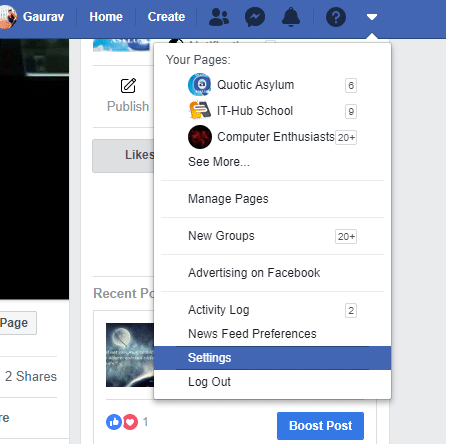
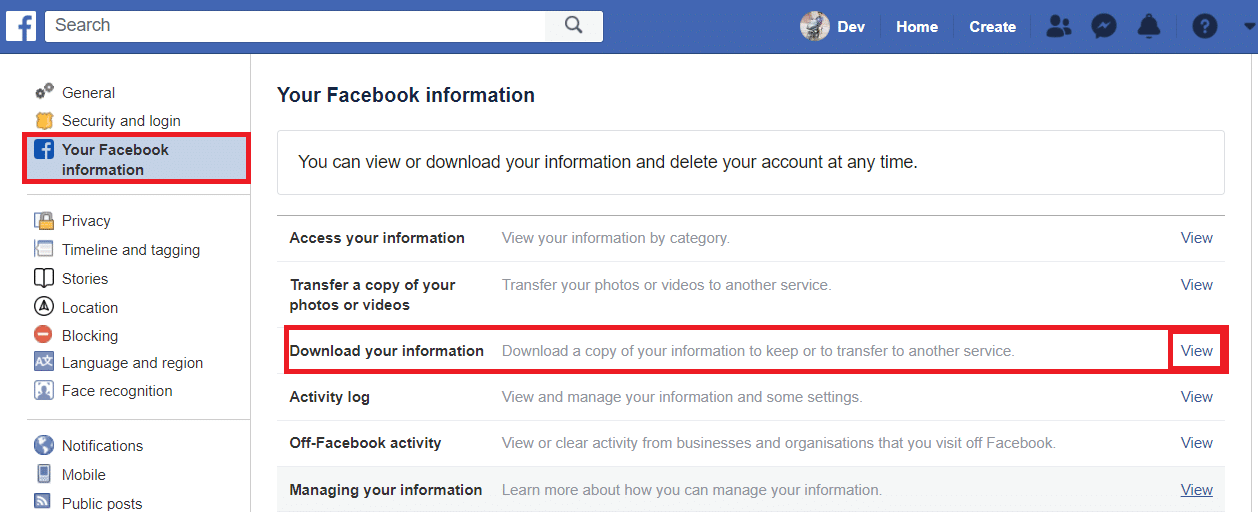
2. Now, click on the “Do Facebook Faisnéise” link on the left-hand Facebook page section, then click on Amharc rogha faoin Íoslódáil do chuid faisnéise alt seo.
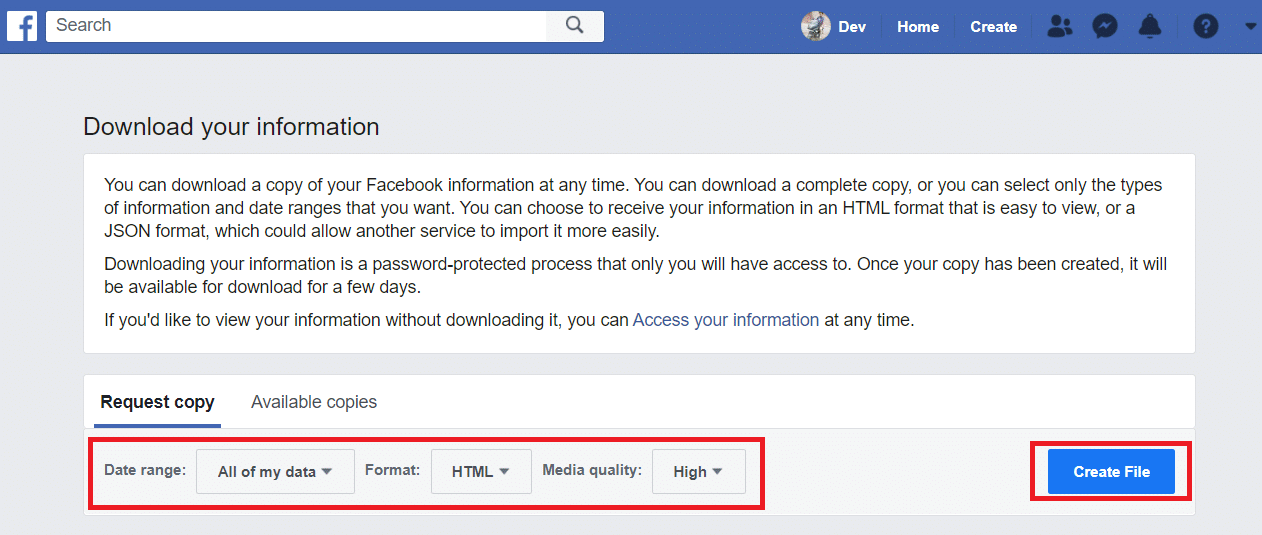
3. Anois faoi Request copy, roghnaigh an Raon Dáta or keep the default options autoselected. Then click on Cruthaigh Comhad cnaipe.
4. A dialogue box will appear informing "A copy of your information is being created". Thus, wait for the file to be created.
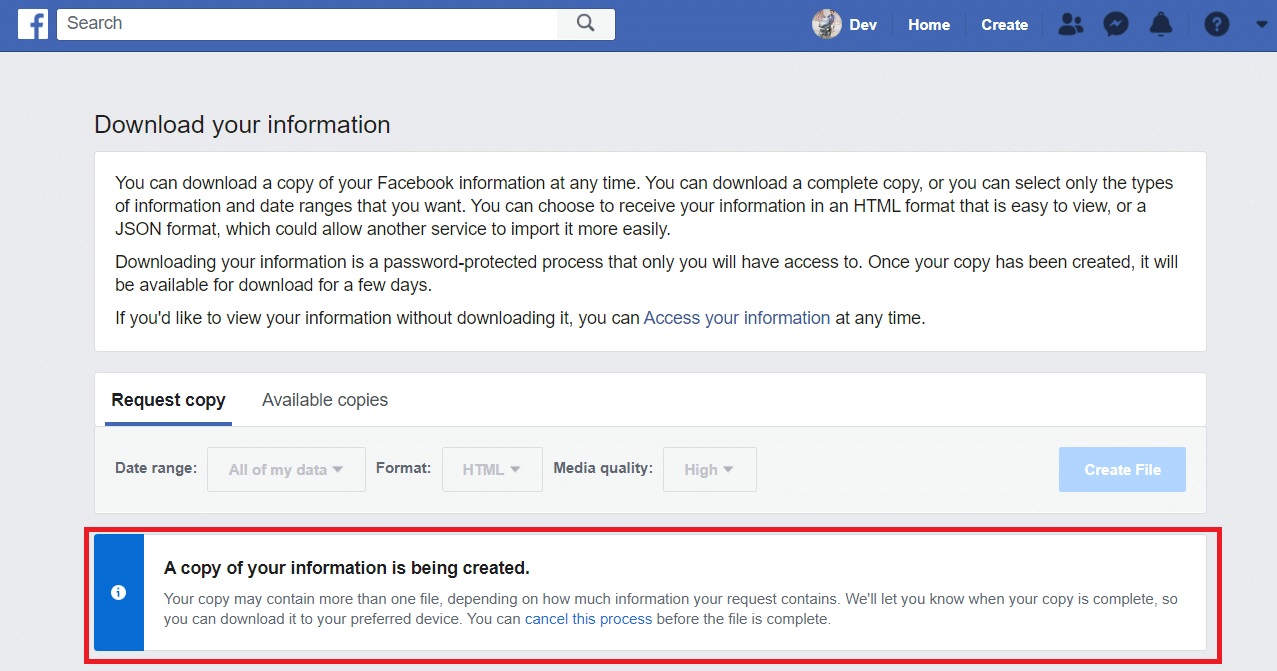
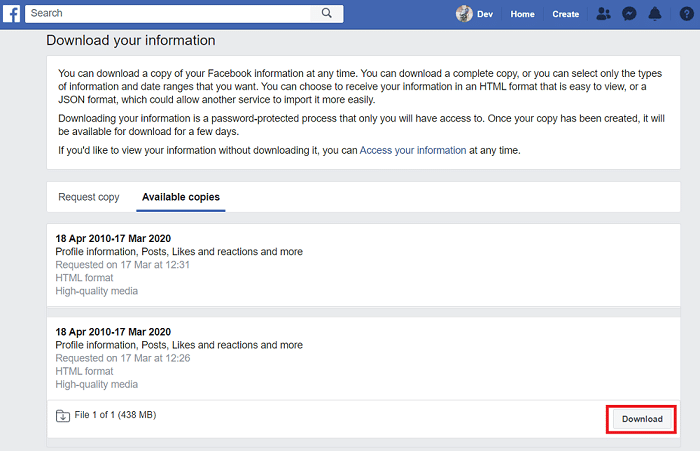
5. Once the file is created, Download the data by navigating to Available Copies agus ansin cliceáil ar íoslódáil.
Chomh maith leis sin Léigh: 5 Bealaí chun Teachtaireachtaí Il Facebook a Scrios
Step 2: Modify the Profile Name & Address
Nóta: The new business page converted from your Facebook profile will have the same name as your profile.
If your Facebook profile has more than 200 friends then you won’t be able to change the name of the business page once it gets converted. So if you need to alter the name, make sure you change the name of your Profile page before the conversion.
To Change Profile Name:
1. Téigh go dtí an Accounts menu from the top-right corner of the Facebook page then choose Socruithe.
2. Now, in the “Go ginearálta” tab click on the “CuirCnaipe do Ainm rogha.
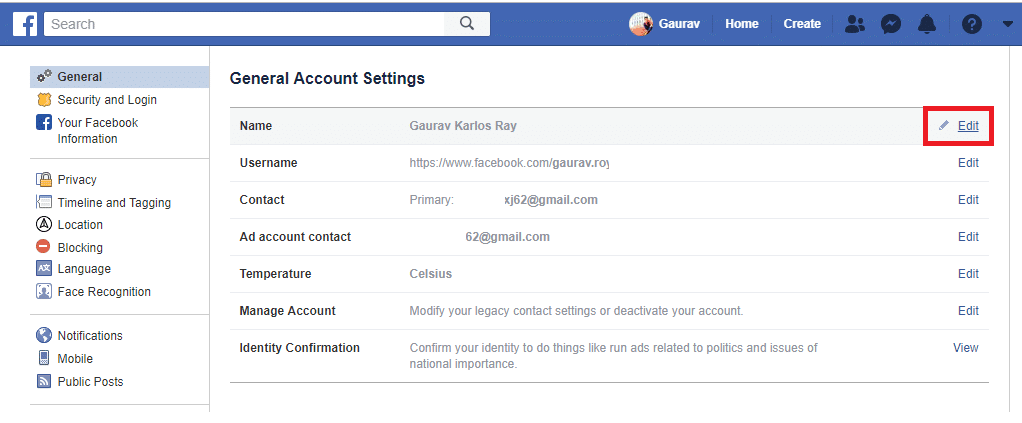
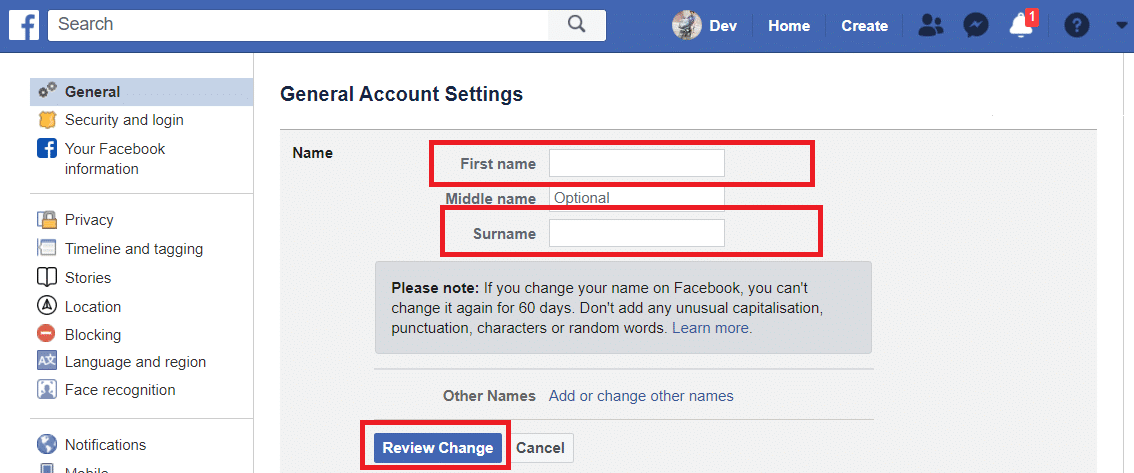
3. Type a suitable First name, Middle name, Surname & cliceáil ar an Athrú Athbhreithnithe cnaipe.
To Change Address:
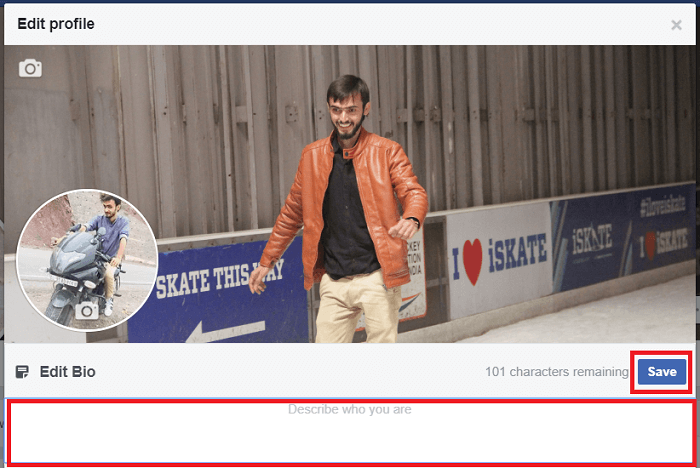
1. Under your cover photo, click the “Déan Eagarthóireacht ar do Phróifíl” button on the timeline.
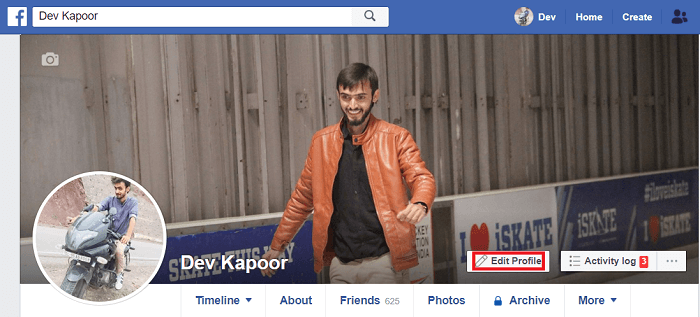
2. A pop-up will appear, click on Edit Bio and add information of your business and click on the Sábháil cnaipe chun do chuid athruithe a shábháil.
Chomh maith leis sin Léigh: Conas do Chuntas Facebook a dhéanamh níos sláine?
Step 3: Convert your Personal Profile to Business Page
From your profile page, you can manage Other Pages or Groups.
Nóta: Before you convert your profile to a business page, assign a new admin to all your existing Facbook pages.
1. To start with the conversion, Tabhair cuairt ar an nasc seo.
Nóta: The said link seems to be broken temporarily.
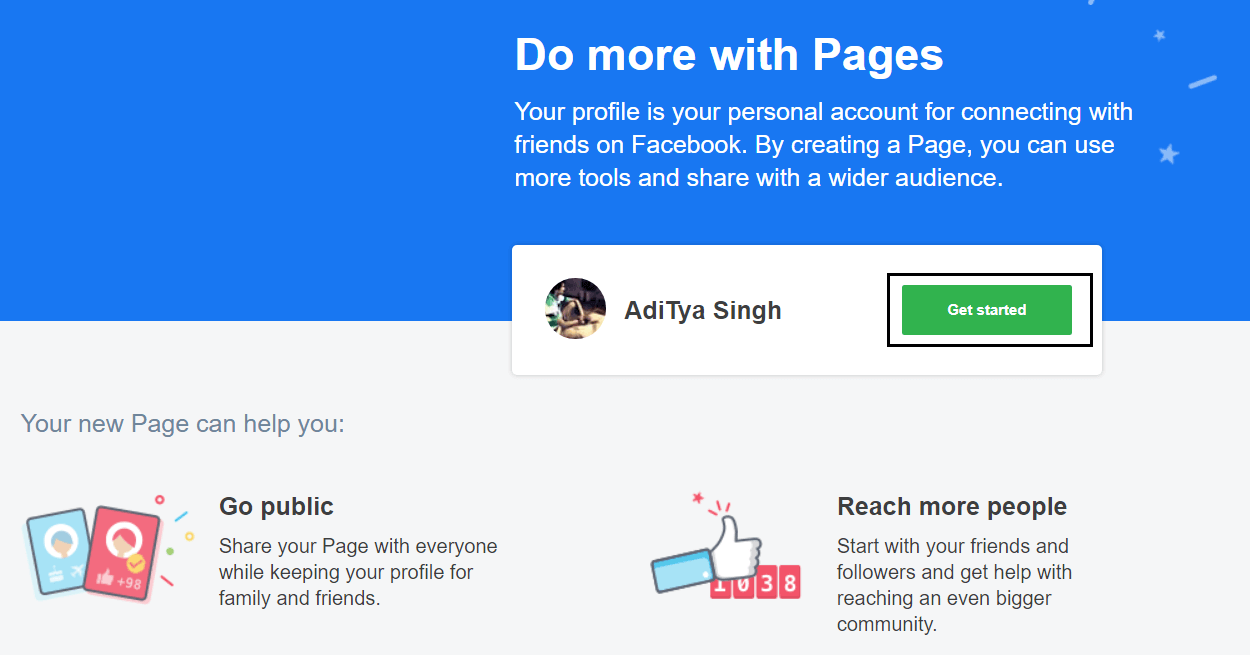
2. On the next page click on the “Get started” button shown highlighted.
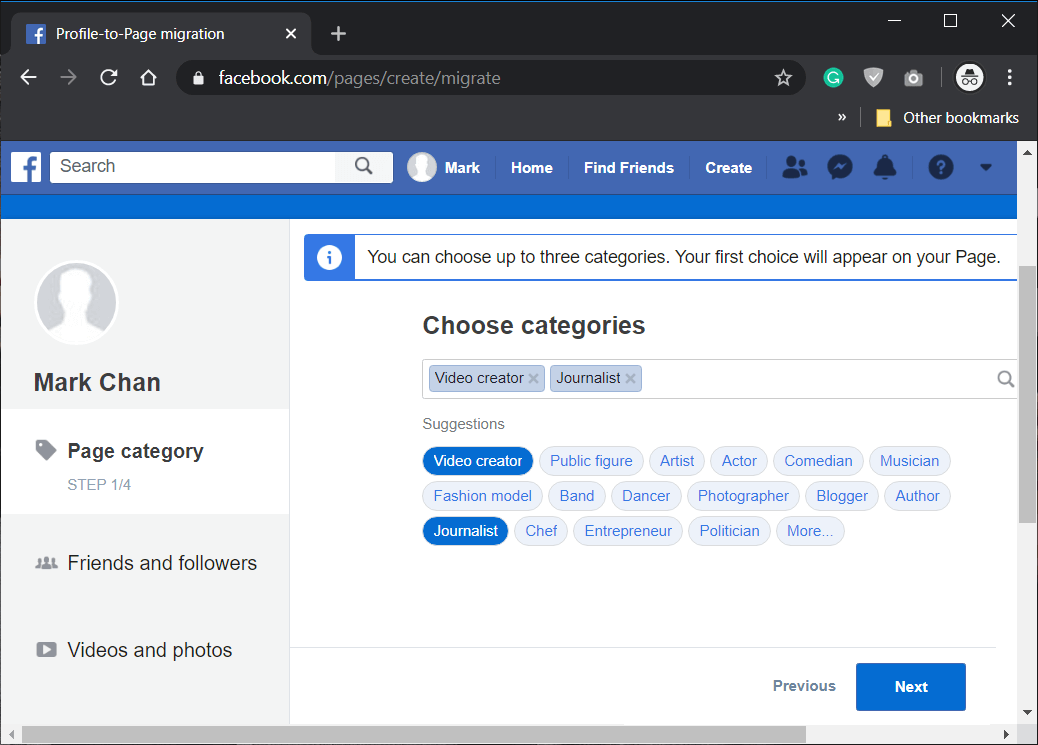
3. On the Page category step, Choose categories for your Business page and click Ar Aghaidh.
4. Ar aghaidh Friends and followers leathanach, roghnaigh an cairde which would like your page & click Ar Aghaidh.

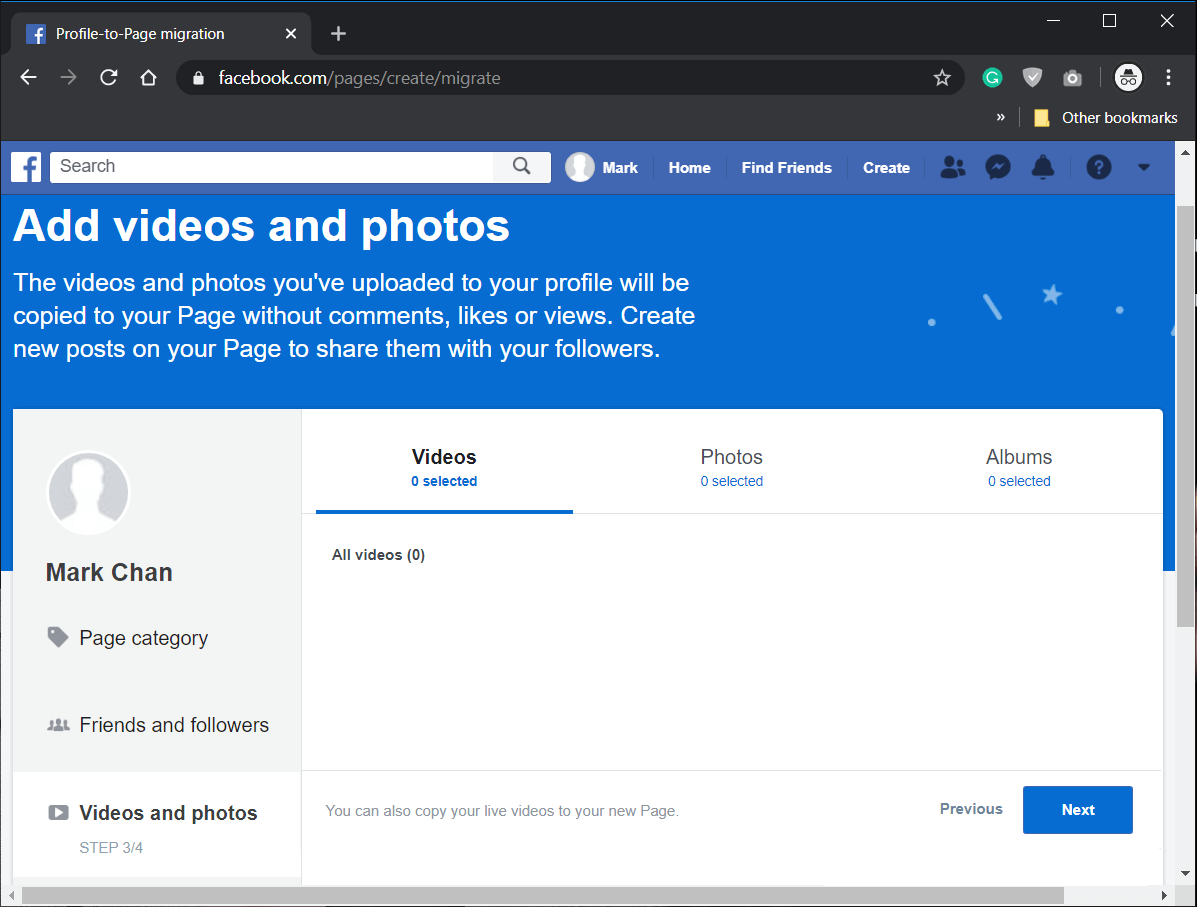
4. Ar Aghaidh, roghnaigh Videos, Photos, or Albums to be copied on your new page & click Ar Aghaidh.
5. Finally, review your choices and click on the “Cruthaigh Leathanach"A bhrú.
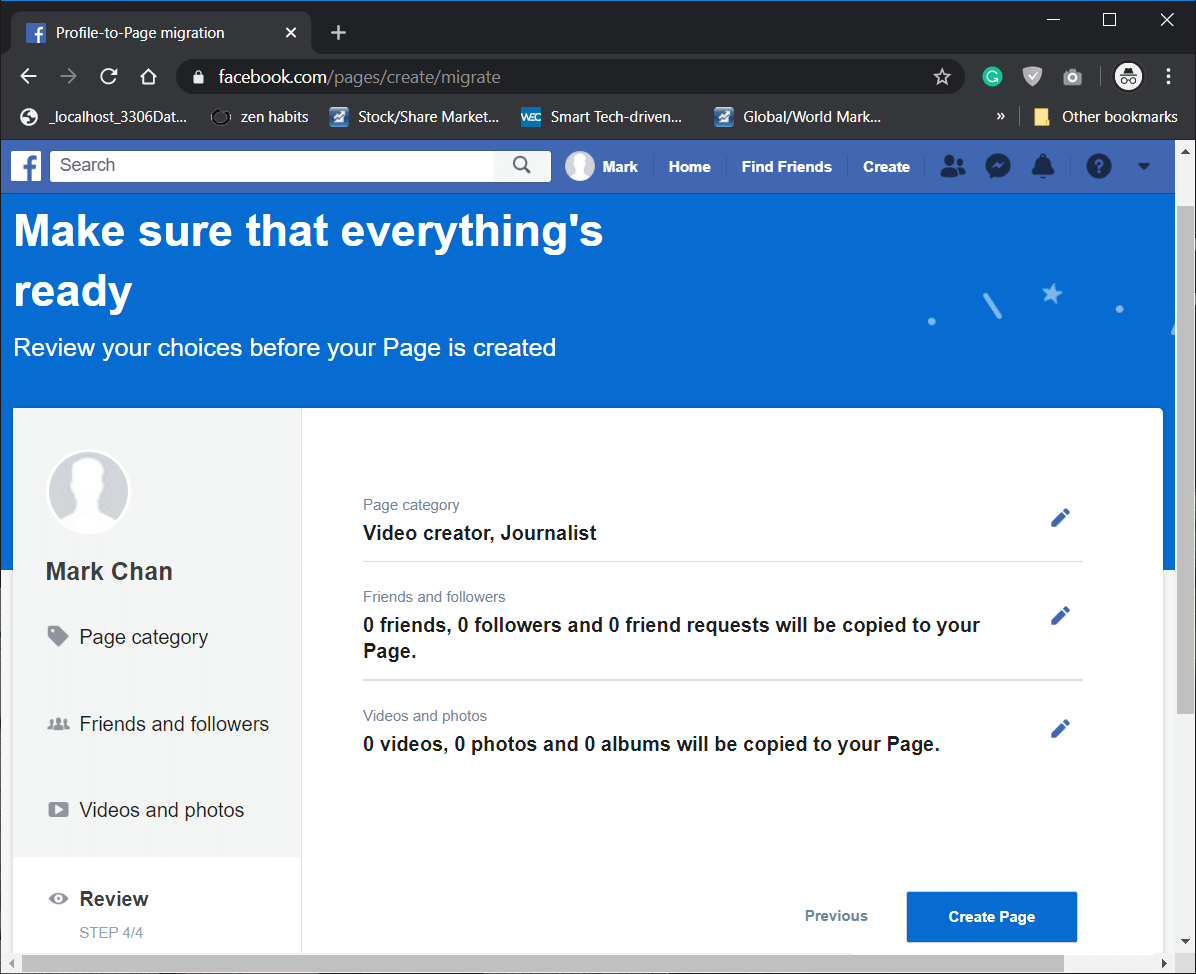
You will note that your Business page has been created.
Chomh maith leis sin Léigh: An Treoir Deiridh chun Do Shocruithe Príobháideachta Facebook a Bhainistiú
Step 4: Merge Leathanaigh Dhúblacha
If you have any business page that you would like to merge with your new Business page then read Facebook guide here and follow the below steps:
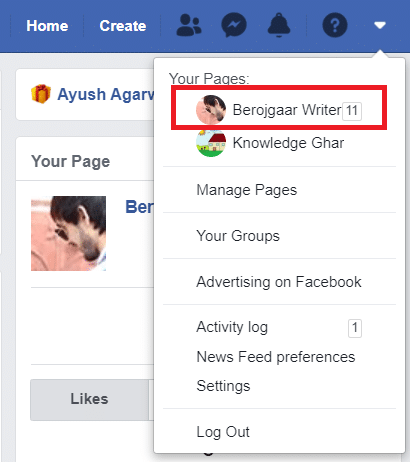
1. Téigh go dtí an Accounts menu from the top-right corner of the Facebook page then select the Leathanach ba mhaith leat a chumasadh.
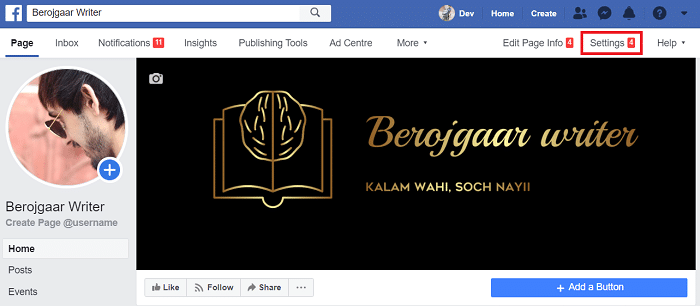
2. Anois cliceáil ar Socruithe which you will find at the top of your Page.
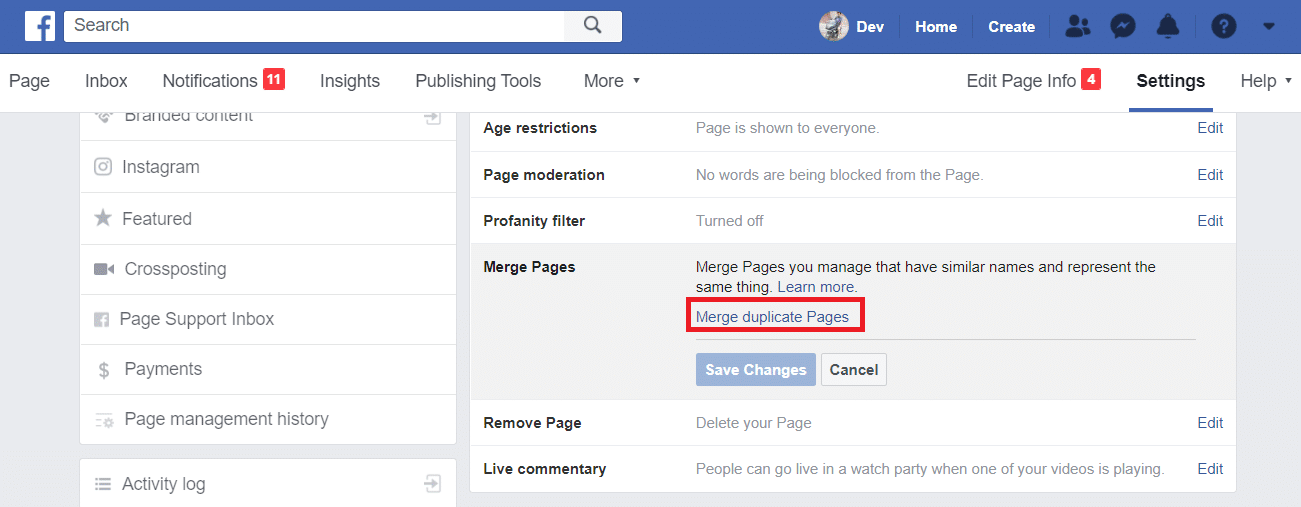
3. Scroll down and look for the Leathanaigh Cumaisc rogha agus cliceáil ar Athraigh.
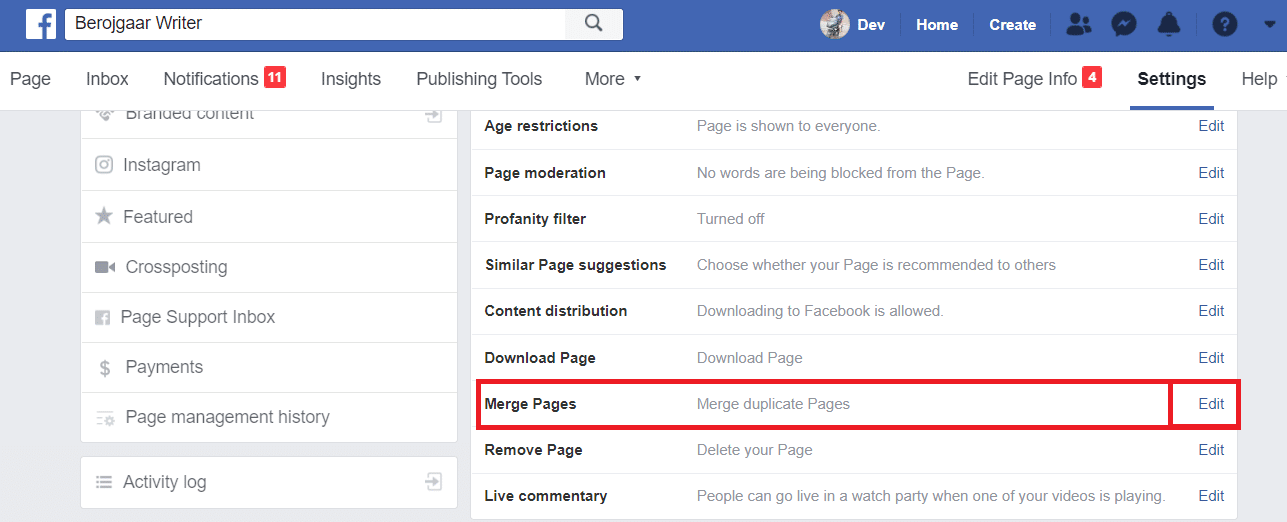
3. A menu will appear then click on Merge Duplicate Pages link shown highlighted below.
Nóta: Type the password of your Facebook account to verify your identity.
4. On the next page, enter the names of two pages you want to Merge and click on Leanúint ar aghaidh.
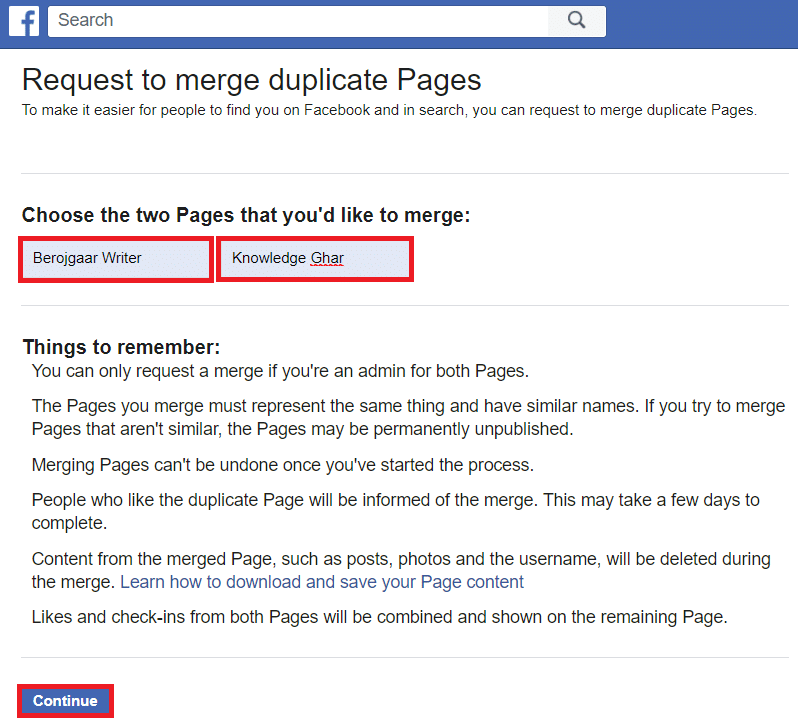
After completing all the above steps, your pages will be merged.
Nóta: Is féidir leat merge two business pages as well. Unfortunately, the said link seems to be broken temporarily.
Molta:
That’s all you need to know how to convert Facebook Profile to a Business Page. But if you still think that this guide is missing something or you like to ask something, please feel free to ask your queries in the comment section.