How to Install ADB on Windows 10: It is not possible to carry laptops or desktops everywhere you go. Instead, you carry mobile phones which you can use it for various purposes like calling, capturing photos, videos, documents, etc. But the problem with mobile phones is that it comes with limited memory and once the memory starts to fill up, then you need to transfer all or some of its data somewhere safe. And most people transfer their mobile data to their PC as its the only logical step. But the question arises how do you transfer your data from mobile phones to PCs?
The Answer to this question is ADB (Android Debug Bridge). So, the Windows is provided with ADB which allows you to connect your PCs to your android phones. Let’s dive in little more to understand what ADB is:
ADB: ADB stands for Android Debug Bridge which is a Software-interface for Android System. Technically, it is used to connect an android device with a computer using a USB cable or using wireless connections like Bluetooth. It also helps in executing commands on your mobile phone through your computers and allows you to transfer data from Android phones to your PC. ADB is part of Android SDK (Software Development Kit).

ADB can be used through Command Line (CMD) for Windows. Its main advantage is it enables to access phone contents like copy files from computer to phones or from phone to computer, install and uninstall any app and more, directly by using a computer without any actual interaction with the phone.
How to Install ADB (Android Debug Bridge) on Windows 10
Féach freisin:
Na 10 mBealach is Fearr chun Google Chrome a Dheisiú i gCoinne Cíosa ar Android
Deisigh Earráid Suiteáil Discord ar Windows 10
Conas an Aip Chomhionann a Shuiteáil faoi dhó Gan Spás Comhuaineach
Conas Dhá Chluasán a Úsáid ag an am céanna ar Windows 10 [Nuashonraithe 2023]
Conas Moltaí Roghchláir Tosaigh a Bhaint i Windows 11
In order to use ADB command line, you need to first install it on your computer. To install ADB in your computers follow the below steps:
Method 1 – Install Android SDK Command Line Tools
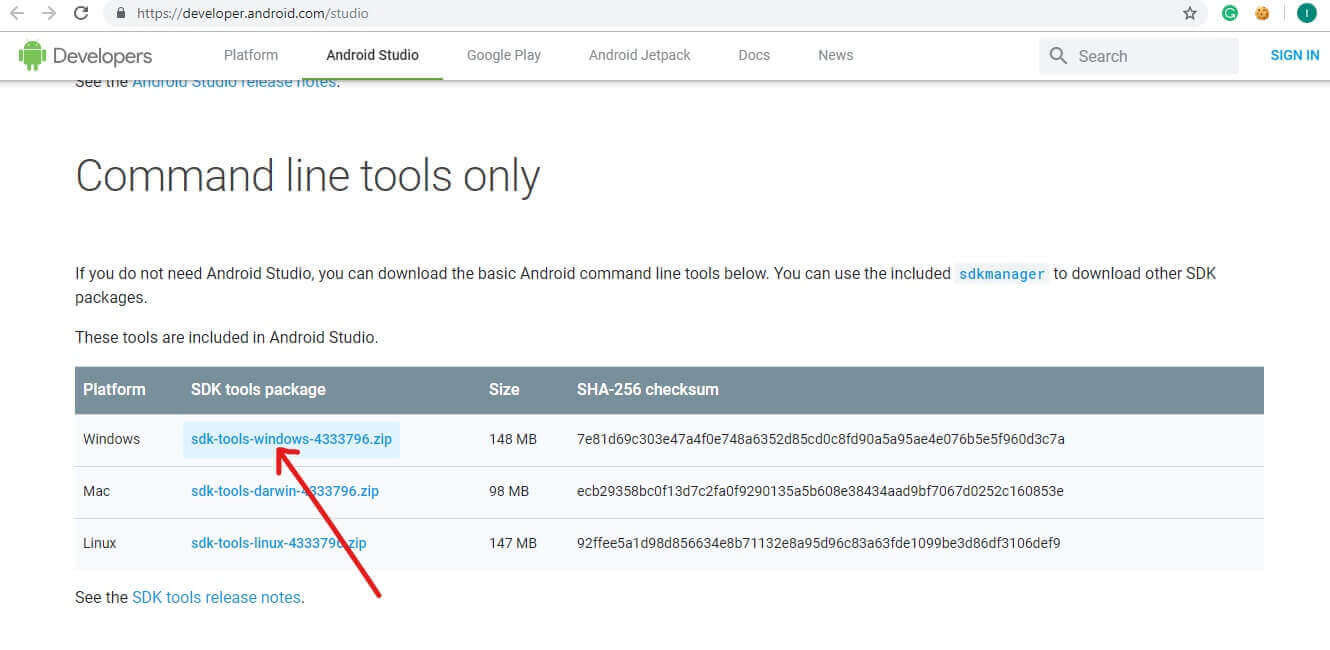
1.Visit the website and navigate to Command line tools only. Click on sdk-tools-windows to download SDK tools for Windows.
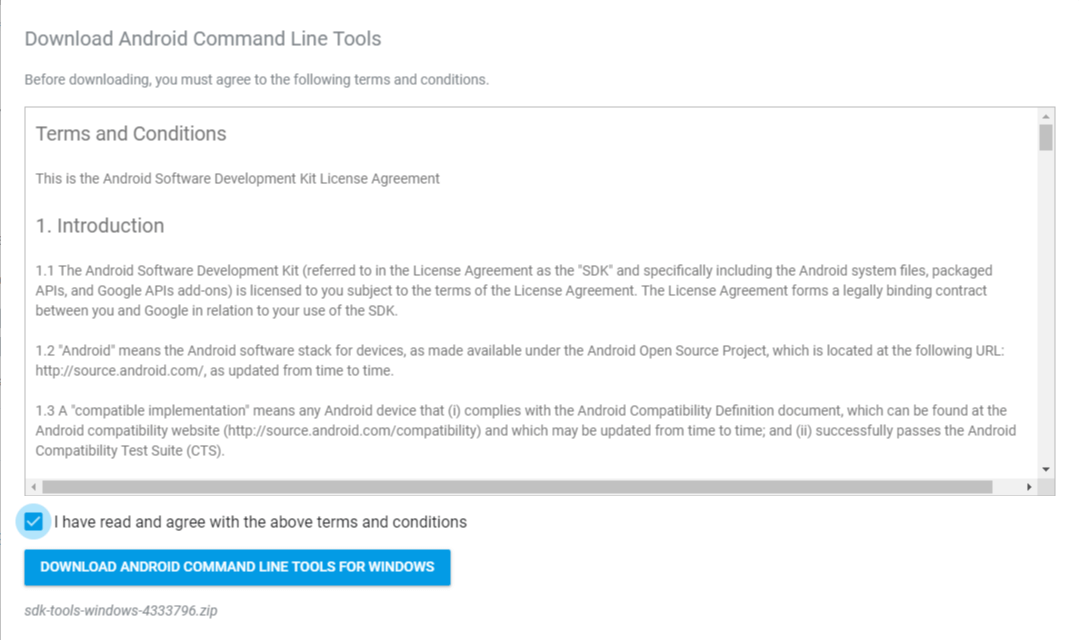
2.Seiceáil an bosca near to “I have read and agree to the above terms and conditions”. Then click on “Download Android Command Line Tools for Windows”. The download will begin shortly.
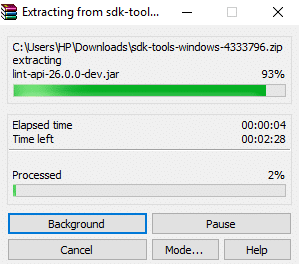
3.When the download completes, unzip the downloaded zip file. The ADB files under the zip are portable so you can extract them wherever you like.
4.Open an unzipped folder.
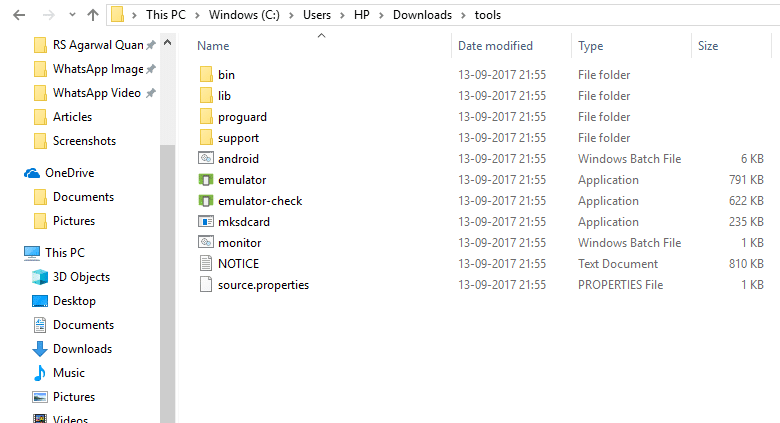
5.Now double-click on the bin folder to open it. Now type IE in the address bar of File Explorer and hit Enter to open Ordú Pras.
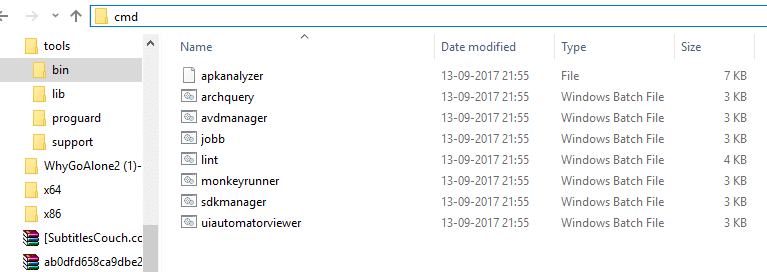
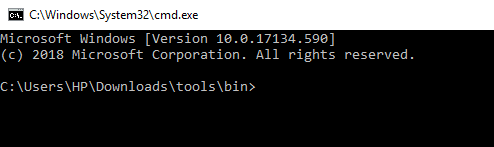
6.Command prompt will open up at the above path.
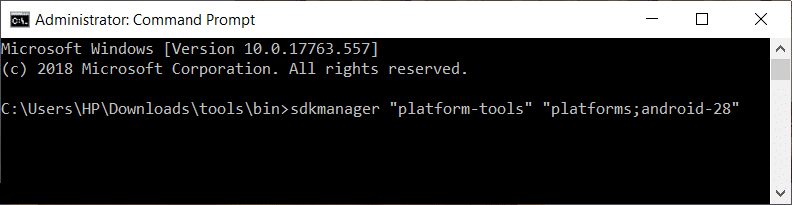
7.Run the below command on command prompt to download and install Android SDK Platform-tools:
“platform-tools” “platforms;android-28”
8.You will prompt to type (y/N) for permission. Type y for yes.
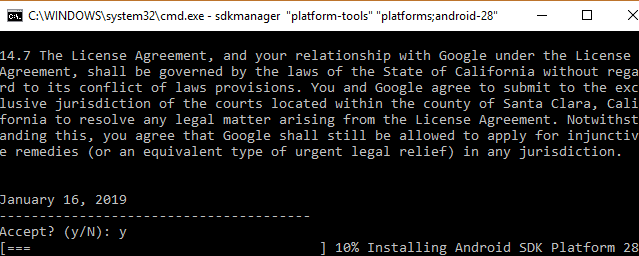
9.As soon as you type yes, downloading will start.
10.After downloading is completed, close the command prompt.
All your Android SDK platform tools will be downloaded and installed by now. Now you have successfully install ADB on Windows 10.
Method 2 – Enable USB Debugging on Phone
To use ADB command line tool, first, you need to enable the USB debugging feature de d’fhón Android. To do so follow the below steps:
1.Open your phone suímh agus cliceáil ar Maidir leis an bhfón.
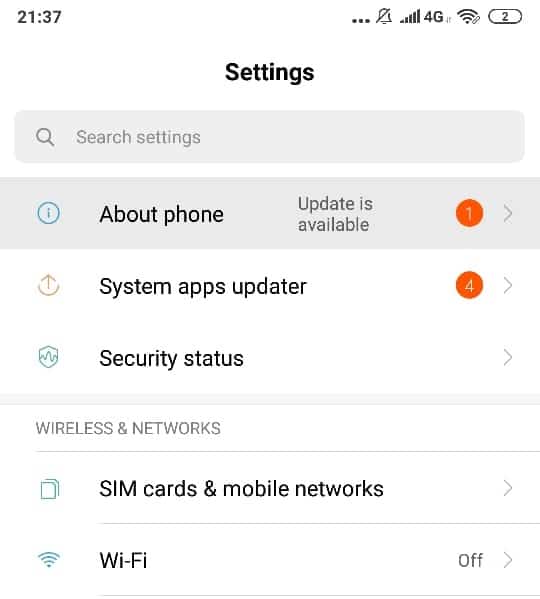
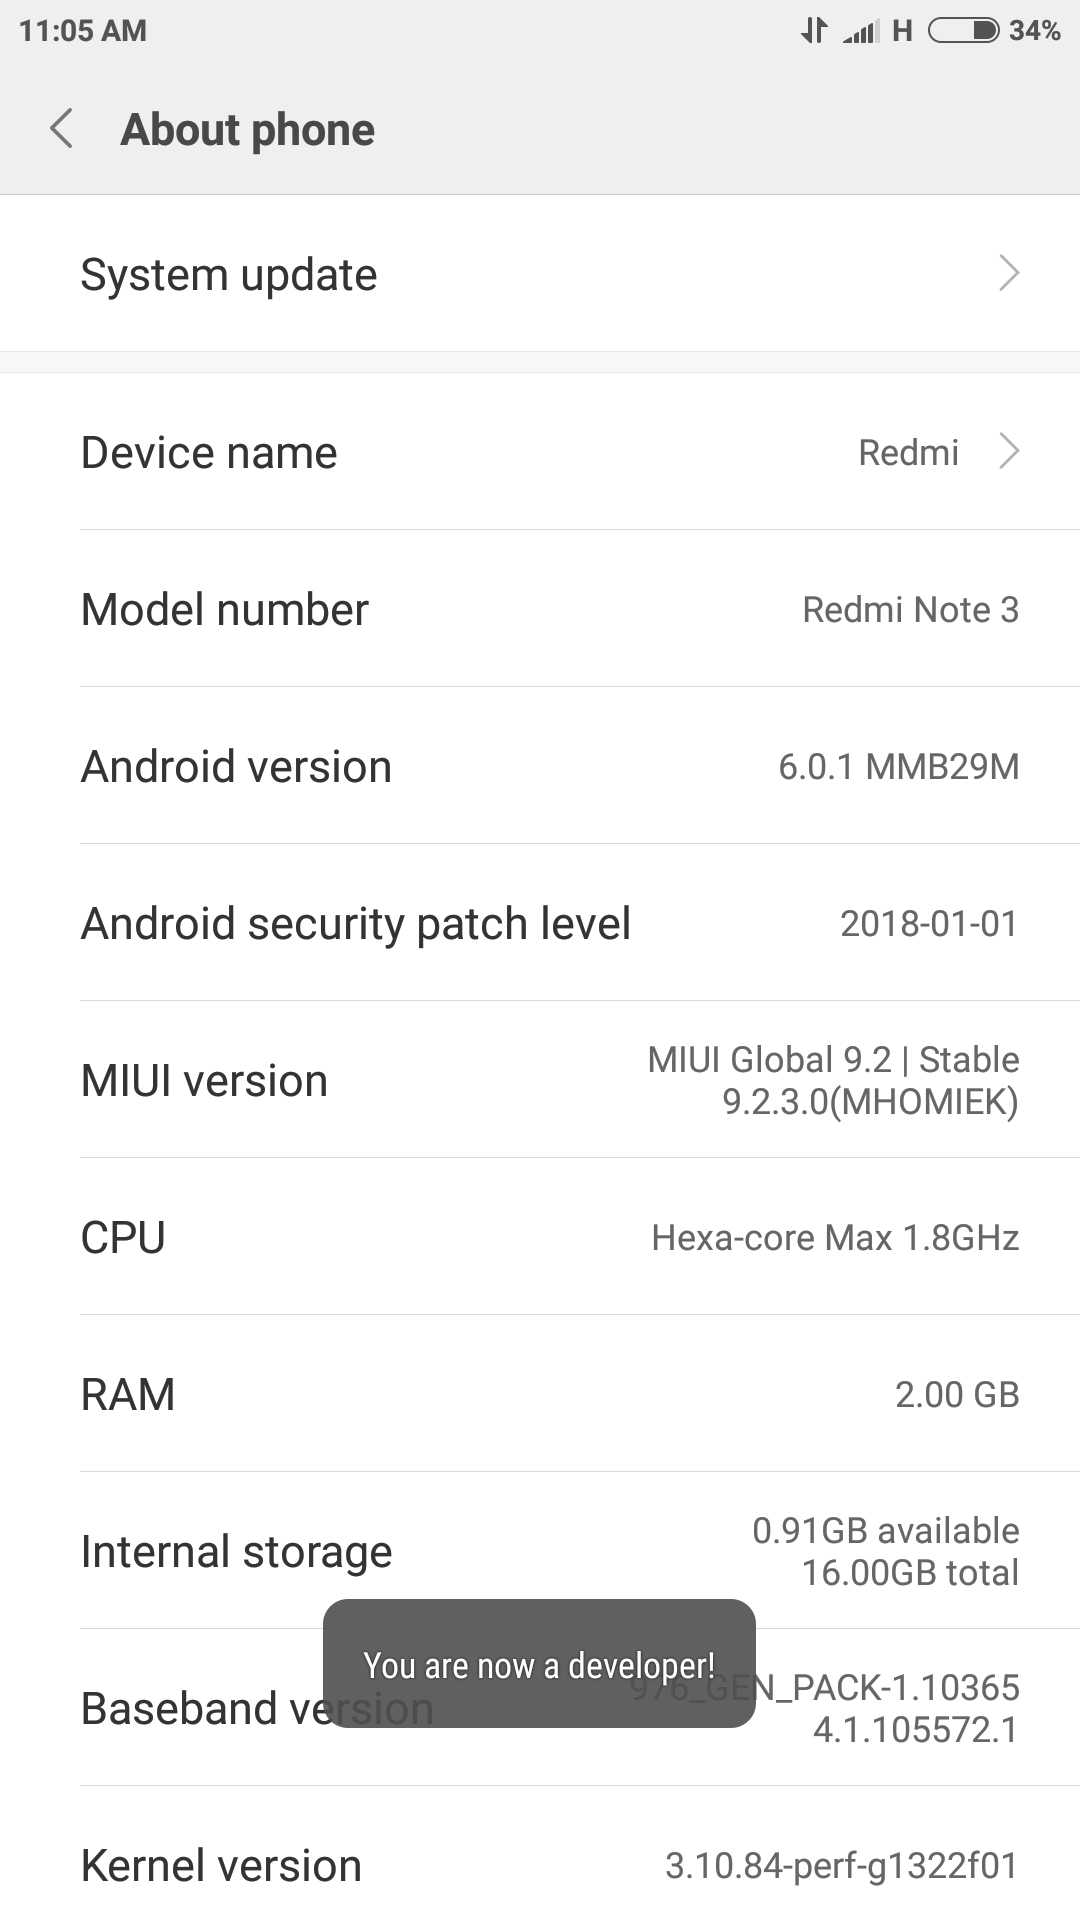
2.Under About phone, look for Build Number or MIUI Version.
3.Tap 7-8 times on the build number and then you will see a pop saying “Is forbróir thú anois!” on your screen.
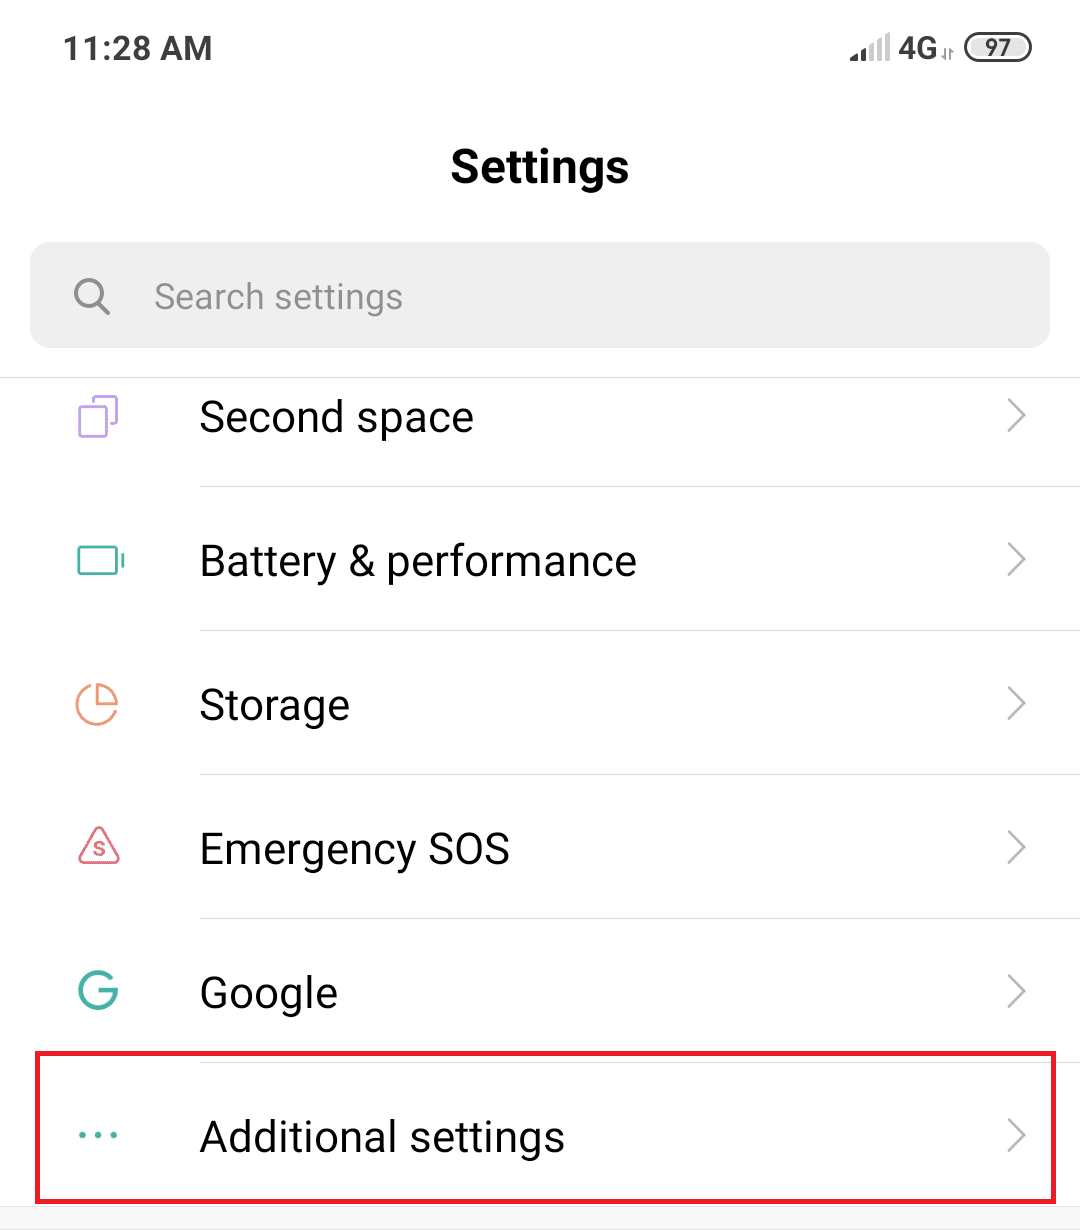
4.Again go back to the Settings screen and look for the Suíomhanna breise rogha.
5.Under Additional settings, click on Roghanna forbróirí.
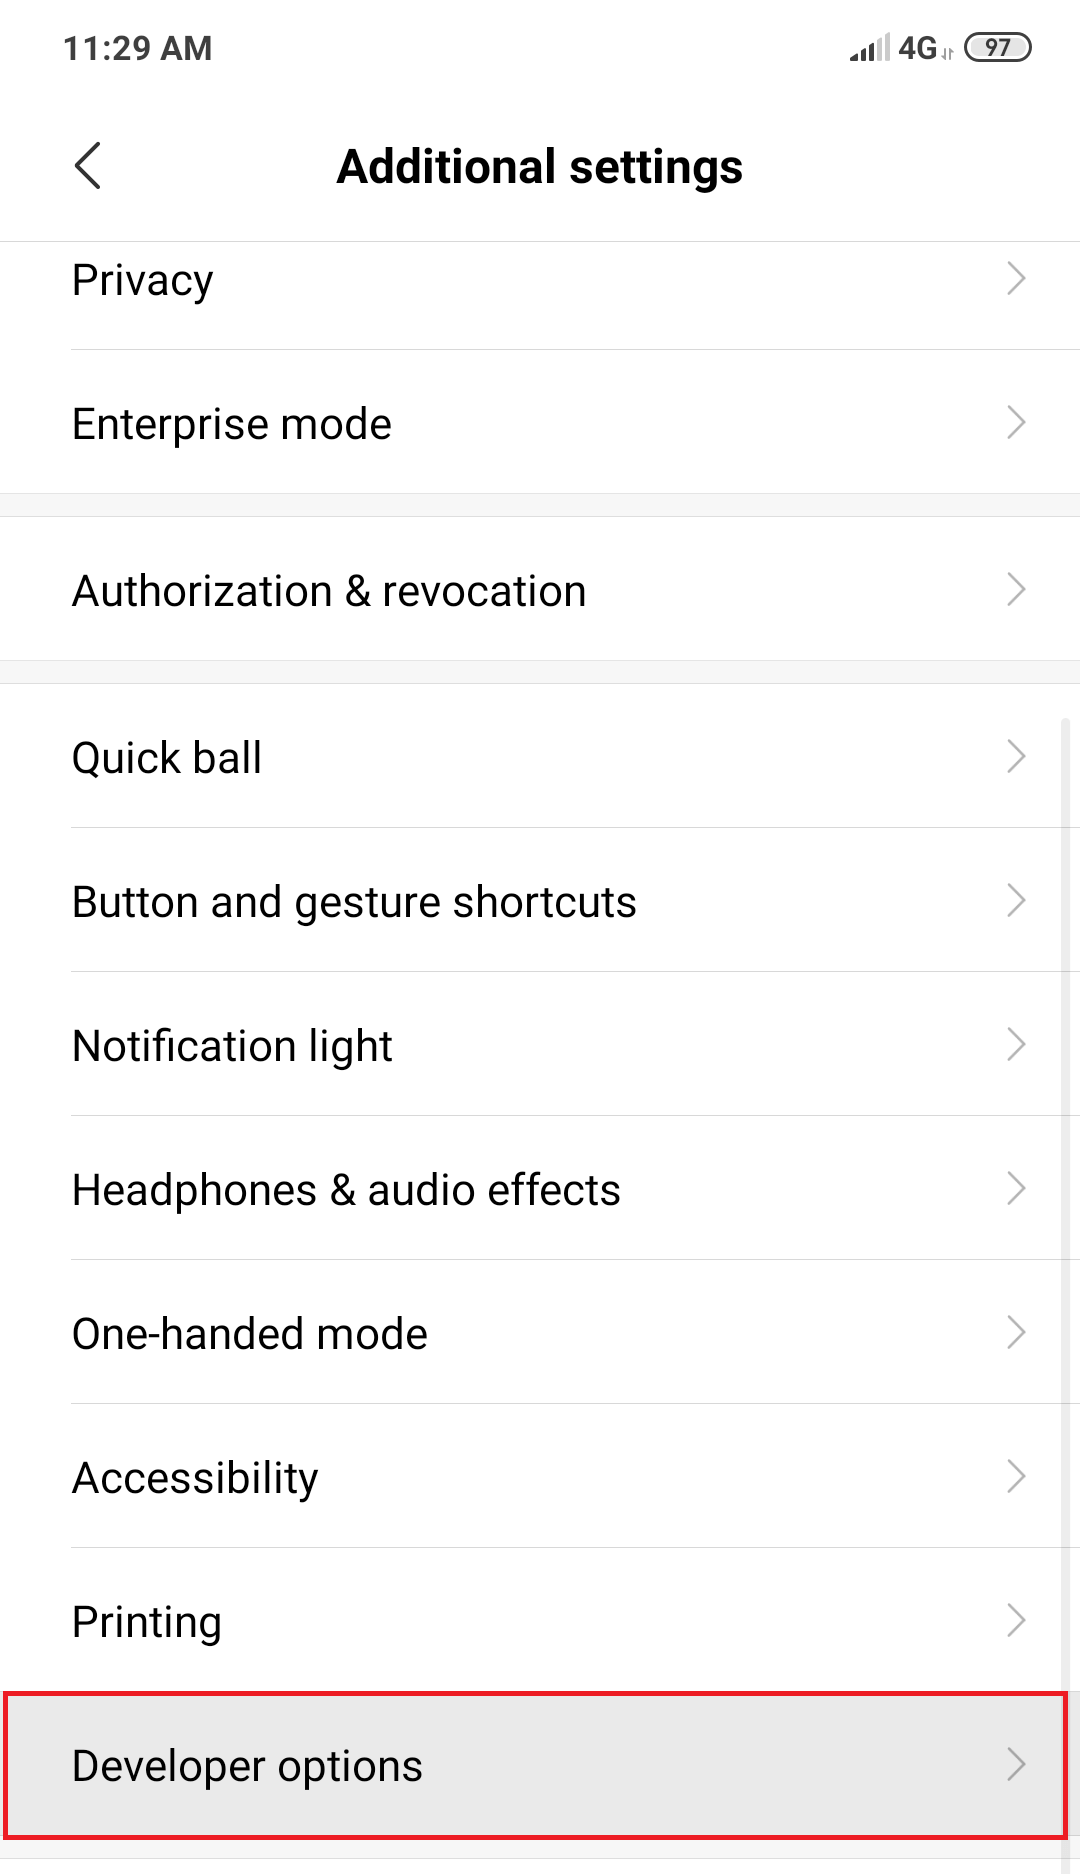
6.Under Developer options, look for USB debugging.
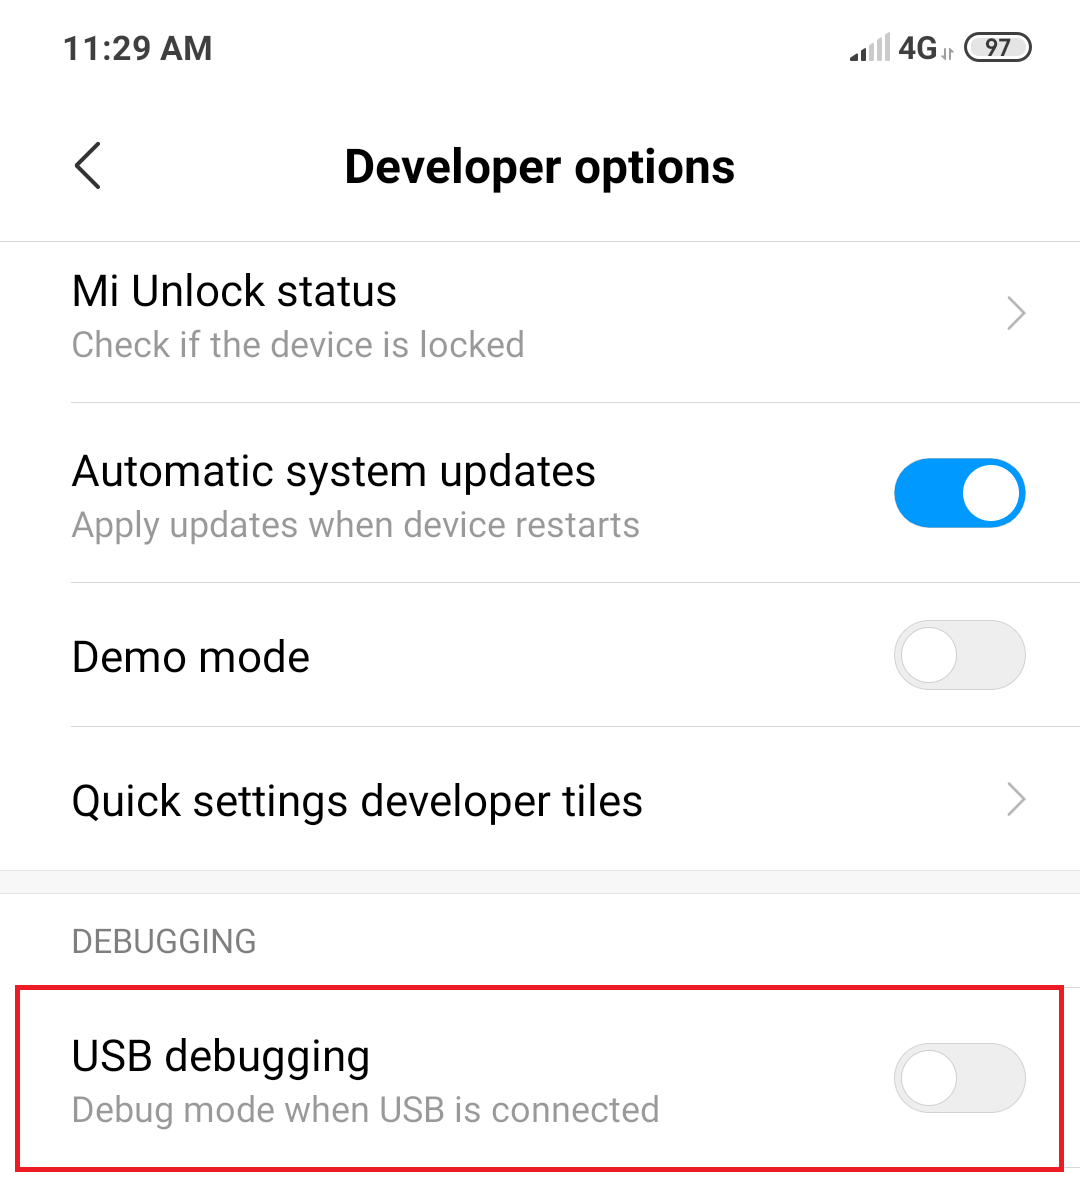
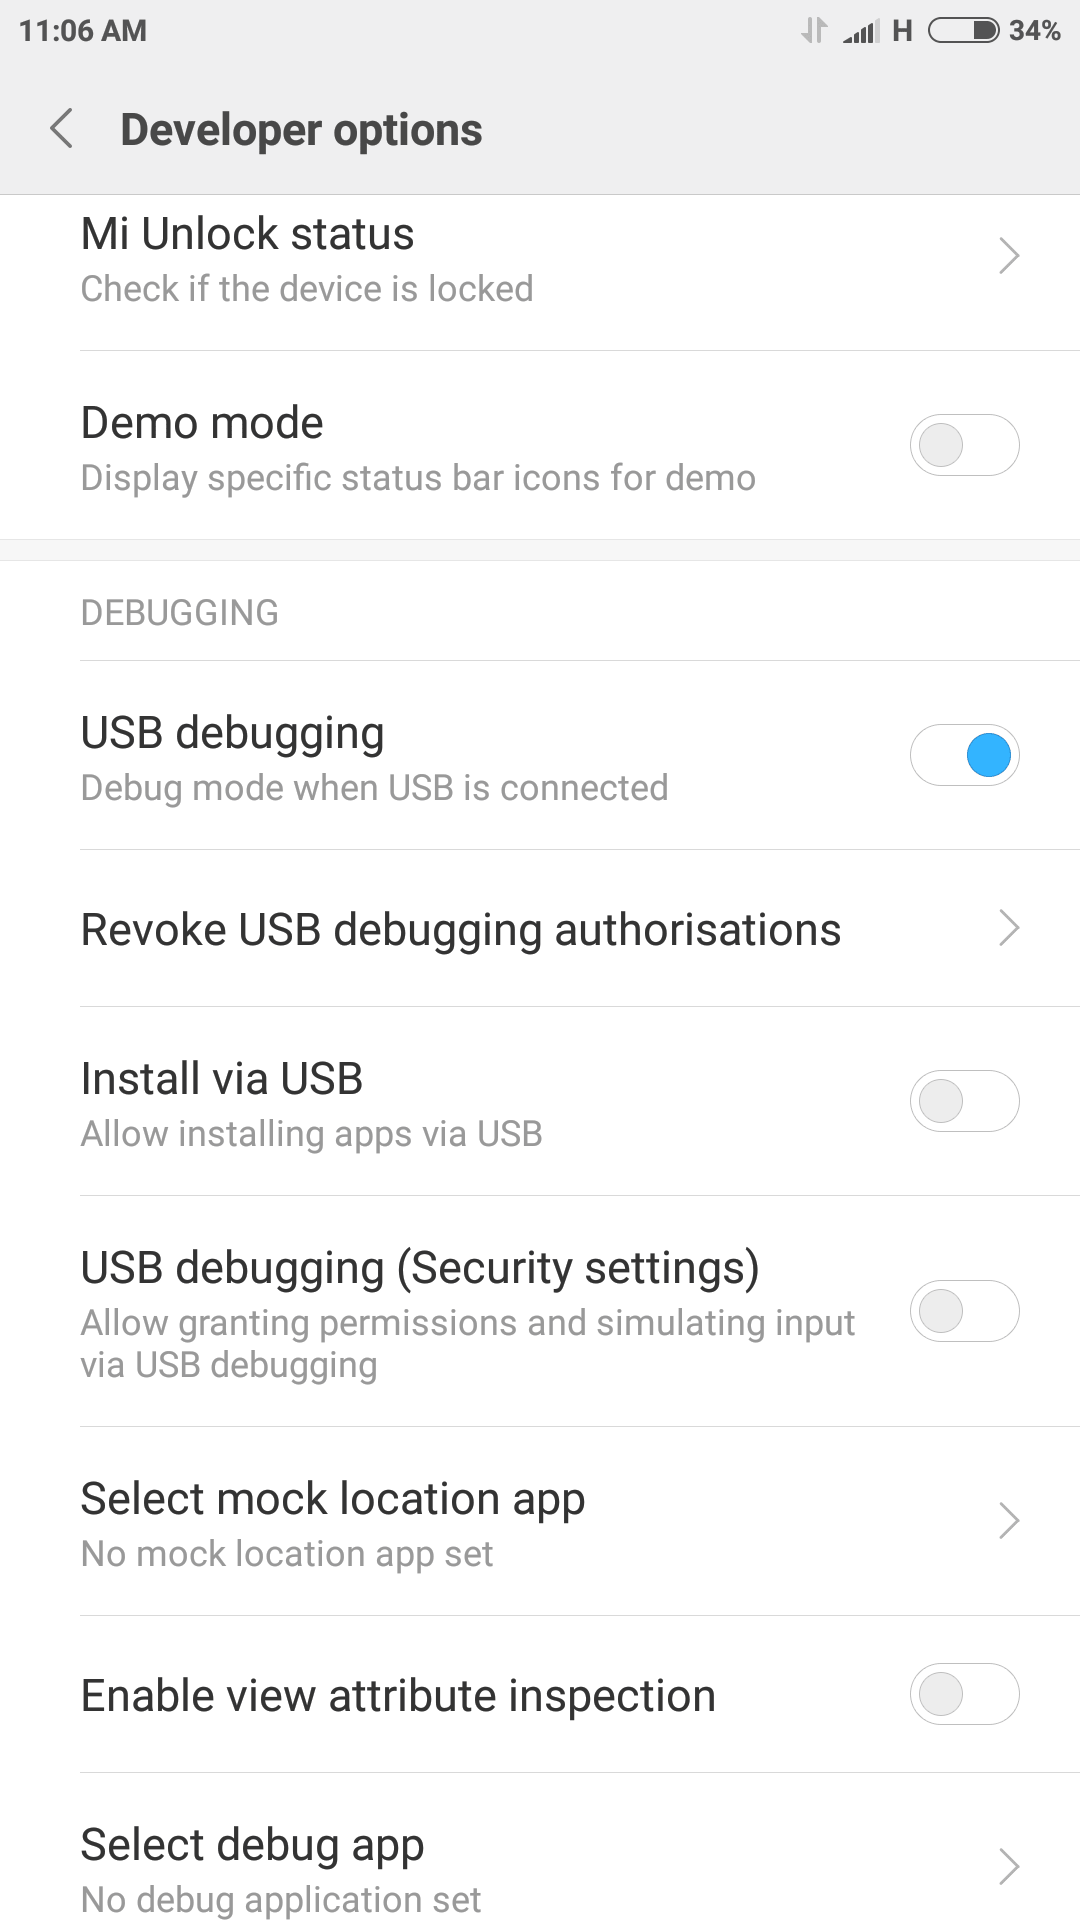
7.Toggle on the button in front of USB debugging. A confirmation message will appear on the screen, just click OK.
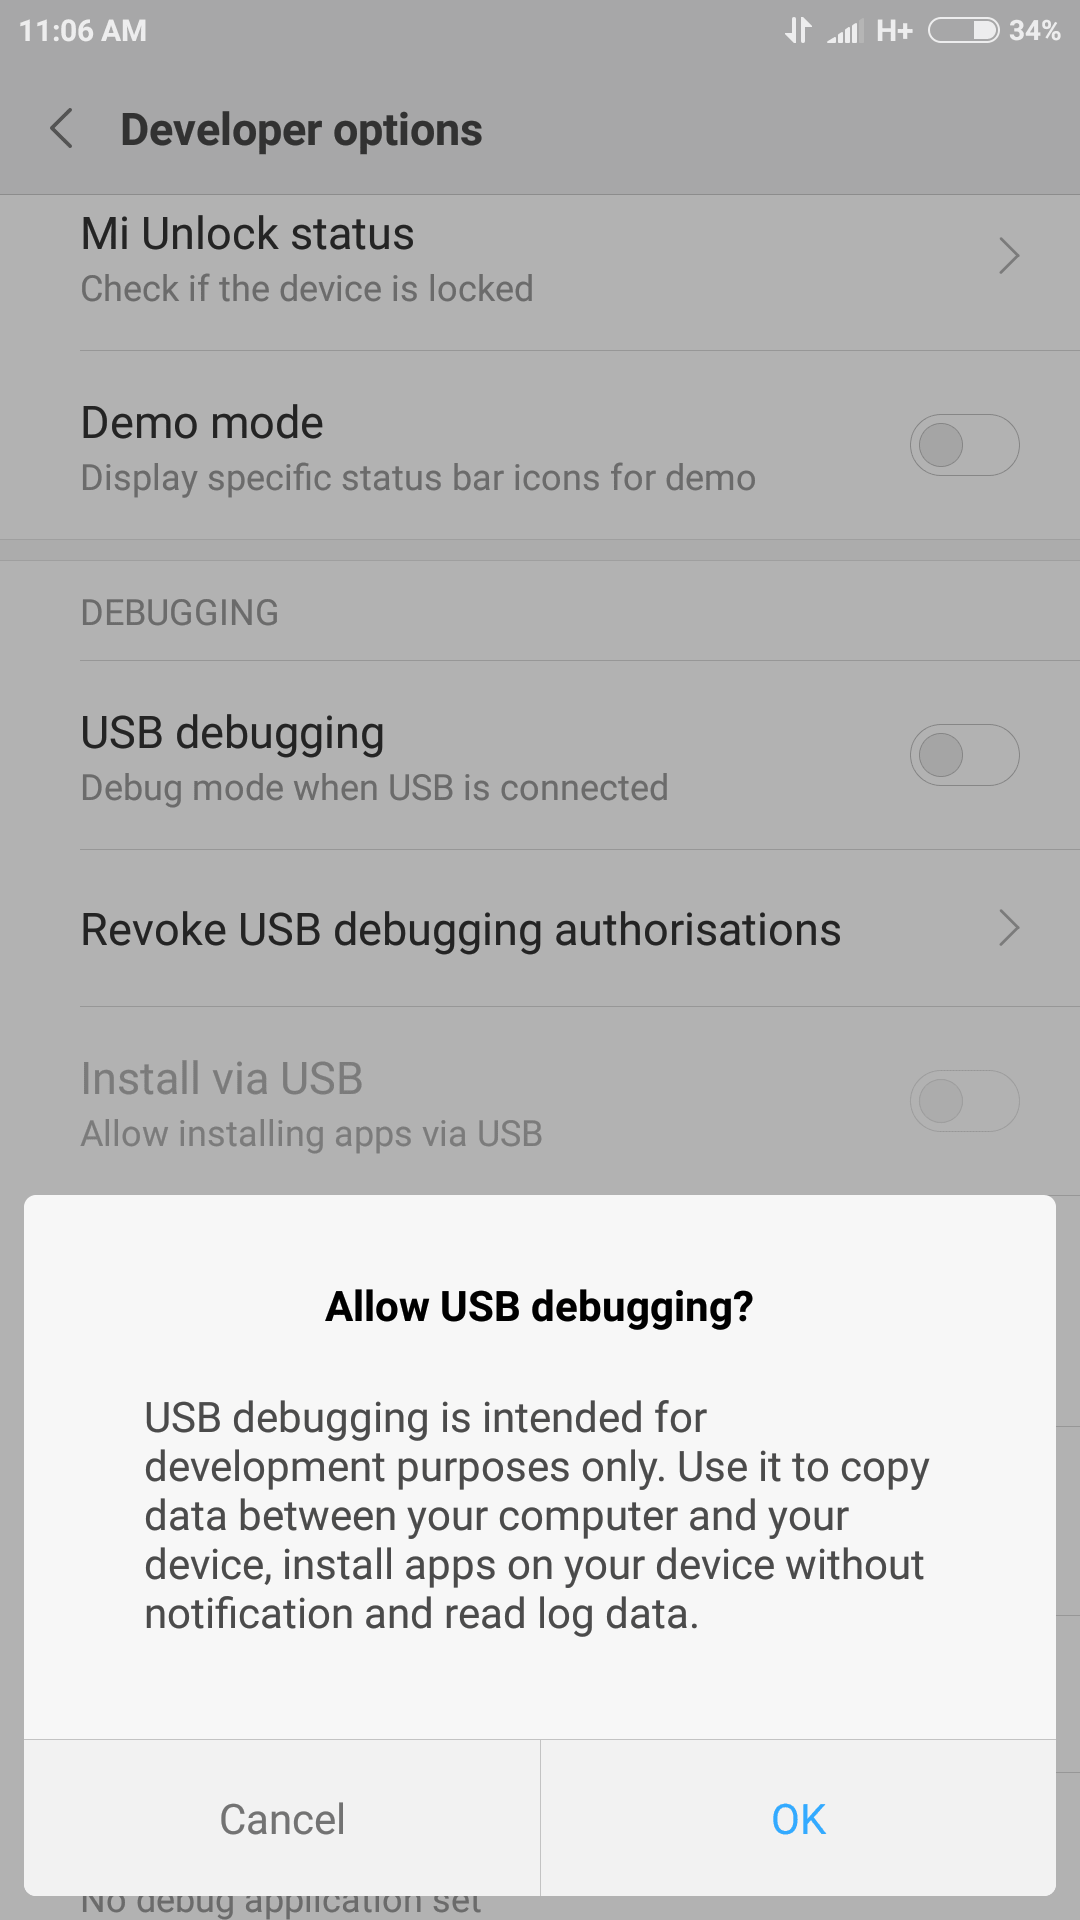
8.Do Tá dífhabhtaithe USB cumasaithe and ready to use.
Once you have followed the above steps, then connect your Android phone to the PC, it will ask for confirmation to allow using USB Debugging on your Phone, just click OK to allow it.
Method 3 – Test ADB (Android Debug Bridge)
Now you need to test the SDK platform tools and see if it is working properly & compatible with your device.
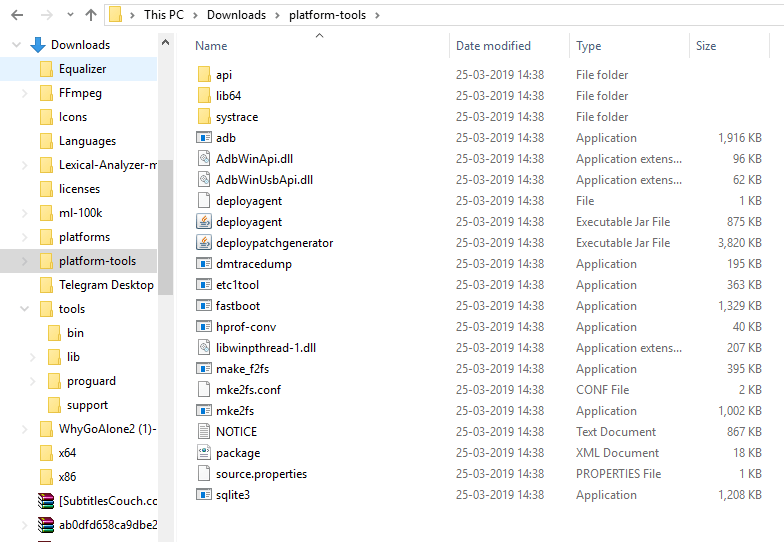
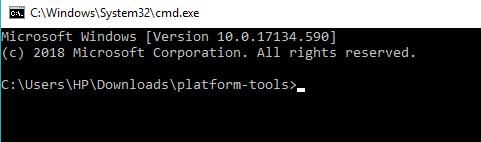
1.Open the folder where you have downloaded and installed the SDK platform tools.
2.Open Ordú Pras by typing cmd in the address bar and hit Enter. The command prompt will open up.
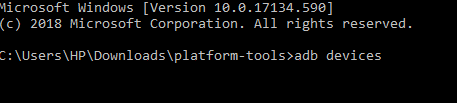
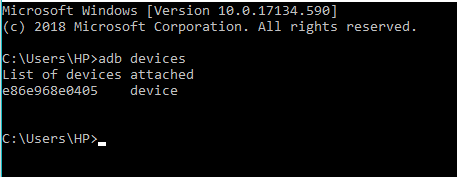
3.Now connect your Android phone to Computer using the USB cable to test whether or not ADB is working properly. To test it, run the following command into cmd and hit Enter:
“Feistí adb”
4.List of all the devices connected to your computer will appear and your Android device will be one of them.
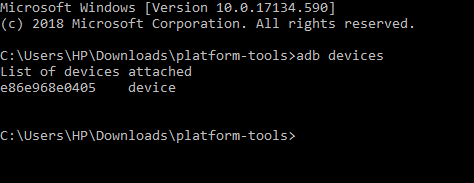
Now you have install ADB on Windows 10, enabled the USB debugging option on Android and have tested ADB on your device. But, if you did not find your device in the above list then you will need to install the appropriate driver for your device.
Method 4 – Install Appropriate Driver
Nóta:This step is only needed if you did not find your device in the above list when you ran the command “adb devices”. If you already found your device on the above list then skip this step and proceed to the next one.
First, download the driver package for your device from your phone’s manufacturer. So head to their website and find the drivers for your device. You can also search the XDA Forbróirí for driver downloads without the extra software. Once you have downloaded the driver, you need to install them using the following guide:
1.Press Windows Key + R cineál ansin devmgmt.msc agus brúigh Iontráil chun Bainisteoir Gléas a oscailt.

2.From Device Manager click on Portable devices.
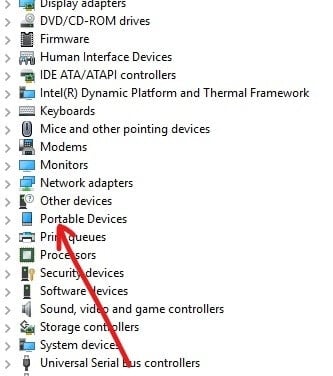
3.You will find your Android phone under Portable Devices. Deaschliceáil on it and then click on Airíonna.

4.Athraigh go dtí an Tiománaí tab under your Phone Properties window.
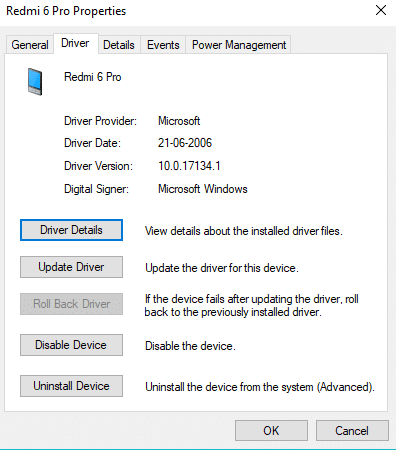
5.Under the Driver tab, click on Nuashonraigh tiománaí.
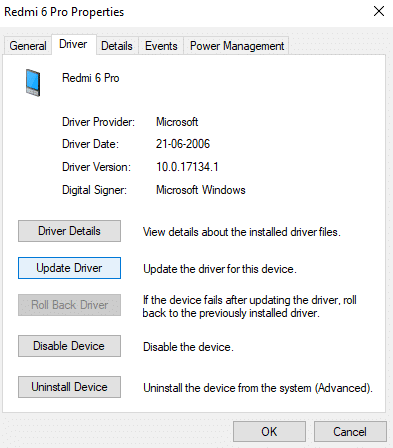
6.A dialogue box will appear. Click on Brabhsáil mo ríomhaire le haghaidh bogearraí tiománaí.
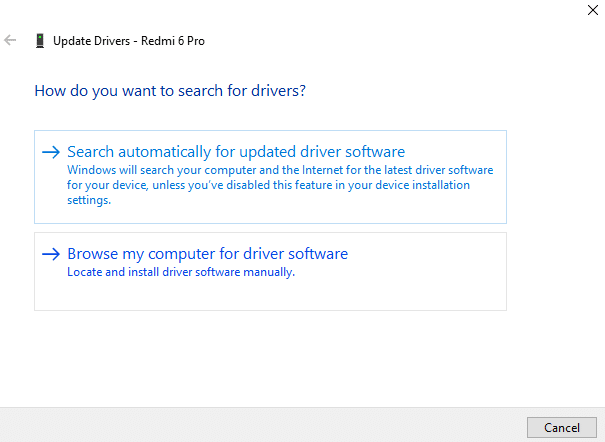
7.Browse to look for driver software on your computer and click Seo chugainn.
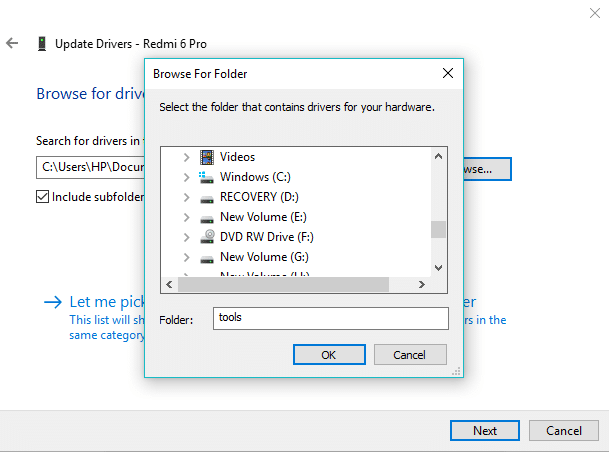
8.List of available drivers will appear and click on shuiteáil iad a shuiteáil.
After completing the above process, follow Method 3 again and now you will find your device in the list of devices attached.
Method 5 – Add ADB to System Path
This step is optional as the only advantage of this step is that you won’t need to visit the whole ADB folder to open the Command Prompt. You will be able to open the Command Prompt whenever you want to use after adding the ADB to the Windows System Path. Once you have added it, you can simply type adb from the Command Prompt window whenever you want to use it and no matter which folder you are in. To add ADB to Windows System Path follow below steps:
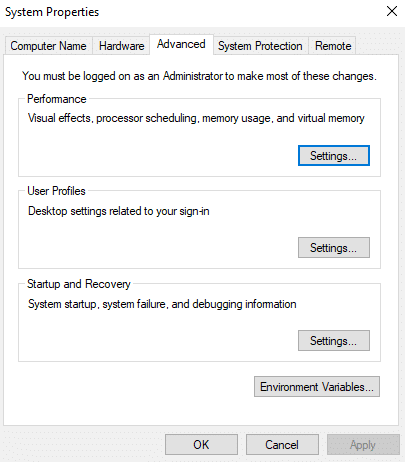
1.Press Windows Key + R cineál ansin sysdm.cpl agus bhuail Iontráil chun oscailt System Properties.

2.Athraigh go dtí an Cluaisín chun cinn.
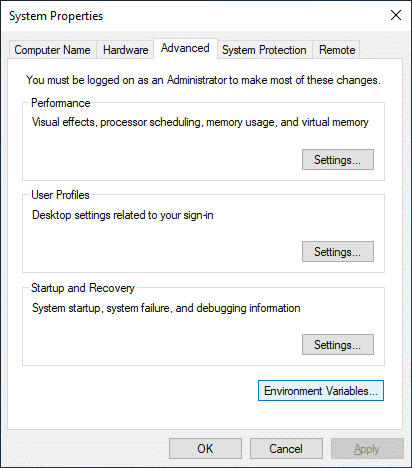
3. Cliceáil ar an Athróga Comhshaoil cnaipe.
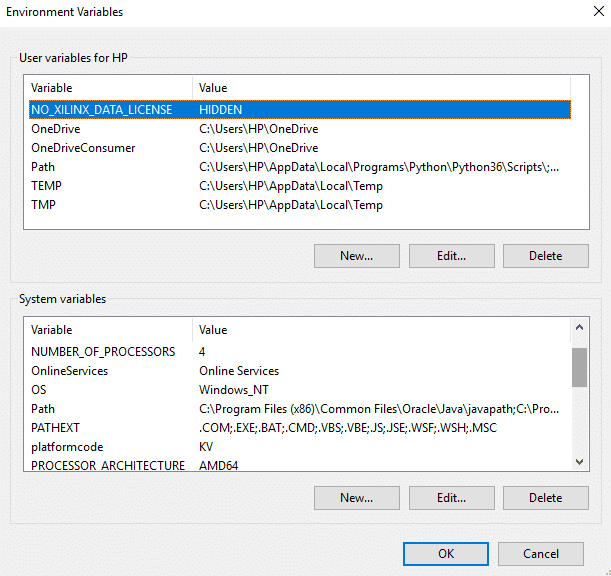
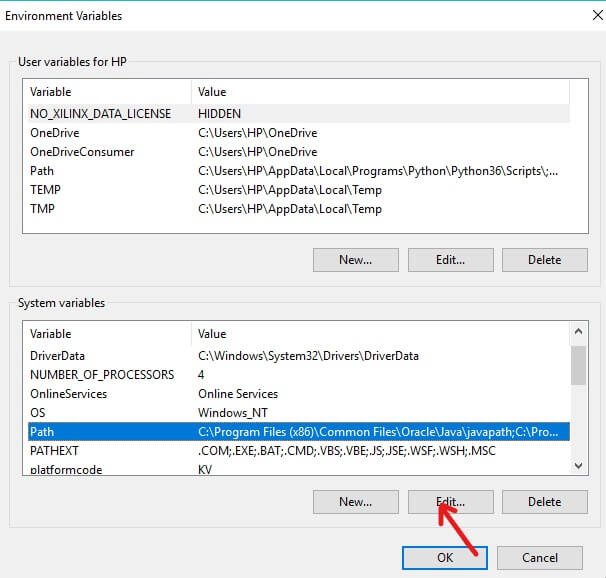
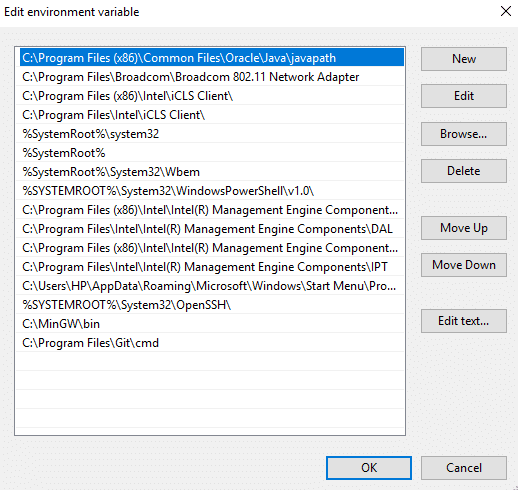
4.Under System Variables, look for a variable PATH.
5.Select it and click on Edit button.
6.A new dialogue box will appear.
7. Cliceáil ar an New button. It will add a new line at the end of the list.
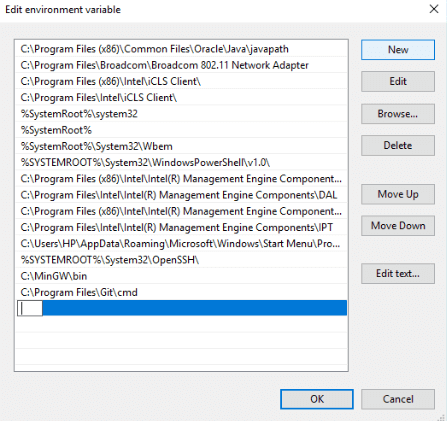
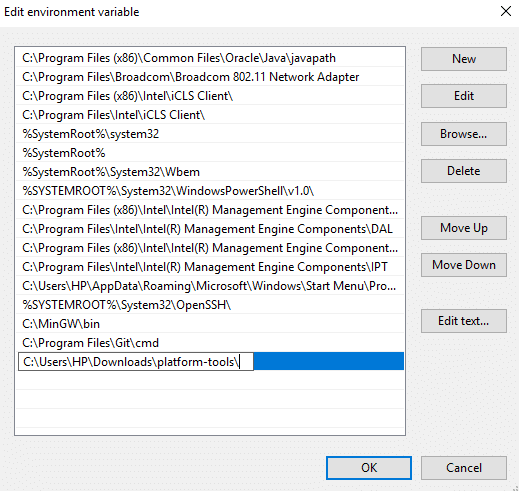
8.Enter the whole path (address) where you have downloaded and installed the SDK platform tools.
9.Once finished, click on the Ok button.
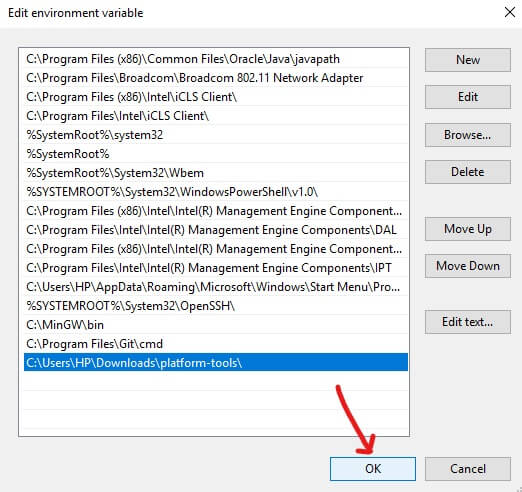
10.After completing the above process, now ADB can be accessed from the command prompt anywhere without needing to mention the whole path or directory.
Molta:
Tá súil agam go raibh an t-alt seo cabhrach agus is féidir leat anois go héasca Install ADB on Windows 10, ach má tá aon cheist agat fós maidir leis an rang teagaisc seo ansin bíodh leisce ort iad a chur sa chuid tuairimí.


 on Windows 10)