Google Photos is a handy pre-installed cloud storage app that allows you to backup your photos and videos. As far as Android users are concerned, there is hardly any need to look for an alternative app for saving their precious photos and memories. It automatically saves your photos on the cloud and thus ensures that your data remains safe in case of any unforeseen circumstances like theft, loss, or damage.
However, just like every other app, Fotos de Google might act out at times. One of the most concerning problems is times when it stops uploading photos to the cloud. You wouldn’t even be aware that the automatic upload feature has stopped working, and your photos aren’t getting backed up. However, there is no reason to panic just yet as we are here to provide you with a number of solutions and fixes for this problem.
Corrixir que Google Fotos non cargase fotos en Android
1. Enable Auto-Sync Feature for Google Photos
By default, the automatic sync setting for Google Photos is always enabled. However, it is possible that you might have accidentally turned it off. This will prevent Google Photos from uploading photos to the cloud. This setting needs to be enabled in order to upload and download photos from Google Photos. Follow the steps given below to see how:
Vexa tamén:
Canto custa arranxar unha pantalla de teléfono rachada en Android
10 xeitos de corrixir o erro de inicio de sesión de Spotify
Corrixir o erro que non se pode enviar a invitación do calendario do iPhone
8 xeitos de corrixir o erro de descarga das mensaxes de texto de Android
A corrección non se pode cambiar a imaxe do perfil de Messenger en Android
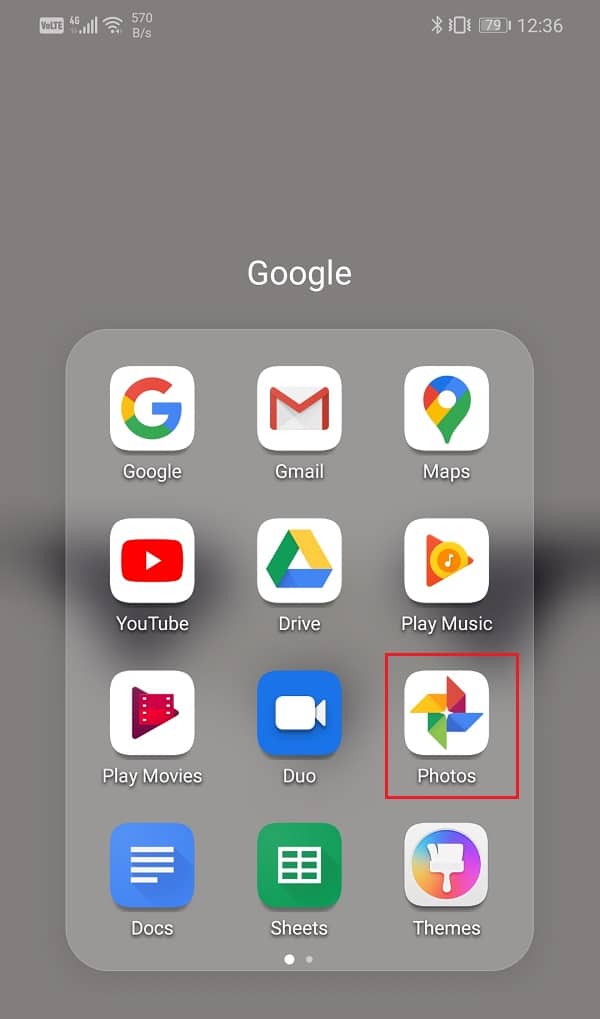
1. En primeiro lugar, abre Fotos de Google no seu dispositivo.
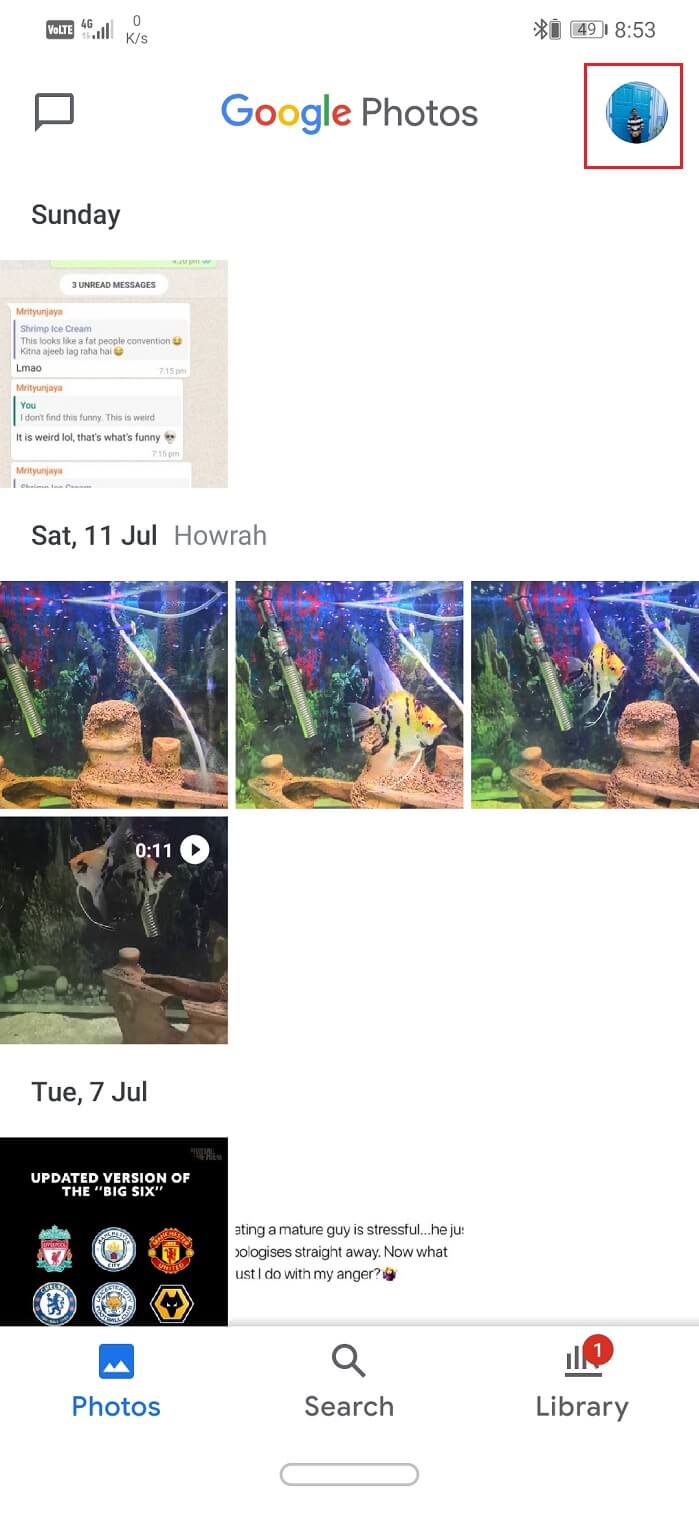
2. Agora toque o seu profile picture on the top right-hand esquina.
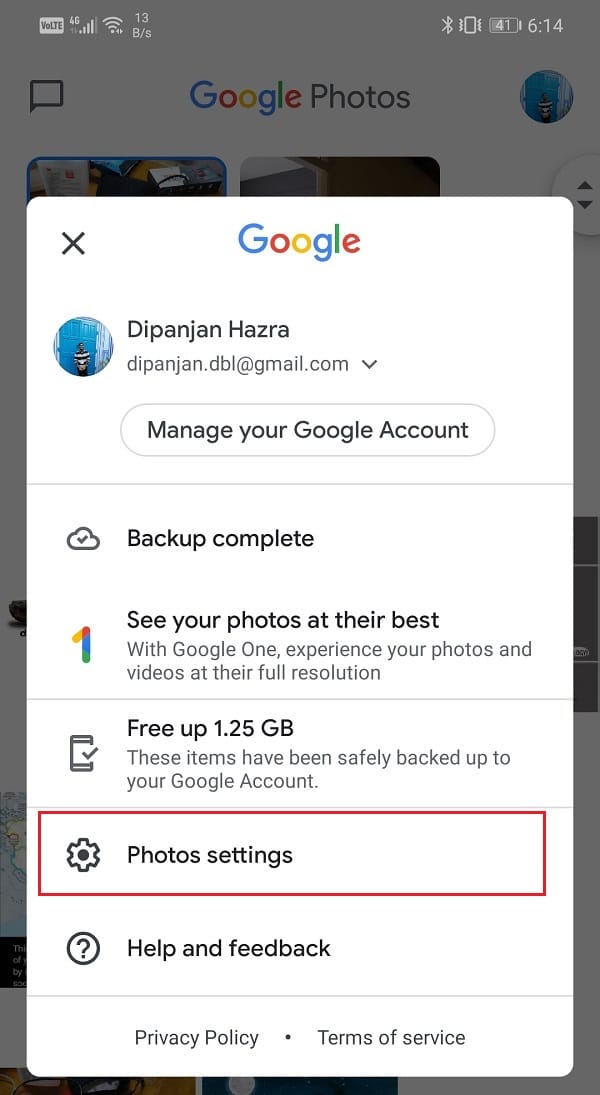
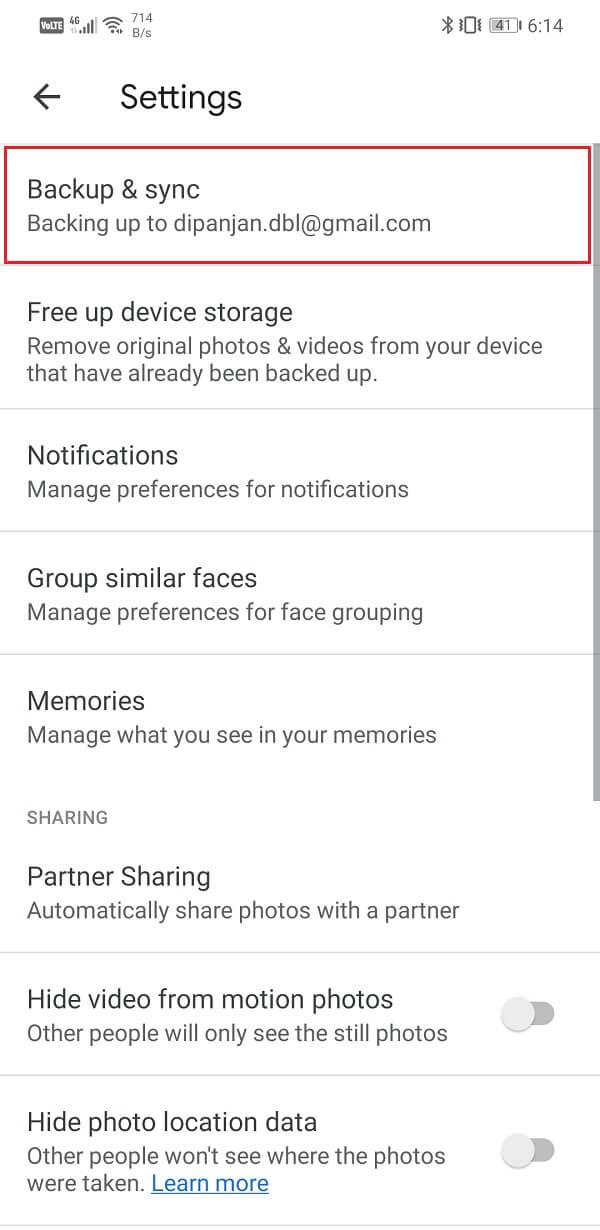
3. After that, click on the Configuración de fotos opción.
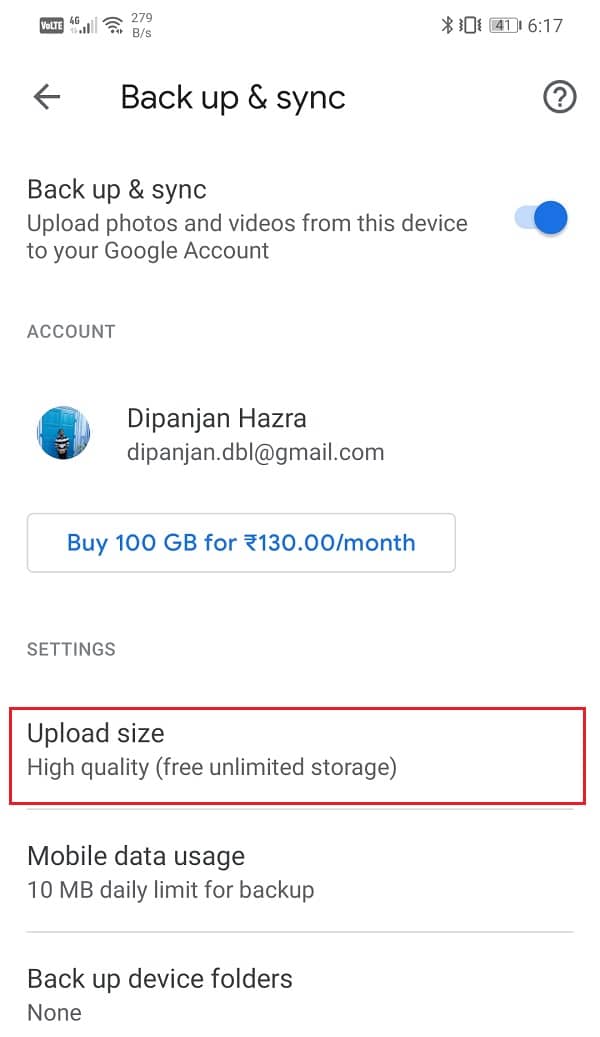
4. Aquí, toque o Copia de seguridade e sincronización opción.
5. Agora toggle ON the switch next to the Backup & sync setting to enable it.
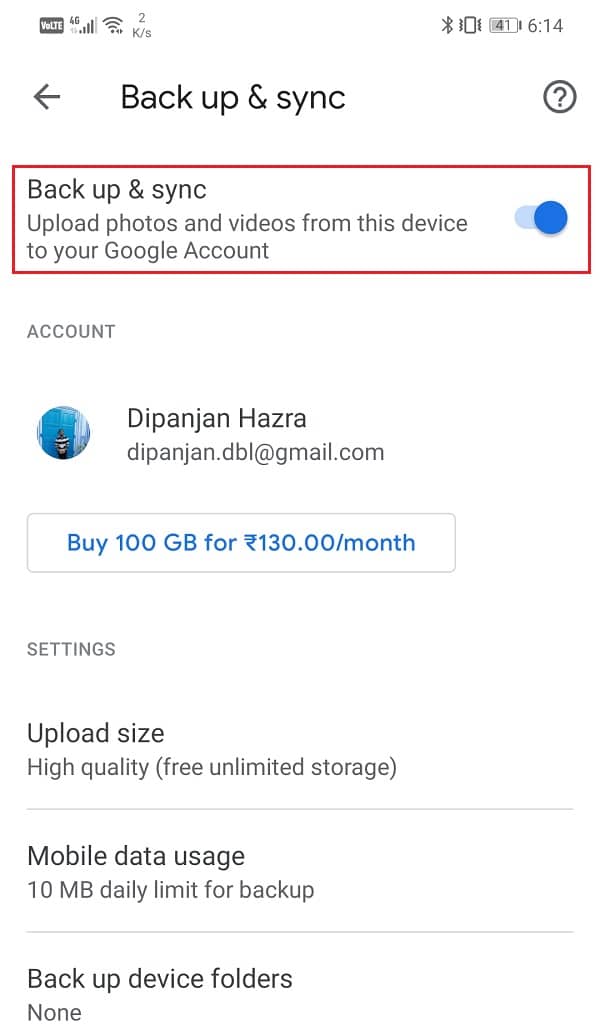
6. See if this fixes Google Photos not uploading photos on Android issue, otherwise, proceed to the next solution in the list.
2. Make sure the Internet is working properly
The function of Google Photos is to automatically scan the device for photos and upload it on the cloud storage, and it needs a stable internet connection to do so. Make sure that the Wi-Fi network that you are connected to is working properly. The easiest way to check internet connectivity is to open YouTube and see if a video plays without buffering.
Apart from that, Google Photos has a daily data limit set for uploading photos if you are using your cellular data. This data limit exists to ensure that cellular data is not consumed excessively. However, if Google Photos is not uploading your photos, then we would suggest you disable data restrictions of any kind. Follow the steps given below to see how:
1. Aberto Fotos de Google no seu dispositivo.
2. Agora tap on your profile picture na esquina superior dereita.
3. After that, click on the Configuración de fotos opción.
4. Aquí, toque o Copia de seguridade e sincronización opción.
5. Agora selecciona o Uso de datos móbiles opción.
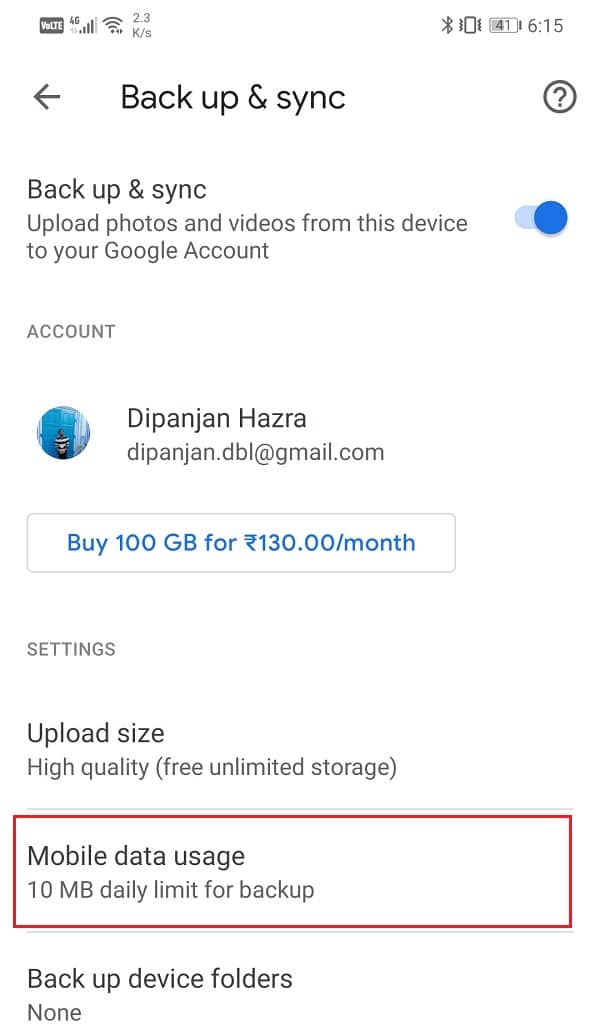
6. Aquí, seleccione o ilimitado opción baixo a Límite diario for the Backup tab.

3. Actualiza a aplicación
Whenever an app starts acting out, the golden rule says to update it. This is because when an error is reported, the app developers release a new update with bug fixes to solve the different types of problems. It is possible that updating Google Photos will help you fix the issue of photos not being uploaded. Follow the steps given below to update the Google Photos app.
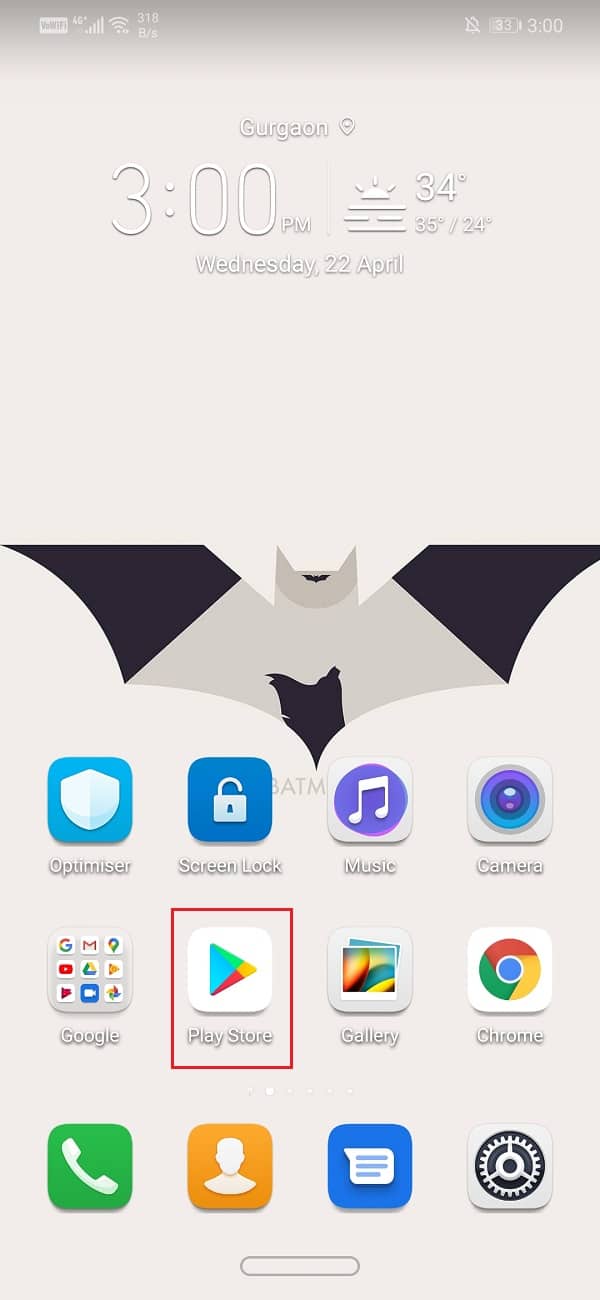
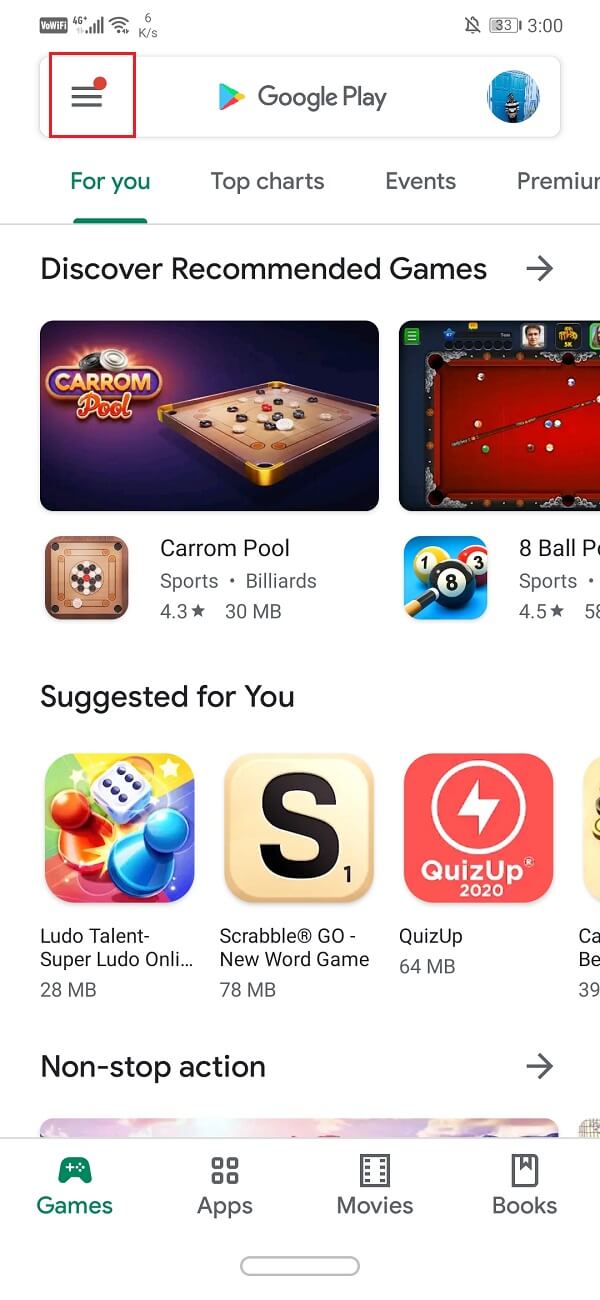
1. Ir para o Xogar tenda.
2. Na parte superior esquerda, atoparás tres liñas horizontais. Fai clic sobre eles.
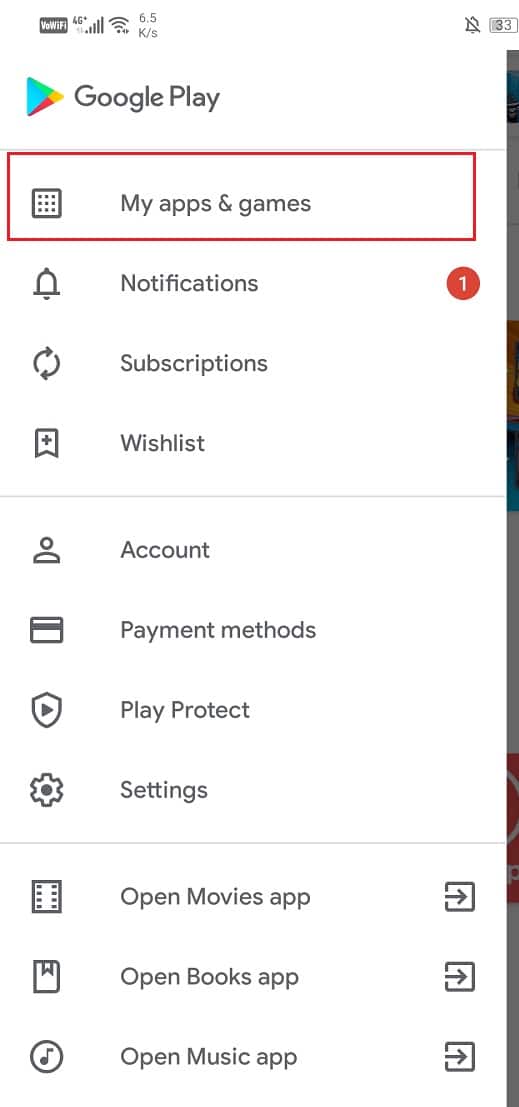
3. Agora, fai clic no botón "As miñas aplicacións e xogos" opción.
4. Buscar Fotos de Google and check if there are any pending updates.
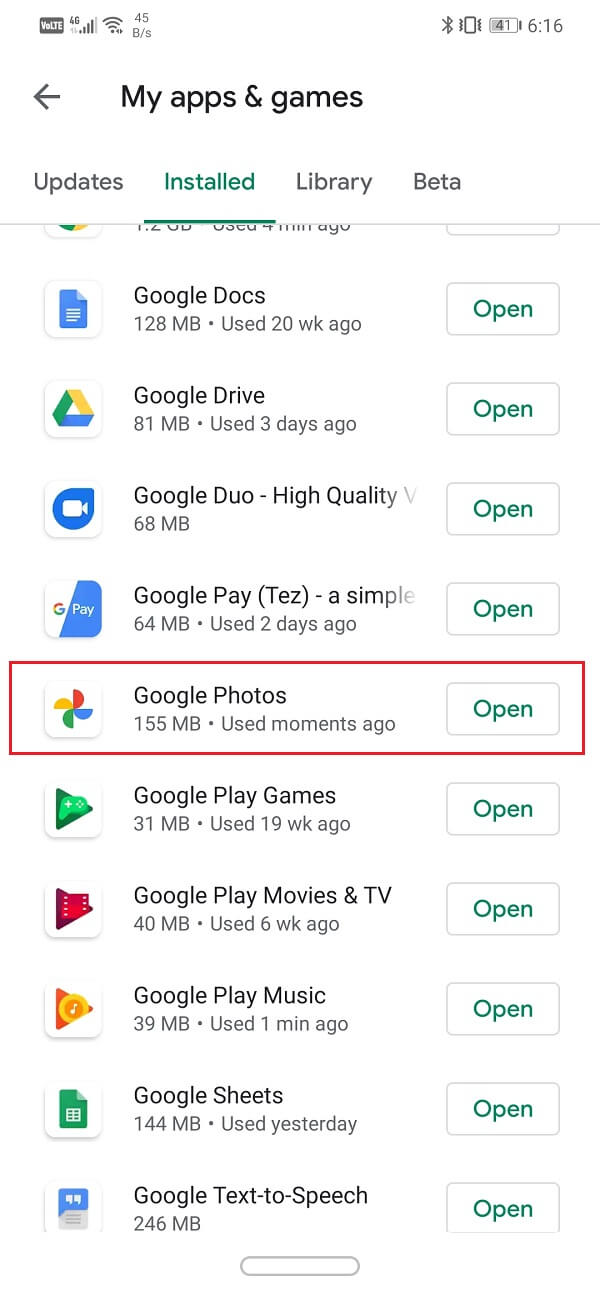
5. Se si, faga clic no botón actualizar botón.
6. Once the app gets updated, check if photos are getting uploaded as usual or not.
Ler tamén: How to Delete Apps on your Android phone
4. Clear Cache and Data for Google Photos
Another classic solution to all Android app related problems is clear cache and data for the malfunctioning app. Cache files are generated by every app to reduce screen loading time and make the app open faster. Over time the volume of cache files keeps increasing. These cache files often get corrupted and cause the app to malfunction. It is a good practice to delete old cache and data files from time to time.
Doing so will not affect your photos or videos saved on the cloud. It will simply make way for new cache files, which will be generated once the old ones are deleted. Follow the steps given below to clear the cache and data for the Google Photos app.
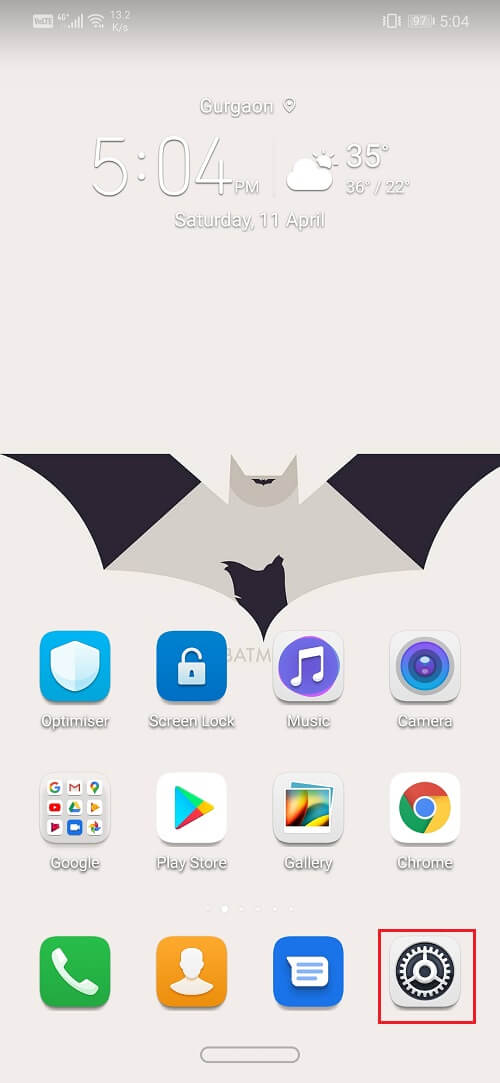
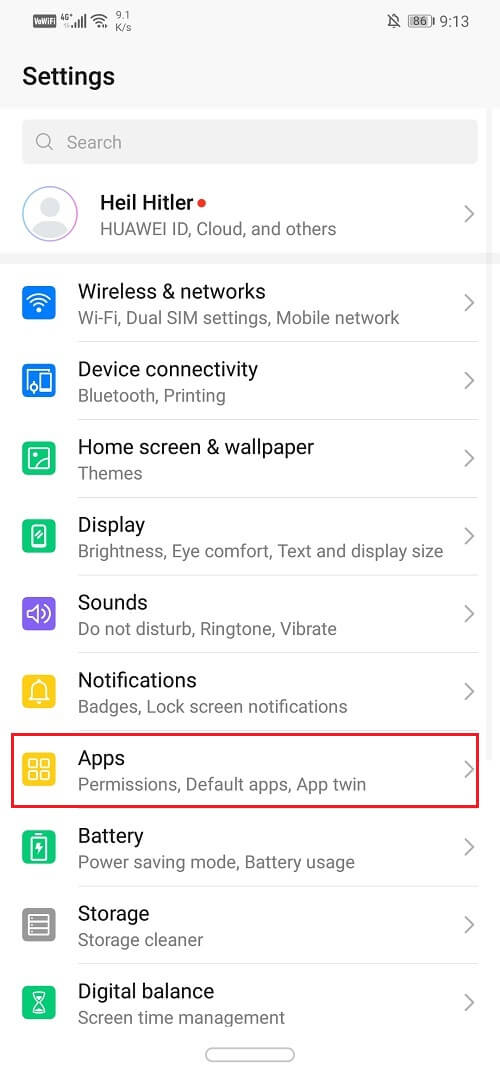
1. Ir para o Configuración no teu teléfono.
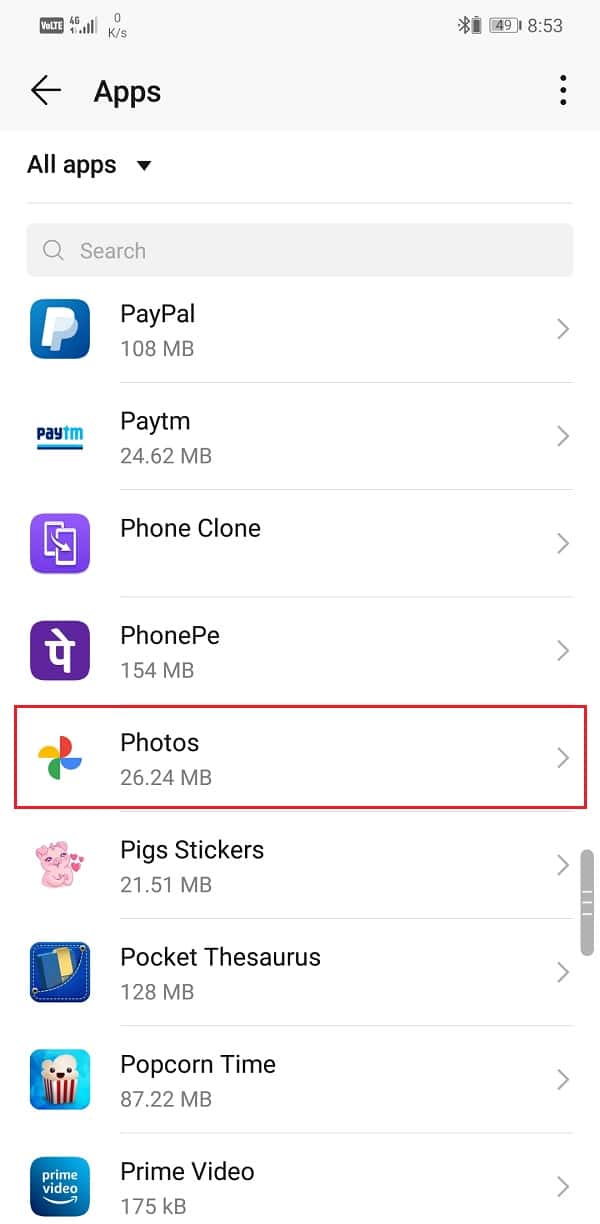
2. Fai clic no botón Apps option to view the list of installed apps on your device.
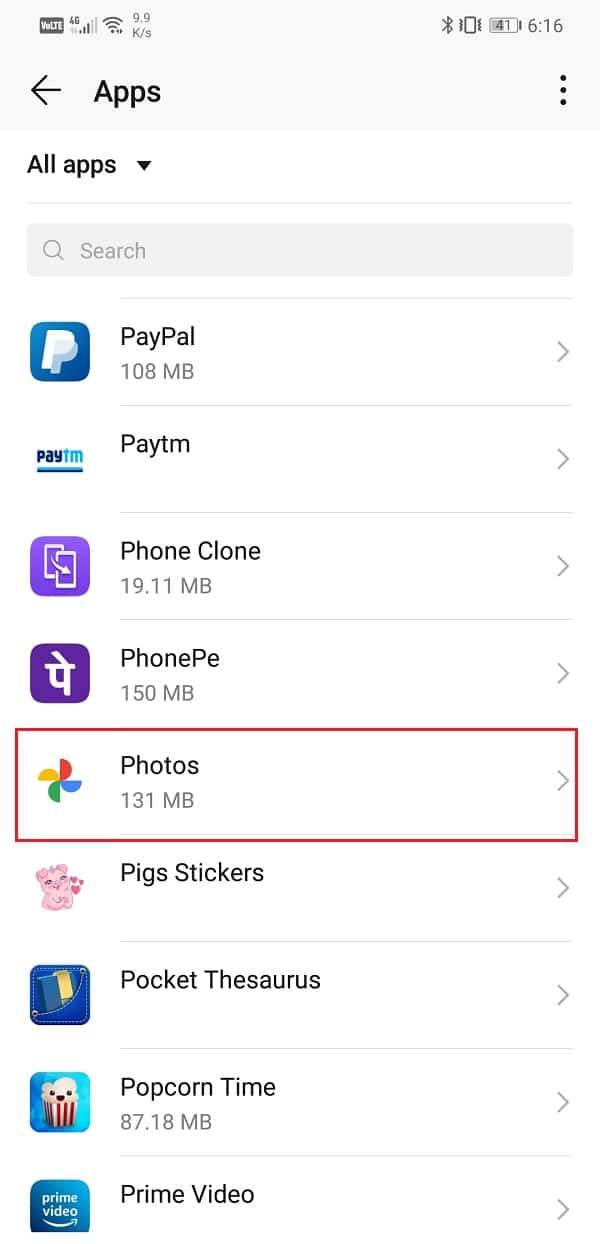
3. Agora busca Fotos de Google and tap on it to open the app settings.
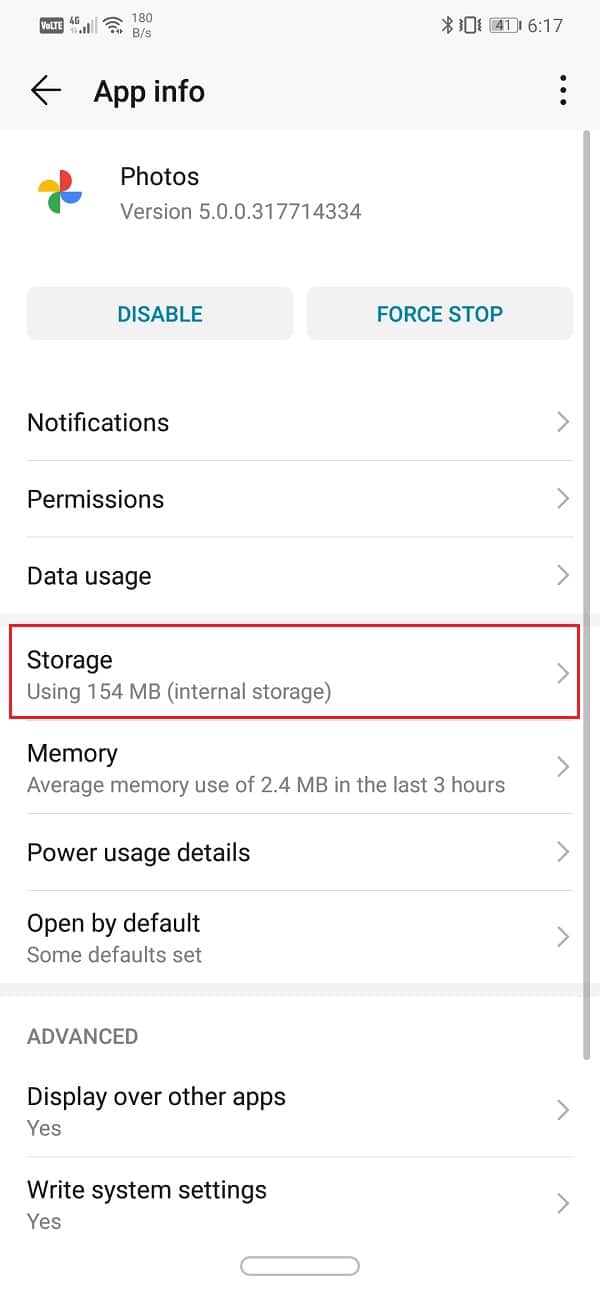
4. Fai clic no botón almacenamento opción.
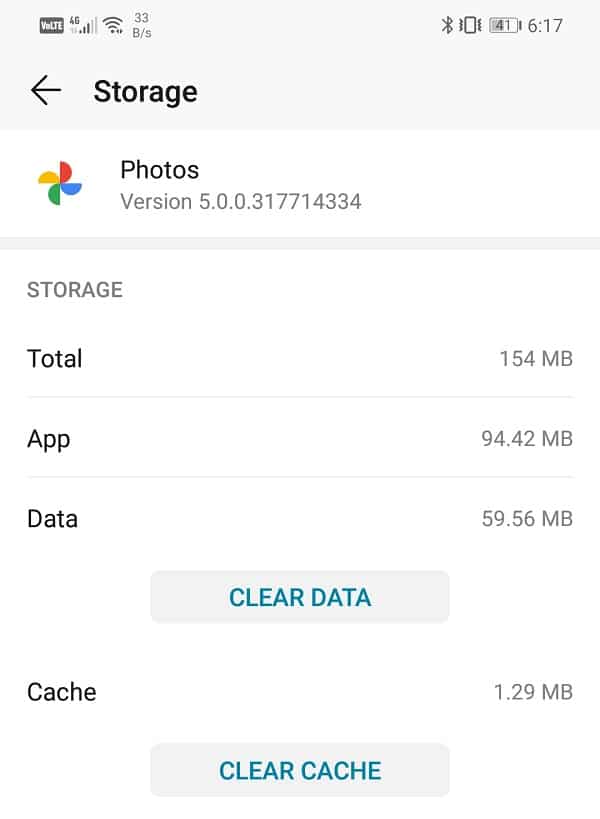
5. Here, you will find the option to Borrar caché e borrar datos. Click on the respective buttons, and the cache files for Google Photos will get deleted.
5. Change the Upload Quality of Photos
Just like every other cloud storage drive, Google Photos has certain storage restrictions. You are entitled to free 15 GB de espazo de almacenamento on the cloud to upload your photos. Beyond which, you need to pay for any additional space that you wish to use.
This, however, is the terms and conditions for uploading your photos and videos in their original quality, i.e., the file size remains unaltered. The benefit of choosing this option is that there is no loss of quality due to compression, and you get the exact same photo in its original resolution when you download it from the cloud. It is possible that this free space that was allocated to you has been completely used up, and thus, photos are no longer getting uploaded.
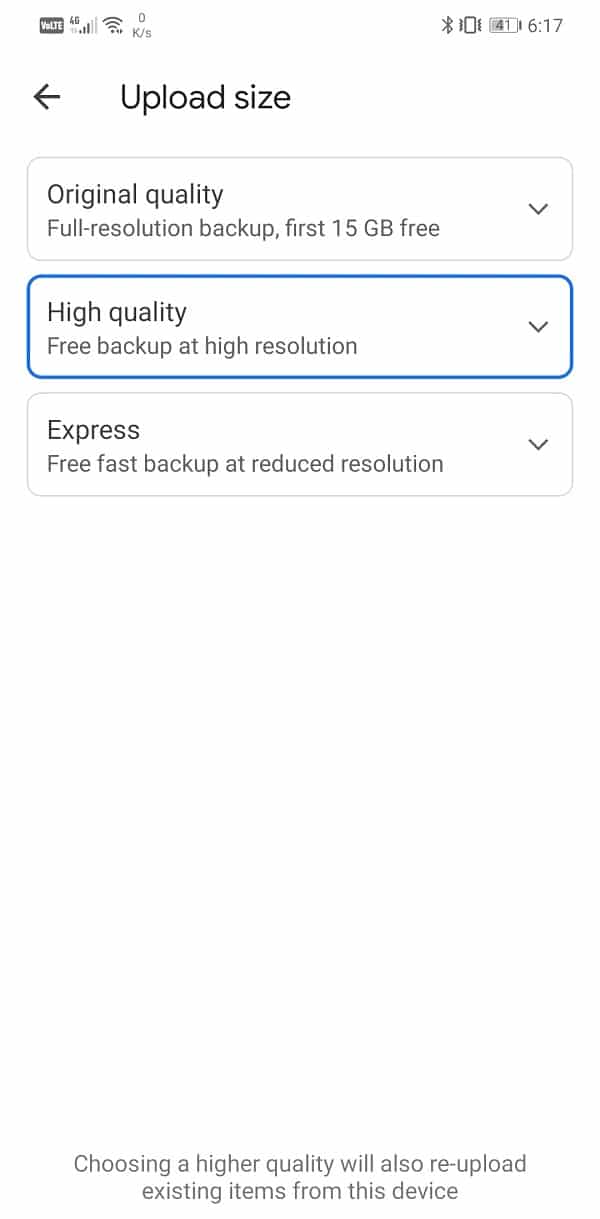
Now, you can either pay for extra space or compromise with the quality of the uploads to continue backing up your photos on the cloud. Google Photos has two alternate options for the Upload Size, and these are “Alta Calidade"E"Expresado”. The most interesting point about these options is that they offer unlimited storage space.
If you are willing to compromise a little with the quality of the image, Google Photos will allow you to store as many photos or videos as you want. We would suggest you select a High-Quality option for future uploads. It compresses the image to a resolution of 16 MP, and videos are compressed to high definition. In case you are planning to print these images via Windows 11, then the quality of the print would be good up to 24 x 16 in.
This is quite good a deal in exchange for unlimited storage space. Follow the steps given below to alter your preference for the upload quality on Google Photos.
1. En primeiro lugar, abre Fotos de Google no seu dispositivo.
2. Agora toque o seu imaxe de perfil na esquina superior dereita.
3. After that, click on the Configuración de fotos opción.
4. Aquí, toque o Copia de seguridade e sincronización opción.
5. Under Settings, you will find the option called “Upload size”. Fai clic nel.
6. Now, from the given options, select Alta Calidade as your preferred choice for future updates.
7. This will grant you unlimited storage space and solve the problem of photos not uploading on Google Photos.
6. Uninstall the App and then Re-install
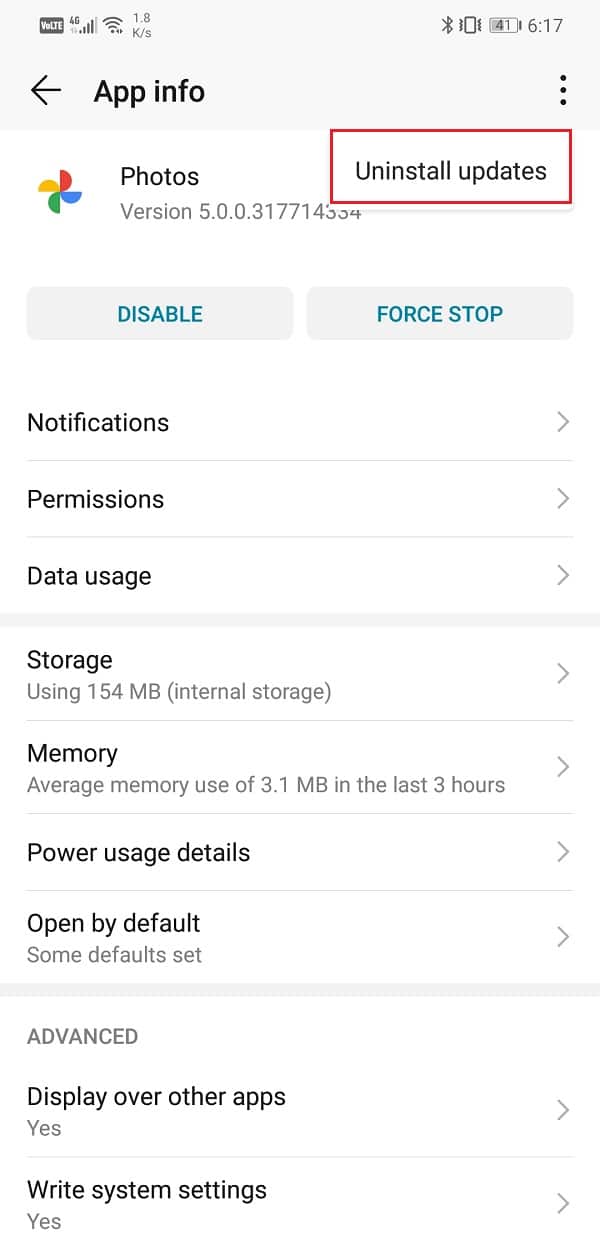
If nothing else works, then it is probably time for a fresh start. Now, had it been some third-party app installed from the Play Store, then you could have just uninstalled the app. However, since Google Photos is a pre-installed system app, you can’t simply uninstall it. What you can do is uninstall updated for the app. This will leave behind the original version of the Google Photos app that was installed on your device by the manufacturer. Follow the steps given below to see how:
1. Abre o Configuración no teu teléfono.
2. Agora, seleccione o Apps opción.
3. Agora, seleccione o Aplicación Google Fotos da lista de aplicacións.
4. On the top right-hand side of the screen, you can see tres puntos verticais, fai clic nel.
5. Finalmente, toque o desinstalar actualizacións botón.
6. Now, you may need to reinicie o dispositivo despois disto.
7. When the device starts again, open Fotos de Google.
8. You might be prompted to update the app to its latest version. Do it, and that should solve the problem.
Recomendado:
Well, that’ a wrap. We hope that you were able to find a suitable solution that fixed your problem. However, if you are still facing the same problem, then it is most likely due to server related issues on Google’s side. Sometimes, Google servers are down that prevent apps like Photos or Gmail to malfunction.
Since Google Photos uploads your photos and videos on the cloud, it needs access to the Google servers. If they are not working due to any technical complication, Google Photos will not be able to upload your photos on the cloud. The only thing that you can do is in this situation is to wait for some while and hope that the servers are back up soon. You can also write to Google Customer support to notify them about your problem and hope that they fix it as quickly as possible.

