Yadda za a Sanya Kayan Aikin Graphics a cikin Windows 11

DirectX Graphics Tools is not installed by default in Windows 11. But, it can be added via operating system Optional features. Today, we bring to you a helpful guide that will teach you how to install or uninstall Graphics Tool in Windows 11, as need be. A few noteworthy features of this tool include:
- It is essential for performing graphics diagnostics and other related functions.
- Hakanan za'a iya amfani dashi create Direct3D debug devices.
- Moreover, it can be used to develop DirectX games & applications.
- In addition to 3D-related functions, this technology also allows you to track real-time GPU consumption and when & which apps or games employ Direct3D technology.
How to Install In-built DirectX Graphics Tool in Windows 11
Follow the given steps to install Graphics Tool on Windows 11 PC:
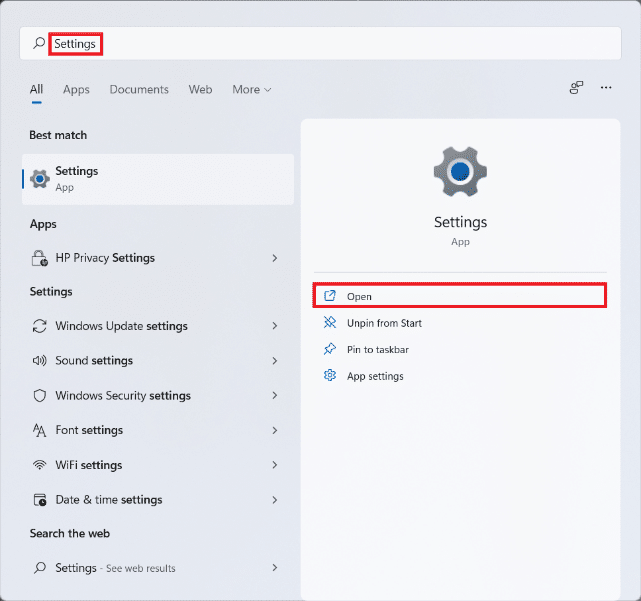
1. Danna kan Bincike icon da kuma buga Saituna, sannan danna kan Bude, kamar yadda aka nuna.
2. Danna kan apps a cikin hagu na hagu.
3. Sa'an nan, danna kan ZABI fasaloli, kamar yadda aka kwatanta a kasa.
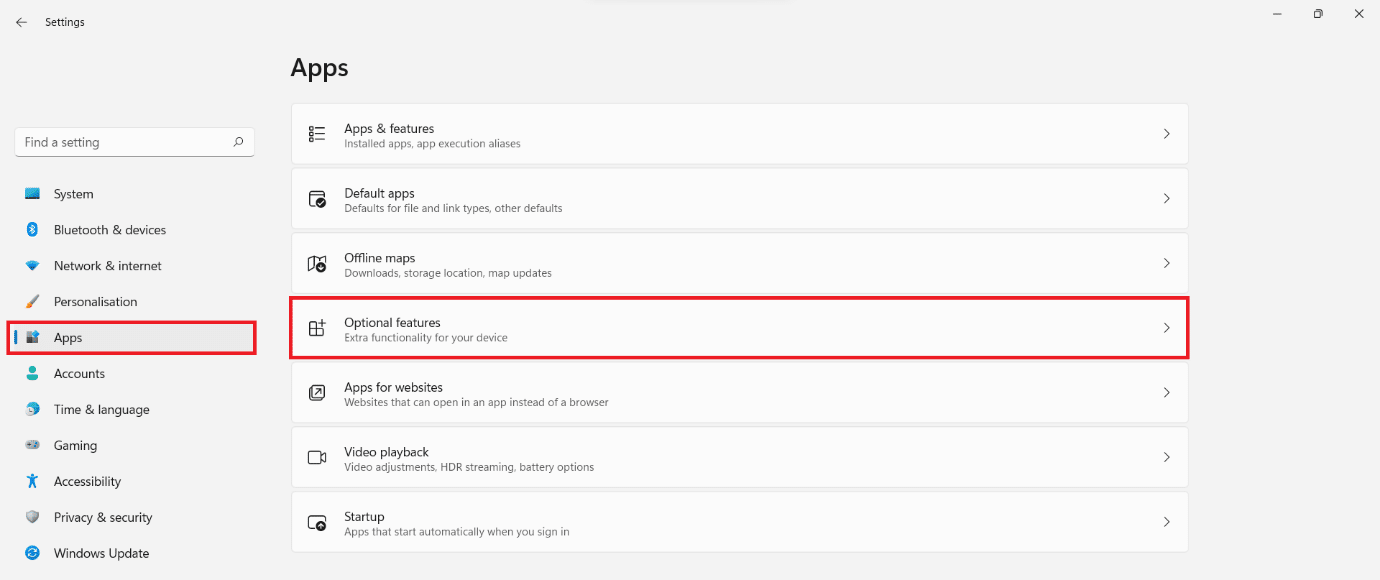
4. Na gaba, danna kan view fasaloli.

5. type graphics tools in the search bar provided in the Ƙara fasalin zaɓi taga.
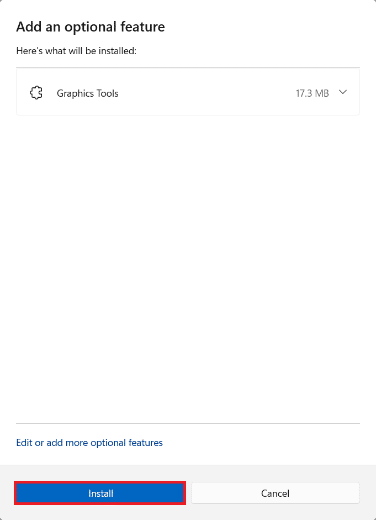
6. Duba akwatin da aka yiwa alama Graphics Tools da kuma danna kan Next, kamar yadda aka kwatanta a kasa.

7. Yanzu, danna kan shigar button.
8. Barin Graphics Tools be An sanya shi. You can see the progress under Ayyuka na baya-bayan nan sashe.

Har ila yau Karanta: How to Install XPS Viewer in Windows 11
How to Use DirectX Graphics Tools on Windows 11
Microsoft hosts a dedicated page on DirectX Programming. Here are the steps to use Windows 11 Graphics Diagnostic Tools:
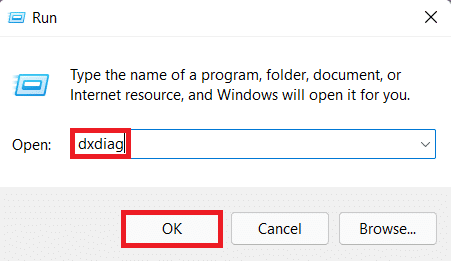
1. Latsa Windows + R makullin lokaci guda don buɗewa Run akwatin maganganu.
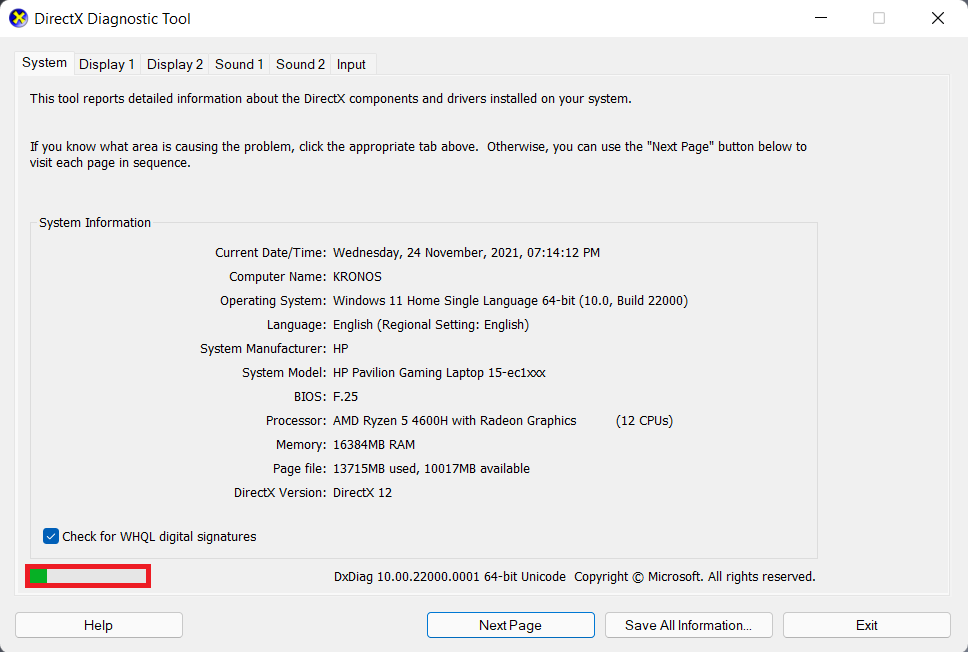
2. type dxdiag da kuma danna kan OK don farawa DirectX Kayan aikin bincike taga.
3. You may notice a green progress bar at the bottom left corner, shown highlighted. This means that the diagnostic process is active. Wait for the process to be completed.
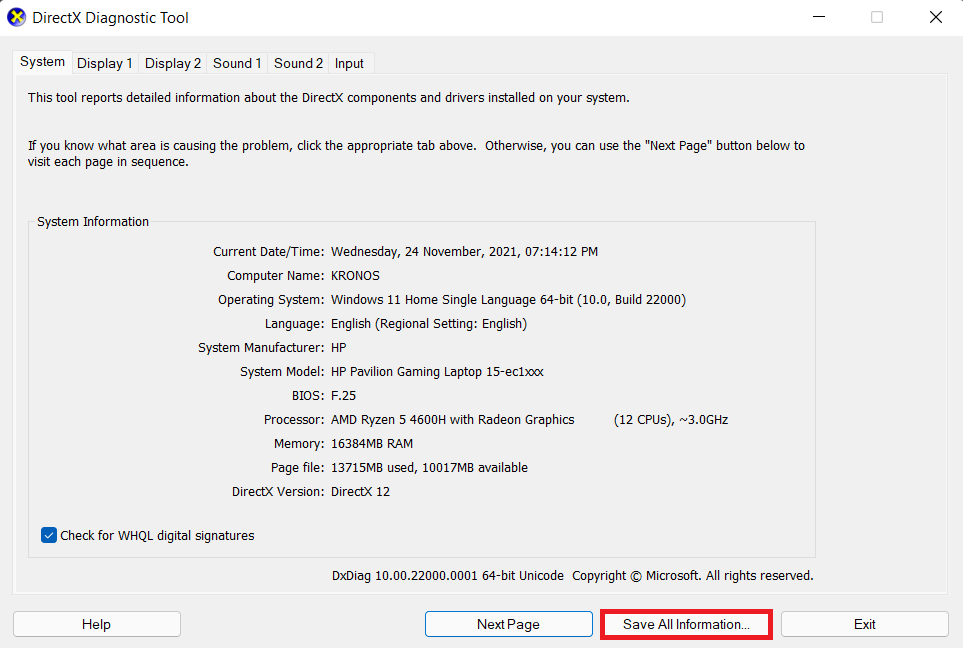
4. When the diagnosis is complete, the green progress bar will disappear. Click on Save All Information… button kamar yadda aka kwatanta a kasa.
Har ila yau Karanta: Yadda ake amfani da PowerToys akan Windows 11
How to Uninstall DirectX Graphics Tools
To uninstall Windows 11 Graphics Tools, follow the steps mentioned below:
1. Kaddamarwa Saituna kamar yadda aka nuna.
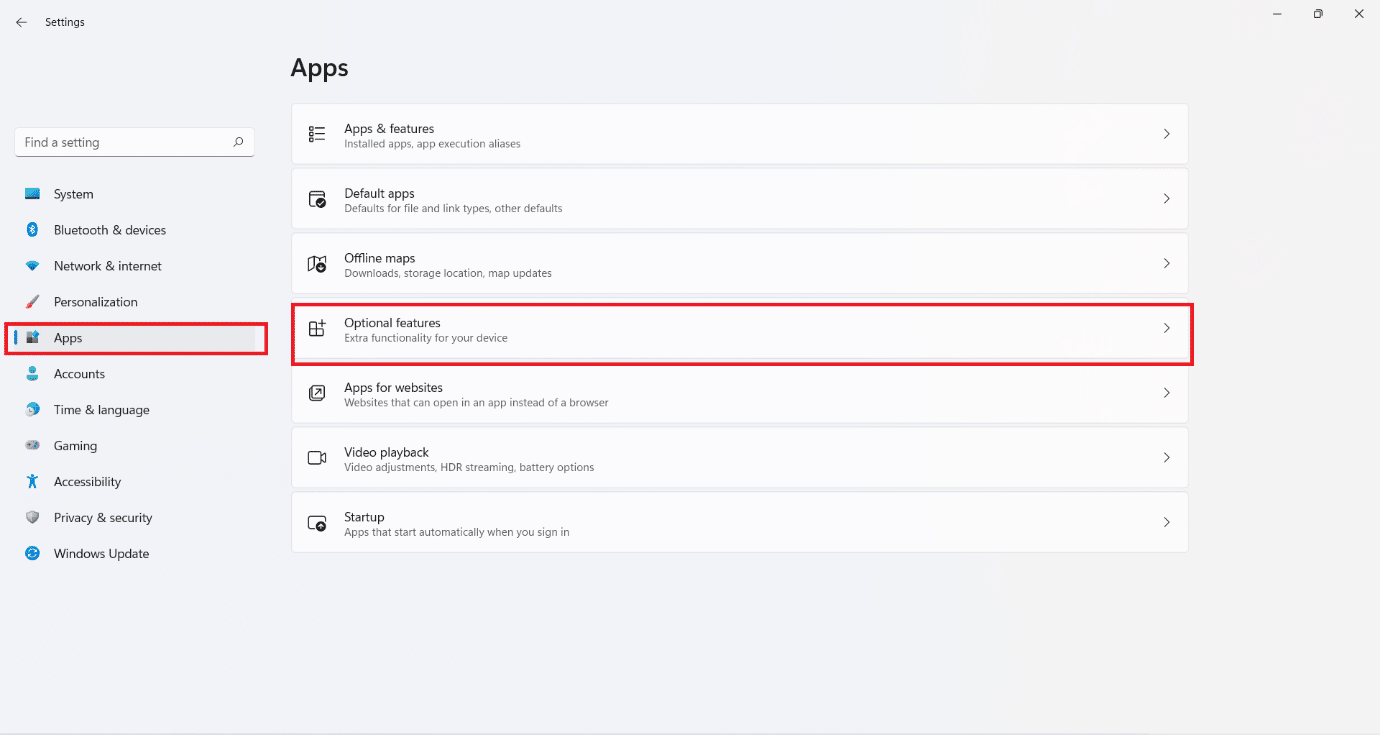
2. Je zuwa apps > Zaɓin zaɓi, kamar yadda aka nuna.
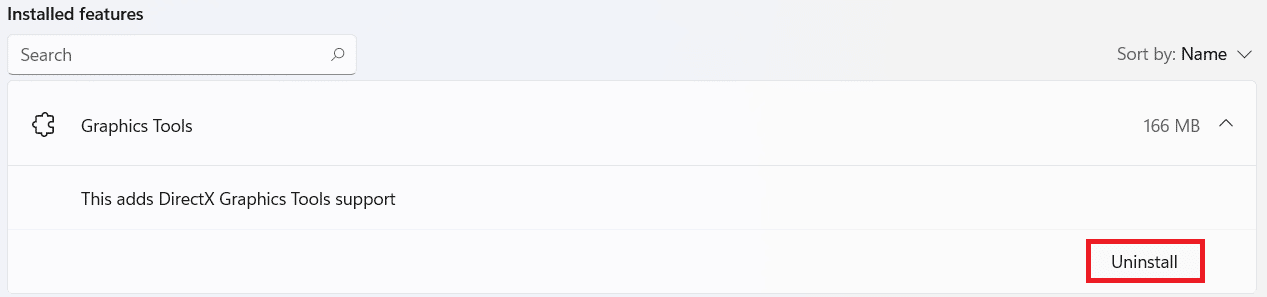
3. Scroll down the list of Abubuwan da aka girka ko bincika Graphics Tools in the search bar provided to locate it.
4. Danna kan downward-pointing arrow a cikin Graphics Tools tile and click on Uninstall, kamar yadda aka nuna.
5. Once the uninstallation process is finished, you will see An cire shi tag under Ayyuka na baya-bayan nan sashe.

shawarar:
We hope you found this article helpful about how to install, use or uninstall DirectX Graphics Tool in Windows 11. Drop your suggestions and queries in the comment section below. We would love to hear from you. Stay tuned for more such info!