Windows repeatedly waking up PC from sleep mode can be irritating and cause several issues. MoUSO Core Worker Process is responsible for this error. It is a program that coordinates Windows Update operation. It exclusively works in the back end and doesn’t hinder regular processes. But, sometimes in sleep mode it often wakes your system without permission. We bring to a perfect guide to fix MoUsoCoreWorker.exe process issue in Windows 10.
How to Fix MoUSO Core Worker Process in Windows 10
Here are some plausible reasons why MoUSO Core Worker Process may wake up your PC from sleep.
- Outdated Windows
- Incorrect Power Settings
- Interference by third party applications
- Orchestrator Service issues
After understanding why MoUsoCoreWorker.exe keeps waking up your PC from sleep, let us go to into the method for resolving this MoUsoCoreWorker.exe process error in lub qhov rais 10.
Method 1: Uninstall GoodSync
Syncing third-party applications can keep your PC engaged causing MoUSO Core Worker Process to run continuously. They may cause this MoUsoCoreWorker.exe process error. GoodSync app is well-known for causing such issues. You can fix this by disabling or uninstalling such programs using the steps below.
1. Nias lub Windows + I keys ua ke qhib chaw.
2. Xaiv apps kev xaiv los ntawm chaw qhov rais.
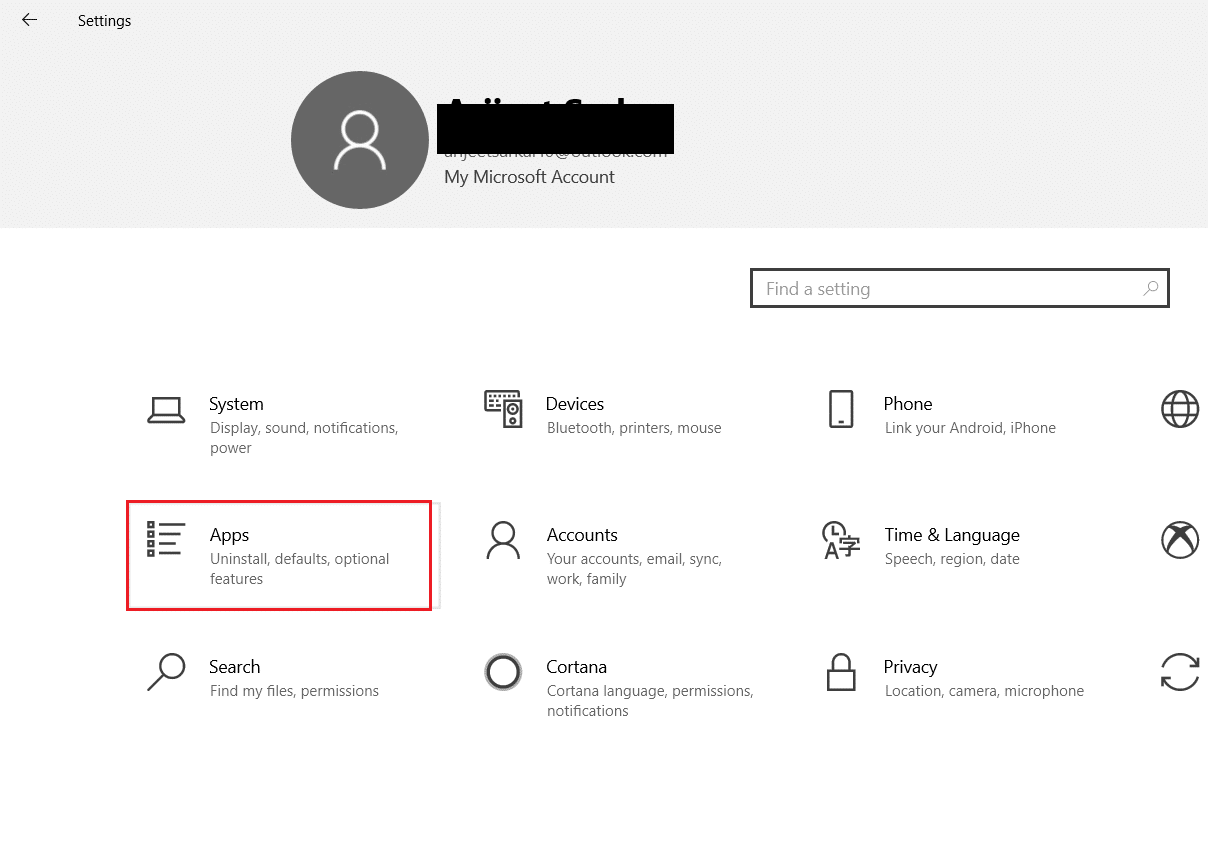
3. Xaiv Apps thiab nta on the left pane. After that, scroll down in the right pane and select GoodSync app thiab nyem rau ntawm uninstall khawm.
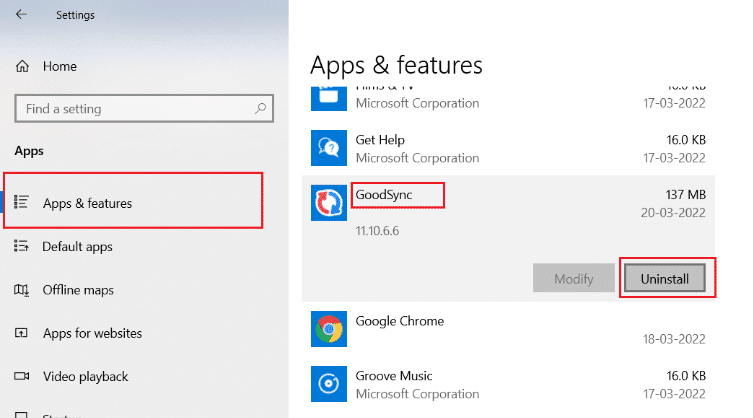
4. Nyem uninstall ntawm qhov kev lees paub tam sim.

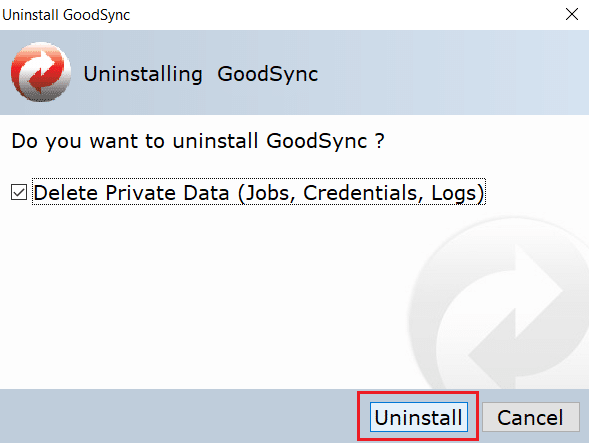
5. Ib zaug ntxiv, nyem uninstall on Uninstall GoodSync qhov rais.
Nco ntsoov: You can check the box marked Delete Private Data (Jobs, Credentials, Logs) if you have a backup of your private data.
6. Nyem Yog on GoodSync Khiav popup.

7. After uninstallation is complete, pib dua PC.
Kuj nyeem: Fix the Trust Relationship Between This Workstation and the Primary Domain Failed
Method 2: Disable Wake Timers
Wake timers are used for waking your PC automatically to complete specified tasks at a certain time. Sometimes they can disturb PC when it is on Sleep mode, thus causing this MoUsoCoreWorker.exe process error. Follow the steps given below and disable them.
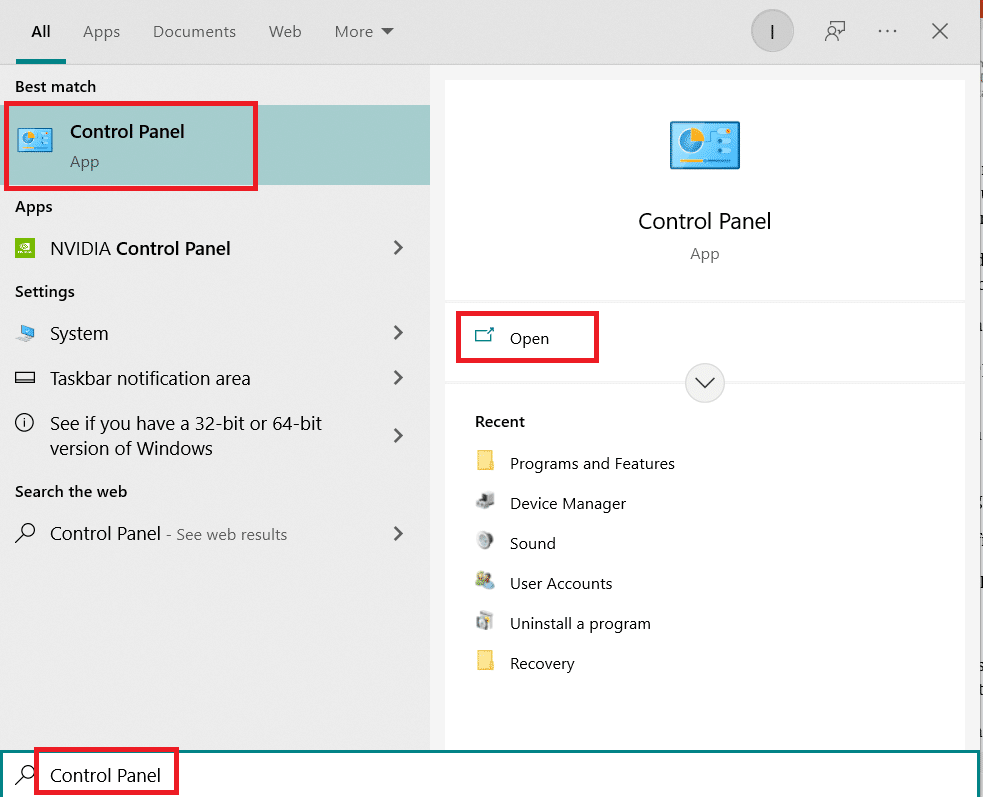
1. Nias lub lub qhov rais tus yuam sij thiab hom tswj vaj huam sib luag, thiab nias rau Qhib.
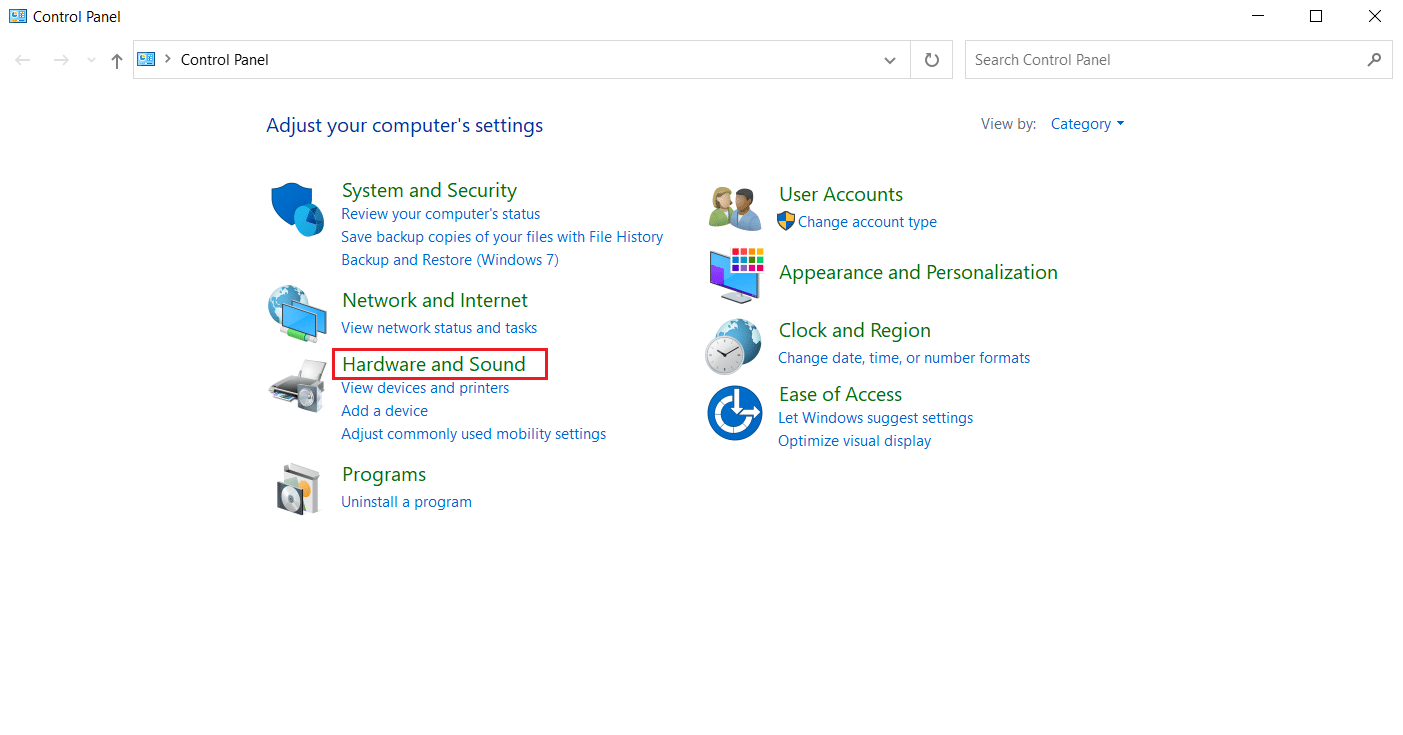
2. Xaiv Kho vajtse thiab suab kev xaiv.
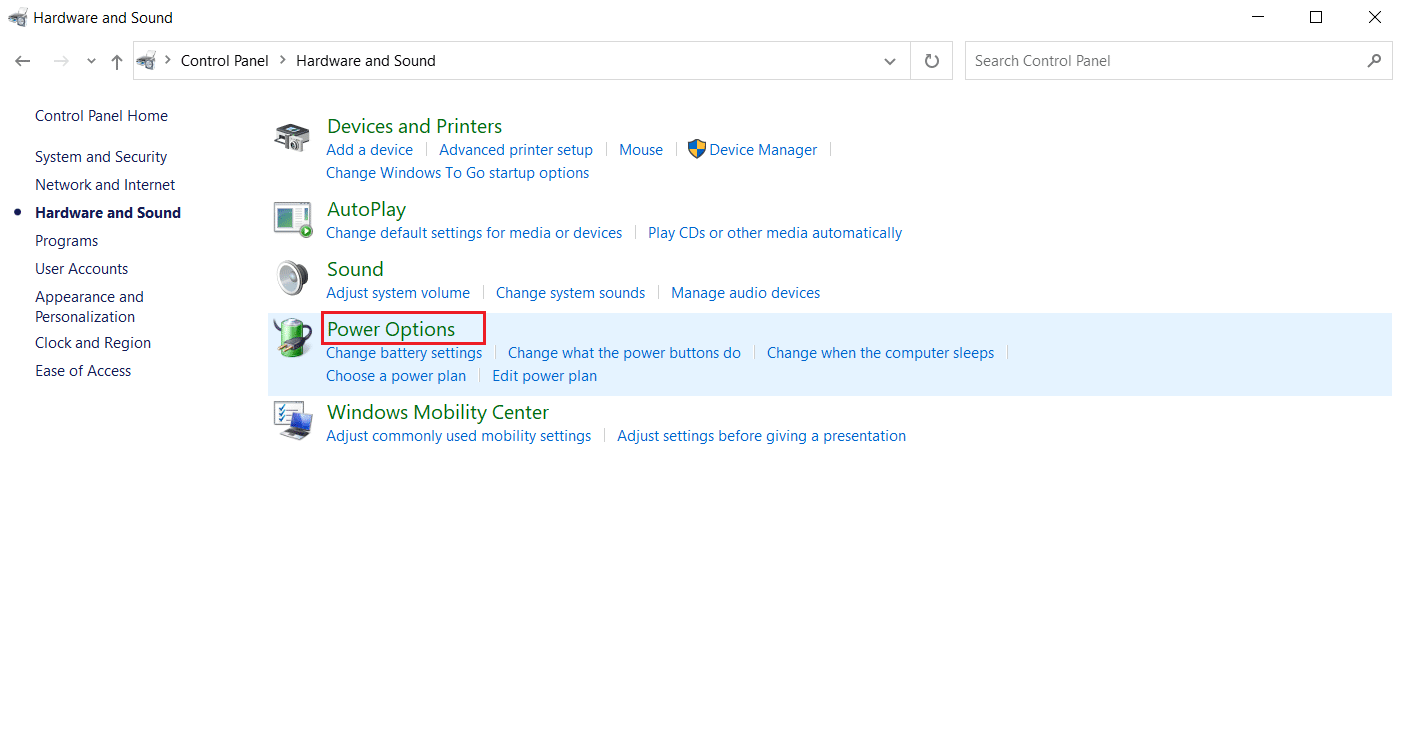
3. Xaiv Fais Fab Kev Xaiv on Kho vajtse thiab suab page.
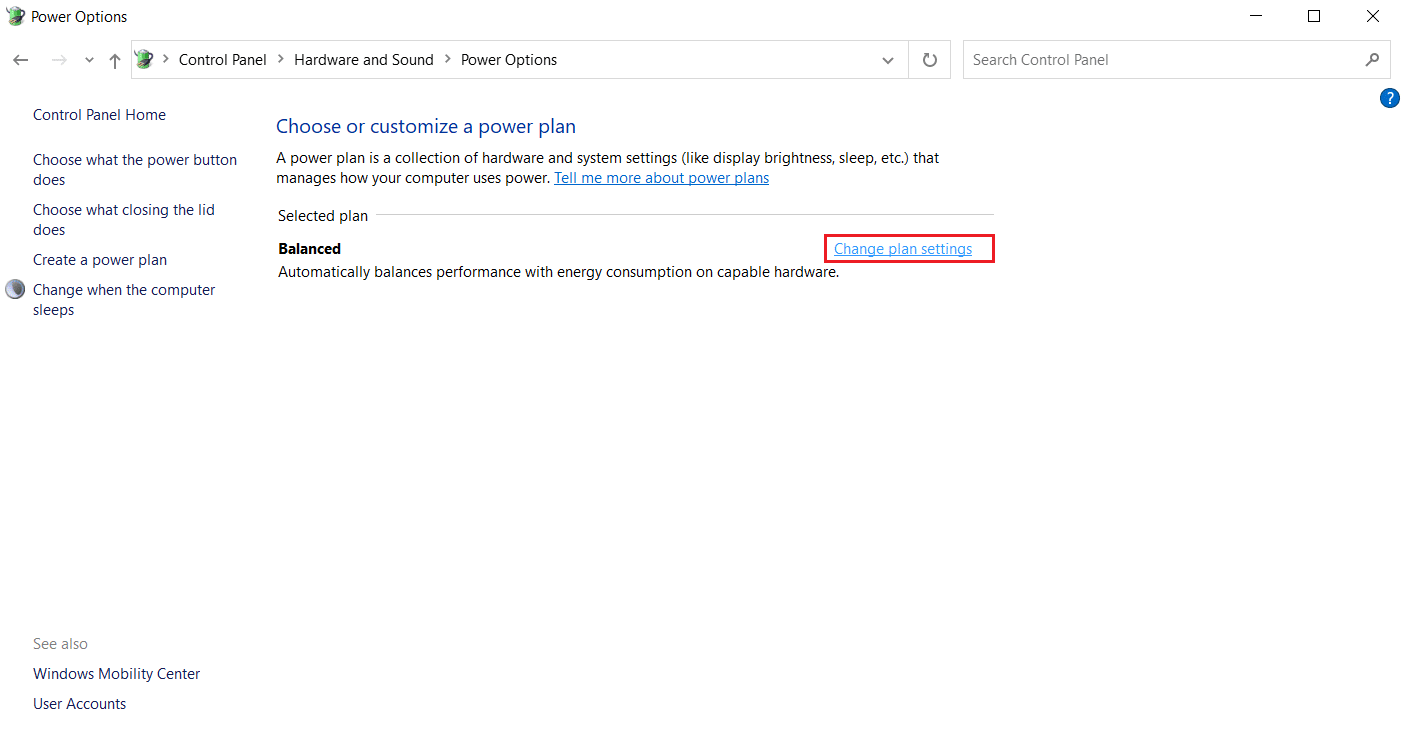
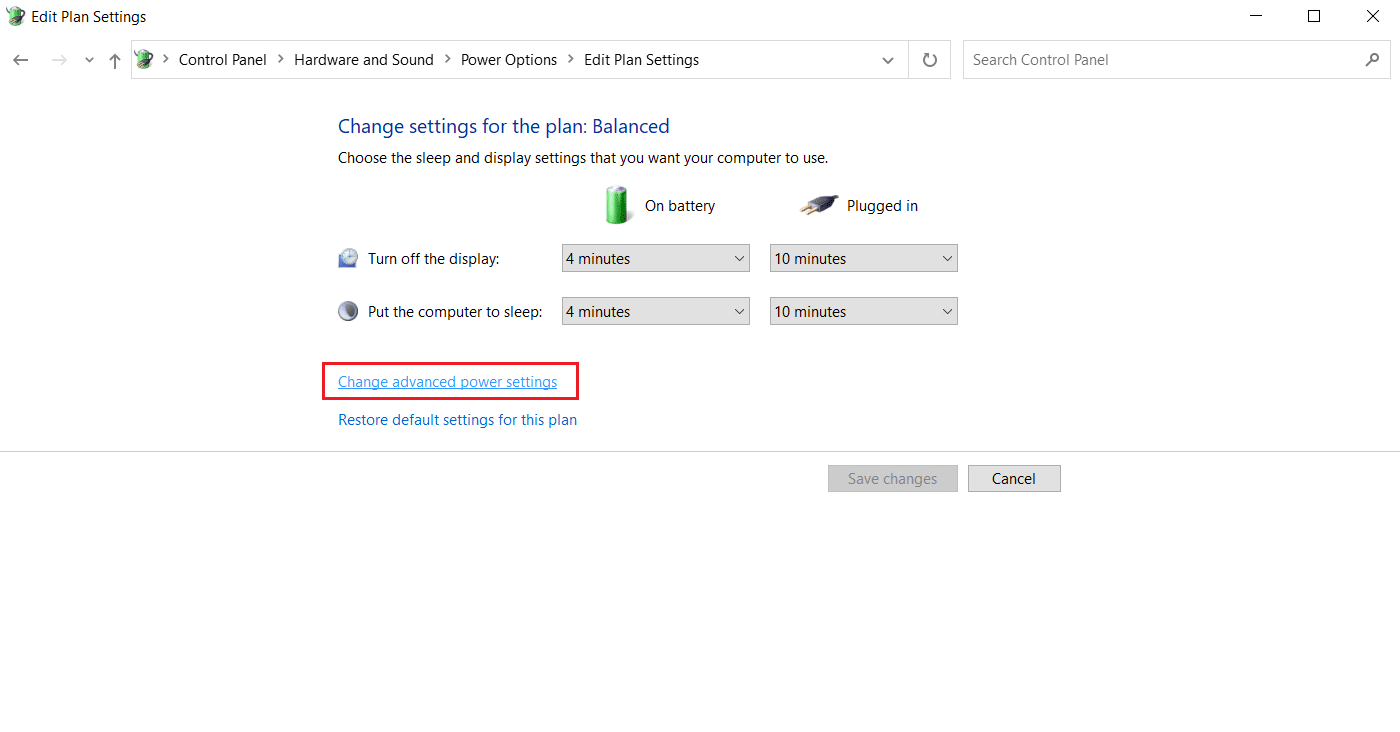
4. Nyem Hloov qhov chaw nqis raws li qhia.
5. Nyem Hloov siab tshaj zog nqis. Fais Fab Kev Xaiv lub qhov rai yuav qhib.
Nco ntsoov: You can directly open Fais Fab Kev Xaiv from Desktop by running control.exe powercfg.cpl, 3 txib in khiav dialog box.
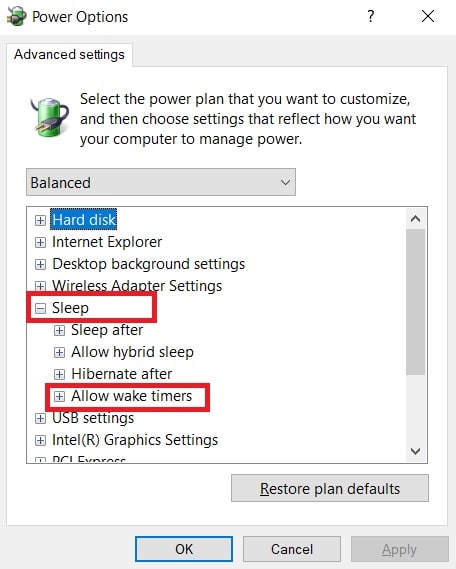
6. Nrhav pw tsaug zog thiab nyem rau ntawm + icon to expand it. You will see Allow Wake Timers kev xaiv.
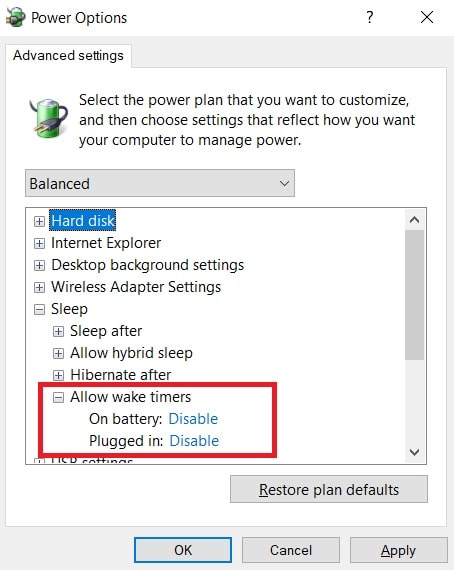
7. Ib zaug ntxiv nias rau ntawm + icon kom nthuav dav Allow Wake Timers thiab xaiv Lov tes taw ob qho tib si Ntawm roj teeb thiab Plugged nyob rau hauv.
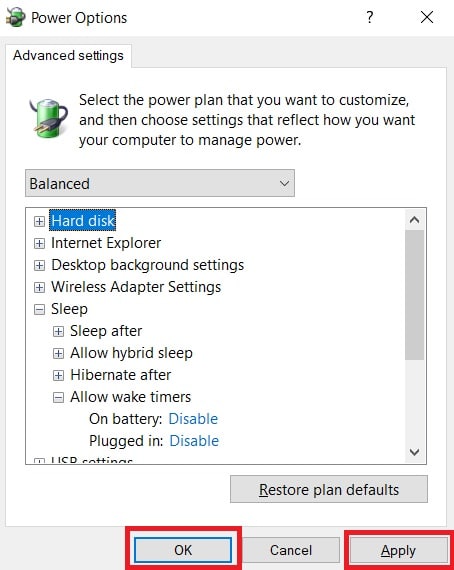
8. Nyem thov thiab OK kom txuag tau kev hloov.
9. Tom qab ntawd, reboot lub PC.
Check if this MoUsoCoreWorker.exe process error is fixed.
Kuj nyeem: Fix Multiple Google Chrome Processes Running
Method 3: Stop Update Orchestrator Service
UsoSVC or Update Orchestrator Service organises updates released by Windows and does tasks like downloading, verifying and installing updates. It may trigger MoUSO Core Worker Process and could be the cause behind this error. To fix this issue, you can disable UsoSVC by following these steps.
Nco ntsoov: You will need to enable update orchestrator service whenever you update your PC.
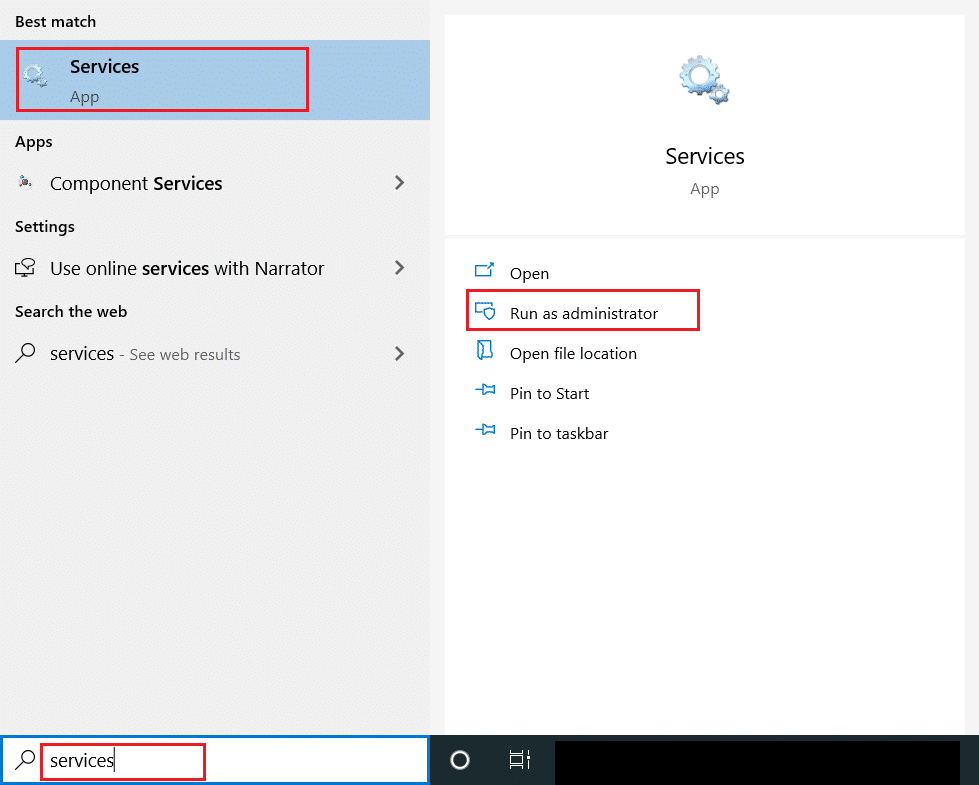
1. Ntaus lub Windows qhov tseem ceeb, hom cov kev pab cuam, thiab nias rau Khiav raws li cov thawj coj.

2. Nrhiav thiab right-click rau Hloov Kho Orchestrator Pab thiab xaiv Properties.
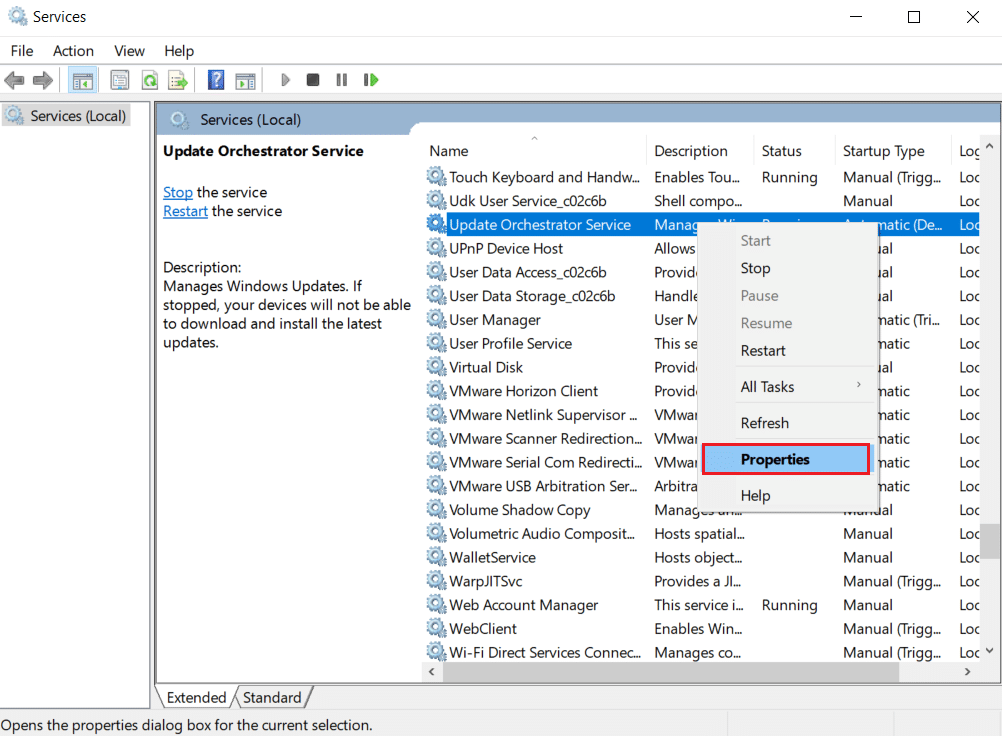
3. Hauv General tab, hloov Pib hom rau Xiam oob qhab.
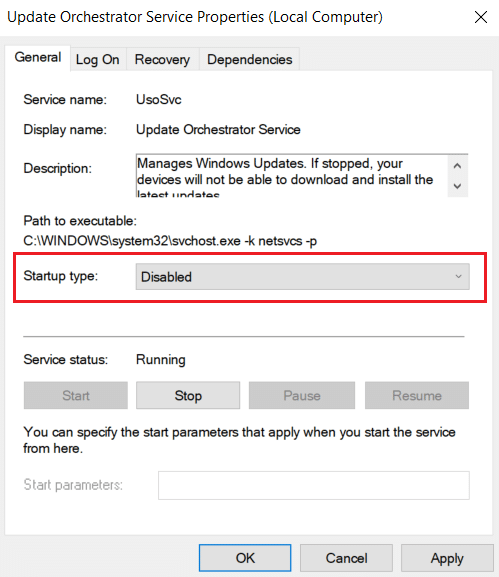
4. Nyem thov thiab OK kom paub meej tias cov kev hloov pauv.
Method 4: Disable Task Scheduler
Task Scheduler is a service that enables you to schedule and perform any task on your PC without manual intervention at any specific time. Sometimes a planned automated task can wake PC from sleep, causing this MoUsoCoreWorker.exe process issue. Follow the instructions below to turn off Task Scheduler.
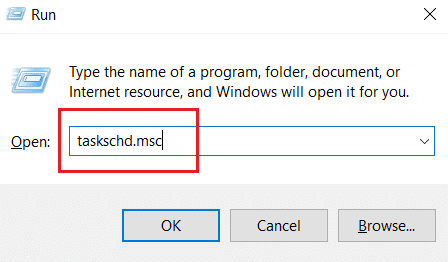
1. Nias Windows + R lag luam ib txhij qhib lub khiav dialog box.

2. Hom taskchd.msc on Khiav Dialog Box thiab nias Sau mus tua Tus Neeg Ua Haujlwm Teem Sijhawm.
3. Nyob rau hauv Tus Neeg Ua Haujlwm Teem Sijhawm Window, navigate to the Task Scheduler Library > Microsoft > Windows > UpdateOrchestrator folder on the left pane.
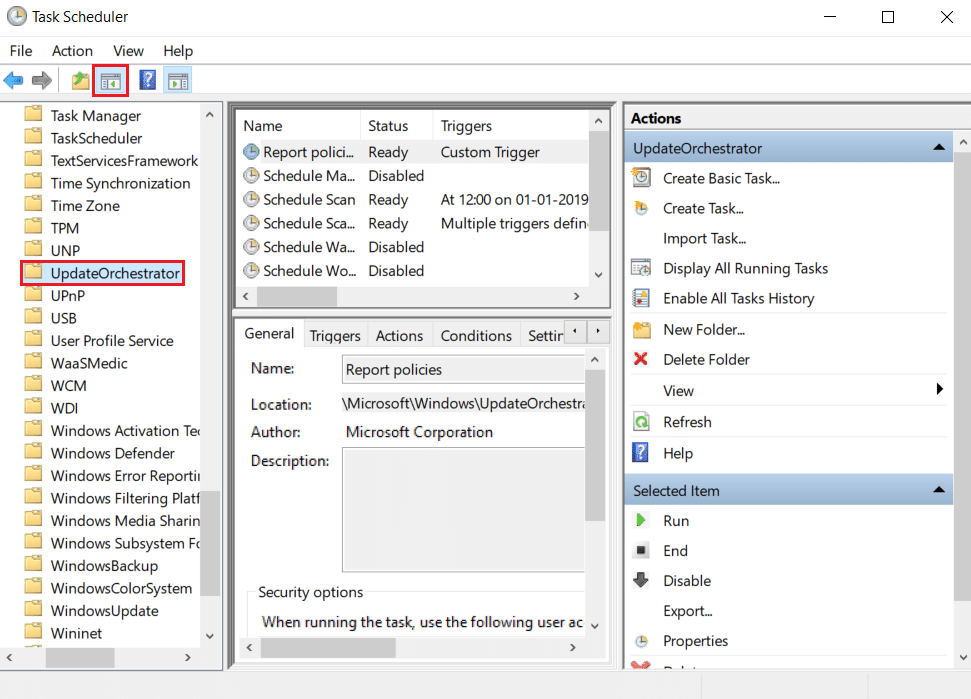
4. Hauv UpdateOrchestrator folder, find and right-click Schedule scan task thiab xaiv Lov tes taw.
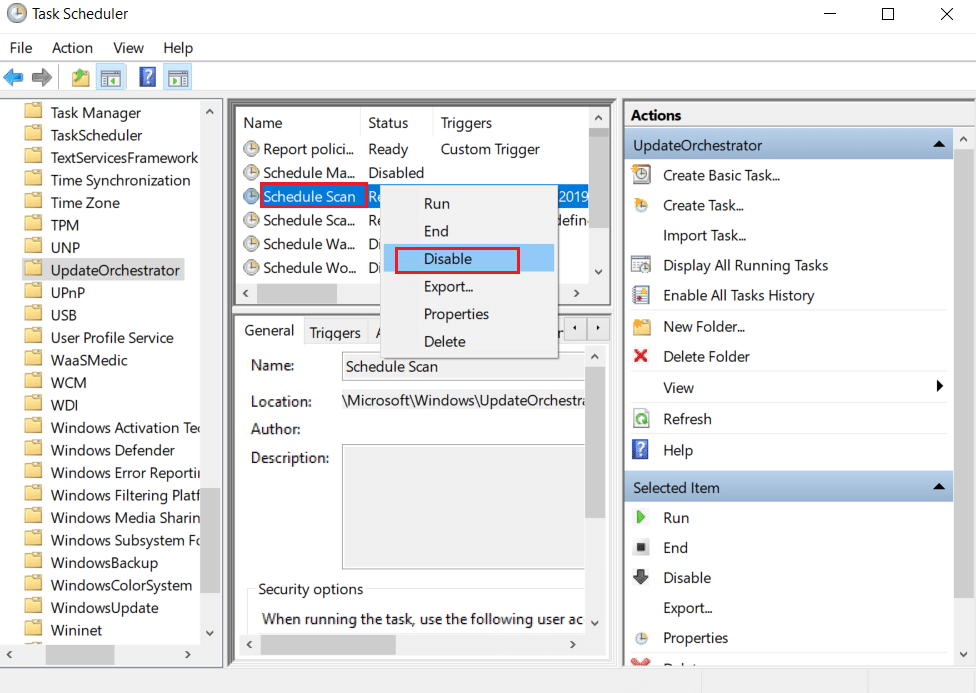
5. Exit Task Scheduler and pib dua lub PC.
Kuj nyeem: How to Check How Much VRAM Do I Have on Windows 10
Txoj Kev 5: Hloov Windows
Outdated Windows PC can create compatibility issues. Microsoft team releases updates to fix bugs and add other useful features. Updating Windows may fix this MoUsoCoreWorker.exe process issue. Follow these to do so.
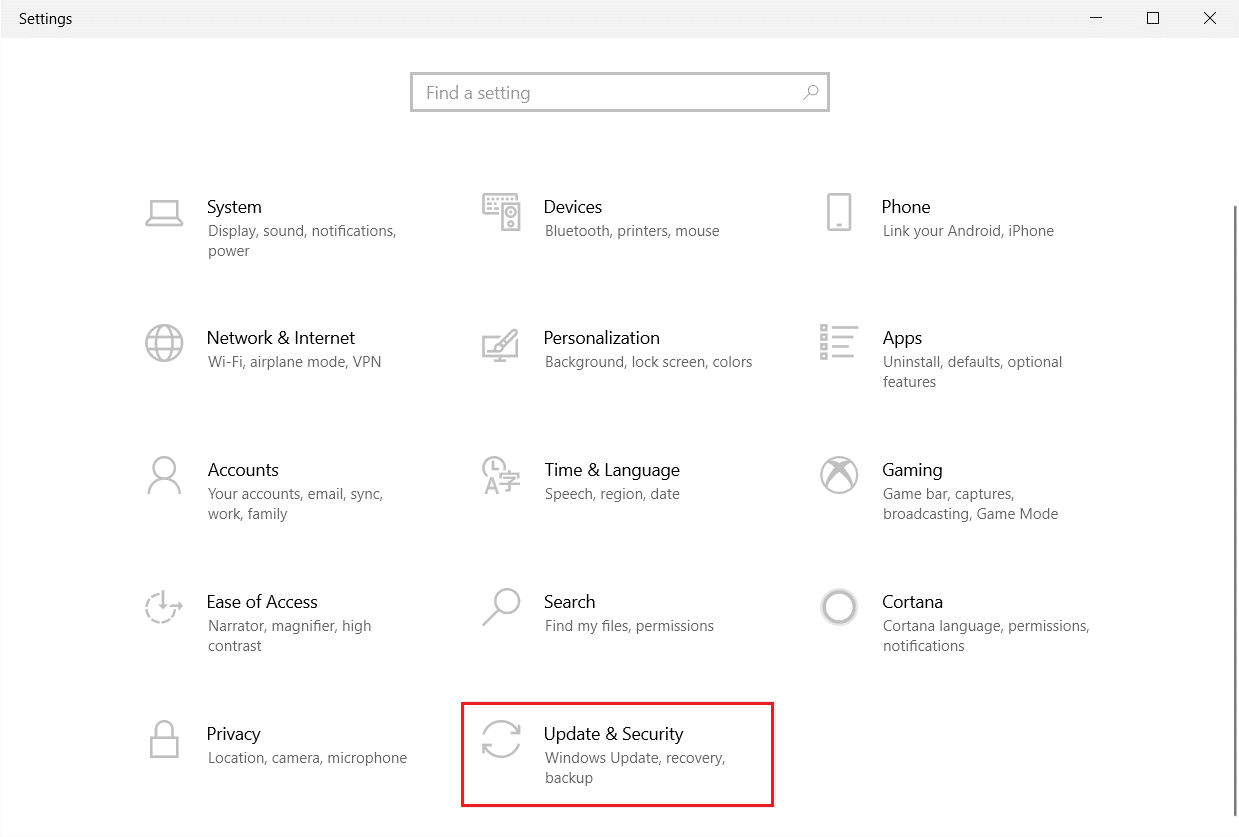
1. Nias lub Windows + I keys ib txhij mus tso tawm chaw.
2. Nyem ntawm qhov Hloov Kho & Ruaj Ntseg pobzeb, raws li qhia.
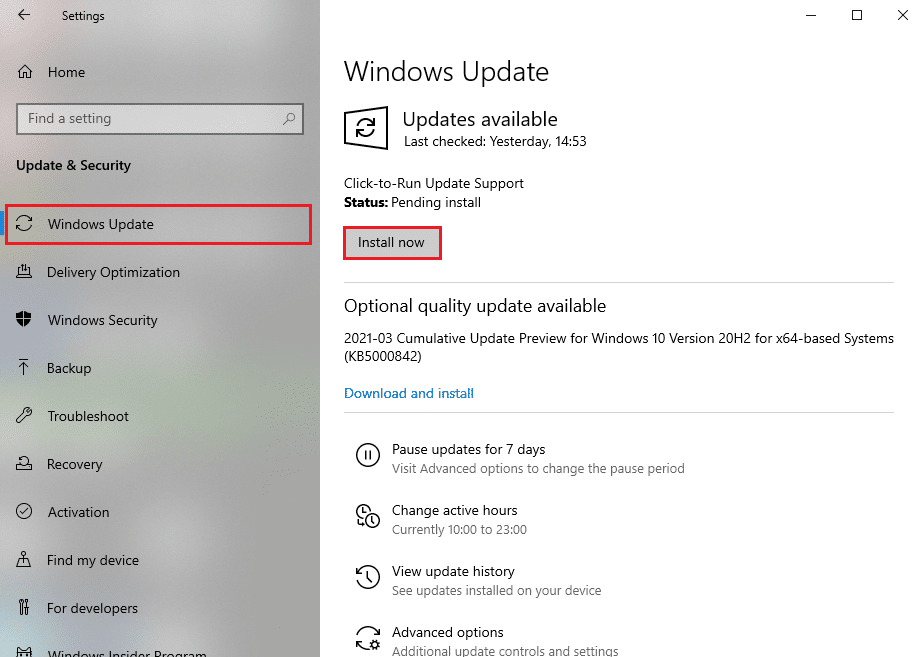
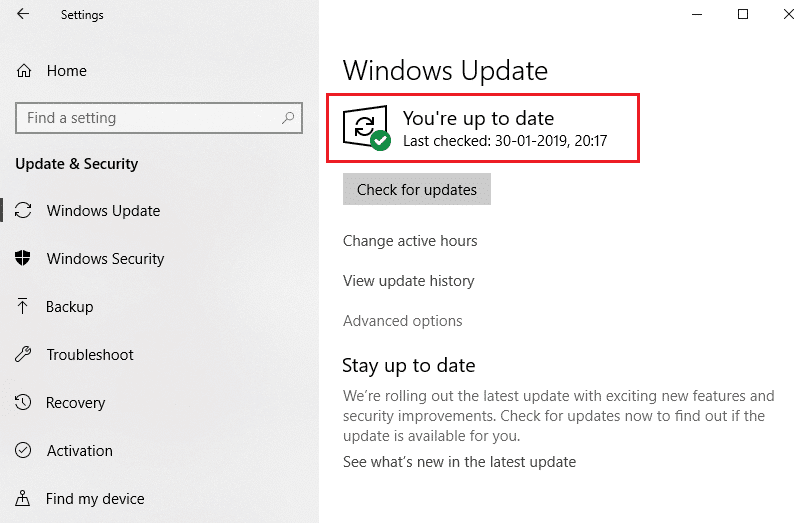
3. Hauv Qhov Hloov Piav Qhia qhov rais tab, nias rau Kos rau cov tshiab khawm.
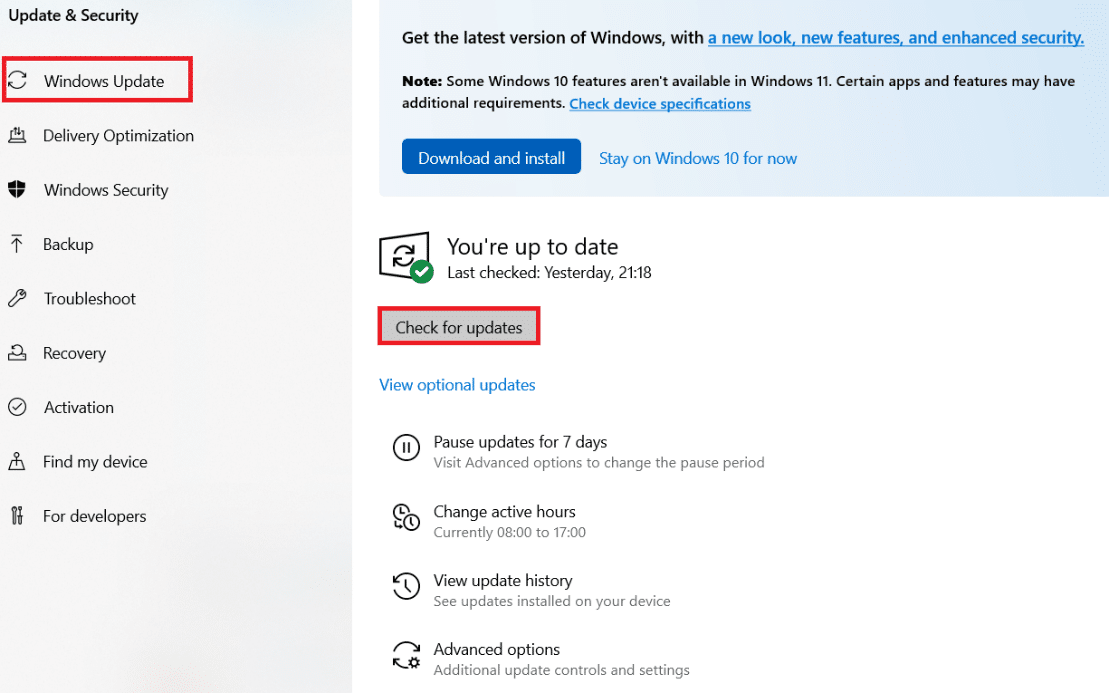
4 A. Yog tias muaj qhov hloov tshiab tshiab, ces nyem Nrawm Tam sim no thiab ua raws li cov lus qhia kom hloov tshiab.
4B. Txwv tsis pub, yog tias Windows hloov tshiab, ces nws yuav tshwm sim Koj mus txog hnub kawg lus.
Txoj Kev 6: Siv Registry Editor
Registry Editor is a repository containing all configurations, values and settings for Windows. We can use it to create NoAutoRebootWithLoggedOnUsers DWORD which will stop PC from auto rebooting and may fix this MoUsoCoreWorker.exe MoUSO Core Worker process error. Follow the below-mentioned steps to do it.
Nco ntsoov: Modifying Registry Editor may cause issues. Create Registry backup before following this method as shown below.
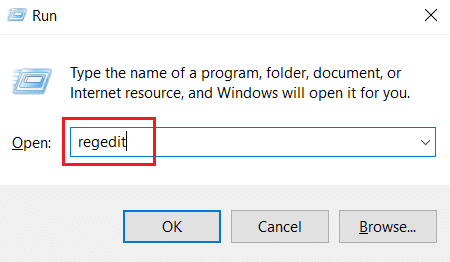
1. Nias Windows + R lag luam ua ke qhib lub khiav dialog box.
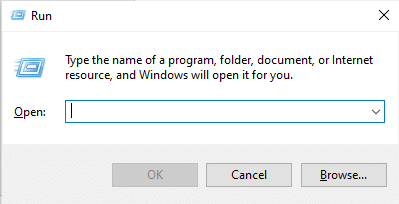
2. Hom regedit thiab nias OK mus tua Registry Editor.
3. Nias rau cov ntaub ntawv thiab xaiv qhov Export… option. It will open Cov Ntawv Sau Npe Mus Luam qhov rais.
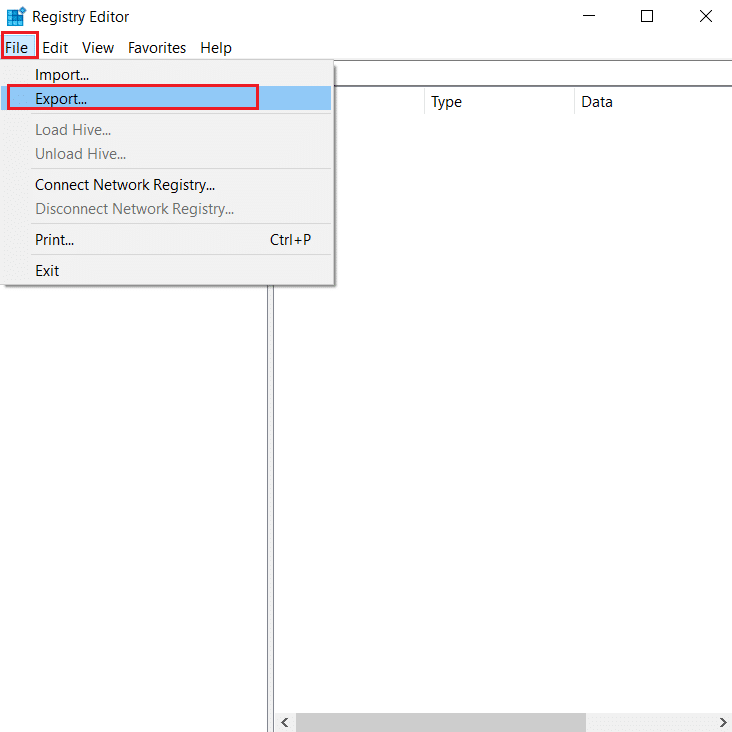
4. Name it accordingly and click on Txuag. Registry Backup will be created which you can import if things go wrong.
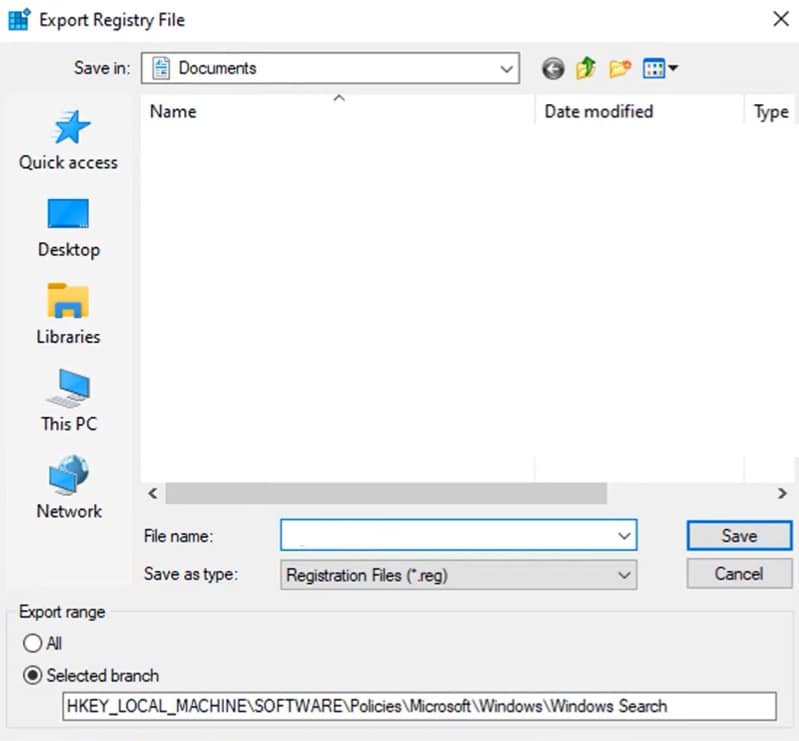
5. After creating backup, navigate to the following path in Registry Editor.
HKEY_LOCAL_MACHINESOFTWAREPoliciesMicrosoftWindowsWindowsUpdateAU
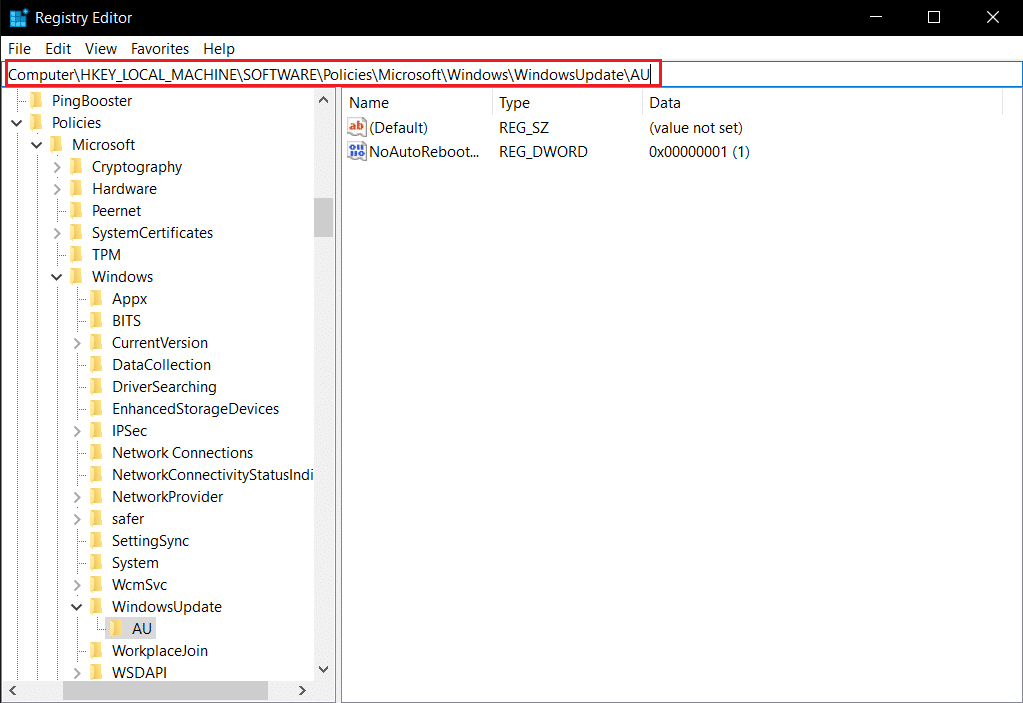
6. In the right pane, locate and double click NoAutoRebootWithLoggedOnUsers qhov tseem ceeb.
7. Teeb Cov nqi ntaub ntawv as 1 on the popup and click OK kom txuag tau kev hloov.
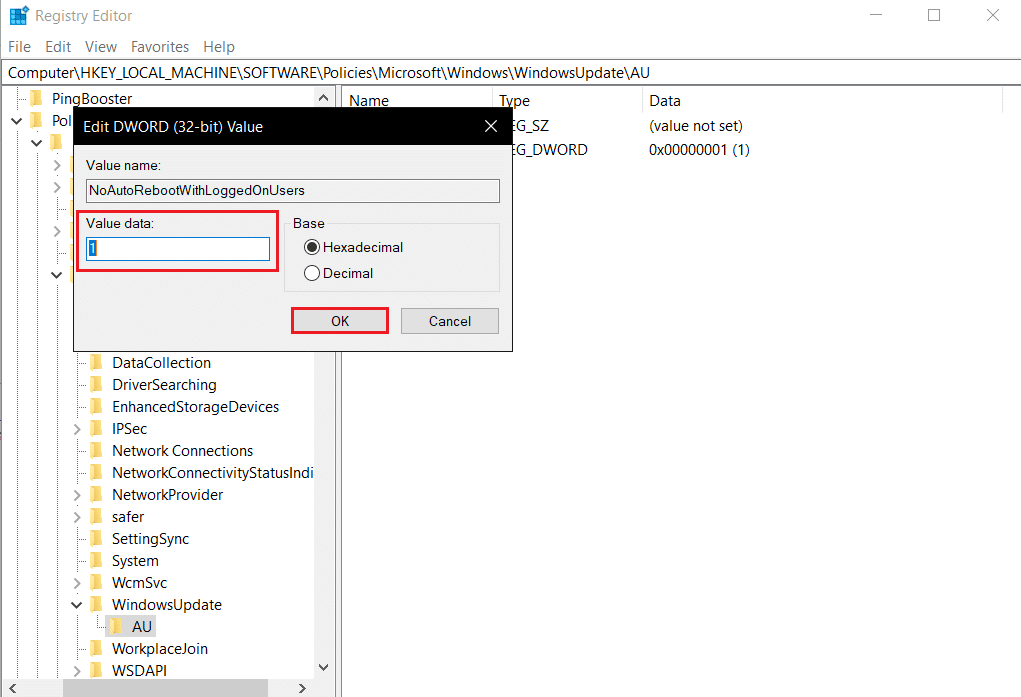
8. Exit Registry Editor and pib dua lub PC.
Kuj nyeem: How to Fix hkcmd High CPU Usage
Txoj Kev 7: Restart Windows Update Service
If your PC is unable to Sleep it may be because Windows Update service not working properly because of various errors. To resolve this, restart Windows Update service by following these steps.
1. Nias lub lub qhov rais tus yuam sij thiab hom cov kev pab cuam thiab nias rau Khiav raws li cov thawj coj mus tua cov kev pab cuam qhov rais.
2. Nrhiav thiab right-click rau Qhov Hloov Piav Qhia qhov rais kev pabcuam thiab xaiv Tsis txhob.
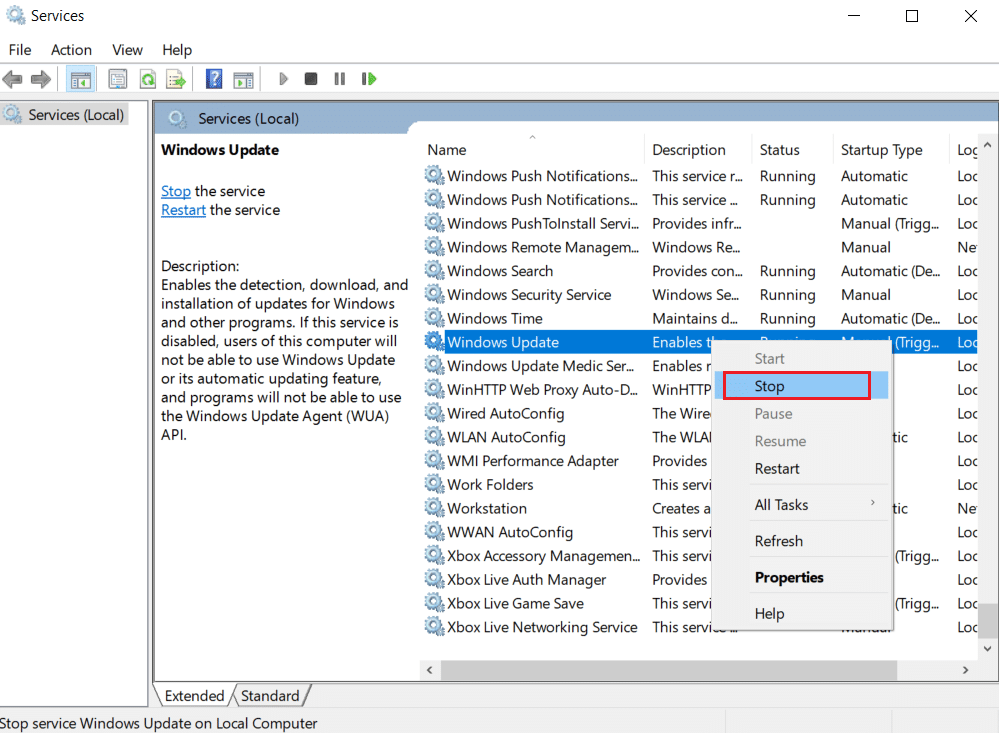
3. After that, minimize Service qhov rais.
4. Nias Ctrl + Ua haujlwm + Esc yuam sij ib txhij qhib Task Manager.
5. Nias rau Ntau cov ntsiab lus.

6. Nrhiav thiab right-click rau MoUSO Core Worker Process thiab xaiv Txoj haujlwm kawg.
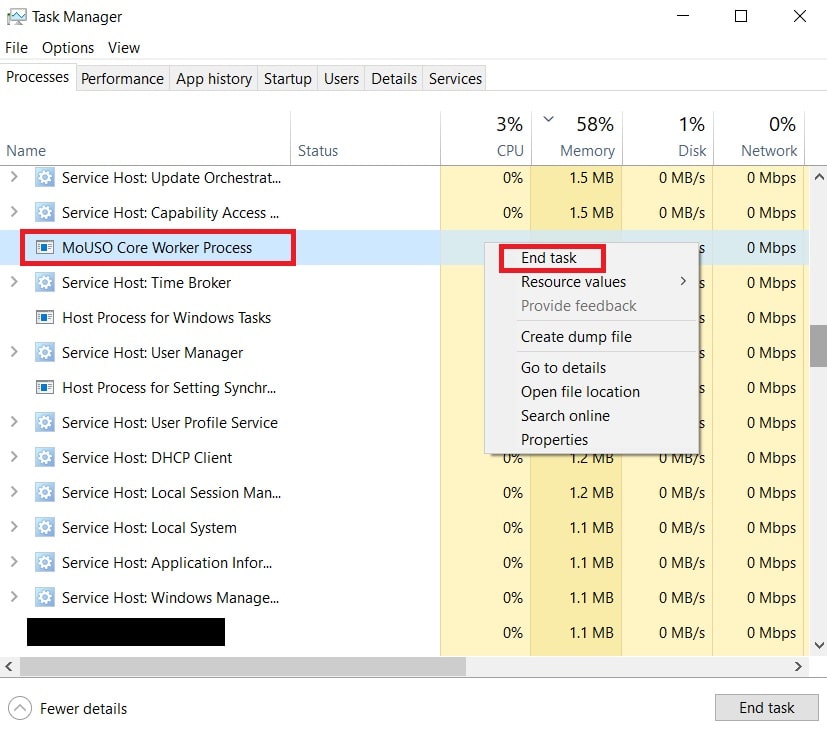
7. Close Task Manager and maximize cov kev pab cuam qhov rais.
8. Txoj cai-nyem rau Qhov Hloov Piav Qhia qhov rais thiab xaiv Start.
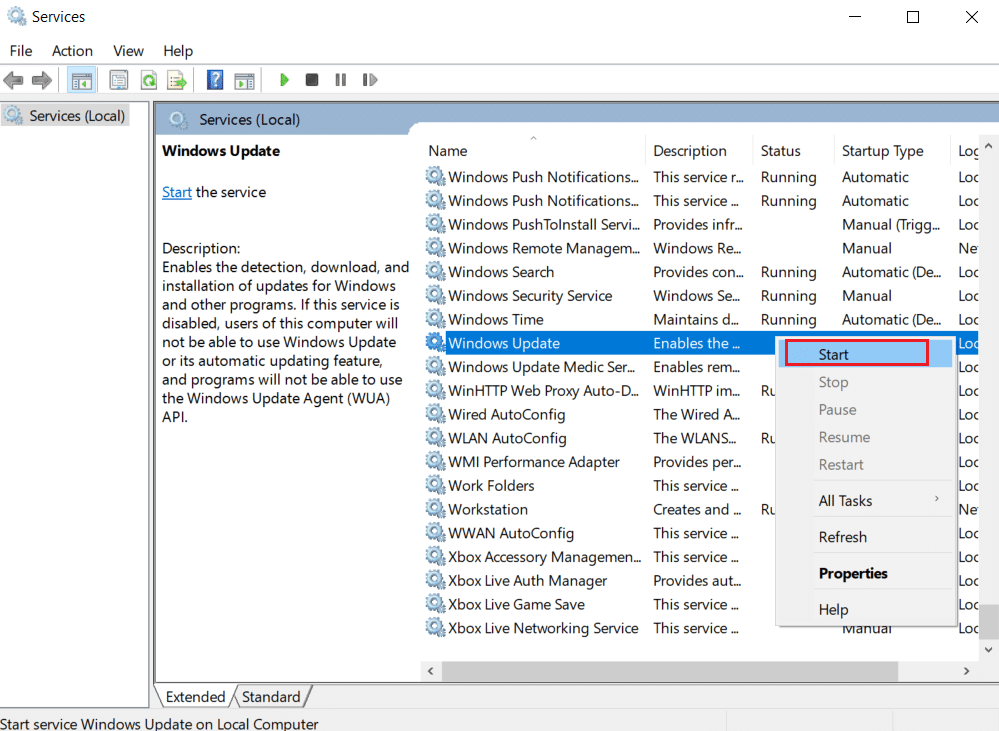
After restarting Windows Update service, check if this MoUsoCoreWorker.exe process error is resolved.
Method 8: Change Windows Update Service Startup Mode
If the Windows Update service is set as manual in Startup type, it can sometimes freeze during its processes which may trigger PC to wake up from sleep. You can fix this issue by changing its Startup type to Automatic and to do that follow the steps below.
1. Ua raws Kauj ruam 1 los ntawm Txoj kev 7 qhib cov kev pab cuam.
2. Saib thiab txoj nyem Qhov Hloov Piav Qhia qhov rais kev pabcuam thiab xaiv Properties to open Properties window.
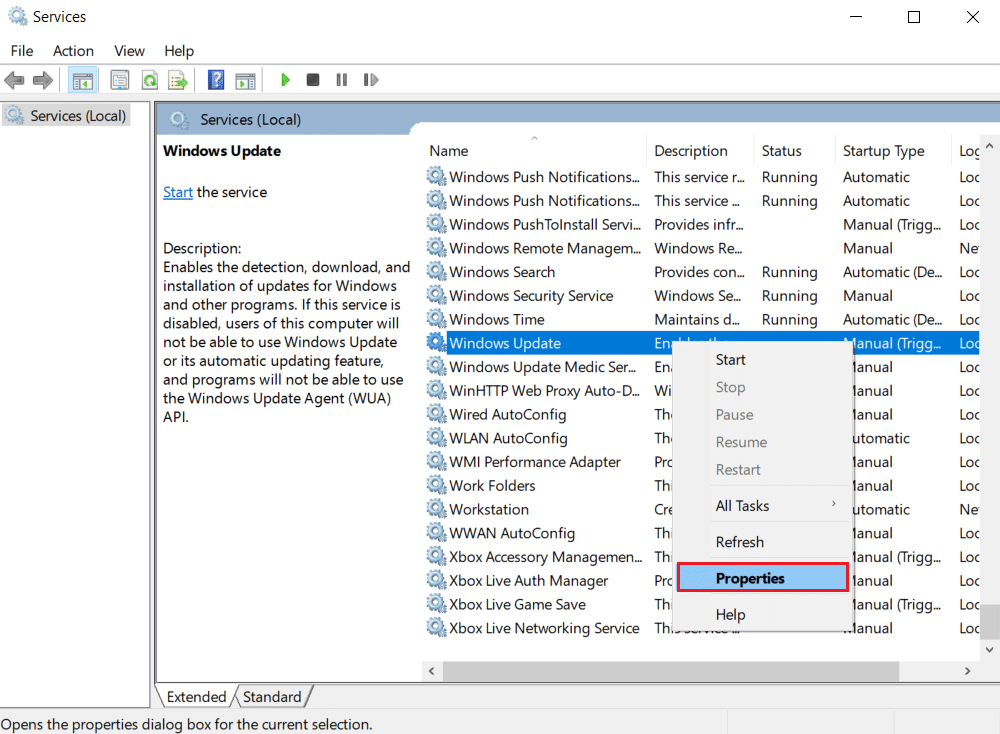
3. Nyob rau hauv General tab, hloov Pib hom rau Tsis Siv Neeg from drop down list.
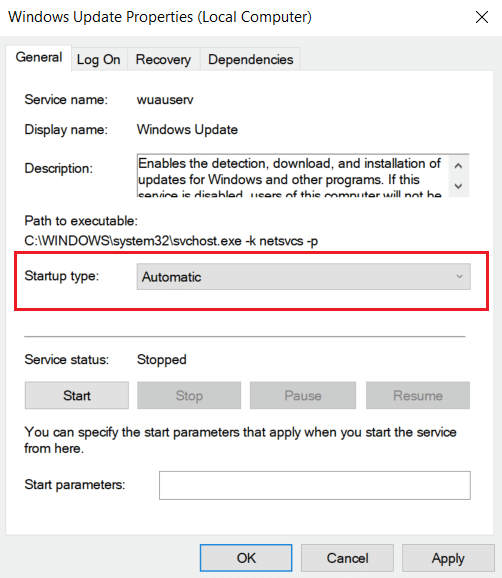
4. Nyem thov thiab OK kom txuag tau kev hloov.
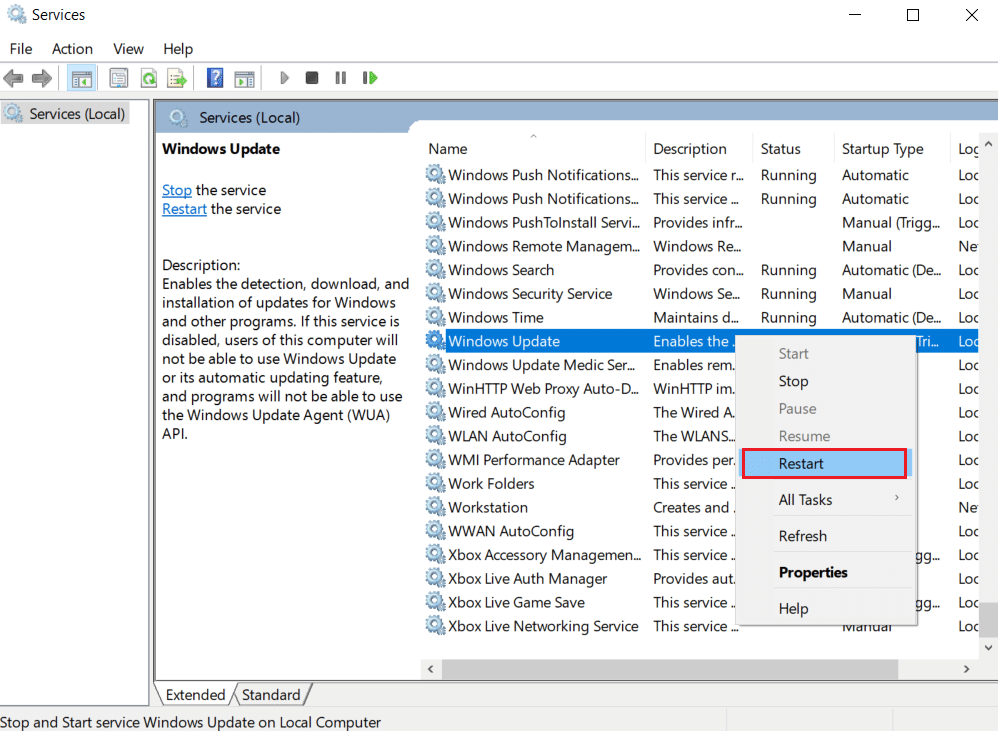
5. Nyob rau hauv cov kev pab cuam window right-click on Qhov Hloov Piav Qhia qhov rais kev pab dua thiab xaiv Pib dua.
6. When Windows update has restarted, close cov kev pab cuam qhov rais.
Nco ntsoov: If the error persists, try to stop automatic updates and check if it works for you.
Method 9: Run Windows Update Troubleshooter and Power
Troubleshooting detects and resolves any problem present within a program. As MoUSO Core Worker Process is related to Windows updates, running Windows update troubleshooter can resolve the error. You can do it by following our guide to Run Windows Update Troubleshooter.
Kuj nyeem: Fix .NET Runtime Optimization Service High CPU Usage
Method 10: Run Power Troubleshooter
If you are still facing this issue after running Windows Update Troubleshooter, try running Power troubleshooter to see if it resolves it. Follow the steps to do the same.
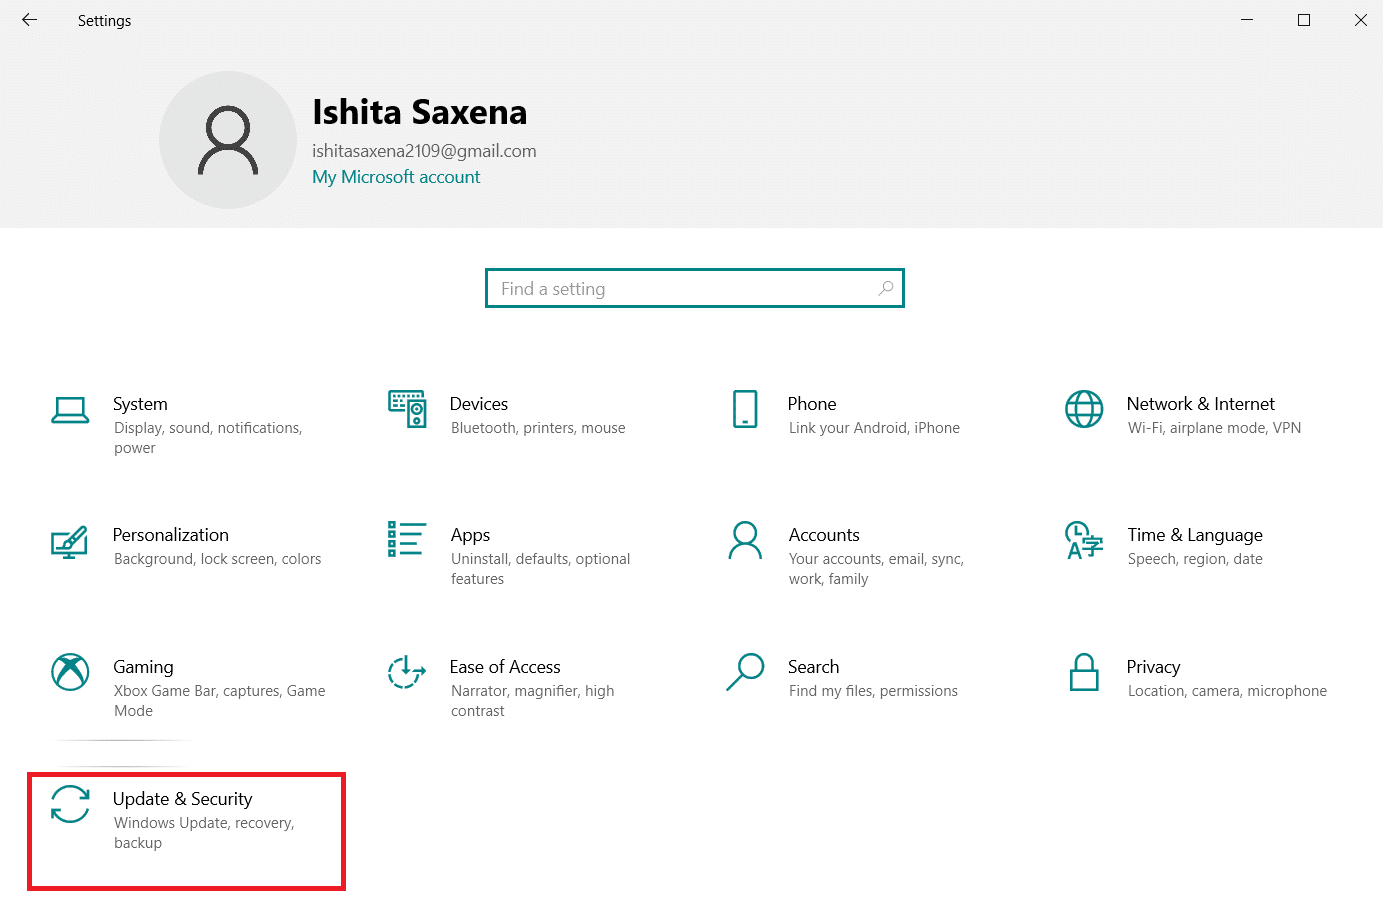
1. Ntaus lub Windows + I keys ua ke qhib chaw.
2. Xaiv Tshiab thiab Kev Ruaj Ntseg on chaw page.
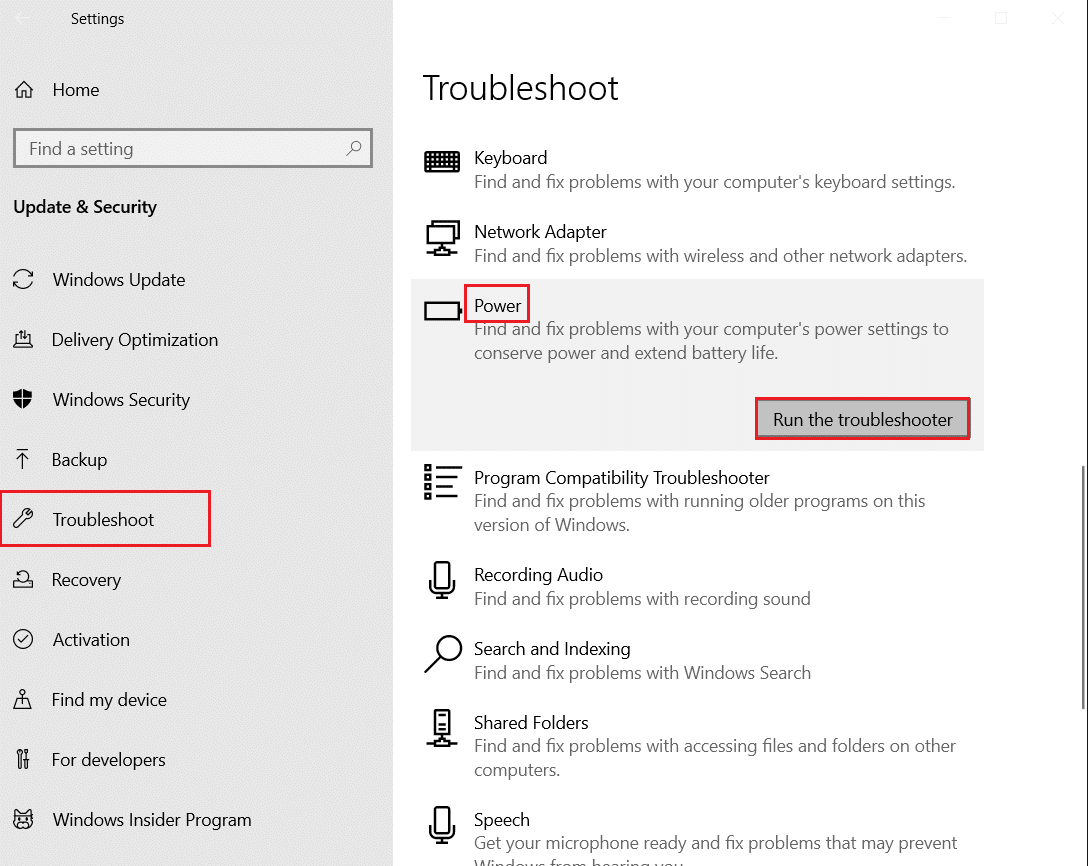
3. Nyem ntawm qhov troubleshoot menu on the left pane.
4. Tom qab ntawd, xaiv lub hwj chim xaiv nyob rau hauv Nrhiav thiab kho lwm yam teeb meem ntu thiab nias lub Khiav lub teeb meem khawm.
5. Wait for the troubleshooting process to complete and reboot koj lub PC.
Method 11: Restore Default Power Settings
If power settings are misconfigured, then can affect functioning of sleep mode on PC. Try changing power settings to default and see if it fixes this MoUsoCoreWorker.exe process issue. To do so, follow the given steps.
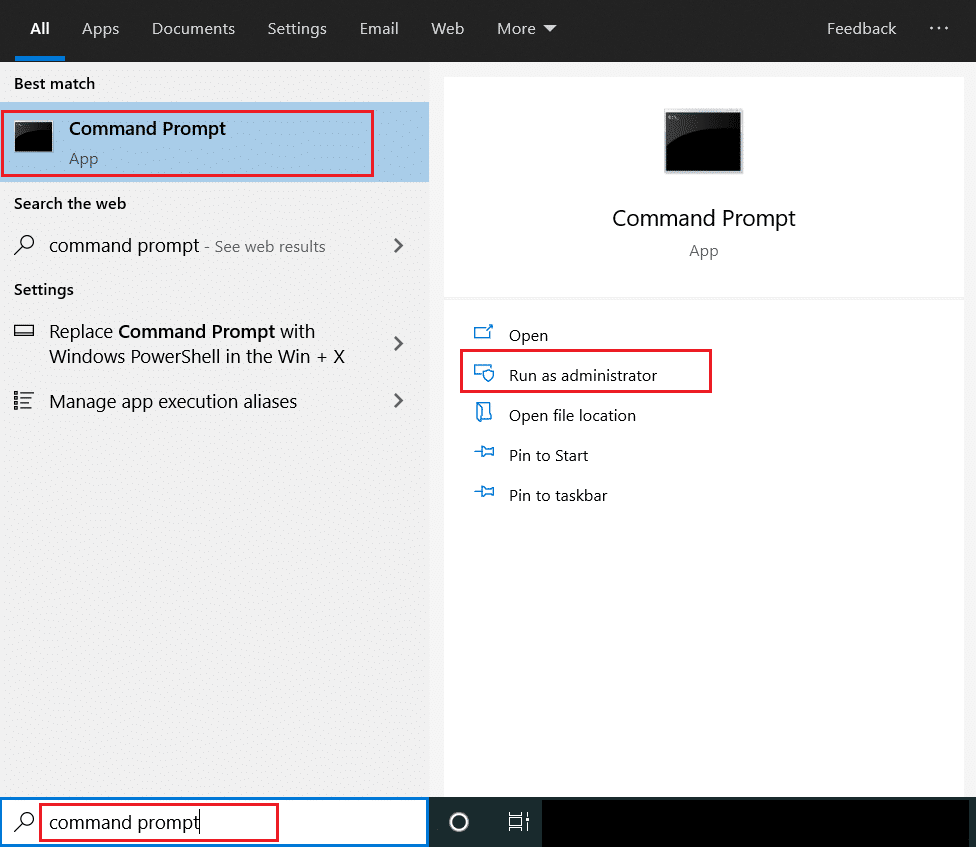
1. Nias lub lub qhov rais tus yuam sij thiab hom hais kom ua sai li sai tau thiab xaiv Khiav raws li cov thawj coj mus tua Hais kom sai.
2. Type the following command in Hais kom sai thiab nias Sau tus yuam sij to execute it. Once command is executed, power settings will revert to default settings.
powercfg -restoredefaultschemes
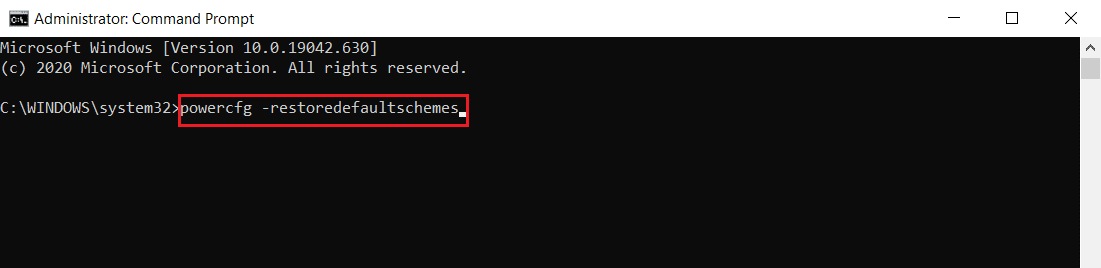
3. Exit Command Prompt and reboot lub PC.
Method 12: Overrule MoUSO Core Worker Process Request
Another way to fix this issue is by modifying your power settings to overrule MoUSO Core Worker Process request. To do it, follow these instructions carefully.
1. Ua raws Kauj ruam 1 los ntawm Txoj kev 11 qhib Hais kom sai raws li tus neeg khiav dej num.
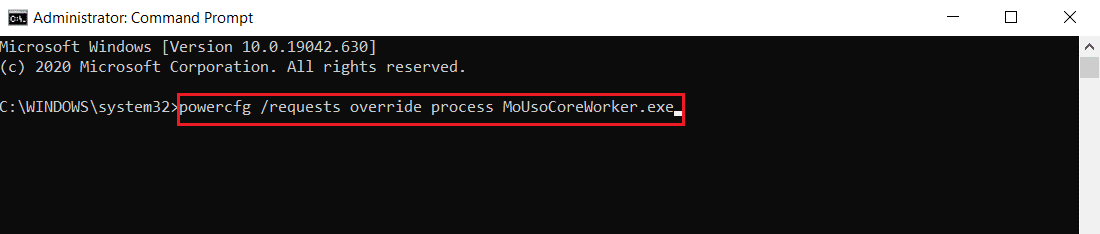
2. Type the following command to overrule MoUSO Core Worker Process request and press the Sau tus yuam sij.
powercfg /requestsoverride process MoUsoCoreWorker.exe execution
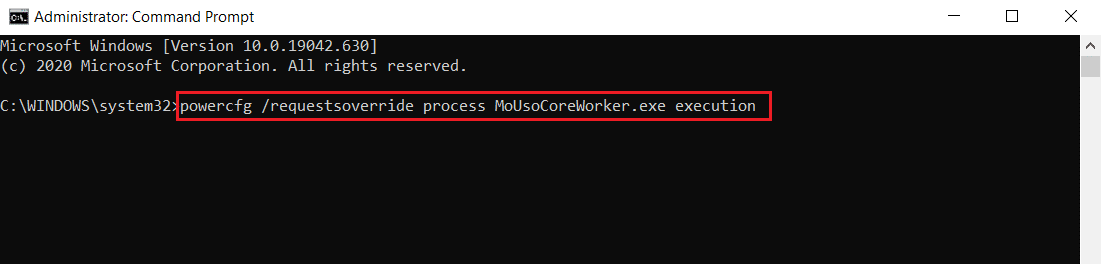
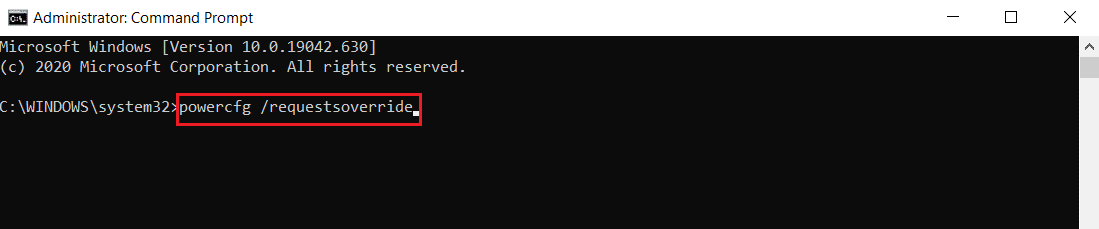
3. After executing the previous command, type the following command to verify the overrule process and press the Sau tus yuam sij.
powercfg /requestsoverride
Nco ntsoov: In case you want to stop overruling MoUSO Core Worker Process request, simply execute this command in Hais kom sai.
powercfg /requests override process MoUsoCoreWorker.exe
Kuj nyeem: Fix DISM Host Servicing Process High CPU Usage
Method 13: Disable Troublesome Hardware Components
MoUSO Core Worker Process may stay if it is unable to power off certain hardware components. It can be fixed by disconnecting such hardware devices by enabling PC to power them off. Follow the steps below do the same
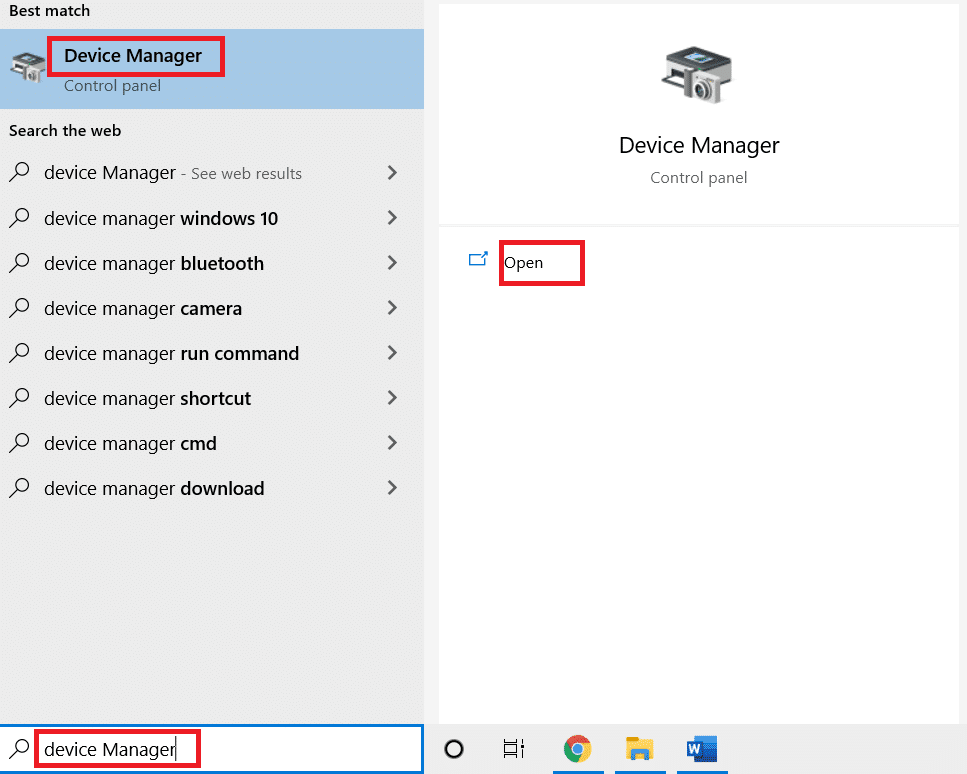
1. Nias lub Windows qhov tseem ceeb, hom Ntaus Tus Thawj Coj thiab nias rau Qhib.
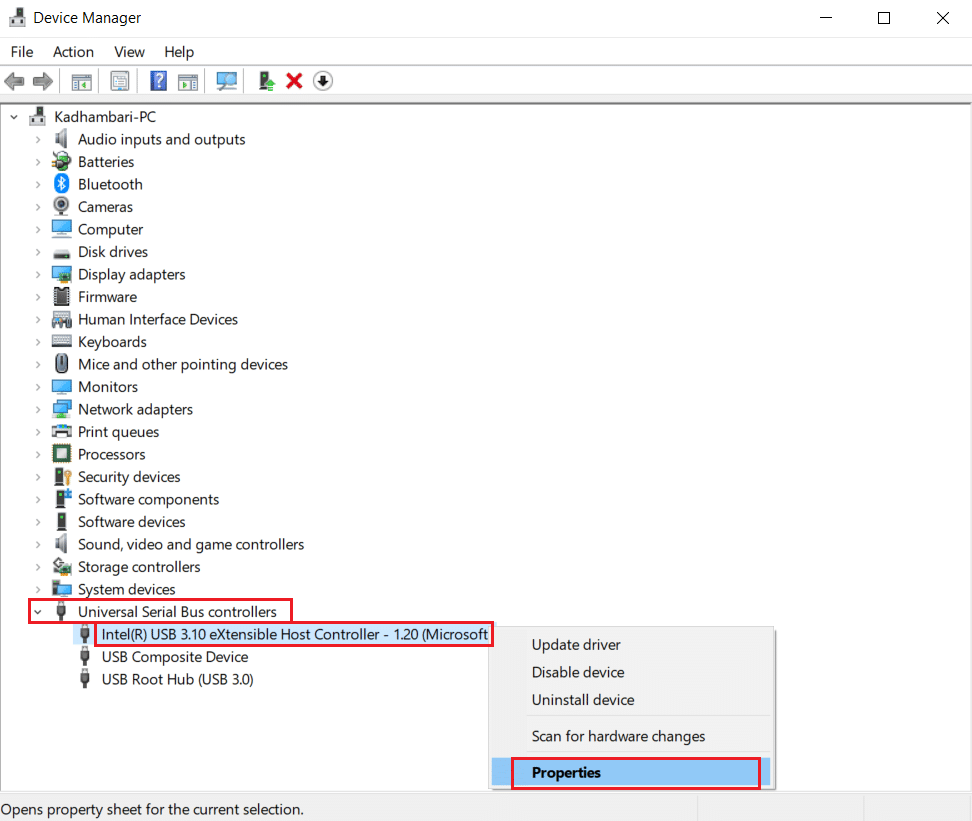
2. Select and expand Universal Serial Bus Controllers. Choose a device, right-click on it and select Properties. It will open Properties window.
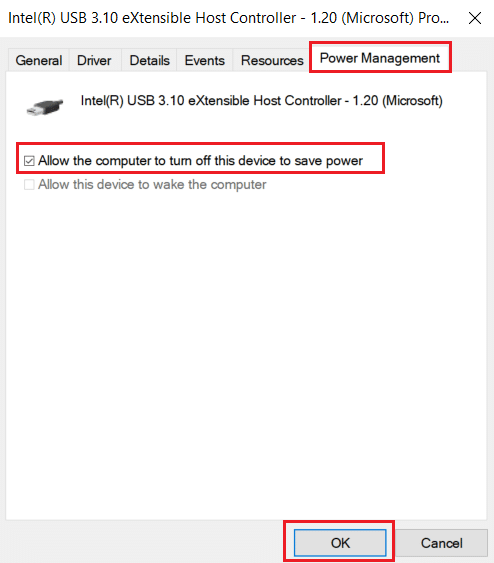
3. Mus rau Fais fab Management tab, check the box marked Cia lub computer tshem tawm cov cuab yeej no kom txuag tau hluav taws xob thiab nias OK kom txuag tau kev hloov.
4. Repeat the process for all other devices to identify which ones are the problematic hardware devices and disable them.
5. If the issue persists, you can run the following command to check which devices are not powered off and hit the Sau tus yuam sij.
faivcfg -devicequery wake_armed
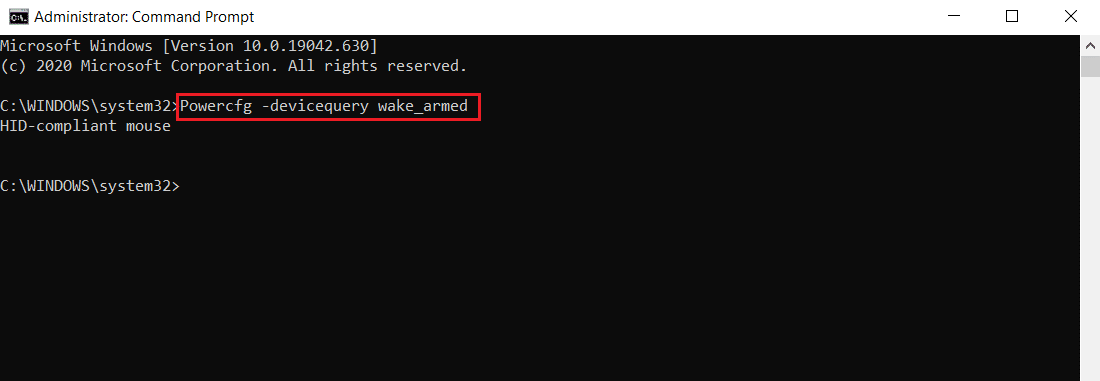
6. After this command is executed unplug the device mentioned in Command Prompt or modify its properties by going to the Fais fab Management tab raws li qhia hauv Kauj ruam 3.
Txoj Kev 14: Ua Qhov System Restore
If none of the above solutions works, your final option is to perform System Restore. If you are unable to identify any program or driver causing MoUSO Core Worker Process to constantly wake up PC from sleep, restore your PC to a previous date by following our guide to Use System Restore on Windows 10. This method will surely fix the issue.
pom zoo:
We hope that this guide was helpful and you were able to stop MoUSO Core Worker Process from waking your PC from sleep. Let us know which method worked for you the best. If you have any queries or suggestions then feel free to drop them in the comments section.

