Today, we have multiple applications for the same purpose. For example, for casual shopping, we have Amazon, Flipkart, Myntra, etc. For grocery shopping, we have Big Basket, Grofers, etc. The point of saying is that we have the luxury of using an application for almost every purpose we can think of.
We simply have to head to the Play Store, hit the install button, and within no time, the app will be a part of other applications present on the device. While some applications are lightweight and consume very little space, others eat up a lot of space. But how would you feel if your phone is not having enough internal storage space for even a lightweight application?
Luckily, nowadays a large number of Android devices have a daim credit card microSD slot where you can insert an SD card of your choice and size. A microSD card is the best and the cheapest way of expanding your phone’s internal storage and creating ample space for the new applications instead of removing or deleting the existing ones from the device in order to create some space. You can also set the SD card as the default storage place for your newly installed application but if you do so, still after some time, you will get the same warning message not enough space ntawm koj lub iPad.
This is because some apps are designed in the way that they will only run from internal storage because the read/write speed of internal storage is much faster than the SD card. That is why if you have saved the default storage as the SD card, still some apps will get installed into the internal storage of your device and the app’s preference will be overridden by your preference. So, if such a thing happens, you will need to force some apps to move them into the SD card.
Saib Ntxiv:
Yuav Ua Li Cas Hloov Cov Lus Ceeb Toom rau Cov Apps sib txawv ntawm Samsung
Yuav Ua Li Cas Hloov Cov Npe thiab Lub Npe ntawm Clubhouse Android App
How to Check Home Depot Card Balance
Sab saum toj 10 Solutions los kho WiFi Hu Tsis Ua Haujlwm ntawm Android
How to Get Free Netflix Gift Card Code
Now comes the biggest question: How to force move apps to an SD card on an Android device?
So, if you are looking for the answer to the above question, keep reading this article as in this article, several methods are listed using which you can move the applications from your Android device to the SD card. So, without further ado, let’s start.
How to Force Move Apps to an SD Card in Android
There are two types of applications available on Android phones. The first one is the applications that are pre-installed into the device and the second ones are those that are installed by you. Moving the applications belonging to the second category into an SD card is easy as compared to the pre-installed apps. In fact, in order to move the pre-installed applications, first of all, you need to root your device, and then using some third-party applications, you can move the pre-installed applications into the SD card of your Android device.
Below you’ll find different methods using which you can move both, the pre-installed applications and the apps installed by you into the SD card of your phone:
Method 1: Move the installed applications into the SD card
Follow the below steps in order to move the applications that are installed by you into the SD card of your Android phone:
1. qhib lub Tus Thawj Tswj Ntaub Ntawv ntawm koj lub xov tooj.
2. You will see two options: Sab hauv thiab SD daim ntawvCov. Mus lub Internal cia ntawm koj lub xov tooj.
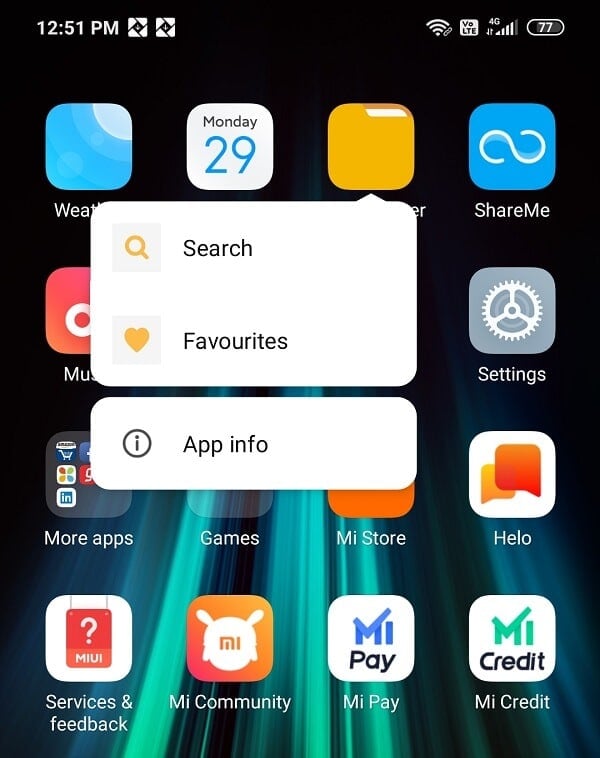
3. Nyem ntawm qhov apps nplaub tshev.
4. A complete list of the apps installed on your phone will appear.
5. Click on the app you want to move to the SD card. The app info page will open up.
6. Nyem ntawm qhov peb-dot icon available at the top right corner of your screen. A menu will open up.
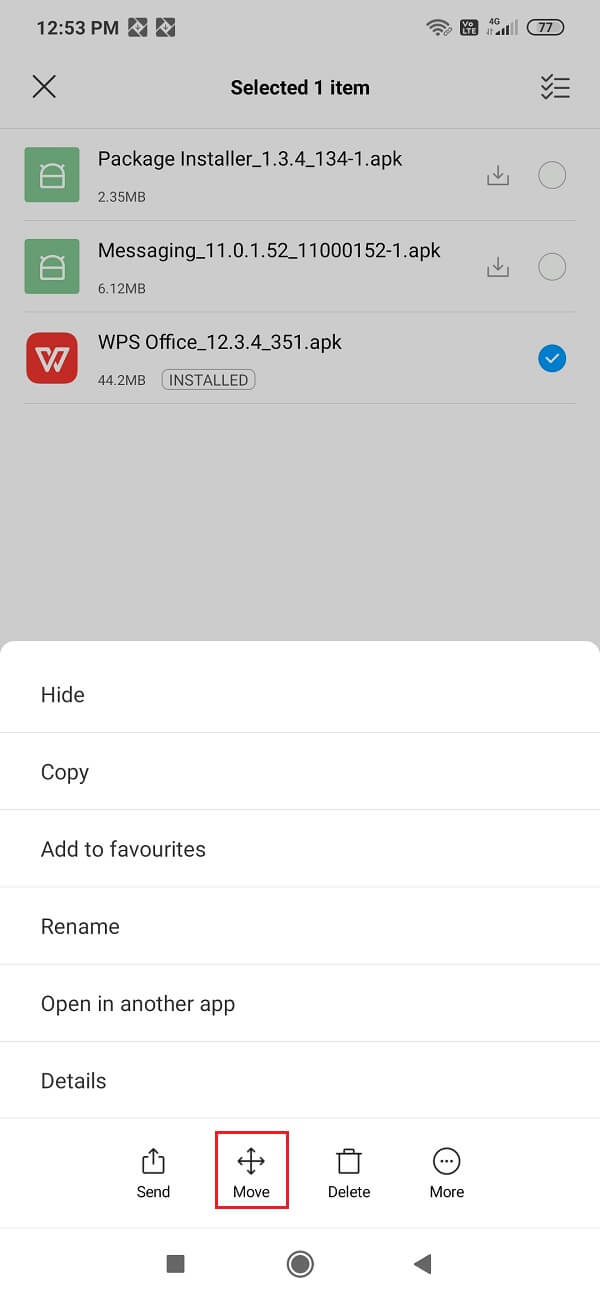
7. Xaiv qhov hloov option from the menu that has just opened up.
8. Xaiv qhov SD daim ntawv from the change storage dialog box.
9. After selecting the SD card, a confirmation pop up will appear. Click on the Txav mus button and your selected app will start moving to the SD card.
10. Wait for some time and your app will completely transfer to the SD card.
Ceeb toom: The above steps may vary depending on the brand of the phone you are using but the basic flow will remain the same for almost all the brands.
After completing the above steps, the app you have selected will move to the SD card and will no longer be available in the internal storage of your phone. Similarly, move the other apps also.
Methods 2: Move pre-installed applications into the SD card (Root Required)
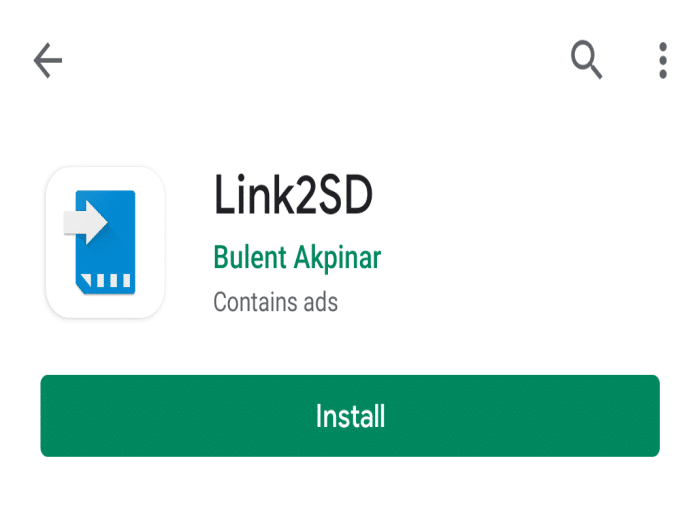
The above method is only valid for the apps that show the Txav mus option. Whereas the apps which cannot be moved to the SD card just by clicking on the Move button are either disabled by default or the move button is not available. In order to move such applications, you need to take the help of some third-party applications like Txuas2SD. But as discussed above, before using these applications, your phone needs to be rooted.
Disclaimer:
To root your phone, you can use any one of the following methods. They are very popular and safe to use.
- KingoRoot
- iRoot
- Kingroot
- FramaRoot
- TowelRoot
Once your phone is rooted, proceed with the below steps to move the pre-installed applications to the SD card.
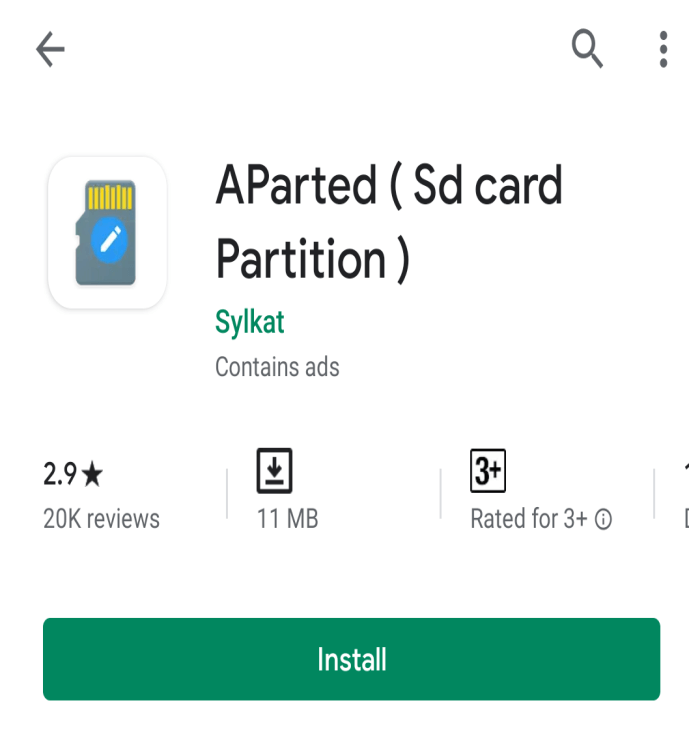
1. First of all, go to the Google ua si khw thiab tshawb nrhiav rau AParted daim ntawv thov.
AParted: This application is used to create partitions in an SD card. Here, you will need two partitions in the SD card, one to keep all the images, videos, music, documents, etc. and another one for the applications that are going to link to the SD card.
2. Download and install it by clicking on the Nruab khawm.
3. Once it is done, search for another application called Txuas2SD hauv Google Play Store.
4. Download and install it on your device.
5. Once you have both the applications on your device, you also need to unmount and format the SD card. To unmount and format the SD card, follow the below steps.
a. Go to the chaw ntawm koj lub xov tooj.
b. Under settings, scroll down and click on the cia kev xaiv.
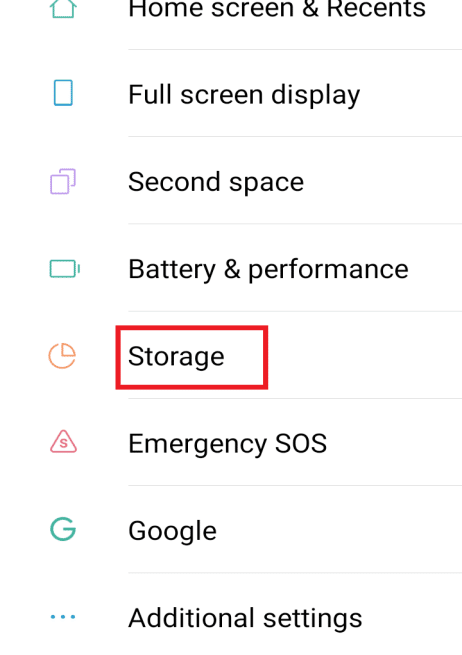
c. You will see the Unmount SD daim npav option under the SD Click on it.

d. After some time, you will see the message SD card successfully ejected and the previous option will change to Mount SD card.
e. Again click on Mount SD card kev xaiv.
f. A confirmation pop up will appear asking to use the SD card, you have to mount it first. Nias rau Mount option and your SD card will be available again.
6. Tam sim no, qhib lub AParted application which you have installed by clicking on its icon.
![]()
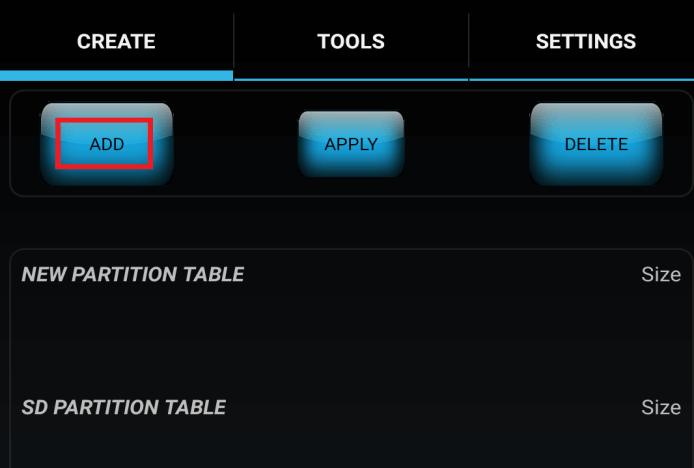
7. The screen below will open up.
8. Nyem ntawm qhov Ntxiv button available at the top left corner.
9. Choose the default settings and leave part 1 as fat32. This part 1 is going to be the partition that will keep all your regular data like videos, images, music, documents, etc.
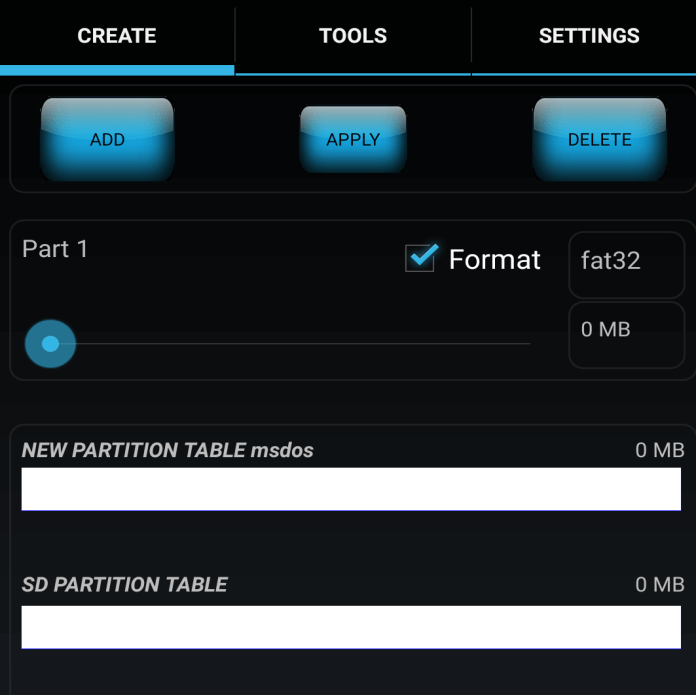
10. Xaub qhov xiav bar to the right until you get the desired size for this partition.
11. Once your partition 1 size is done, again click on the Ntxiv button available at the top left corner of the screen.
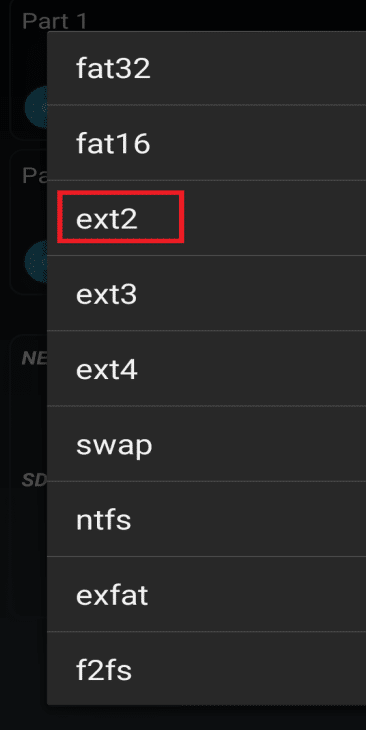
12. Nias rau fat32 and a menu will open up. Choose ext2 from the menu. Its default size will be your SD card size minus the size of the partition 1. This partition is for the applications that are going to be linked to the SD card. If you feel like you need more space for this partition, you can adjust it by sliding the blue bar again.
13. Once you are done with all the settings, click on thov thiab OK to create the partition.
14. A pop up will appear saying processing partition.
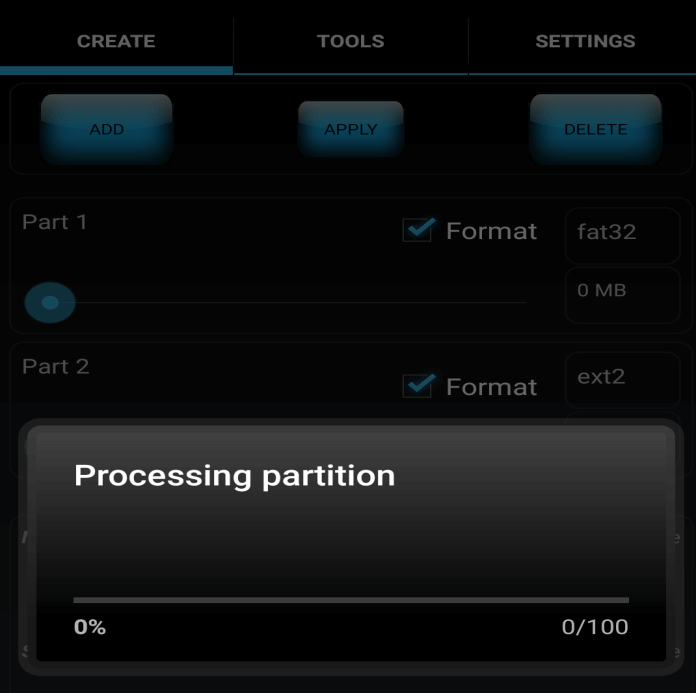
15. After the partition processing is completed, you will see two partitions there. Open the Txuas2SD application by clicking on its icon.
![]()
16. A screen will open up which will contain all the installed applications on your phone.
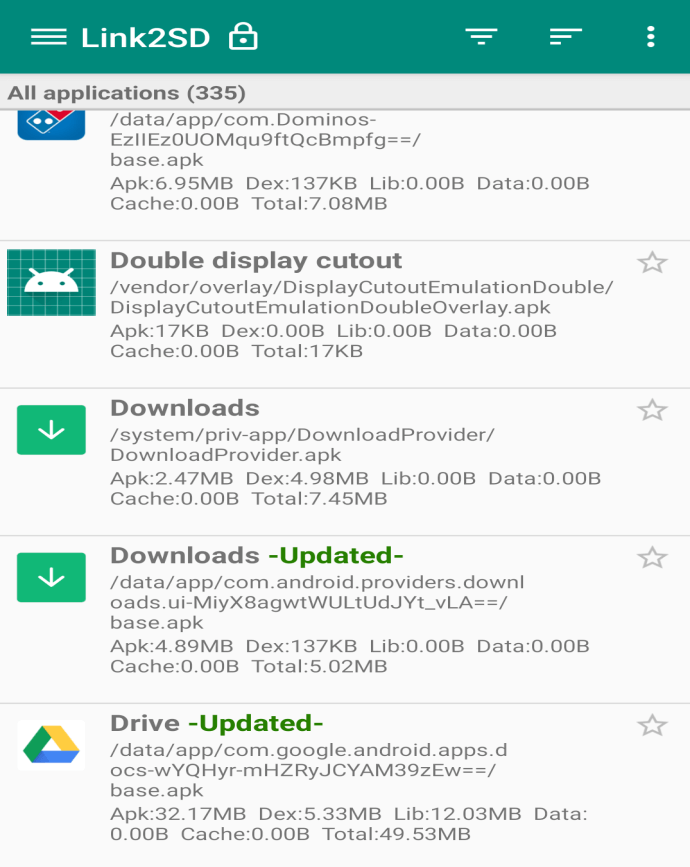
17. Click on the application you want to move to the SD The below screen with all the details of the application will open up.
18. Nyem ntawm qhov Link to SD card button and not on the Move to SD card one because your app does not support moving to SD card.
19. A pop up will appear asking to select the file system of your SD card’s second partition. Xaiv ext2 los ntawm cov ntawv qhia zaub mov.
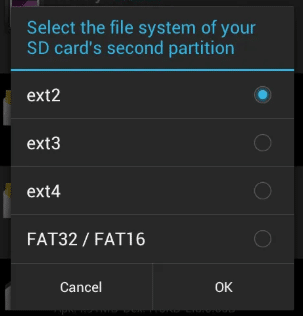
20. Nyem ntawm qhov OK khawm.
21. You will receive a message saying that the files are linked and moved to the second partition of the SD card.
22. Then, click on the three lines at the top left corner of the screen.
23. A menu will open up. Click on the reboot device option from the menu.

Similarly, link the other apps to the SD card and this will transfer a huge percentage, approximately 60% of the application into the SD card. This will clear a decent amount of space of the internal storage on the phone.
Nco ntsoov: You can use the above method for moving pre-installed apps as well as the apps installed by you on your phone. For the applications that support moving to the SD card, you can choose to move them to the SD card, and if there are some applications that are installed by you but do not support moving to the SD card then you can choose the link to the SD card option.
Method 3: Move the pre-ntsia applications into the SD card (Without Rooting)
In the previous method, you need to root your phone before you can force move the apps to an SD card on your Android phone. Rooting your phone can lead to loss of important data and settings even if you have taken the backup. In the worst of cases, rooting can completely damage your phone. So, generally, people avoid rooting their phones. If you also do not want to root your phone but still need to move the applications from the internal storage of your phone to the SD card, then this method is for you. Using this method, you can move the apps that are pre-installed & do not support moving to the SD card without rooting the phone.
1. Ua ntej tshaj plaws, download tau thiab nruab lub APK editor.
2. Once downloaded, open it and Select the “APK from App"Kev xaiv.

3. A complete list of the apps will open up. Select the app you want to move to the SD card.
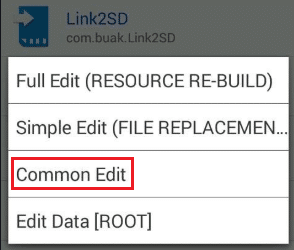
4. A menu will open up. Click on the Common Edit kev xaiv los ntawm cov ntawv qhia zaub mov.
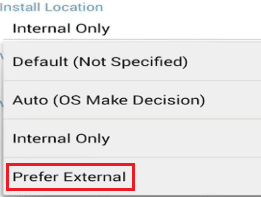
5. Set the install location to Prefer External.
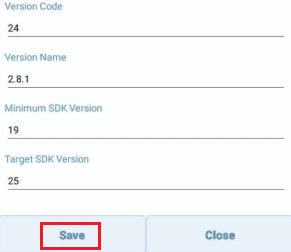
6. Nyem ntawm qhov Txuag button available at the bottom left corner of the screen.
7. After that, wait for some time as the further process will take some time. After the process is completed, you will see a message saying kev vam meej.
8. Now, go to the settings of your phone and check whether the application has moved to the SD card or not. If it has moved successfully, you will see that the move to the internal storage button will become accessible and you can click on it to reverse the process.
Similarly, using the above steps you can move the other apps to the SD card without rooting your phone.
pom zoo:
Hopefully, using the above methods, you will be able to force move apps from the internal storage to the SD card on your Android phone no matter what type of application it is and can make some space available on the internal storage of your phone.

