Kako očistiti predmemoriju na Facebooku

The Facebook app saves files for later reference as you use it. It has its own browser with a cache, much like any other browser. The information is saved in the app cache, saving you time when doing certain tasks. Because Facebook doesn’t set a limit on the size of its browser cache, it may get fairly large, making the app slow. If you’re concerned about storage or having issues with the Facebook app, you may wish to erase the cache. Today we’ll show you how to clear cache on Facebook in various devices like Android and iOS.

Kako očistiti predmemoriju na Facebooku
Facebook is a ubiquitous social network that follows you throughout the Internet. Its share widgets have become such an integral part of the Internet that it’s difficult to locate a page without them. Facebook widgets aren’t merely seen on websites. Both iOS and macOS support it natively, so there is no difference between your smartphones and PCs. Continue reading to clear Facebook cache Android, iPhone, and web browsers.
1. način: na Androidu
Here are the steps to clear Facebook cache on Android devices.
Bilješka: Since smartphones don’t have the same Settings options, and they vary from manufacturer to manufacturer hence, ensure the correct settings before changing any. The said steps were performed on OnePlus Nord.
Vidi također:
How to Get Rid of Picasa on Samsung Galaxy S5
Kako izbrisati adrese e-pošte iz Gmail automatskog popunjavanja na Androidu
Kako pretvoriti HEIC u JPG na Androidu
Kako onemogućiti uslugu Gear VR na Androidu
Kako montirati šifrirani VeraCrypt na Android
Option 1: Through App
Your personal account data, photographs, or posts will not be deleted if you clear your Facebook cache. Here’s how to clear Facebook cache Android:
1. Otvorite Facebook Aplikaciju na telefonu.
2. Dodirnite hamburger Ikona.
![]()
3. Swipe to the bottom of the page and tap on Postavke i privatnost.
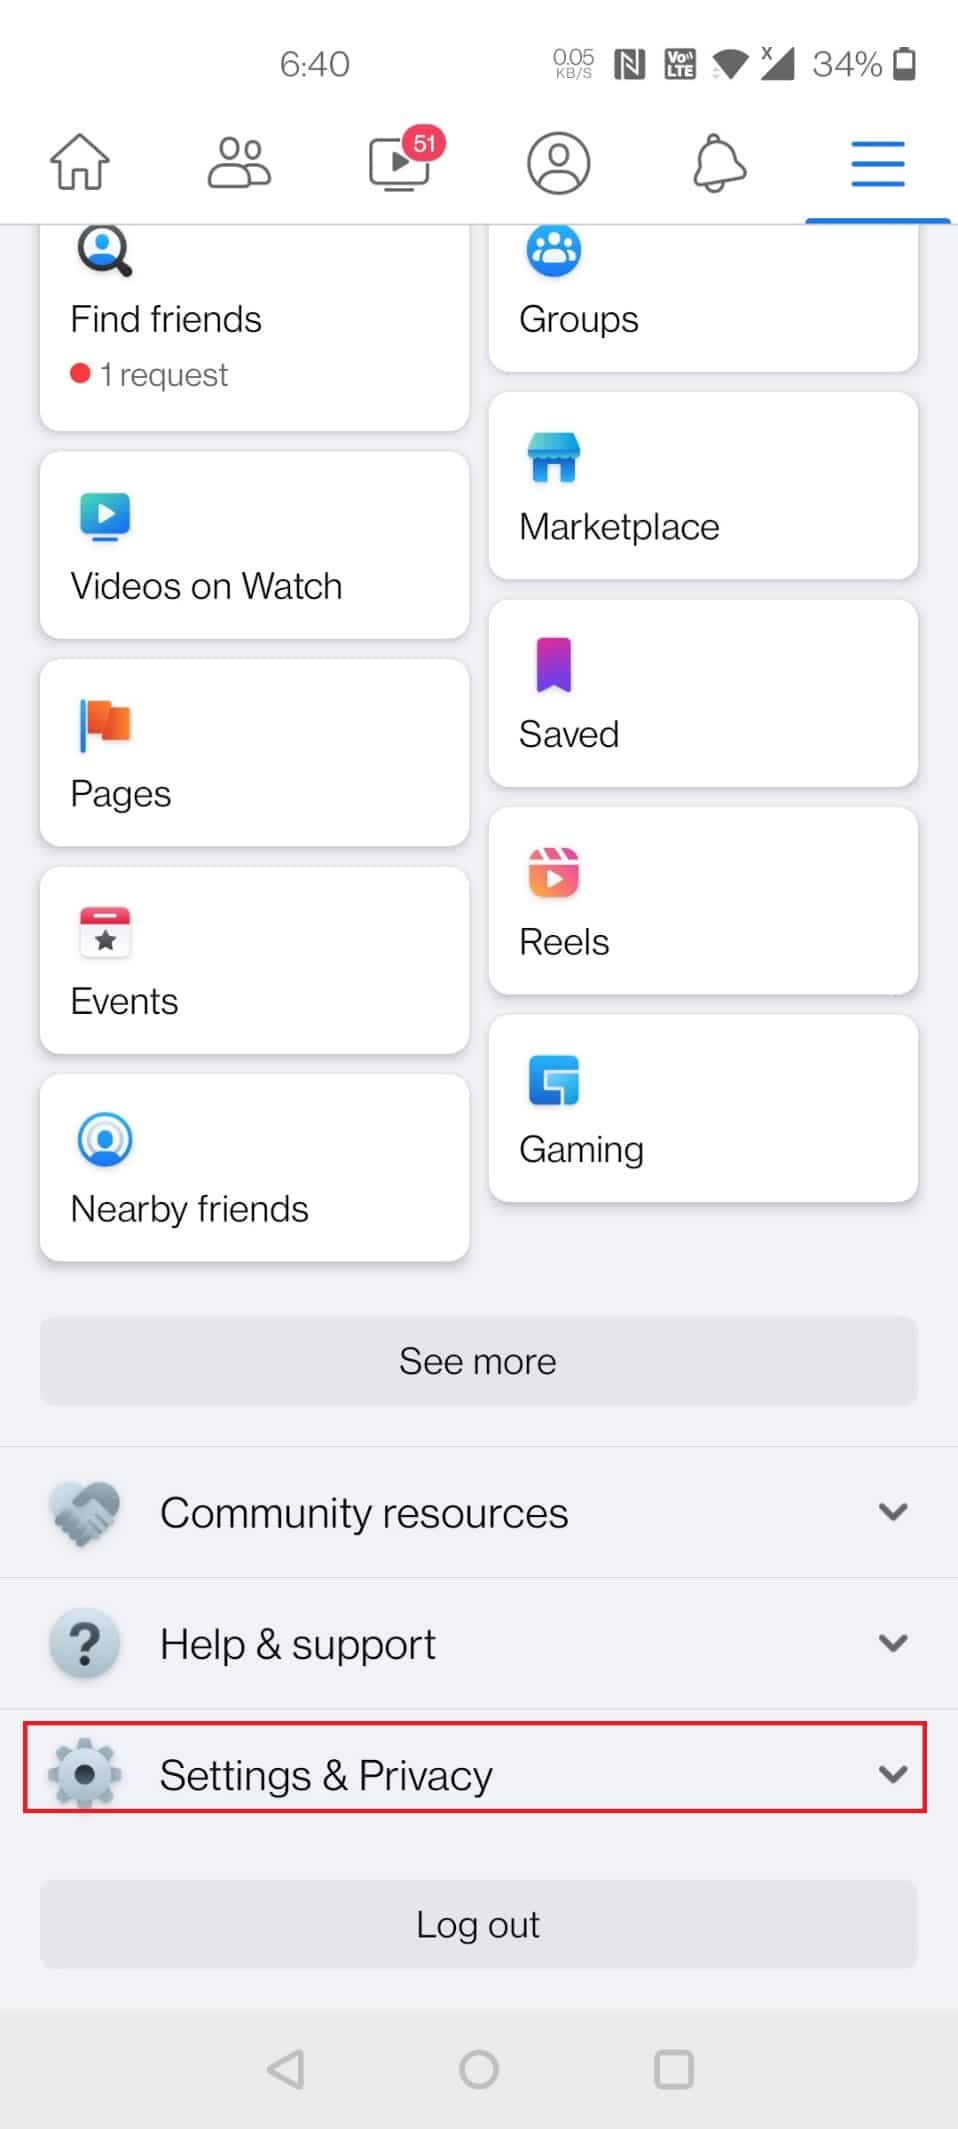
4. Dodirnite Postavke.

5. Prijeđite prstom prema dolje i dodirnite preglednik opcija pod Dozvole.
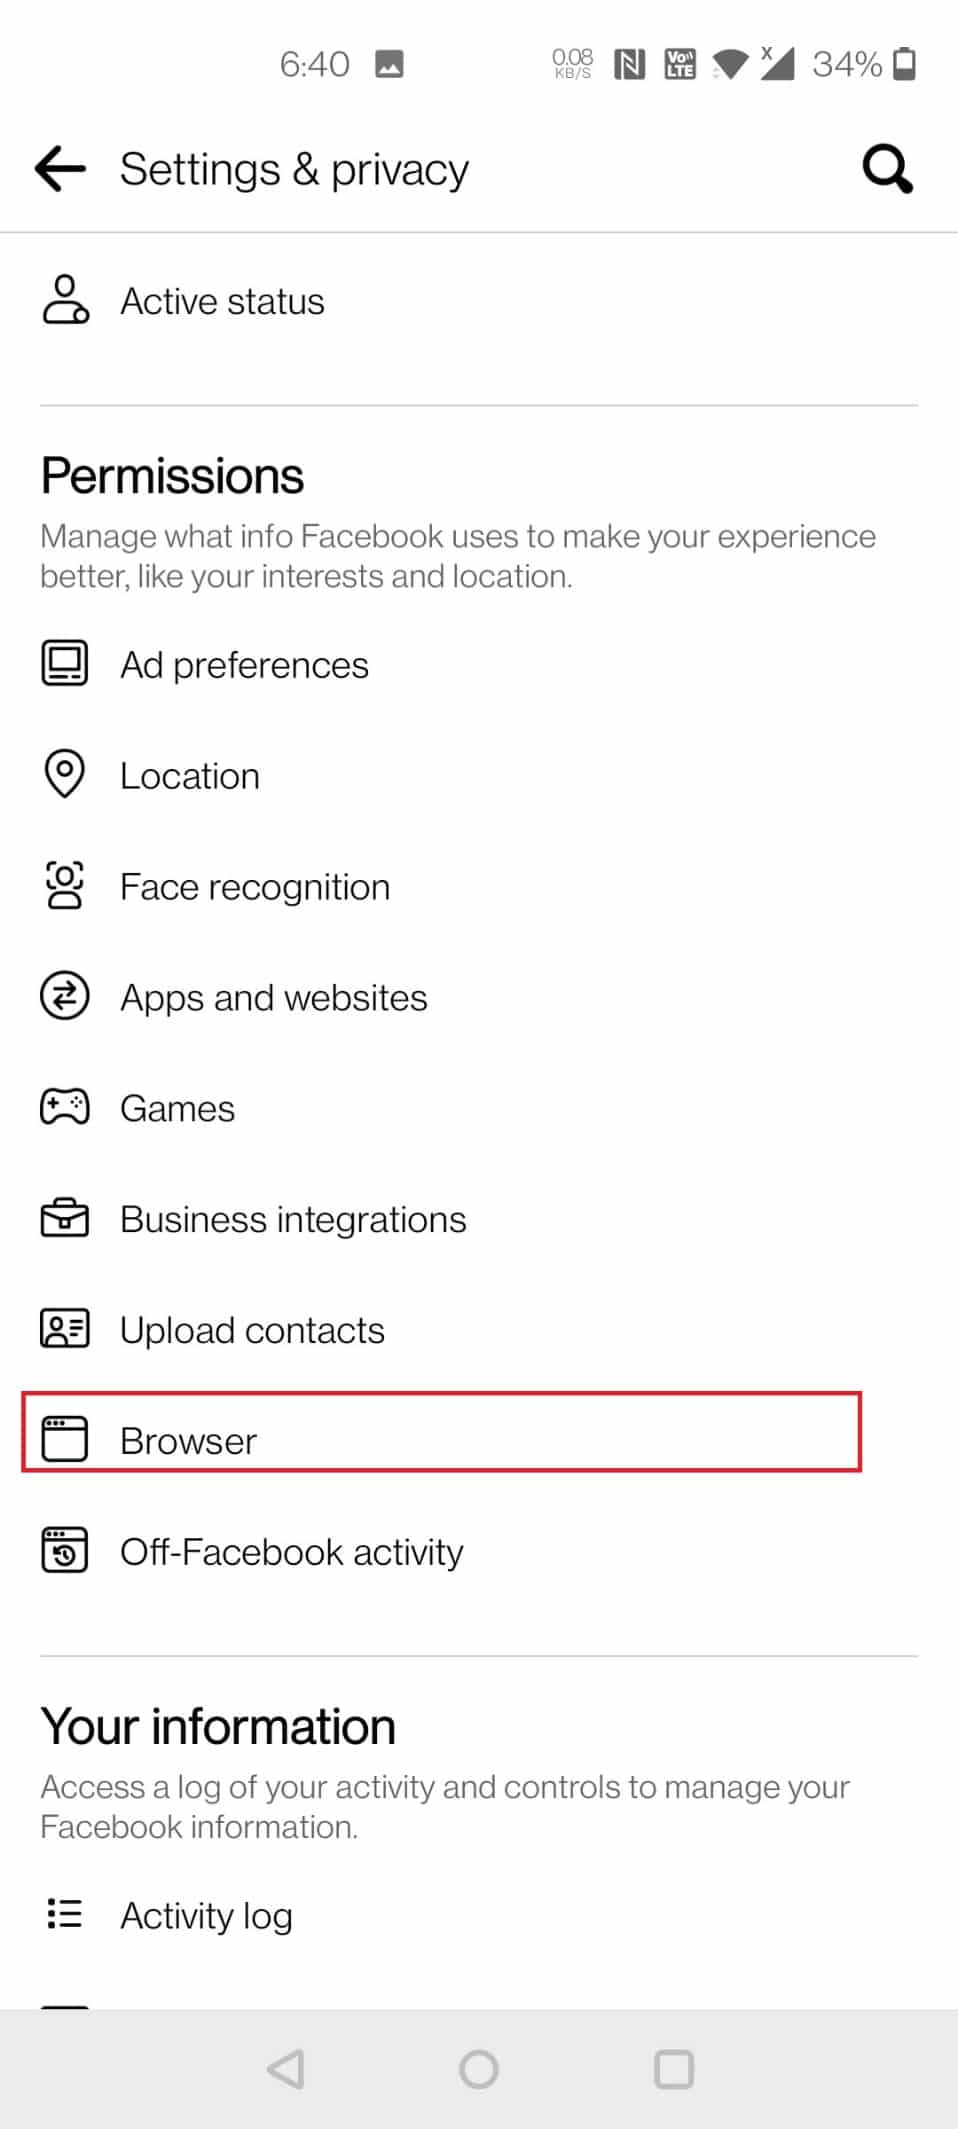
6. Dodirnite Izbriši pokraj gumba Podaci o pregledavanju.

Option 2: Through Settings
To clear cache on Facebook through Android device settings, follow the given steps below:
1. Ići Postavke Na telefonu.
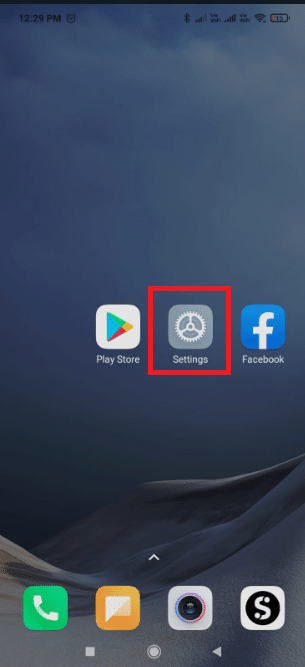
2. Dodirnite Aplikacije i obavijesti.
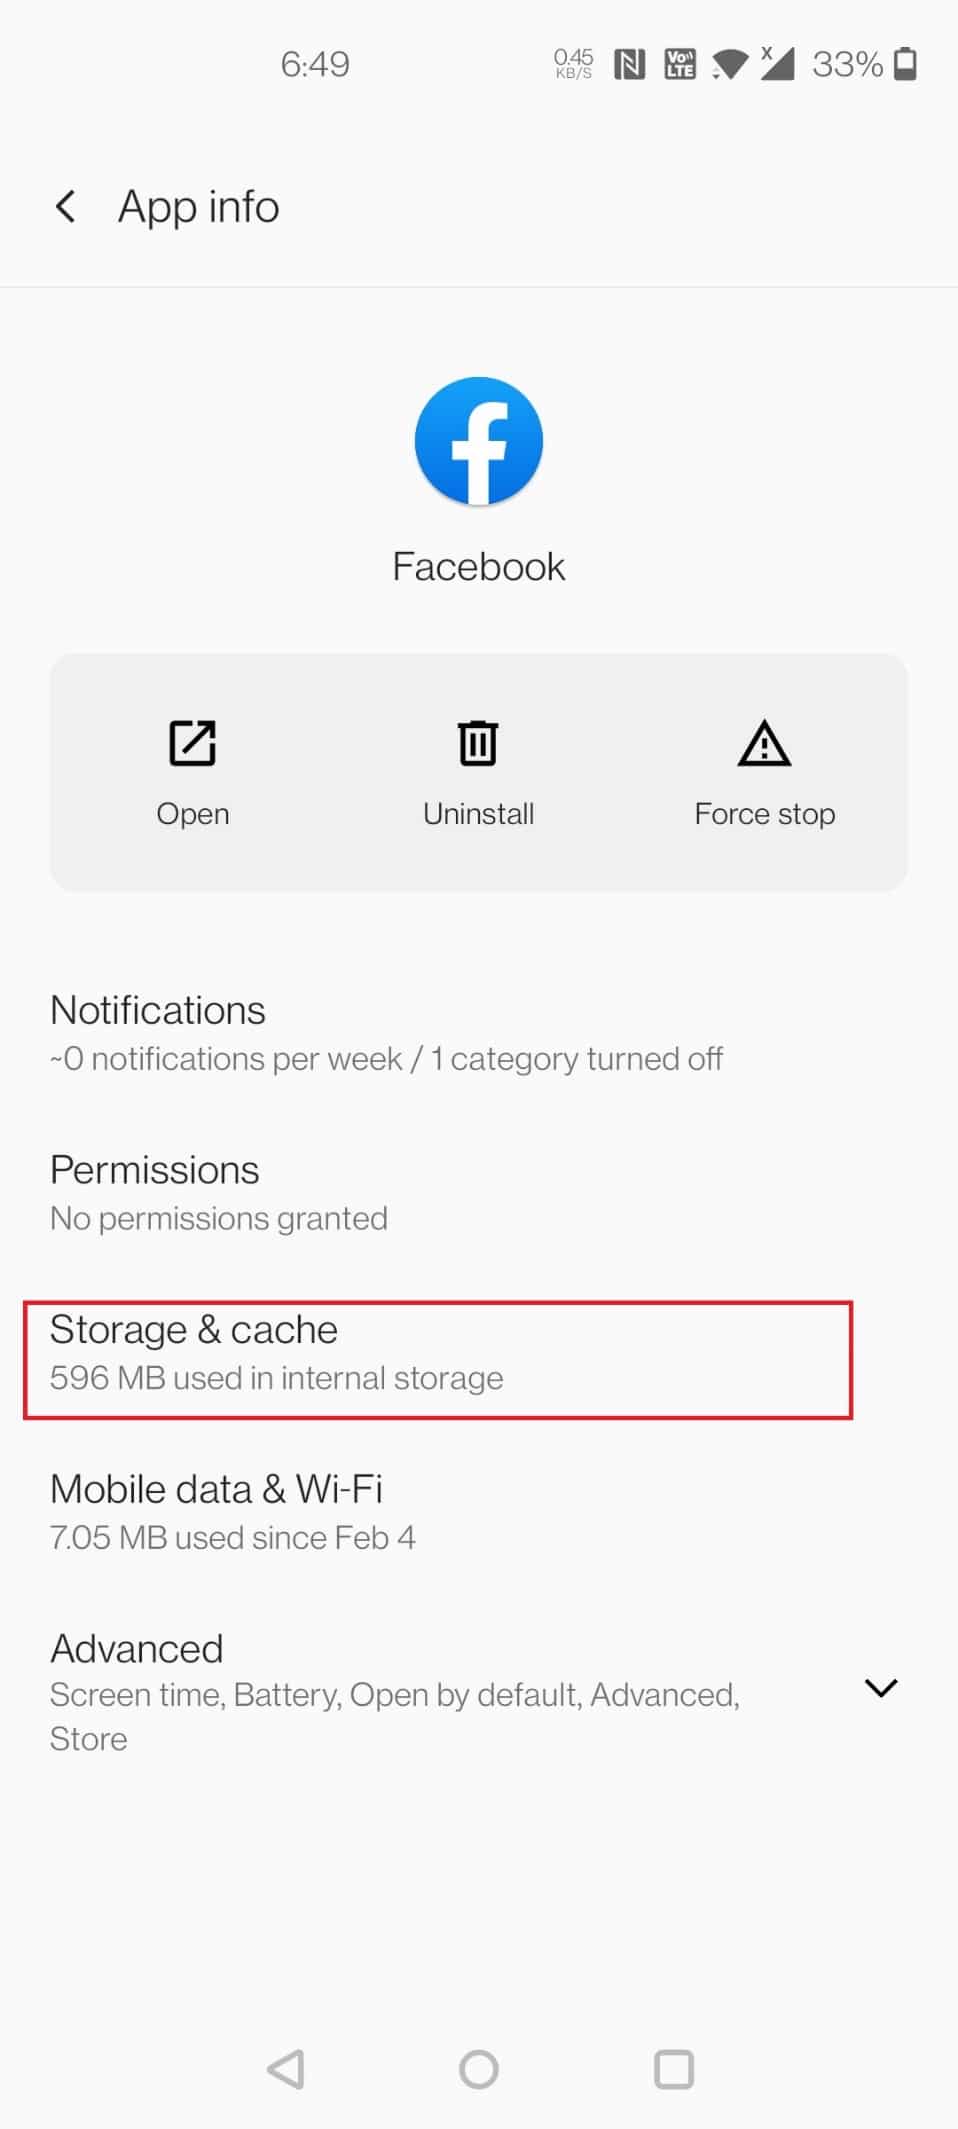
3. Prijeđite prstom prema dolje i dodirnite Facebook.

4. Dodirnite Pohrana i predmemorija.
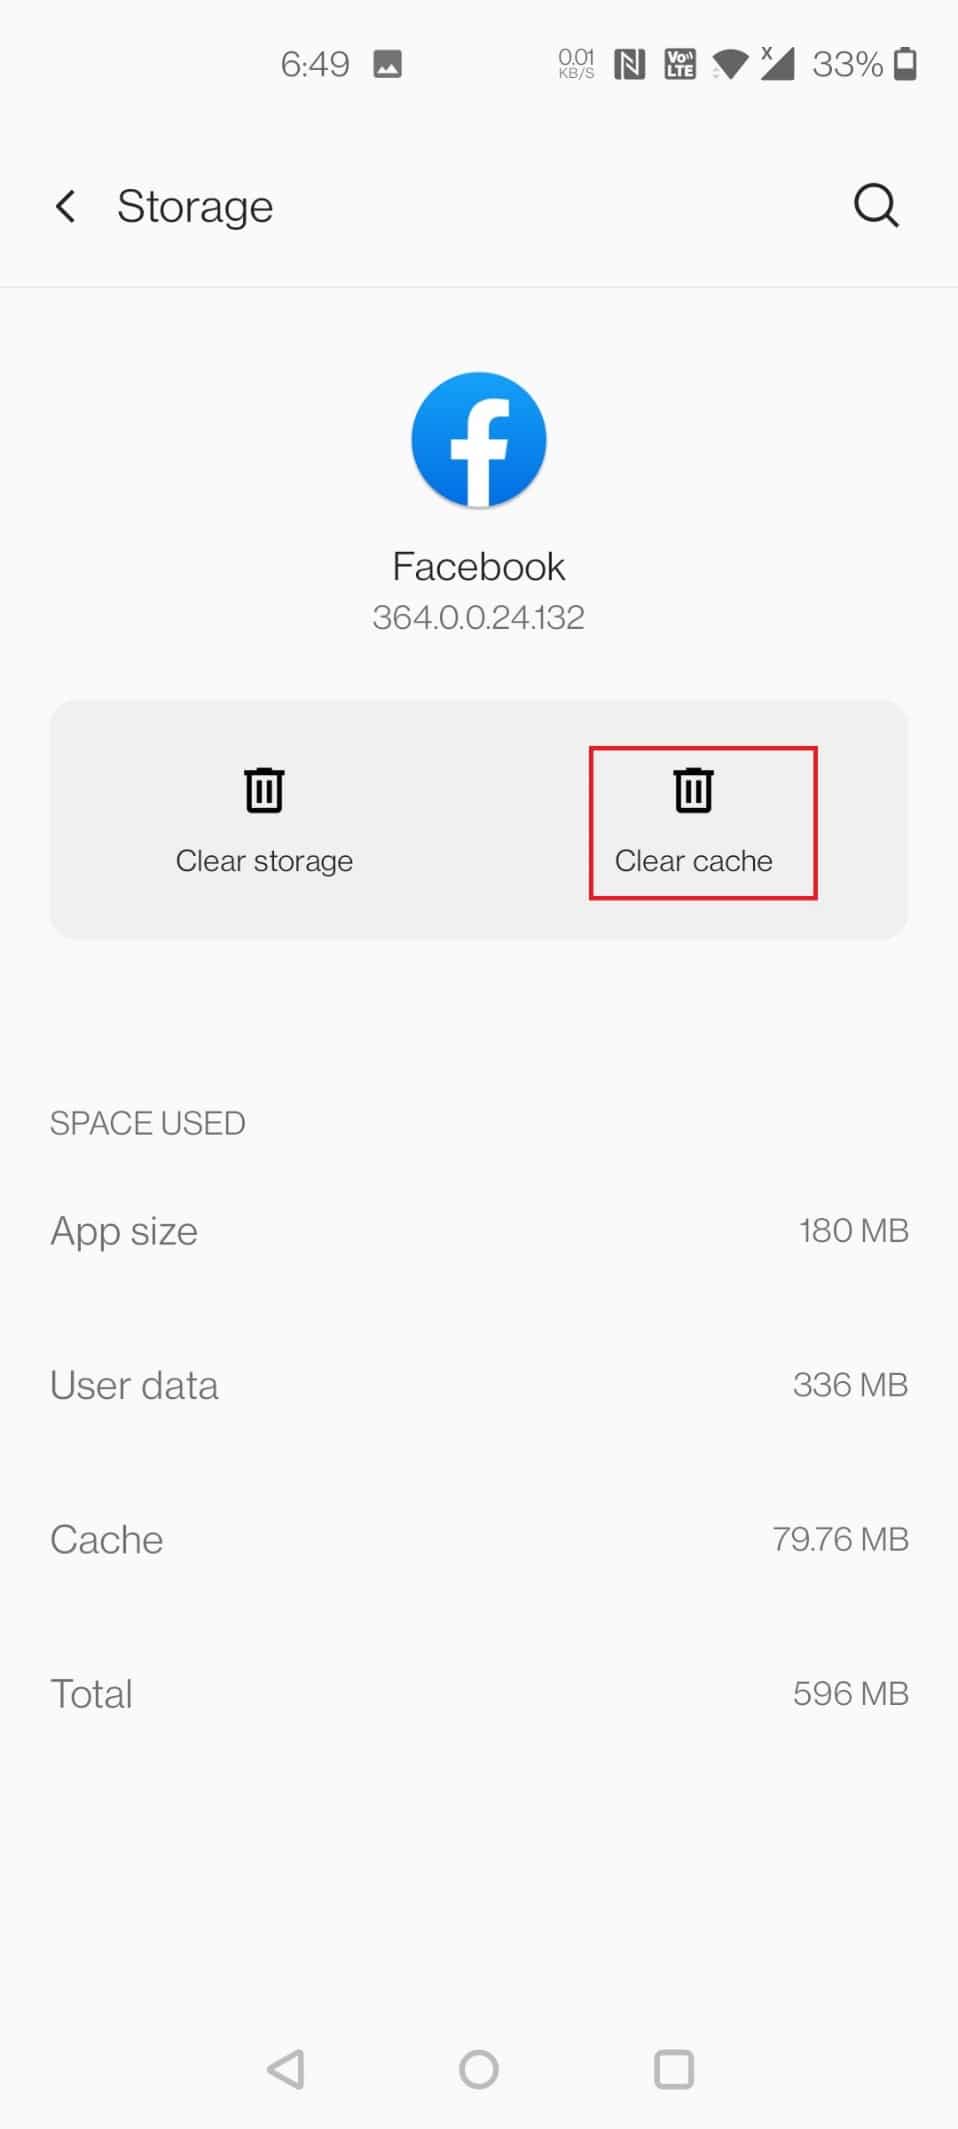
5. Dodirnite Clear cache.
Također pročitajte: How to Turn off Facebook Notifications on Chrome
Metoda 2: Na iOS-u
Follow these steps to clear Facebook cache in iOS.
Option 1: Through App
To begin, delete the cache in your Facebook browser. Only the data Facebook has stored from websites you visited using the in-app web browser will be cleared. Here’s how to clear cache on Facebook
1. Otvorite Facebook prijava.
2. In the bottom-right corner, tap on the hamburger Ikona.
![]()
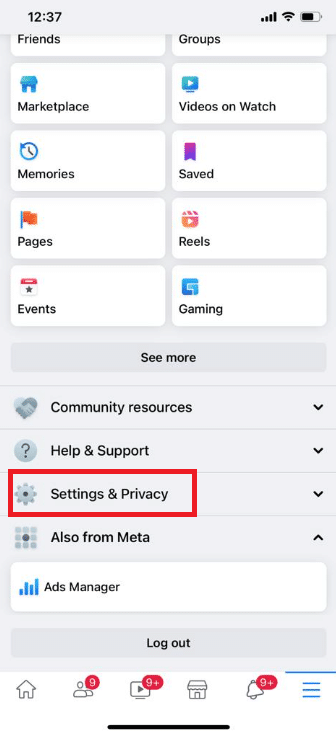
3. At the bottom, tap on Postavke i privatnost.
4. Dodirnite Postavke.
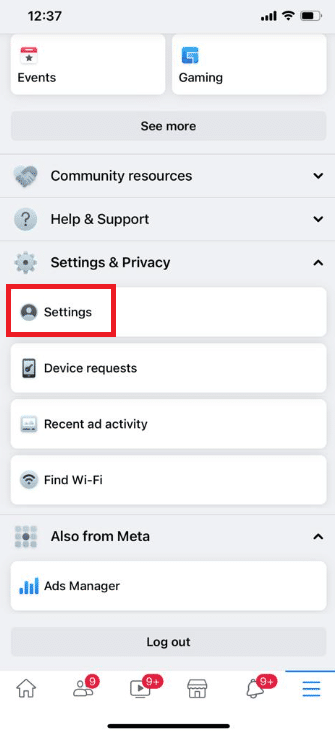
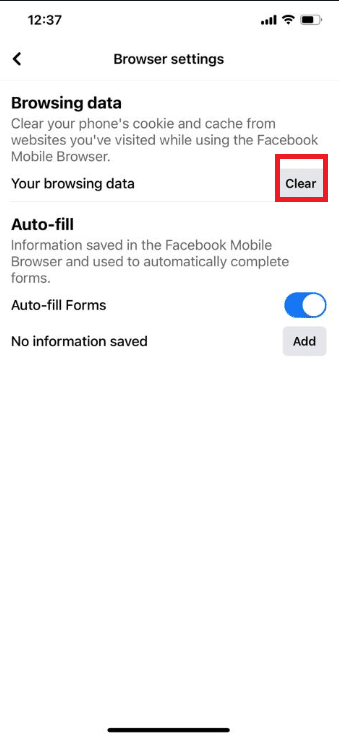
5. Swipe down and tap on the option preglednik Pri dnu stranice.
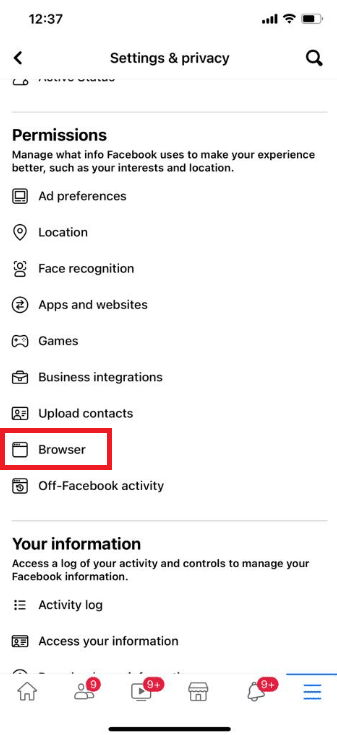
6. Dodirnite Izbriši pored Podaci o pregledavanju.
Option 2: Through Settings
Clearing app cache on iPhone can be done only by offloading the app from the device. If you use to clear the cache on your iPhone through settings, follow the below steps to clear cache on Facebook through iOS settings.
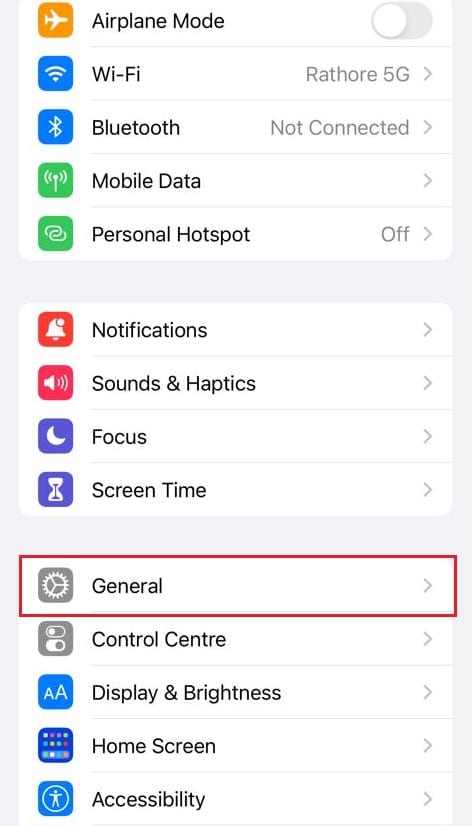
1. Otvoreno Postavke na vašem iPhoneu.

2. Dodirnite Osnovne informacije.
3. Sada dodirnite Pohrana iPhonea.
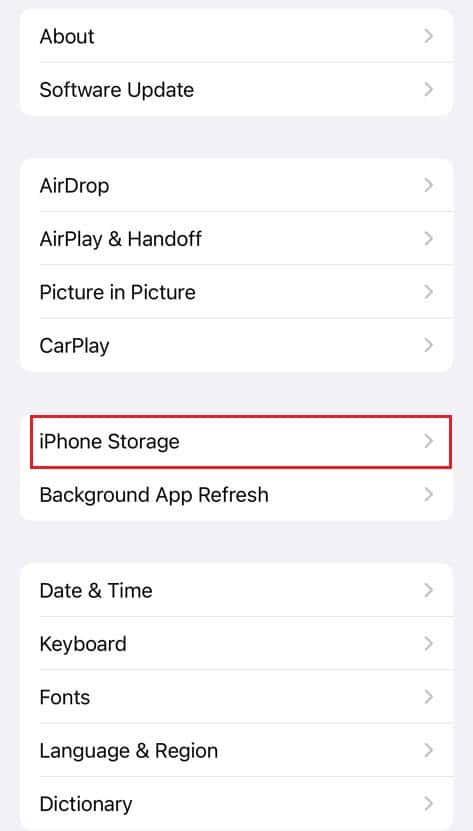
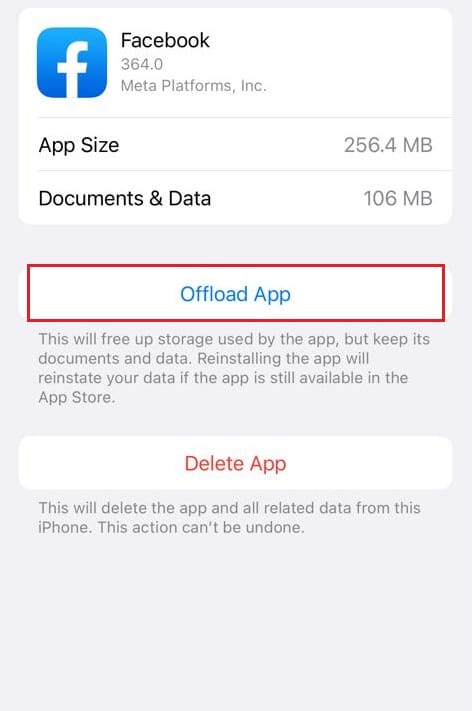
4. Prijeđite prstom prema dolje i dodirnite Facebook.
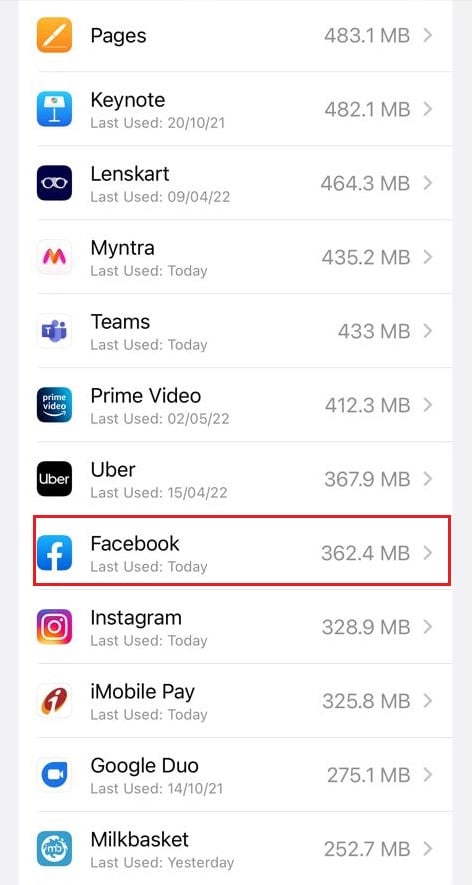
5. Dodirnite Isključi aplikaciju.
Bilješka: Offloading will retain the documents and settings on your device. You can also choose Izbriši aplikaciju.
6. Sada dodirnite App Store.
7. Search and install the Facebook app.
Također pročitajte: Ispravite grešku o nedostupnosti Facebook priloga
Method 3: On Web Browser
You cannot specifically clear the Facebook cache on web browsers. Instead, you can clear the cache of the browser. The steps to clear cache vary on different web browsers. Below are the steps on how to clear cache on Facebook on Google Chrome, Firefox, and Microsoft Edge.
Option 1: On Google Chrome
Read our guide on How to Clear Cache & Cookies in Google Chrome and clear the browsing data.
Option 2: Mozilla Firefox
The steps to clear browsing data of Mozilla Firefox is given below:
1. pritisni Windows tipkatipa Firefox i pogodio Enter tipka.
2. Sada kliknite na Meni ikonu u gornjem desnom kutu zaslona.
![]()
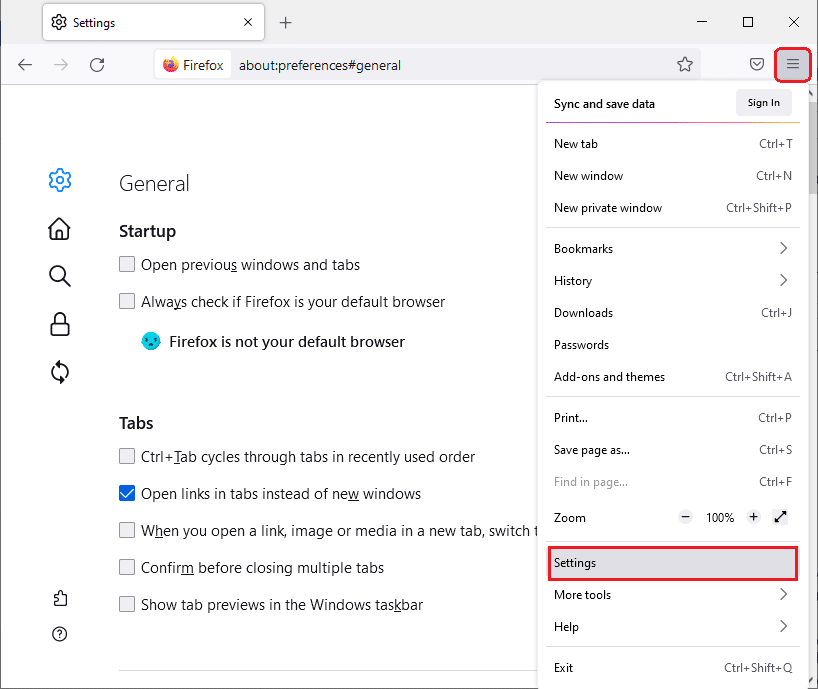
3. Ovdje odaberite Postavke opciju s padajućeg popisa.
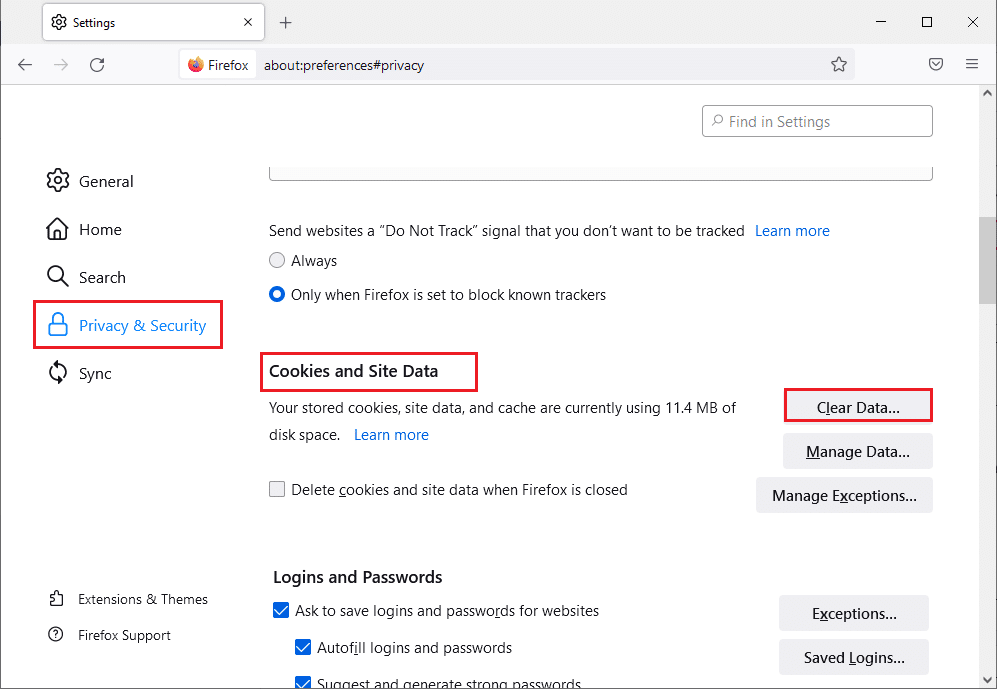
4. Sada idite na Privatnost i sigurnost section in the left pane and scroll down the right screen to the Kolačići i podaci o web lokacijama Izbornik.
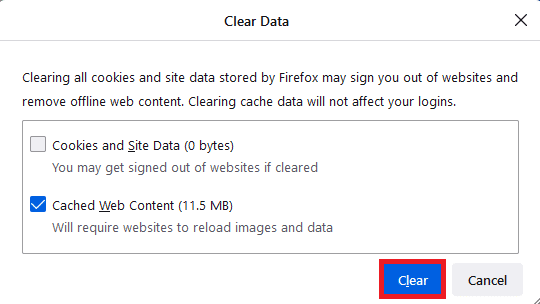
5. Kliknite na Obriši podatke… opcija.
6. Ovdje poništite odabir Kolačići i podaci o web lokacijama box and check the Predmemorirani web sadržaj kutija.
Bilješka: Clearing Cookies and Site Data will clear all cookies and site data stored by Firefox. This will sign you out of websites and remove offline web content. On the other hand, clearing Cached Web Content will not affect your logins.
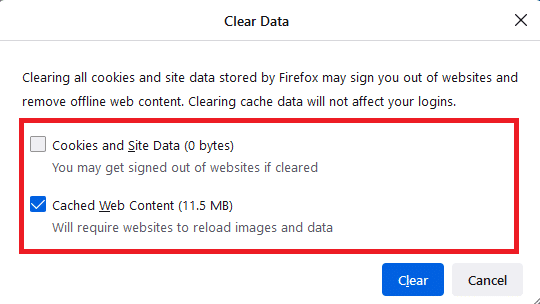
7. Na kraju, kliknite na Izbriši gumb za brisanje Firefox predmemoriranih kolačića.
Također pročitajte: Ispravite Firefox SSL_ERROR_NO_CYPHER_OVERLAP u sustavu Windows 10
Option 3: On Microsoft Edge
Here are the steps to clear Microsoft Edge browser data.
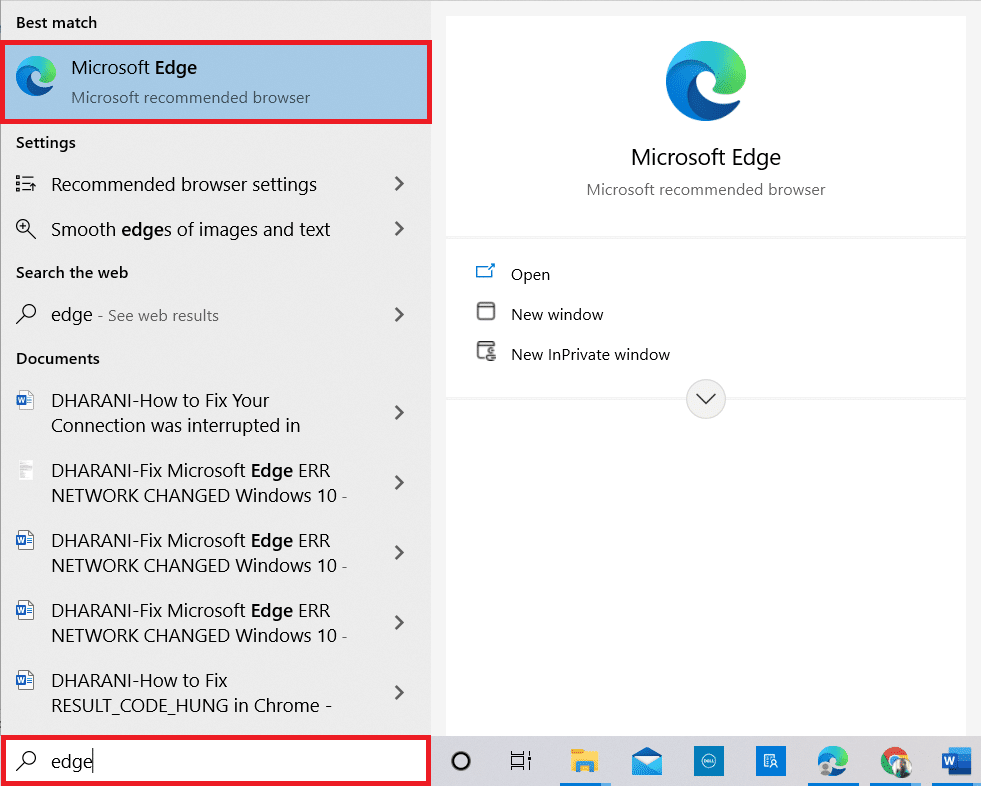
1. pritisni Windows ključtipa rub i pogodio Enter tipka.
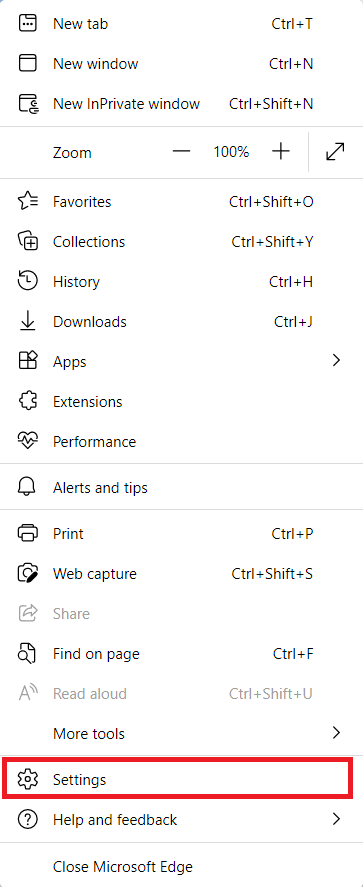
2. Kliknite na ikona s tri točke near your profile image.
![]()
3. Zatim kliknite na Postavke.
4. Sada idite na Privatnost, pretraživanje i usluge opciju u lijevom oknu.
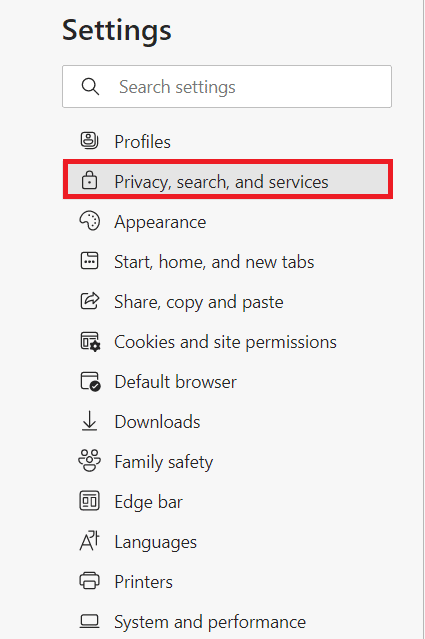
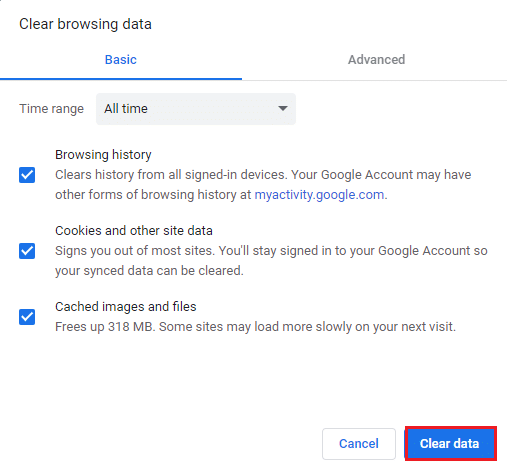
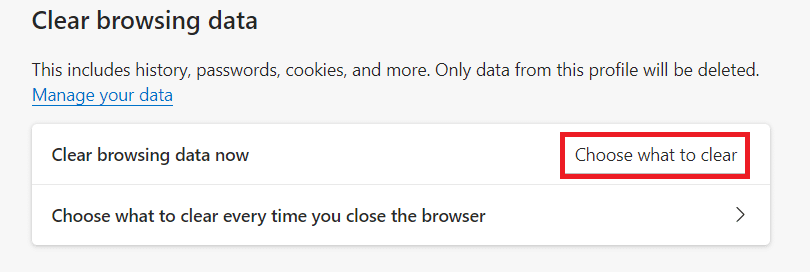
5. Zatim se pomaknite prema dolje i kliknite na Odaberite što želite izbrisati opcija pod Obriši podatke pregledavanja.
Bilješka: You can directly navigate the page to delete browsing history in the Edge by typing edge: // settings / clearBrowserData u traci za pretraživanje.
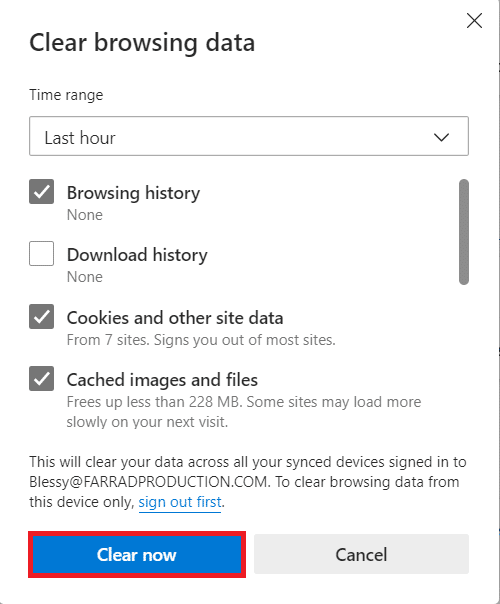
6. U sljedećem prozoru odaberite okvire prema svojim željama, npr Browsing history, Cookies and other site datai Spremljene slike i datoteke, i kliknite na Jasno sad kao što je istaknuto u nastavku.
Preporučena:
We hope you found this information useful and that you have learned kako clear cache on Facebook. Please let us know which technique was the most beneficial for you. Please use the form below if you have any queries or comments. Also, let us know what you want to learn next.