Ուղղեք VPN-ը, որը չի միանում Android-ին

Are you facing issues with your VPN? Unable to connect to a VPN on your Android Phone? Don’t worry in this guide we will see how to fix VPN not connecting issue on Android. But first, let’s understand what a VPN is and how does it work?
VPN stands for Virtual Private Network. It is a tunneling protocol that enables users to share and exchange date privately and securely. It creates a virtual private channel or route to share data safely while connected to a public network. VPN protects against data theft, data sniffing, online monitoring, and unauthorized access. It provides various security measures like encryption, firewall, authentication, secure servers, etc. This makes VPN indispensable in this digital age.
VPN can be used on both computers and smartphones. There are several popular VPN services that have their apps available on the Play Store. Some of these apps are free, while others are paid. The basic operation of these apps is pretty much the same, and it runs most times flawlessly. However, just like every other app, your VPN app might run into trouble from time to time. In this article, we are going to discuss one of the most common problems associated with the VPN, and that is a failure to establish a connection. Before we discuss the problem in detail, we need to understand why we need a VPN in the first place.
Ինչու՞ է ձեզ հարկավոր VPN:
The most basic use of a VPN is to ensure privacy. It not provides a secure channel for the exchange of data but also masks your online footprint. Whenever you connect to the internet, your location can be tracked using your IP address. Government or private monitoring agencies can even track what you are doing. Every item you search for, every website you visit, and everything you download can be monitored. A VPN saves you from all that snooping. Let us now take a look at the primary applications of a VPN.
Տես նաեւ,
Ինչպես վերափոխել HEIC-ը JPG-ի Android-ում
Թոփ 11 լավագույն Disney Wallpaper հավելվածները Android-ի համար
Ուղղել Android-ը, որը չի ընդունում ճիշտ PIN-ը
Ուղղել Netflix-ը Այս վերնագիրը հասանելի չէ ակնթարթորեն սխալ դիտելու համար
1. Անվտանգություն. As mentioned above, one of the most important features of a VPN is the secure transfer of data. Due to encryption and firewall, your data is safe from corporate espionage and theft.
2. Անանունություն. VPN allows you to maintain anonymity while on the public network. It hides your IP address and enables you to stay hidden from government monitoring. It protects you from the invasion of privacy, spamming, target marketing, etc.
3. Geo-censorship: Certain content isn’t accessible in certain regions. This is called geo-censorship or geographic blocking. VPN masks your location and hence allows you to circumvent these blocks. In simple words, the VPN will enable you to access region-restricted content.
Նաեւ Կարդալ: Ի՞նչ է VPN-ը և ինչպես է այն աշխատում?
What causes VPN Connection Problems?
VPN is a software that might malfunction due to multiple reasons. Some of which are local, meaning the problem is with your device and its settings, while others are server related issues like:
- The VPN server that you are trying to connect to is overloaded.
- The VPN protocol that is currently being used is wrong.
- The VPN software or app is old and outdated.
Նաեւ Կարդալ: Լավագույն 9 լավագույն անվճար անսահմանափակ VPN Android-ի համար
How to Fix VPN not connecting on Android
If the problem is with the VPN app’s server itself, then there is nothing that you can do rather than wait for them to fix it on their end. However, if the problem is due to the device’s settings, you can do a number of things. Let us take a look at the various solutions to fix the VPN connectivity issues on Android.
Method 1: Check if VPN Connection access is enabled or not
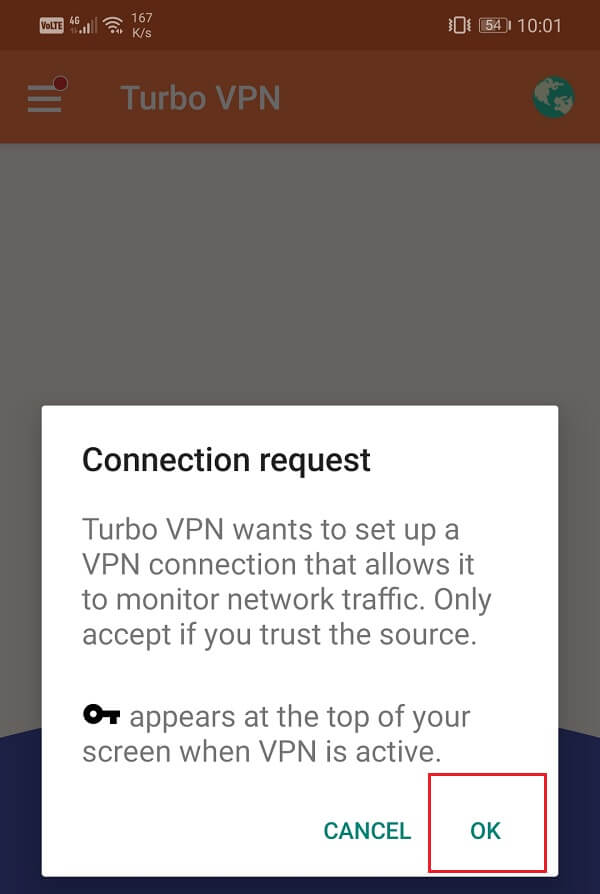
When an app is run for the first time, it asks for several permission requests. This is because if an app needs to use the mobile’s hardware resources, then it needs to seek permission from the user. Similarly, the first time you open the VPN app will ask you permission to set up a VPN connection on your device. Make sure that grant the app the requisite permission.
After that, the VPN app will connect to a private server and set your device’s IP address to a foreign location. Some apps might also allow you to choose the region, whose server you wish to connect to and the IP address set for your device. Once the connection is established, it is indicated by a Key icon in the notification panel. Thus, it is important that you accept the connection request in the first place and allow the app to connect to the proxy server.
Մեթոդ 2: Delete Cache and Data Files for the VPN app
All apps store some data in the form of cache files. Some basic data is saved so that when opened, the app can display something quickly. It is meant to reduce the startup time of any app. However, sometimes old cache files get corrupted and cause the app to malfunction. It is always a good practice to clear cache and data for apps.
Consider this as a cleansing procedure that removes old and corrupt files from the app’s memory and replaces them with new ones. It is also absolutely safe to delete the cache files for any app, as they will automatically be generated once again. Thus, if your VPN app is acting out and not working properly, then follow the steps given below to delete its cache and data files:
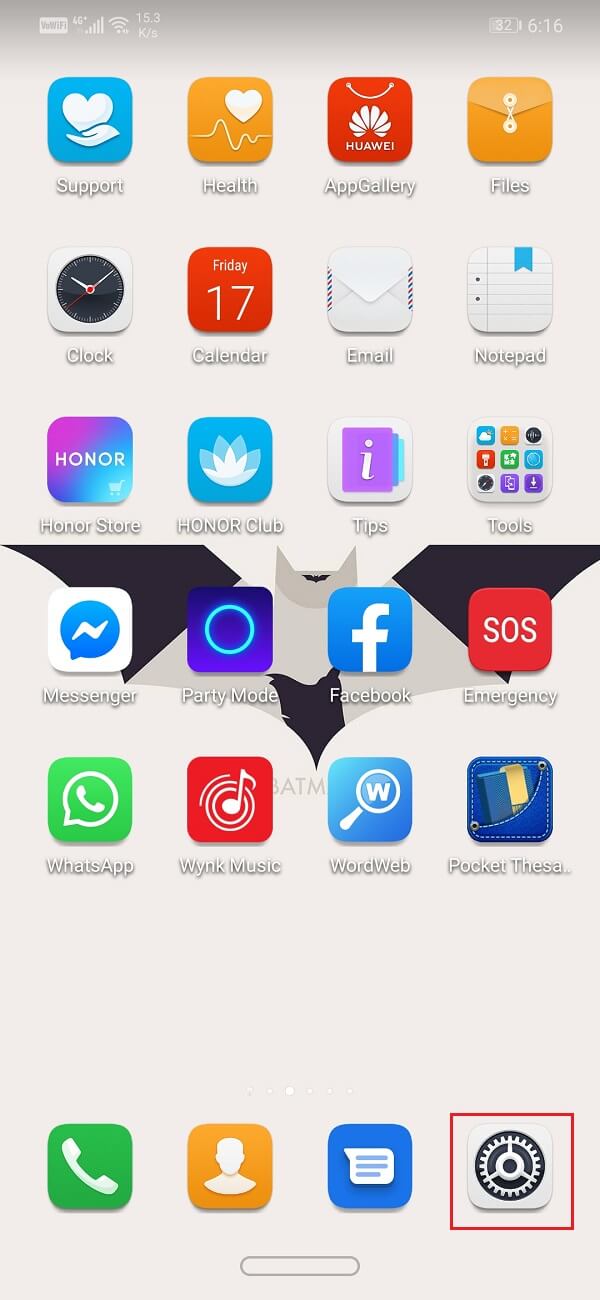
1. Գնալ Կարգավորումներ ձեր հեռախոսում:
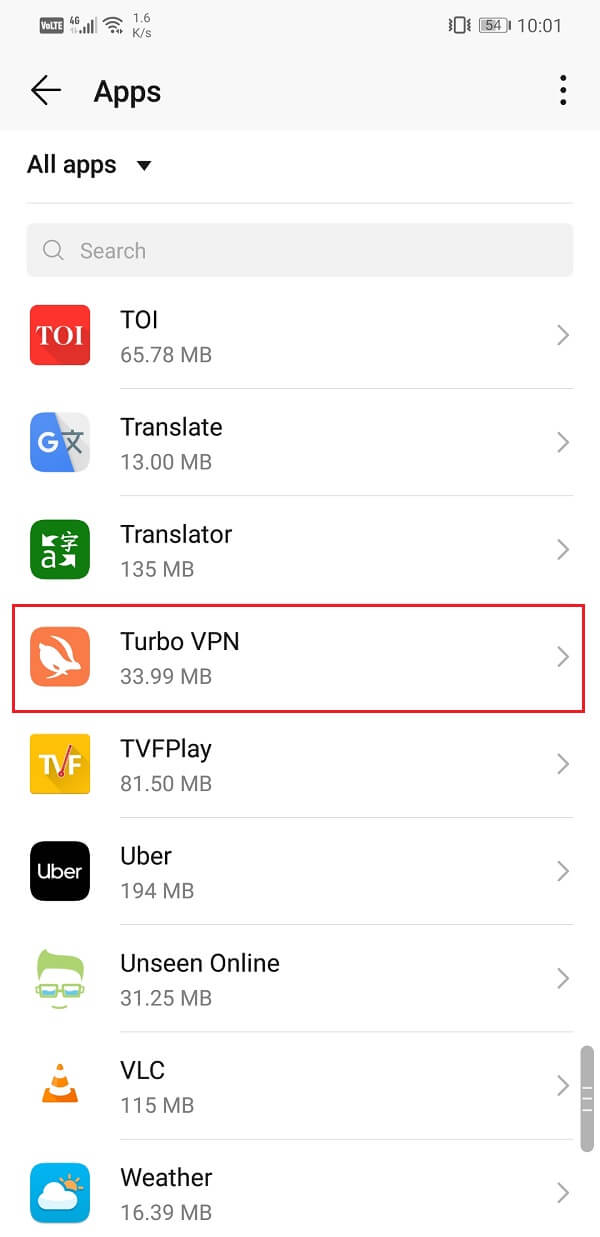
2. Սեղմեք Apps ձեր սարքում տեղադրված հավելվածների ցանկը դիտելու տարբերակ:
3. Այժմ փնտրեք VPN հավելված you are using and tap on it to open the app settings.
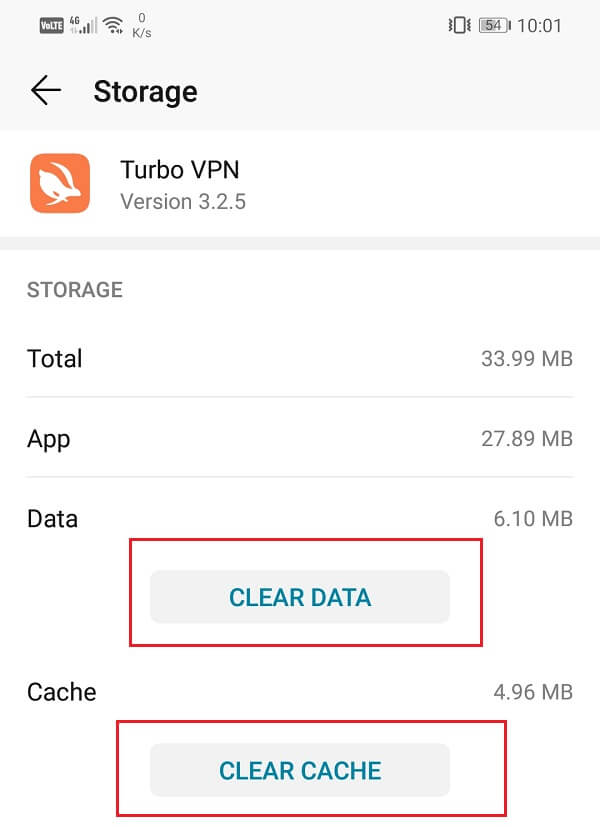
4. Սեղմեք Պահեստ տարբերակ.
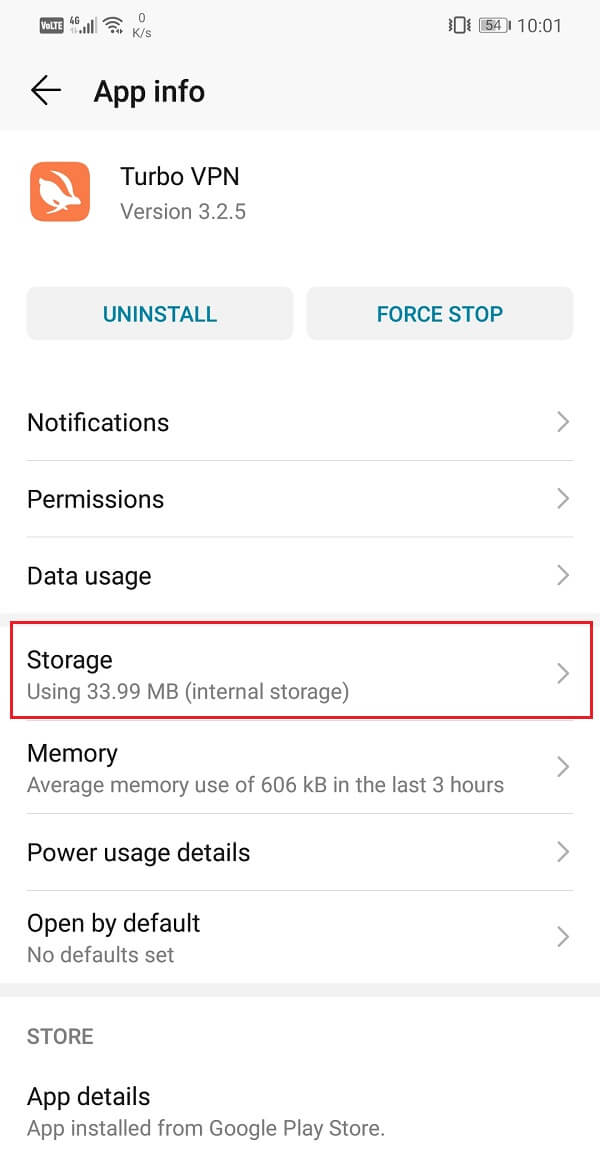
5. Այստեղ դուք կգտնեք տարբերակը Մաքրել քեշը և մաքրել տվյալները. Click on the respective buttons, and the cache files for the VPN app will get deleted.
Method 3: Update the VPN app
Every VPN app has a fixed set of servers, and it allows you to connect to anyone of them. These servers, however, get shut down from time to time. As a result, the VPN needs to find or create new servers. If you are using an older version of the app, then the chances are that the server list that is being provided to you is an old one.
Դա միշտ էլ լավ գաղափար է keep the app updated at all times. It will not only provide you with fresh and faster servers but also significantly improve the app’s user interface and provide a better experience. A new update also comes with bug fixes that can solve network connectivity issues. Follow the steps given below to update your VPN app:
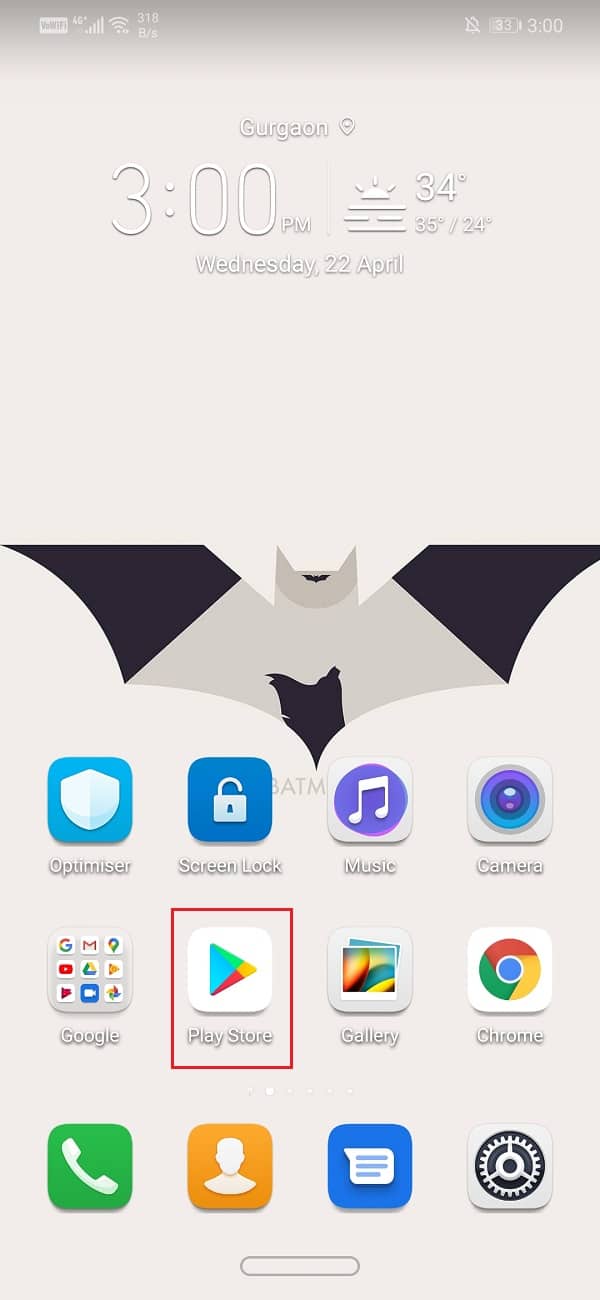
1. Գնալ Play Store.
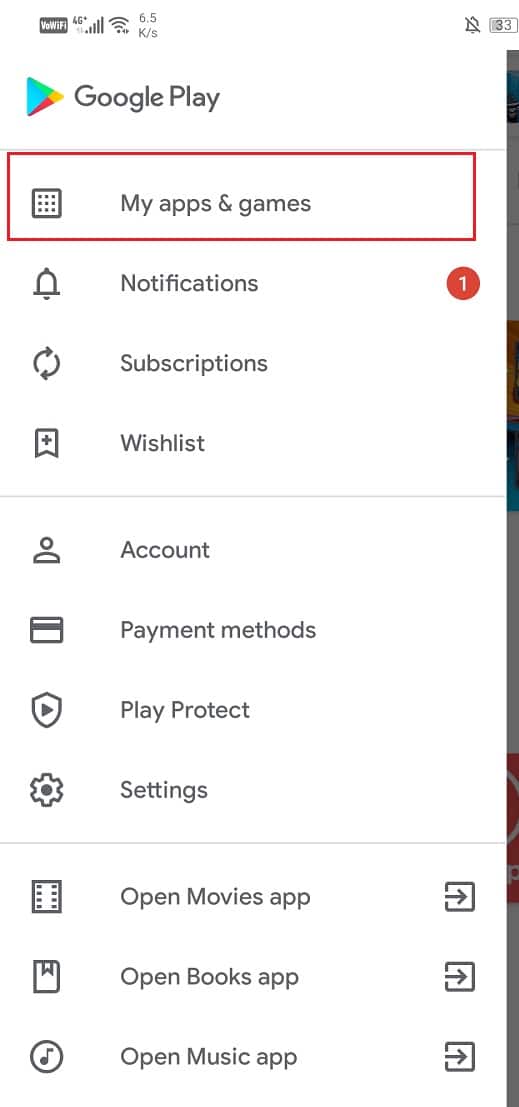
2. Վերևի ձախ կողմում դուք կգտնեք երեք հորիզոնական գծեր. Սեղմեք դրանց վրա:

3. Այժմ սեղմեք կոճակի վրա «Իմ հավելվածներն ու խաղերը» տարբերակ.
4. Որոնել VPN հավելված that you are using and check if there are any pending updates.
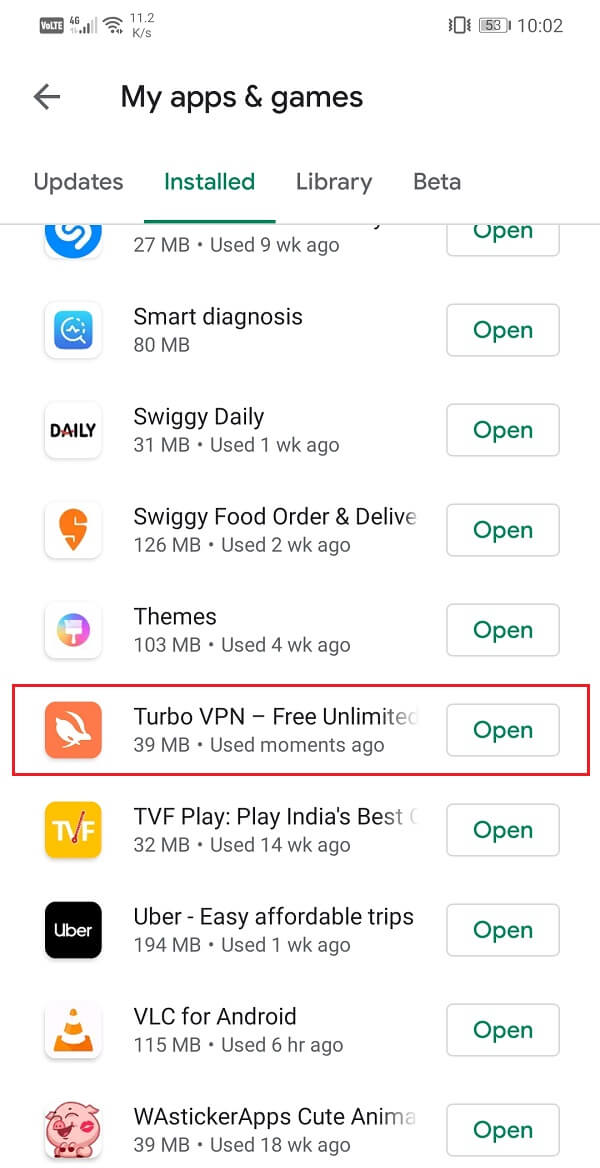
5. Եթե այո, ապա սեղմեք կոճակի վրա թարմացնել կոճակը:
6. Once the app gets updated, try using it again and check if you’re able to fix VPN connection issues on Android.
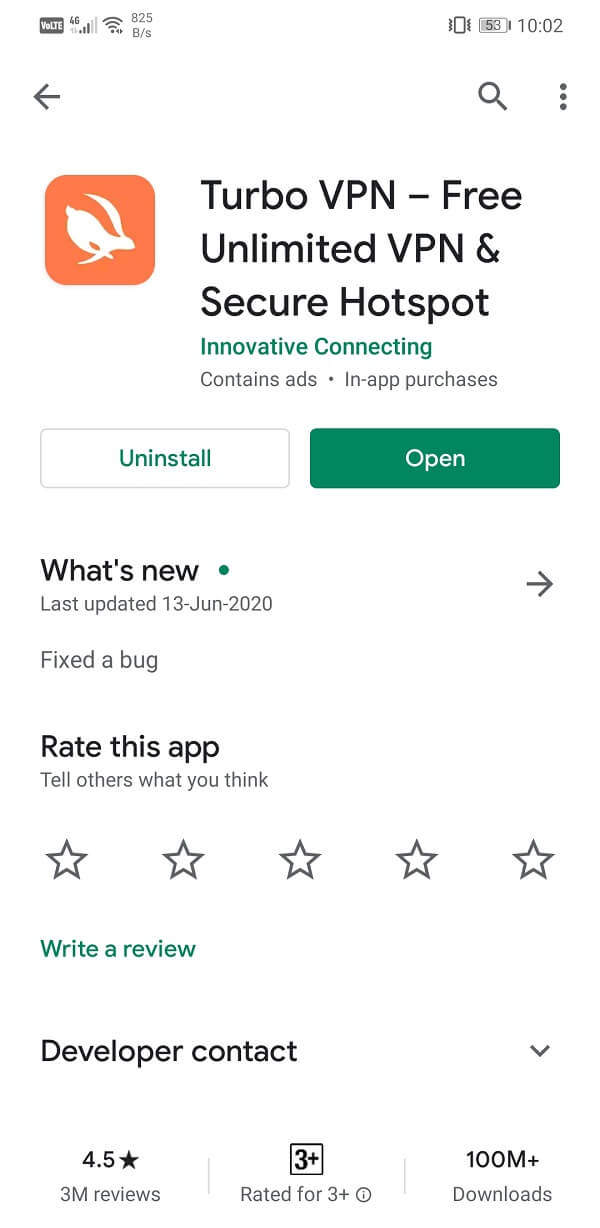
Method 4: Uninstall the app and then Re-install
If updating the app didn’t work or there wasn’t any update available in the first place, then you need to uninstall the app, and they install it again from the Play Store. This would be like opting for a fresh start. There is a solid chance that doing so will fix VPN’s problem, not connecting on your device. Follow the steps given below to see how:
1: բացել Կարգավորումներ ձեր հեռախոսում:
2. Այժմ գնացեք դեպի Apps բաժնում:
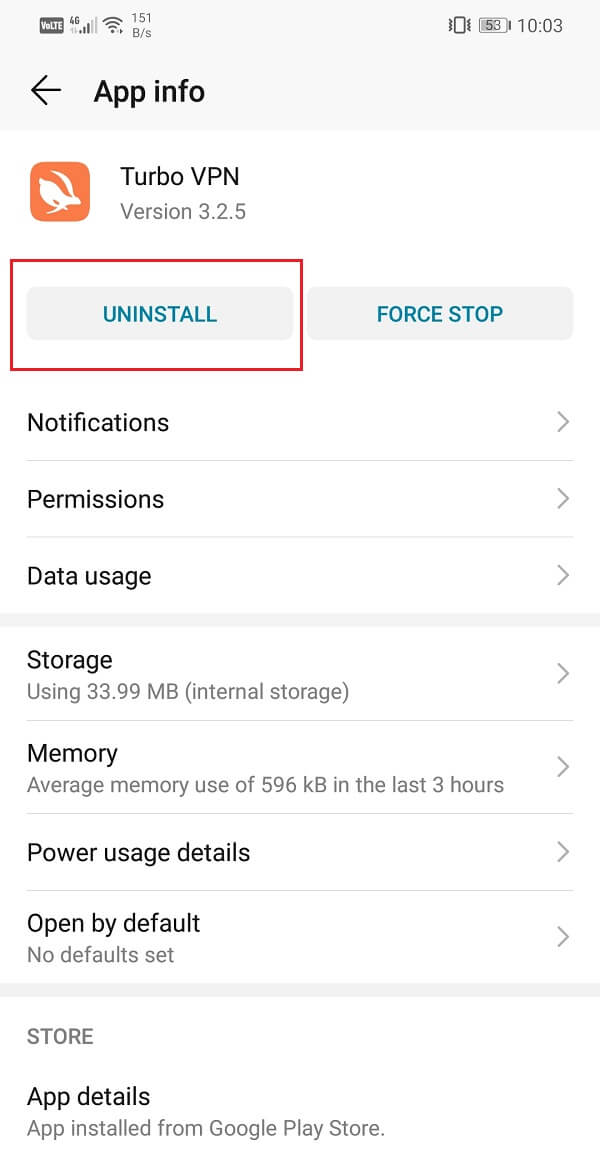
3. Please search for your VPN հավելված և թակել այն:
4. Այժմ սեղմեք կոճակի վրա Տեղահանել կոճակը:
5. Once the app has been removed, download and install the app again from the Play Store.
Նաեւ Կարդալ: Ինչպես հեռացնել կամ ջնջել հավելվածները ձեր Android հեռախոսում
Method 5: Disable Automatic Switch from Wi-Fi to Cellular Data
Almost all the modern Android smartphones come with a feature called Wi-Fi+ or Smart switch or something similar. It helps you to maintain a continuous and stable internet connection by automatically switching from Wi-Fi to the cellular data if the Wi-Fi signal strength isn’t strong enough. It is generally a useful feature that saves us from losing connection and automatically makes the switch when needed instead of having to do it manually.
However, it could be the reason why your VPN is losing connection. You see, a VPN masks your actual IP address. When you connect to a Wi-Fi network, your device has a specific IP address that pinpoints your location. When you connect to a VPN server, the app masks your actual IP and replaces it with a proxy. In case of a switch from Wi-Fi to a cellular network, the original IP address that was provided when connected to the Wi-Fi is changed, and thus the VPN mask is useless. As a result, the VPN gets disconnected.
To prevent this from happening, you need to disable the automatic switch feature. Follow the steps given below to see how:
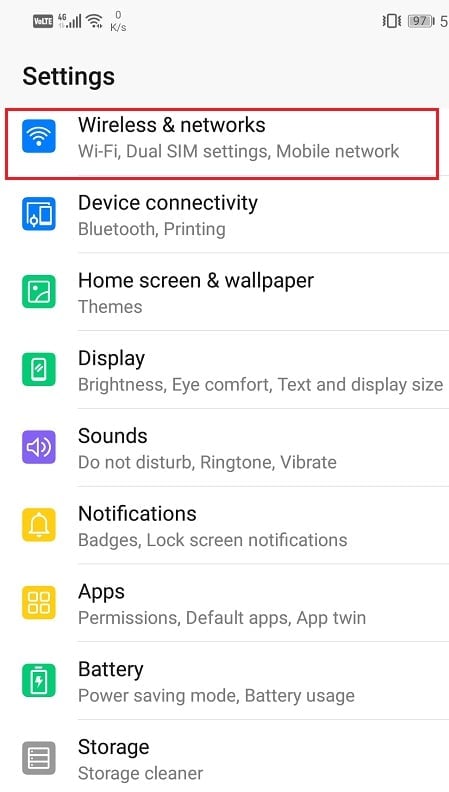
1. Բաց Կարգավորումներ Ձեր Android սարքը.
2. Այժմ գնացեք Wireless and network settings.
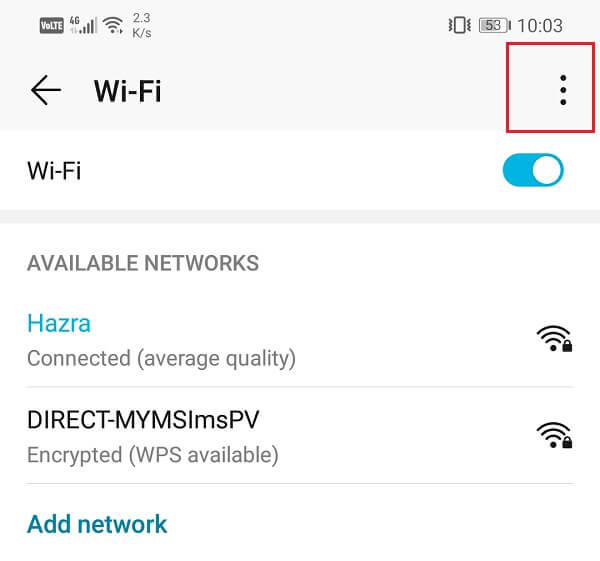
3. Այստեղ հպեք կոճակին Wi-Fi տարբերակ.

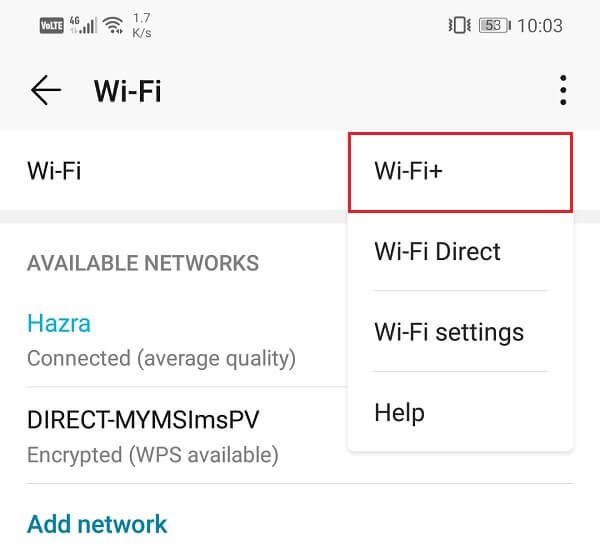
4. Դրանից հետո սեղմեք menu option (three vertical dots) էկրանի վերին աջ կողմում:
5. Բացվող ընտրացանկից ընտրեք Wi-Fi +.
6. Այժմ toggle off the switch next to Wi-Fi+ to disable the automatic switch feature.
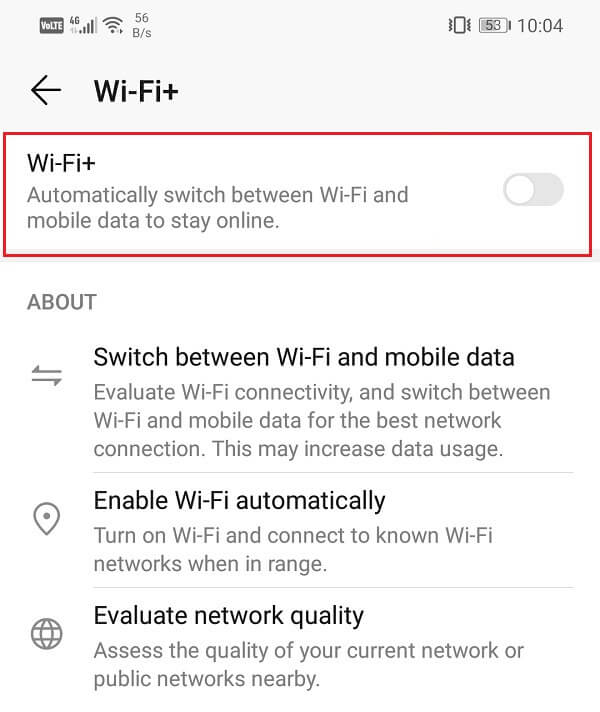
7. Restart your device and try connecting to the VPN again.
Once the device restarts, we hope that you will be able to fix VPN not connecting on the Android issue. But if you’re still stuck then continue to the next method.
Մեթոդ 6: Վերականգնել ցանցի կարգավորումները
If none of the above methods work then, it is time to take some drastic measures. The next option in the list of solutions is to reset the Network Settings on your Android device. It is an effective solution that clears all saved settings and networks and reconfigures your device’s Wi-Fi. Since connecting to a VPN server requires a stable internet connection, it is very important your Wi-Fi, and cellular network settings aren’t interfering in the process. The best way to make sure of that is to reset the network settings on your device. To do this:
1. Գնալ Կարգավորումներ ձեր հեռախոսի վրա:
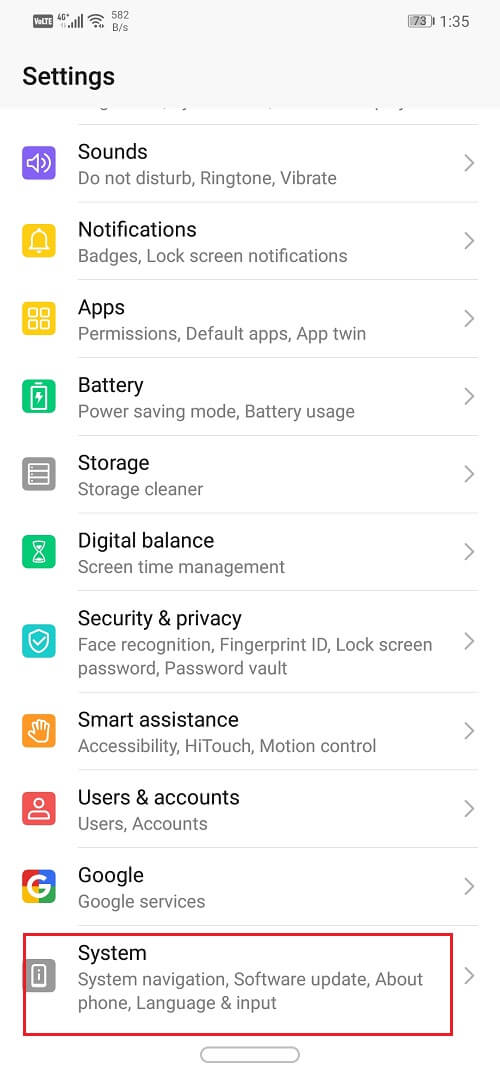
2. Այժմ սեղմեք կոճակի վրա համակարգ էջանիշը.
3. Սեղմեք Նորից դնել կոճակը:
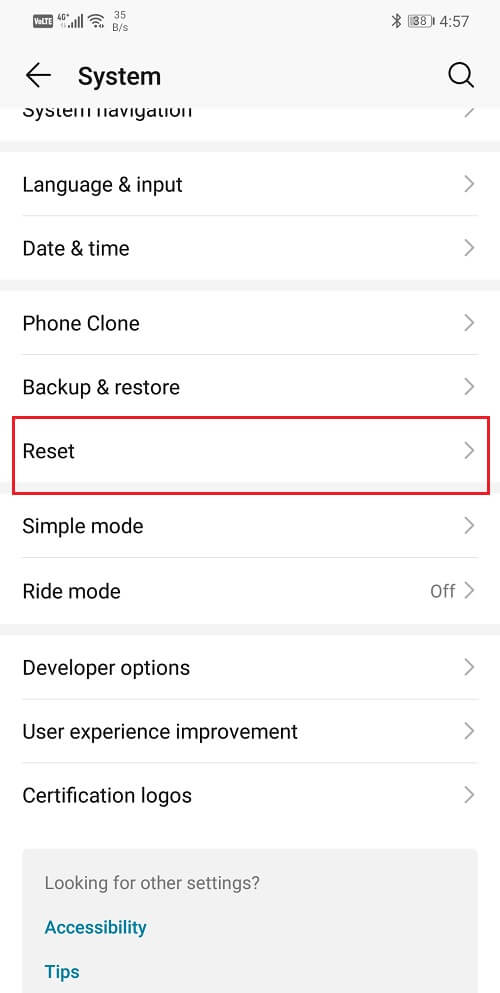
4. Այժմ ընտրեք Ցանցի կարգավորումները վերակայելու համար.
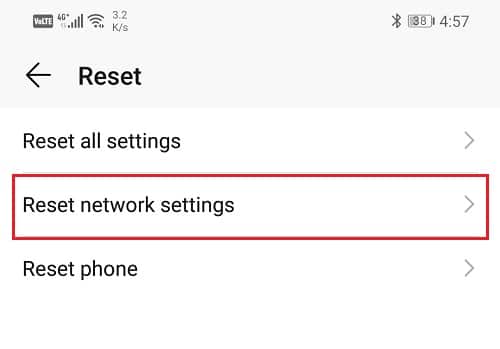
5. Այժմ դուք նախազգուշացում կստանաք, թե որոնք են այն բաները, որոնք պատրաստվում են զրոյացնել: Սեղմեք վրա «Վերականգնել ցանցի կարգավորումները» տարբերակ.
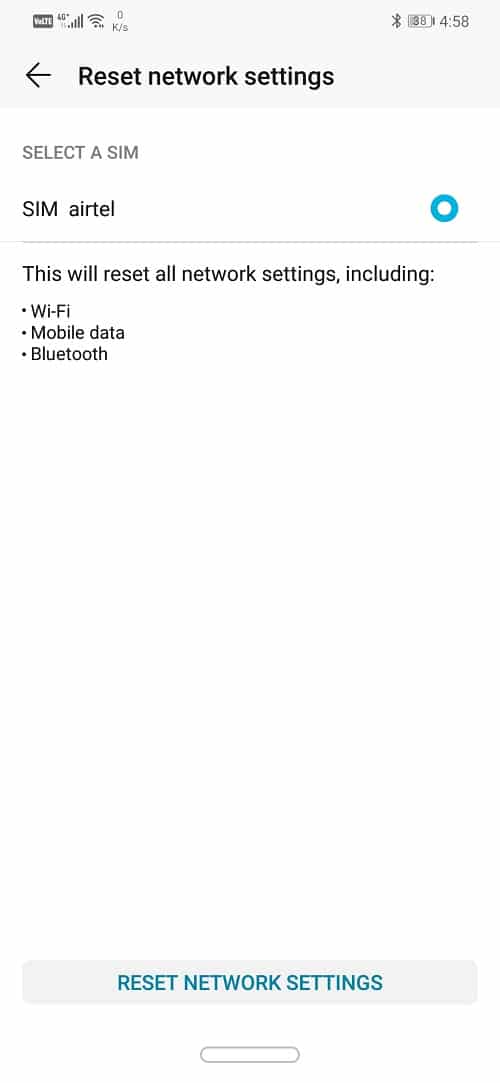
6. Now, connect to the Wi-Fi network and then try the connection to the VPN server and see if the issue has been resolved or not.
Method 7: Make sure that your browser supports VPN
At the end of the day, it is your browser that needs to be compatible with your VPN app. If you are using a browser that does not allow you to mask your IP using a VPN, then it will result in connection problems. The best solution to this problem is to use a browser that is recommended by the VPN app. Browsers like Google Chrome and Firefox work fine with almost all VPN apps.
Apart from that, update the browser to its latest version. If VPN not connecting on the Android issue is browser related, then updating the browser to its latest version can solve the problem. If you want a stepwise guide to update your browser, then you can refer to the steps given for updating the VPN app as they are the same. Just navigate to your browser in the list of installed apps instead of the VPN app.
Method 8: Delete other VPN apps and profiles
Having multiple VPN apps installed on your device could cause conflict and result in connection problems with your VPN app. If you have more then one VPN apps installed on your device or set up multiple VPN profiles, you need to uninstall these apps and remove their profiles. Follow the steps given below to see how:
1. Firstly, decide which VPN app you would like to keep and then uninstall the other apps.
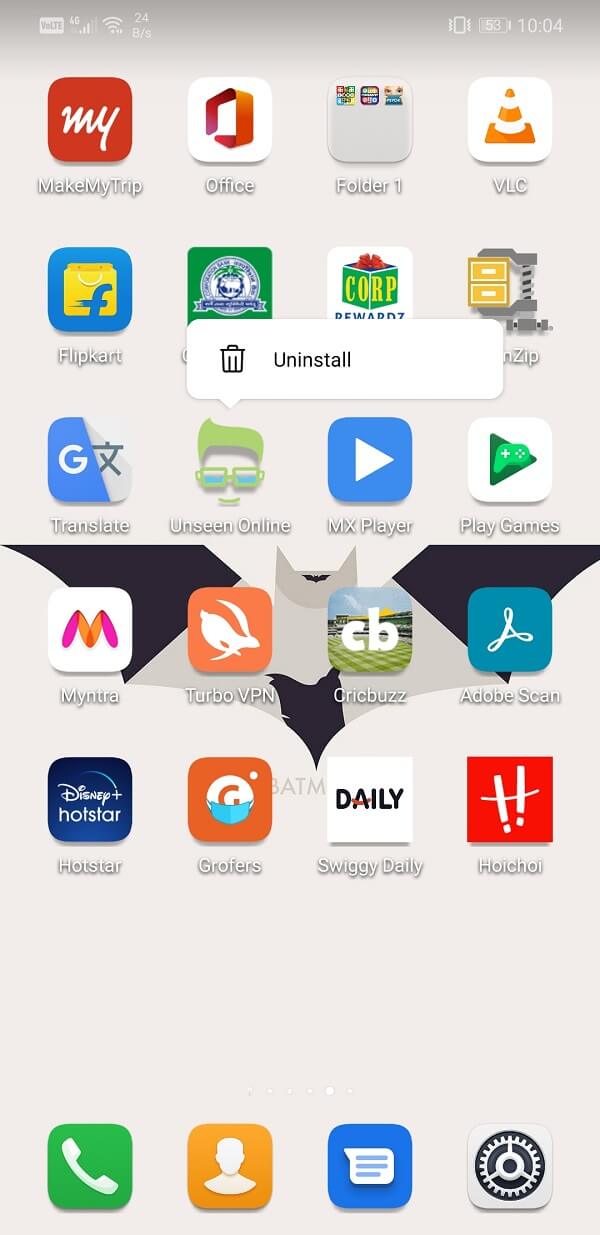
2. Tap and hold their icons and then click on the uninstall option or drag it to the Trash icon.
3. Alternatively, you can also remove the VPN profiles ձեր սարքից:
4. Open Settings on your device and go to Անլար և ցանց կարգավորումներ.
5. Այստեղ հպեք կոճակին VPN տարբերակ.
6. After that, click on the cogwheel icon next to a VPN profile and tap on the Remove or Forget VPN տարբերակ.
7. Make sure that there is just one VPN profile that is associated with the app that you wish to use in the future.
Method 9: Make Sure Battery Saver isn’t interfering with your app
Most of the Android devices come with an in-built optimizer or battery saver tool. Although these apps help you to conserve power and increase your battery life, they can sometimes interfere with the formal functioning of your apps. Especially if your battery is running low, then power management apps will limit certain functionalities, and this could be the reason behind VPN not connecting on your device. Follow the steps given below to exempt your VPN app from being controlled by your battery optimization or battery saver app:
1. Բաց Կարգավորումներ ձեր սարքում:
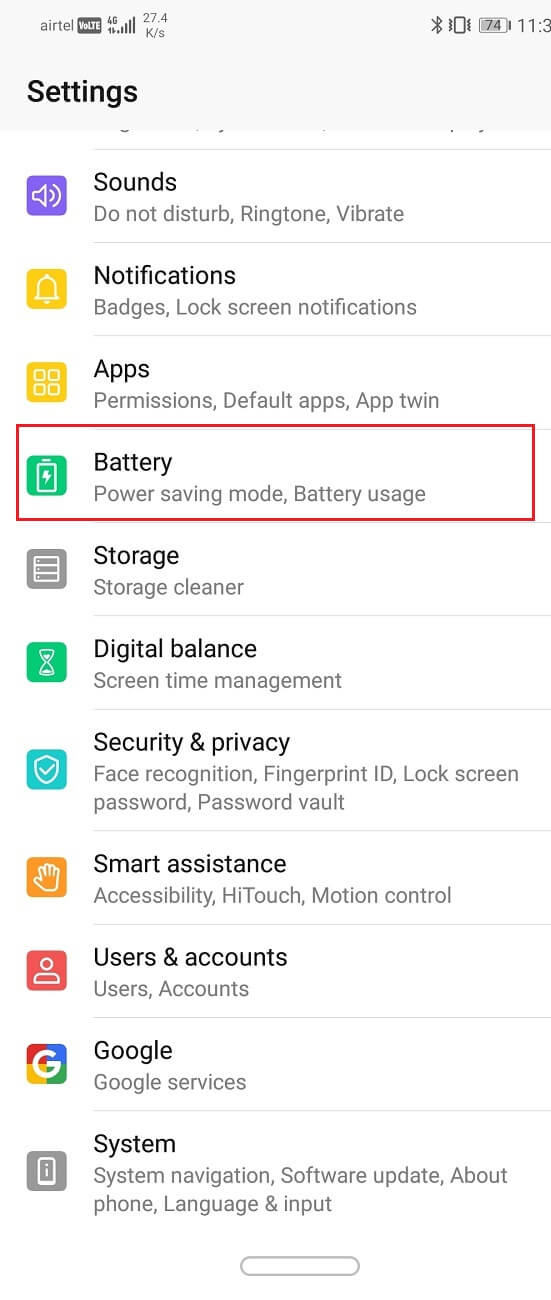
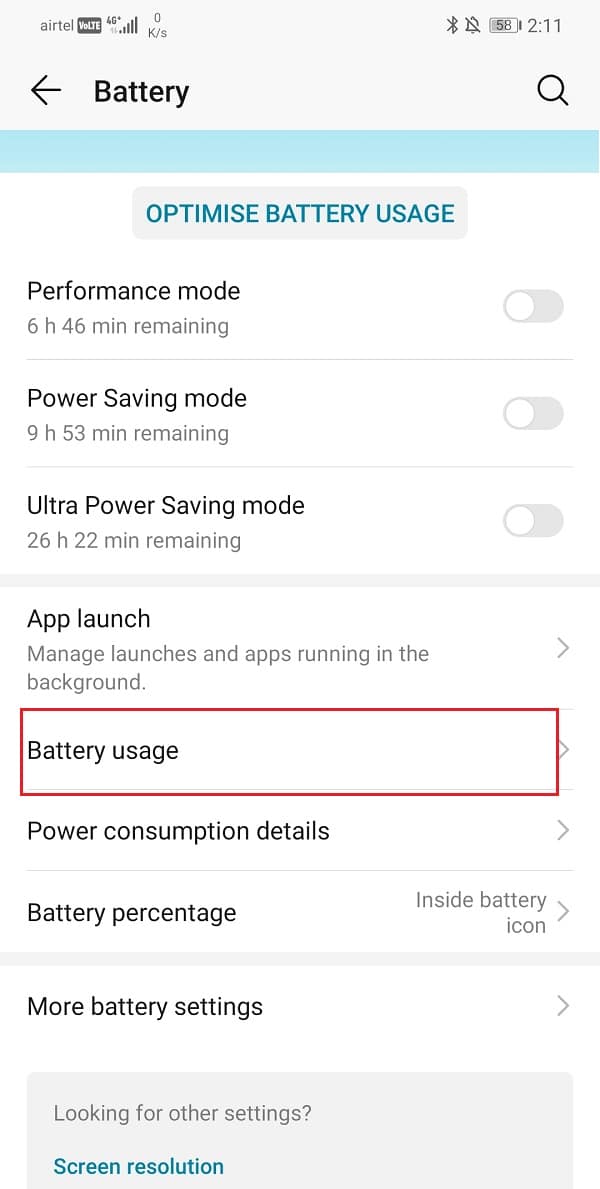
2. Այժմ թակել է մարտկոց տարբերակ.
3. Այստեղ, սեղմեք Մարտկոցի օգտագործումը տարբերակ.
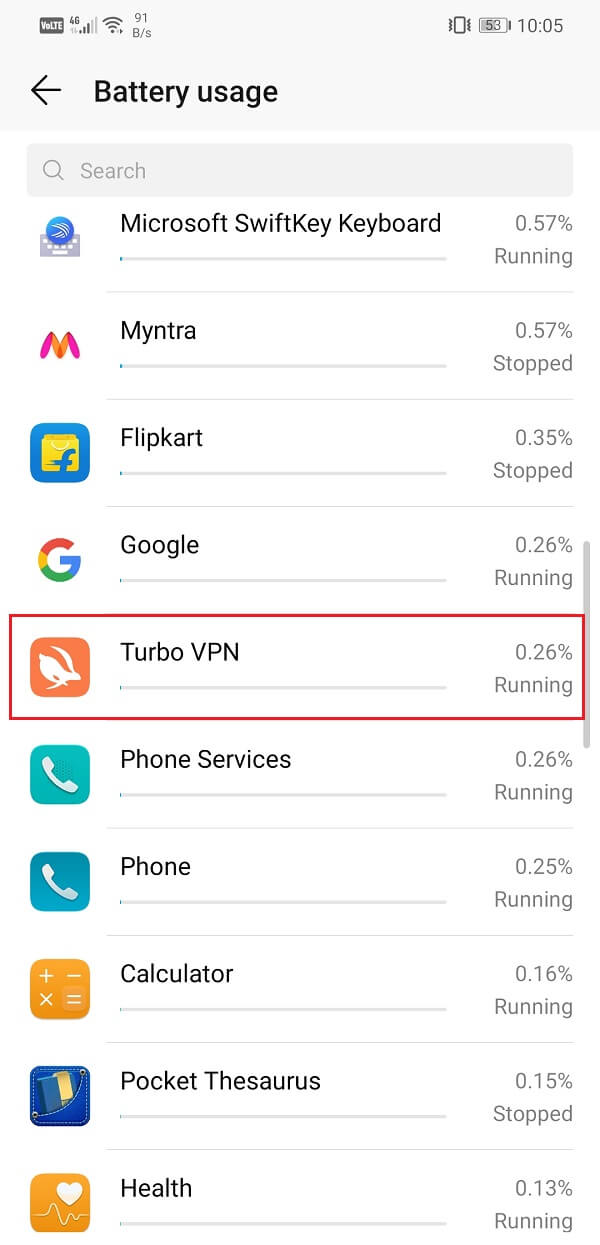
4: Փնտրեք ձեր VPN հավելված և թակել այն:
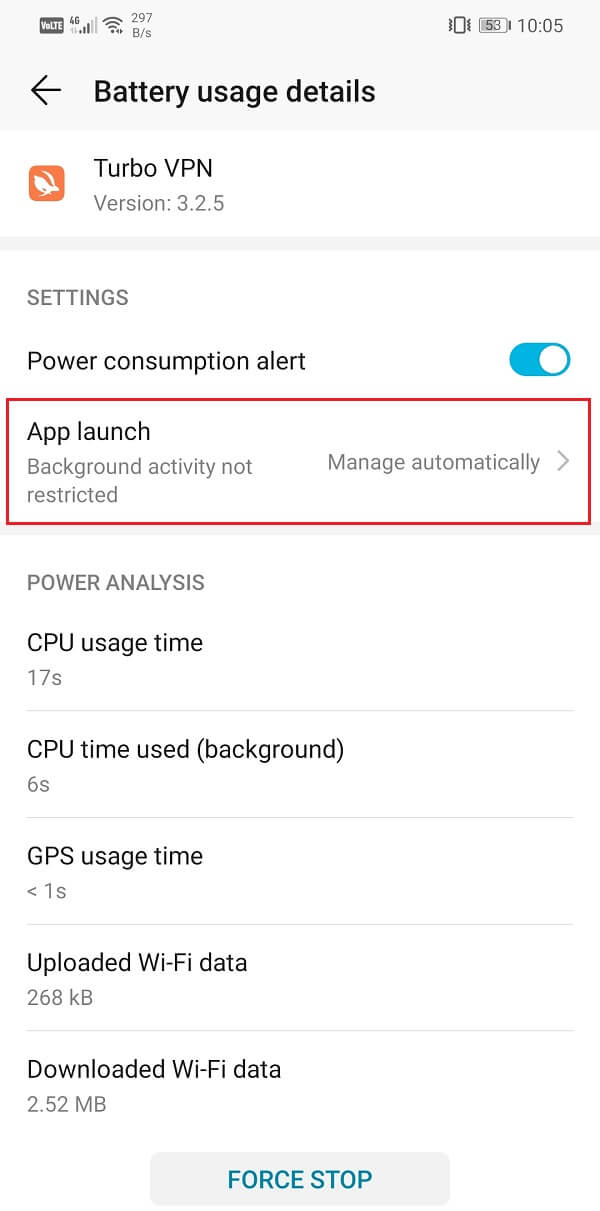
5. After that, open the app launch կարգավորումներ.
6. Disable the Manage Automatically setting and then make sure to enable the toggle switches next to Auto-launch, Secondary launch, and Run in Background.
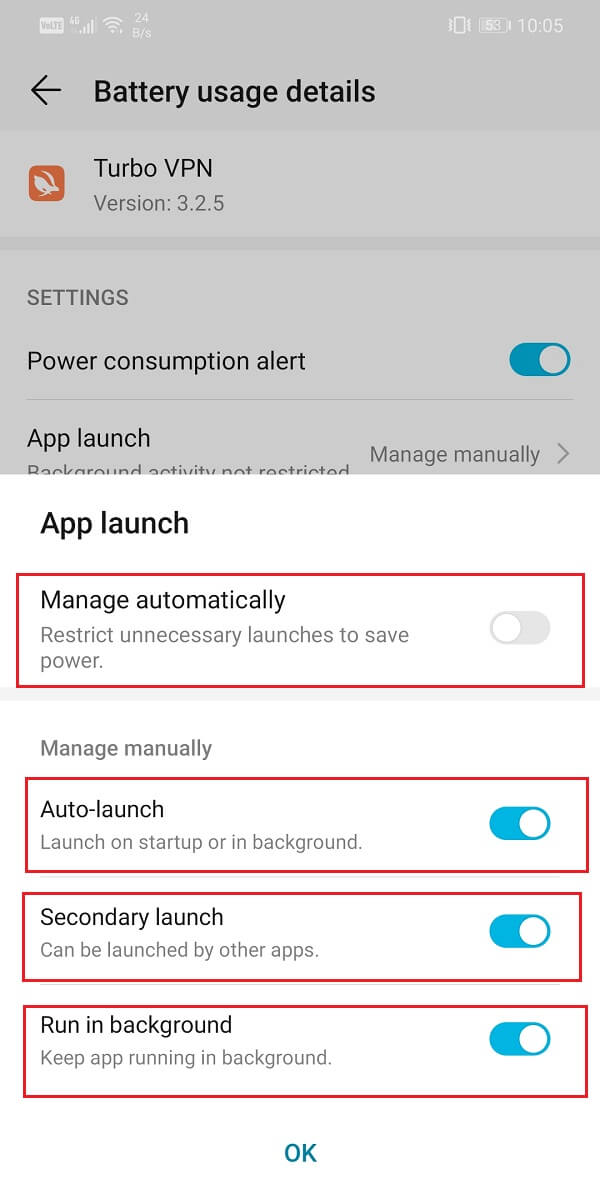
7. Doing so will prevent the Battery saver app from restricting the functionalities of the VPN app and thus solve the connection problem.
Method 10: Make sure that your Wi-Fi router is Compatible with VPN
A lot of public Wi-Fi routers, especially the ones at schools, colleges, and offices, do not allow VPN passthrough. This means that unrestricted flow of traffic over the internet is blocked with the help of firewalls or simply disabled from router settings. Even on a home network, it is possible that your internet service provider has disabled VPN passthrough. In order to set things straight, you will need admin access to change your router and firewall settings to enable IPsec or PPTP. These are the most commonly used VPN protocols.
You will also need to make sure that necessary Port Forwarding and Protocols are enabled in your router settings or any other firewall programs that you are using. VPNs using IPSec need UDP port 500 (IKE) forwarded, and protocols 50 (ESP), and 51 (AH) opened.
To get a better idea as to how to change these settings, you need to go through the user manual for your router and understand how its firmware works. Alternatively, you can also contact your internet service provider to get assistance on this issue.
Խորհուրդ է տրվում:
With this, we come to the end of this article, and we hope that you find these solutions helpful and were able to fix VPN not connecting on Android. However, if you are still facing issues with your VPN app, then you need to look for alternatives. There are hundreds of VPN apps available on the Play Store, and most of them are free. Apps like Nord VPN and Express VPN are highly rated and recommended by a lot of Android users. If nothing else works, switch to a different VPN app, and we hope that it works perfectly.