Cara Menghubungkan ke Jaringan WiFi menggunakan WPS di Android

If you are preferring to connect to the wireless network more easily, then it is suggested to connect to Android WPS. It is said that this feature is not available in WPS Android 9 version. This article will help you connect to the WPS push button Android.
Cara Menghubungkan ke Jaringan WiFi menggunakan WPS di Android
Wi-Fi Protected Setup, abbreviated as WPS, makes a connection between the router and the device faster and easier. It was introduced in 2006 by Cisco. It is a network security standard that works for wireless networks encrypted with a password. But these passwords must be encrypted with WPA Personal or WPA2 Personal security protocols. This feature enables the router owner to restrict strangers from using their wireless network. People prefer this feature because this does not include entering long passwords while connecting. There are four different modes as
- Push button,
- BATERAI,
- USB,
- and near-field communication modes
The last two are out-of-band modes, but the first two are mostly used.
Lihat Juga:
Cara Mengubah Pengaturan USB di Android 6.0
Cara Menyembunyikan Aplikasi di Ponsel Android
Cara Memperbaiki Download Antri di Android
7 Cara Memperbaiki WhatsApp Tidak Sinkron Kontak di Android
Pros of WPS
Following are the pros of using WPS.
- Itu akan secara otomatis configure the network name and security key.
- Hal ini not required to know the security key or password for the wireless network.
- Grafik security key is generated by WPS, membuatnya lebih aman.
- Grafik security key is encrypted by Extensible Authentication Protocol.
Cons of WPS
Below are a few cons of using WPS.
- Not all devices or routers support WPS, that is, the device with WPS Android 9 and more.
- Satu cannot connect using WPS if the device is not verified with WPS certification.
- It does not support direct connections, whereas the connections are made through AP.
Baca Juga: What is WPS and How Does it Work?
Steps to Connect to A Wi-Fi Network Using WPS
To connect the WPS push button Android, you need to ensure that:
- The router and your mobile version support the WPS feature.
- The WPS button on your router is enabled.
Follow the below steps to connect the WPS to your device.
Catatan: Since smartphones don’t have the same settings options, and they vary from manufacturer to manufacturer. Hence, ensure the correct settings before changing any. The screenshots used in this article are taken from OnePlus Nord.
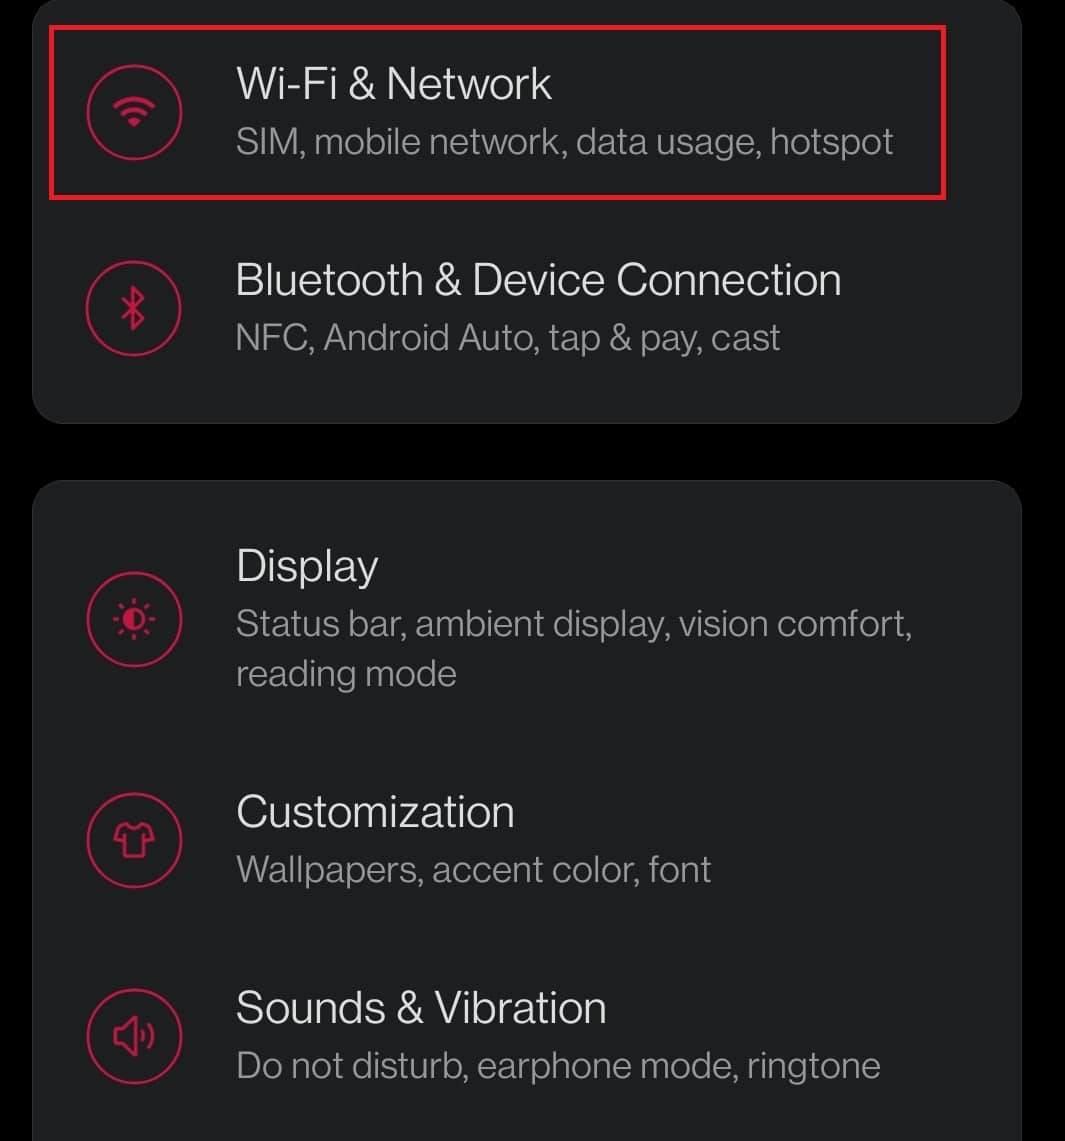
1. Luncurkan Settings aplikasi di perangkat Anda.
2. Di sini, ketuk Wi-Fi & Jaringan .
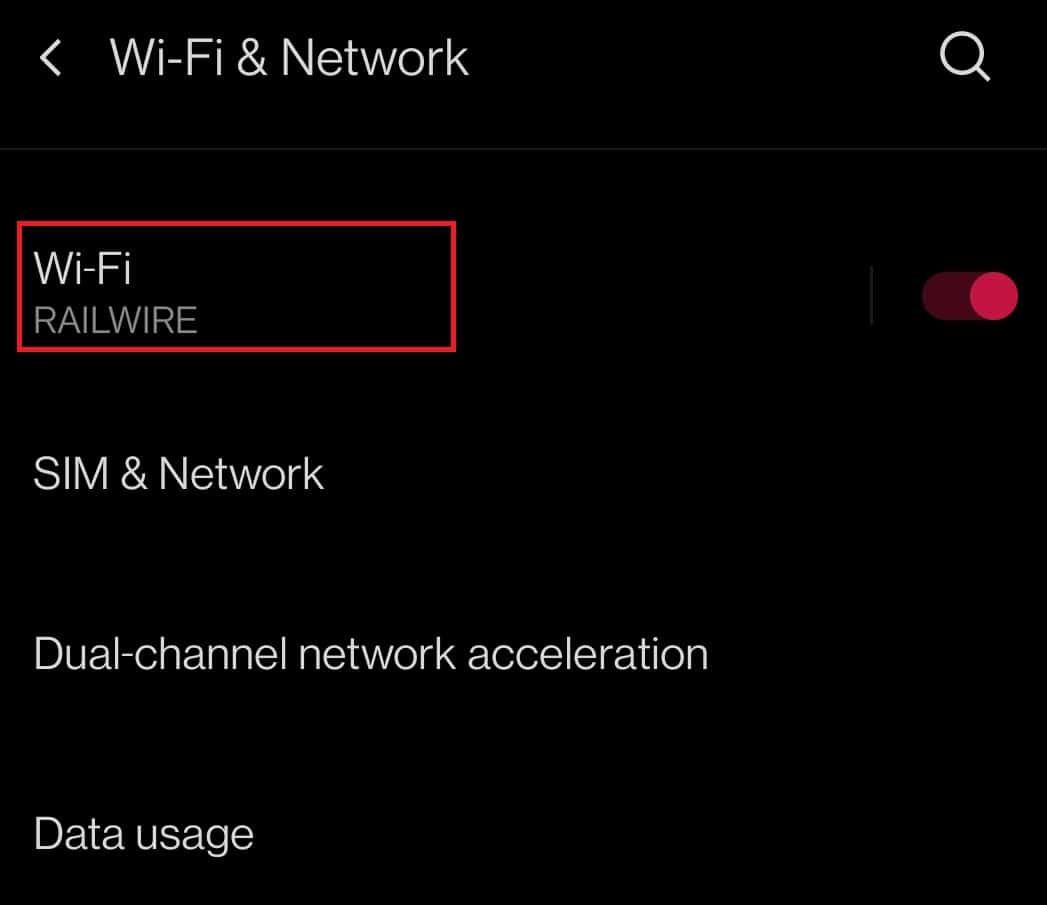
3. Lalu, ketuk pada Wi-Fi .
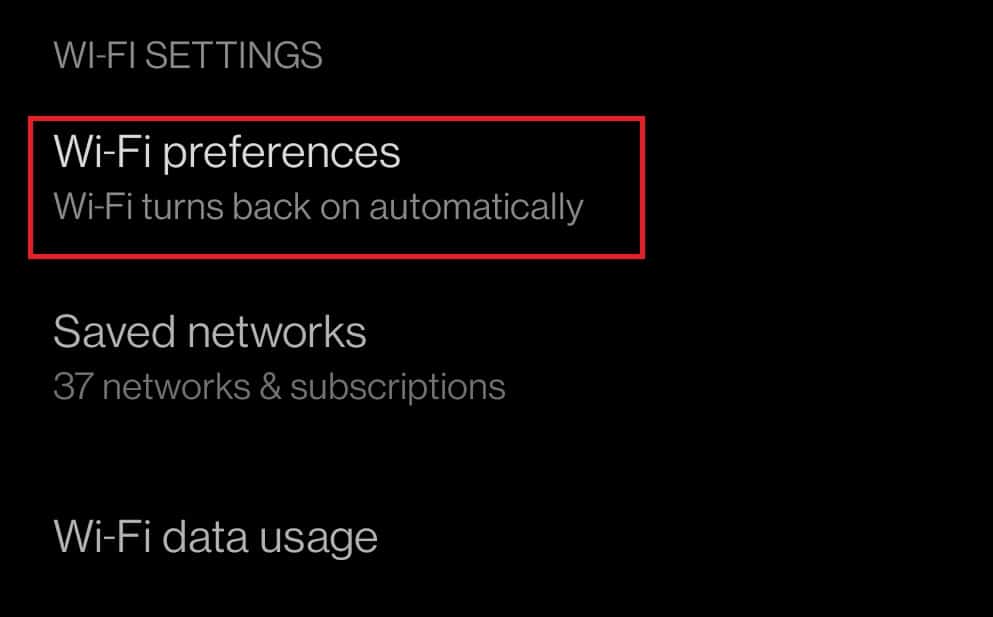
4. Sekarang, ketuk Preferensi Wi-Fi bawah Pengaturan Wi-Fi kategori.
5. Terakhir, ketuk WPS Push .
Catatan 1: If there is no WPS button on your Android device, then tap Entri Pin WPS to connect using an eight-digit pin in the router control panel.
Catatan 2: If your device and router support WPS and you can’t connect to the WPS, then try moving closer to the router.
Pertanyaan yang sering diajukan
Q1. Does WPS reduce the speed of the network?
Tahun. Tidak, but it may slow down the speed of the network occasionally.
Q2. Does WPS to be connected every time we use Wi-Fi?
Tahun. Tidak, connecting to the router using WPS is a one-time process. You get connected to the network whenever you turn it on.
Q3. Is it safe to connect using WPS?
Tahun. Though the method is faster and easier, it is not secure. A hacker can find gain access to all your connected devices. So, it is recommended to disable WPS.
Rekomendasi:
We hope that this guide will help you to connect your mobile to Android-WPS. Drop your queries and suggestions in the comment section below, if any.