Idozi ngwaọrụ Amazon KFAUWI na-egosi na netwọkụ

Windows 10 updates are notorious for prompting new problems followed by a severe headache to its users. After installing one of these problematic updates, you may notice an unknown device named Austin- Amazon of KFAUWI listed among your Network devices. It is natural for you to get worried upon noticing something fishy, be it an application or a physical device. What is this strange device? Should you be alarmed by its presence and has your PC security been compromised? How to fix Amazon KFAUWI device showing up on network issue? We will be answering all of these questions in this article.
How to Fix Amazon KFAUWI Device Showing up on Network in Windows 10
You may come across a device named Austin-Amazon KFAUWI in your list of network devices. The situation is worsened by the fact that while checking the Austin- Amazon of KFAUWI Properties, it does not provide any significant information. It only reveals the Manufacturer name (Amazon) and the Model name (KFAUWI), while all the other entries (Serial Number, Unique identifier, and the Mac & IP address) read unavailable. Because of this, you may think that your PC has been hacked.
What is Austin-Amazon of KFAUWI?
- Firstly, as obvious from the name itself, the network device is related to Amazon and its wide range of devices such as Kindle, Fire, etc., and Austin is the name of the motherboard used in these devices.
- Finally, KFAUWI is a LINUX-based PC employed by developers for device detection among other things. A quick search for the term KFAUWI also reveals that it is associated with the Amazon Fire 7 tablet weputara na 2017.
Why is Austin-Amazon of KFAUWI Listed in Network Devices?
To be honest, your guess is as good as ours. The obvious answer seems to be that:
- Your PC might have detected an Amazon Fire device connected to the same network and hence, the said listing.
- The Samsung TV Wi-Fi connection issue might be prompted by WPS or Wi-Fi Protected Setup settings of the router and Windows 10 PC.
However, if you do not own any Amazon devices or no such devices are currently connected to your Wi-Fi network, it might be best to get rid of Austin-Amazon of KFAUWI. Now, there are only two ways to remove Amazon of KFAUWI from Windows 10. The first is by disabling the Windows Connect Now service, and the second is by resetting the network. Both of these solutions are quite easy to execute as explained in the following segment.
Method 1: Disable Windows Connect Now Service
Jikọọ Windows Ugbu a (WCNCSVC) service is responsible for automatically connecting your Windows 10 PC to peripheral devices such as printers, cameras, and other PCs available on the same network to allow data exchange. The service is disabled by default but the Windows update or even a rogue application may have modified the service properties.
If you indeed have an Amazon device connected to the same network, Windows will try to communicate with it. However, the connection would not be established due to compatibility issues. To disable this service and fix Amazon KFAUWI device showing up on network problem,
1. Kwuo Igodo Windows + R n'out oge imeghe Run igbe.
2. Ebe a, ụdị ọrụ.msc na pịa OK ịmalite Services ngwa.

3. Pịa na aha column header, as shown, to sort all the services alphabetically.
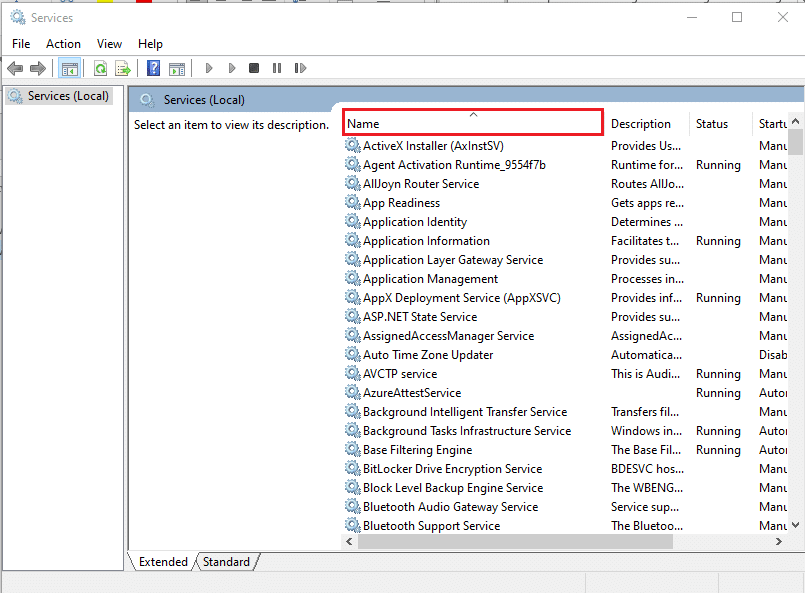
4. Chọpụta ebe Windows Connect Now – Config Registrar ọrụ.
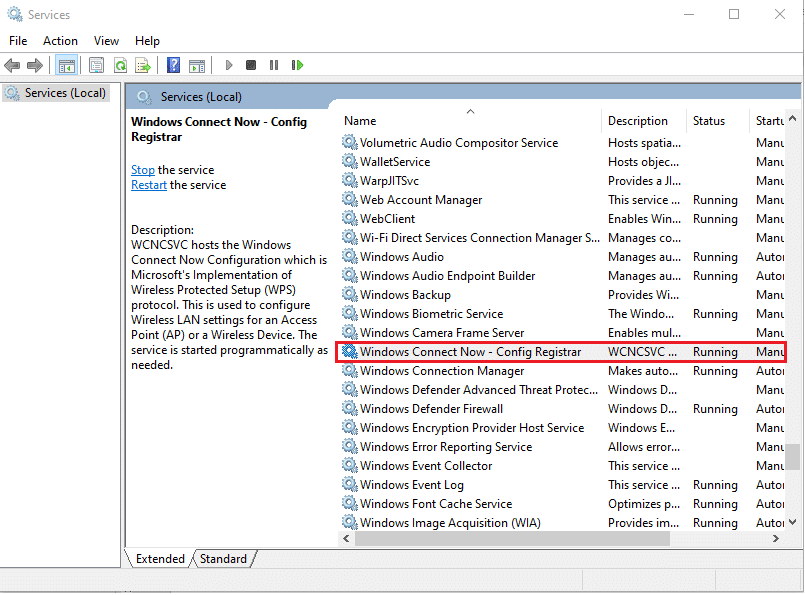
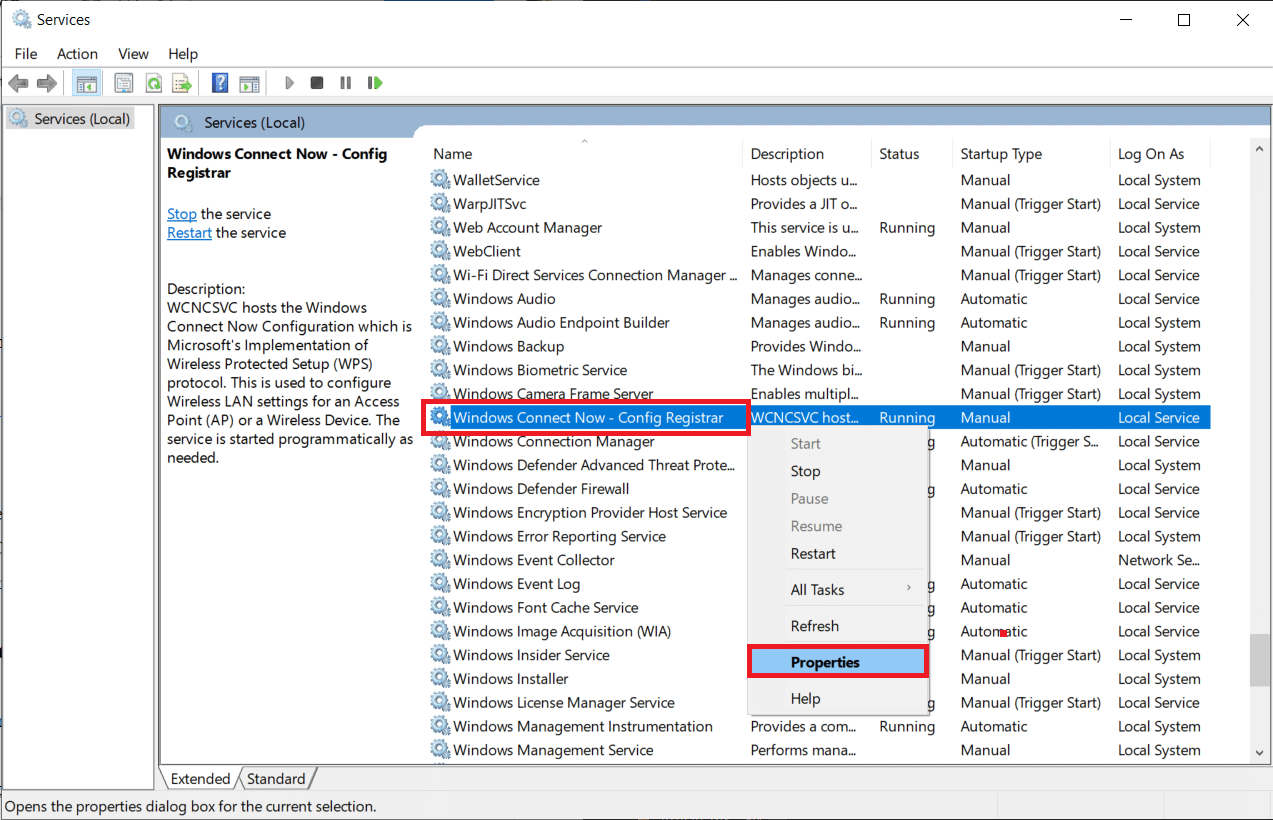
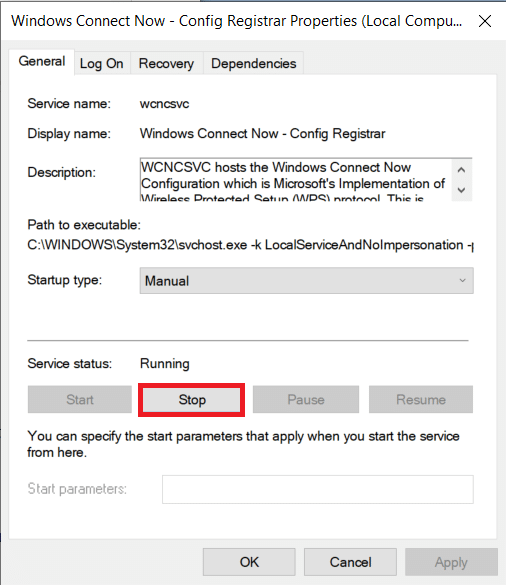
5. Pịa aka nri na ya wee họrọ Properties from the ensuing context menu, as depicted below.
6. Na General taabụ, pịa Ụdị mmalite: drop-down menu and choose the Manual nhọrọ.
Cheta na: Ị nwekwara ike họrọ nke nwere nkwarụ option to turn off this service.
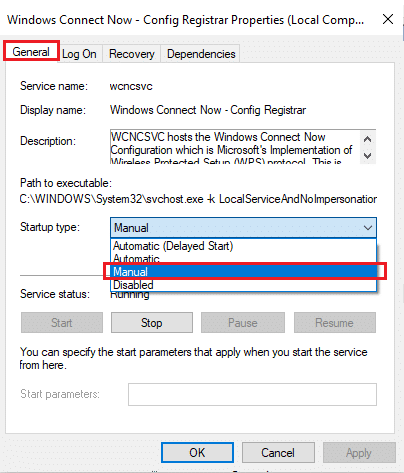
7. Ọzọ, pịa na Kwụsị button to terminate the service.
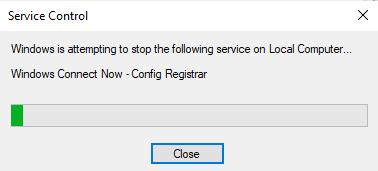
8. Njikwa ọrụ pop-up with the message Windows na-anwa ịkwụsị ọrụ ndị a na Kọmputa Mpaghara… will appear, as shown.
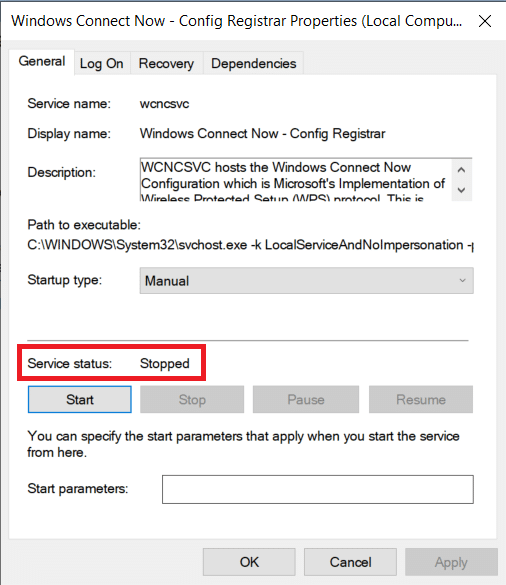
Na, nke Service status: will be changed to Kwụsịrị in some time.
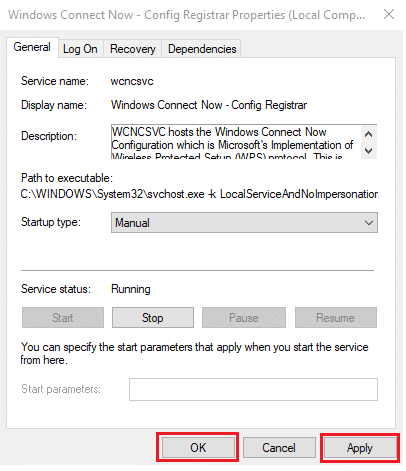
9. Pịa na Tee button to save the changes and then click OK ịpụ na windo.
10. N'ikpeazụ, Malitegharịa ekwentị PC gị. Check whether Amazon KFAUWI device is still appearing in the network list or not.
Gụọ kwa: Idozi Ethernet enweghị mperi nhazi IP ziri ezi
Method 2: Disable WPS & Reset Wi-Fi Router
The above method would have made the KFAUWI device disappear for most users, however, if your network security is indeed compromised, the device will continue to be listed. The only way to get around the issue is to reset the network router. This will revert all the settings to the default state and also kick away freeloaders from exploiting your Wi-Fi connection.
Step I: Determine IP Address
Before resetting, let us try disabling the WPS feature to fix Amazon KFAUWI device showing up on network issue. The first step is to determine router IP address through Command Prompt.
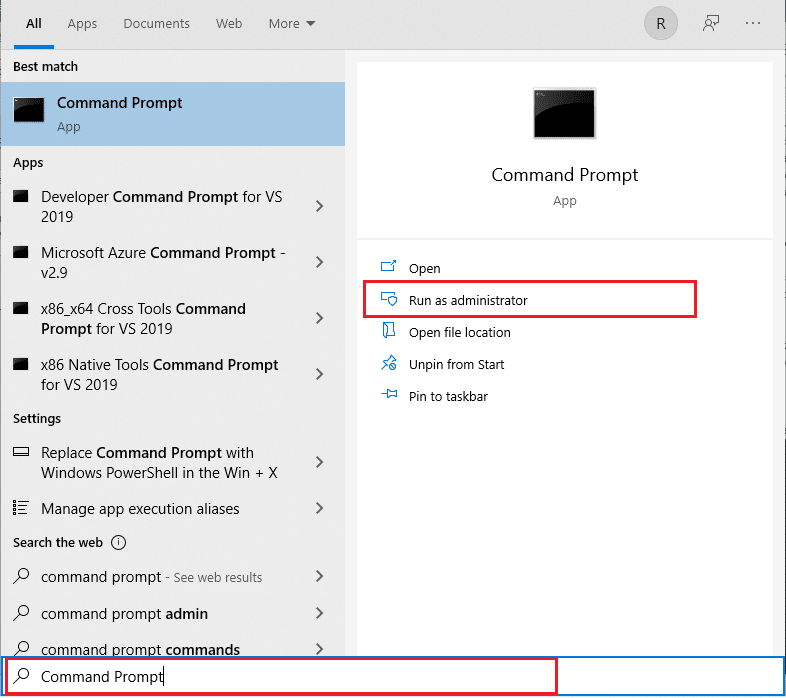
1. Pịa Igodo Windows, ụdị Iwu kwalite na pịa Na-agba ọsọ dị ka onye nlekọta.
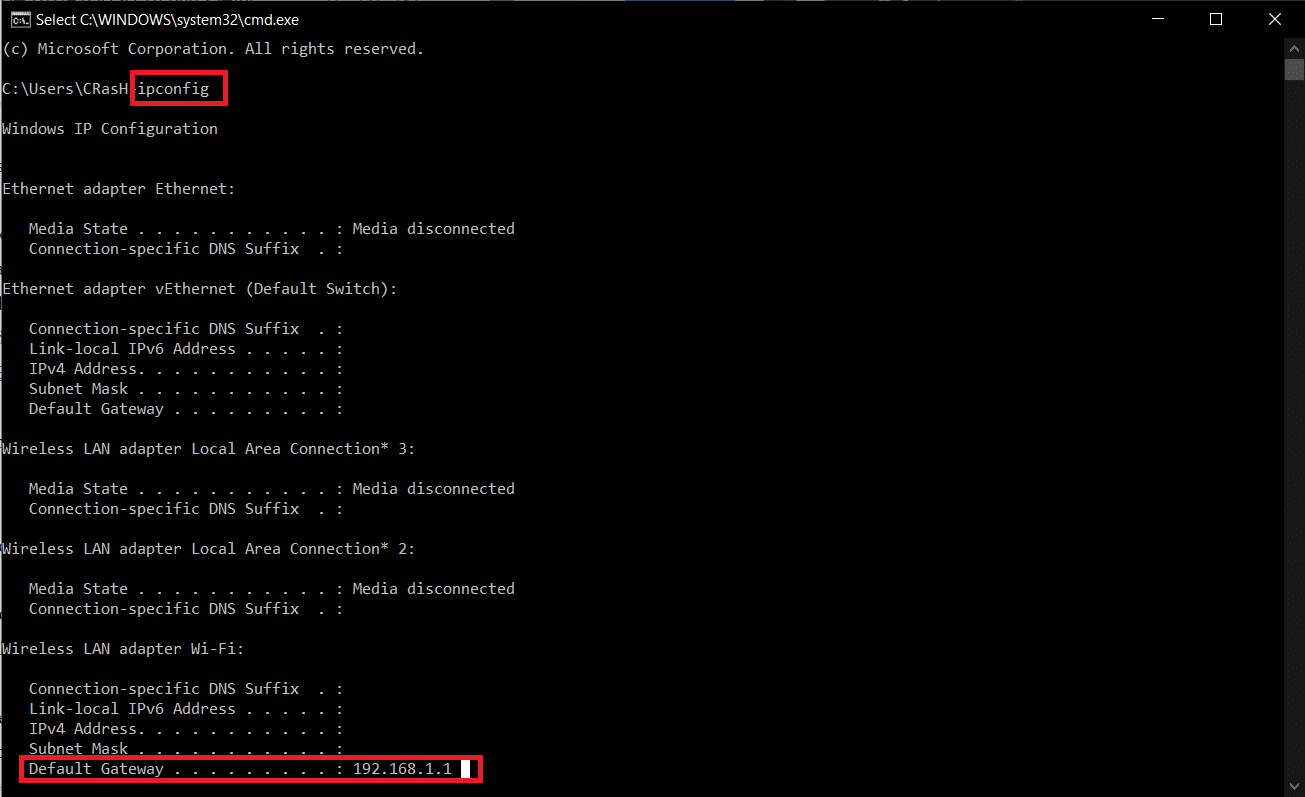
2. Ụdị ipconfig iwu wee kụọ ya Tinye isi. Here, check your Onu ogugu ama okwu.
Cheta na: 192.168.0.1 na 192.168.1.1 are the most common Router Default Gateway address.
Step II: Disable WPS Feature
Follow the steps listed below to disable WPS on your router:
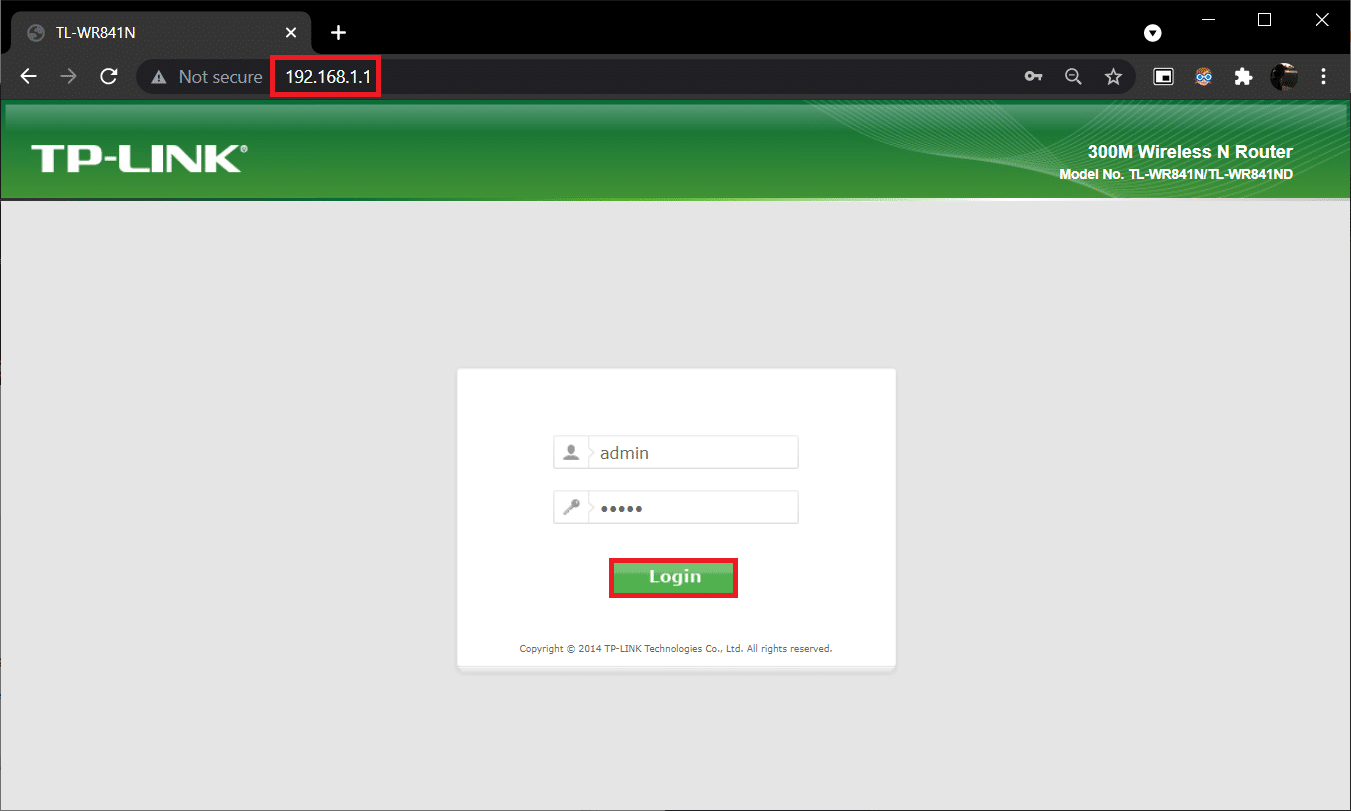
1. Mepee nke ọ bụla ihe nchọgharị weebụ and go to your router Onu ogugu ama adreesị (dịka 192.168.1.1)
2. Pịnye gị aha njirimara na password ma pịa na Banye bọtịnụ.
Cheta na: Check the underside of the router for the login credentials or contact your ISP.
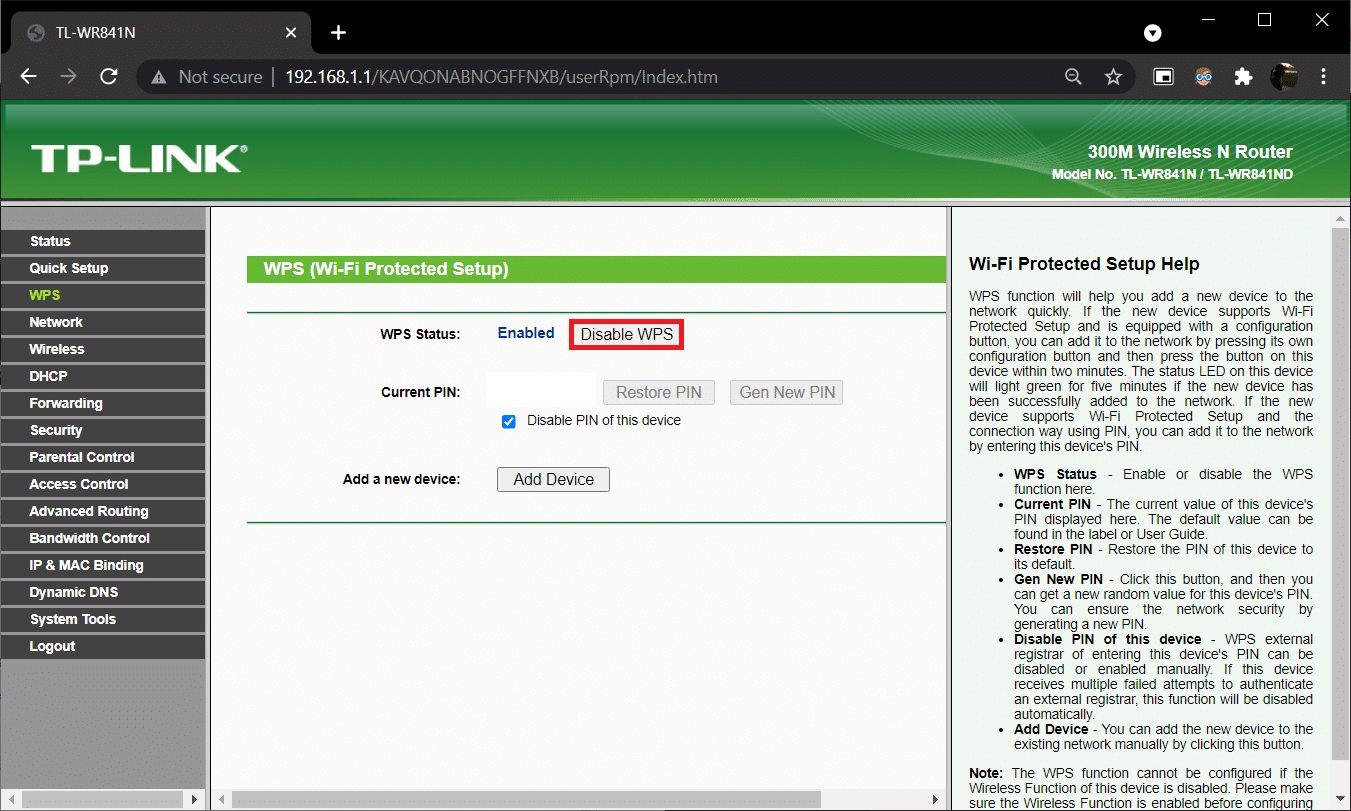
3. Na-agagharị na WPS menu wee họrọ ya Gbanyụọ WPS nhọrọ, egosiri ka ọ pụta ìhè.
4. Now, go ahead and gbanyụọ rawụta.
5. Wait for a minute or two and then gbanye ya azụ ọzọ.
Gụọ kwa: Idozi ihe nkwụnye Wi-Fi anaghị arụ ọrụ na Windows 10
Step III: Reset Router
Check if the KFAUWI is device showing up on network issue has been resolved. If not, reset the router entirely.
1. Ọzọ, mepee ntọala rawụta jiri ya default gateway IP address, mgbe ahụ, Login.
2. Note down all the ntọala nhazi. You will require them after resetting the router.
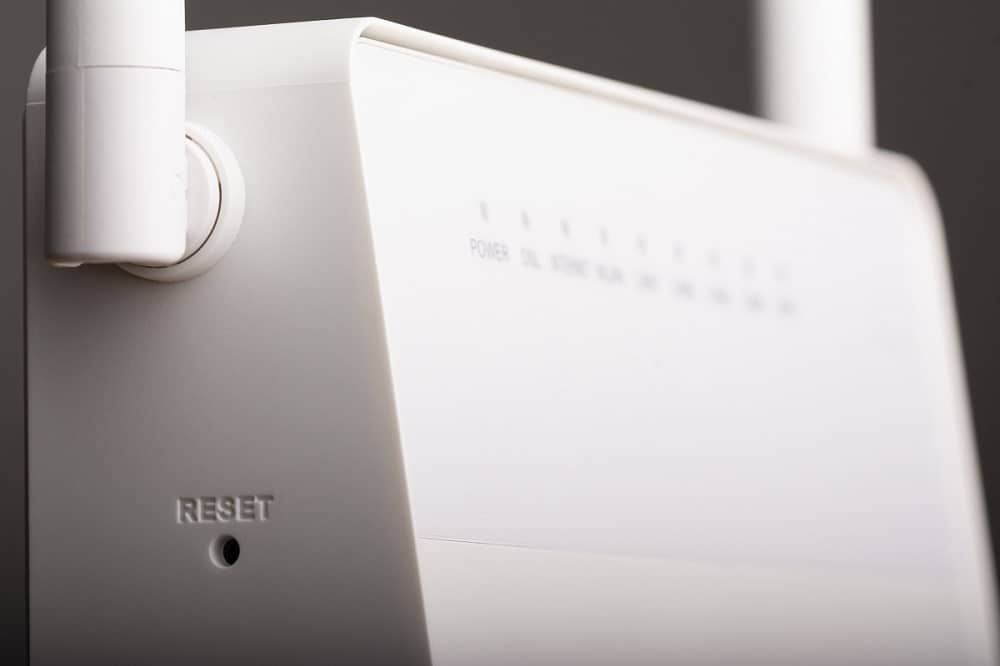
3. Pịa ma jide Tọgharia bọtịnụ on your router for 10-30 seconds.
Cheta na: You have to use pointing devices like a ntụtụ, or tutpik to press the RESET button.
4. The router will automatically turn off and turn back on. Ị nwere ike hapụ bọtịnụ mgbe lights begin to blink.
5. Tinyegharịa the configuration details for the router on the webpage and Malitegharịa ekwentị rawụta.
Make sure to set a strong password this time around to avoid Amazon KFAUWI device showing up on the network issue altogether.
-atụ aro:
Similar to Amazon KFAUWI device showing up on network, some users have reported the sudden arrival of an Amazon KFAUWI device associated with Amazon Fire HD 8, in their networks list after updating Windows. Execute the same solutions as mentioned above to get rid of it. If you have any queries/suggestions regarding this article, then feel free to drop them in the comments section.