Fix MultiVersus Not Launching in Windows 10

MultiVersus is a famous online multiplayer fighting game that is rocking today’s gaming world. Yet, few users complain about the MultiVersus not launching issue when the game is launched on their Windows 10 PC. If you are in the same boat, the troubleshooting hacks discussed in this article will help you sail the problem.
How to Fix MultiVersus Not Launching in Windows 10
If you are vexed by MultiVersus won’t launch issue in your Windows 10 computer, here are a few possible reasons why you must analyze them carefully to sort out the problem.
- PC uppfyllir ekki grunnkröfur leiksins.
- Eitthvað annað bakgrunnsforrit truflar leikinn.
- Þú ert að nota óstaðfesta útgáfu af rekla.
- Grafíkstillingar leiksins eru rangar.
- Tilvist spilliforrita og vírusa.
- .NET ramma og stýrikerfi eru ekki uppfærð í nýjustu útgáfuna.
- DirectX útgáfan er ekki uppfærð.
- Yfirklukkun.
- Allar rangstillingar eða skemmdar uppsetningarskrár leiksins valda einnig vandanum.
- Microsoft C++ endurdreifanlegu skrárnar eru ekki samhæfar leiknum og tölvunni.
Here are a few possible troubleshooting methods that will help you fix the discussed issue.
Aðferð 1: Grunnúrræðaleitaraðferðir
Fylgdu þessum helstu úrræðaleitaraðferðum til að laga umrædd vandamál.
1A. Athugaðu kerfiskröfur
Multi á móti Lágmarkskröfur kerfisins
- CPU: Intel Core i5-2300 or AMD FX-8350
- RAM: 4 GB
- SKYNSKORT: Nvidia GeForce GTX 550 Ti or AMD Radeon HD 5850 | Intel UHD 750
- PIXEL SHADER: 5.0
- VERTEX SHADER: 5.0
- ÓKEYPIS DISKPláss: 6 GB
- SÉRLEGT MYNDBAND: 1024 MB
Multi á móti Ráðlagðar kröfur
- CPU: Intel Core i5-3470 or AMD Ryzen 3 1200
- RAM: 8 GB
- SKYNSKORT: Nvidia GeForce GTX 660 or AMD Radeon R9 270
- PIXEL SHADER: 5.0
- VERTEX SHADER: 5.0
- ÓKEYPIS DISKPláss: 6 GB
- SÉRLEGT MYNDBAND: 2048 MB
1B. Check your internet connection
Unstable internet connection leads to MultiVersus is not working issue, also if there are any obstacles between your router and your computer, they may interfere with the wireless signal and will cause intermittent connection problems.
Þú getur keyrt a hraða próf að vita ákjósanlegasta stigi nethraða sem þarf fyrir rétta tengingu.
Gakktu úr skugga um að tækið þitt uppfylli skilyrðin hér að neðan.
- Finndu merkisstyrk netsins þíns og ef hann er mjög lítill skaltu hreinsa allar hindranir á milli leiðarinnar.
- Forðastu of mörg tæki tengd sama neti.
- Kauptu alltaf mótald/beini sem er staðfest af netþjónustuveitunni þinni (ISP) og þau eru laus við árekstra.
- Ekki nota gamlar, brotnar eða skemmdar snúrur. Skiptu um snúrur ef þörf krefur.
- Gakktu úr skugga um að vírarnir frá mótaldinu að beini og mótaldinu að veggnum séu stöðugir og truflar ekki.
Ef það eru einhver vandamál með nettengingu, skoðaðu handbókina okkar Hvernig á að leysa vandamál með nettengingu á Windows 10 til að leysa það sama.
1C. Stop Overclocking
- Every high-end computer is built with the option of Overclocking which helps in outputting more juice than your specifications that you already have. Running the graphics card or processor faster than the default speed refers to overclocking.
- Þegar þetta gerist mun tölvan þín ná hámarkshitastigi eftir ákveðinn tíma. Tölvan skynjar þetta og stillir klukkuhraðann á venjulegan hraða þar til hún er kólnuð. Klukkuhraðinn er aukinn aftur eftir að þeir kólna.
- Þetta eykur afköst tölvunnar þinnar og er mikil hjálp ef þú ert ekki með öfluga tölvu.
- It must be noted that all the games do not support overclocking. The same applies to MultiVersus. So, you must try disabling all overclocking on your computer and try launching the game. If it launches well, the issue is fixed.
1D. Keyra malware Scan
The presence of a virus or malware attack will result in gaming problems on your computer. If in case, the virus attack is very severe, you cannot connect to any online game continuously at all. To resolve the problem, you have to remove the virus or malware completely from your Windows 10 computer.
Þér er ráðlagt að skanna tölvuna þína eins og sagt er um í handbókinni okkar. Hvernig keyri ég vírusskönnun á tölvunni minni?
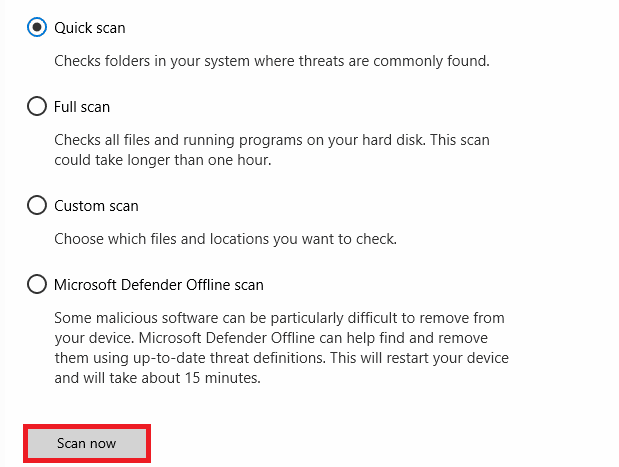
Einnig, ef þú vilt fjarlægja spilliforrit af tölvunni þinni, skoðaðu handbókina okkar Hvernig á að fjarlægja spilliforrit af tölvunni þinni í Windows 10.
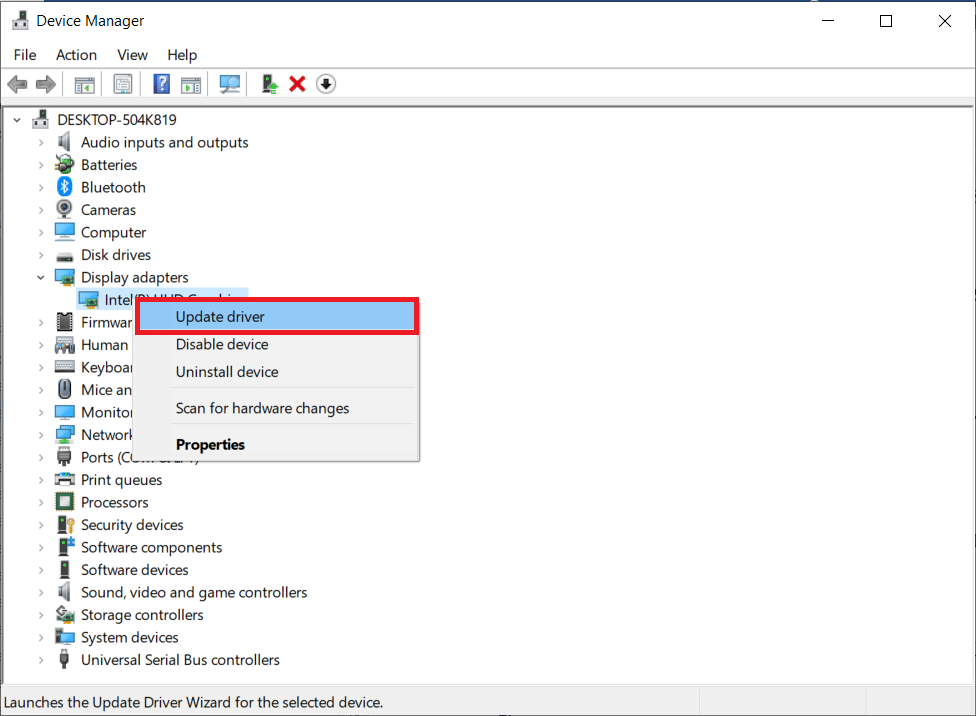
1E. Update GPU Drivers
Graphical drivers are responsible for heavy graphical images and video processing games. If you face any launching conflicts in the MultiVersus game, make sure you use an updated version of device drivers, as they serve as a link between the hardware and Operating System of your PC. Many users have suggested that updating drivers have fixed MultiVersus not working issue. Read and implement the steps instructed in our guide 4 Ways to Update Graphics Drivers in Windows 10 to do so.
Einnig lesið: Lagfærðu Windows rekla sem fundust fyrir tækið þitt en kom upp villu
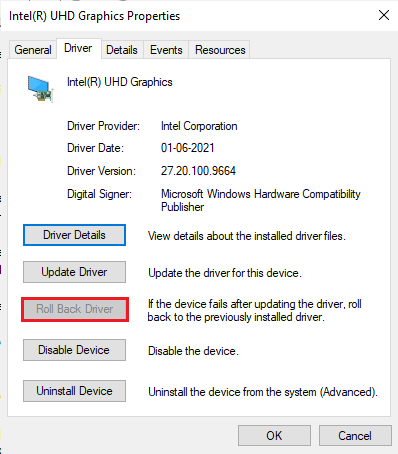
1F. Roll Back GPU Drivers
Sometimes, the current version of GPU drivers may cause the discussed launching issue in MultiVersus, and in this case, you have to restore previous versions of installed drivers. This process is called afturköllun ökumanna og þú getur auðveldlega afturkallað tölvureklana þína í fyrra ástand með því að fylgja leiðbeiningunum okkar Hvernig á að afturkalla ökumenn á Windows 10.
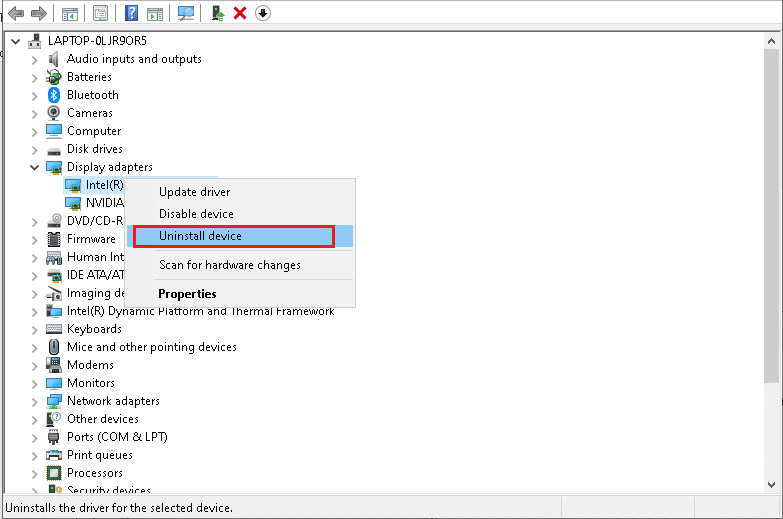
1G. Reinstall GPU Driver
If you still face MultiVersus not starting issue after updating your GPU drivers, then reinstall device drivers to fix any incompatibility issues. There are several ways to reinstall drivers on your computer. Yet, you can easily reinstall Graphical drivers as instructed in our guide How to Uninstall and Reinstall Drivers on Windows 10.
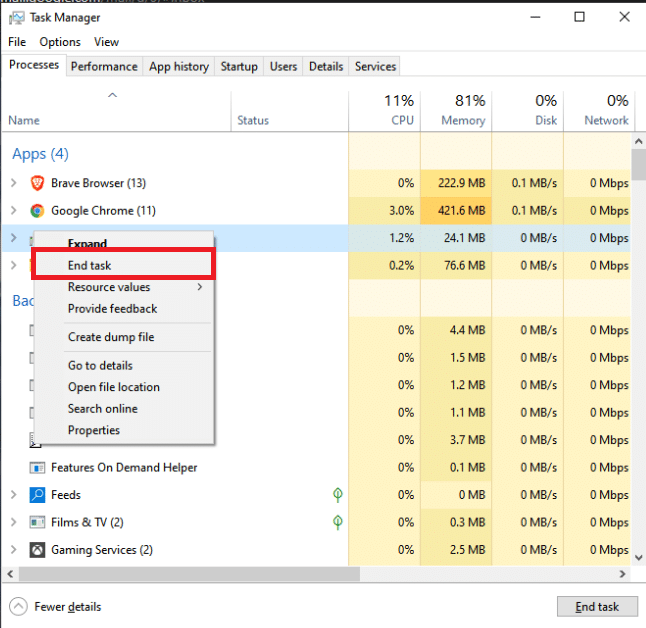
1H. End Background Processes
Several users have confirmed that MultiVersus not starting on PC can be resolved by closing all the background tasks running on your PC. To implement the task, follow our guide How to End Task in Windows 10, and proceed as instructed.
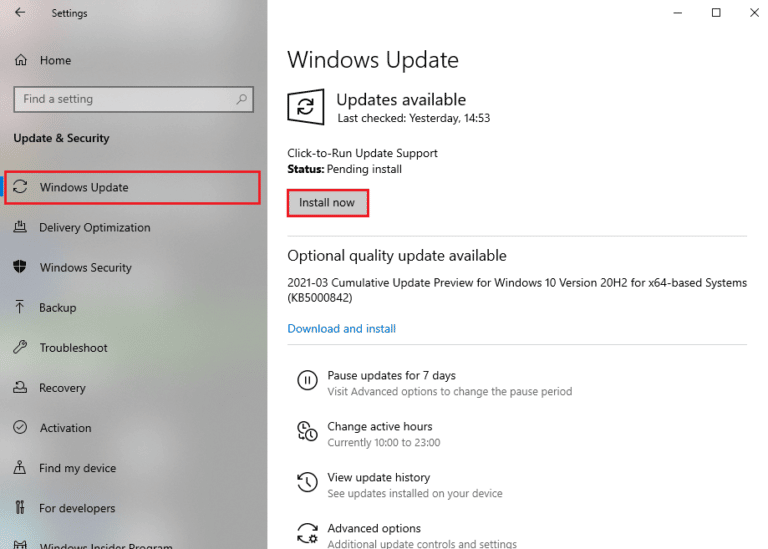
1I. Update Windows
You can also eradicate bugs in your computer and game by updating your Operating System. Always ensure if you have updated your Windows Operating System and if any updates are pending in action, use our guide How to Download and Install Windows 10 Latest Update
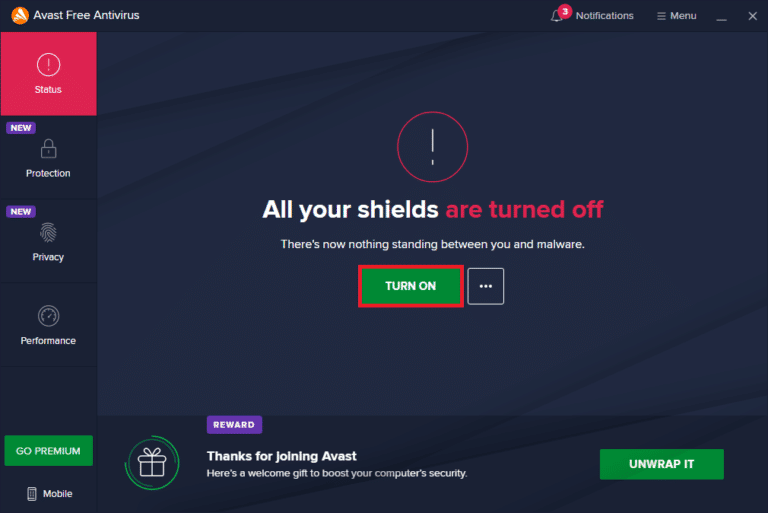
1J. Disable Antivirus Temporarily (If Applicable)
Some incompatible antivirus programs installed on your computer will cause MultiVersus launching problem. To avoid conflicts, you must ensure the security settings of your Windows 10 computer and check if they are stable or not. To find whether the antivirus suite is the reason for the discussed issue, disable it once and try connecting to a network.
Lestu leiðbeiningarnar okkar um hvernig á að slökkva tímabundið á vírusvörn í Windows 10 og fylgdu leiðbeiningunum til að slökkva á vírusvarnarforritinu tímabundið á tölvunni þinni.
Ef þú hefur lagað vandamálið þitt eftir að hafa slökkt á vírusvarnarforritinu á tölvunni þinni er þér ráðlagt að fjarlægja forritið alveg af tölvunni þinni.
Read our guide Force Uninstall Programs which won’t Uninstall in Windows 10 to uninstall your antivirus program on your computer.
Einnig lesið: Hvernig á að fjarlægja McAfee LiveSafe í Windows 10
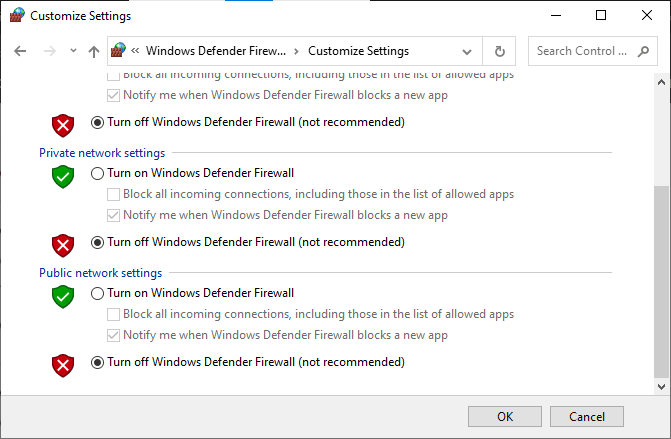
1K. Turn Off Windows Defender Firewall (Not Recommended)
Your computer will face MultiVersus is not working issue, due to an over-protective firewall suite in the Windows 10 PC. To resolve the problem, you can either add a new rule for your game, whitelist the game or as the last fix, disable the firewall temporarily.
Our guide on How to Disable Windows 10 Firewall will help you.
1L. Gera við kerfisskrár
If there are any missing or damaged files on your Windows 10 PC, you will face MultiVersus takes forever to launch issue. Yet, you are repairing these corrupt files by using inbuilt utilities namely, System File Checker og Dreifing Image Servicing og stjórnun.
Lestu leiðbeiningar okkar um hvernig á að gera við kerfisskrár á Windows 10 og fylgdu skrefunum eins og sagt er um til að gera við allar skemmdu skrárnar þínar.
Method 2: Run MultiVersus Game as Administrator
If MultiVersus does not have required administrative privileges, a few essential features of the game will be limited causing you MultiVersus not launching issue whenever you open the game or install any updates. Follow the below-mentioned instructions to run the game as an administrator.
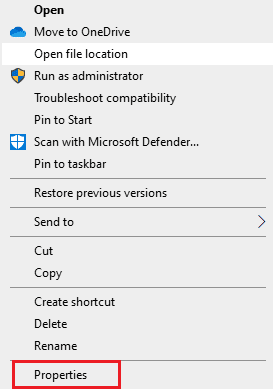
1. Hægri smelltu á MultiVersus shortcut á skjáborðinu.
Athugaðu: Þú getur líka farið í uppsetningarskrá og hægrismelltu á það.
2. Veldu síðan Eiginleikar valkostur.
3. Farðu nú í Eindrægni flipann og smelltu á Keyra þetta forrit sem stjórnandi.
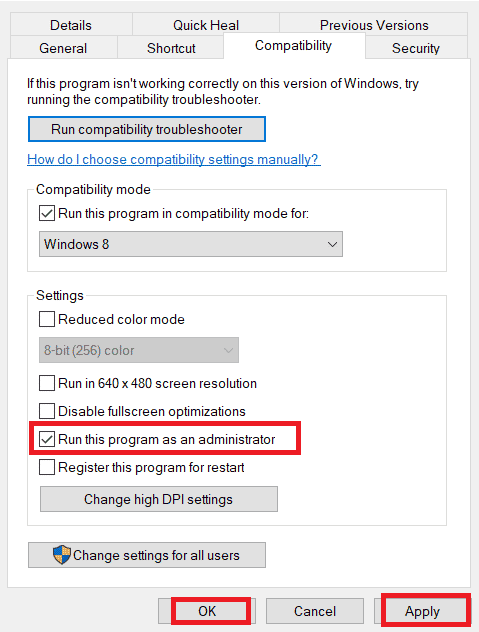
4. Að lokum, smelltu á Sækja um> Í lagi til að vista breytingarnar.
Check if you have fixed MultiVersus launching issues.
Einnig lesið: Lagfæra WoW tekur að eilífu að ræsa í Windows 10
Aðferð 3: Breyta forgangi leikferils
The preference of an application or process tells the computer the importance and if it should be given preference over the others while allocating the resources. The priority of every application is normal except the system processes, by default. MultiVersus might crash if it didn’t get enough resources.
1. Ýttu á Ctrl + Shift + Esc lyklar saman til að opna verkefnasláin.
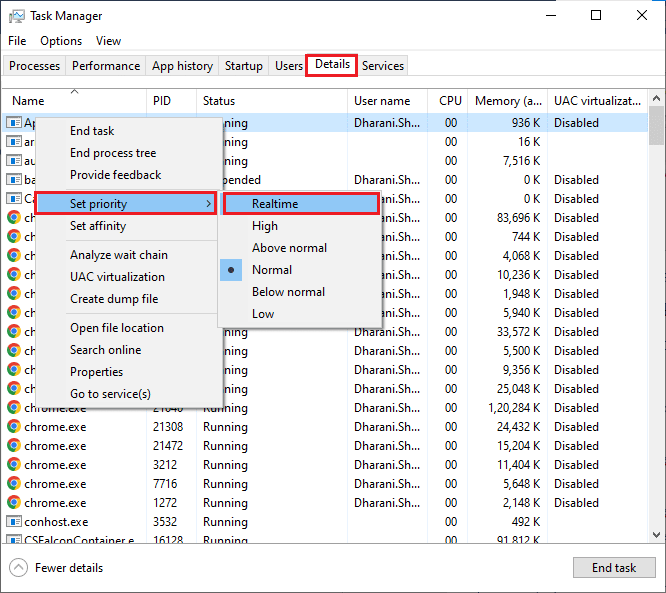
2. Leitaðu nú að MultiVersus process.
3. Breyttu síðan forganginum í Hár forgangur og athuga hvort þetta virki.
Athugaðu: Breyttu forganginum með mikilli varúð þar sem að breyta forgangi ferlisins kæruleysislega gæti gert kerfið þitt mjög hægt eða óstöðugt.
4. Lokaðu Verkefnisstjóri og endurræsa tölvuna þína.
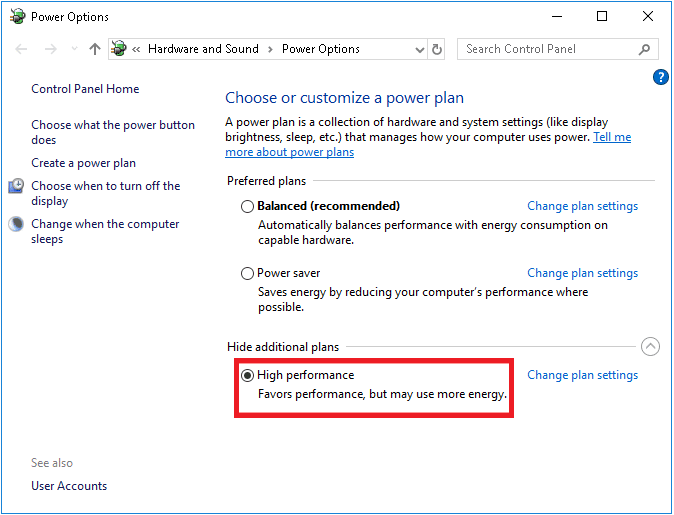
Aðferð 4: Stilltu háan árangur
Þú getur líka fínstillt leikinn þinn þegar þú stillir afkastamikil orkuáætlunarstillingar þínar. Þessar orkuáætlanir eru þróaðar til að stjórna orkustillingum á færanlegum stillingum. Fylgdu neðangreindum leiðbeiningum til að nota hágæða orkuáætlunarstillingar í kerfinu þínu.
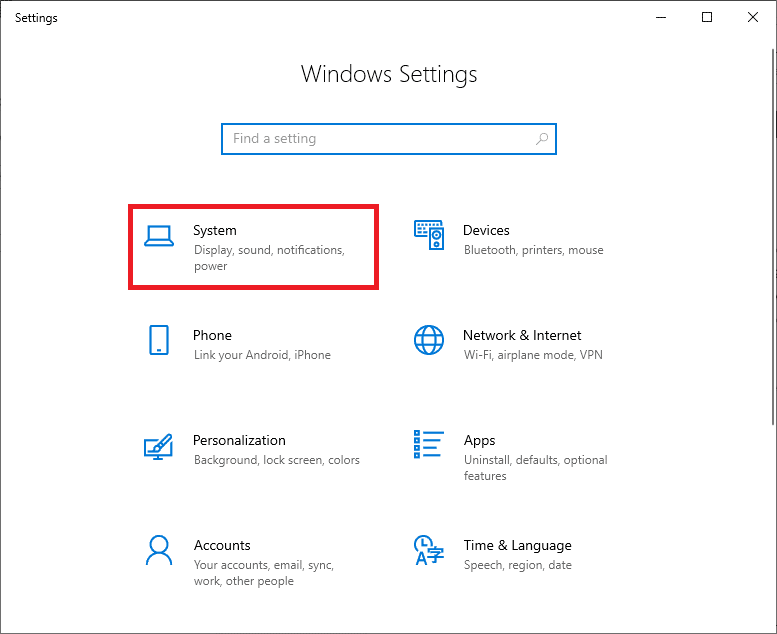
1. Ýttu á Windows + I lyklar samtímis að opna Windows stillingar.
2. Nú skaltu smella á System stilling.
3. Nú skaltu velja Kraftur & svefn valkostur og smelltu á Viðbótarorkirstillingar undir Svipaðir stillingar.
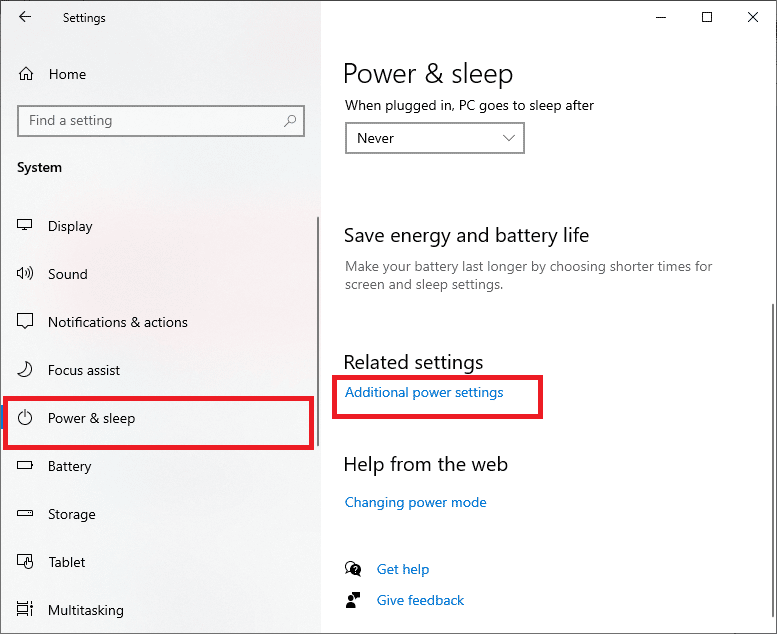
4. Nú skaltu velja Hár-flutningur valkostur undir Há viðbótaráform eins og sést á myndinni hér að neðan.
Now you have optimized your system, check if you have fixed MultiVersus won’t launch on startup issue.
Einnig lesið: Lagfærðu villu sem vantar niðurhalaðar skrár á Steam
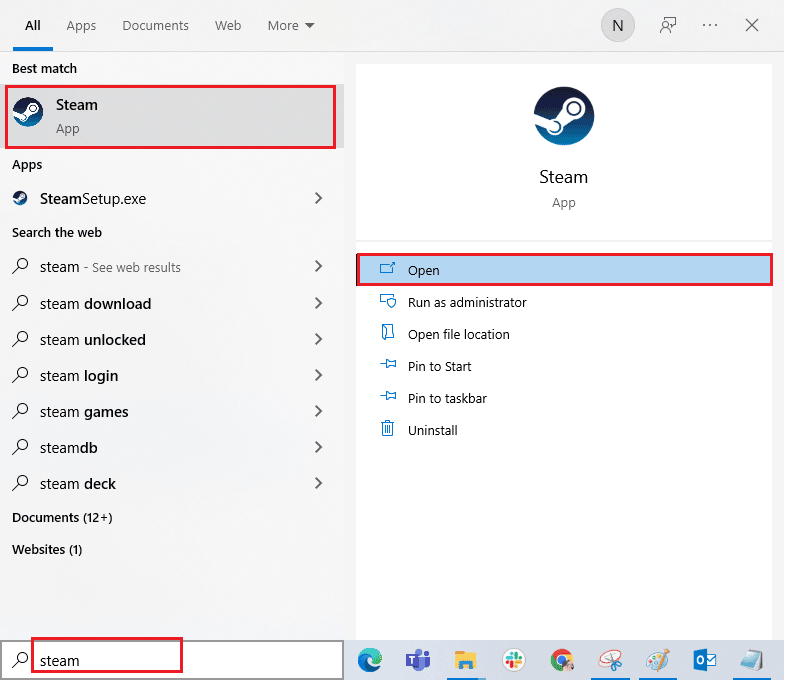
Method 5: Update Steam App & MultiVersus Game
If you use an outdated Steam application, you cannot access any games smoothly. Hence always make sure you use an updated version of Steam and MultiVersus game before launching it.
1. Hit Windows lykill og tegund Steam, smelltu síðan á Opna.
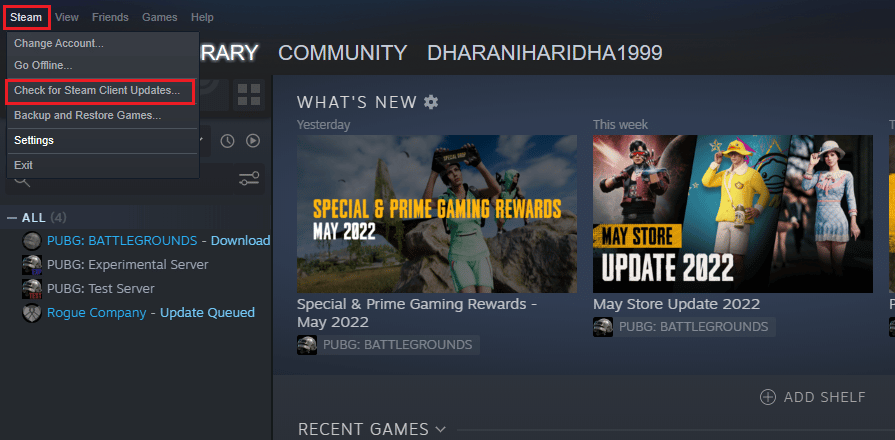
2. Nú skaltu smella á Steam efst í vinstra horninu á skjánum og síðan Athugaðu hvort Steam viðskiptavinur uppfærslur… eins og fram kemur hér að neðan.
3. Ef þú hefur einhverjar nýjar uppfærslur til að hlaða niður skaltu setja þær upp og tryggja Steam viðskiptavinurinn þinn er uppfærður.
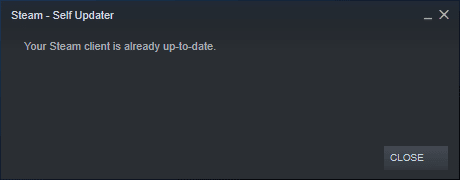
4. Nú, endurræsa Steam og athugaðu hvort málið sé leyst núna.
Likewise, it is always essential that your game run at its latest version to avoid any conflicts. Until your game is updated, you cannot log in to MultiVersus servers successfully.
Til uppfærðu leikinn þinn, follow the below-mentioned steps.
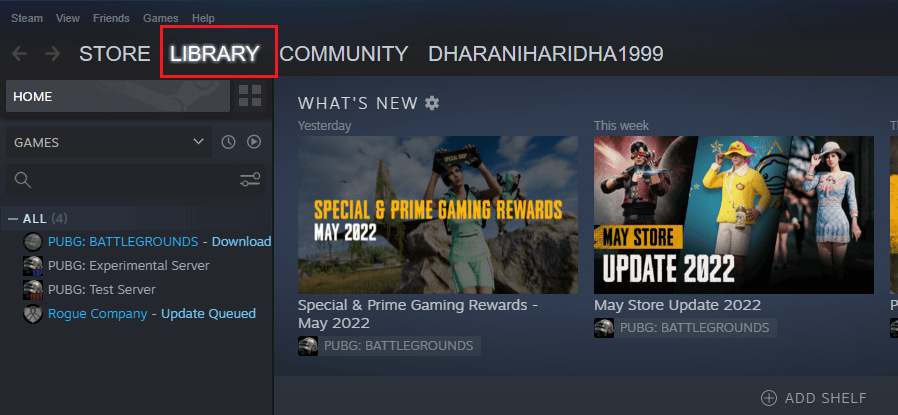
1. Sjósetja Steam og sigla til LIBRARY.
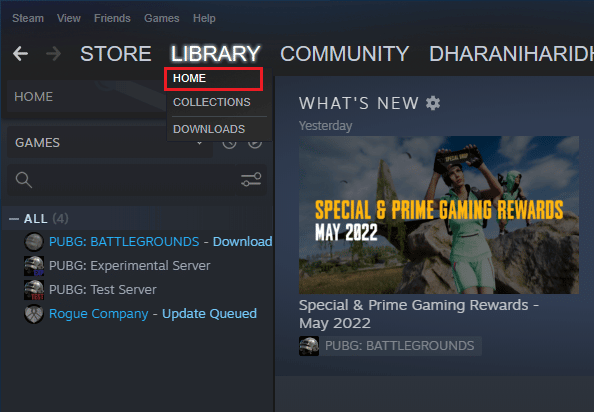
2. Nú skaltu smella á FORSÍÐA and search for MultiVersus.
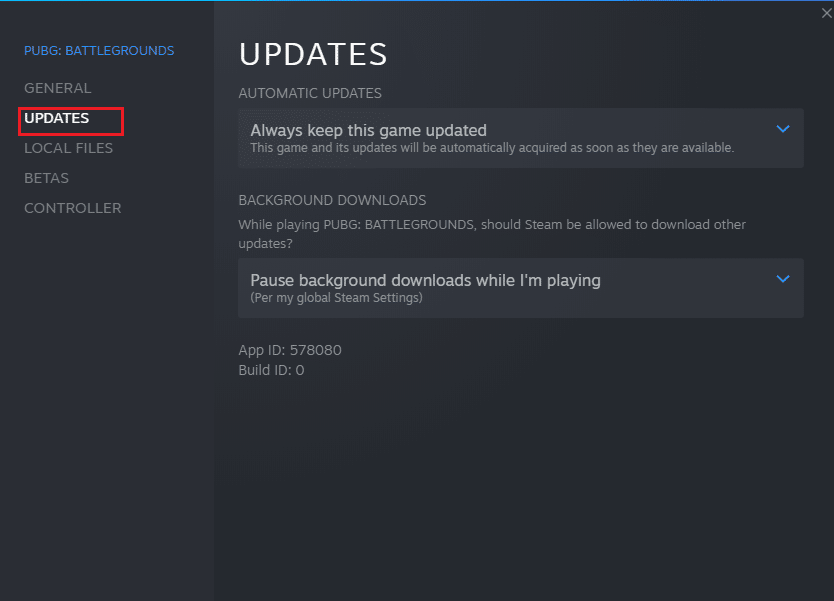
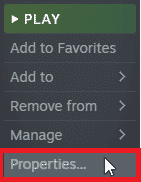
3. Hægrismelltu síðan á leikinn og veldu Eiginleikar… valkostur.

4. Skiptu nú yfir í Uppfærslur flipann og athugaðu hvort einhverjar uppfærslur séu í vinnslu. Ef svo er skaltu fylgja leiðbeiningunum á skjánum til að hlaða niður nýjustu uppfærslunum.
After an update, check if MultiVersus not launching issue is fixed.
Aðferð 6: Slökktu á fínstillingum á öllum skjánum
Few users have suggested that disabling full-screen optimizations on PC has helped them fix MultiVersus is not launching issue. Follow as instructed.
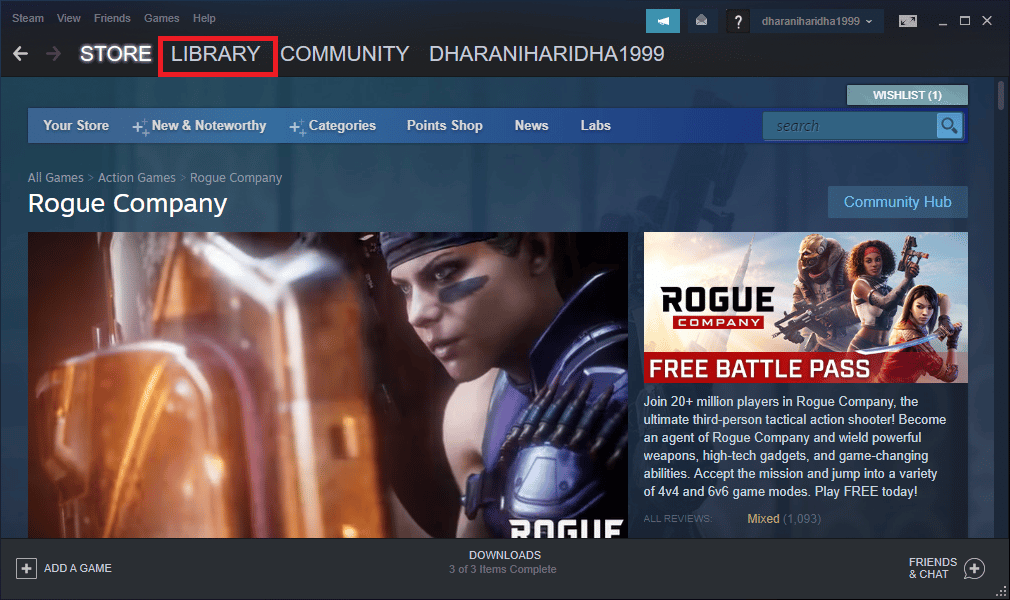
1. Navigate to the Steam LIBRARY valmyndinni.
2. Now, right-click on the MultiVersus game and click on Eiginleikar…
3. Skiptu nú yfir í ALMENNT flipann og smelltu á STILLA SJÓNUNARVALA... eins og sýnt er.
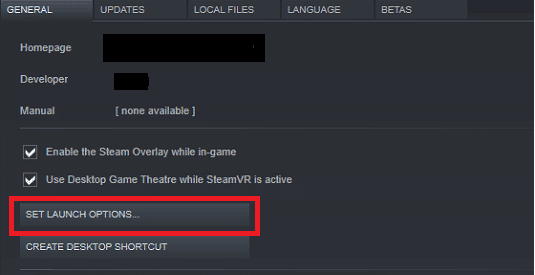
4. Nú mun nýr gluggi opnast með háþróaðri notendaviðvörun. Til að opna leikinn í gluggaham skaltu slá inn -glugga breytu.
5. Vistaðu nú breytingarnar með því að smella OK og farðu úr Properties glugganum.
6. Nú, hleypt af stokkunum leikurinn and ensure that it runs in windowed mode.
Athugaðu: You can also navigate to STELÐI LAUNNINGSMÖGULEIKA… aftur og sláðu inn eftirfarandi færibreytur í stað síðustu færibreytunnar.
–windowed -w 1024
7. Now, save the changes by clicking on OK.
Þessi færibreyta mun stilla leikinn til að ræsa í gluggaham.
Einnig lesið: Lagfærðu stillingar Steam forritsins ekki tiltækar í Windows 10
Aðferð 7: Slökktu á yfirlagi í leiknum
The Steam Overlay is a piece of Steam that allows the users to access friends list, and web browser and allows in-game purchasing. It is a significant tool, yet it sometimes triggers MultiVersus not launching on startup issue. If you want to solve this problem, then turn off the Steam game overlay.
1. opna Steam app og smelltu á LIBRARY.
2. Nú, hægrismelltu á Multi á móti og smelltu á Eiginleikar…

3. Skiptu nú yfir í ALMENNT tab and uncheck the box containing Enable the Steam Overlay while in-game.
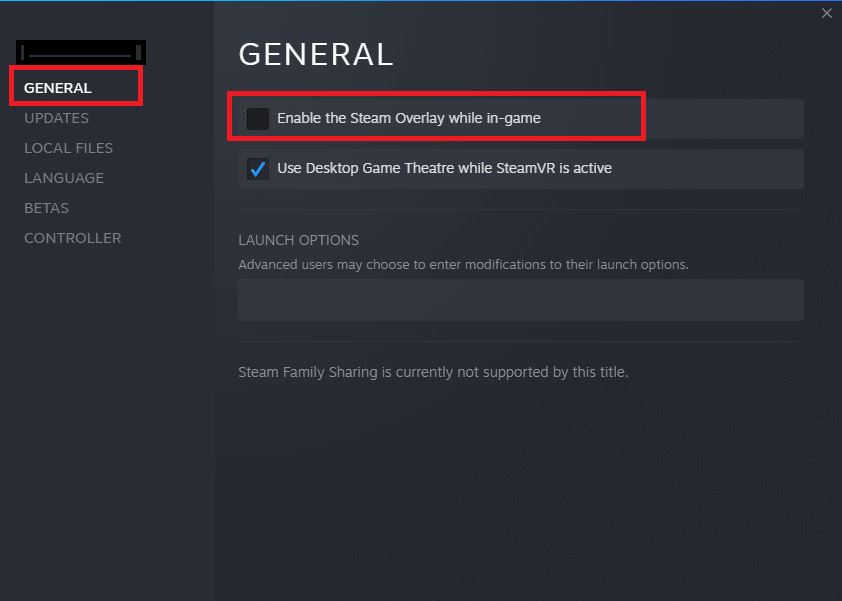
4. Að lokum, endurræsa leikinn and check if the MultiVersus launching issue is solved.
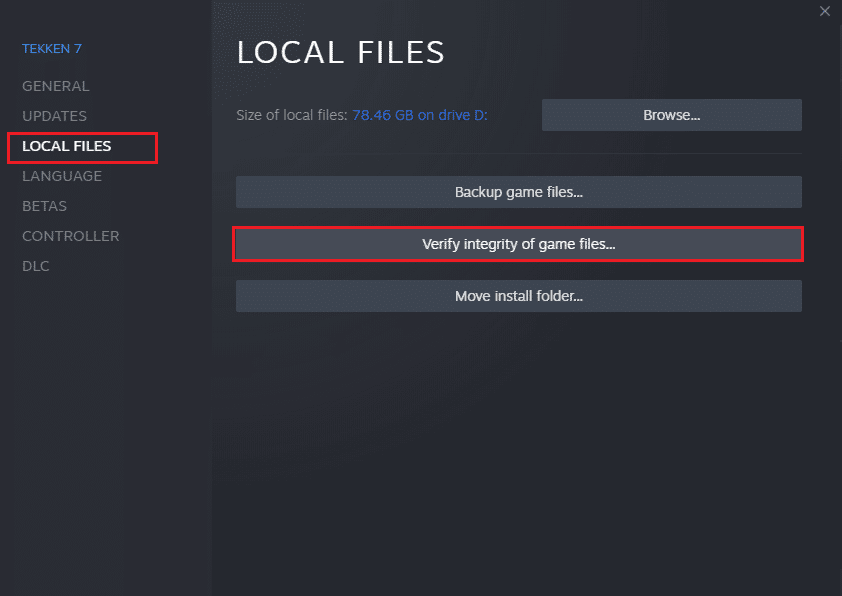
Aðferð 8: Staðfestu heilleika leikjaskráa
We have seen many cases in which the game files are either missing or corrupt or it had incomplete installations. Users could also experience MultiVersus not starting on PC issue if they are interrupted by the update process or if the game files are being moved. In this method, you will be opening Steam and using the built-in function for verifying the integrity of the game. It will be replaced if the application finds something. Read our guide on how to verify integrity of game files on Steam.
Einnig lesið: Fix Steam Client Bootstrapper Not Responding in Windows 10
Aðferð 9: Uppfærðu .NET Framework
.NET framework in Windows 10 computer is essential for uninterrupted service of modern apps and games. Many games have an auto-update feature for the .NET framework, and thus it will be updated automatically whenever an update is available. In another case, if an update prompts in your PC, you can manually install the latest version of the .NET framework, as discussed below, to fix MultiVersus not launching issue.
1. Athugaðu hvort nýjar uppfærslur fyrir .NET ramma frá opinbera vefsíðu Microsoft.
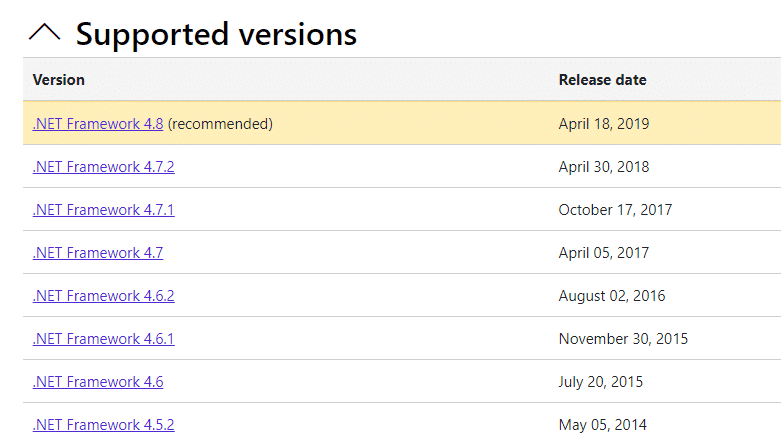
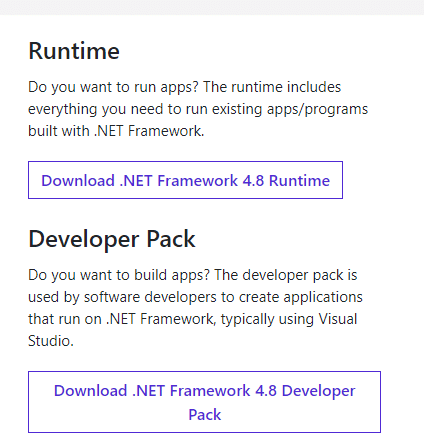
2. Ef það eru einhverjar uppfærslur skaltu smella á samsvarandi/mælt hlekkur og smelltu Sækja .NET Framework 4.8 Runtime valkostur.
Athugaðu: Ekki smella á Sækja .NET Framework 4.8 þróunarpakka eins og það er notað af hugbúnaðarhönnuðum.
3. Fara til niðurhalið mitt, double-click on the setup file to run the downloaded file and follow the leiðbeiningar á skjánum to install the .NET framework successfully on your Windows PC. Once done, check if you have fixed the discussed issue or not.
Aðferð 10: Uppfærðu DirectX
To enjoy a seamless multimedia experience on MultiVersus, you have to make sure whether DirectX is installed, and it is updated to its latest version. DirectX helps you improve the visual media experience for graphical games and applications especially. It is worth updating DirectX needed for this game.
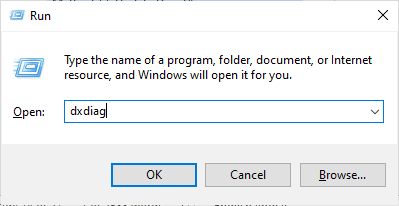
1. Sláðu á Windows + R lyklar samtímis til að hleypa af stokkunum Hlaupa valmynd.
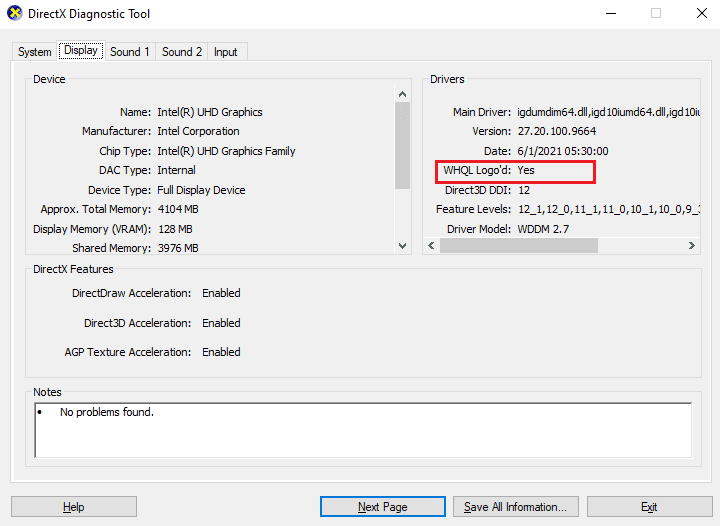
2. Gerð dxdiag og ýttu á Sláðu inn lykilinn til að opna Greiningartól DirectX.
3. Athugaðu DirectX útgáfa, if it contains DirectX 12 eða ekki.
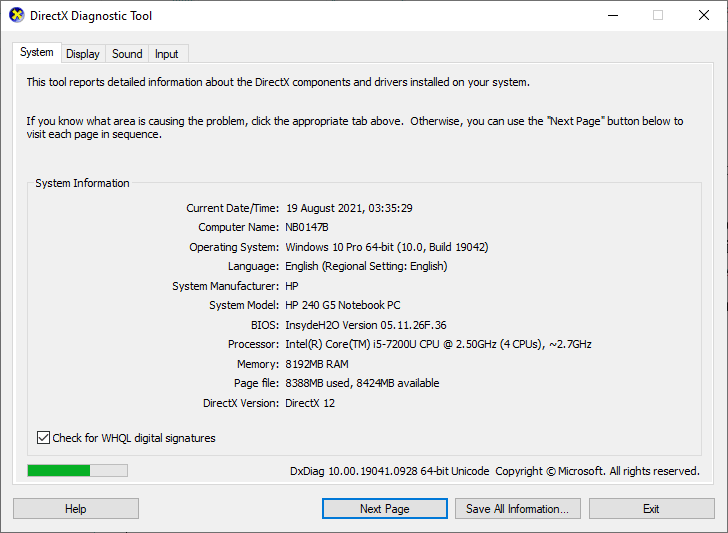
4. If you do not have DirectX 12 in your system, download and install it from the DirectX niðurhalssíða með því að fylgja leiðbeiningunum á skjánum.
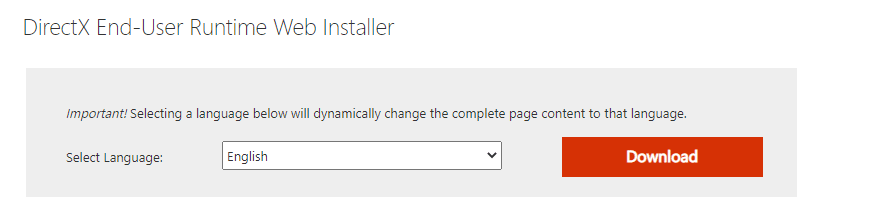
After installing DirectX, check if the issue occurs again.
Athugaðu: Tryggja Athugaðu fyrir WHQL stafrænar undirskriftir kassi er innritaður System flipa og á öllum flipa, athugaðu hvort WHQL Logo'd vera stillt á Já.
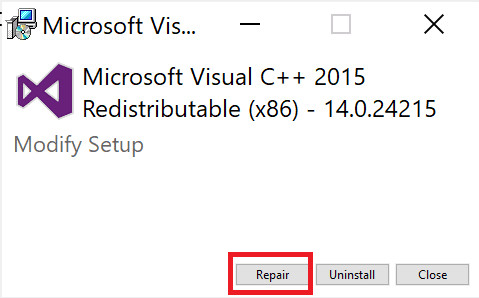
Aðferð 11: Gera við Microsoft Visual C++ endurdreifanlegt
Alternately, you can try to repair the Microsoft Visual C++ Redistributable packages to fix MultiVersus not launching issue as follows:
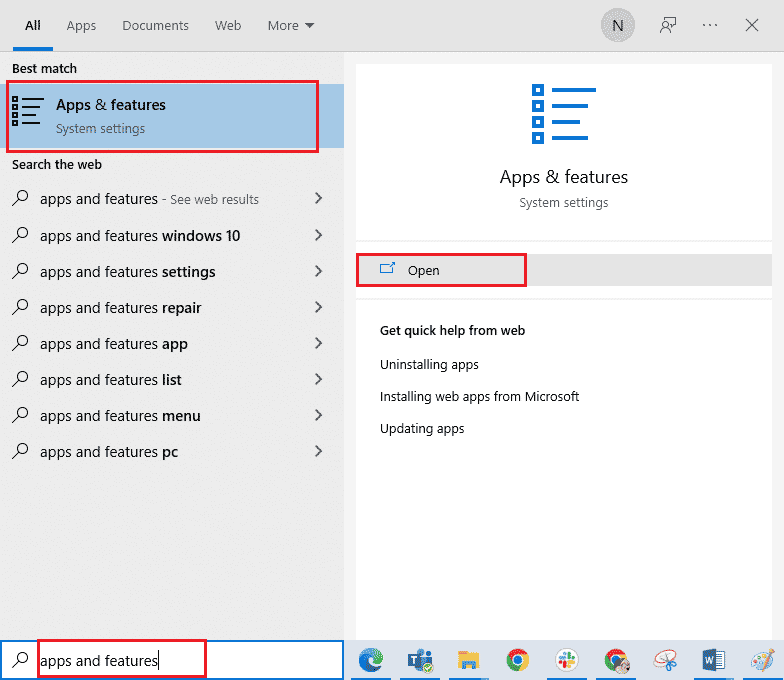
1. Sláðu á Windows lykill, gerð Forrit og eiginleikar, smelltu síðan á Opna.
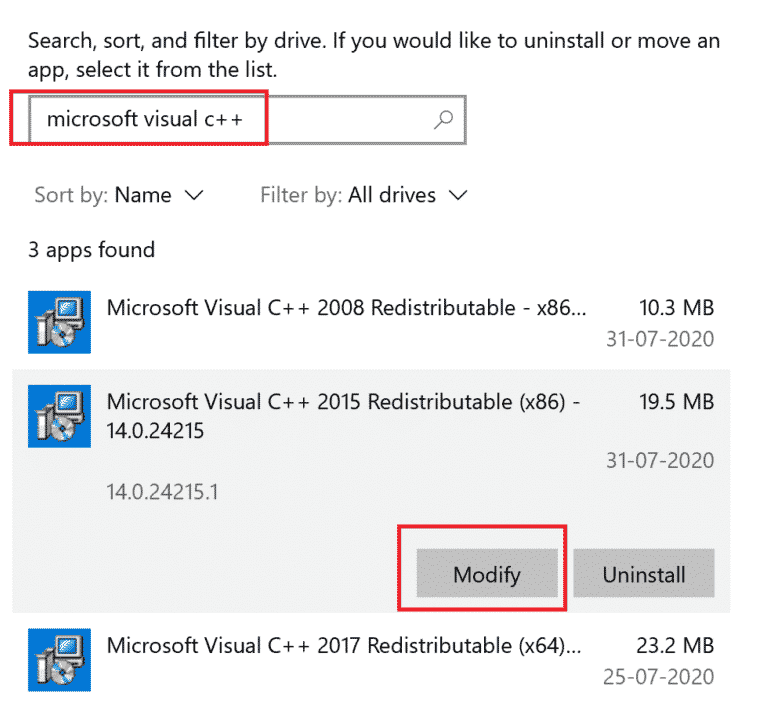
2. Leitaðu að Microsoft Visual C ++ endurdreifanlegt pakki.
3. Then, select the package, and click on Breyta valkostur.
4. Smelltu síðan Já á User Account Control valmynd.
5. In the pop-up window that appears, click on viðgerðir. Bíðið eftir að ferlið sé lokið.
6. Repeat the above steps to modify all the Microsoft Visual C++ Redistributable packages.
7. Að lokum, endurræstu tölvuna.
Open the application that you were unable to open previously. If this did not work, try reinstalling the C++ redistributable instead.
Einnig lesið: Lagfærðu Microsoft Visual C++ 2015 endurdreifanleg uppsetning mistókst Villa 0x80240017
Aðferð 12: Settu aftur upp Microsoft Visual C++ Redistributable
If the previous method of repairing the Microsoft C++ Visual Redistributable did not fix MultiVersus won’t launch issue, then you will have to reinstall the redistributable. Follow the given steps to uninstall & then install these again.
1. opna Forrit og eiginleikar kerfisstillingar.
2. Veldu Microsoft Visual C ++ endurdreifanlegt package, then click on Uninstall valkostur.
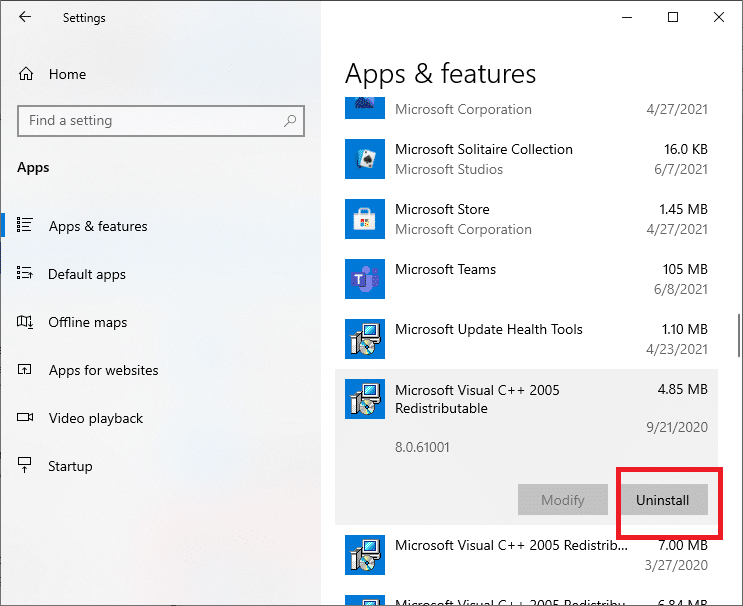
3. Smelltu á Uninstall option again to confirm and remove the package.
Athugaðu: Make sure to uninstall all the Microsoft Visual C++ Redistributable packages.
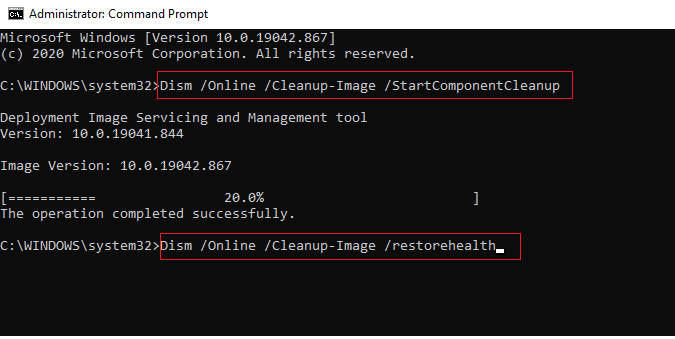
4. Sláðu á Windows lykill, gerð Stjórn Hvetja, smelltu síðan á Hlaupa sem stjórnandi.
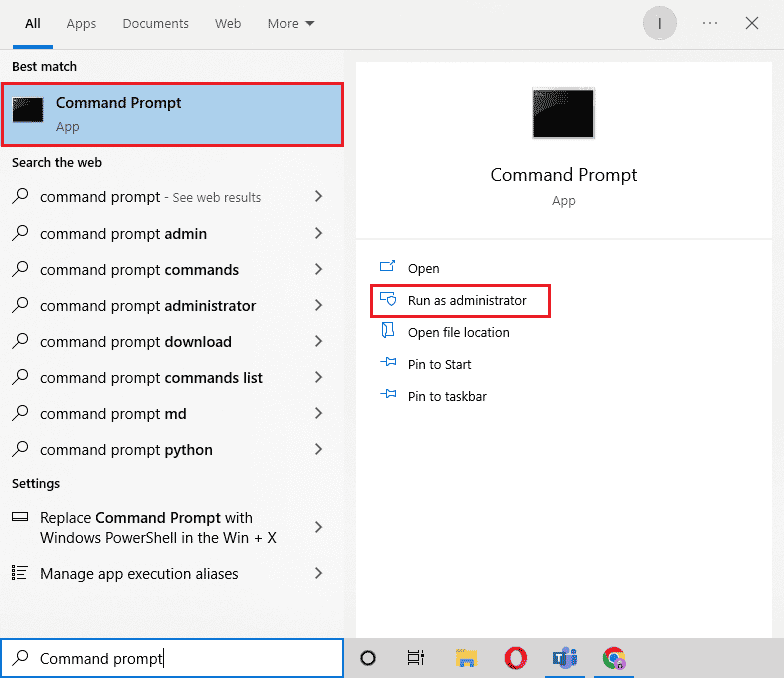
5. Sláðu inn eftirfarandi skipanir og ýttu Sláðu inn lykill eftir hvern:
DISM /online /Cleanup-Image /StartComponentCleanup
DISM /online /Cleanup-Image /RestoreHealth
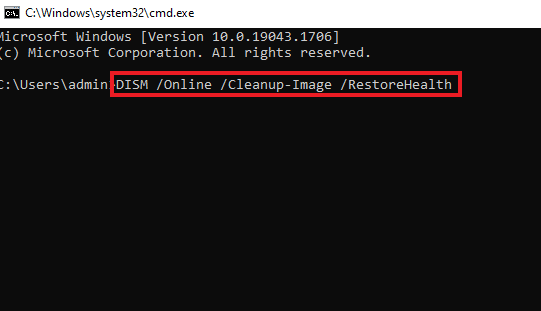
6. Þegar ferlinu er lokið, endurræstu tölvuna.
7. Næst skaltu heimsækja Microsoft Visual C++ Redistributable webpage to download the latest C++ package as shown here.
8. Once downloaded, open the niðurhalaða skrá by double-clicking on it in Mín niðurhal. setja the package by following the on-screen instructions.
9. Once the installation is complete, finally endurræstu tölvuna.
Mælt með:
Við vonum að þessi handbók hafi verið gagnleg og þú gætir lagað MultiVersus not launching issue on your Windows 10 PC. Let us know which method worked for you the best. Feel free to reach out to us with your queries and suggestions via the comments section below.