Hvernig á að hreinsa skyndiminni á Facebook

The Facebook app saves files for later reference as you use it. It has its own browser with a cache, much like any other browser. The information is saved in the app cache, saving you time when doing certain tasks. Because Facebook doesn’t set a limit on the size of its browser cache, it may get fairly large, making the app slow. If you’re concerned about storage or having issues with the Facebook app, you may wish to erase the cache. Today we’ll show you how to clear cache on Facebook in various devices like Android and iOS.

Hvernig á að hreinsa skyndiminni á Facebook
Facebook is a ubiquitous social network that follows you throughout the Internet. Its share widgets have become such an integral part of the Internet that it’s difficult to locate a page without them. Facebook widgets aren’t merely seen on websites. Both iOS and macOS support it natively, so there is no difference between your smartphones and PCs. Continue reading to clear Facebook cache Android, iPhone, and web browsers.
Aðferð 1: Á Android
Here are the steps to clear Facebook cache on Android devices.
Athugaðu: Since smartphones don’t have the same Settings options, and they vary from manufacturer to manufacturer hence, ensure the correct settings before changing any. The said steps were performed on OnePlus Nord.
Sjá einnig:
How to Get Rid of Picasa on Samsung Galaxy S5
Hvernig á að eyða netföngum úr sjálfvirkri útfyllingu Gmail á Android
Hvernig á að umbreyta HEIC í JPG á Android
Hvernig á að slökkva á Gear VR þjónustu á Android
Hvernig á að tengja dulkóðaða VeraCrypt á Android
Option 1: Through App
Your personal account data, photographs, or posts will not be deleted if you clear your Facebook cache. Here’s how to clear Facebook cache Android:
1. opna Facebook app á símanum þínum.
2. Bankaðu á hamborgari icon.
![]()
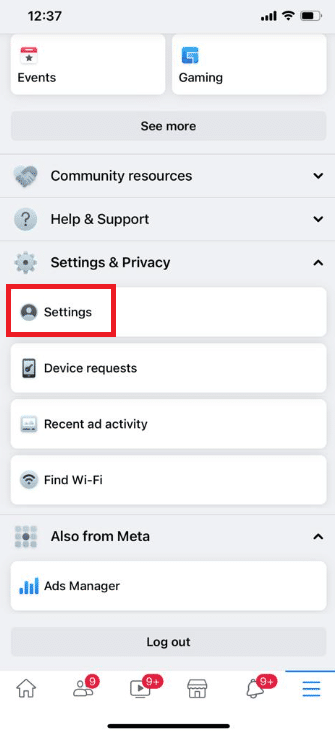
3. Swipe to the bottom of the page and tap on Stillingar & Persónuvernd.
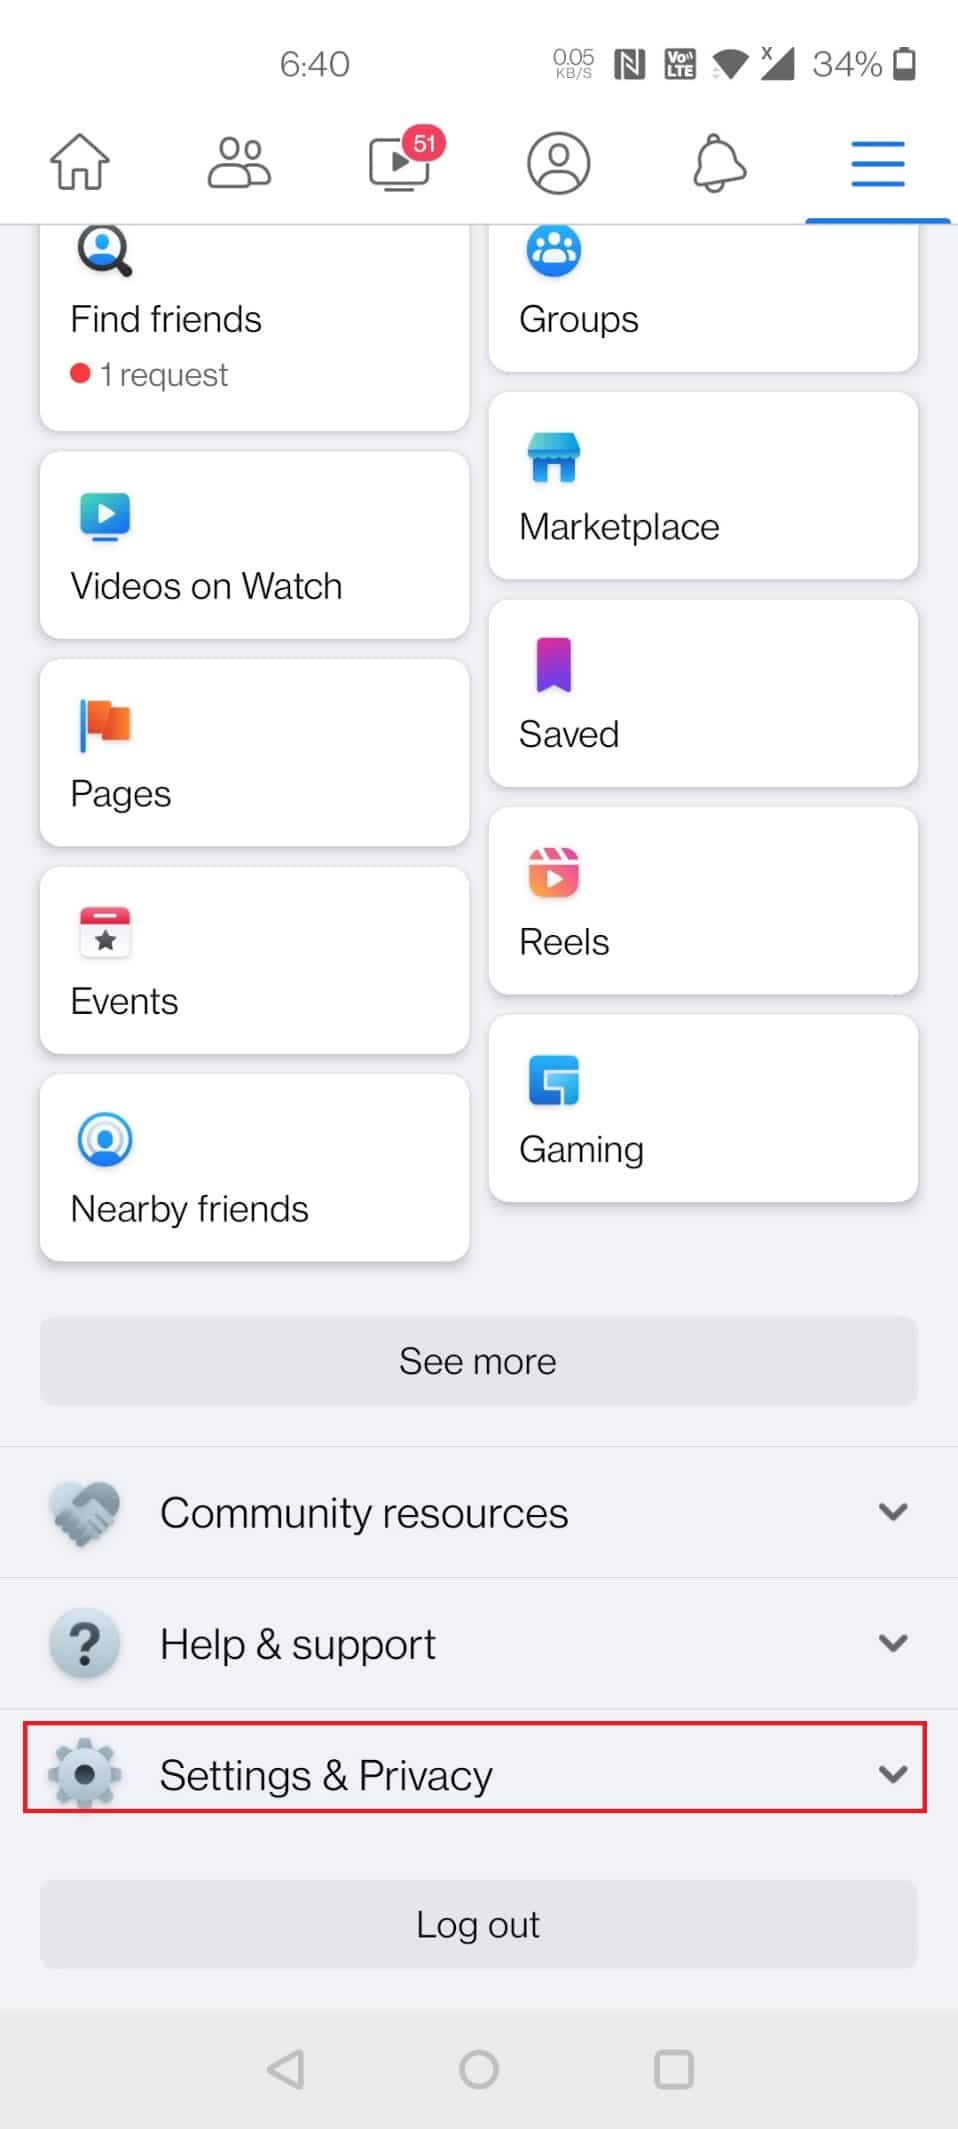
4. Ýttu á Stillingar.

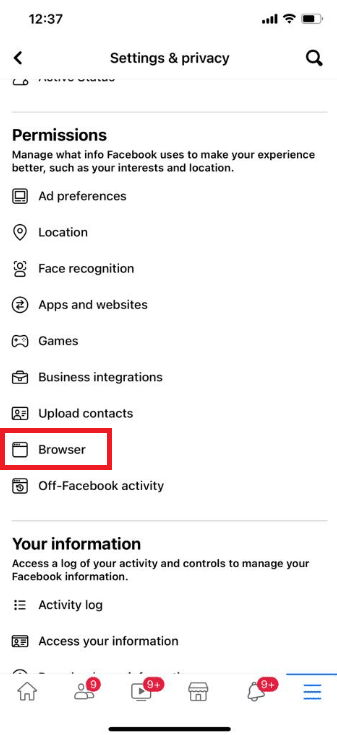
5. Strjúktu niður og bankaðu á Vafri valkostur undir Heimildir.
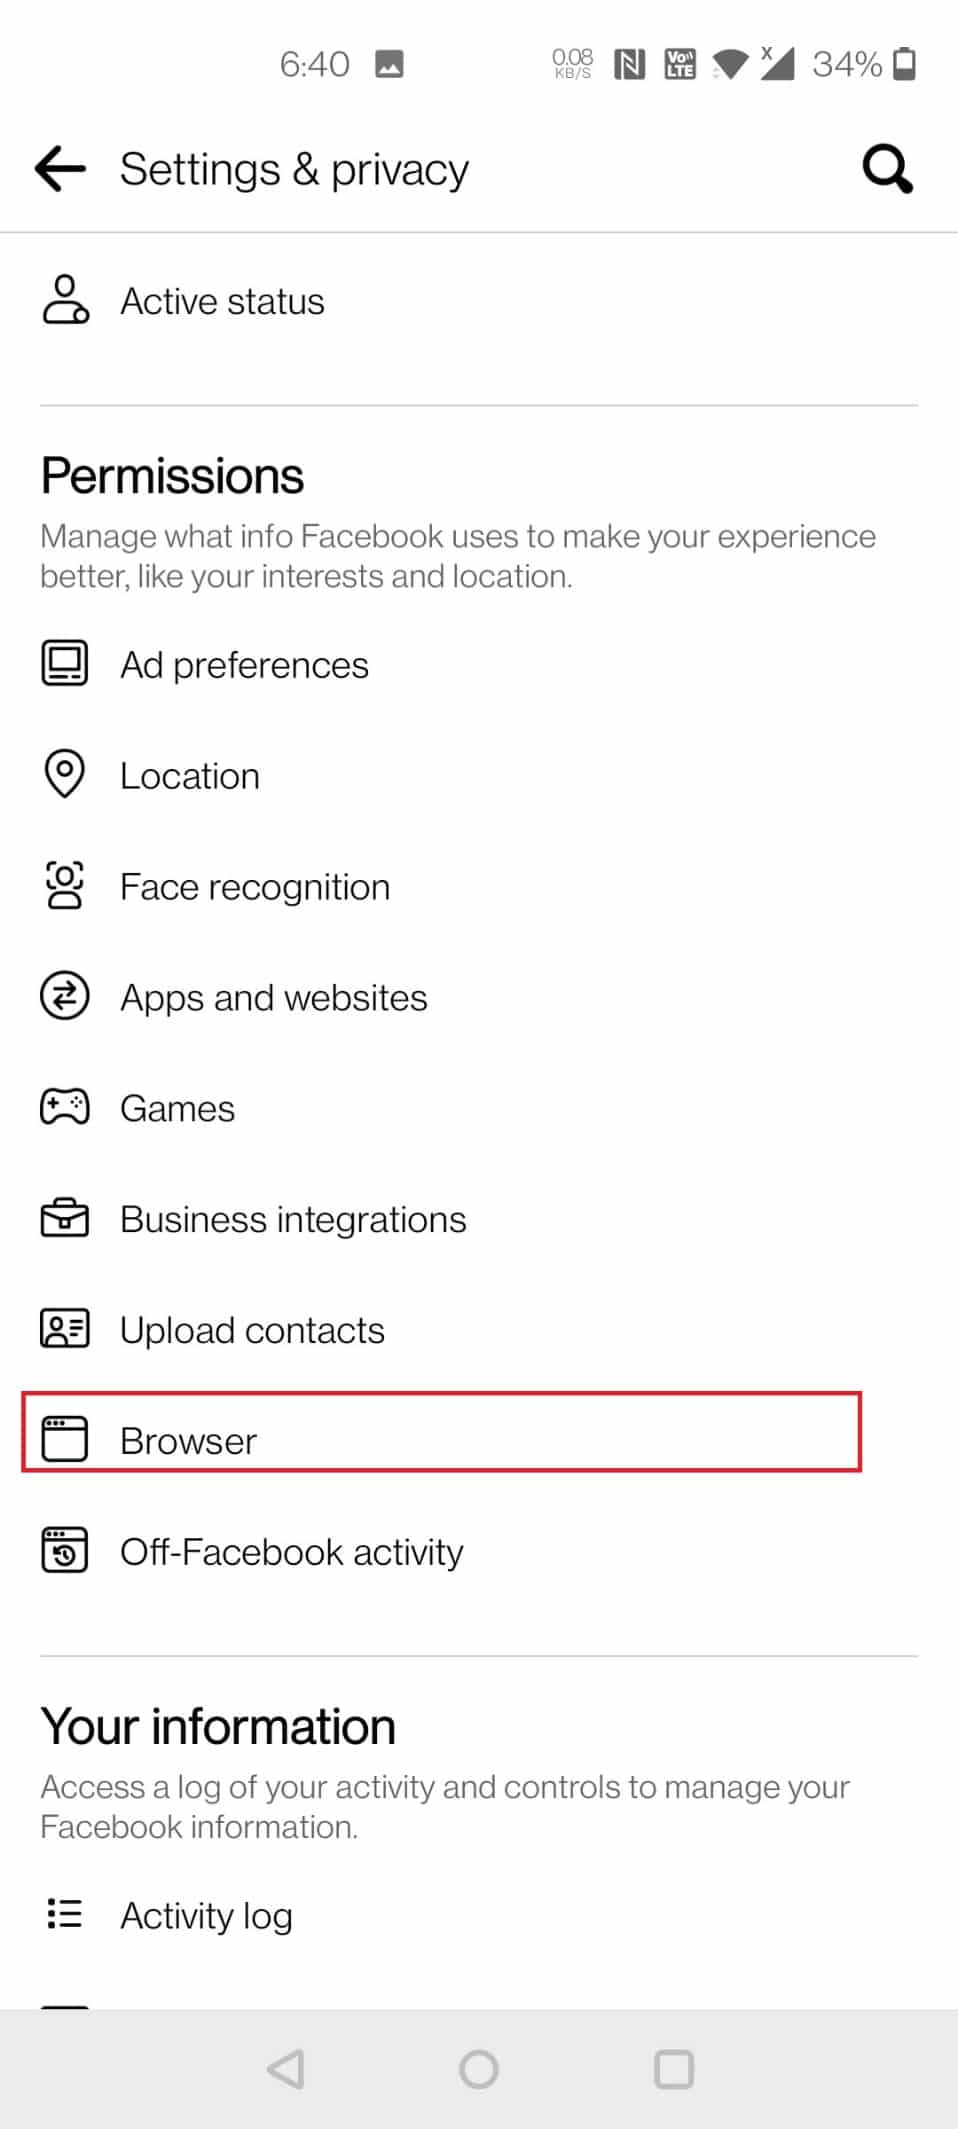
6. Bankaðu á Hreinsa hnappur við hliðina á Vafragögn.

Option 2: Through Settings
To clear cache on Facebook through Android device settings, follow the given steps below:
1. Fara til Stillingar Í símanum þínum.
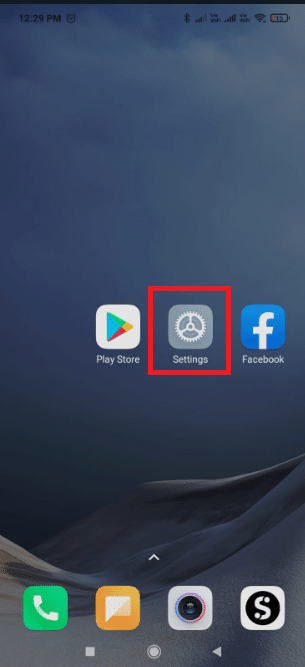
2. Ýttu á Forrit og tilkynningar.
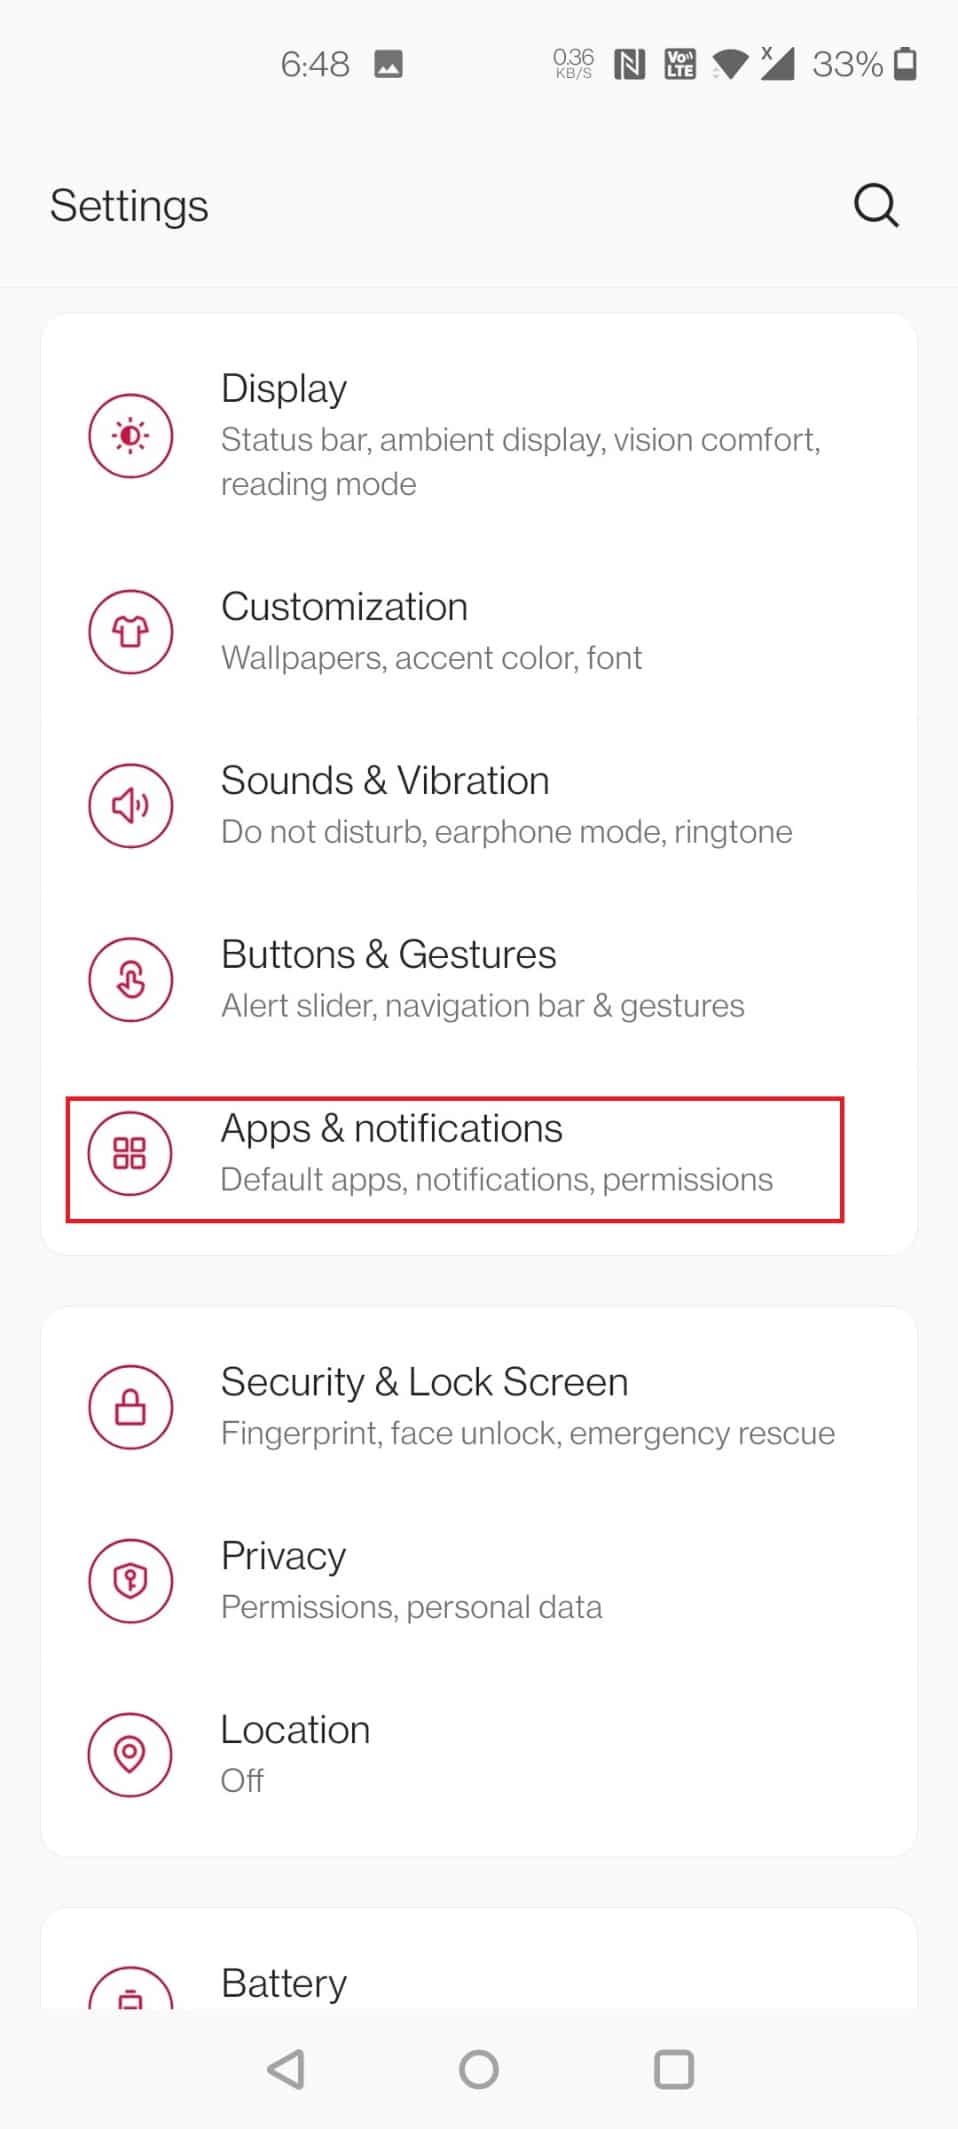
3. Strjúktu niður og pikkaðu á Facebook.

4. Ýttu á Geymsla og skyndiminni.
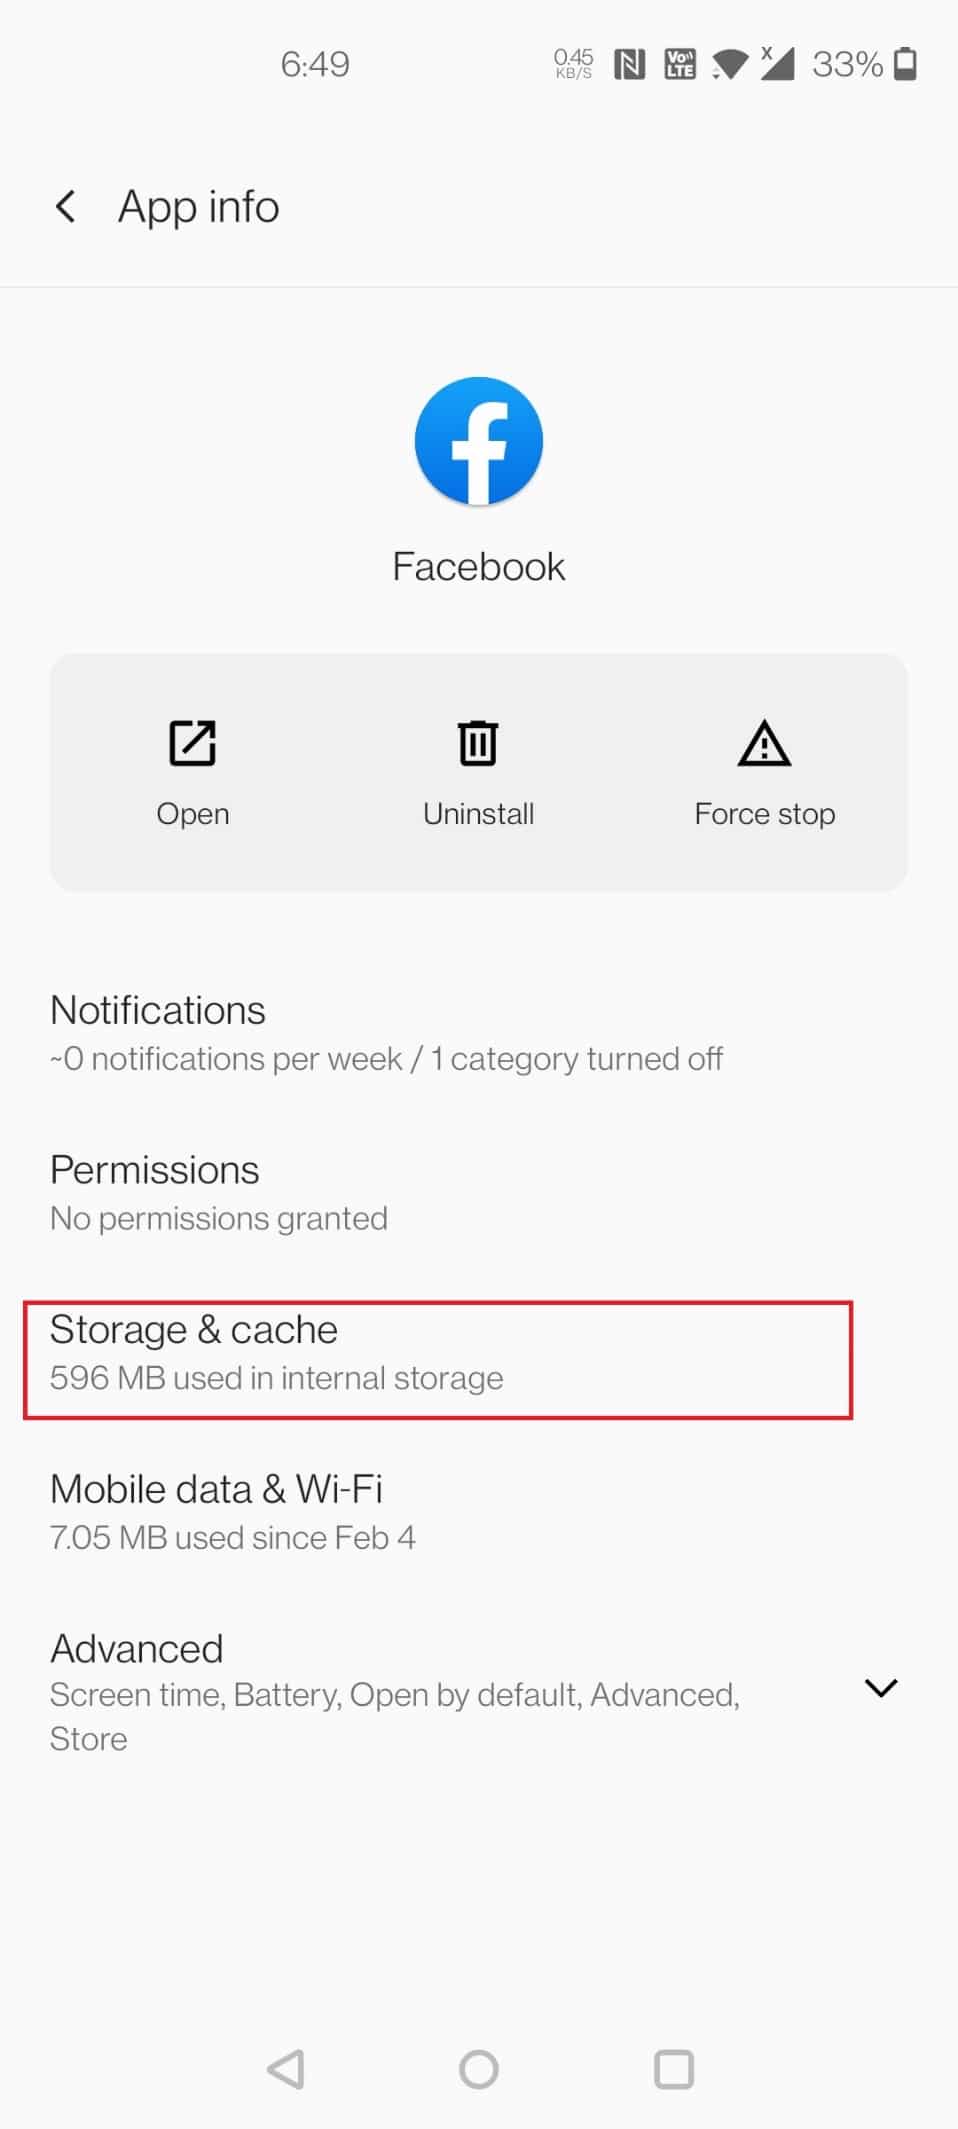
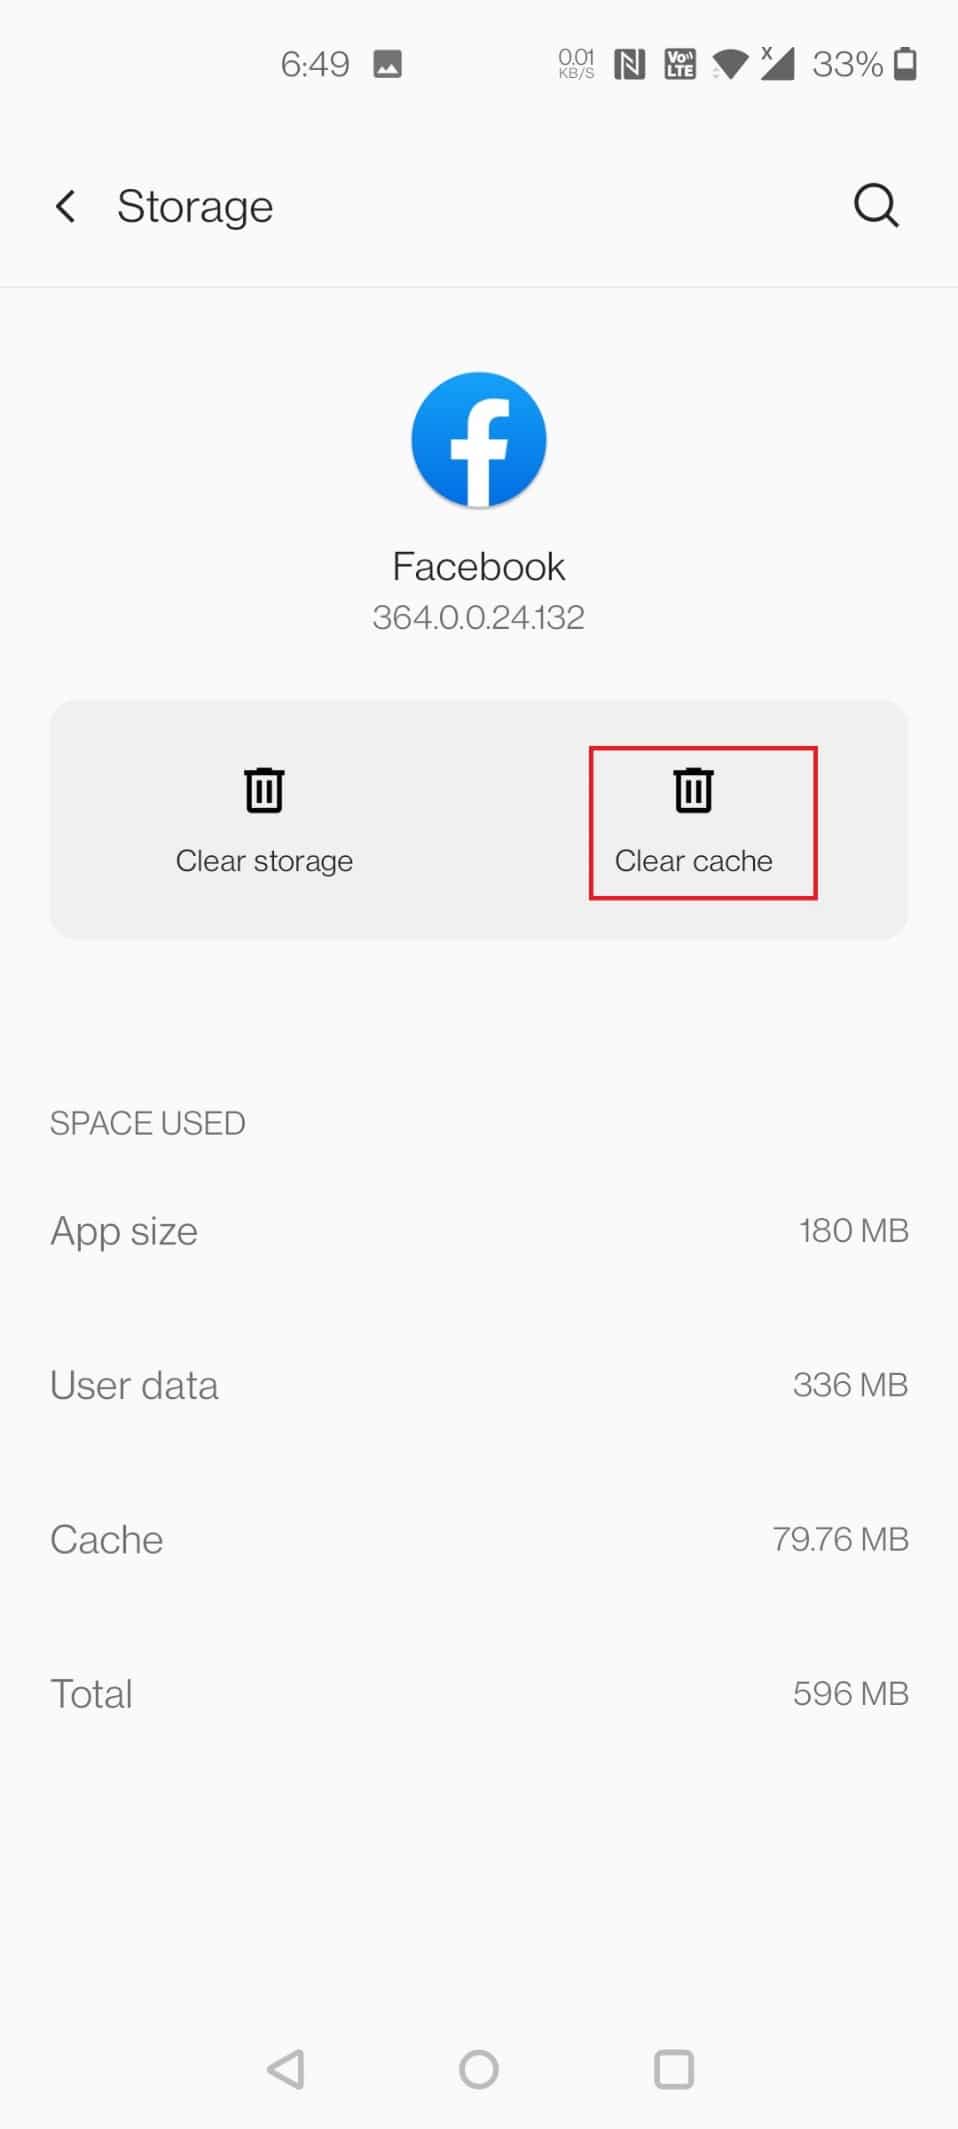
5. Ýttu á Hreinsa skyndiminni.
Einnig lesið: Hvernig á að slökkva á Facebook tilkynningum í Chrome
Aðferð 2: Á iOS
Follow these steps to clear Facebook cache in iOS.
Option 1: Through App
To begin, delete the cache in your Facebook browser. Only the data Facebook has stored from websites you visited using the in-app web browser will be cleared. Here’s how to clear cache on Facebook
1. opna Facebook umsókn.
2. In the bottom-right corner, tap on the hamborgari icon.
![]()
3. At the bottom, tap on Stillingar & Persónuvernd.
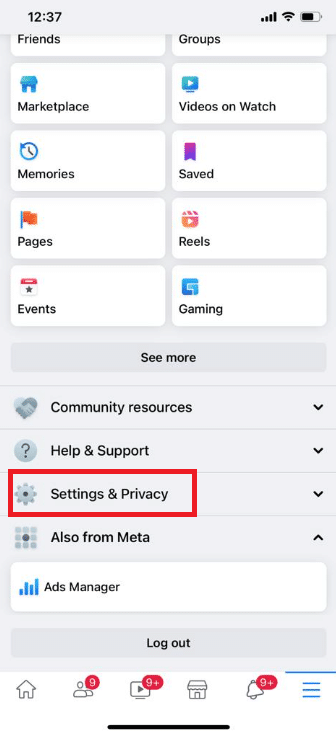
4. Ýttu á Stillingar.
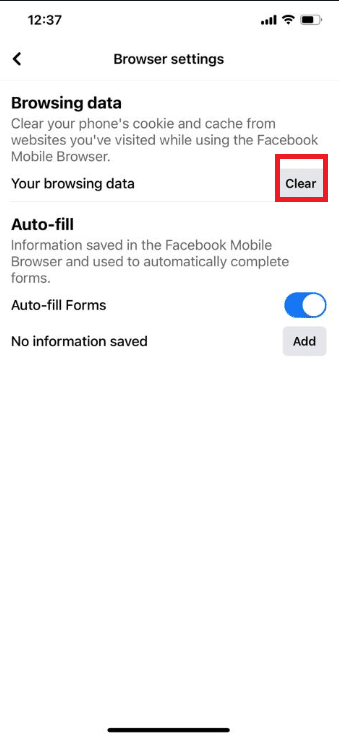
5. Swipe down and tap on the option Vafri neðst á síðunni.
6. Ýttu á Hreinsa hliðina á Vafragögn.
Option 2: Through Settings
Clearing app cache on iPhone can be done only by offloading the app from the device. If you use to clear the cache on your iPhone through settings, follow the below steps to clear cache on Facebook through iOS settings.
1. Opna Stillingar á iPhone.

2. Ýttu á almennt.
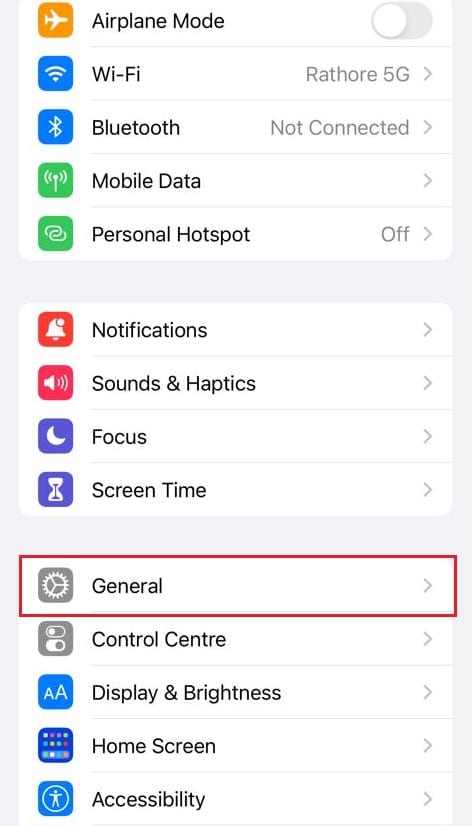
3. Nú, bankaðu á iPhone Bílskúr.
4. Strjúktu niður og pikkaðu á Facebook.
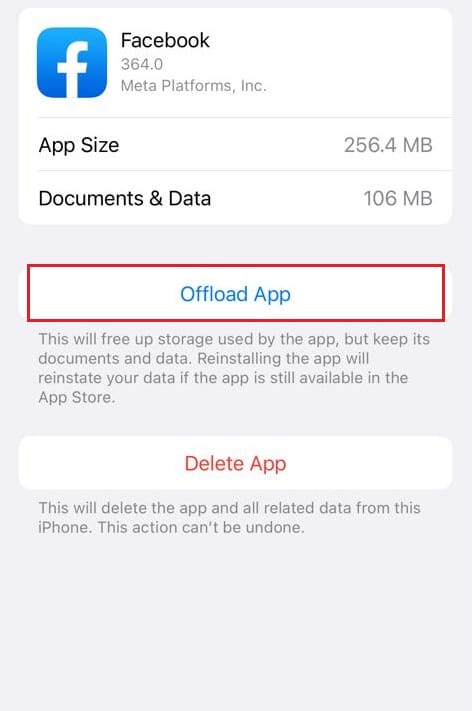
5. Ýttu á Offload forrit.
Athugaðu: Offloading will retain the documents and settings on your device. You can also choose Eyða forriti.
6. Nú, bankaðu á App Store.
7. Search and install the Facebook app.
Einnig lesið: Lagfærðu villu í ótiltækum Facebook viðhengi
Method 3: On Web Browser
You cannot specifically clear the Facebook cache on web browsers. Instead, you can clear the cache of the browser. The steps to clear cache vary on different web browsers. Below are the steps on how to clear cache on Facebook on Google Chrome, Firefox, and Microsoft Edge.
Option 1: On Google Chrome
Read our guide on How to Clear Cache & Cookies in Google Chrome and clear the browsing data.
Option 2: Mozilla Firefox
The steps to clear browsing data of Mozilla Firefox is given below:
1. Ýttu á Windows lykill, gerð Firefox og högg the Sláðu inn lykilinn.
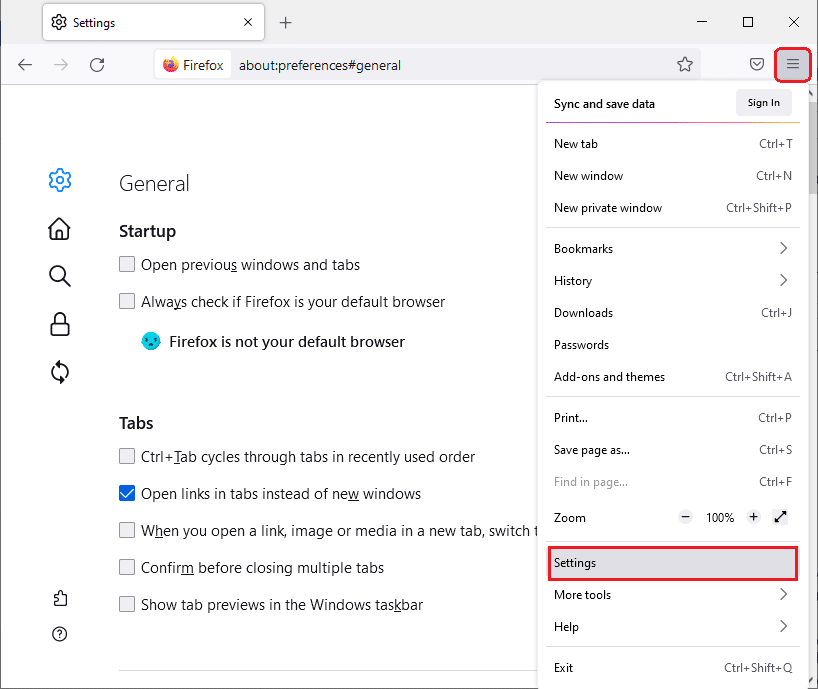
2. Nú, smelltu á matseðill táknið efst í hægra horninu á skjánum.
![]()
3. Veldu hér Stillingar valmöguleika úr fellilistanum.
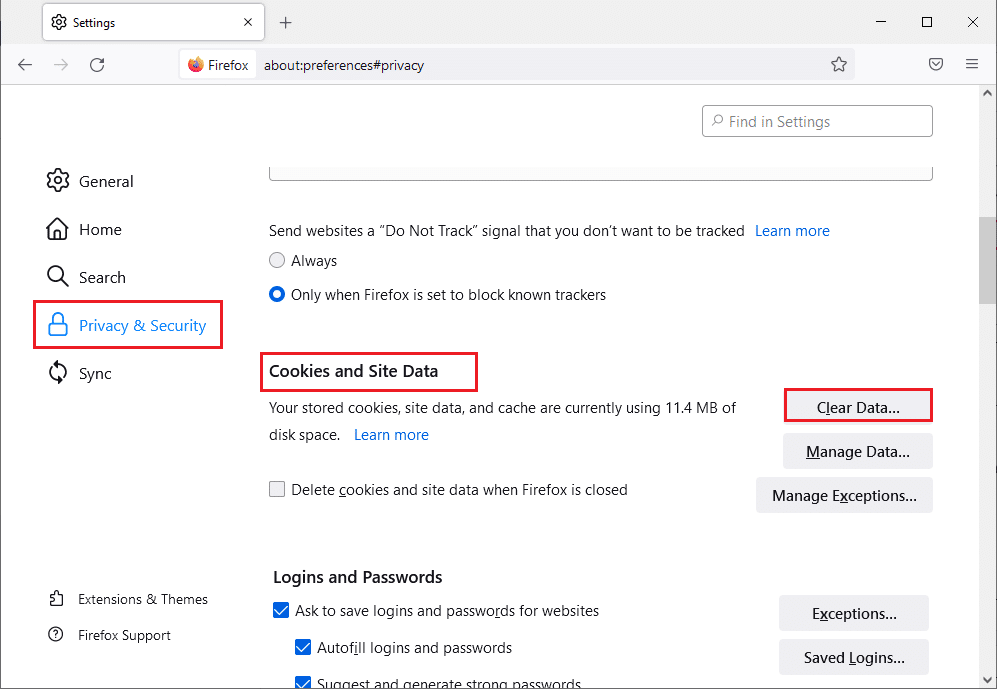
4. Farðu nú að Persónuvernd og öryggi section in the left pane and scroll down the right screen to the Fótspor og vefgögn valmyndinni.
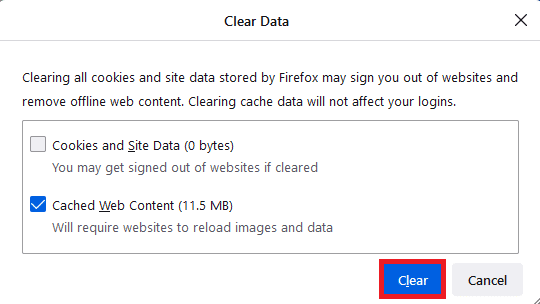
5. Smelltu á Hreinsa gögn... valkostur.
6. Taktu hakið úr því Fótspor og vefgögn box and check the Vefefni í skyndiminni kassi.
Athugaðu: Clearing Cookies and Site Data will clear all cookies and site data stored by Firefox. This will sign you out of websites and remove offline web content. On the other hand, clearing Cached Web Content will not affect your logins.
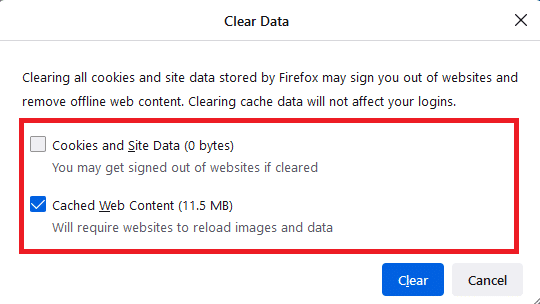
7. Að lokum, smelltu á Hreinsa hnappinn til að hreinsa vafrakökur í skyndiminni Firefox.
Einnig lesið: Lagaðu Firefox SSL_ERROR_NO_CYPHER_OVERLAP í Windows 10
Option 3: On Microsoft Edge
Here are the steps to clear Microsoft Edge browser data.
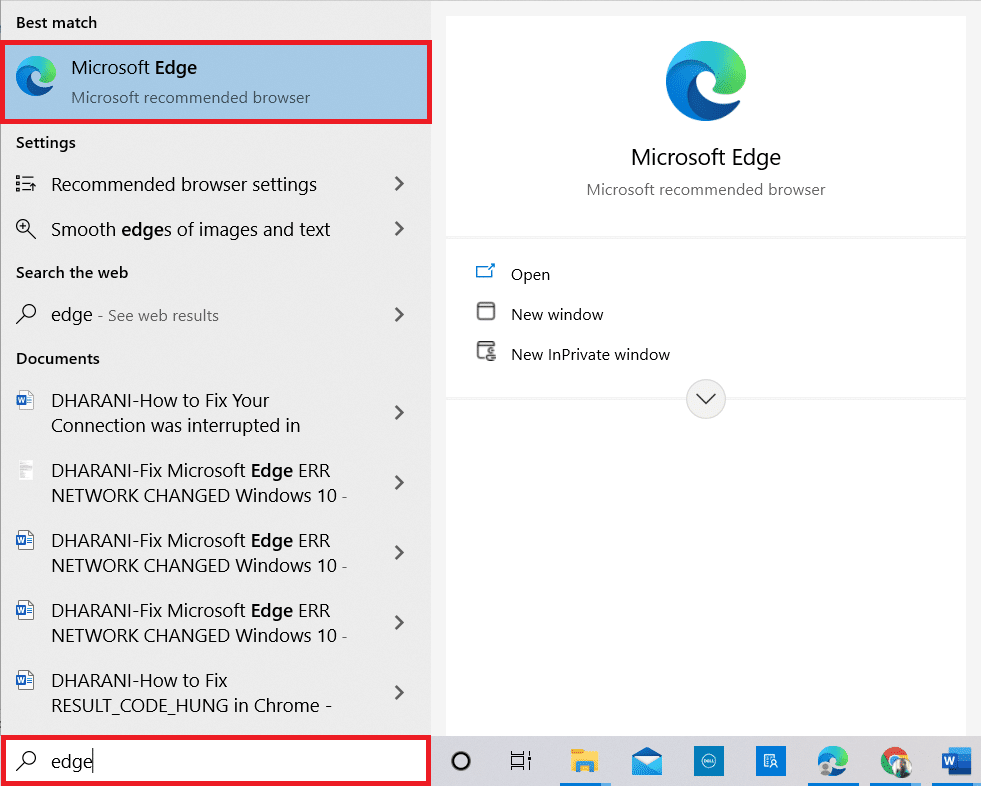
1. Ýttu á Windows lykill, gerð Edge og högg the Sláðu inn lykilinn.
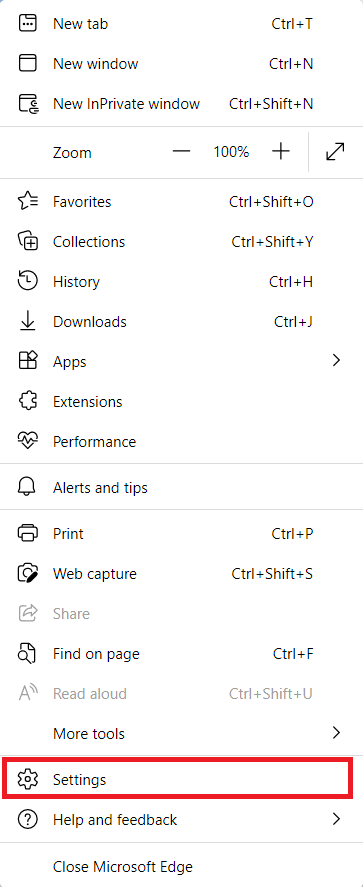
2. Smelltu á þriggja punkta táknmynd near your profile image.
![]()
3. Smelltu næst á Stillingar.
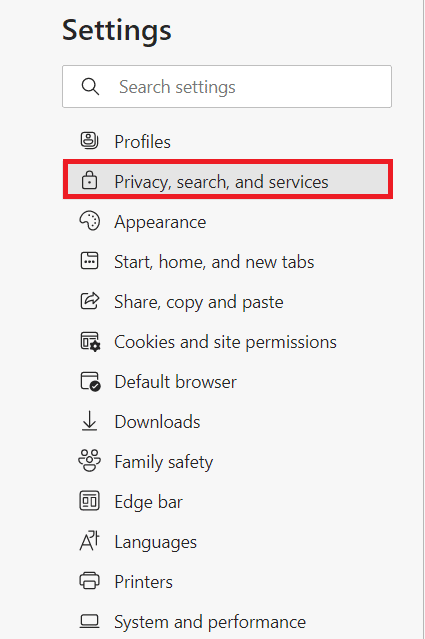
4. Farðu nú að Persónuvernd, leit og þjónusta valmöguleika í vinstri glugganum.
5. Skrunaðu síðan niður og smelltu á Veldu hvað á að hreinsa valkostur undir Hreinsa netspor.
Athugaðu: Þú getur beint vafra um síðuna til að eyða vafraferli í Edge með því að slá inn brún: // settings / clearBrowserData í leitarreitnum.
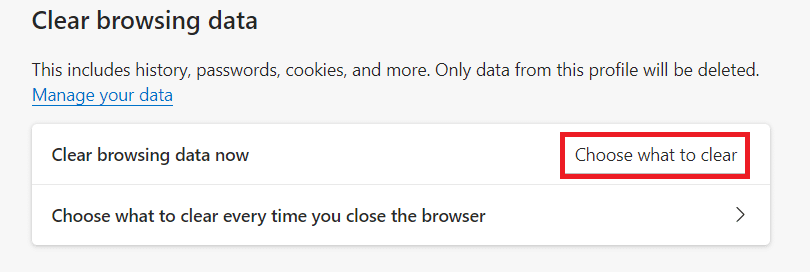
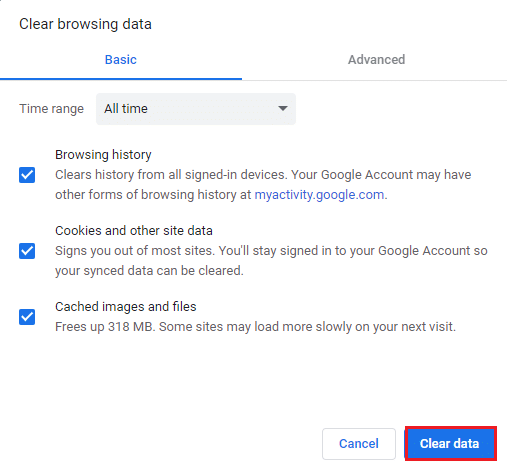
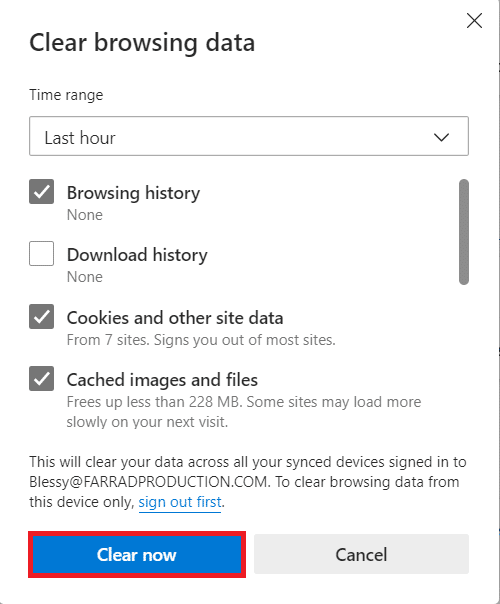
6. Í næsta glugga skaltu velja reiti í samræmi við óskir þínar eins og Browsing history, Cookies and other site dataog Cached myndir og skrár, og smelltu á Hreinsa núna eins og fram kemur hér að neðan.
Mælt með:
We hope you found this information useful and that you have learned hvernig á að clear cache on Facebook. Please let us know which technique was the most beneficial for you. Please use the form below if you have any queries or comments. Also, let us know what you want to learn next.