תקן שגיאת סקייפ עם התקן השמעה ב-Windows 10

Skype is one of the most famous Video Calling services in the world; Skype was one of the first apps to provide video call services to users. Over the years Skype has raised in popularity, the application has also added new features to help provide a more interactive to better user experience. Skype sometimes can run into various errors; one of such errors is a Skype error with playback device on Windows 10; this error can cause audio errors with the Skype program. Skype playback error is a common error that Windows 10 users often have while using the application. In this guide, we will discuss reasons and methods for Skype error playback device.
How to Fix Skype Error with Playback Device on Windows 10
יכולות להיות מספר סיבות לכך סקייפ error with playback device on Windows 10; some of the common reasons for this error are listed below.
- Mostly this error is associated with Application bugs and errors
- System speaker errors can also cause the playback device error
- Improper speaker settings on your computer can also cause this error on your computer
- Outdated or corrupted audio drivers on your computer can also cause this error
The following guide will discuss methods to resolve Skype error with playback device on windows 10.
Method 1: Relaunch Skype
Generally Skype error with playback device on Windows 10 is associated with minor bugs and lags with the Skype app; you can easily resolve this error by closing and relaunching the Skype app. Many users found that closing and relaunching the app resolved the issue.
Method 2: Enable Speakers
It is also possible that Skype error with playback device on Windows 10 was caused by the system speakers, to resolve the issues with system Speakers, you can try to enable and disable the speakers.
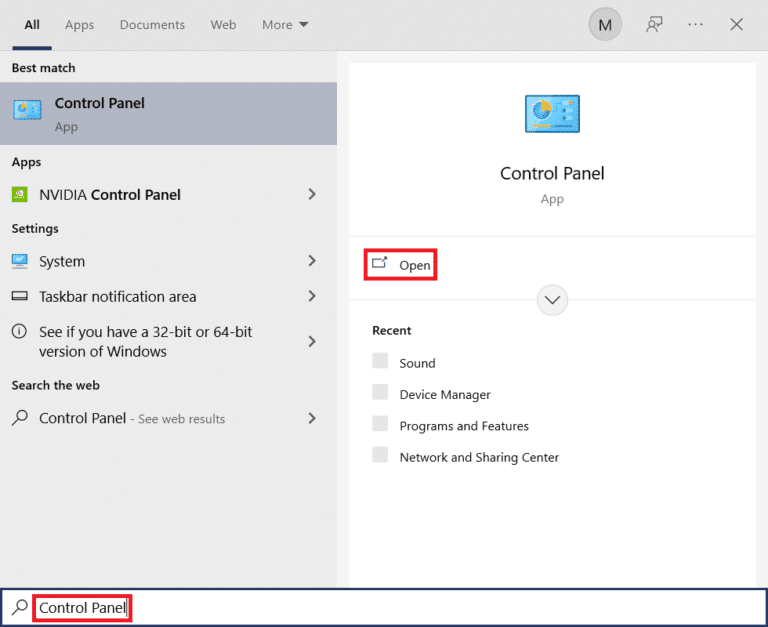
1. לחץ על מקש Windowsסוג לוח בקרה, ולאחר מכן לחץ על להרחיב.
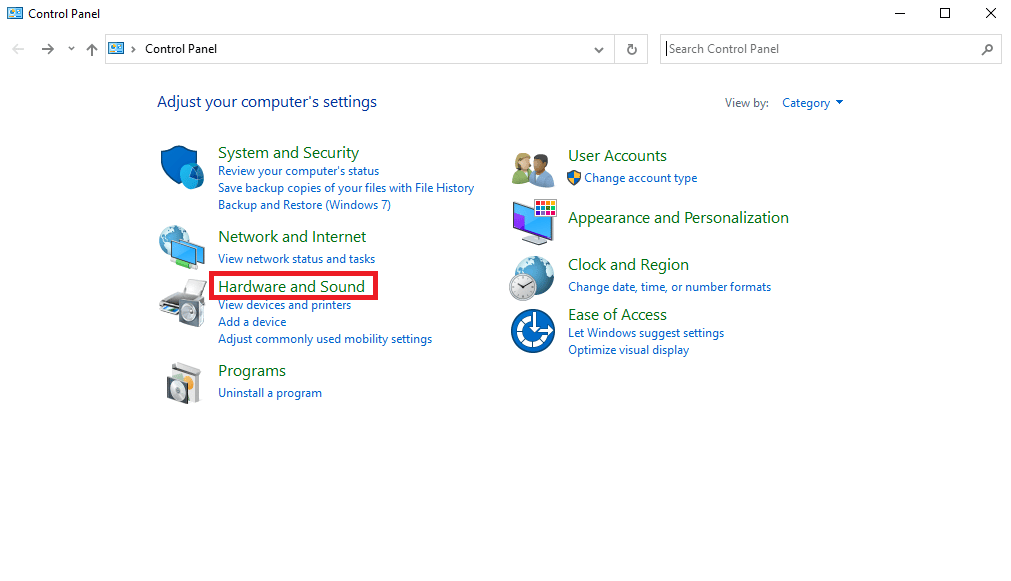
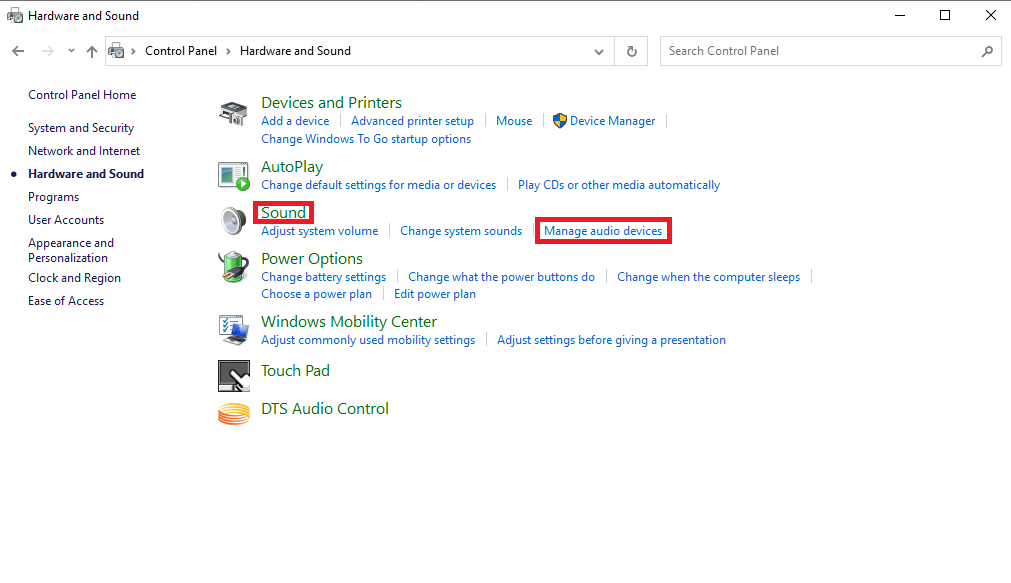
2. מַעֲרֶכֶת הצג לפי > קטגוריה, ולאחר מכן לחץ על חומרה וקול הגדרה.
3. תַחַת קול אפשרויות, לחץ על נהל התקני שמע.
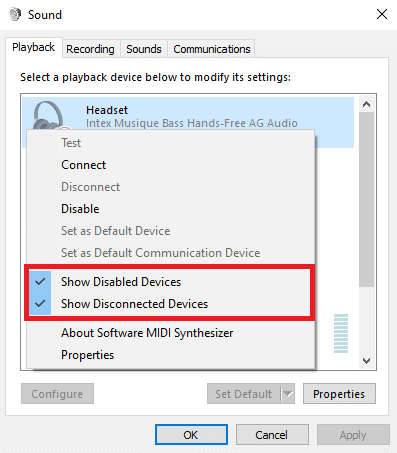
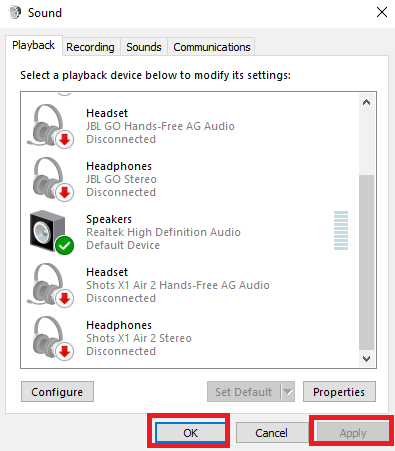
4. Right-click anywhere on the קול window and check the following options:
- הצג מכשירים מושבתים
- הצג התקנים מנותקים
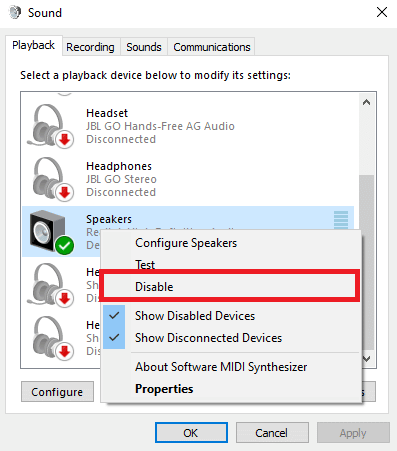
5. Now, Right-click on the דוברים ולחץ על שבת.
6. כעת, לחץ לחיצה ימנית על רַמקוֹל again and click אפשר.
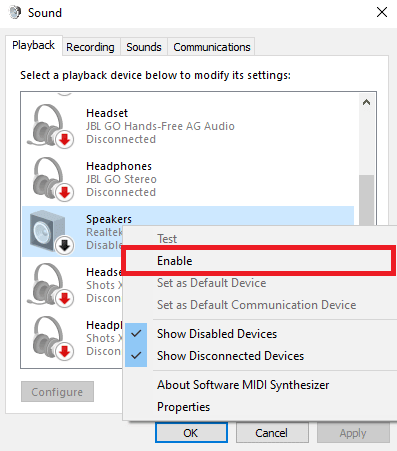
7. לחץ על החל ולאחר מכן OK כדי לשמור את השינויים.
Enabling and disabling the speakers should often resolve Skype playback error, if not and you still have issues with Skype error playback device, move on to the next method.
גם לקרוא: תקן מיקס סטריאו של Skype לא עובד ב-Windows 10
Method 3: Run Playing Audio Troubleshooter
To resolve various Skype error playback device issues on your computer, such as Skype playback error you can try to run the Windows 10 in-built audio troubleshooter. Follow these steps to run audio troubleshooter.
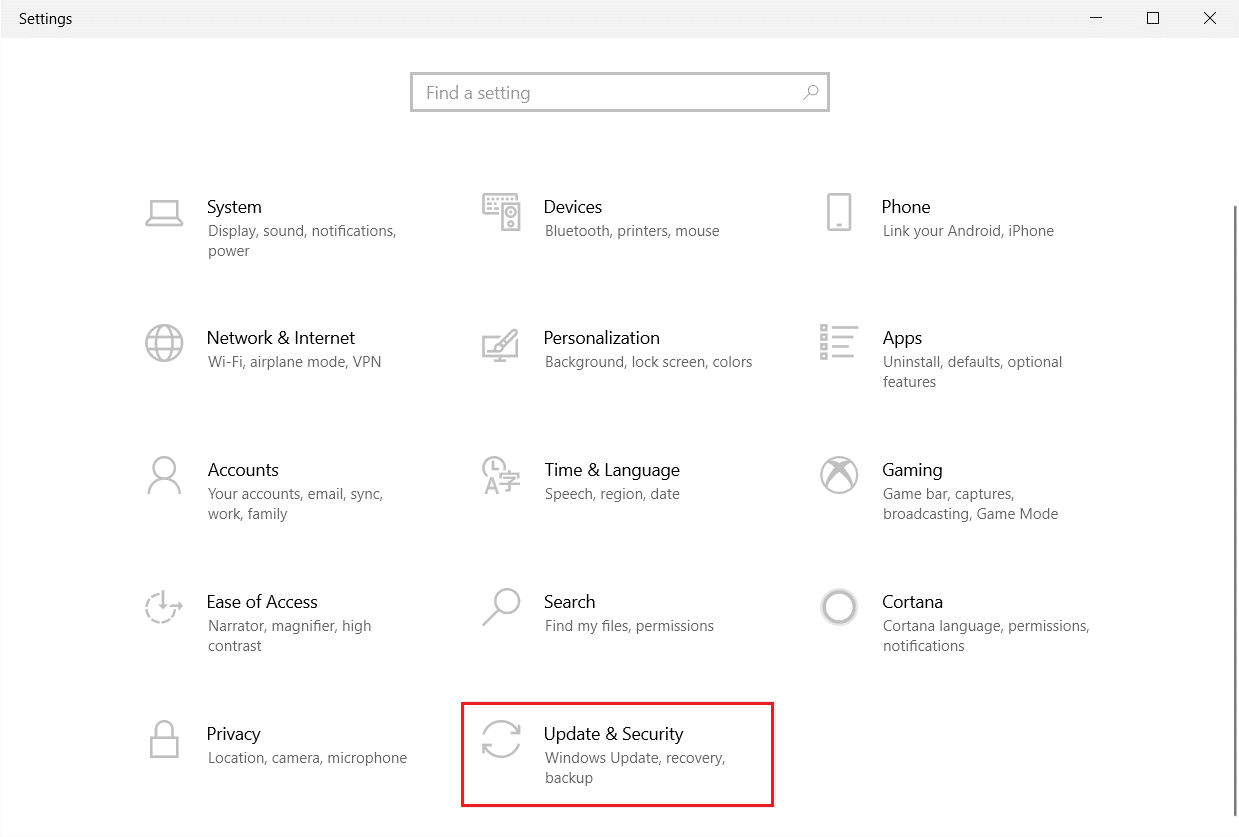
1. ללחוץ מקשי Windows + I בו זמנית להשקה הגדרות.
2. לחץ על עדכון ואבטחה אריח, כפי שמוצג.
3. לך ל פתרון תפריט בחלונית השמאלית.
4. בחר הפעלת אודיו פותר הבעיות ולחץ על הפעל את פותר הבעיות הלחצן המודגש למטה.
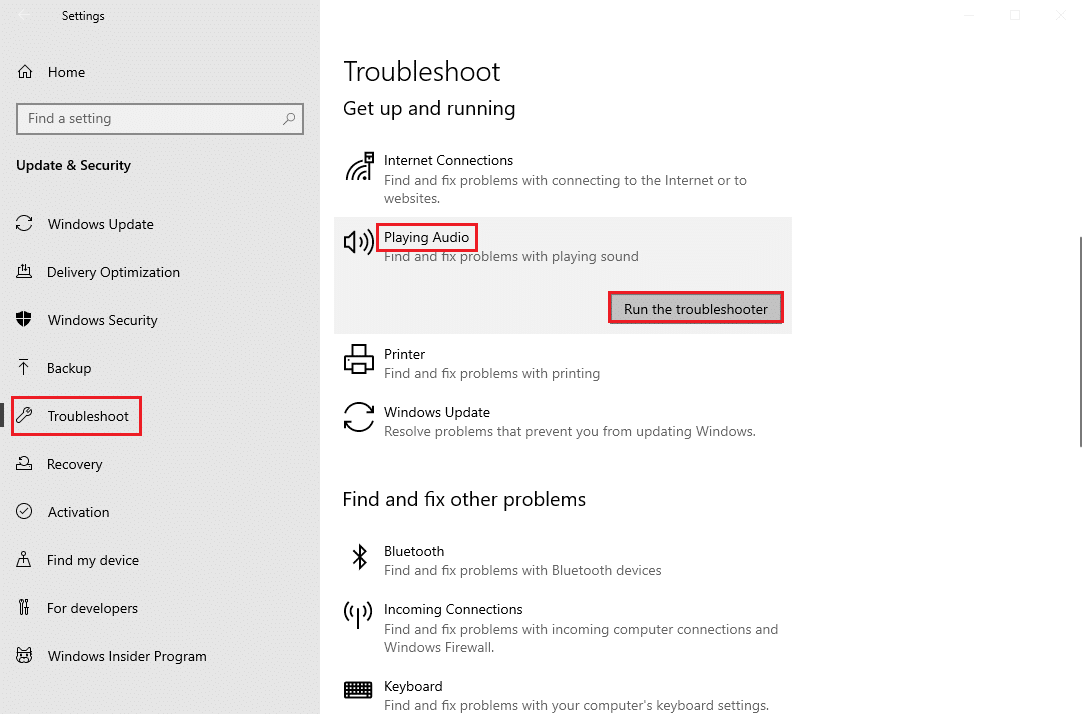
5. Wait for the troubleshooter to detect and fix the problem. Once the process is complete, click ישם את התיקון ו הפעלה מחדש המחשב האישי שלך.
Method 4: Re-enable Audio Device
The issue can also be caused by your system audio devices, in this case, you can try to resolve the issue by temporarily disabling the audio device on your computer and enabling it again.
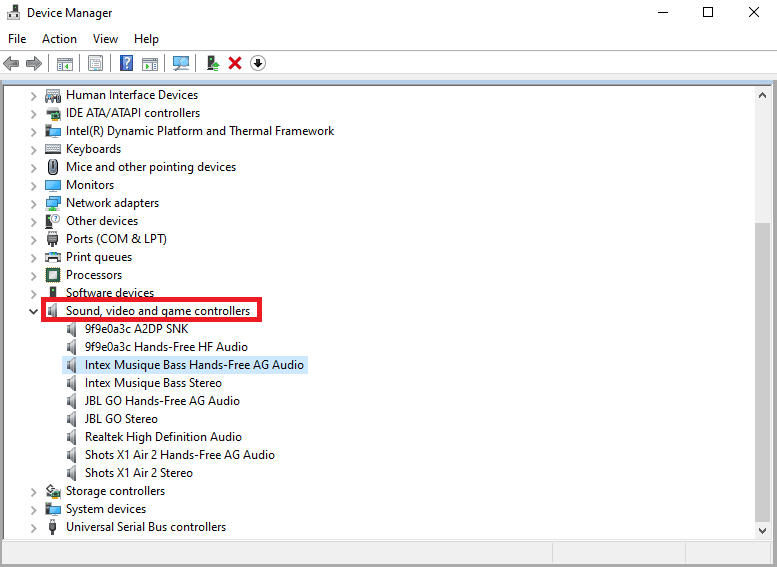
1. הכה את מקש Windowsסוג מנהל התקנים, ולחץ על להרחיב.
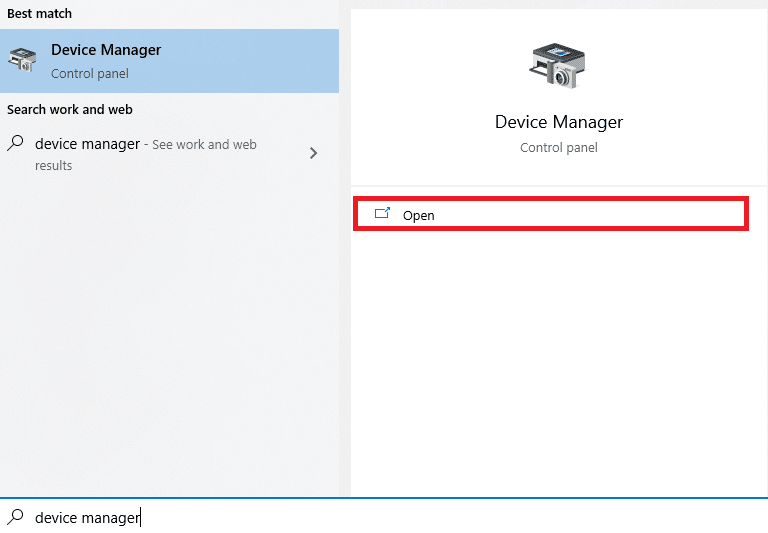
2. Locate and expand the בקרי קול, וידאו ומשחק.
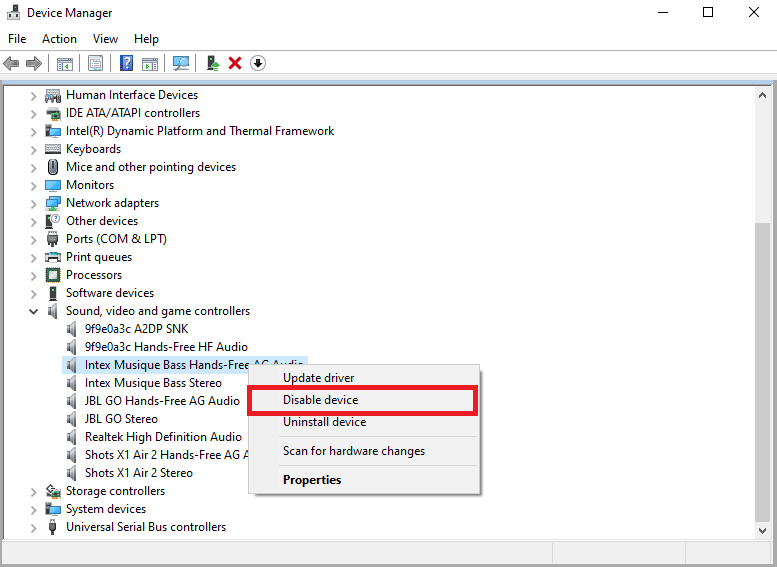
3. לאחר מכן, לחץ לחיצה ימנית על מנהל התקן שמע ולאחר מכן לחץ על אישור השבת את המכשיר.
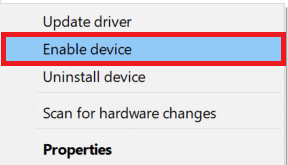
4. Again, right-click on the driver and select הפעל את המכשיר option after a few minutes.
גם לקרוא: כיצד להשתמש באפקטי טקסט של סקייפ צ'אט
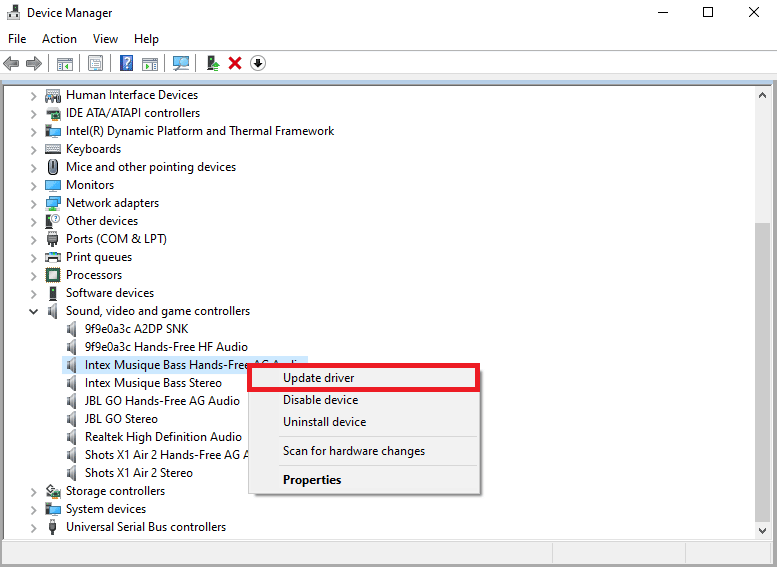
שיטה 5: עדכן את מנהלי האודיו
Corrupted and outdated drivers are one of the main reasons for Skype error with playback device on Windows 10. To resolve the issues caused by audio drivers, you can try to update audio drivers read our guide on how to update device drivers on Windows 10.
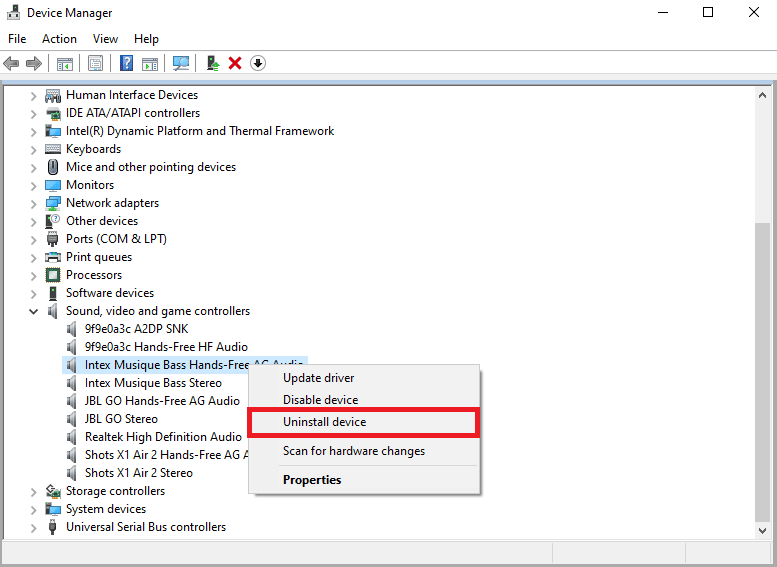
שיטה 6: התקן מחדש את מנהל התקן השמע
If Skype error with playback device on Windows 10 with the computer audio device continues. You can try to delete it entirely. Many users found that deleting their audio device also effectively resolved the issue. Follow our guide to uninstall and reinstall drivers on Windows 10.
Method 7: Reset Skype Configuration Files
If the previous methods don’t resolve Skype error with playback device on Windows 10 issues, you can also try to reset the Skype configuration files to resolve most of the Skype issues
1. If you are running the Skype application סגור את זה.
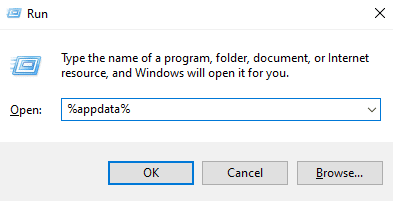
2. ללחוץ Windows + R מפתחות יחד כדי לפתוח את הפעלה תיבת דיאלוג.
3. סוּג %% AppData ולחץ על הזן מקש כדי לפתוח אפליקציות תיקייה.
4. אתר ולחץ לחיצה ימנית על סקייפ תיקייה.
5. לחץ על שינוי שם and rename the folder as Skype.old.
6. עכשיו, הפעלה מחדש the Skype app.
In most cases, this method was helpful to many users, if it doesn’t work, move on to the next method.
גם לקרוא: כיצד לשלוח קוד סקייפ בפורמט מתאים
שיטה 8: התקן מחדש את אפליקציית Skype
If none of the previous method work, and you continue to have Skype error playback device issues, try reinstalling the Skype app.
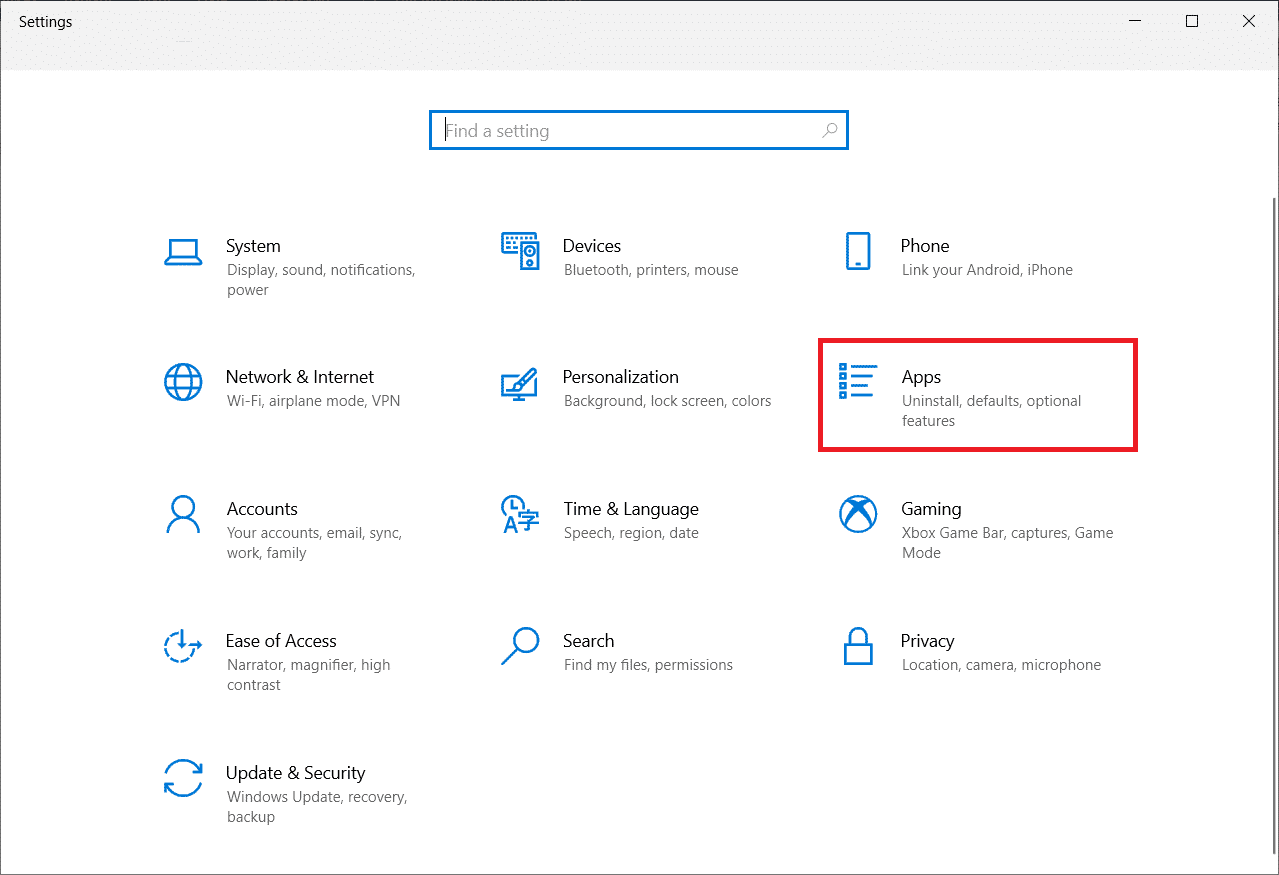
1. לחץ והחזק מקשי Windows + I יחד כדי לפתוח הגדרות של Windows.
2. כעת לחץ על Apps.
3. כעת, חפש ולחץ על סקייפ ובחר Uninstall אוֹפְּצִיָה.

4. כעת, אשר את ההנחיה אם יש, וכן הפעל מחדש את המחשב once you have uninstalled Skype.
5. Once the uninstallation process has finished, go to start menu search and type חנות Microsoft ו לפתוח זה.
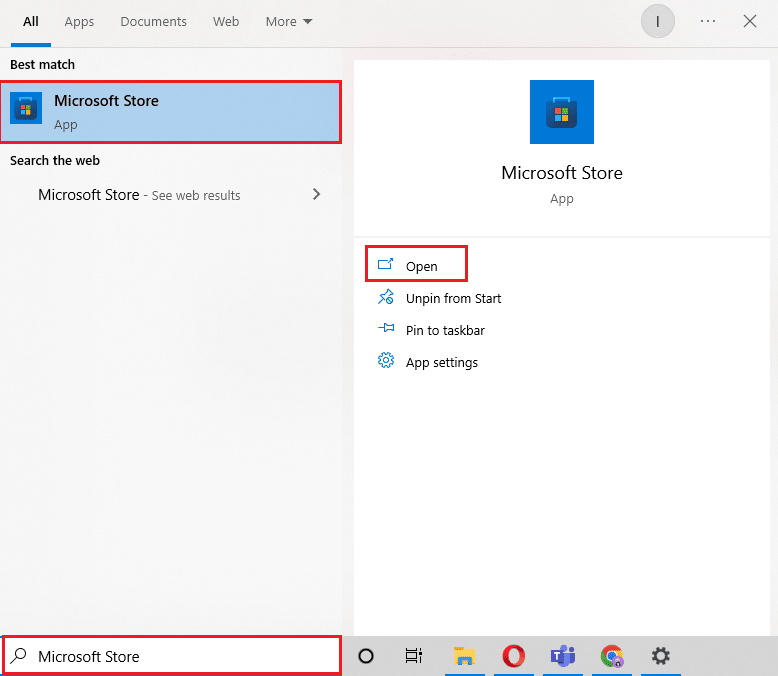
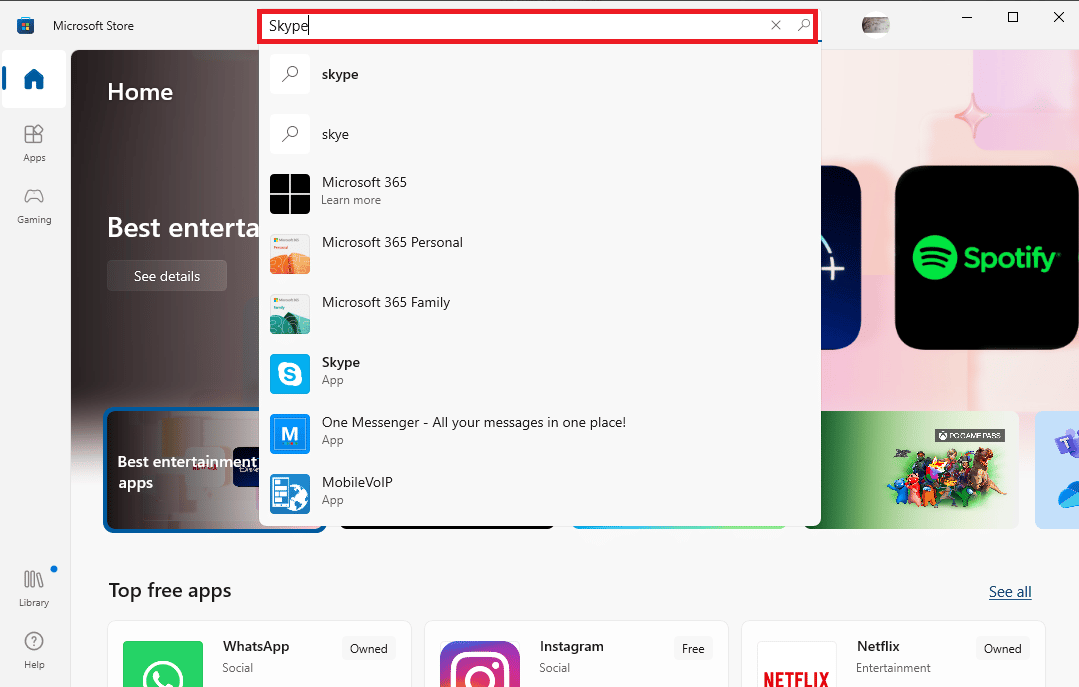
6. ב-Microsoft Store, חפש סקייפ.
7. לחץ על לקבל button to install the Skype app on your device.
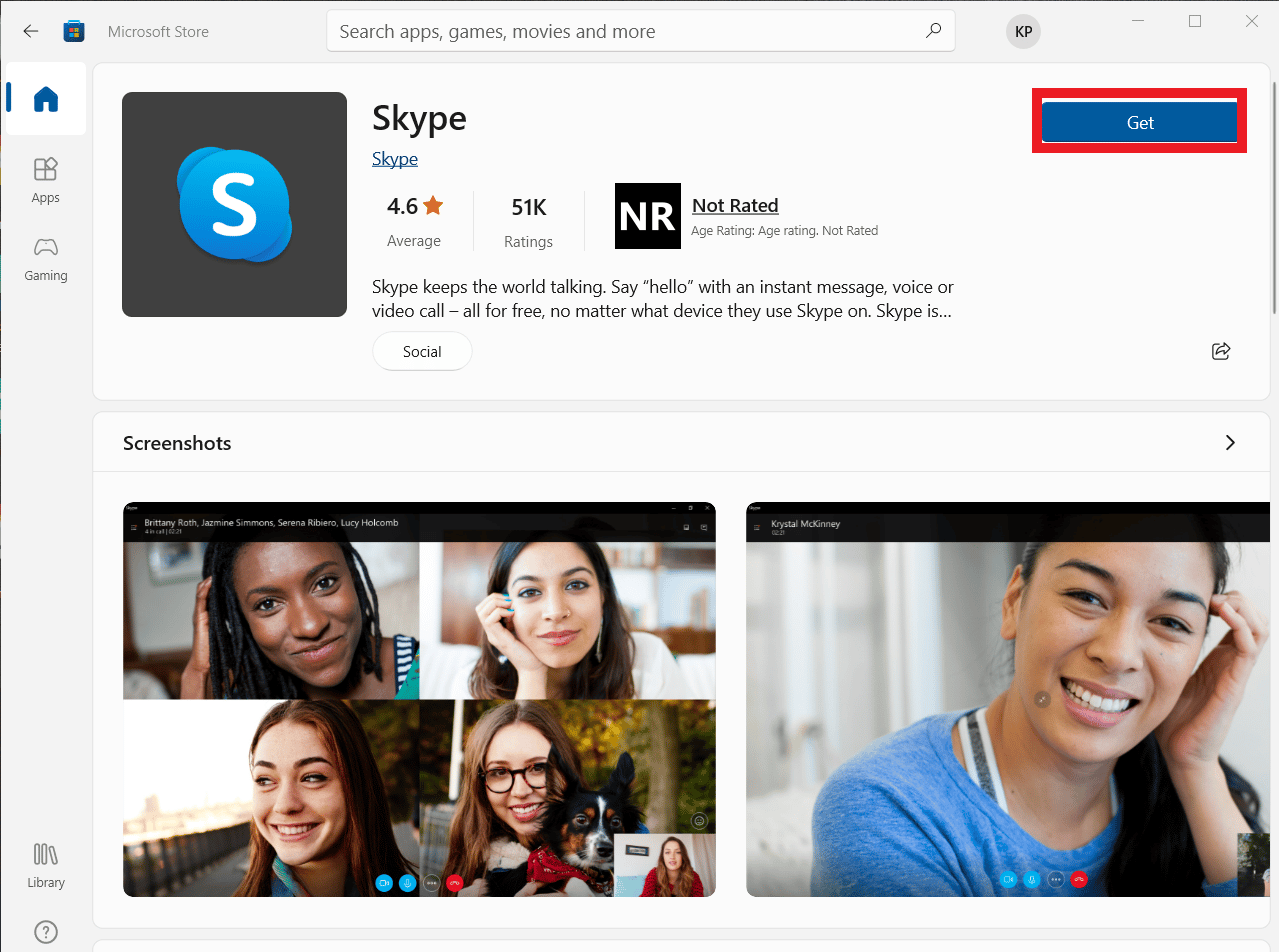
8. המתן לסיום ההתקנה.
Reinstalling the Skype app should resolve Skype playback error on your computer.
שאלות נפוצות (FAQs)
Q1. Why can’t I connect audio on Skype?
אנס. Audio errors are common Skype errors. This issue occurs due to failure in device audio drives and Skype settings.
Q2. How to resolve Skype audio issues?
אנס. There can be multiple methods to resolve the Skype audio errors, such as updating system drivers, ו changing the Skype configuration settings.
Q3. What are audio issues on Skype?
אנס. Skype can run into many audio issues such as microphone issues, and speaker issues. These errors can lead to interruptions during video calls.
מומלץ:
אנו מקווים שהמדריך הזה עזר לך והצלחת לתקן Skype error with playback device on Windows 10. ספר לנו איזו שיטה עבדה עבורך. אם יש לך הצעות או שאלות, אנא הודע לנו בקטע ההערות.