Windows 10の再生デバイスでのSkypeエラーを修正する

Skype is one of the most famous Video Calling services in the world; Skype was one of the first apps to provide video call services to users. Over the years Skype has raised in popularity, the application has also added new features to help provide a more interactive to better user experience. Skype sometimes can run into various errors; one of such errors is a Skype error with playback device on Windows 10; this error can cause audio errors with the Skype program. Skype playback error is a common error that Windows 10 users often have while using the application. In this guide, we will discuss reasons and methods for Skype error playback device.
How to Fix Skype Error with Playback Device on Windows 10
複数の理由が考えられます Skype error with playback device on Windows 10; some of the common reasons for this error are listed below.
- Mostly this error is associated with Application bugs and errors
- System speaker errors can also cause the playback device error
- Improper speaker settings on your computer can also cause this error on your computer
- Outdated or corrupted audio drivers on your computer can also cause this error
The following guide will discuss methods to resolve Skype error with playback device on windows 10.
Method 1: Relaunch Skype
Generally Skype error with playback device on Windows 10 is associated with minor bugs and lags with the Skype app; you can easily resolve this error by closing and relaunching the Skype app. Many users found that closing and relaunching the app resolved the issue.
Method 2: Enable Speakers
It is also possible that Skype error with playback device on Windows 10 was caused by the system speakers, to resolve the issues with system Speakers, you can try to enable and disable the speakers.
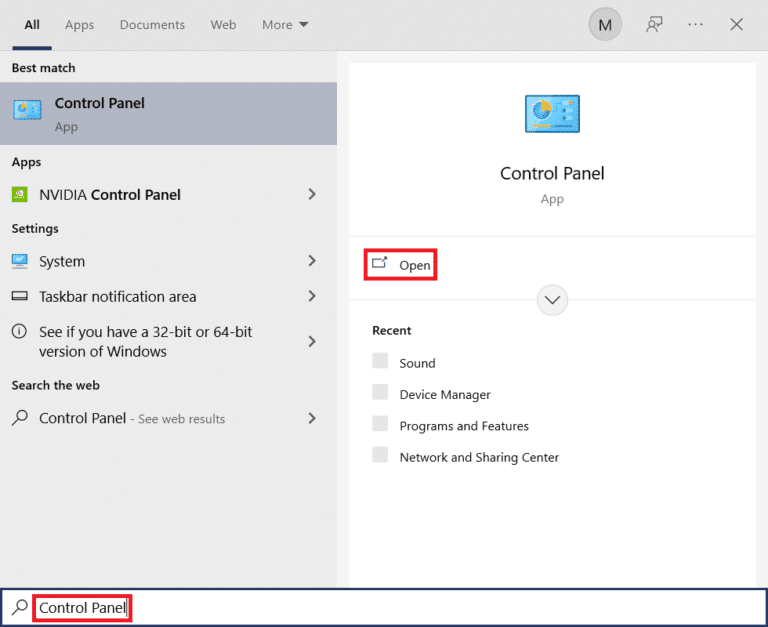
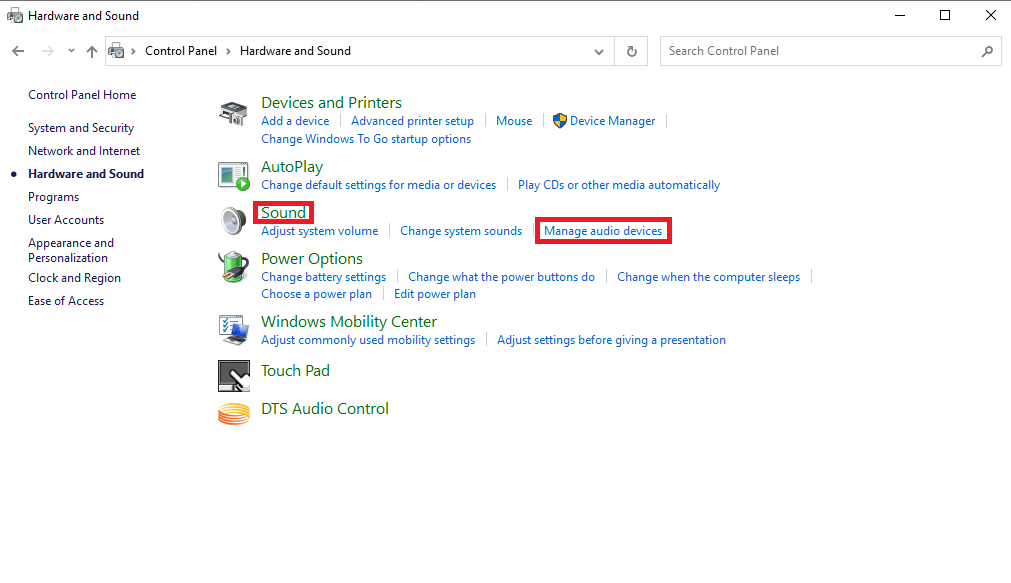
1。 プレス ウィンドウズキー、タイプ control panel、次にクリックしてください Open.
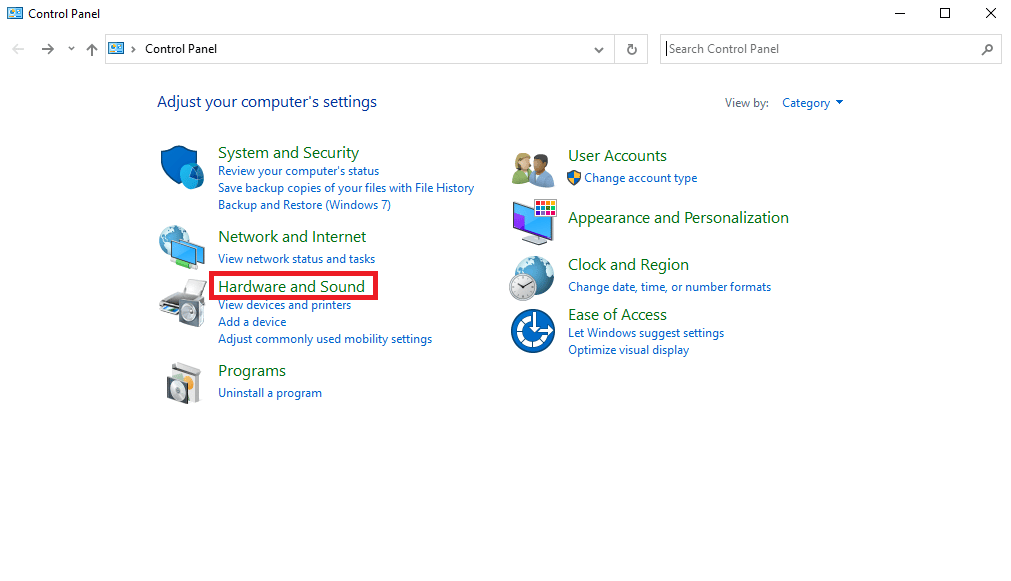
2。 セット 表示順 > カテゴリ、次にクリックしてください ハードウェアとサウンド 設定。
3。 下 音 オプションをクリックしてください オーディオデバイスを管理する.
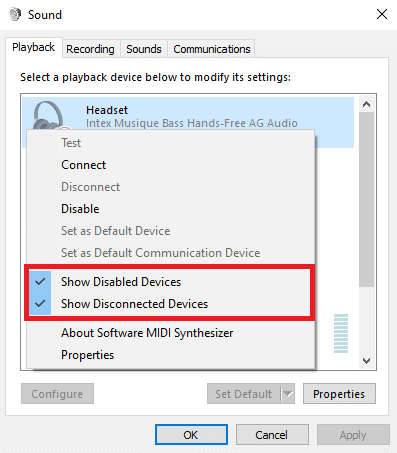
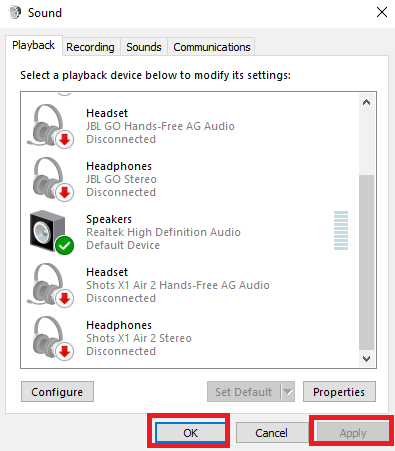
4. Right-click anywhere on the 音 window and check the following options:
- 無効なデバイスを表示
- 切断されたデバイスを表示する
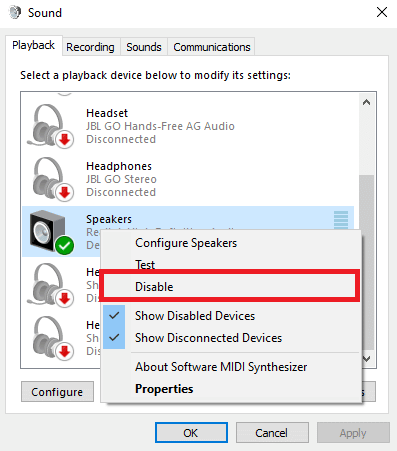
5. Now, Right-click on the スピーカー をクリックし 無効にします.
6. 次に、 スピーカー もう一度クリック 有効にします.
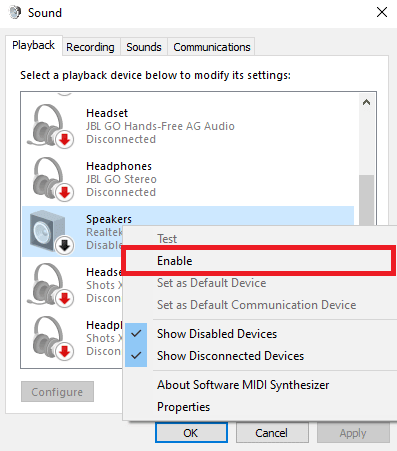
7。 クリック 申し込む その後 OK を入力して変更を保存してください。
Enabling and disabling the speakers should often resolve Skype playback error, if not and you still have issues with Skype error playback device, move on to the next method.
また読む: Fix Skype Stereo Mix Not Working in Windows 10
方法 3: オーディオ再生のトラブルシューティング ツールを実行する
To resolve various Skype error playback device issues on your computer, such as Skype playback error you can try to run the Windows 10 in-built audio troubleshooter. Follow these steps to run audio troubleshooter.
1。 押す Windows + Iキー 同時に起動する 設定.
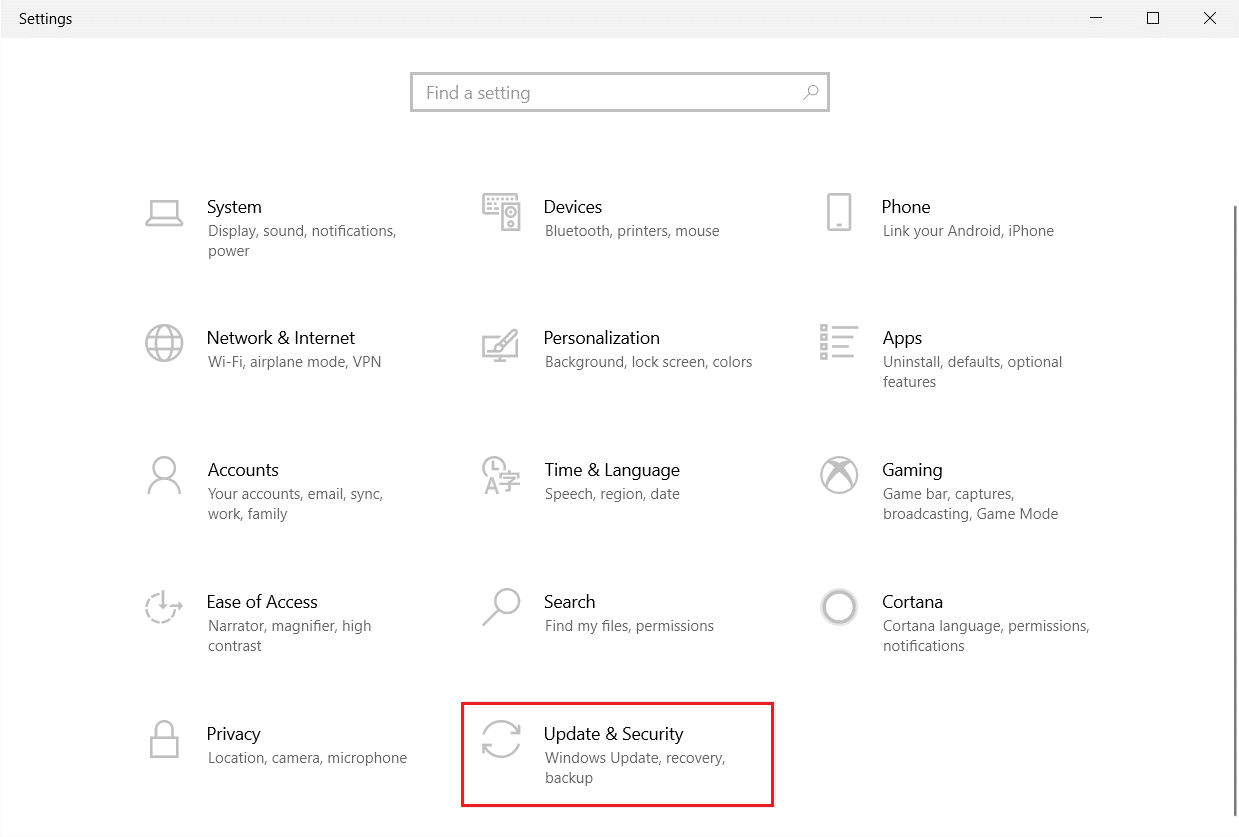
2。 クリックしてください 更新とセキュリティ 図に示すように、タイル。
3。 に行く 解決します 左側のペインのメニュー。
4。 選択 オーディオを再生する トラブルシューティングを行ってクリックします トラブルシューティングを実行する 以下に強調表示されているボタン。
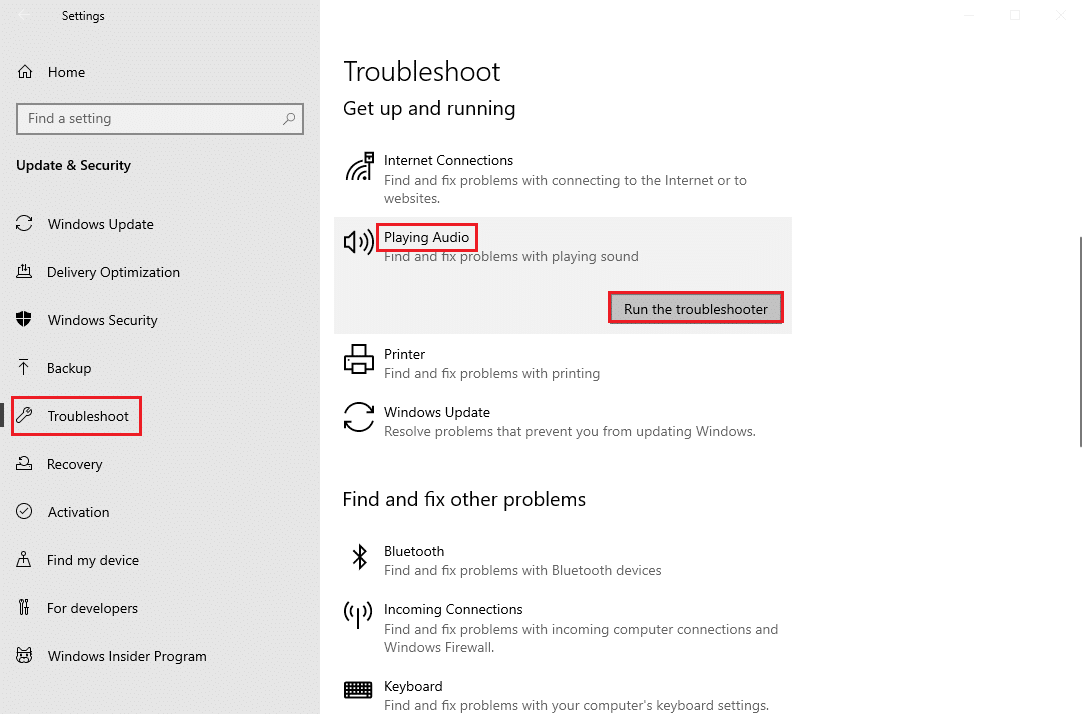
5. Wait for the troubleshooter to detect and fix the problem. Once the process is complete, click この修正プログラムを適用する および 再起動 あなたのPC.
Method 4: Re-enable Audio Device
The issue can also be caused by your system audio devices, in this case, you can try to resolve the issue by temporarily disabling the audio device on your computer and enabling it again.
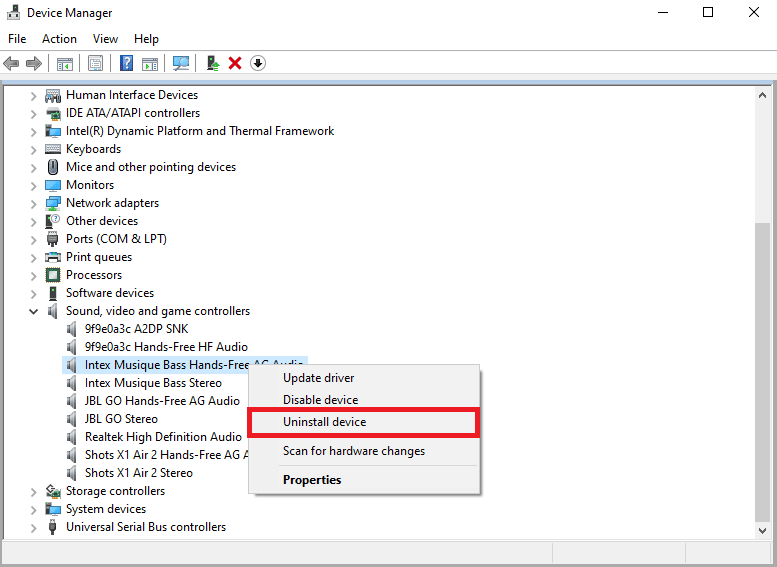
1.ヒット ウィンドウズキー、タイプ デバイスマネージャ、をクリックします Open.
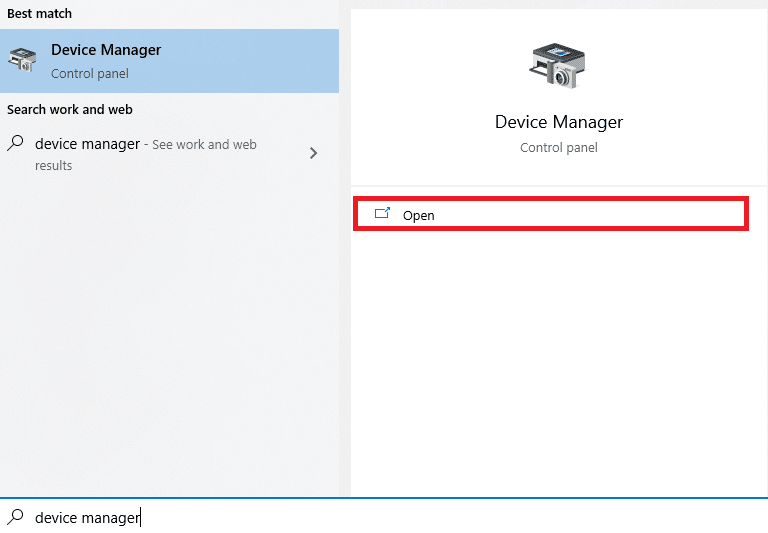
2. Locate and expand the サウンド、ビデオ、ゲームコントローラ.
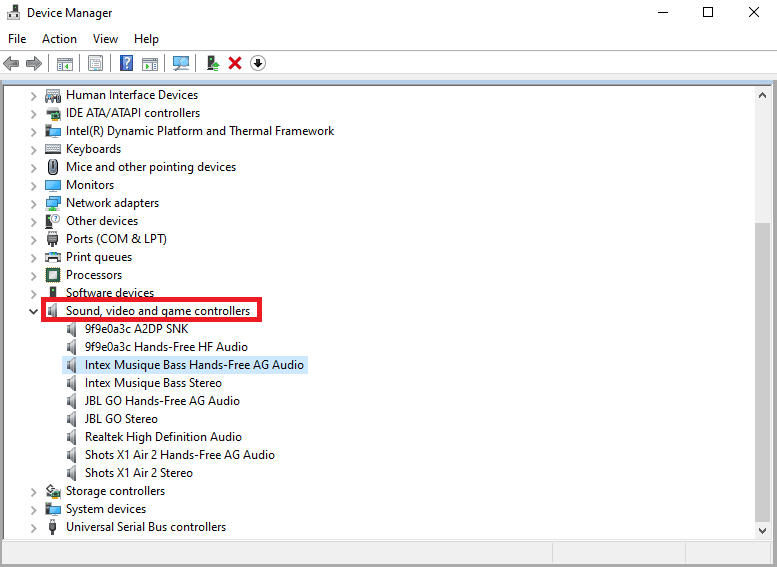
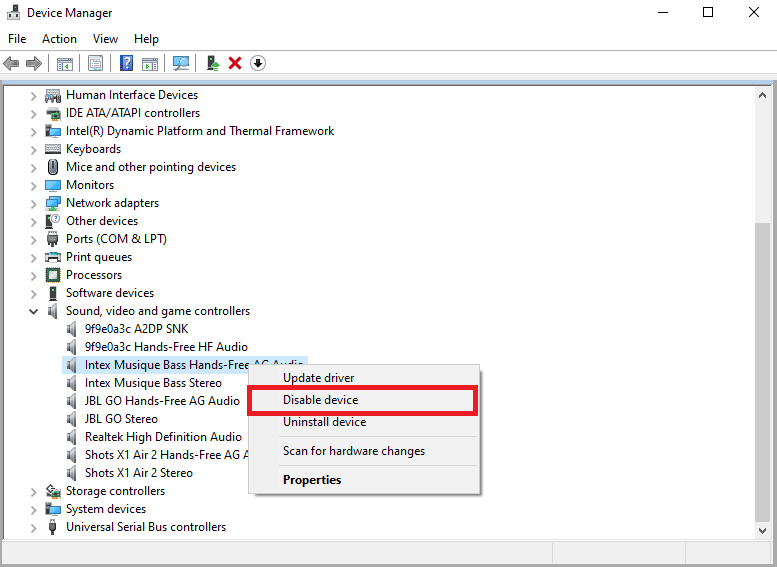
3. 次に、 オーディオドライバ [OK]をクリックします デバイスを無効にする.
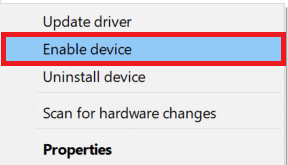
4. Again, right-click on the driver and select デバイスを有効にする option after a few minutes.
また読む: Skype チャットのテキスト効果の使用方法
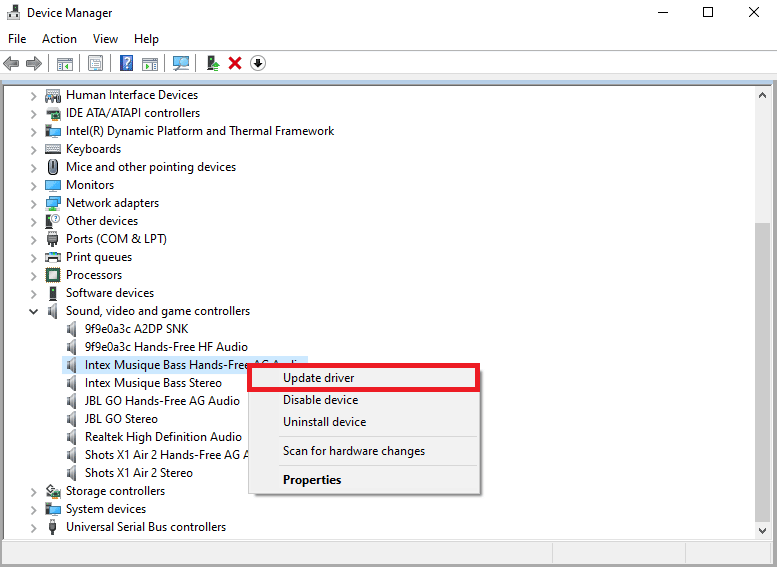
方法 5: オーディオ ドライバーを更新する
Corrupted and outdated drivers are one of the main reasons for Skype error with playback device on Windows 10. To resolve the issues caused by audio drivers, you can try to update audio drivers read our guide on how to update device drivers on Windows 10.
方法 6: オーディオ ドライバーを再インストールする
If Skype error with playback device on Windows 10 with the computer audio device continues. You can try to delete it entirely. Many users found that deleting their audio device also effectively resolved the issue. Follow our guide to uninstall and reinstall drivers on Windows 10.
Method 7: Reset Skype Configuration Files
If the previous methods don’t resolve Skype error with playback device on Windows 10 issues, you can also try to reset the Skype configuration files to resolve most of the Skype issues
1. If you are running the Skype application 閉めてください.
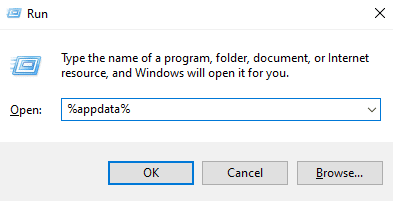
2。 押す Windowsの+ R キー 一緒に開けます ラン ダイアログボックス。
3。 タイプ %のAppData% を押して キーを入力してください 開く アプリデータ フォルダ.
4. を見つけて右クリックします。 Skype フォルダにコピーします。
5。 クリック リネーム and rename the folder as Skype.old.
6.さて、 再起動 Skypeアプリ.
In most cases, this method was helpful to many users, if it doesn’t work, move on to the next method.
また読む: Skype コードを適切な形式で送信する方法
方法 8: Skype アプリを再インストールする
If none of the previous method work, and you continue to have Skype error playback device issues, try reinstalling the Skype app.
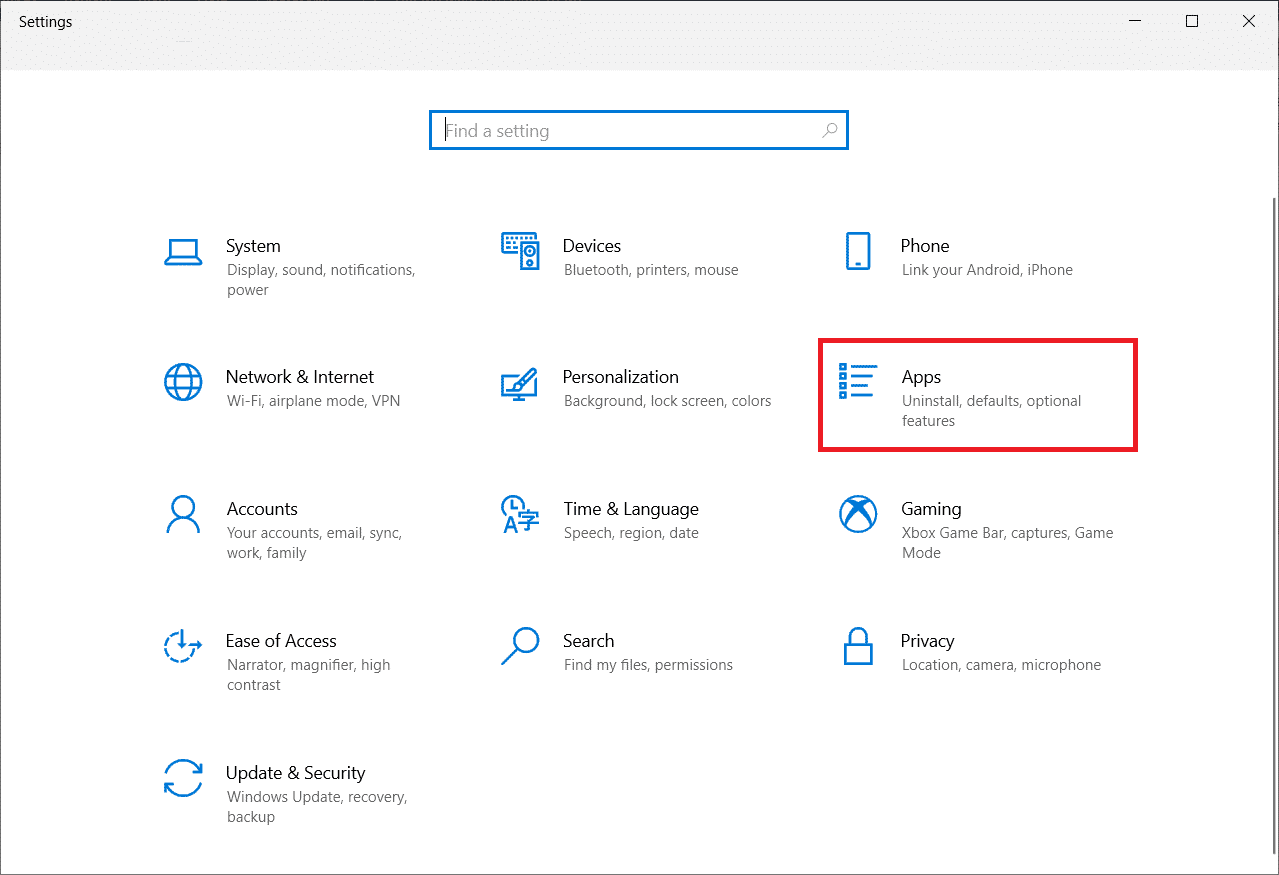
1 押したまま Windows + Iキー 一緒に開く Windowsの設定.
2。 今すぐクリックして アプリ.
3. 次に、検索してクリックします。 Skype をクリックして アンインストールする オプションを選択します。

4. ここで、プロンプトがあればそれを確認し、 PCを再起動する once you have uninstalled Skype.
5. アンインストールプロセスが完了したら、[スタート]メニューの検索に移動し、次のように入力します。 および 開いた ボーマンは
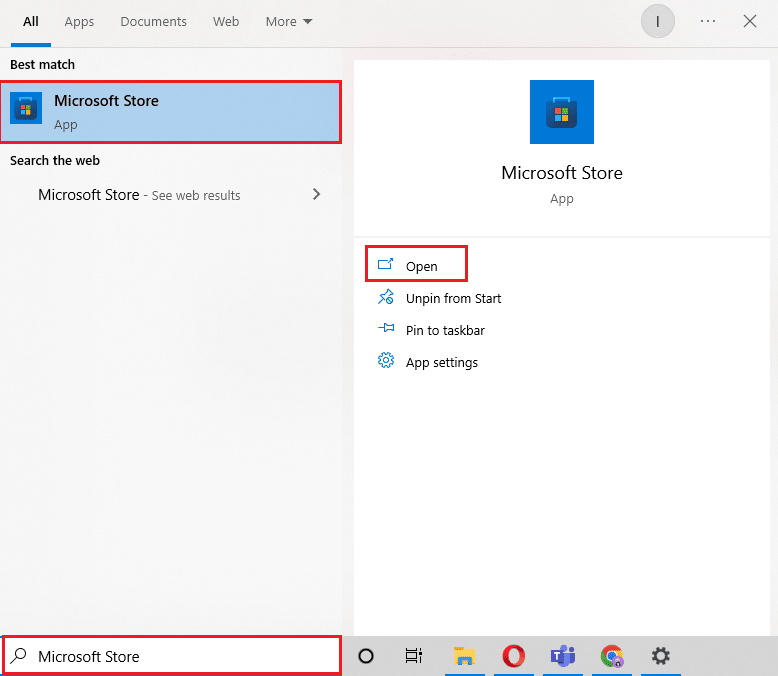
6. Microsoft Store で、次のように検索します。 Skype.
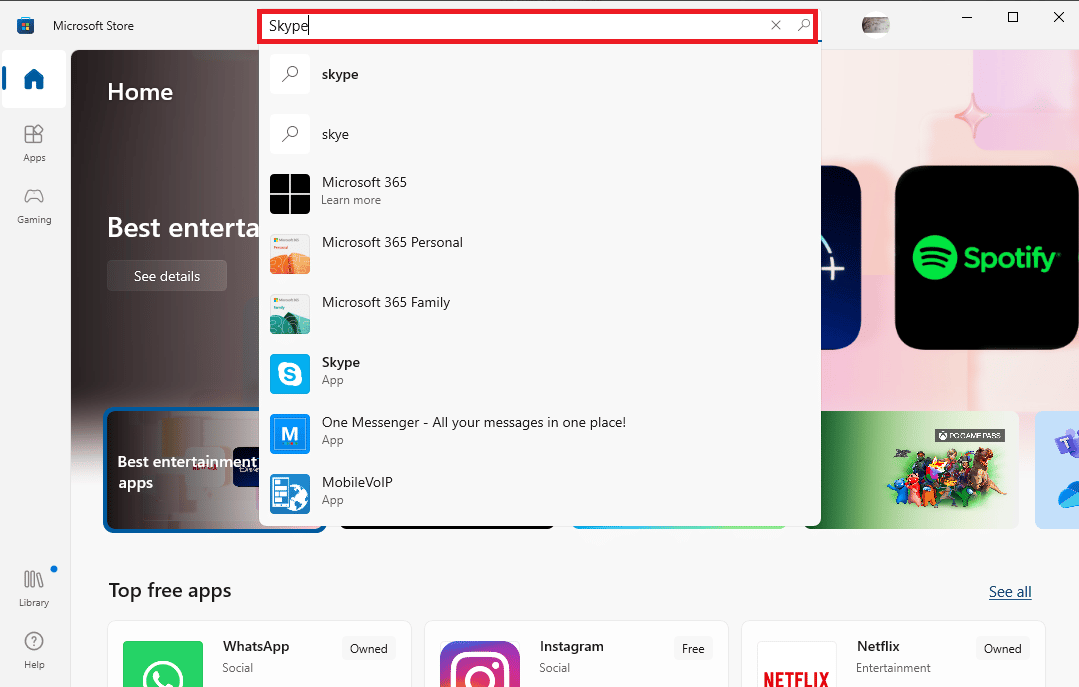
7。 クリックしてください 入手 button to install the Skype app on your device.
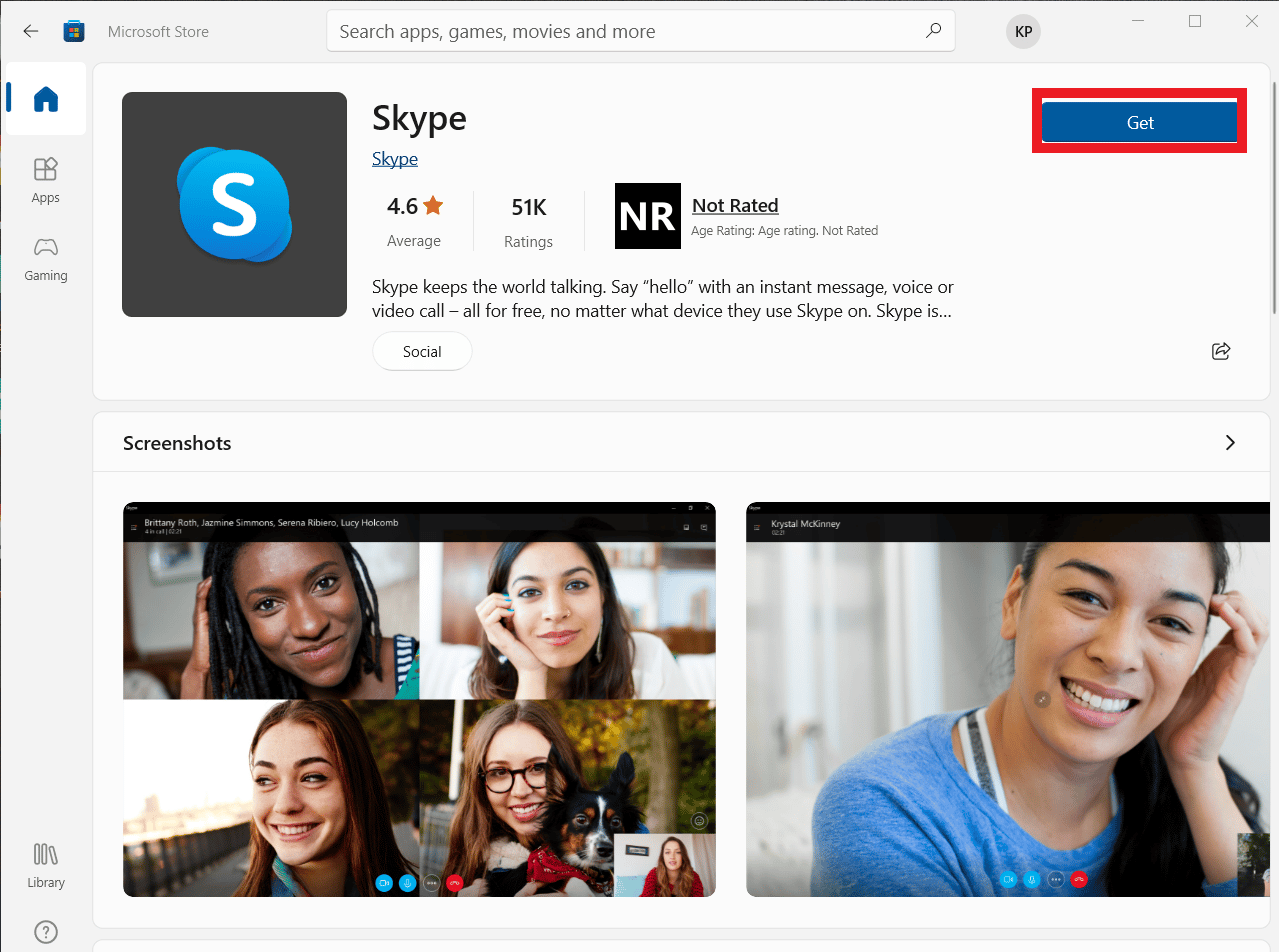
8. インストールが完了するまで待ちます。
Reinstalling the Skype app should resolve Skype playback error on your computer.
よくある質問(FAQ)
Q1. Why can’t I connect audio on Skype?
Ans。 Audio errors are common Skype errors. This issue occurs due to failure in device audio drives and Skype settings.
Q2. How to resolve Skype audio issues?
Ans。 There can be multiple methods to resolve the Skype audio errors, such as updating system drivers, changing the Skype configuration settings.
Q3. What are audio issues on Skype?
Ans。 Skype can run into many audio issues such as microphone issues, and speaker issues. These errors can lead to interruptions during video calls.
推奨:
このガイドがお役に立ち、問題を解決できれば幸いです Skype error with playback device on Windows 10. Let us know which method worked for you. If you have any suggestions or queries, please let us know in the comment section.