If you are a person who loves to play around with the programs on your phone, you might be aware of the TWRP mount internal storage. This is an official app from the Google Play Store and can help in installing third-party apps and software.
One of the issues with the mode is TWRP internal storage 0MB. Though you might have enough space to flash new files on your phone, you may see this error message pop up on your phone. In this case, you might be unable to mount storage TWRP on your Android phone. There are various reasons for this issue and you might be denied access to the unofficial software files and other custom ROMs. You can use the method in the article to fix TWRP unable to mount storage issue.
How to Fix Unable to Mount Storage TWRP on Android
TWRP Recovery mode is used to install and back up the files on your phone instantly. It is available as an app in the Google Play Store and is a trusted app.
注: The steps mentioned correspond to the Samsung Galaxy A21 s model and the settings are bound to differ according to the phone model and manufacturer.
How to Install TWRP Recovery Mode App
Here are the steps to install TWRP recovery mode application.
関連項目:
Fix Google Photos not uploading photos on Android
Spotify にログインできないエラーを修正する 10 の方法
Android での Netflix エラー 5.7 を修正する
Android で AirPods が充電されているかどうかを確認する方法
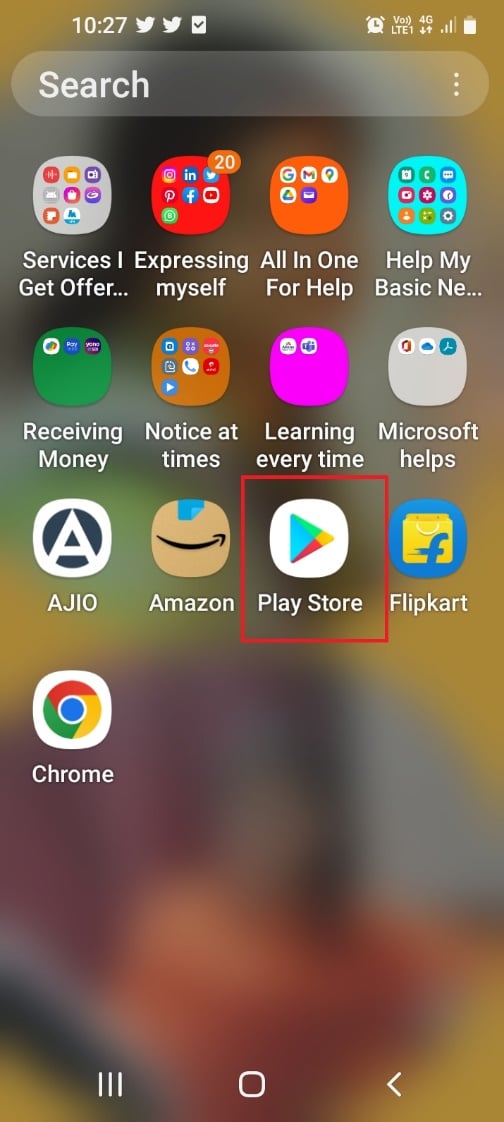
1. From the menu, open the Playストア アプリ。
2。 あなたをタップする 検索バー ホームページの上部にあります。
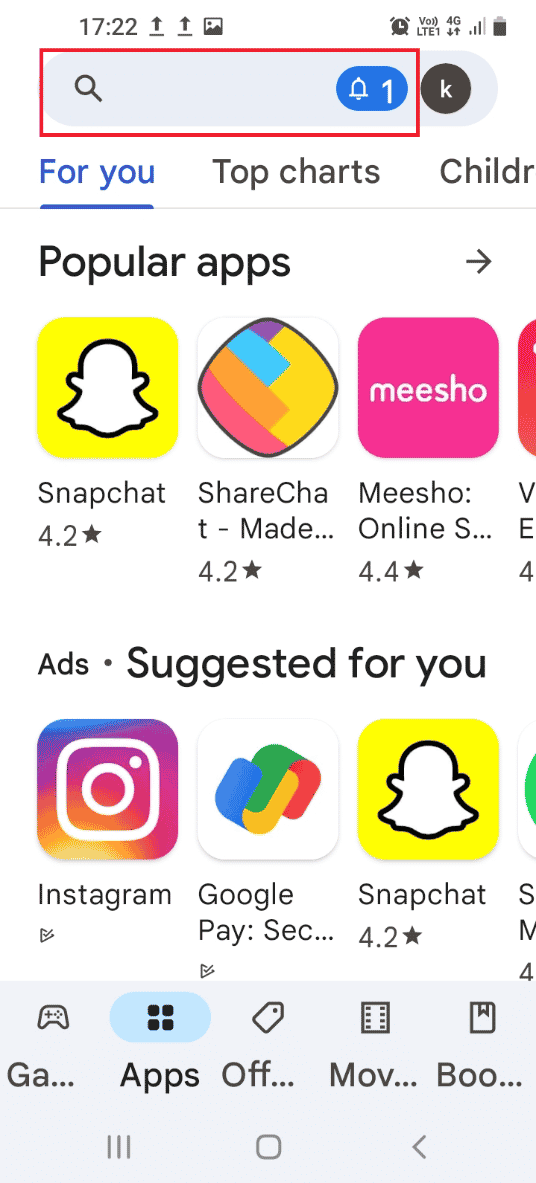
3. を検索します TWRPリカバリーモード をタップして サーチ のアイコンをクリックします。
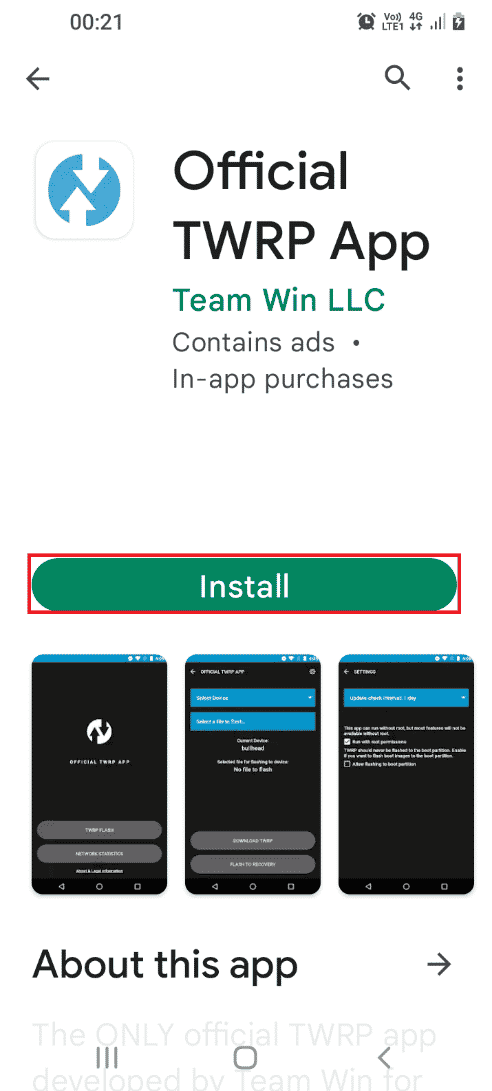
4。 あなたをタップする インストールを開始する のボタン 公式TWRPアプリ.
What Causes TWRP Unable to Mount Storage Issue?
The issue of being unable to mount internal storage may be due to the following reasons as below.
- Security Password- The security password or the lock password on your phone may not allow you to mount the storage files.
- Unsupported File is installed- A zip file that is unsupported with your phone model installed on your phone may be a reason for this issue.
- Unable to decrypt files in partition- Your phone may not able to decrypt the files in the Partition drives on your phone.
- Flashing a wrong file in Partition drive- An incorrect or wrong file may be flashed to the Partition drives on your phone.
- Corrupt Files in Partition drive- The files in the partition drives on your Phone may be corrupt or have some malware.
- Factory reset option is corrupt- The issue may occur if the Factory reset option on your phone is corrupt.
また読む: Android がアプリ 1/1 の最適化を開始している問題を修正
Following are the troubleshooting methods to fix unable to mound storage TWRP on your Android device.
Method 1: Change Screen Security Password
The simplest approach to fix the unable to mount storage TWRP issue is to change the security password of your phone.
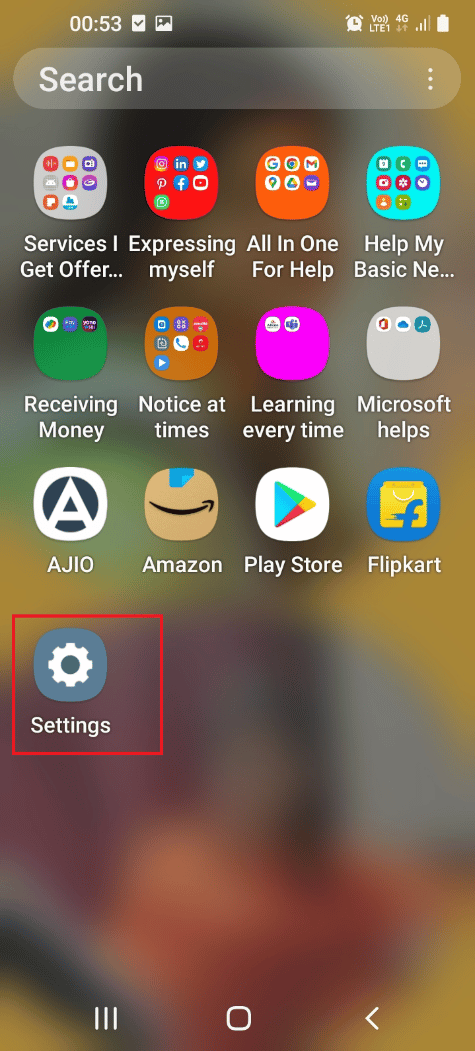
1. From the menu, open the 設定 アプリ。
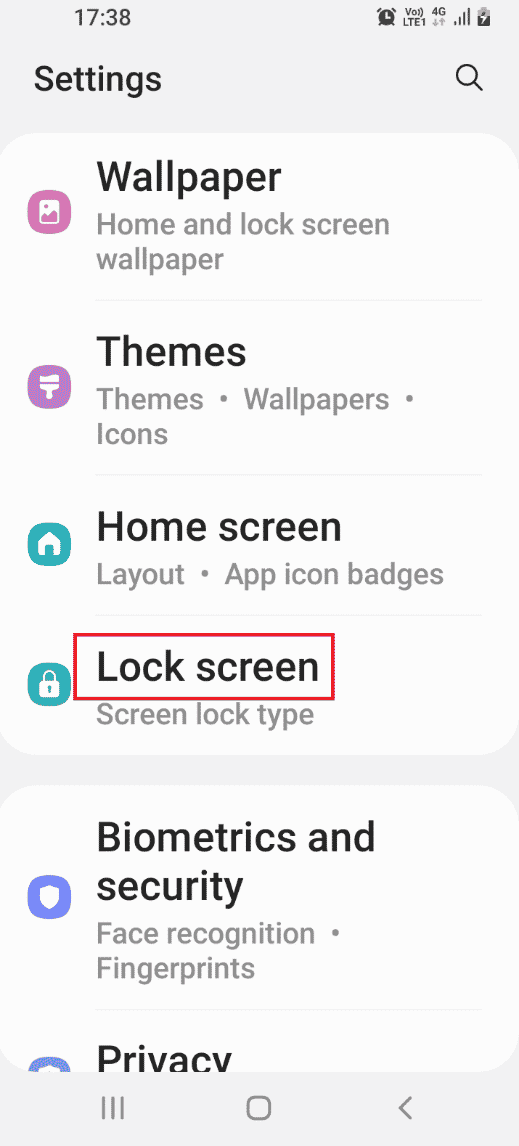
2。 あなたをタップする ロック画面 タブには何も表示されないことに注意してください。
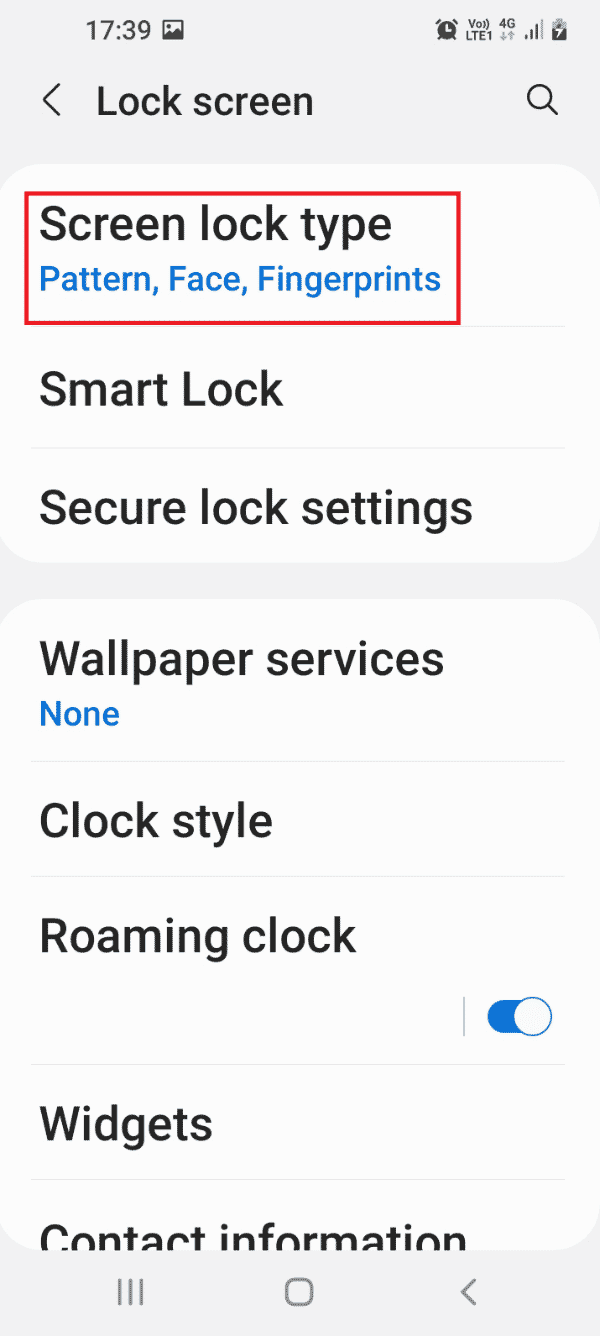
3。 あなたをタップする スクリーンロックタイプ タブには何も表示されないことに注意してください。
4. Enter your current password or draw your current pattern on the confirmation screen.
5。 あなたをタップする パスワード タブには何も表示されないことに注意してください。
注: Alternatively, you can tap on the PIN タブには何も表示されないことに注意してください。

6. Type any alpha-numeric password and tap on the Continue オプションを選択します。

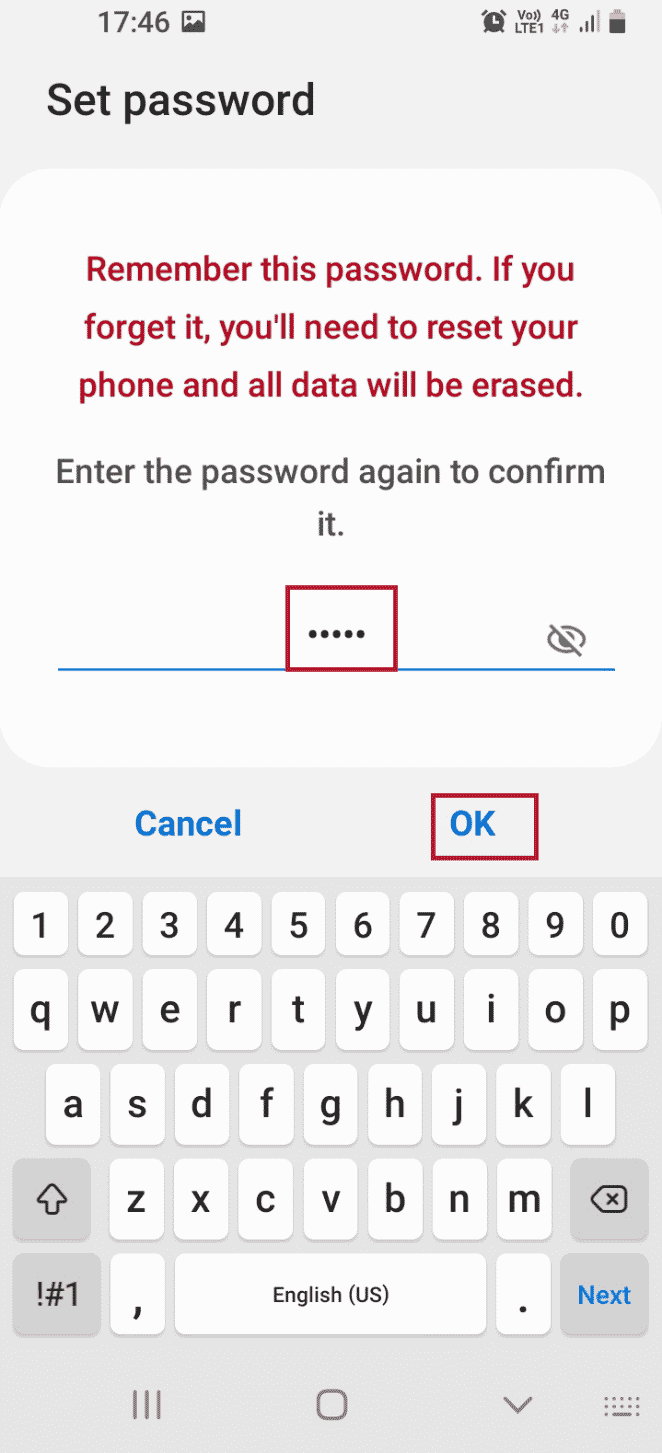
7. Type the same alpha-numeric password and tap on the OK オプションを選択します。
Now, check if TWRP internal storage 0mb is resolved.
Method 2: Use Micro SD Card
This method is a little workaround but can be used to fix the issue of TWRP mount internal storage. Using this method, you can move the files of the partition drives to a Micro SD Card on your phone.
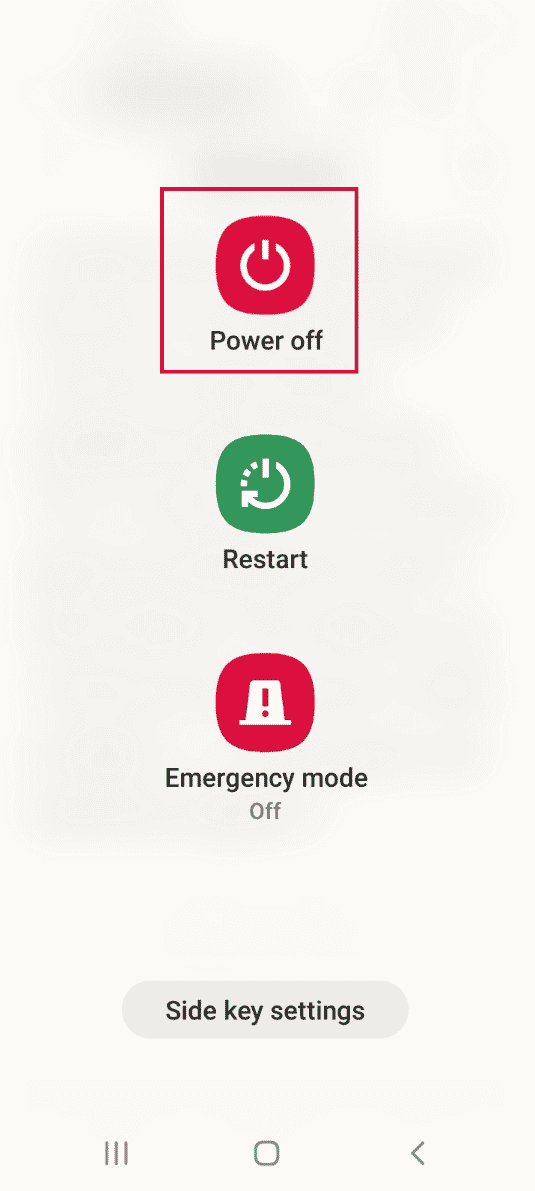
1.を長押しします 出力 ボタンを押してタップします 電源オフ オプションを選択します。
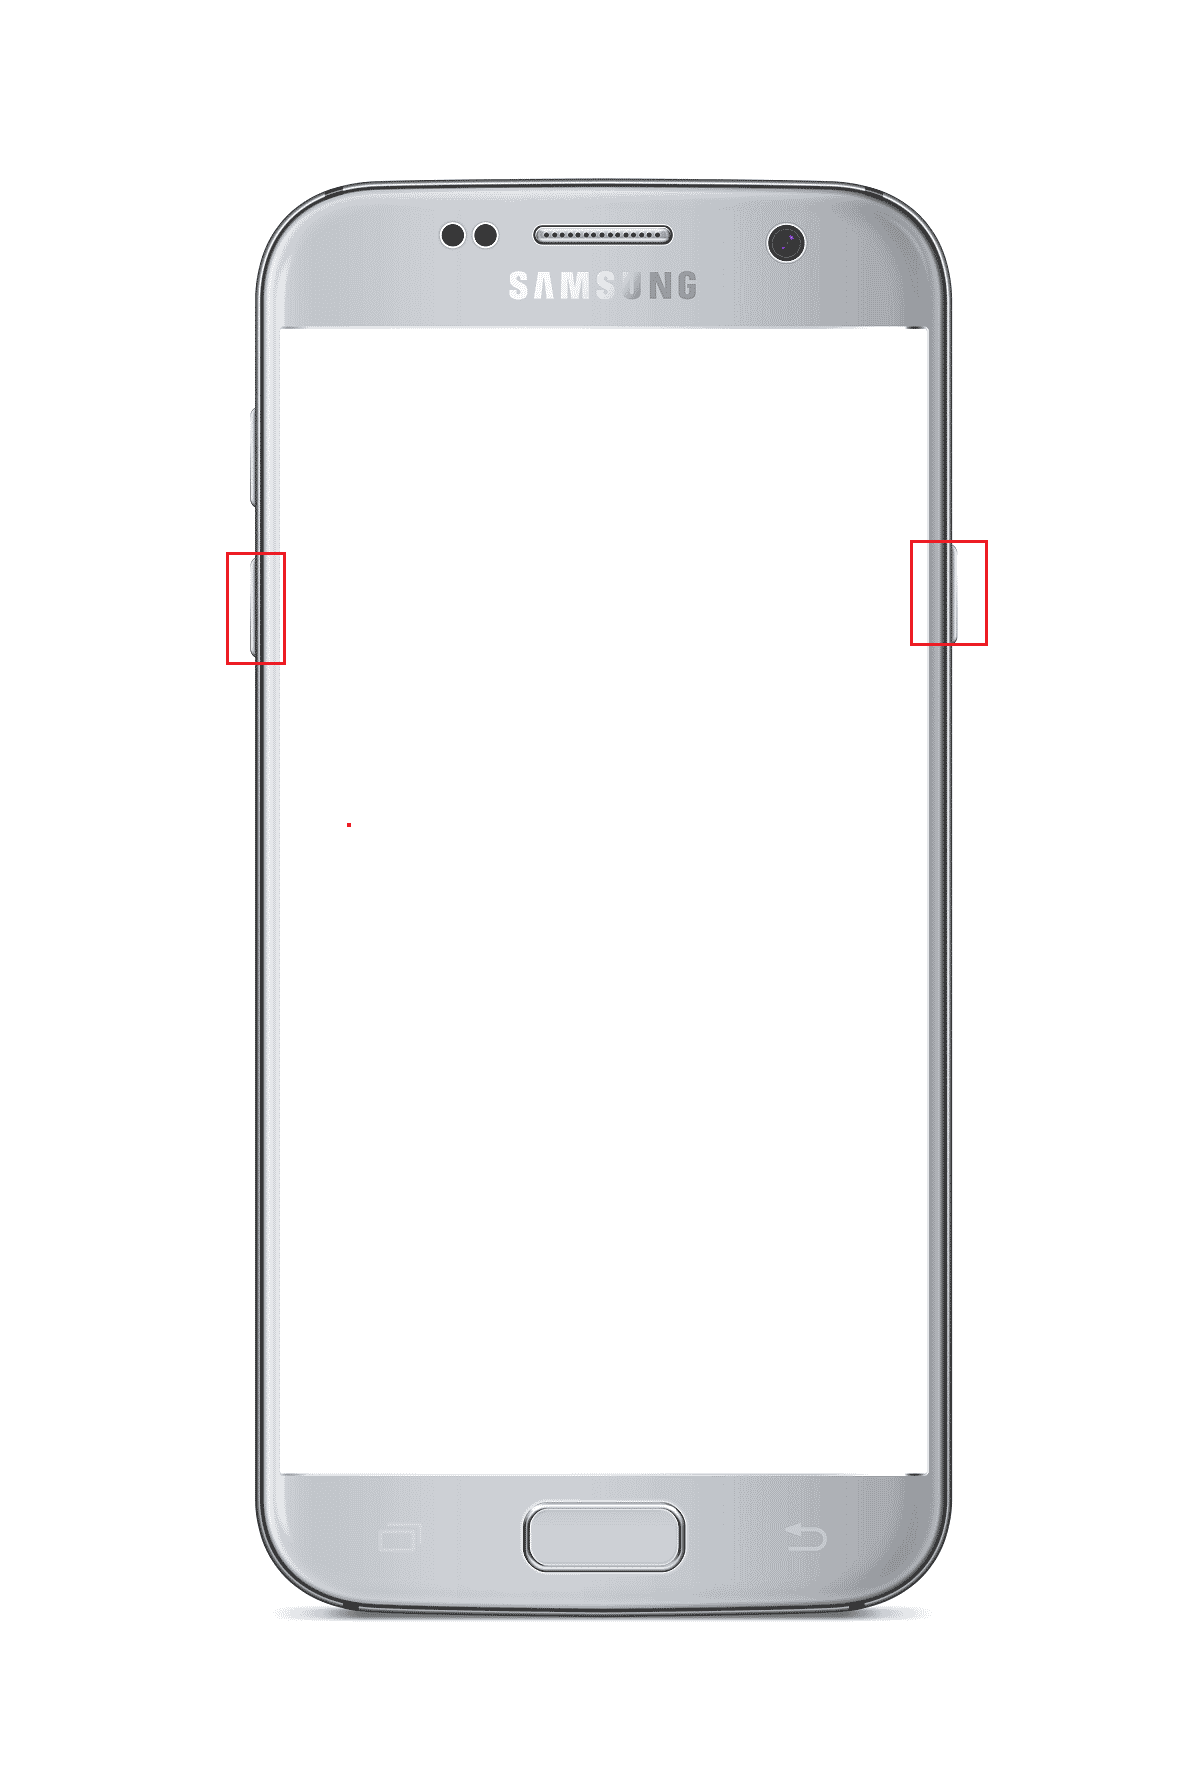
2。 プレス パワー+音量ダウン ボタンを押して TWRP リカバリモードで起動します。
3。 あなたをタップする Keep Read Only button and swipe the triple arrow icon or the Swipe to Allow Modifications 右側のオプション。
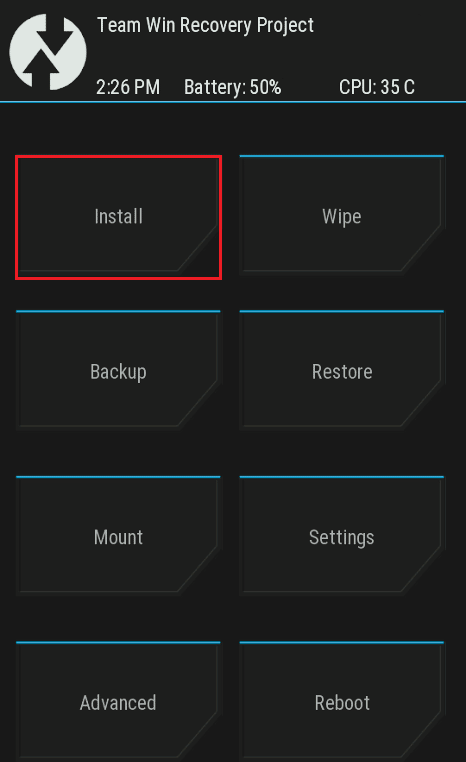
4. 次に、 インストールを開始する 内のオプション チームの勝利の回復プロジェクト を選択して、後処理画面に進みます。
5. 次に、 ストレージを選択 タブには何も表示されないことに注意してください。
6。 選択します マイクロSDカード option in the menu. Then, check if TWRP unable to mount storage is resolved.
また読む: rootなしでAndroidのIMEI番号を変更する方法
Method 3: Format Data
If you are not able to fix unable to mount storage TWRP issue, you can format the data on your phone in the Team Win Recovery Project mode.
注: You can back up the files on your Phone to Google Drive before proceeding with this method to avoid loss of data.
1。 ホールド 出力 ボタンを押してタップします 電源オフ オプションを選択します。

2。 プレス パワー+音量ダウン ボタンを押して TWRP リカバリモードで起動します。
3。 あなたをタップする Keep Read Only button and swipe the triple arrow icon or the Swipe to Allow Modifications 右側のオプション。
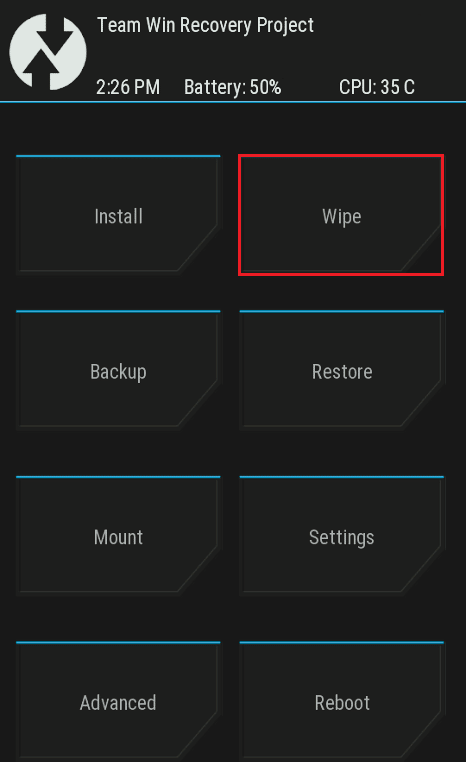
4。 あなたをタップする ワイプ 内のオプション チームの勝利の回復プロジェクト を選択して、後処理画面に進みます。
5。 あなたをタップする フォーマットデータ
6。 タイプ はい セクションに Wipe Format Data をタップします。 入力します オプションを選択します。
7.に戻ります チームの勝利の回復プロジェクト をタップします。 リブート オプションを選択します。
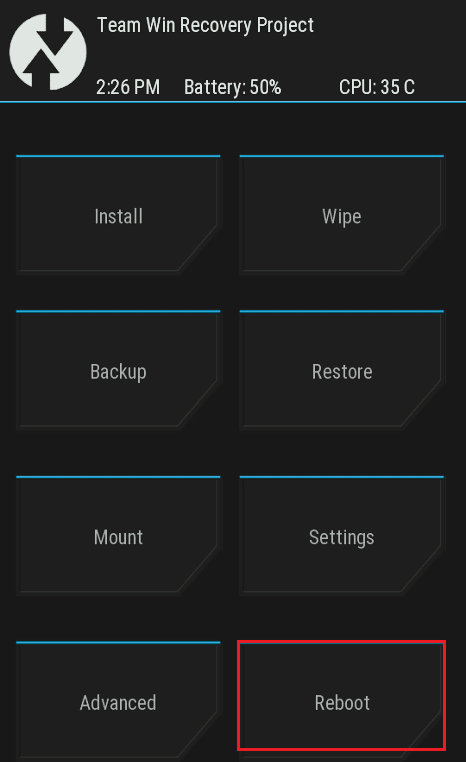
8。 あなたをタップする エントルピー option to turn on your phone.
Finally, check if TWRP internal storage 0mb issue is resolved.
Method 4: Format Internal Storage
Another option to fix unable to mount storage TWRP issue is to format the internal storage on your phone.
Step I: Backup Files on Internal Storage
The first step is to back up the files on your Internal Storage partition drive in the twrp recovery mode.
1。 プレス 出力 ボタンを押してタップします 電源オフ オプションを選択します。

2。 プレス パワー+音量ダウン ボタンを押して TWRP リカバリモードで起動します。
3。 あなたをタップする Keep Read Only button and swipe the triple arrow icon or the Swipe to Allow Modifications 右側のオプション。
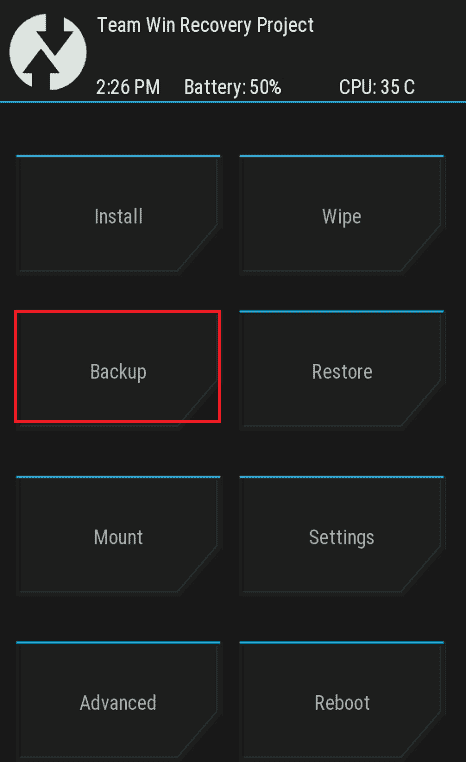
4. 次に、 バックアップ 内のオプション チームの勝利の回復プロジェクト を選択して、後処理画面に進みます。
5。 選択します 内部記憶装置 内のオプション ストレージを選択 をタップします。 OK
6. Select all the partitions and swipe the triple arrow icon or the スワイプしてワイプ option to the right to confirm the selection.
Step II: Format Internal Storage
The next step is to format the files on the Internal Storage partition drive in the TWRP recovery mode.
1。 開く チームの勝利の回復プロジェクト アプリをタップします ワイプ オプションを選択します。
2。 あなたをタップする 高度なワイプ オプションを選択します。
3。 選択します 内部記憶装置 内のオプション Select Partition to Wipe section and swipe the triple arrow icon or the スワイプしてワイプ option to the right to confirm the selection.
また読む: What is HTC S-OFF?
方法 5: システム ファイルを修復する
To fix the unable to mount storage TWRP issue, you can repair the system files on your phone in the TWRP recovery mode.
1。 ホールド 出力 ボタンを押してタップします 電源オフ オプションを選択します。

2. 次に、 パワー+音量ダウン ボタンを押して TWRP リカバリモードで起動します。
3。 あなたをタップする Keep Read Only button and swipe the triple arrow icon or the Swipe to Allow Modifications 右側のオプション。
4。 あなたをタップする ワイプ 内のオプション チームの勝利の回復プロジェクト を選択して、後処理画面に進みます。
5。 あなたをタップする 高度なワイプ オプションを選択します。
6。 選択します 且つ 内のオプション Select Partition to Wipe セクションを選択し、 Repair or Change File System オプションを選択します。
7。 あなたをタップする Change File System
8。 あなたをタップする exFAT option and swipe the triple arrow icon or the Swipe to Change option to the right on the screen.
If TWRP mount internal storage issue is still not resolved, you can follow the steps below to repair further files (Optional).
9.に戻ります Repair or Change File System をタップします。 Change File System オプションを選択します。
10。 選択します 外線 2 option in the menu and swipe the triple arrow icon or the Swipe to Change option to the right to confirm the selection.
11. Return to the menu, select the 外線 4 option, and swipe the triple arrow icon or the Swipe to Change option to the right to confirm the selection.
12.に戻ります チームの勝利の回復プロジェクト をタップします。 マウント オプションを選択します。
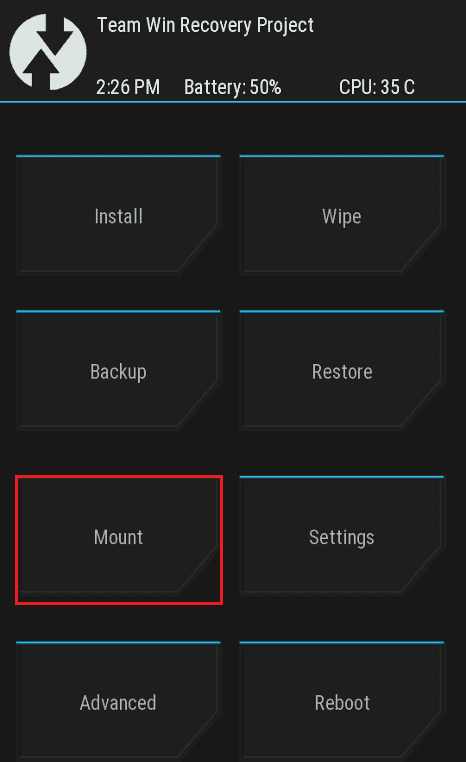
13。 選択します 且つ & マイクロSDカード オプションの Select Partition to Mount section and flash the files.
Method 6: Use ADB Command
The final resort to fix unable to mount storage TWRP issue is to use the ADB or Android Debug Bridge commands on your Windows PC.
Option I: Use Fastboot Command
The first option to fix TWRP internal storage 0mb issue is to use the fastboot command and format data on your phone.
Step I: Enable ADB devices on your PC
As a first step, you have to enable the ADB devices on your Windows PC using the official ADB tool.
1.を使用して USBケーブル, connect your phone to your Windows PC.
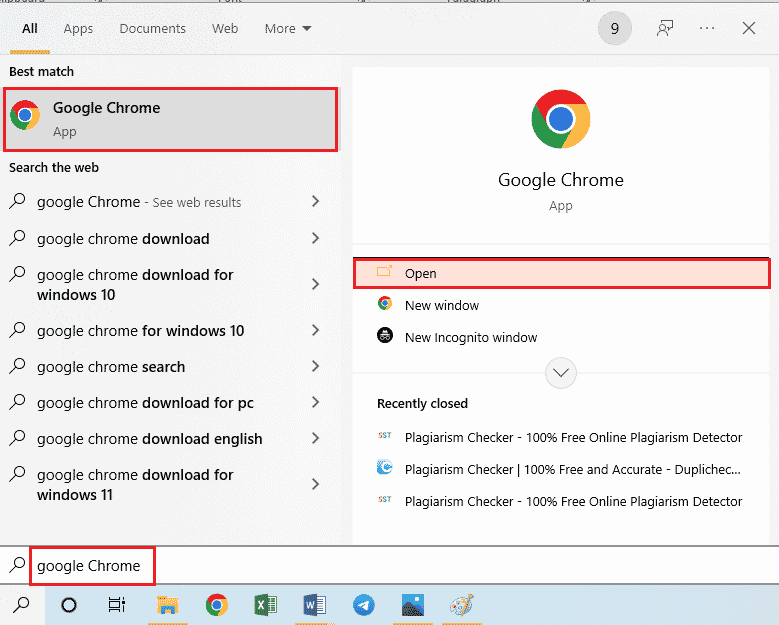
2.ヒット ウィンドウズキー、タイプ Google Chrome、をクリックします Open.
3。 開く Android SDKプラットフォームツール ウェブサイトをクリックして Download SDK Platform- Tools for Windows 内のリンク ダウンロード のセクションから無料でダウンロードできます。
![Android SDK プラットフォーム ツールをダウンロードするための公式 Web サイトを開いて、[ダウンロード] セクションの [Windows 用 SDK プラットフォーム ツールをダウンロード] リンクをクリックします。](https://lbsite.org/wp-content/uploads/2023/01/open-the-official-website-for-downloading-the-andr-2.png)
4. Using a data compression utility like WinZipの, extract all the files of the ADB tool to the ローカルディスク(C :) ドライブ。

5。 プレス ウィンドウズキー、タイプ Windows PowerShellの、次にクリックしてください 管理者として実行.

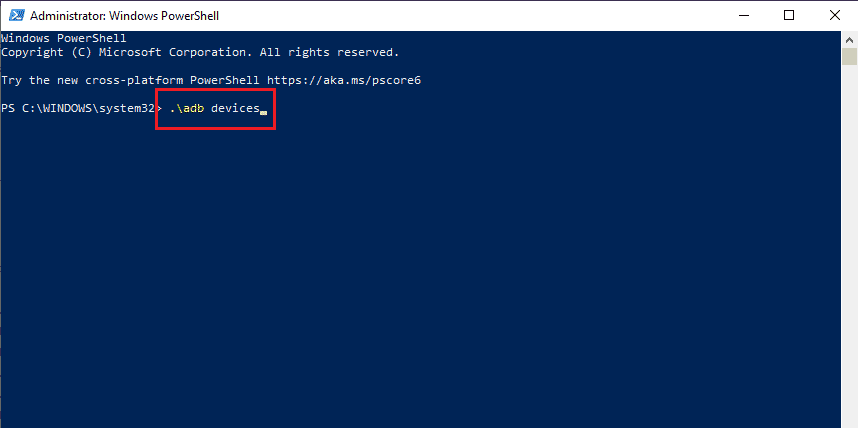
6.次のように入力します ./adbデバイス コマンドを押して キーを入力してください to check the connected devices.
7。 あなたをタップする 同意 お使いの携帯電話のオプション。
また読む: Android でシステム UI が黒い画面を停止する問題を修正
Step II: Enable USB Debugging
To enable the USB debugging option, you have to enable the Developer mode on your phone as follows.
1. From the home menu, open the 設定 アプリ。

2. Tap on the tab 電話について.
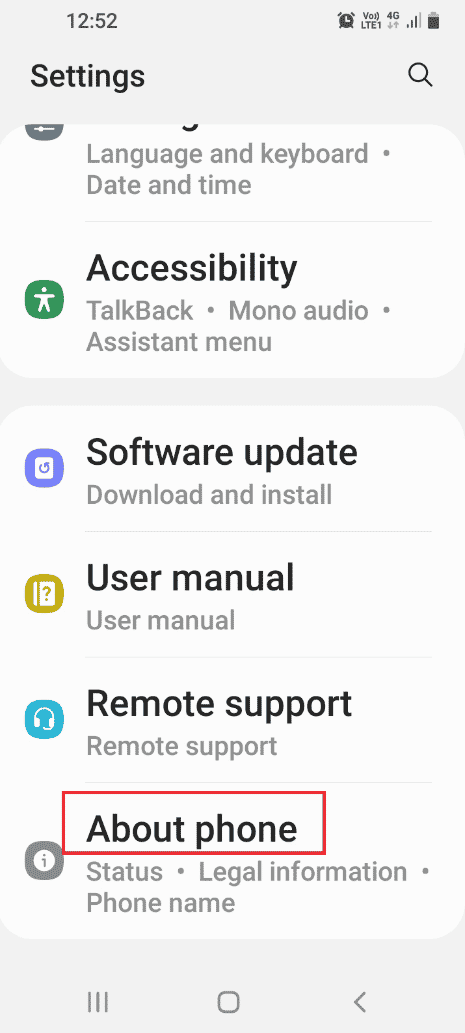
3. Tap on the tab ソフトウェア情報.
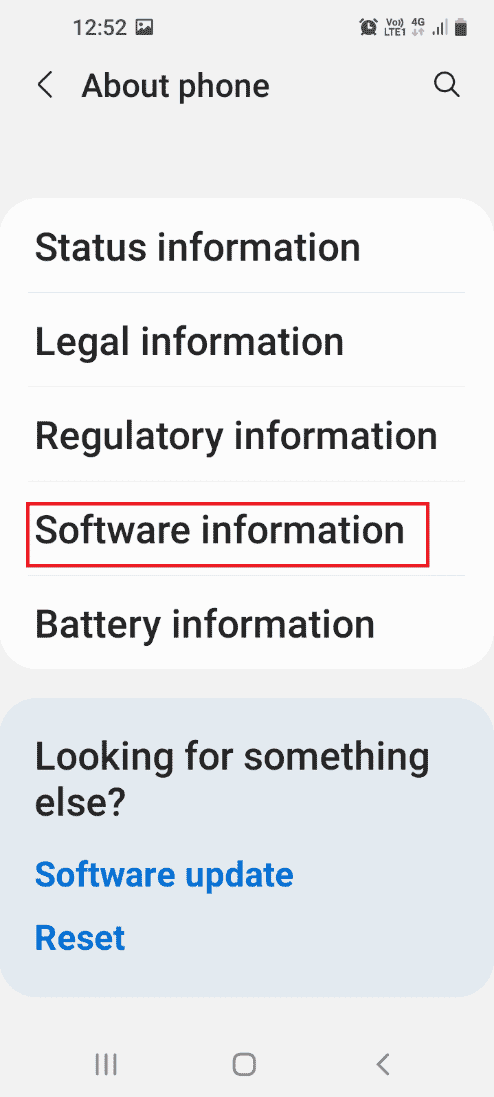
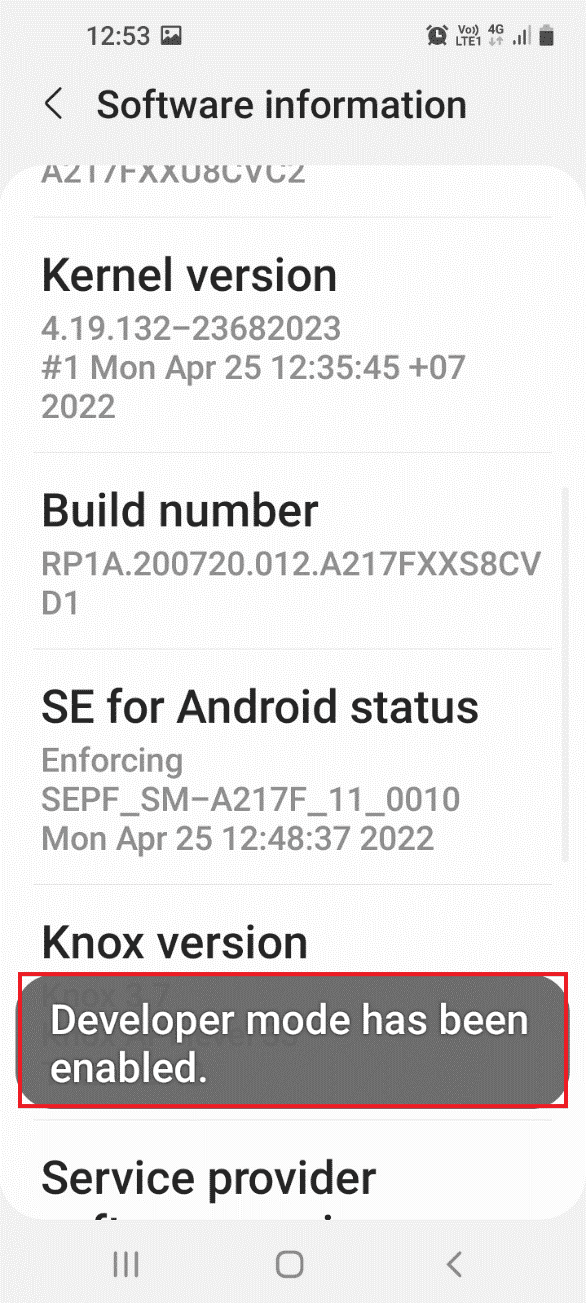
4. Tap on the tab ビルド番号7 回。
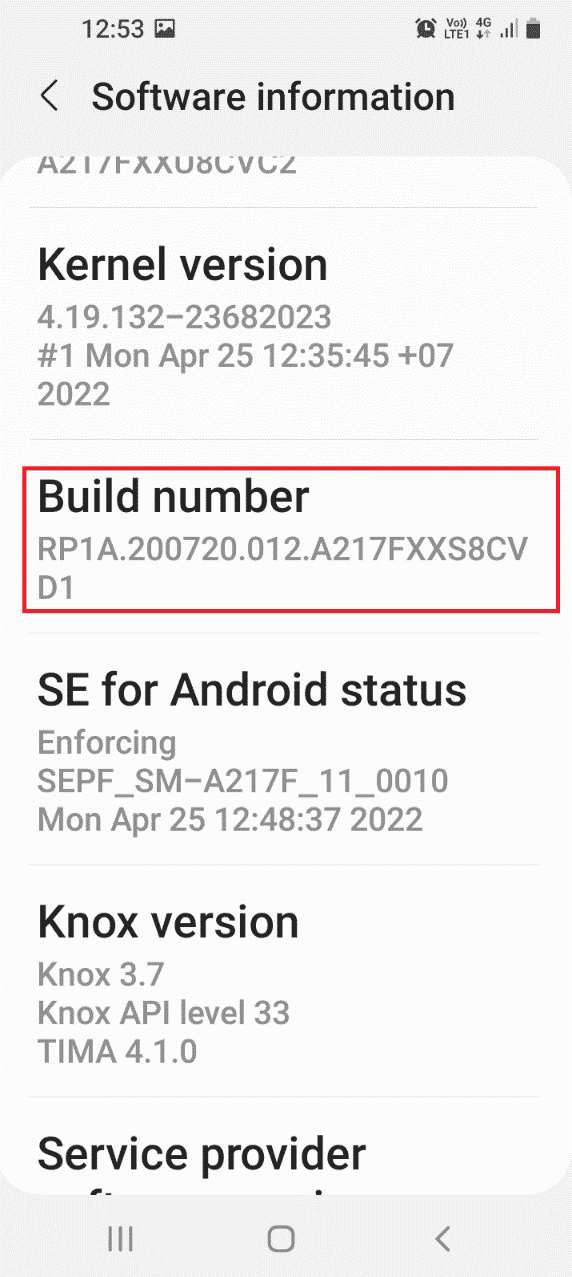
5. メッセージ 開発者モードが有効になりました 表示されます。
6.に戻ります 設定 main page and tap on the tab 開発者オプション.
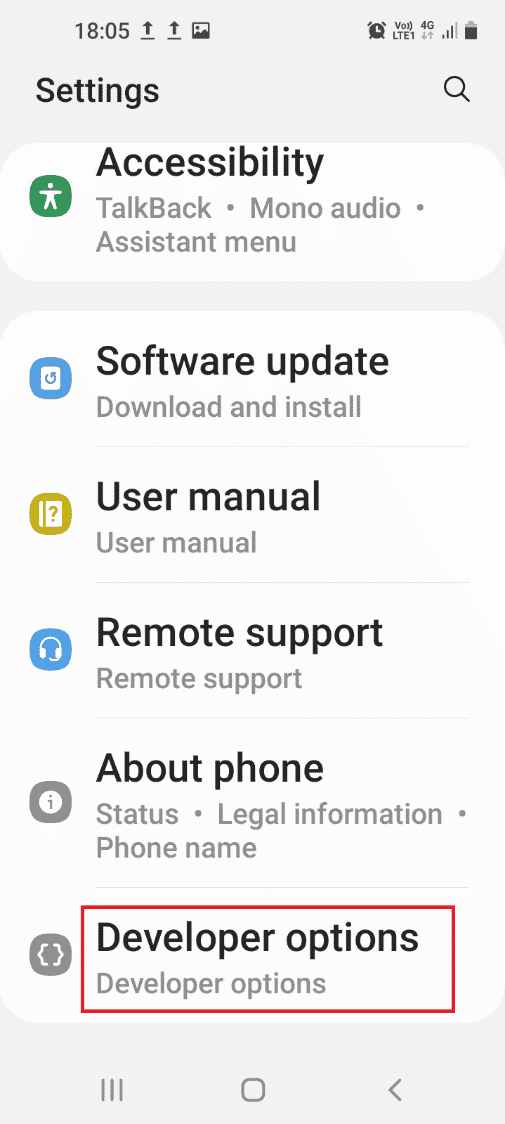
7。 の中に デバッギング セクションで、スイッチをオンにします USBデバッグ オプションを選択します。
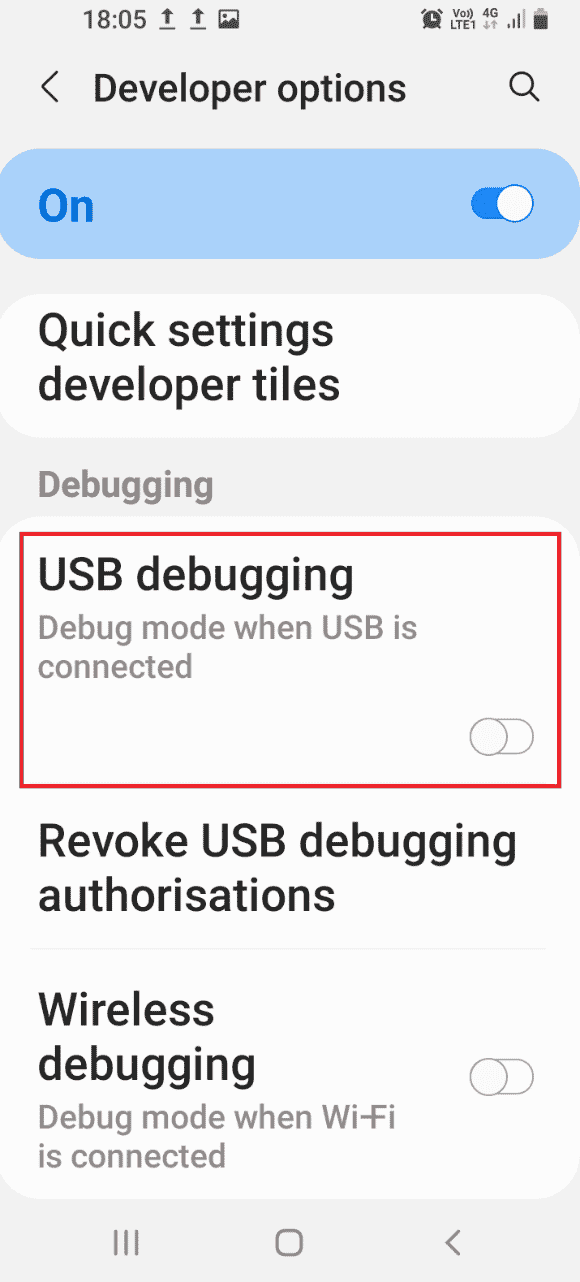
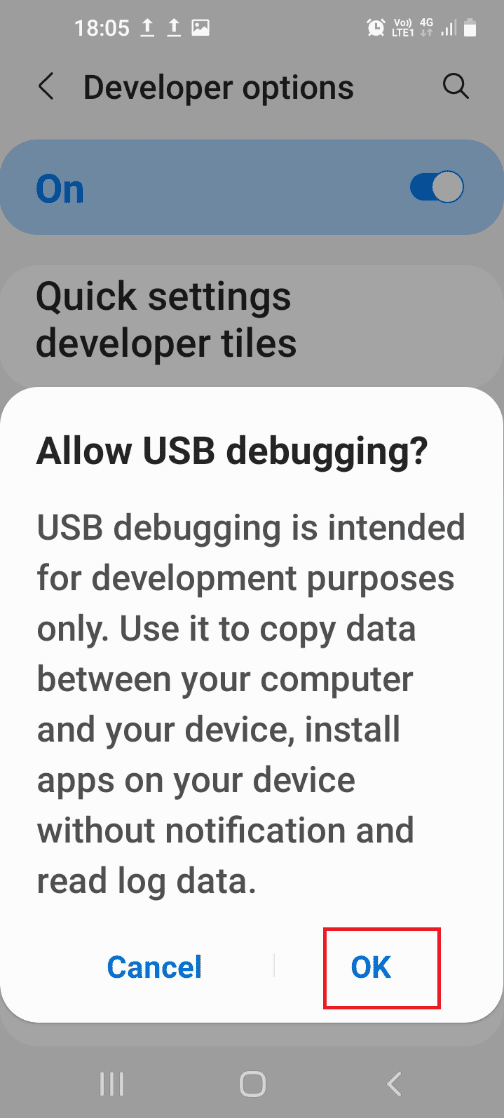
8。 の中に USBデバッグを許可しますか? confirmation message, tap on the OK オプションを選択します。
また読む: What is Odin Mode on Samsung Phone?
Step III: Enable Node Tree Debugging
To enable the Windows PC to make changes to the Android phone, you have to enable the additional feature called Node Tree Debugging as follows.
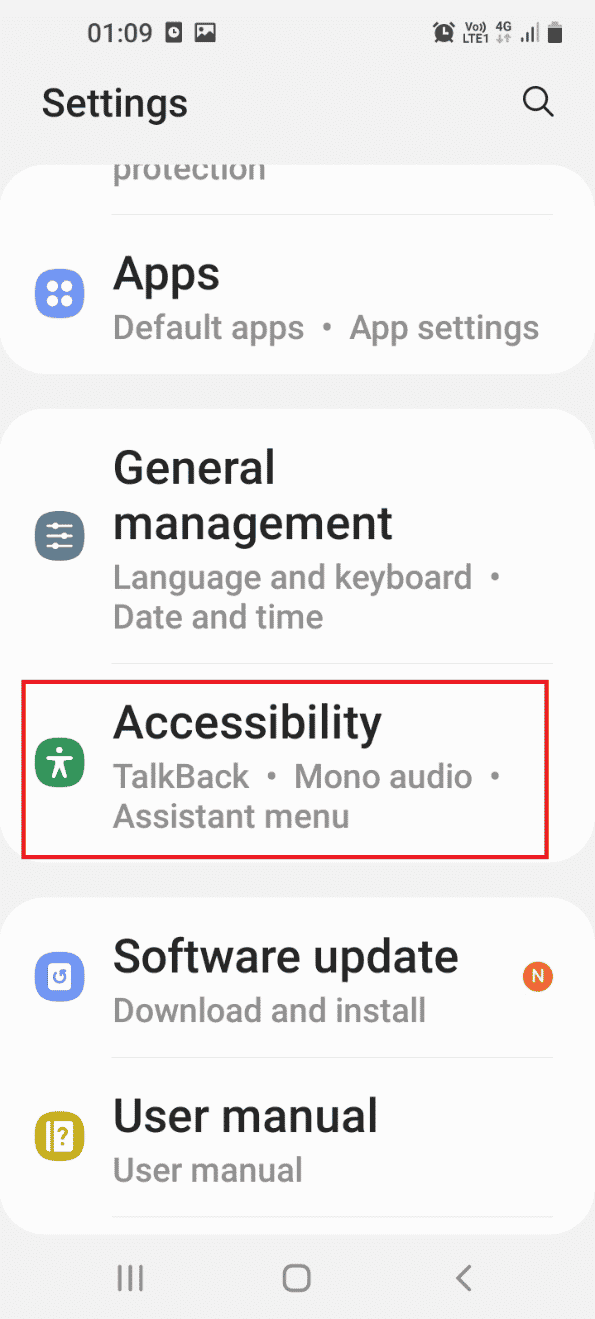
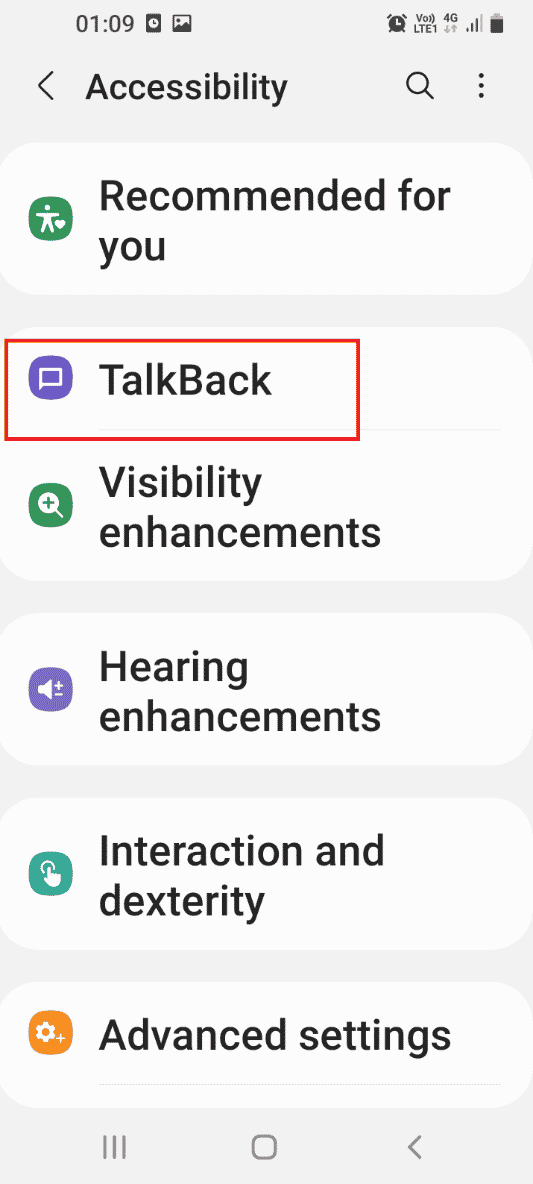
1.に戻ります 設定 main page and tap on the tab ユーザー補助.
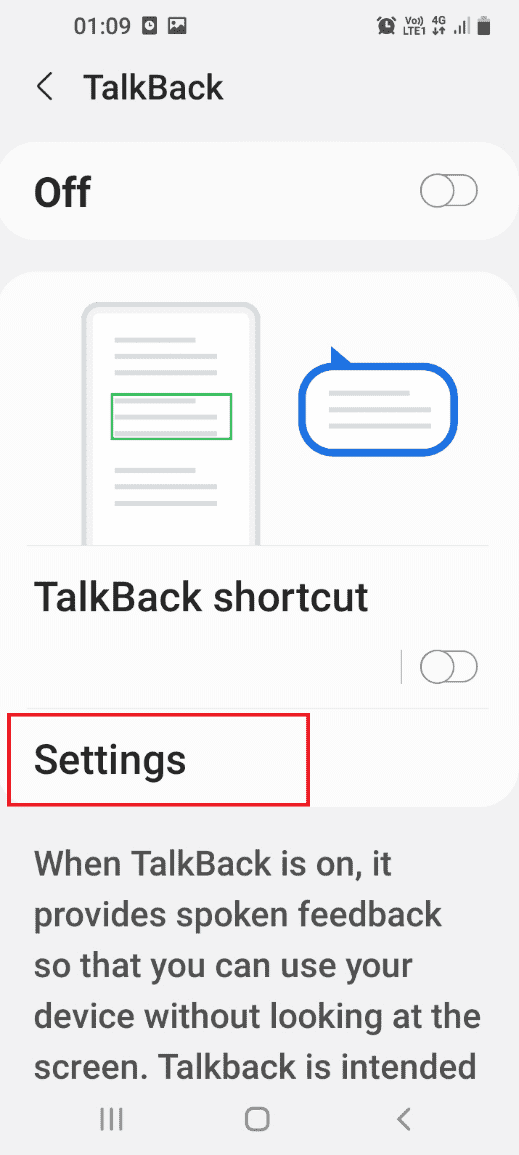
2。 あなたをタップする トークバック オプションを選択します。
3. 次に、 設定 オプションを選択します。
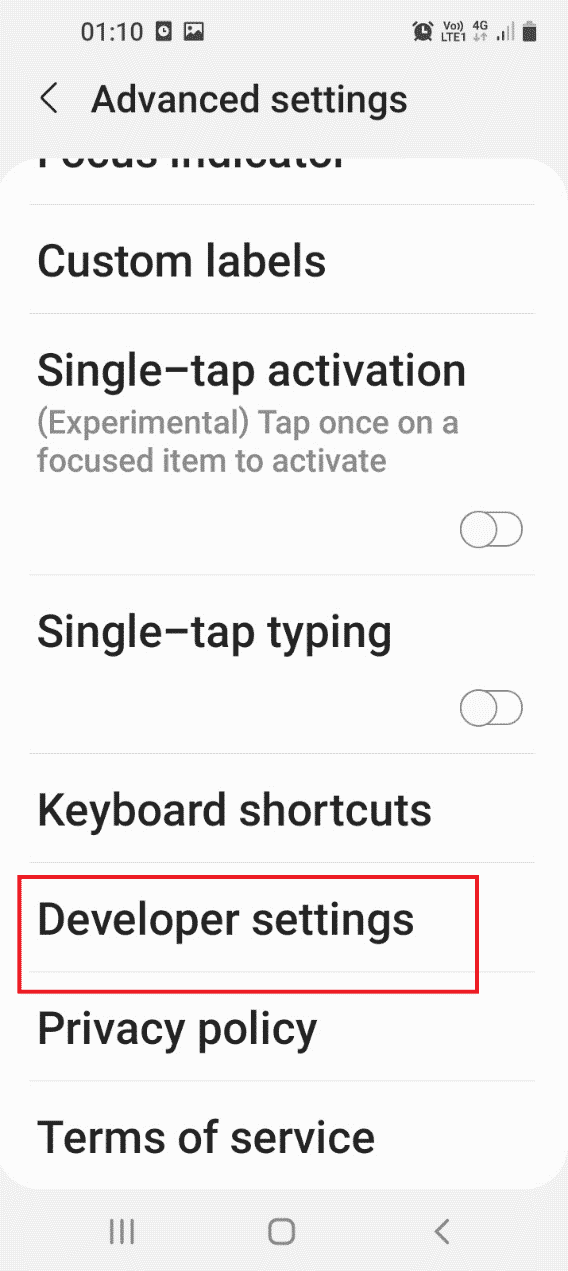
4. 次に、 詳細設定 オプションを選択します。

5。 あなたをタップする 開発者の設定 オプションを選択します。
6. をオンにします。 ノードツリーのデバッグを有効にする オプションを選択します。
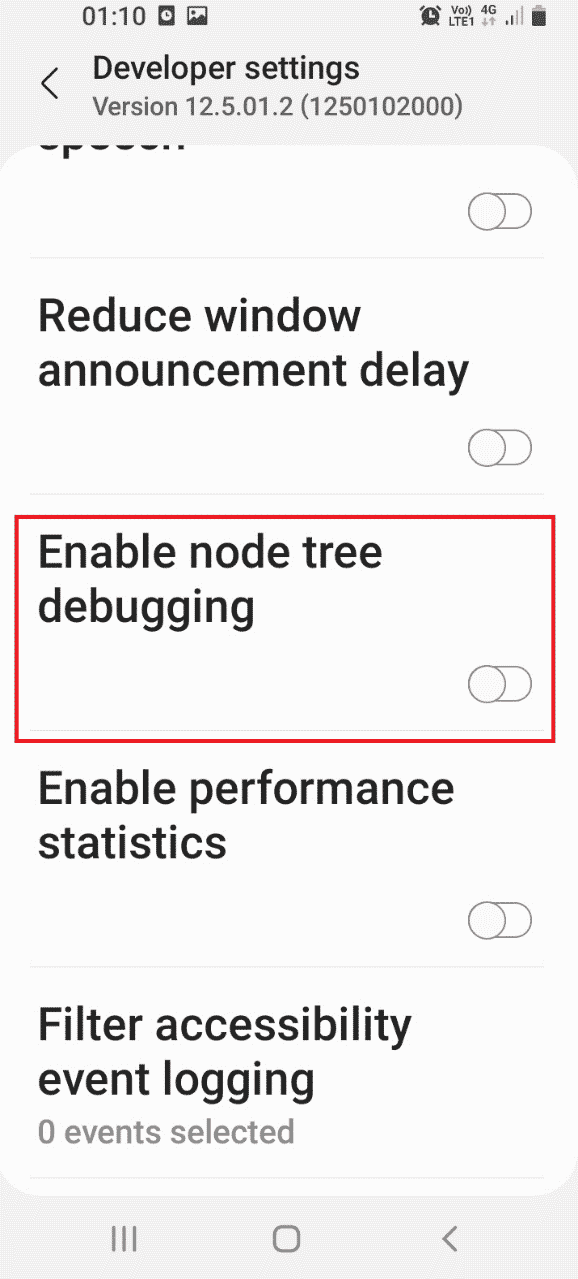
7。 の中に ノードツリーのデバッグを有効にしますか? confirmation window, tap on the OK オプションを選択します。
![[OK]ボタンをタップします](https://lbsite.org/wp-content/uploads/2023/01/tap-on-the-ok-button-2.png)
Step IV: Format Data Using Windows PowerShell
The last step to fix the unable to mount storage TWRP issue is to format the data on your phone using the Windows PowerShell app.
1.ヒット ウィンドウズキー、タイプ Windows PowerShellの、をクリックします 管理者として実行.

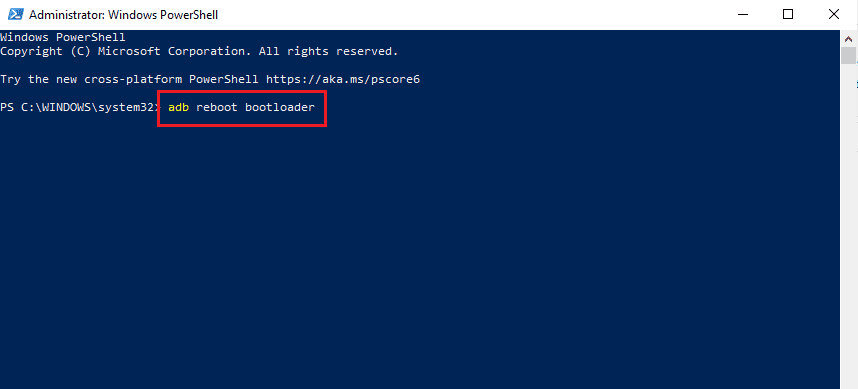
2. Type the given command を押して キーを入力してください to reboot your phone into TWRP モード。
adbリブートブートローダ
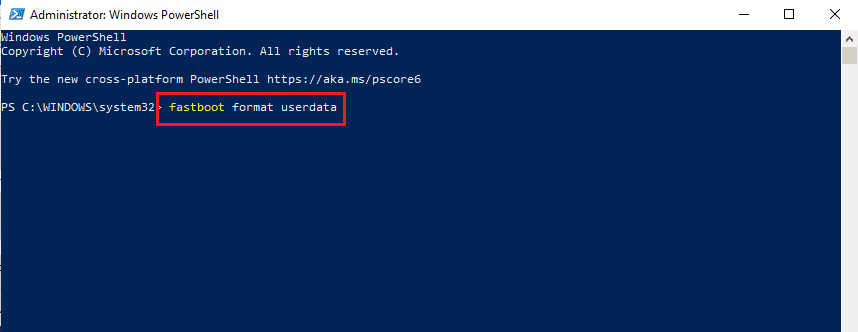
3. Then, type the following command とヒット キーを入力してください to format the user data on your phone.
fastboot形式のユーザーデータ
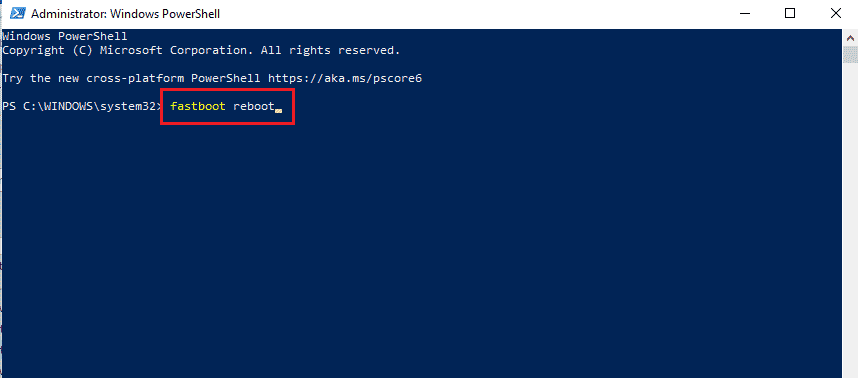
4.次のように入力します FASTBOOTの再起動 コマンドを押して キーを入力してください to reboot your phone in Fastboot mode.
また読む: Android でアプリを再表示する方法
Option II: Flash Recovery File
The second option to fix the issue is to flash the recovery file to your ADB folder on your Windows PC.
Step I: Rename Recovery File in adb Folder
As a first step, you have to rename the recovery file on the adb folder on your Windows PC to fix compatibility issues.
1. Enable ADB devices using your Windows PC.
2。 有効にする USBデバッグ & Node Tree Debugging options on your phone.
![[OK]ボタンをタップします](https://lbsite.org/wp-content/uploads/2023/01/tap-on-the-ok-button-3.png)
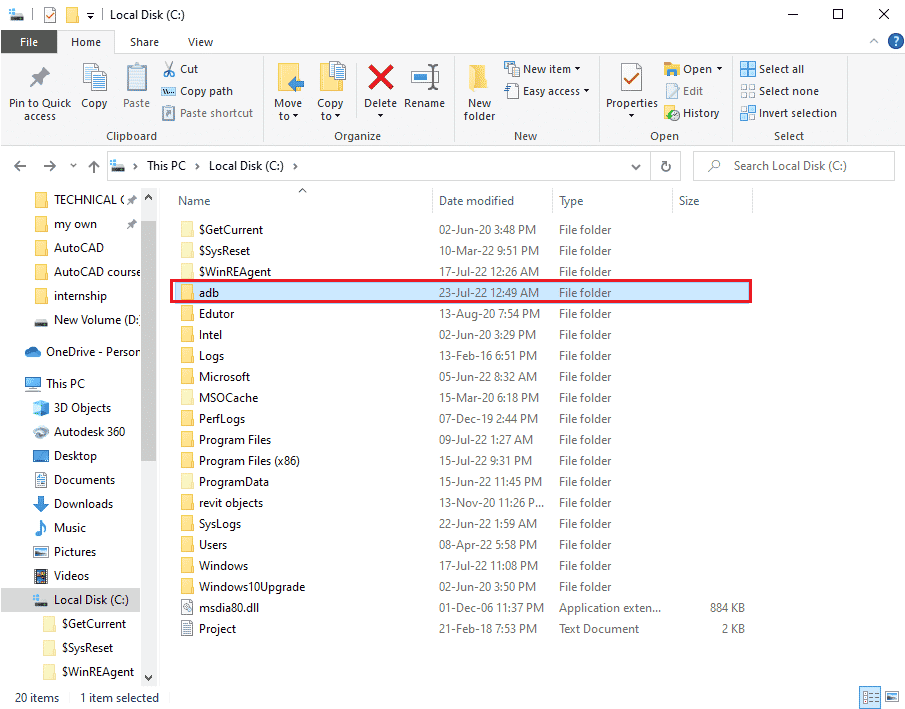
3。 オープン ファイルエクスプローラ Windowsの+ E キー simultaneously and navigate to the ADB folder using the location path as This PC > Local Disk (C:) > adb.
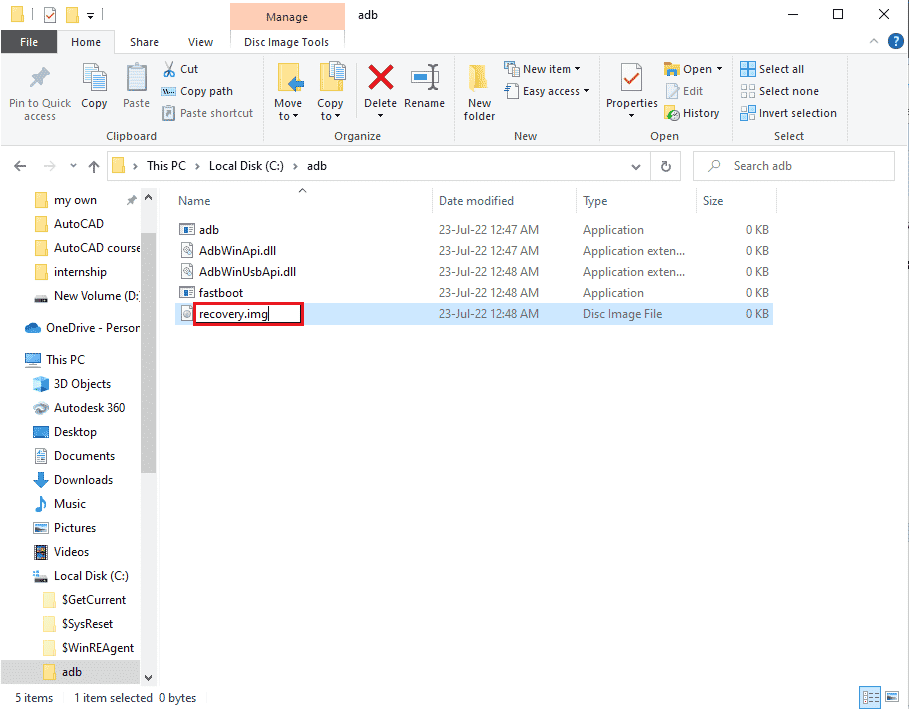
4. Right-click on the TWRP file and click on the リネーム オプションを選択します。
5。 タイプ recovery.img を押して キーを入力してください.
注: You have to copy the name of the recovery file on your phone and rename the file accordingly.
Step II: Flash Recovery File
The next step is to flash the recovery file on your phone using the Windows PowerShell app.
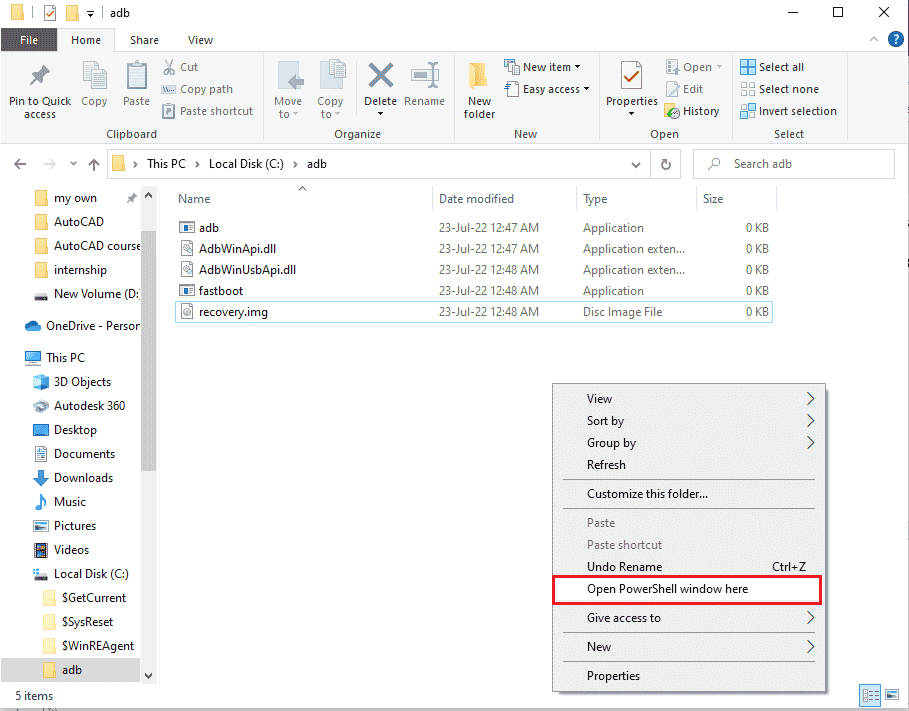
1。 プレス シフトキー, right-click on a space, and click on the Open Windows PowerShell window here オプションを選択します。
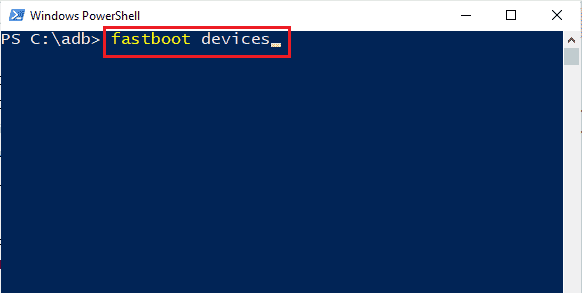
2. コマンドを入力します。 FASTBOOTデバイス とヒット キーを入力してください to check for adb devices in the fastboot mode.
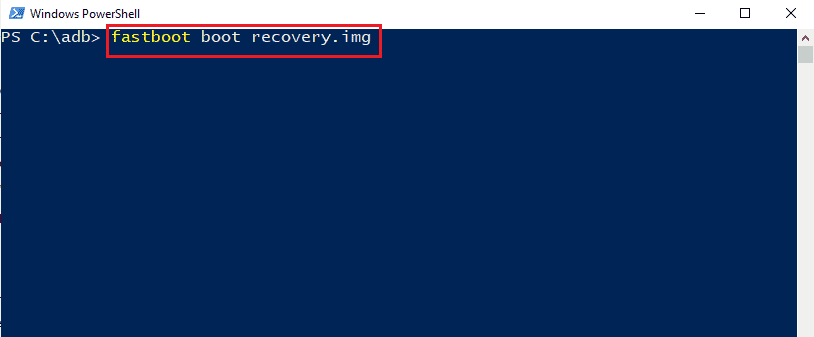
3. コマンドを入力します。 fastboot recovery.img を押して 入力します key to flash the recovery file on the fastboot mode on your phone.
推奨:
The methods to fix the issue of being unable to mount storage TWRP are discussed in the article. Please let us know your suggestions and queries on the topic in the comments below for us to heed your doubts.

