- in ウィンドウズ by
How to Add a Picture Password in Windows 10
Windows 10 has a lot of security features which are very useful for all users. Still, today we are talking about a particular feature which makes it easier for users to authenticate themselves while logging into their PC. With the introduction of Windows 10, you could now use password, PIN or picture password to log in to your computer. You could also set all three of them and then from the sign-in screen, and you could switch between any of these options to authenticate yourself. The only problem with these sign-in options is that they don’t work in Safe Mode and you have to only use the traditional password to login to your computer in safe mode.

But in this tutorial, we would be talking specifically about Picture Passwords and how to set it up in Windows 10. With picture password, you don’t need to remember the long password instead you sign in by drawing different shapes or making the right gesture over an image to unlock your PC. So without wasting any time let’s see How to Add a Picture Password in Windows 10 以下のガイドを参照してください。
How to Add a Picture Password in Windows 10
何か問題が発生した場合に備えて、必ず復元ポイントを作成してください。
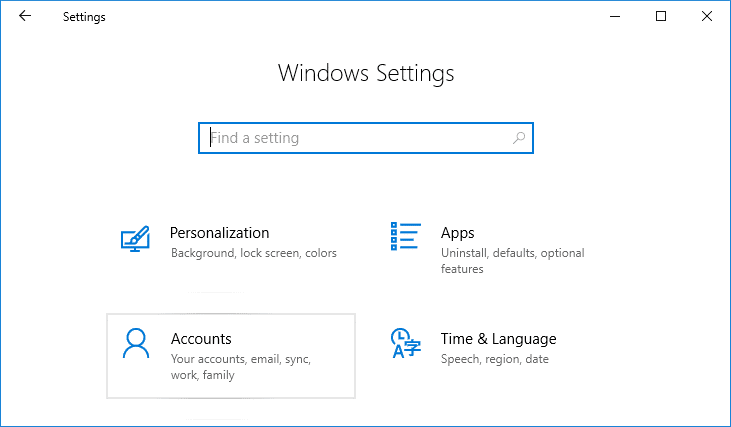
1. Windows キー + I を押して [設定] を開き、[設定] をクリックします。 アカウント。
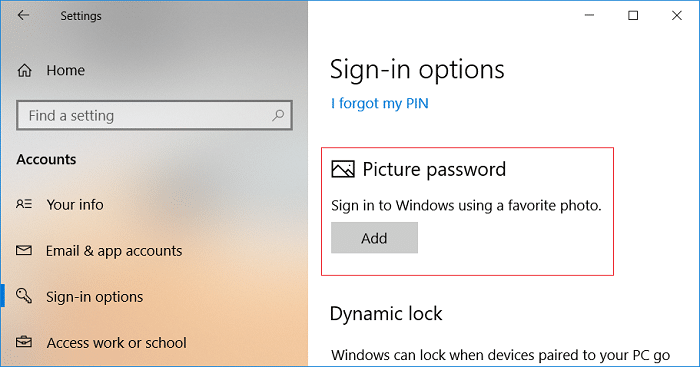
2. 左側のメニューから、 サインイン オプション。
3. 右側のウィンドウペインで「」をクリックします。Add" 下 Picture Password.
注: A local account must have a password to be able to add a picture password. A Microsoft account will be password protected by default.
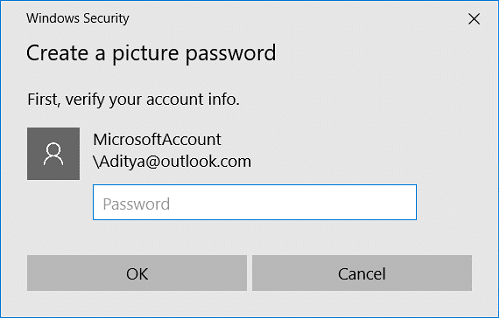
4. Windows will ask you to verify your identity, so Enter your account password and click OK.
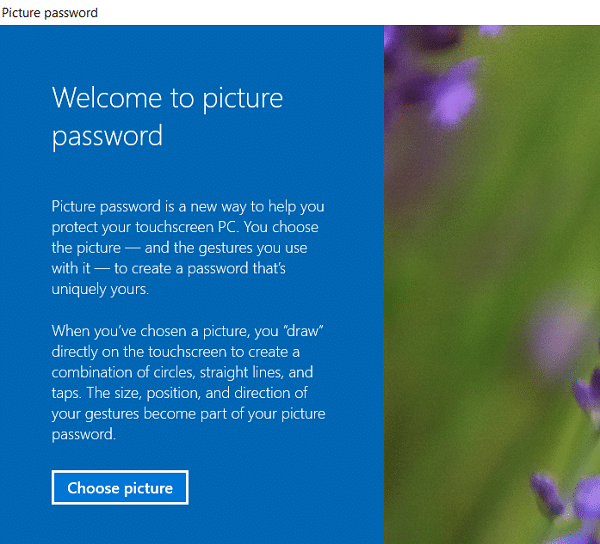
5. A new picture password window will open、 クリック "写真を選択"
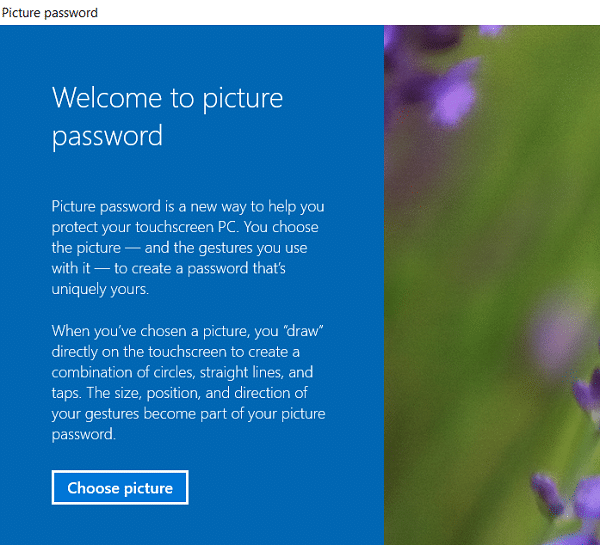
6。 次、 navigate to the picture’s location in Open dialog box then select the picture and click を開きます。
7. Adjust the image by dragging it to position it the way you want then click “この写真を使用してください"
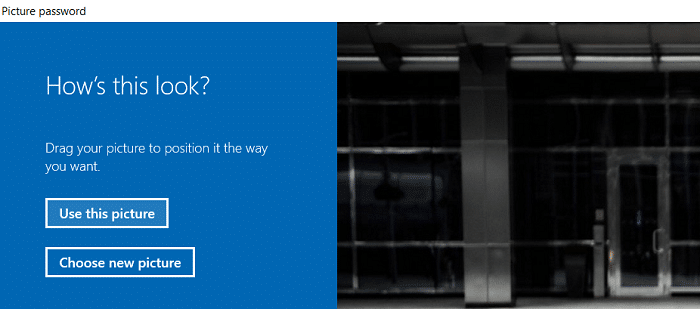
注: If you want to use a different picture, click on “Choose new picture” then repeat the steps from 5 to 7.
8. 次に、次のことを行う必要があります。 draw three gesture one by one on the picture. As you draw each gesture, you will see the numbers will move from 1 to 3.
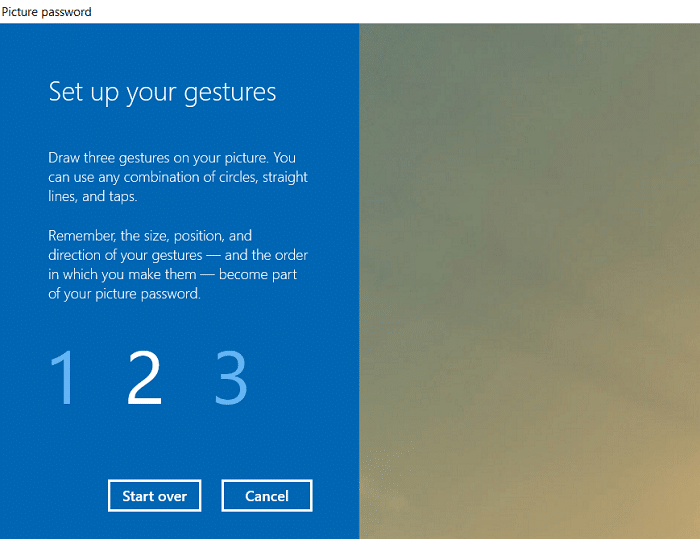
注: You can use any combination of circles, straight lines, and taps. You can click & drag to draw a circle or triangle or any shape you like.
9. Once you draw all the three gestures, you will be asked to draw them all again to confirm your password.
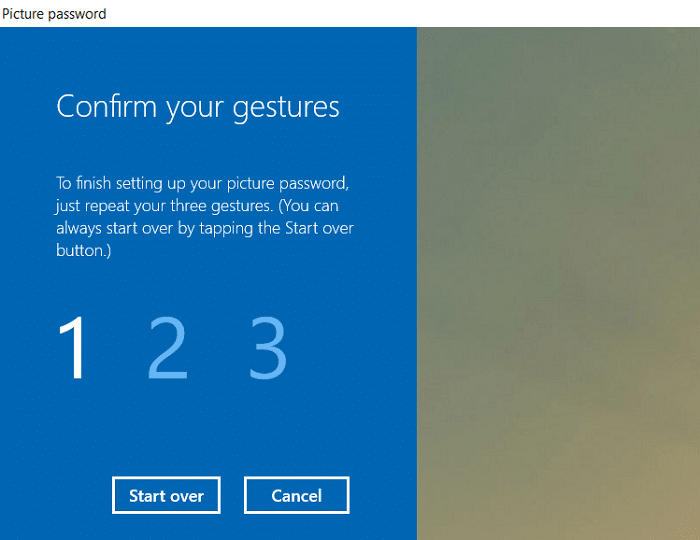
10. If you mess up your gestures, you could click on “最初からやり直します” to start the process again. You would need to draw all the gestures from the beginning.
11。 最後に、 after adding all the gestures click Finish.
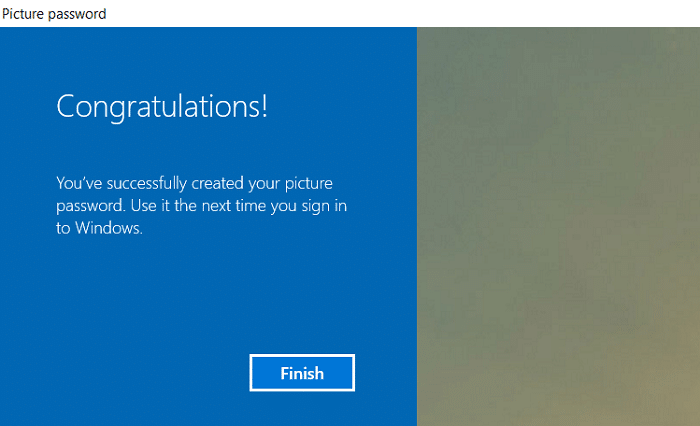
12. That’s it, your picture password has now been added as a sign-in option.
How to Change Picture Password in Windows 10
1. Windows キー + I を押して [設定] を開き、[設定] をクリックします。 アカウント。
2. 左側のメニューから、 サインイン オプション。
3. 右側のウィンドウペインで「」をクリックします。変更するボタンの下にある Picture Password.
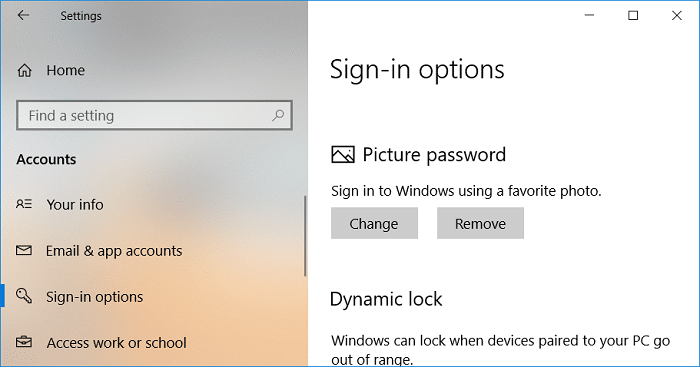
4. Windows will ask you to verify your identity, so アカウントのパスワードを入力してください [OK]をクリックします。
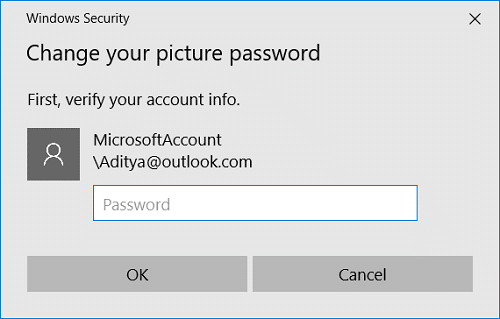
5。 今 XNUMXつの選択肢があります, either you could change the gestures of your current picture, or you could use a new picture.
6. To use the current picture, click on “この写真を使用してください” and if you want to use a new image, click “新しい写真を選択してください"
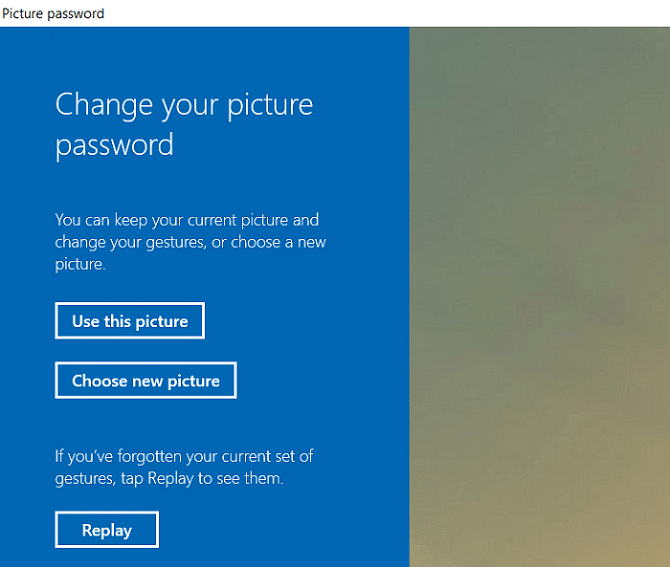
注: If you click “Use this picture” then skip the steps 7 and 8.
7. Navigate to and select the picture file you want to use then click を開きます。
8. Adjust the image by dragging it to position it the way you want then click “この写真を使用してください"

9. 次に、次のことを行う必要があります。 draw three gesture one by one on the picture.

注: You can use any combination of circles, straight lines, and taps. You can click & drag to draw a circle or triangle or any shape you like.
10. Once you draw all the three gestures, you will be asked to draw them all again to confirm your password.

11. Finally, after adding all the gestures click フィニッシュ。
12. PC を再起動して変更を保存します。
How to Remove a Picture Password in Windows 10
1. Windows キー + I を押して [設定] を開き、[設定] をクリックします。 アカウント。
2. 左側のメニューから、 サインイン オプション。
3. 右側のウィンドウペインで「」をクリックします。削除しますボタンの下にある Picture Password.

4. That’s it, your picture password has now been removed as a sign-in option.
5. すべてを閉じて PC を再起動し、変更を保存します。
推奨:
それはあなたがうまく学んだことです How to Add a Picture Password in Windows 10 ただし、このチュートリアルに関してまだ質問がある場合は、コメントのセクションで遠慮なく質問してください。