Bypass ADB Device
Android Debug Bridge (ADB) is a handy tool that lets a user control their android device from a computer or laptop. It provides features such as installing apps through the computer and also lets us debug apps. By default, ADB functionality is disabled on Android phones.
They need to be turned on manually from the Android phone by the User. Android Users report errors in ADB and face issues like ADB device unauthorized messages. If you are searching the internet for an article to explain how to solve this particular problem and/or if you are wondering if is there a way for ADB device unauthorized bypass, then keep reading, Here I will show you the methods and fixes to bypass ADB unauthorized errors and ADBlink device unauthorized. Let’s get started!
Let us see some of the causes of this issue before we move on to the methods to fix the issue
- Faulty USB connection
- RSA fingerprint prompt not appearing
- Incorrect ADB Connection
- USB drivers issue
- ADB drivers issue
注: Since smartphones do not have the same settings and may vary from device to device hence, ensure the correct settings before changing any. The following methods were tried on Moto g(8) Power lite Android 10 (株式)
関連項目:
Androidデバイスで現在ダウンロードできない問題を修正する12の方法
8 Ways to Fix Android Text Messages Stuck Downloading Error
How to Install Apple Mobile Device Support on Windows 10
How to Install APK Using ADB Commands
Method 1: Change USB Connection
Android Users reported they could not receive proper prompts when performing ADB activities, if the USB is interrupted in middle then there is a chance for an ADB device unauthorized message to occur, this could be due to a possible fault in the USB connection (in USB hub or USB cable). Try changing the USB cable and the USB hub to see if that solves your issue.
方法 2: USB ドライバーを更新する
When you have connected your mobile with the PC, chances are that it wasn’t recognized by the PC due to faulty USB drivers. Thus, updating USB drivers might be helpful in this scenario.
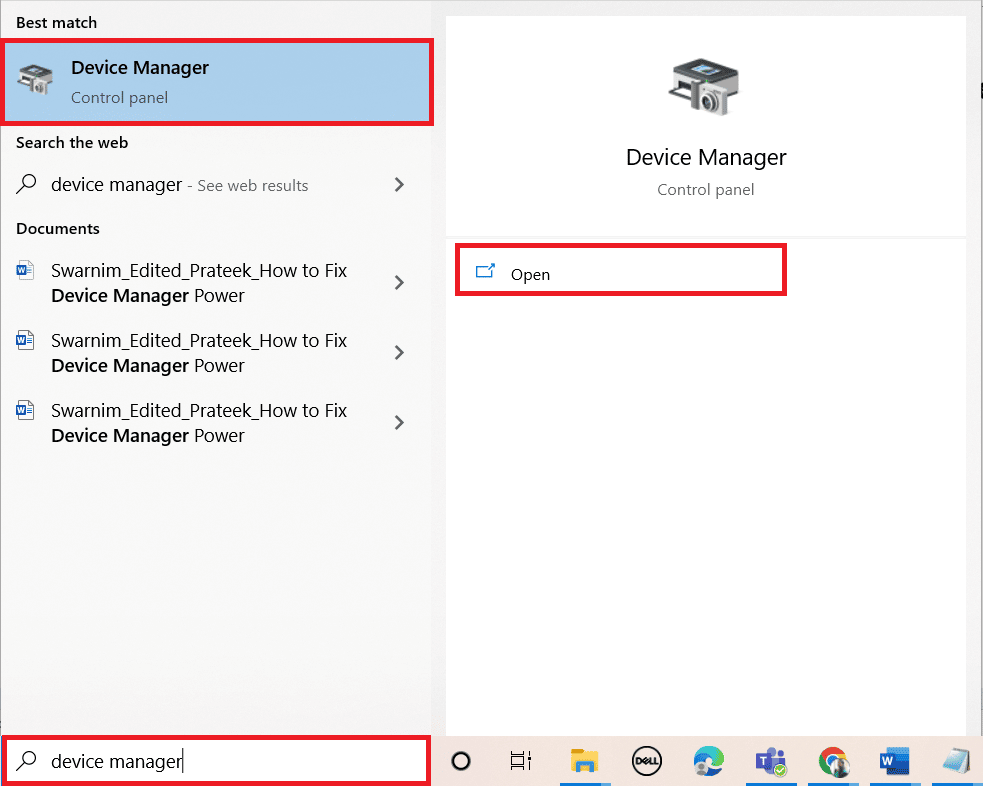
1.ヒット ウィンドウズキー、タイプ デバイスマネージャ、次にクリックしてください Open.
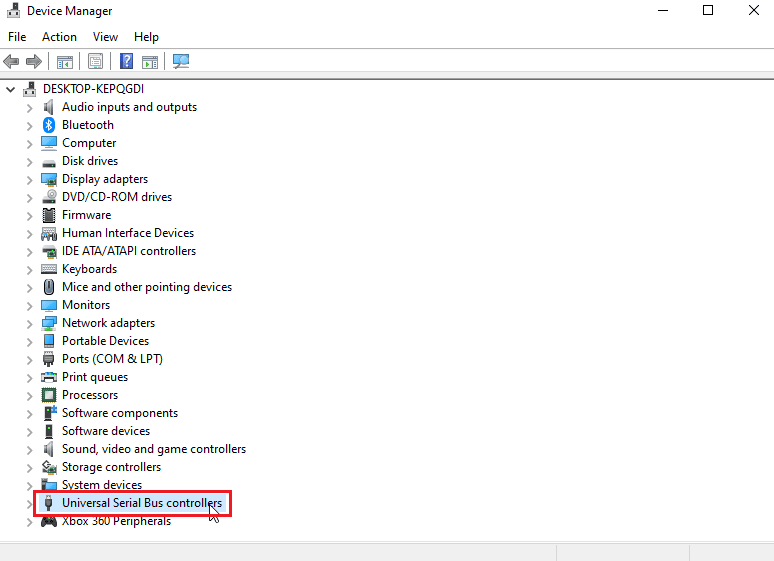
2.をダブルクリックします ユニバーサルシリアルバスコントローラ.
3. Right-click on your USB driver and select the ドライバの更新 オプションを選択します。
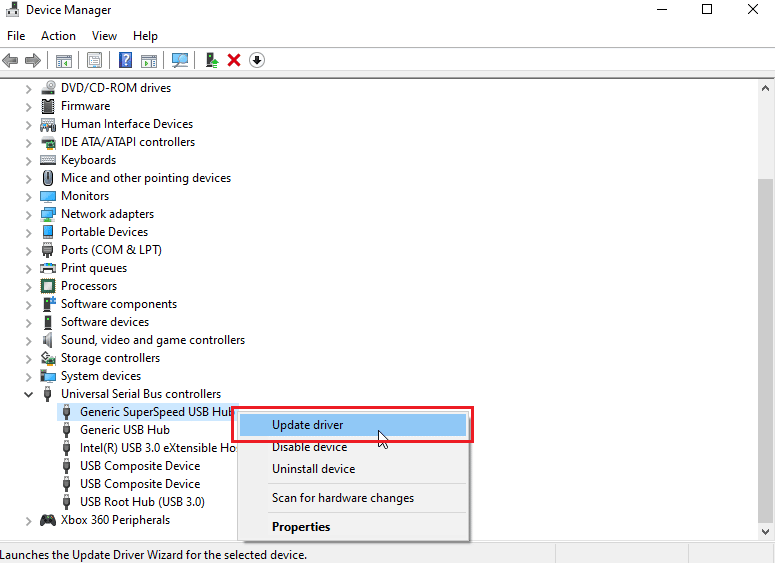
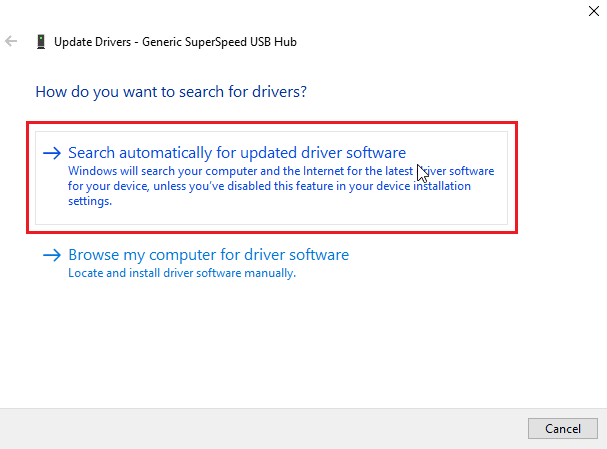
4。 今すぐクリックして Search automatically for Updated driver software to let Windows install the drivers automatically.
5. Repeat the above steps for all USBドライバ 下 ユニバーサル シリアル バス コントローラー
また読む: Windows 10 に ADB (Android Debug Bridge) をインストールする方法
Method 3: Android SDK
Make sure you have downloaded and extracted the Android SDK to avoid an ADB device unauthorized message. Following are the steps to download Android SDK to bypass ADB device unauthorized message.
1。 に行く AndroidのSDK ダウンロードのページ.
2.下にスクロールして、をクリックします SDK platform tools for Windows

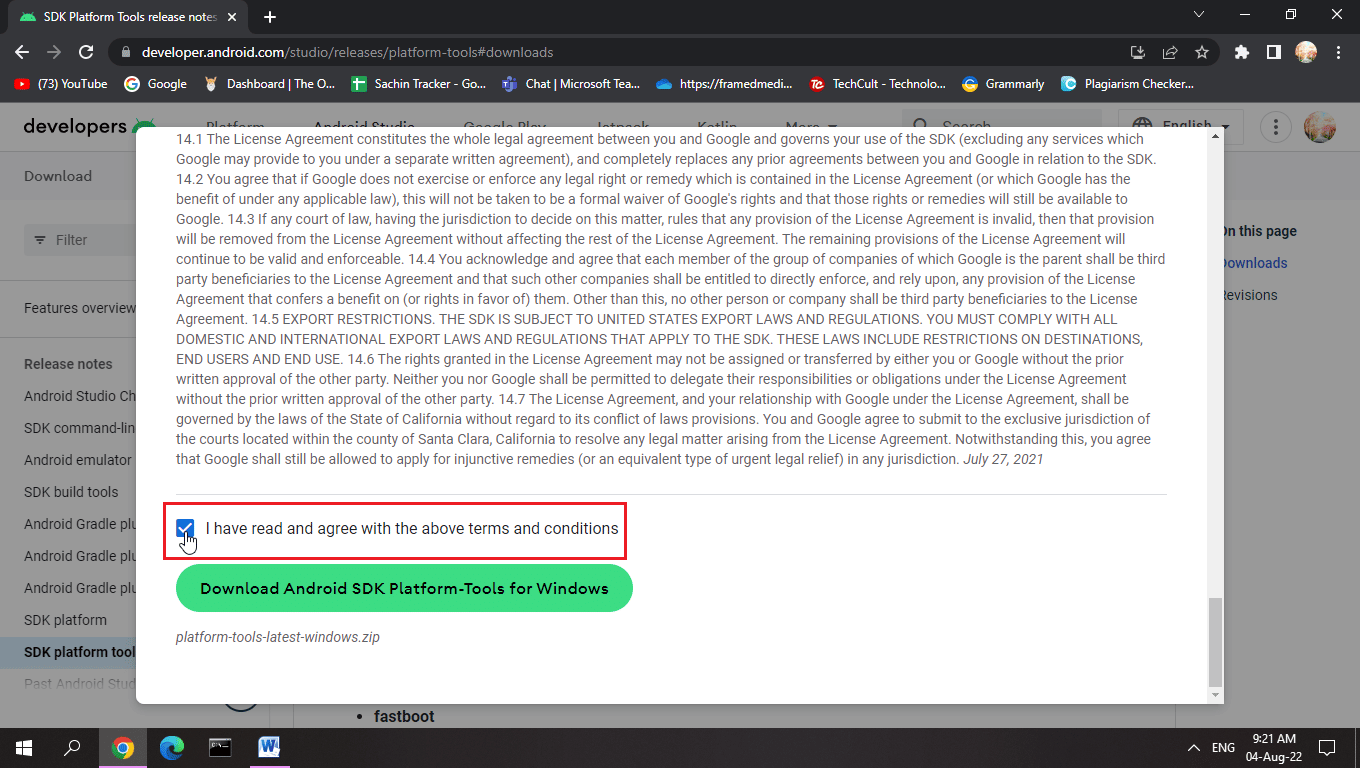
3.を読んでください 利用規約, scroll down and check 上記の利用規約を読み、同意します オプションを選択します。
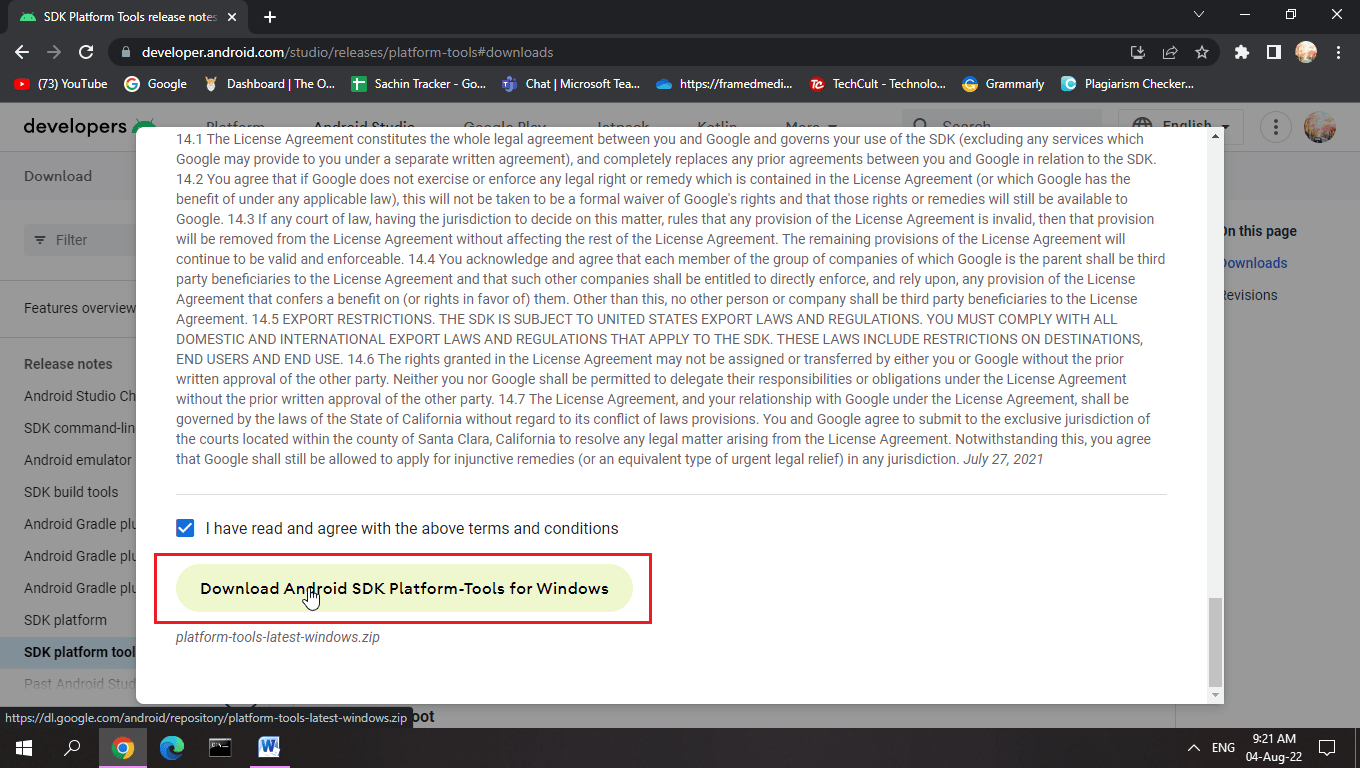
4。 クリック Android SDK プラットフォーム - Windows 用ツールをダウンロード. The Android SDK will be downloaded.
5. Navigate to the download folder and extract the Android SDK files.
With this SDK, you will have all the required ADB files.
Method 4: Enable USB Debugging
USB Debugging allows an Android device to be controlled by a computer through a USB connection, this function allows applications to be installed from a computer and a couple of other functions too. To make sure if you have enabled USB debugging. Here are the steps to enable USB debugging to bypass ADB device unauthorized message.
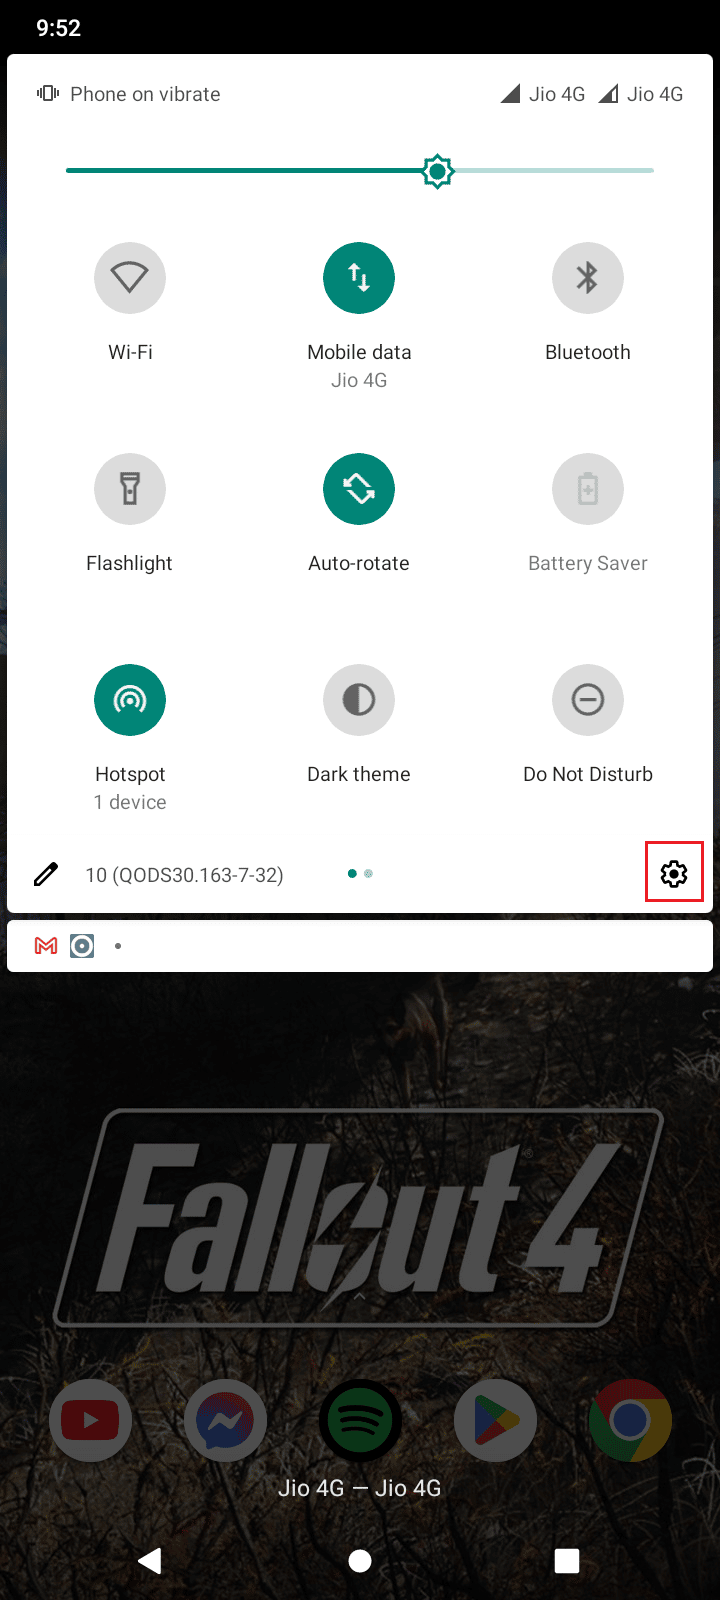
1. 下にスワイプ 通知バー 自分で ホーム画面.
2。 タップ コグアイコン 開く 設定.
3.次に、をタップします エントルピー 設定。

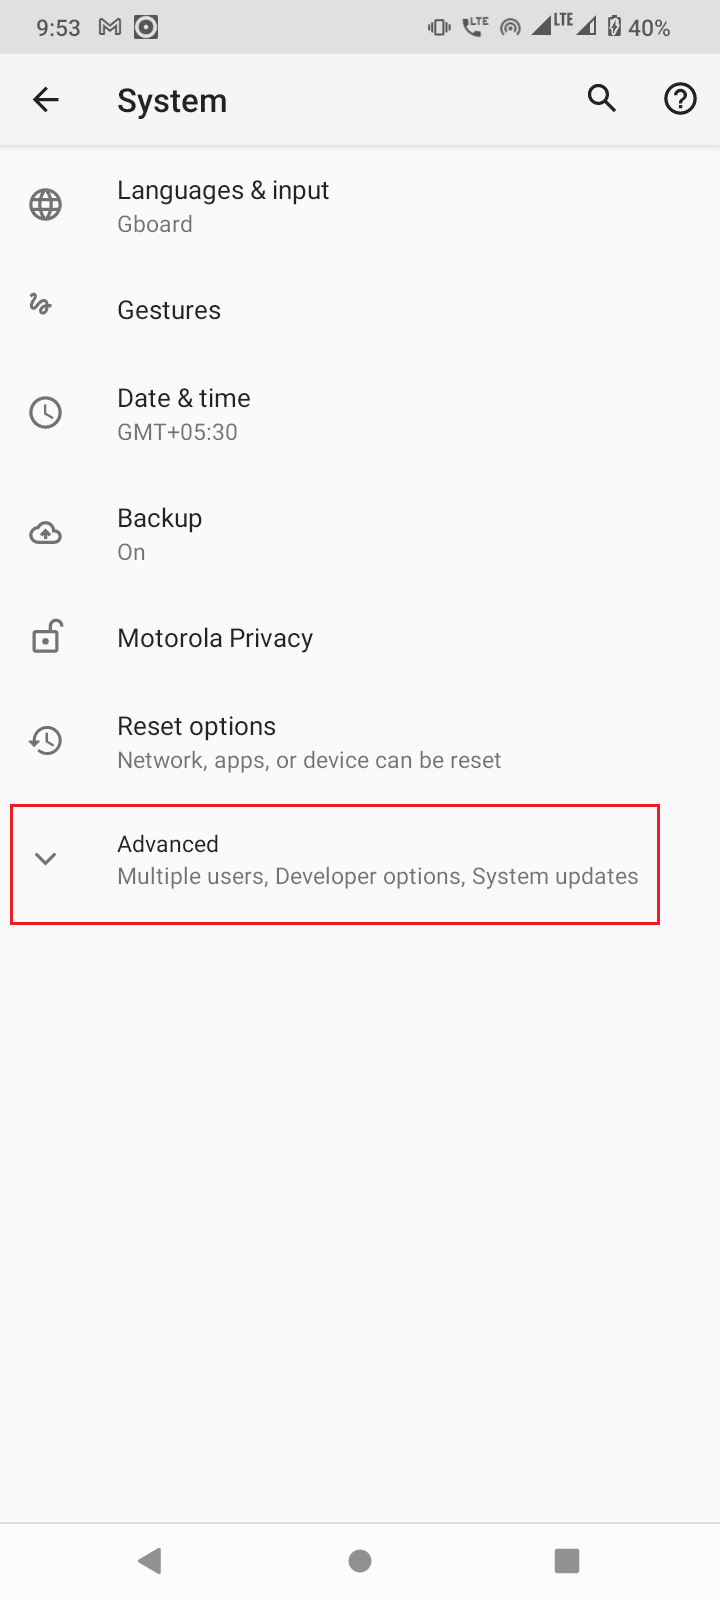
4。 選択します 高機能 オプションを選択します。

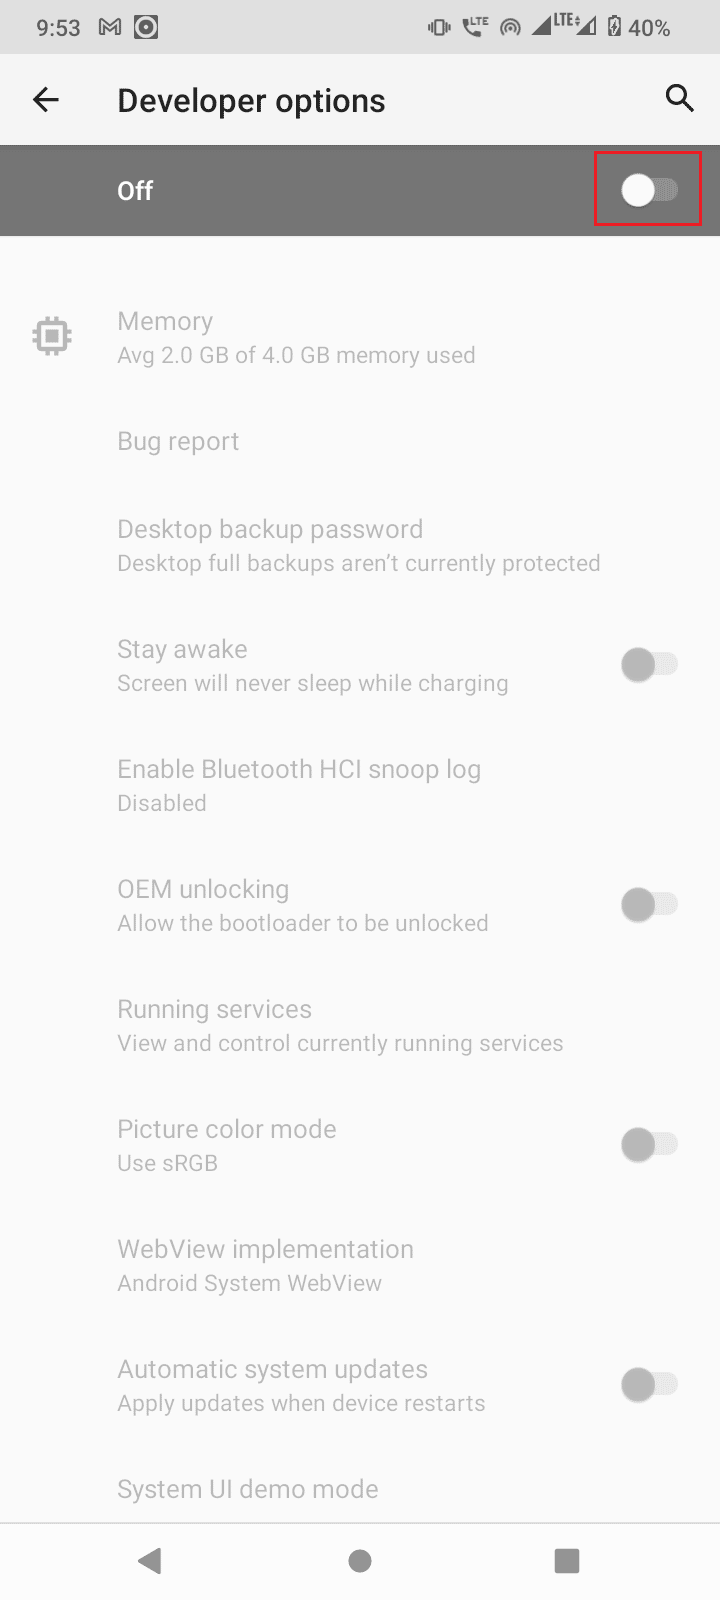
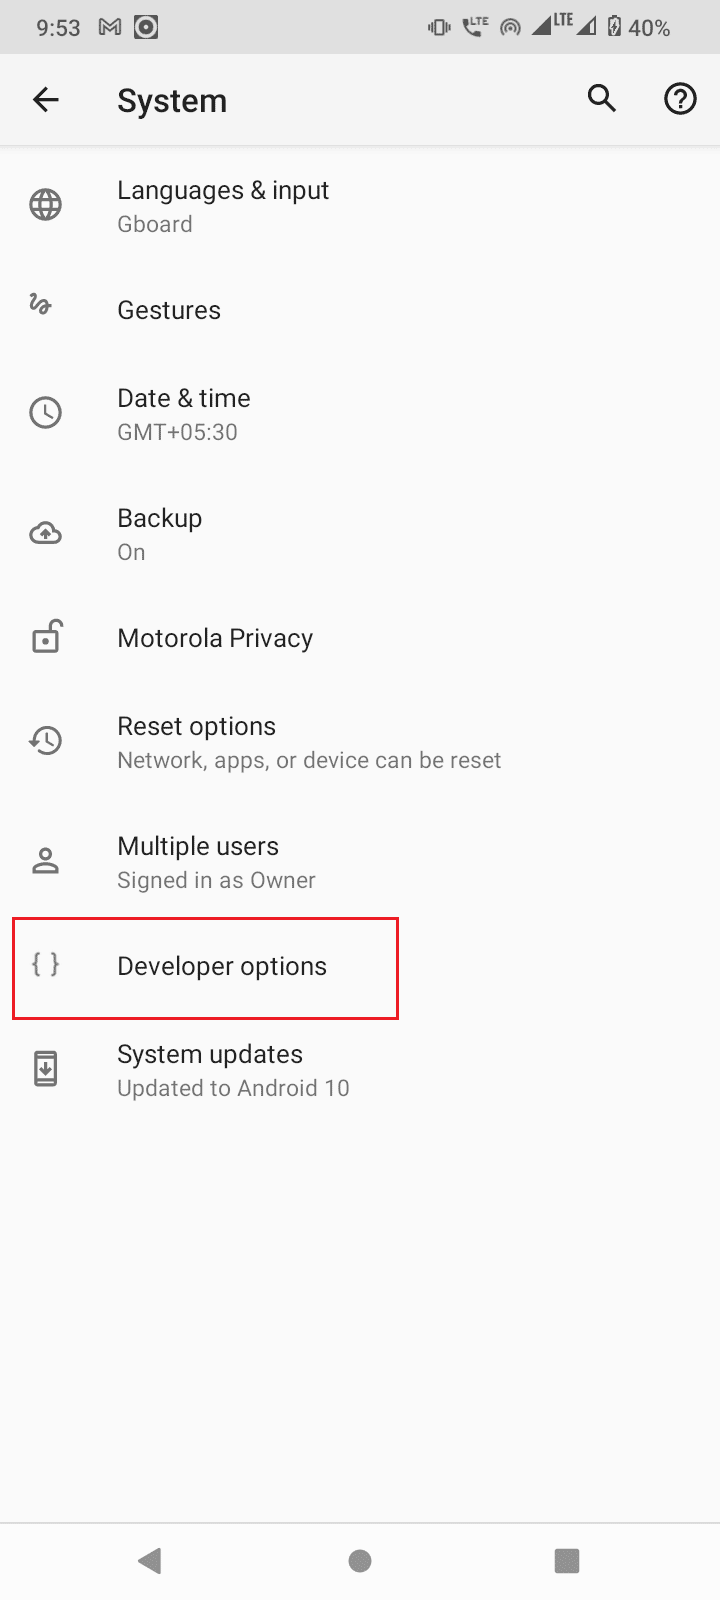
5.次に、をタップします 開発者オプション.

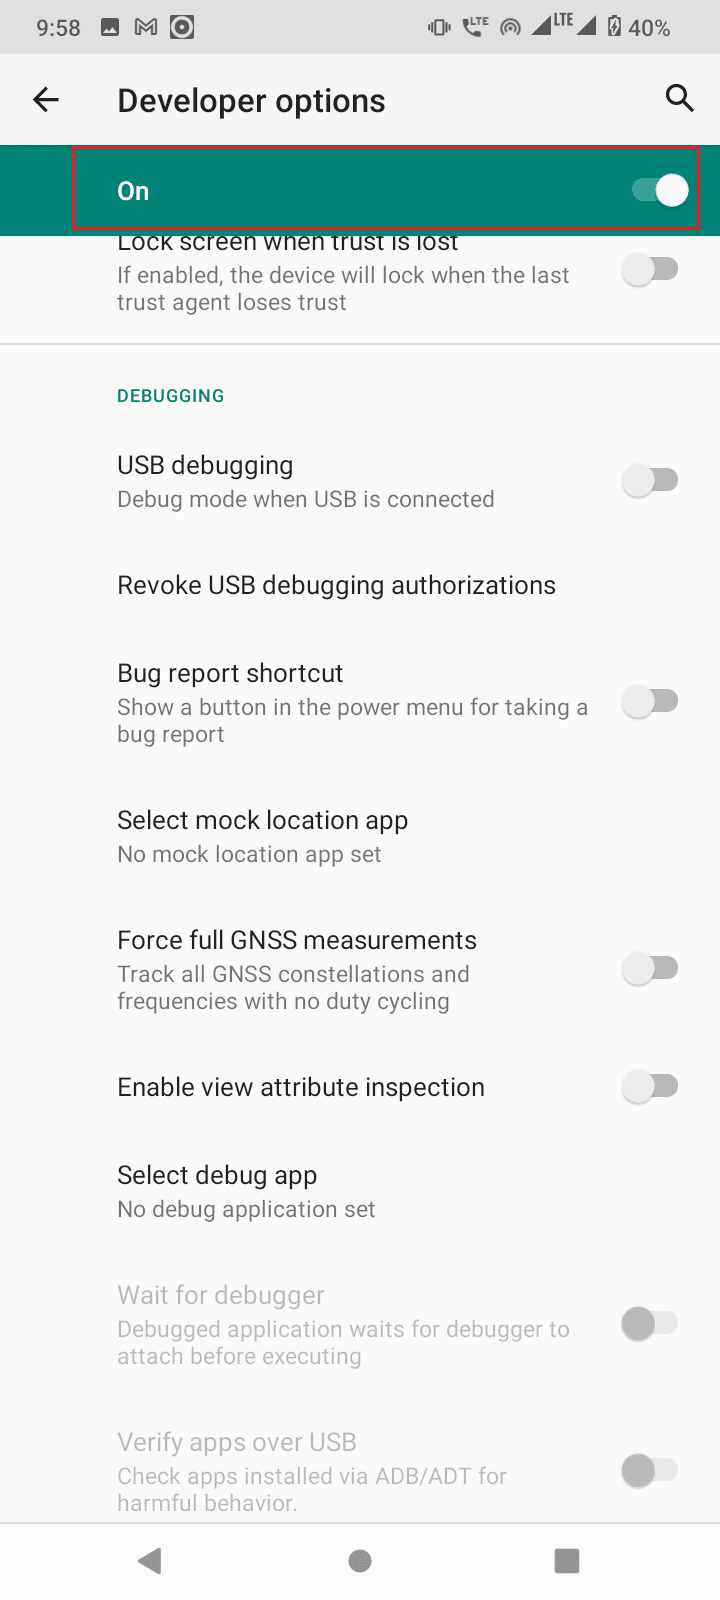
6。 スイッチ On のトグル 開発者オプション.
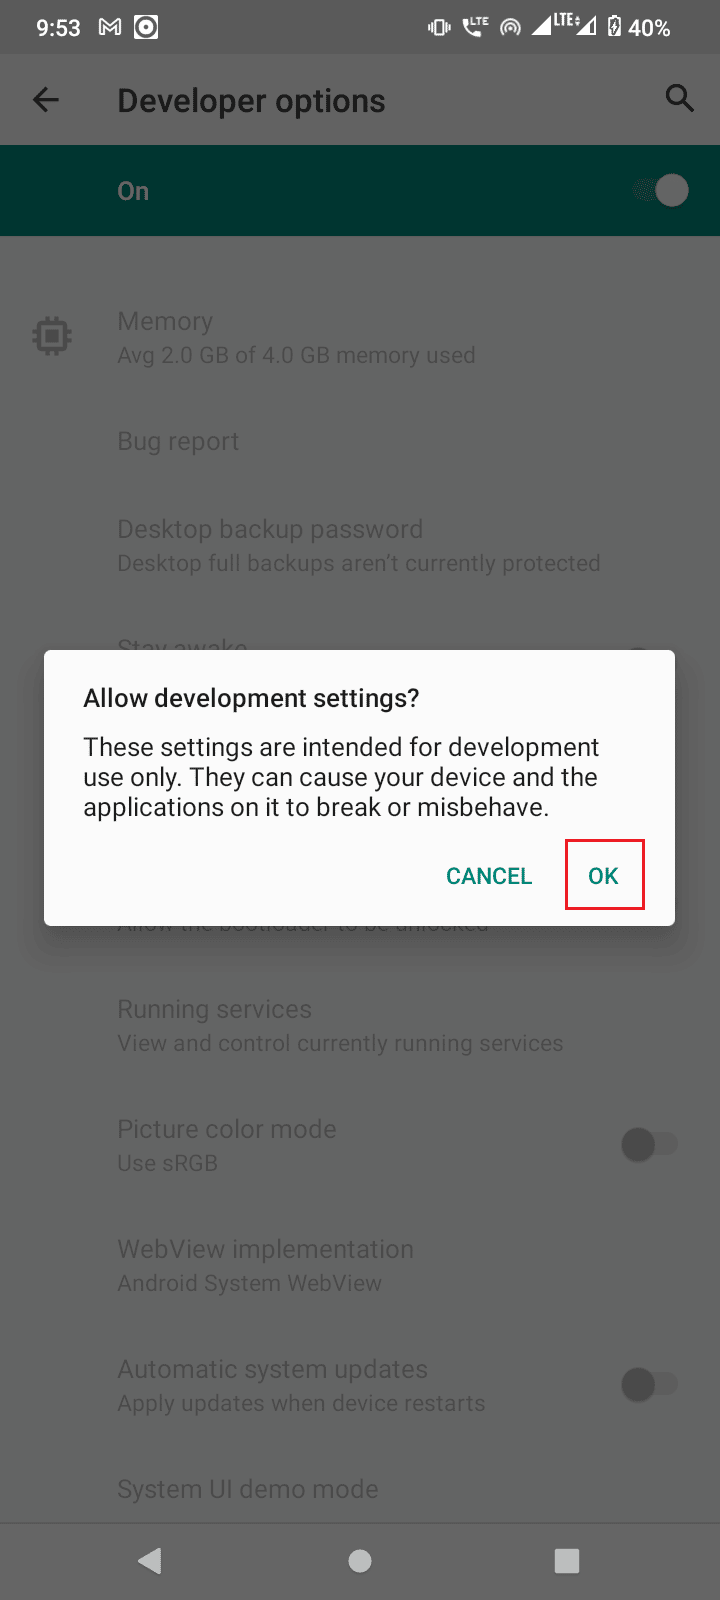
7。 タップする OK 〜へ Allow development settings?
また読む: Android 6.0でUSB設定を変更する方法
In case you cannot see the 開発者オプション then you might not have enabled it, to enable developer options,
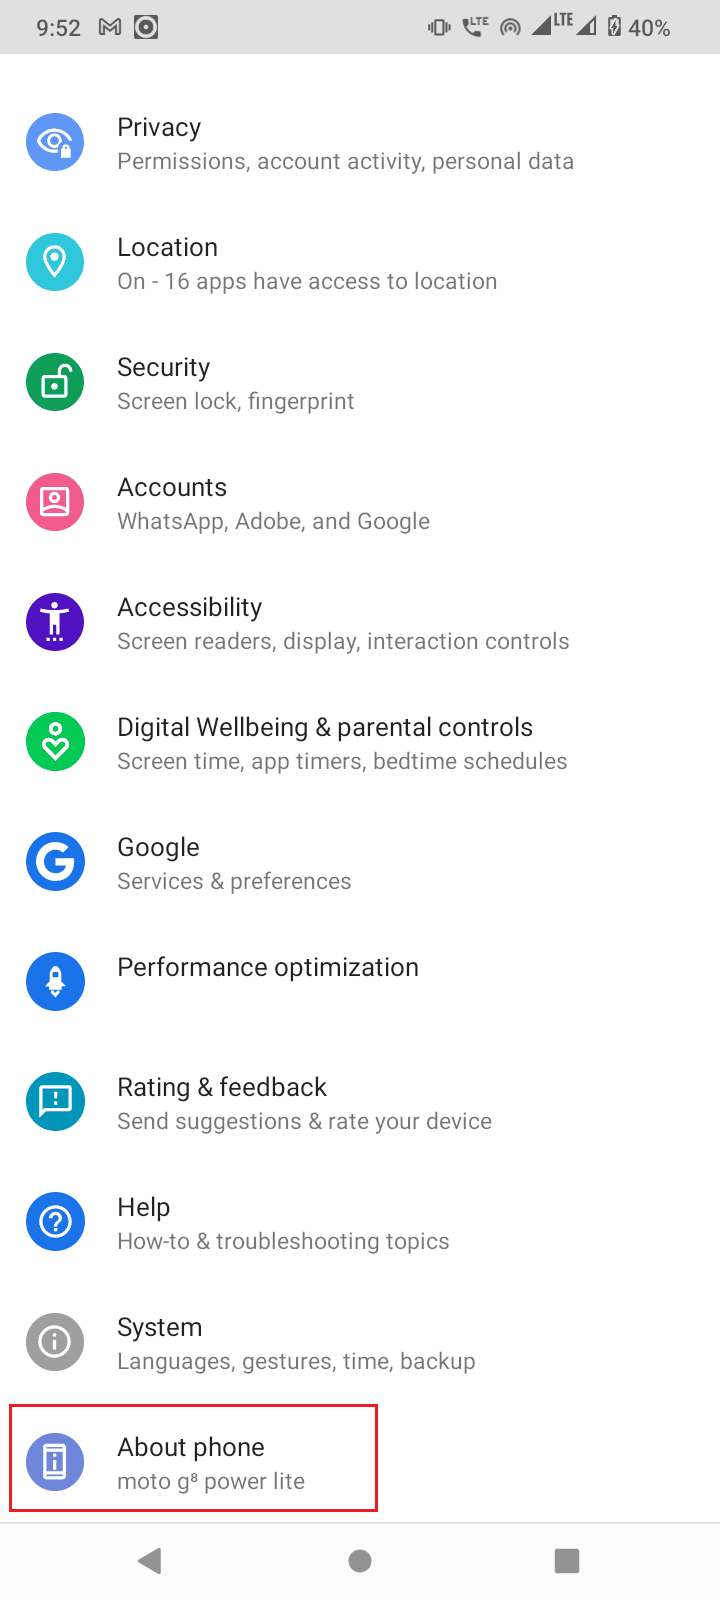
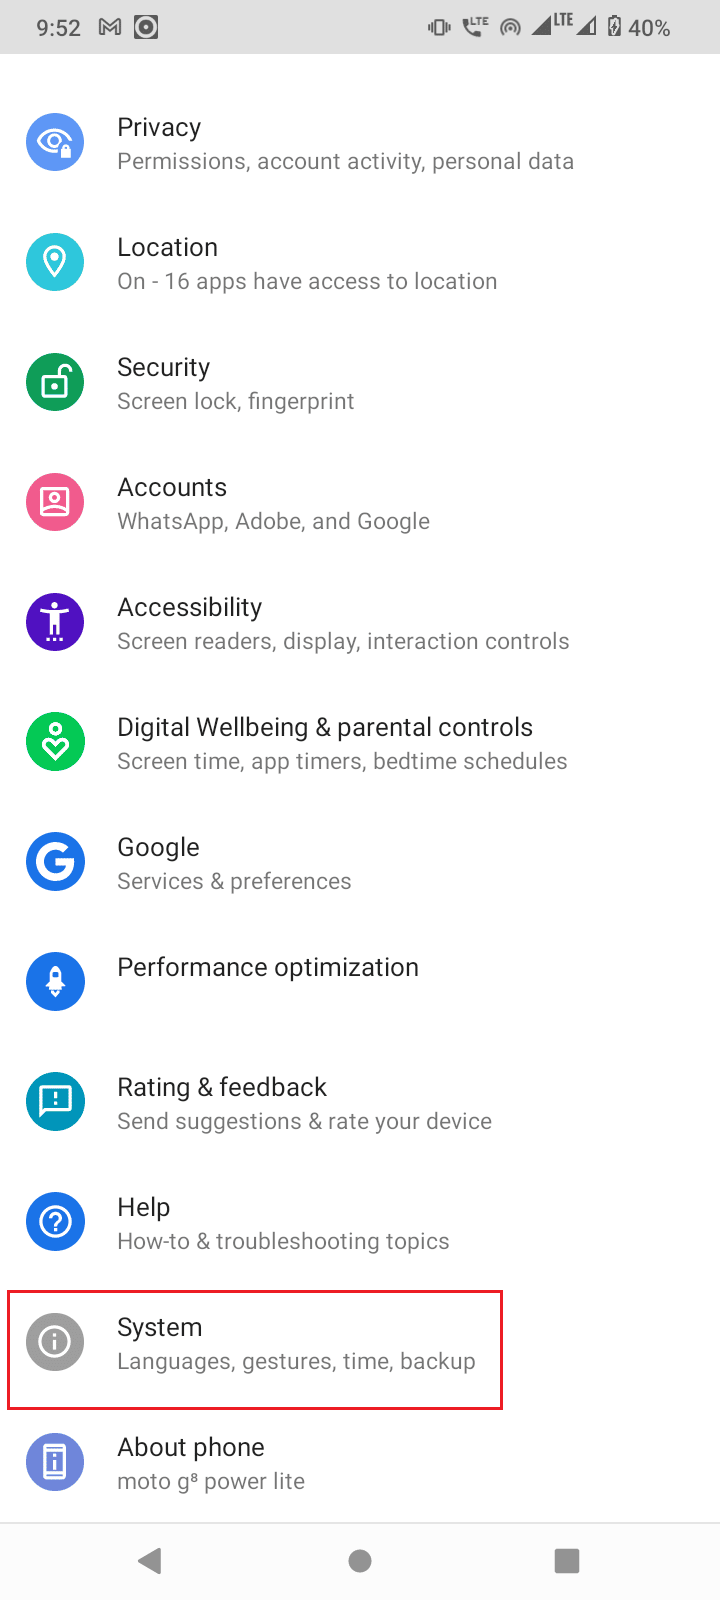
1. Launch your device 設定.

2.次に、をタップします 携帯電話について オプションを選択します。
3。 をタップ ビルド番号 5-7 times to activate 開発者モード.
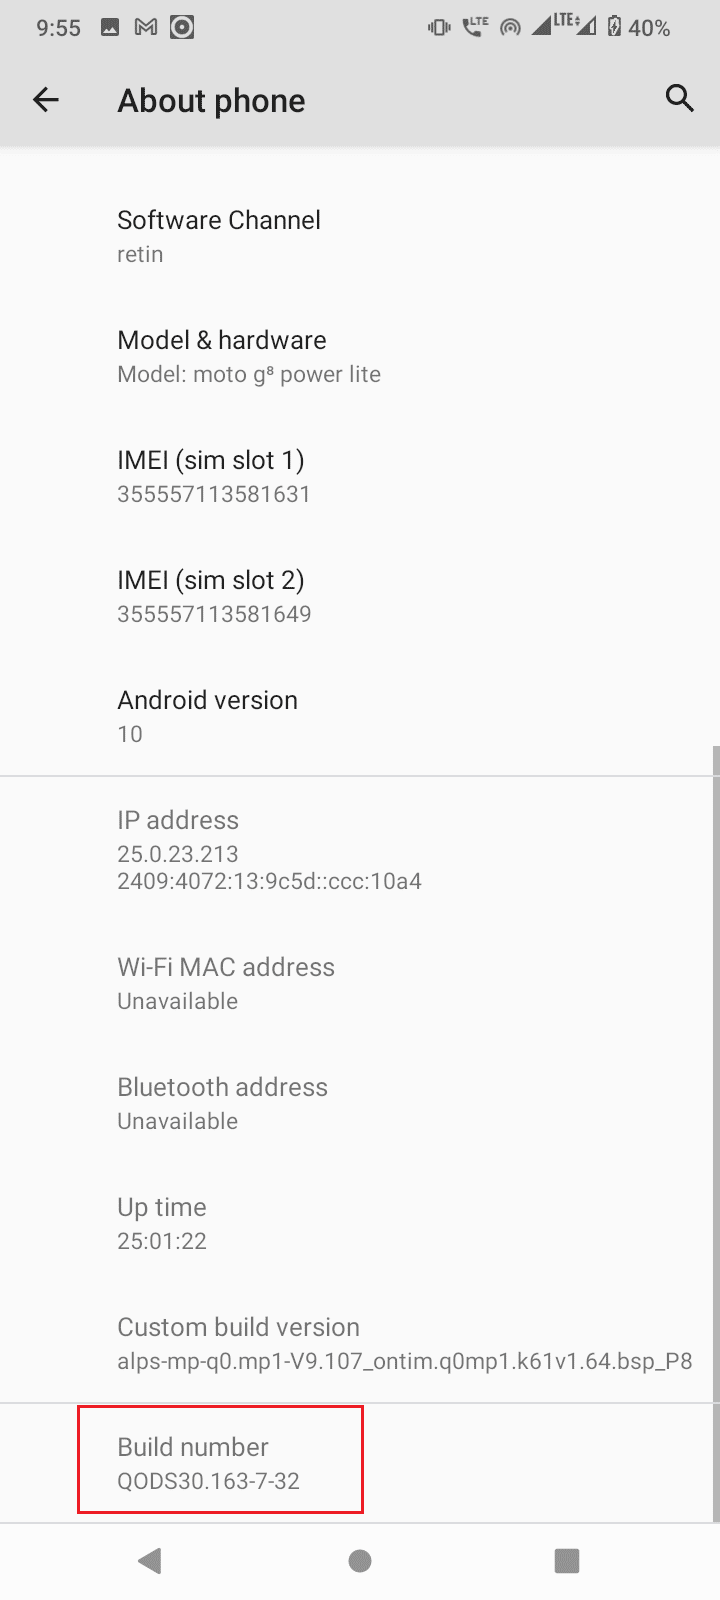
4. A prompt mentioning あなたは今開発者です メッセージが表示されます。
If your developer mode is visible then no need to follow the above step.
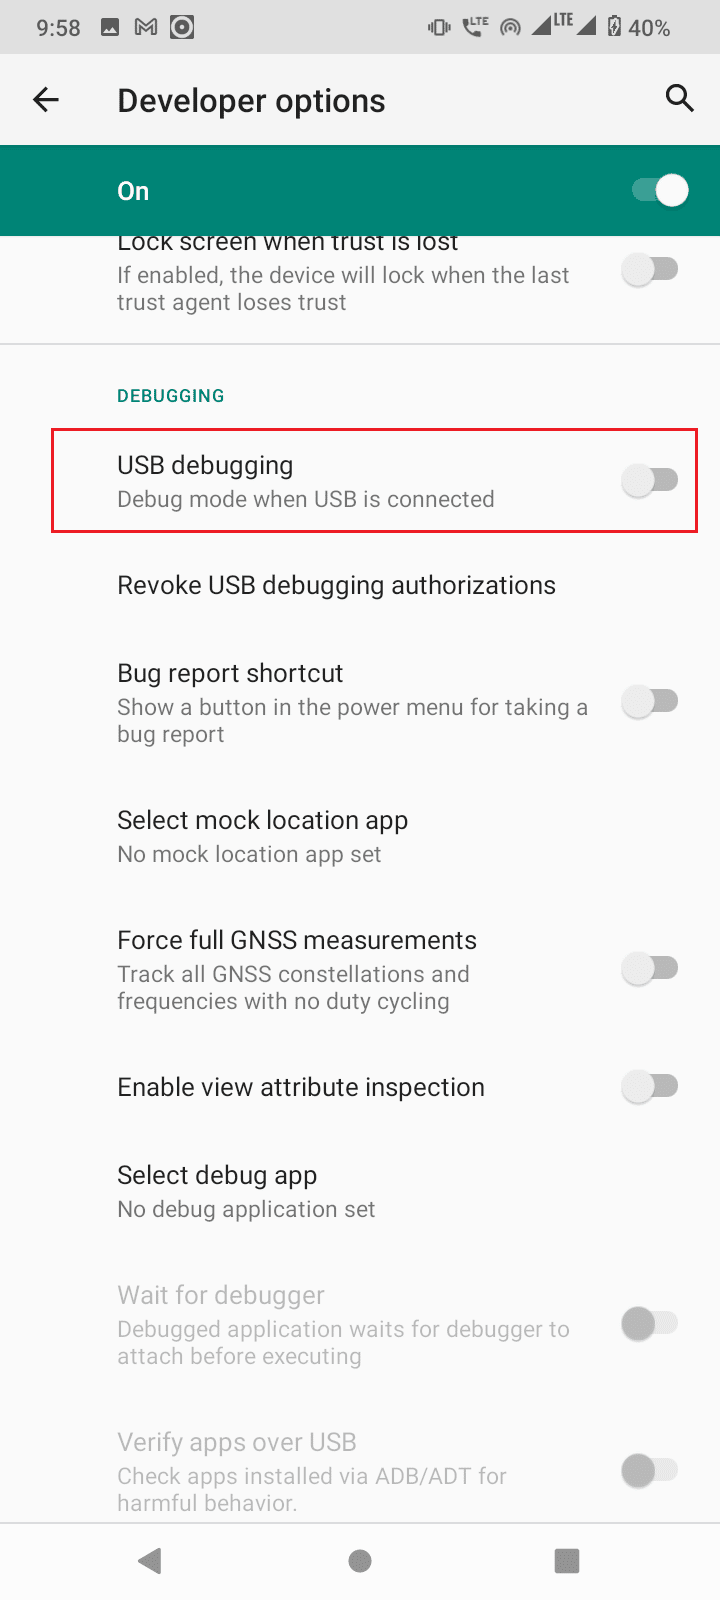
1。 で 開発者オプション, scroll down and switch On the toggle for USBデバッグ.
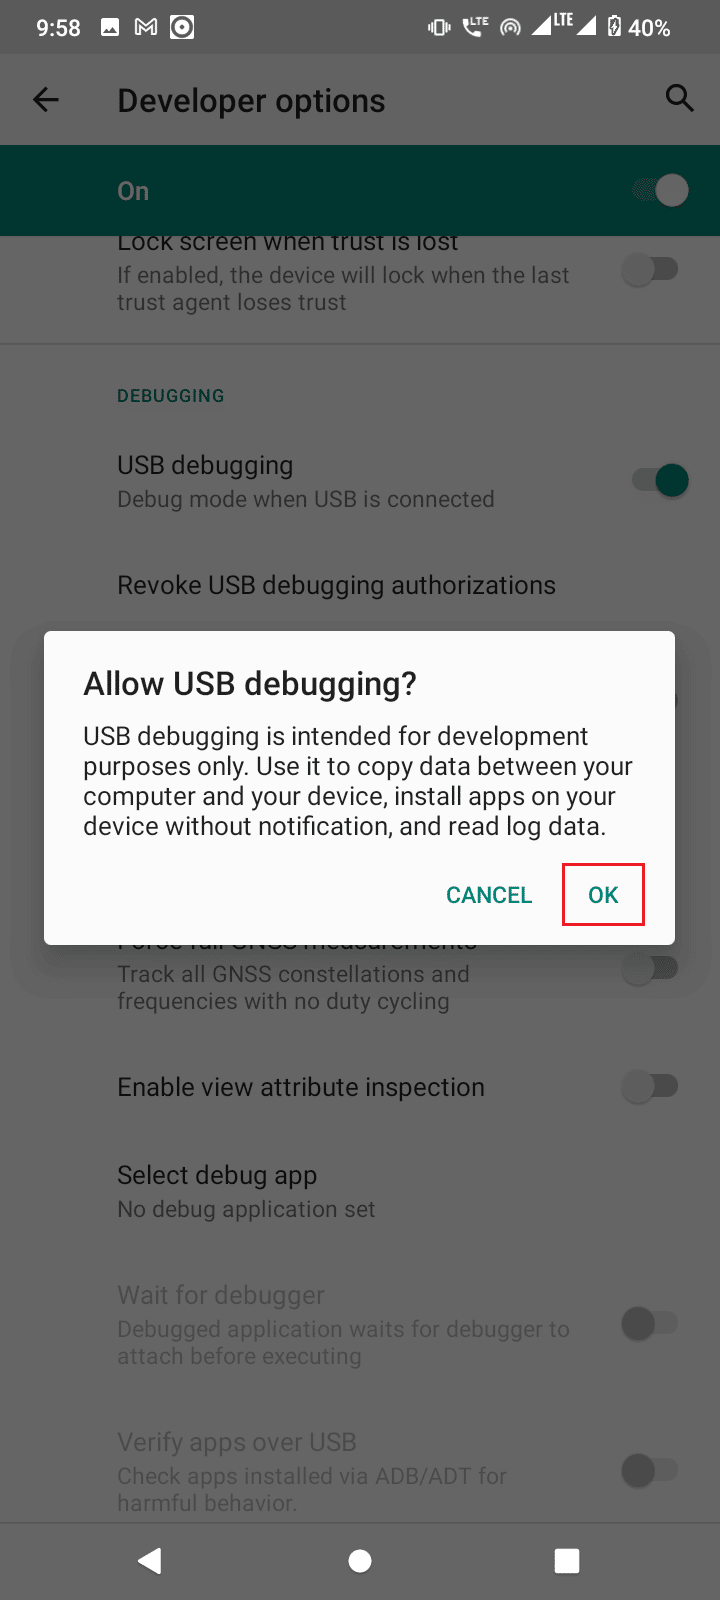
2。 タップする OK in the prompt asking to 次を許可します。 USB debugging?
また読む: Fix USB OTG Not Working On Android Devices
Method 5: Request Access from CMD
If you connected your device and enabled USB debugging but did not receive the request from the PC, then follow the below steps.
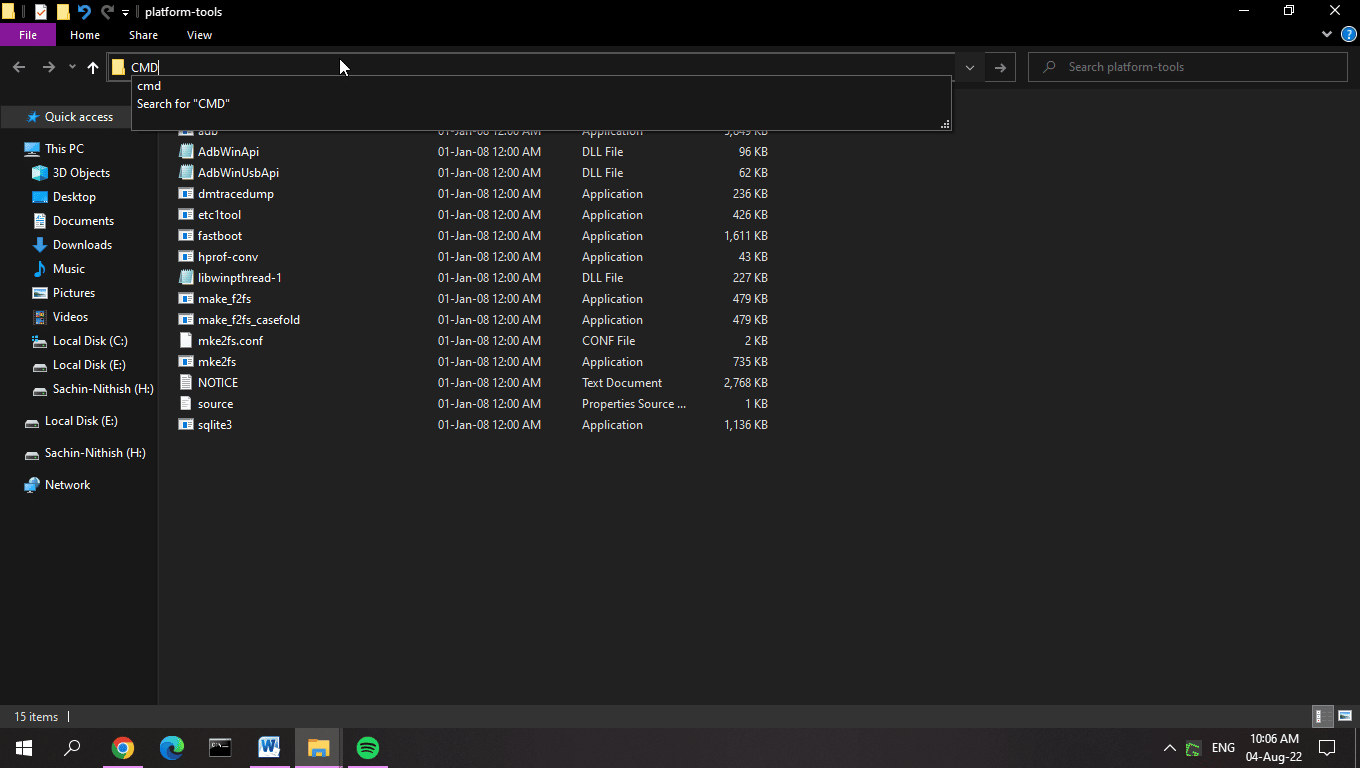
1。 次の場所に移動します。 platform-tools folder どこAndroidのSDK 抽出されます。
2。 タイプ CMD on the address bar and hit キーを入力してください。
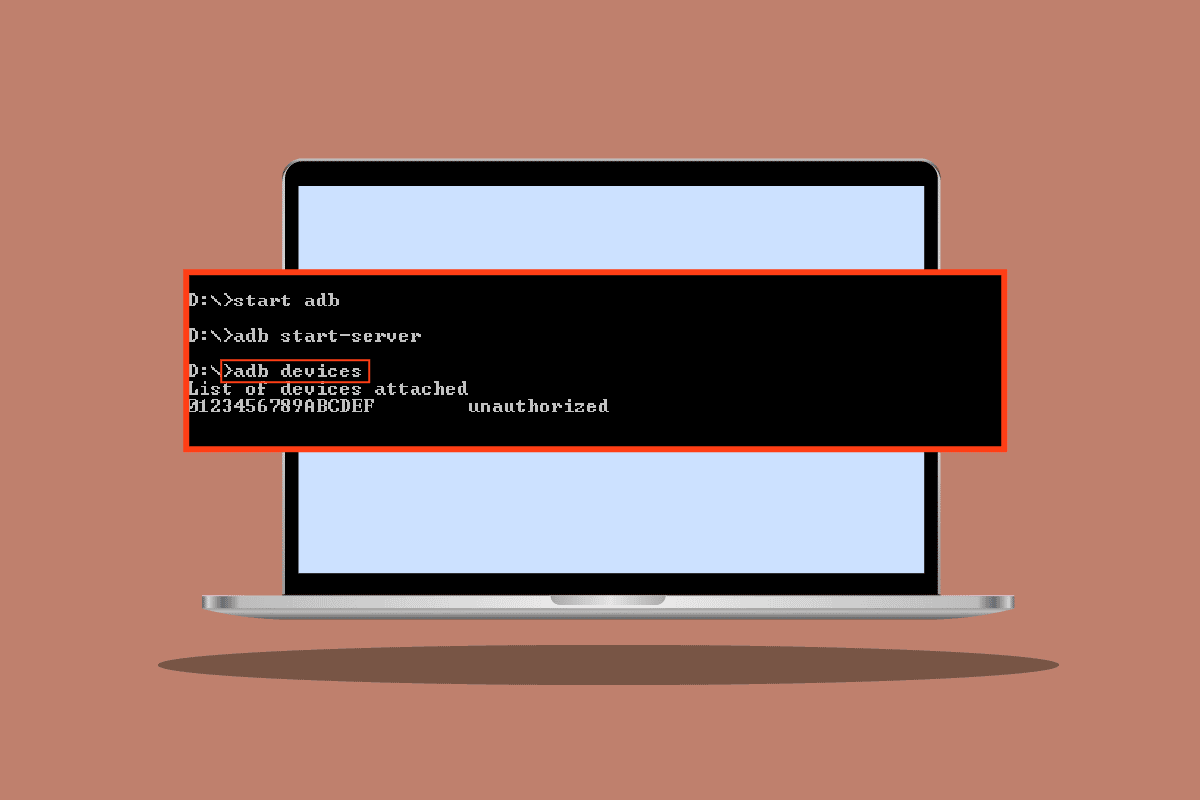
3。 タイプ ADBデバイス コマンドを入力して、 キーを入力してください.
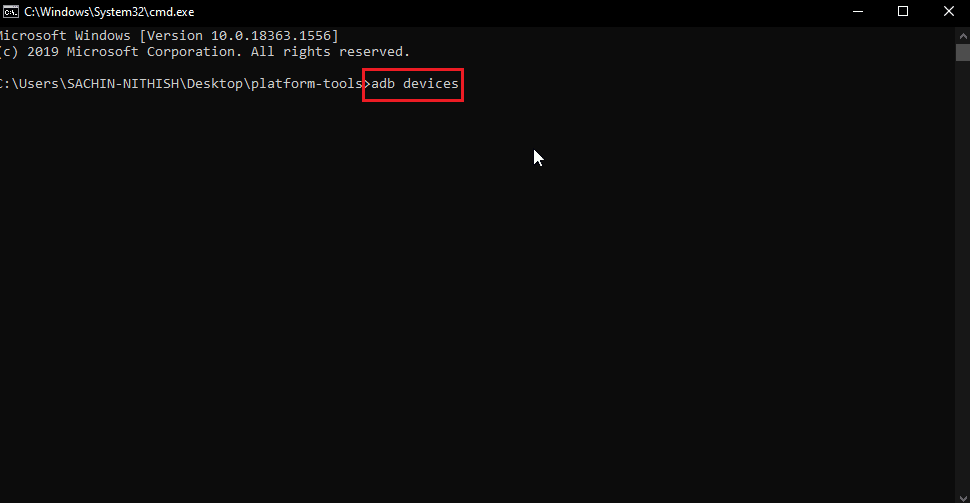
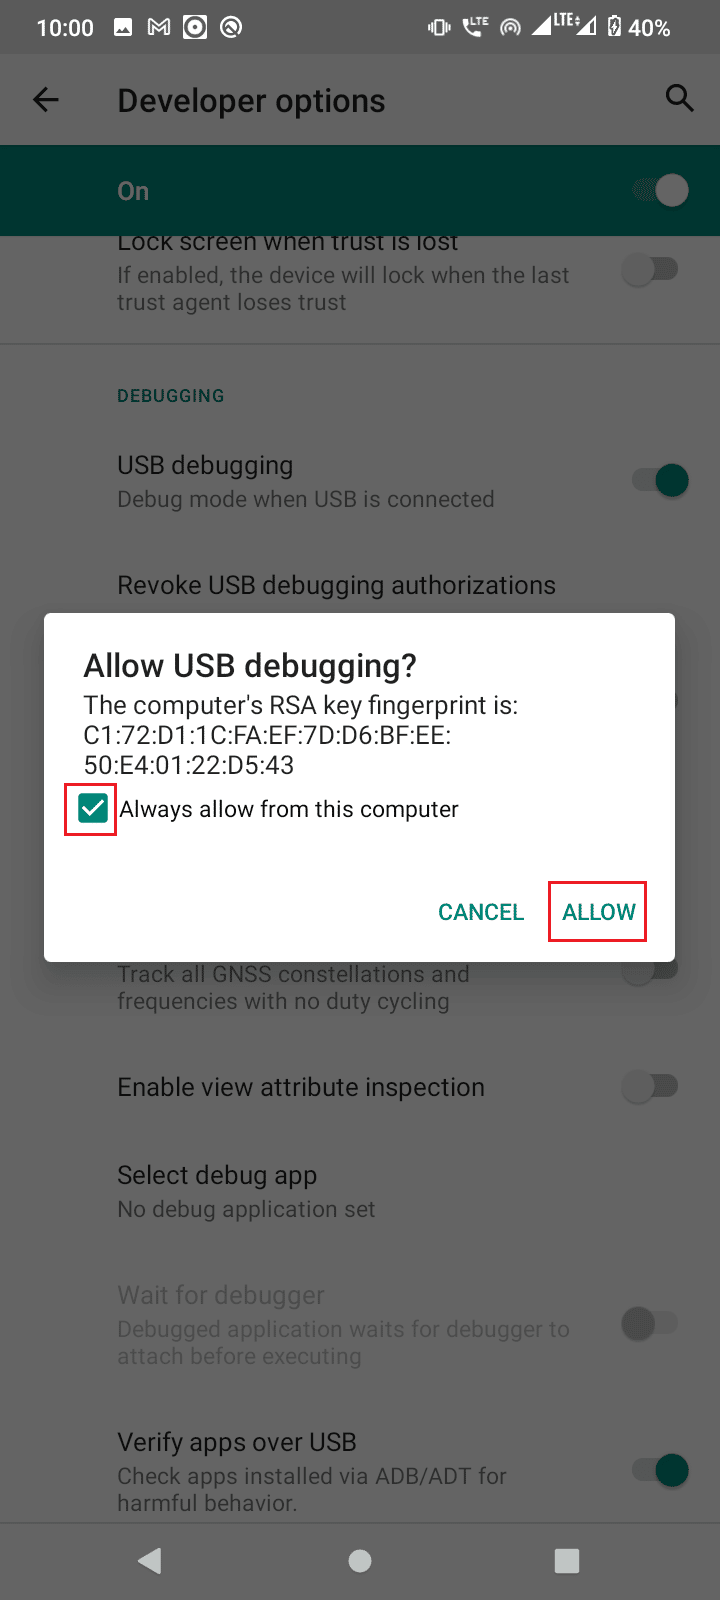
4. If you didn’t get the request now after entering the command you will receive the prompt on your Android携帯.
5。 チェック このコンピュータから常に許可する オプションを選択します。
6。 タップする 許可する プロンプトで。
Method 6: Restart ADB Connection
Sometimes ADB device unauthorized message occurs due to a faulty connection with the Android device. This can be fixed by re-connecting the ADB connection by revoking the USB connection.
In the previous solution if you still did not get the prompt or still getting ADB device unauthorized message, follow these steps to ADB device unauthorized bypass.
1。 に行く 通知 パネル.
2。 タップする コグアイコン 開く 設定

3.次に、をタップします エントルピー 設定。
4.次に、をタップします 高機能 設定。

5.次に、 開発者オプション.

6。 で 開発者オプション トグル オフ USBデバッグ オプションを選択します。
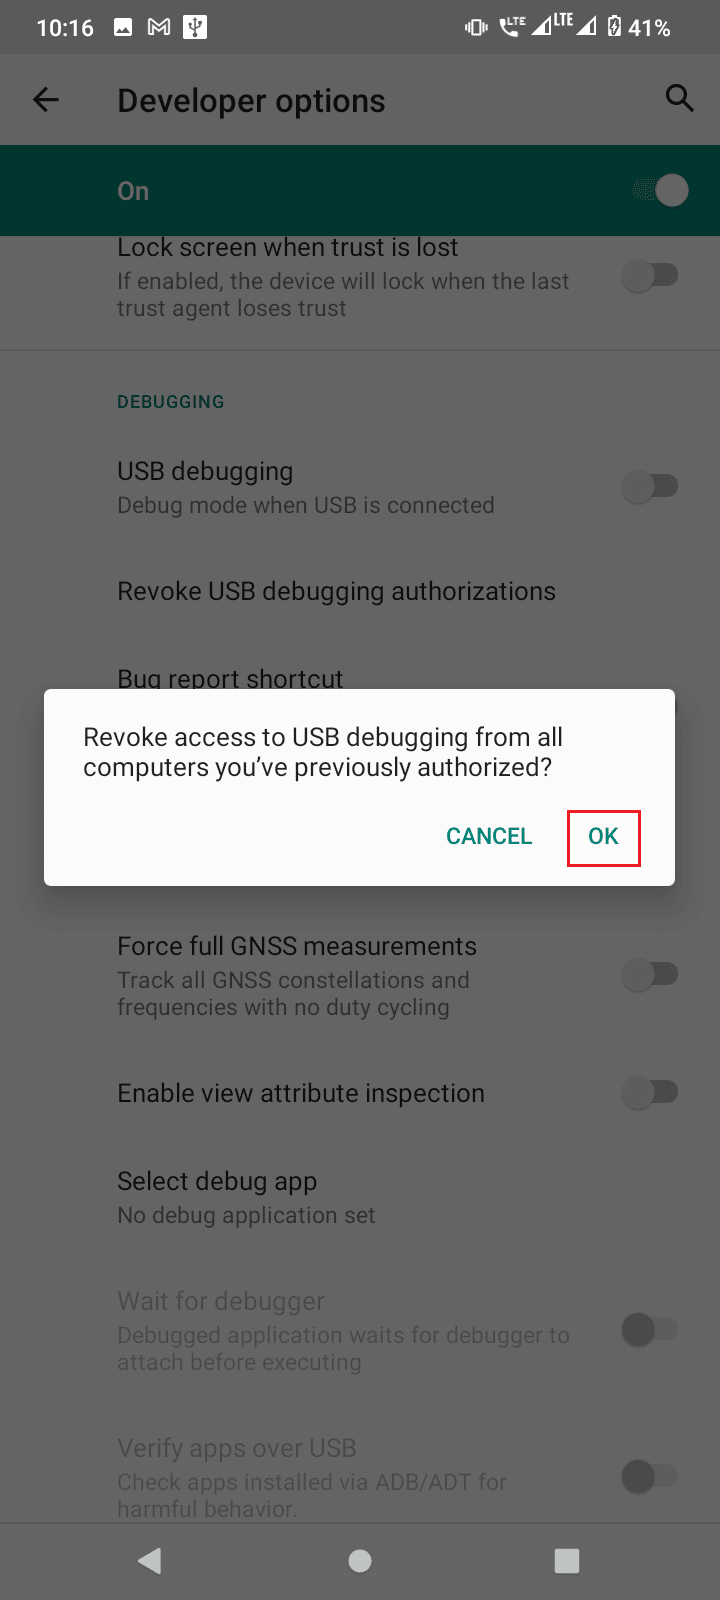
7。 下 USBデバッグ、 タップする USBデバッグ認証を取り消す.
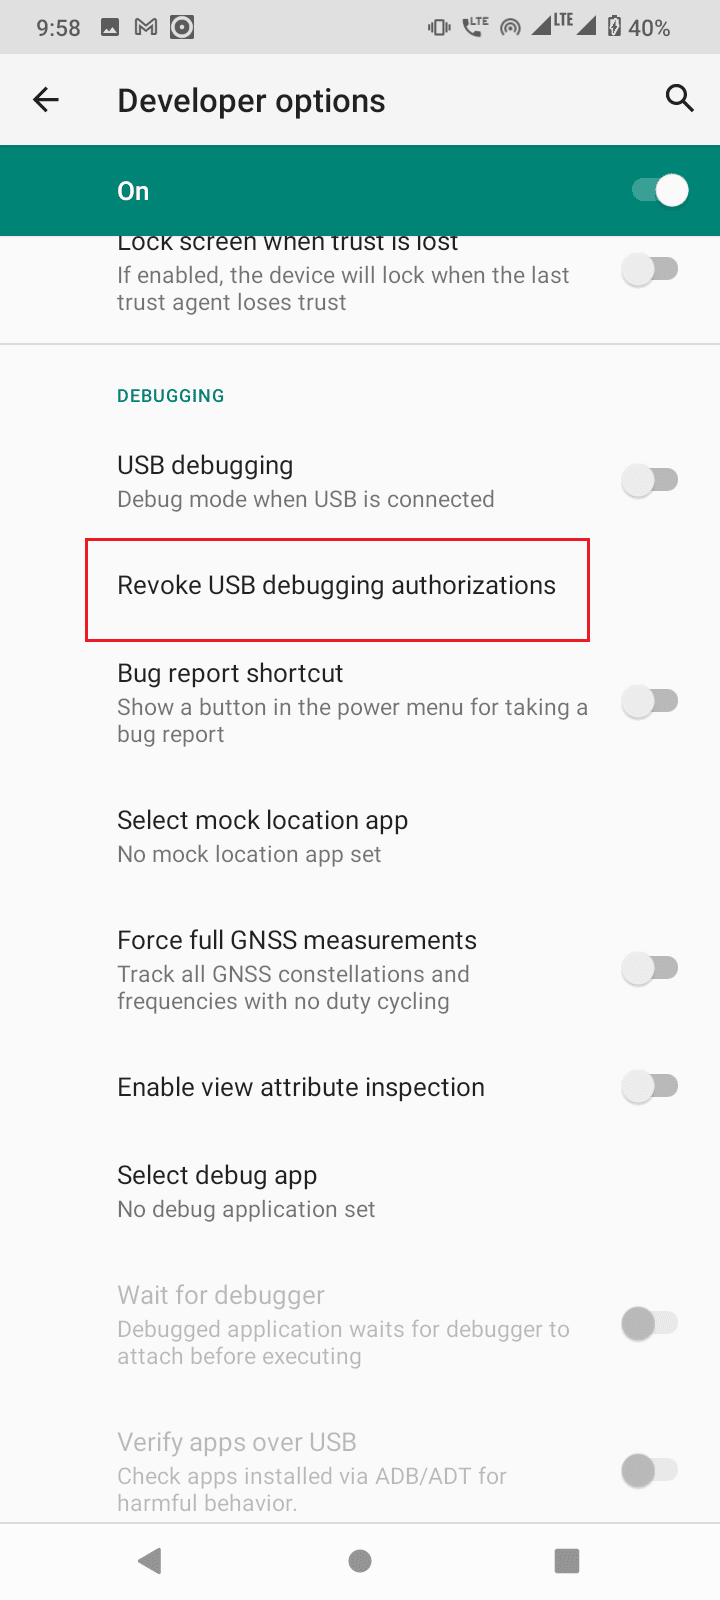
8。 タップする OK 確認するために
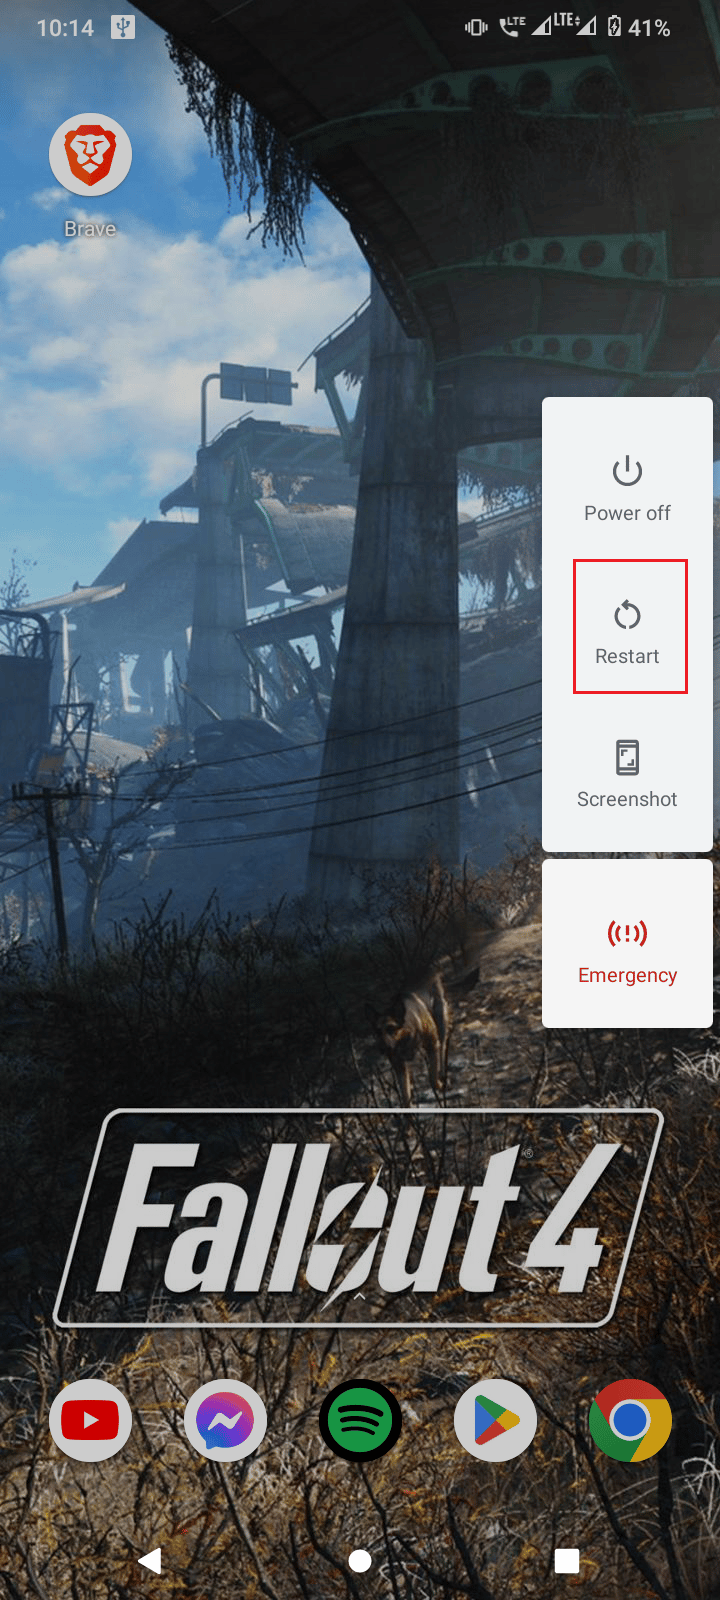
9. Restart your phone by holding the 出力 ボタンを押してタップします 再起動.
10. Finally, remove your phone from the USB接続.
また読む: Android で Fastboot 経由でブートローダーのロックを解除する方法
After the above procedure, follow these steps.
1. Now connect your Android mobile to your computer again.
2. Launch your Android device 設定.

3.次に、をタップします エントルピー 設定。

4.次に、をタップします 高機能 設定。
5.次に、をタップします 開発者オプション.
6.次に、電源を入れます USBデバッグ.

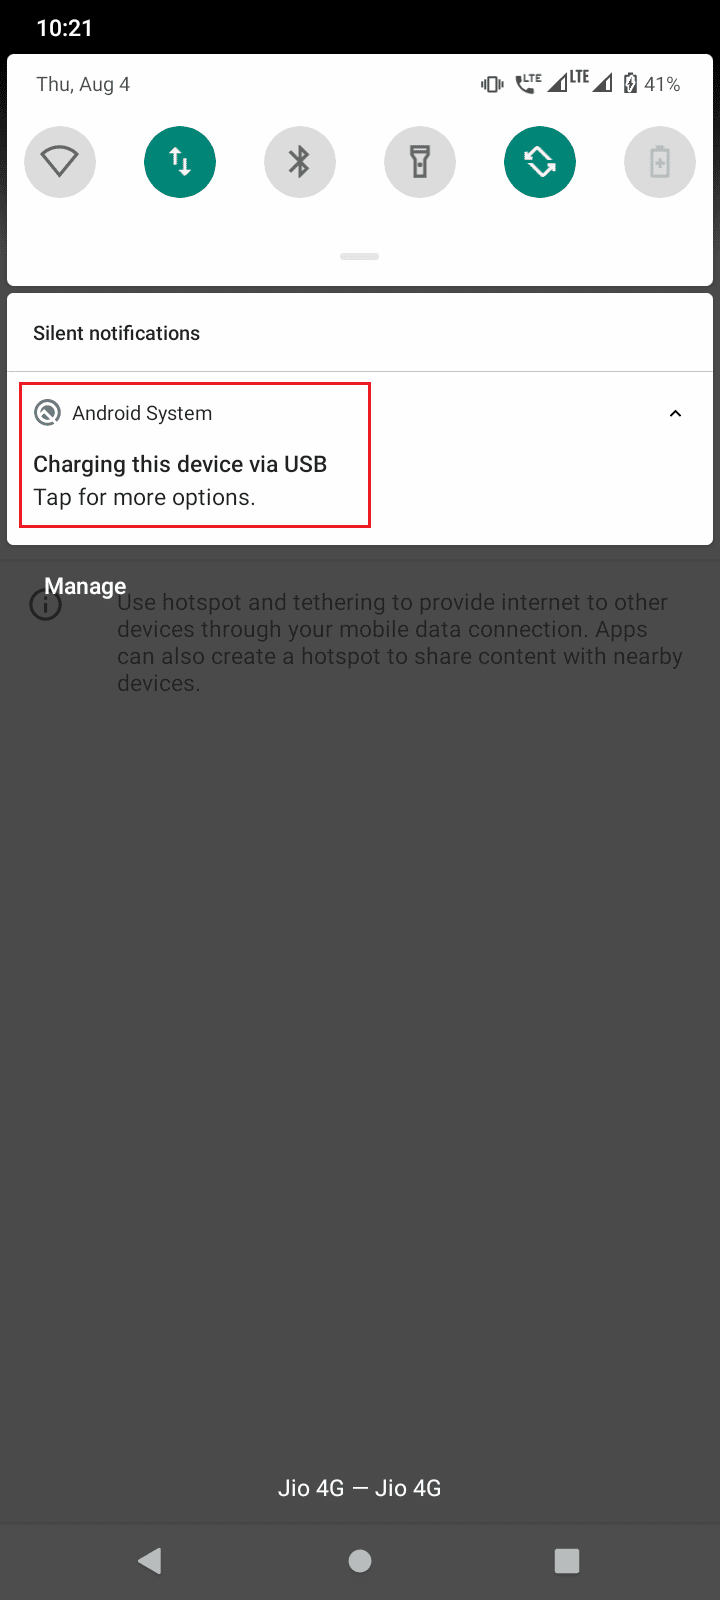
7. 下にスワイプ 通知バー where it shows charging mode, tap on it.
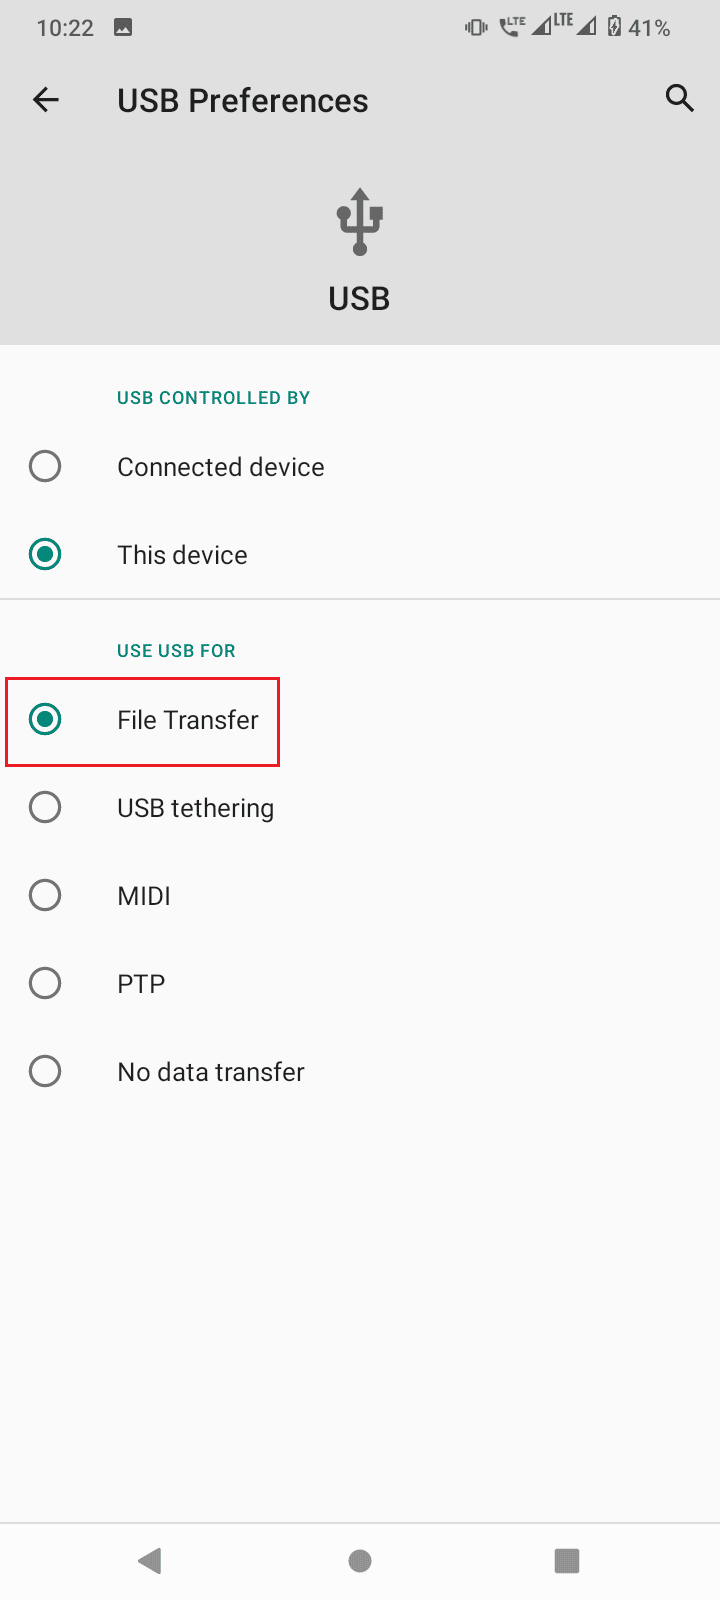
8。 選択します ファイル転送 オプションを選択します。
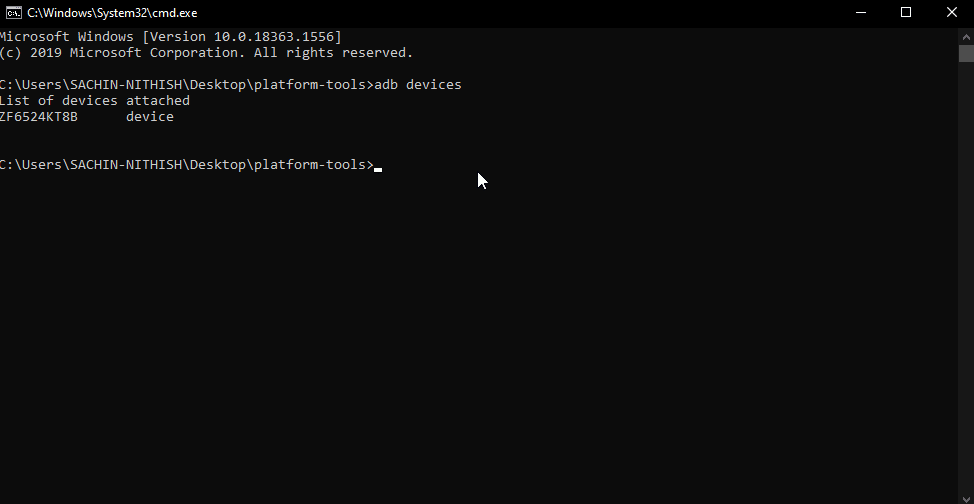
9. Then, run ADBデバイス command in CMD at the platform-tools folder.

10. This will fix the ADB device unauthorized message
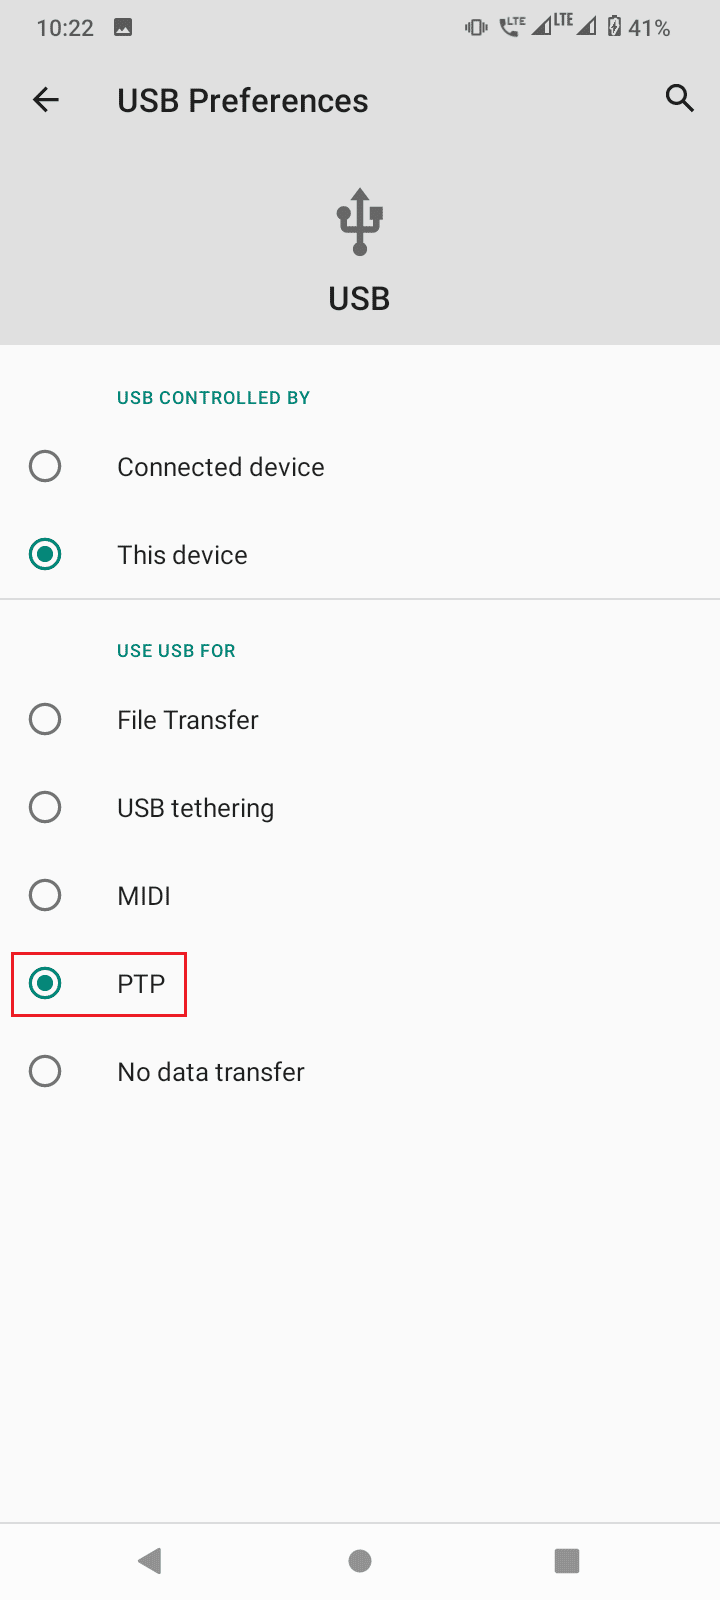
11. Alternatively, choose PTP ファイル転送 in ステップ 7 and continue the above steps.
また読む: Android 用のベスト ファイル転送プロトコル クライアント 13 選
よくある質問(FAQ)
Q1. Why do I get an Unauthorized device error?
Ans。 It simply means that the user did not give a permit to access the Android device through ADB for use with a computer, follow the guide to fix this issue.
Q2. Can ADB run without enabling USB debugging?
答え。いいえ, ADB requires USB debugging to be turned on by the user to get authorization from and an Android device and further communicate with it. Also with this USB debugging and RSA fingerprint of the computer only will the connection between the computer and android will be successfully be established.
Q3. Can I remove ADB devices without disconnecting my devices?
答え。はい, you can do so by just turning off USB debugging.
Q4. I don’t have developer options, Why?
Ans。 Android developer options are disabled by default, to enable it you need to tap build number 6-7 times. Refer to your manufacturer’s website to know your particular model setting.
推奨:
We hope that the above article on how to bypass ADB device unauthorized message was helpful to you and you were able successfully to fix your issue, don’t forget to mention which one of the methods worked for you. If you have queries and/or suggestions about the article feel free to drop them down in the comment section below.

