One thing that sets Android devices apart from iPhones is the customizable features you get with an Android device. The font style and the font type play an essential role in the appearance of your Android device. You may want to change the font type on your Android phone, but you may be struggling to figure out それを行う方法. Don’t worry, we have a small guide that will help you change the font style on your Android phone.
There are several ways of changing fonts for your Android device and giving it a fresh look. Check out the few methods that we are mentioning in this guide.

How To Change Font Type On Your Android Phone
There are two ways to change the fonts type on your Android device:
サードパーティ製アプリの使用: For changing the fonts on your device, install third-party apps from the Google play store. There are several apps built for changing fonts on your device.
Using the in-built Settings: Most Android phones have built-in settings for changing the fonts on your device, but if you do not have the in-built setting, you have to root your phone before changing the fonts on your device.
Method 1: Change Fonts From In-Built Font Settings
Most of the Android devices come with pre-installed fonts for your device. However, the setting will vary depending upon your device model and OS version. You may follow these steps to change fonts on your Android device:
関連項目:
How to Change Location on TikTok
How to Connect Samsung Phone to TV with HDMI
Android のアプリのバックグラウンド更新とは何ですか?
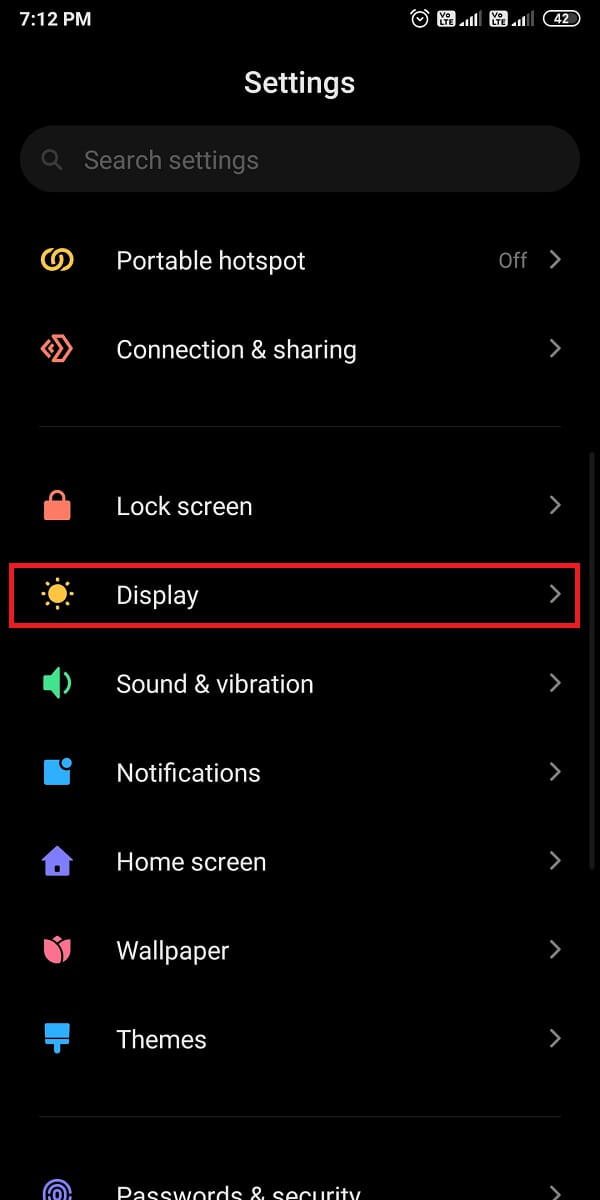
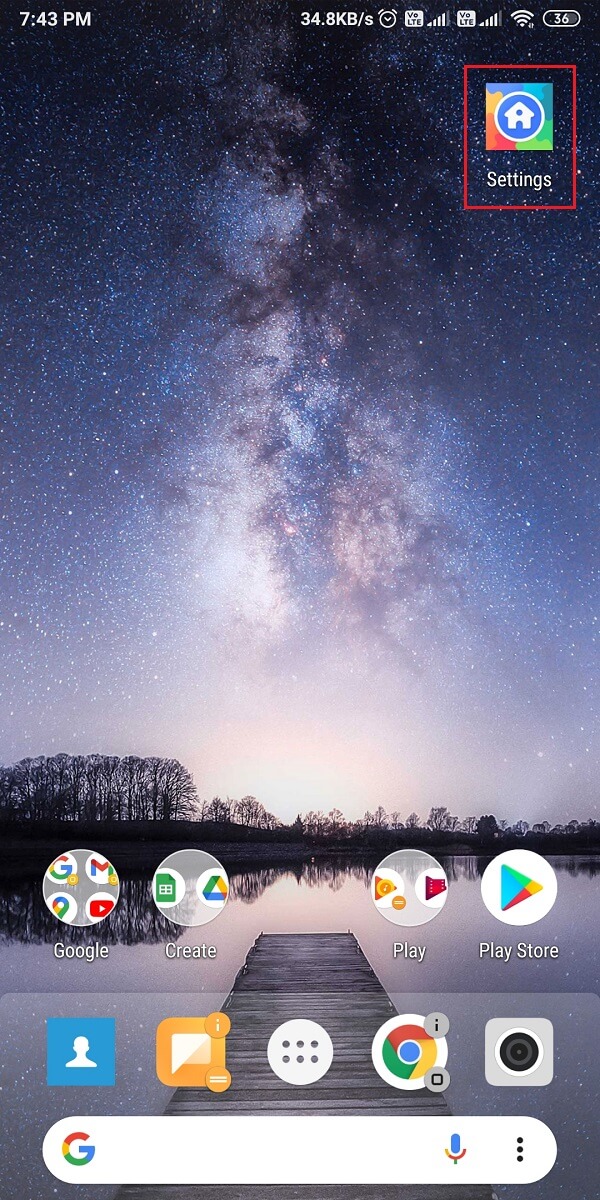
1. Head to your device’s 設定 をタップして 歯車のアイコン while pulling down the 通知シェード.
![]()
2. Locate and open the ディスプレイ section. Your phone may have a ディスプレイと明るさ option, depending upon your phone.
3.次に、をタップします システムフォント. Here, check the default font that is set for your device by tapping on マイフォント.
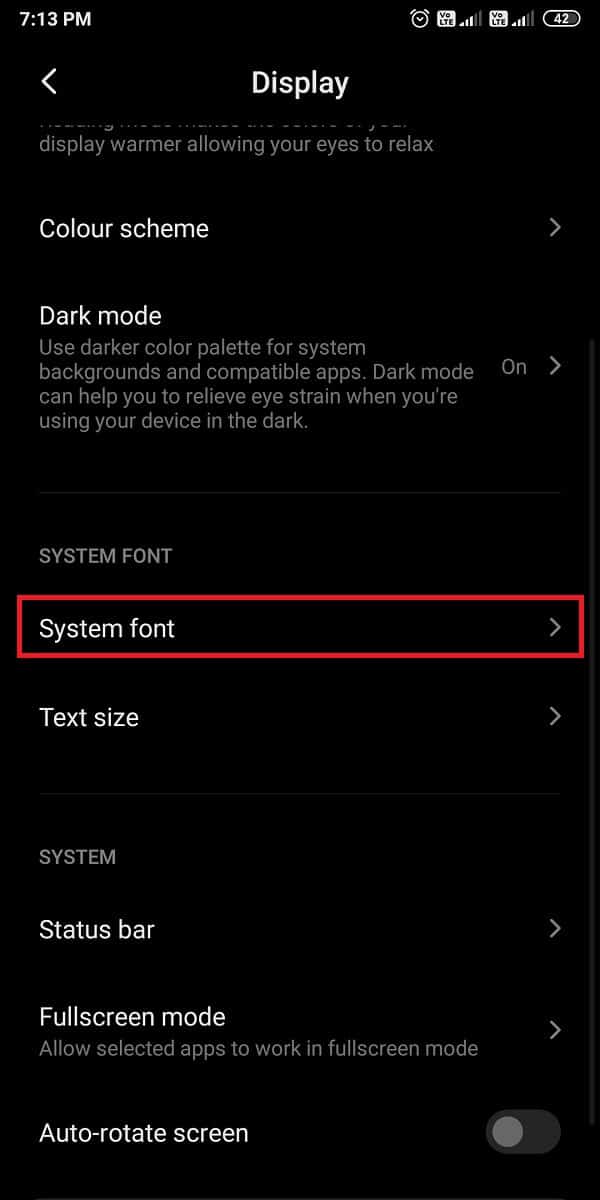
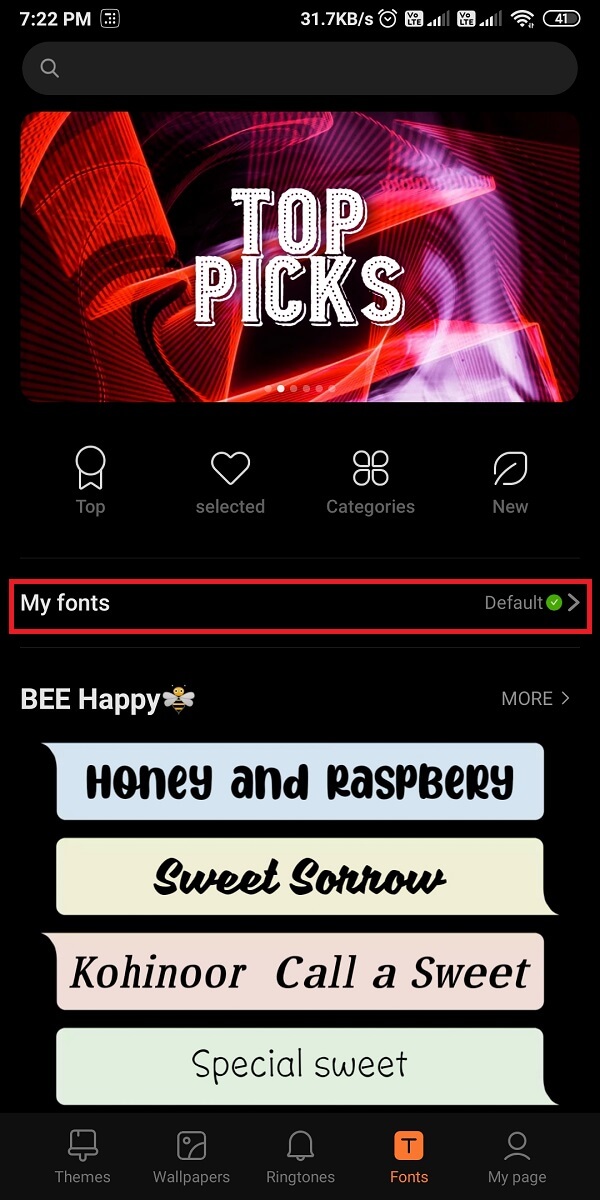
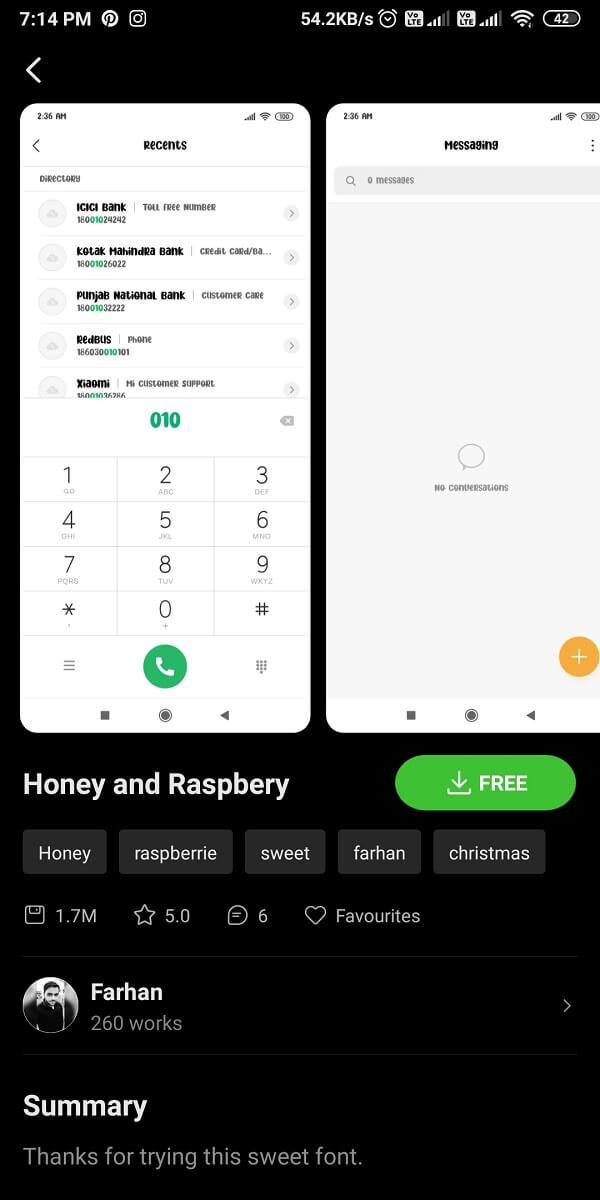
4. Since you want to change the font, scroll down and choose from a vast range of available fonts. Finally, select any font and check the プレビュー before choosing it as your default font.
Method 2: Root Your Phone To Change Fonts
Some Android devices may not have in-built font changing features, which means the users will not be able to change the font style without rooting the Android device. After rooting the phone, you will be able to change the fonts easily.
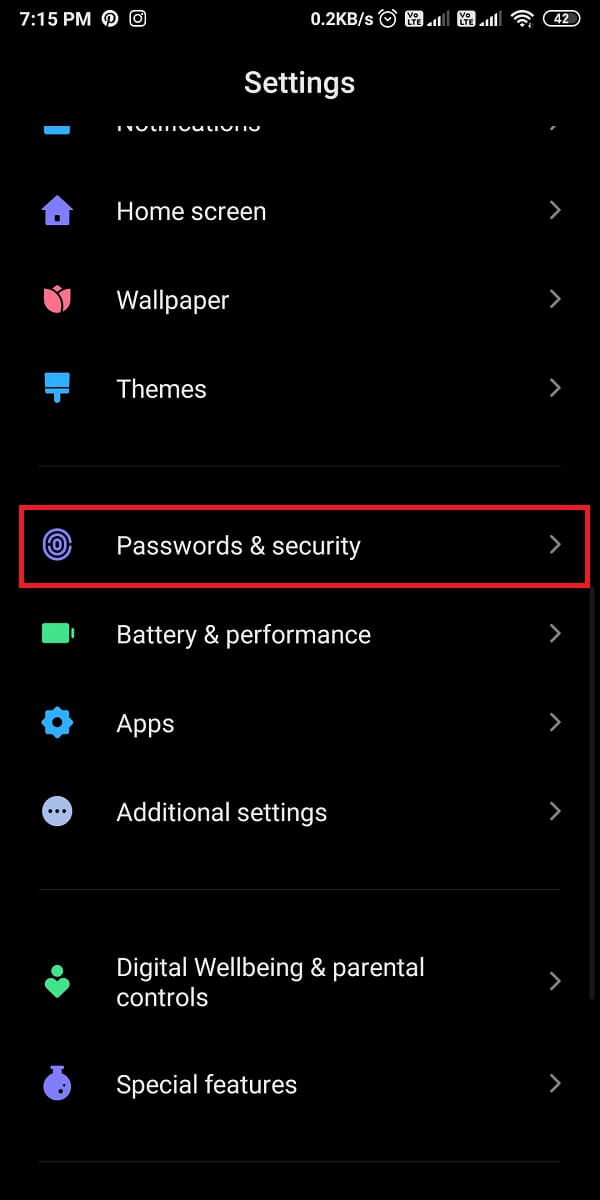
1. The first step is to ensure that you allow installation from unknown appsあなたのデバイスで. For this, head to 設定 & に行く パスワードとセキュリティ。
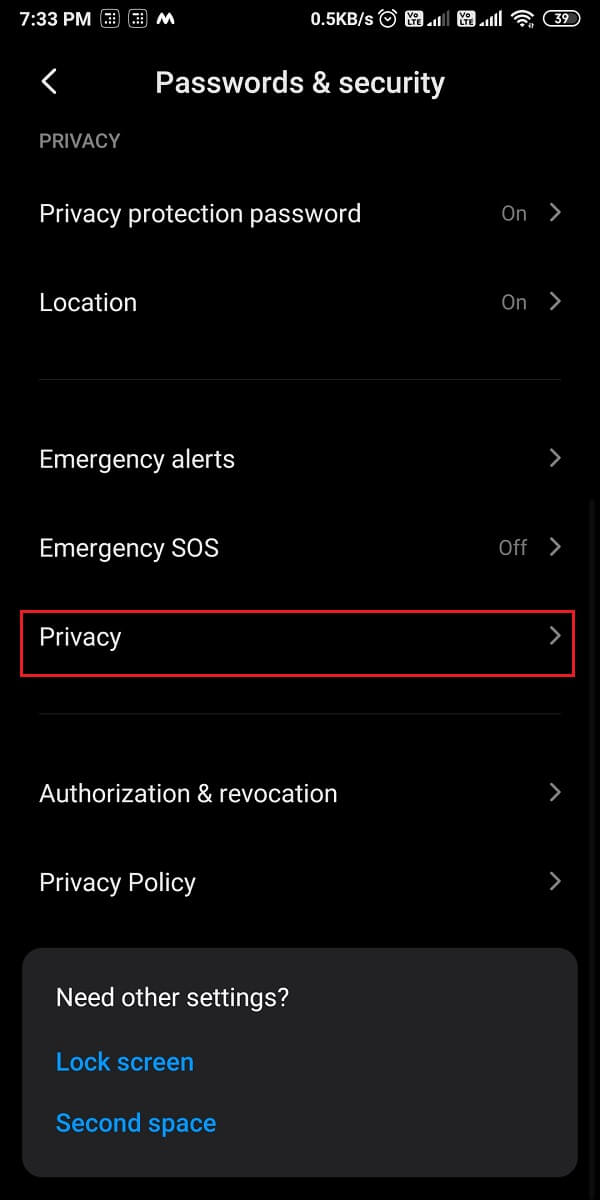
2。 タップする 個人情報保護 そして許可する Unknown installation from Google Chrome.

3. さあ、開く Google Chrome インストールして KingoRoot.apk tool on your device.
4. アプリを起動する and start rooting your device.
KingoRoot.apk is a great app that you can use to easily root your Android device. You also have the option of installing this tool on your PC and transfer it to your device by using a USB cable.
Method 3: Use Third-party Apps to Change Fonts
There are several third-party apps to change the fonts of your device. Also, if you don’t have an in-built font changing feature, third-party apps come in handy.
しかしながら、 the only drawback is the font will not apply system-wide; it means that the font in the notification shade, settings, or other apps will remain the same as the third-party font apps only change the fonts within the font launcher. Here are some launchers that you can try:
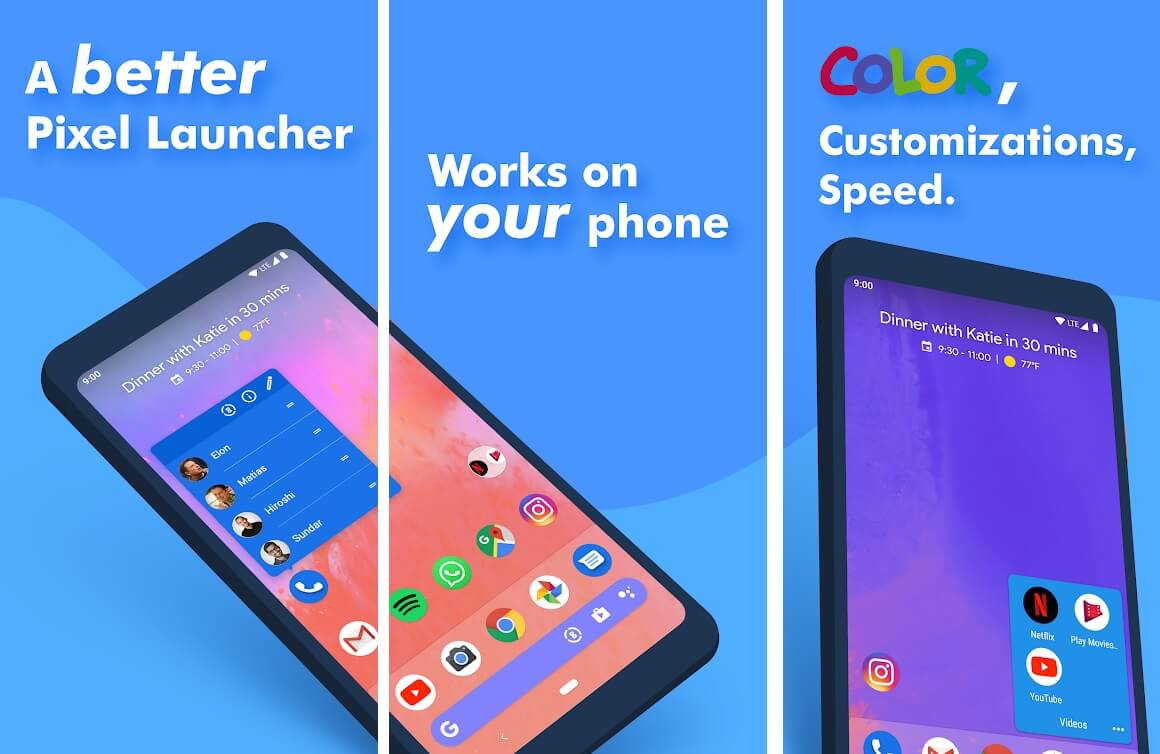
1.アクションランチャー
Action launcher is a great app that gives you ample features to customize your device. Follow these steps for using an action launcher to change fonts on your device.
1。 開く Google Playストア インストールして アクションランチャー お使いのデバイス上で。
2. アプリを起動する & 必要な権限を付与する.
3.次に、をタップします 設定 あなたのホーム画面から。
4。 に行く 外観 section then scroll down and tap on フォント.

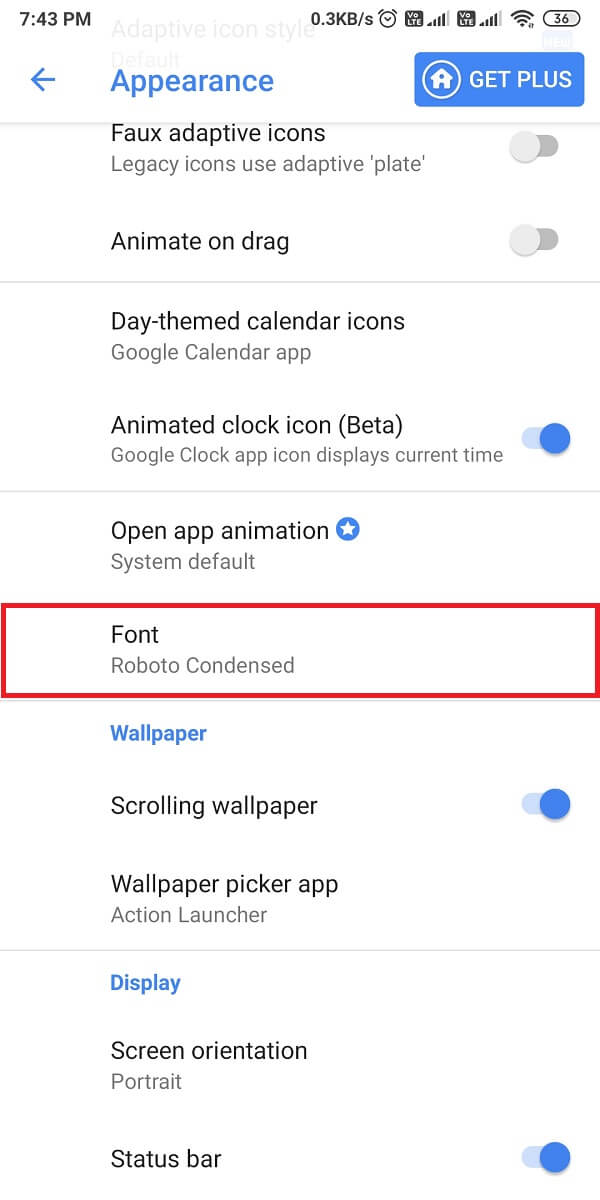
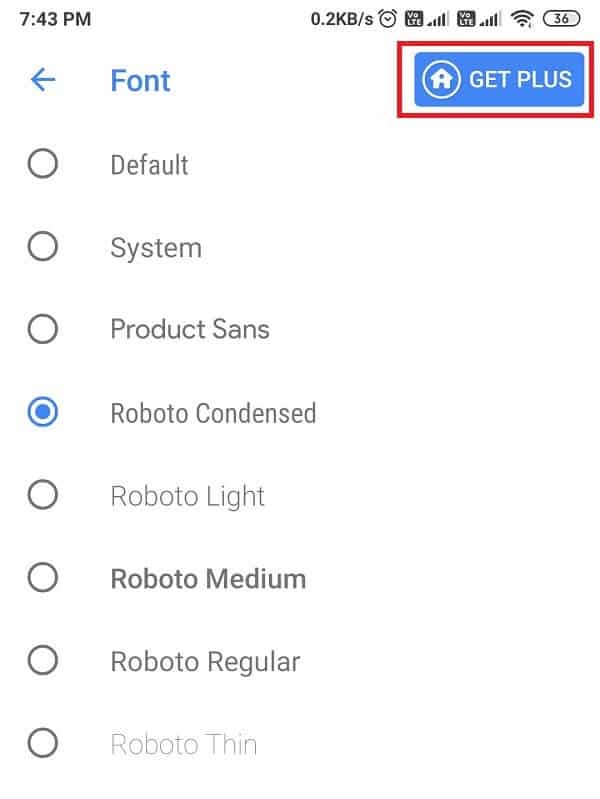
5. Finally, select a font from the available list of fonts. However, if you want more font options then choose the Action Launcher’s paid version by tapping on the GET PLUS
また、お読みください。 15 Reasons To Root Your Android Phone
2.ノヴァランチャー
Nova launcher is similar to the action launcher, and it provides you amazing features to customize your phone. Follow these steps if you are curious about how to change your Android fonts using the Nova launcher.
1。 開く Google Playストア インストールして ノヴァランチャー お使いのデバイス上で。
2. After successfully installing, アプリを開く.
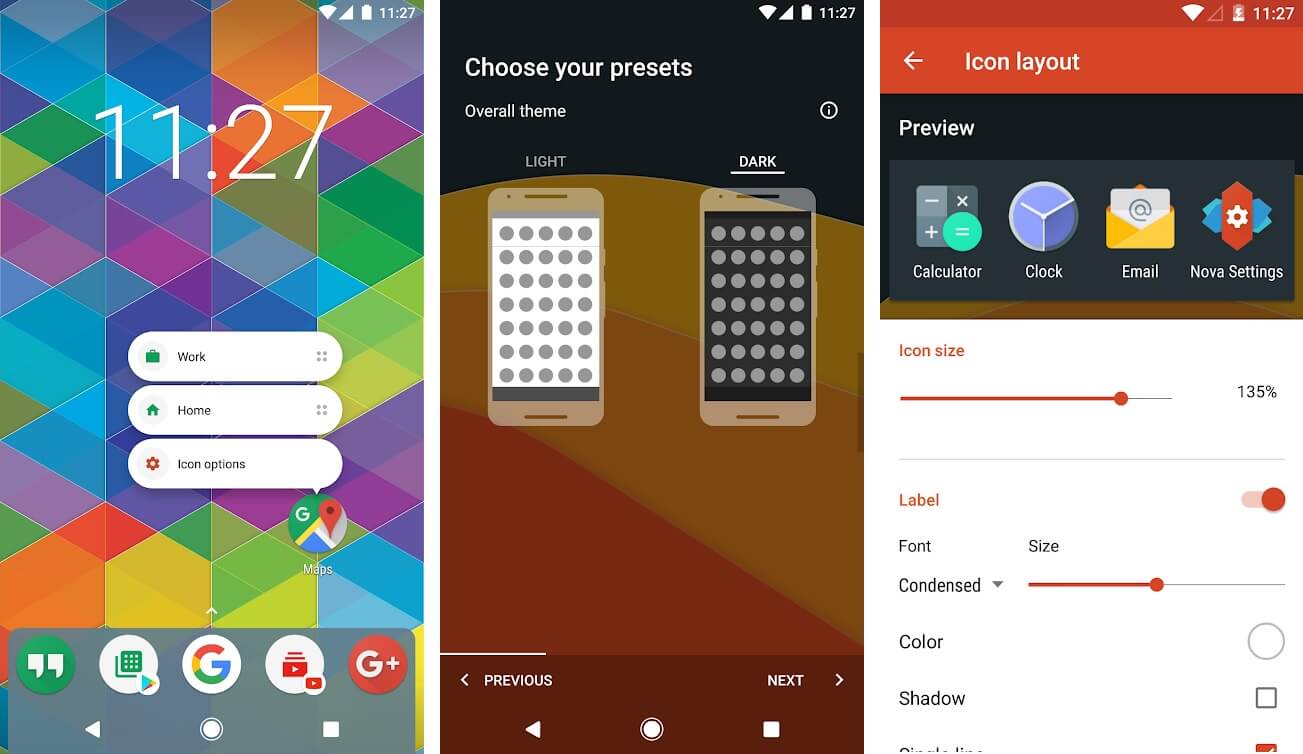
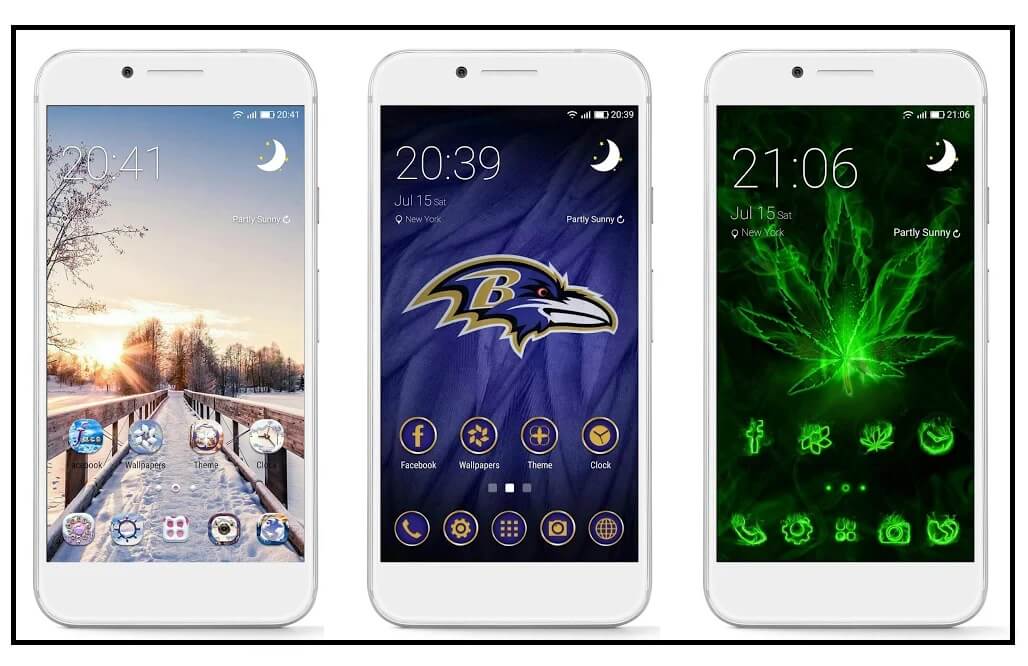
3. Select the theme, layout, and other necessary actions.
4. さあ、開く Nova設定 from your blank home screen.
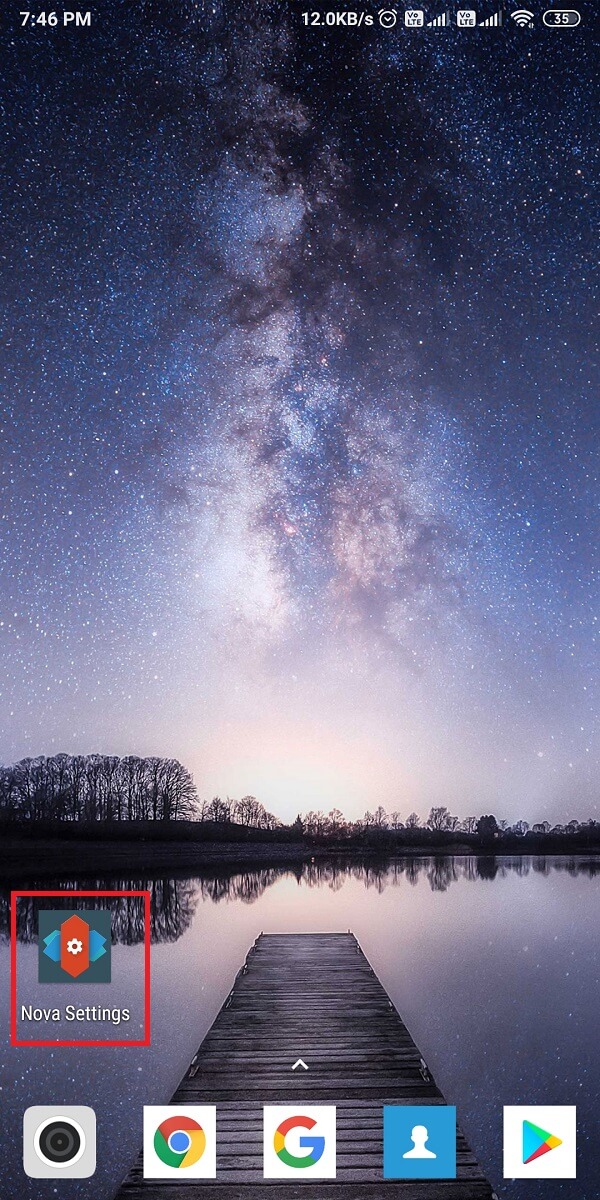
5。 あなたをタップする アプリの引き出し 次に、 Icon layout のセクションから無料でダウンロードできます。
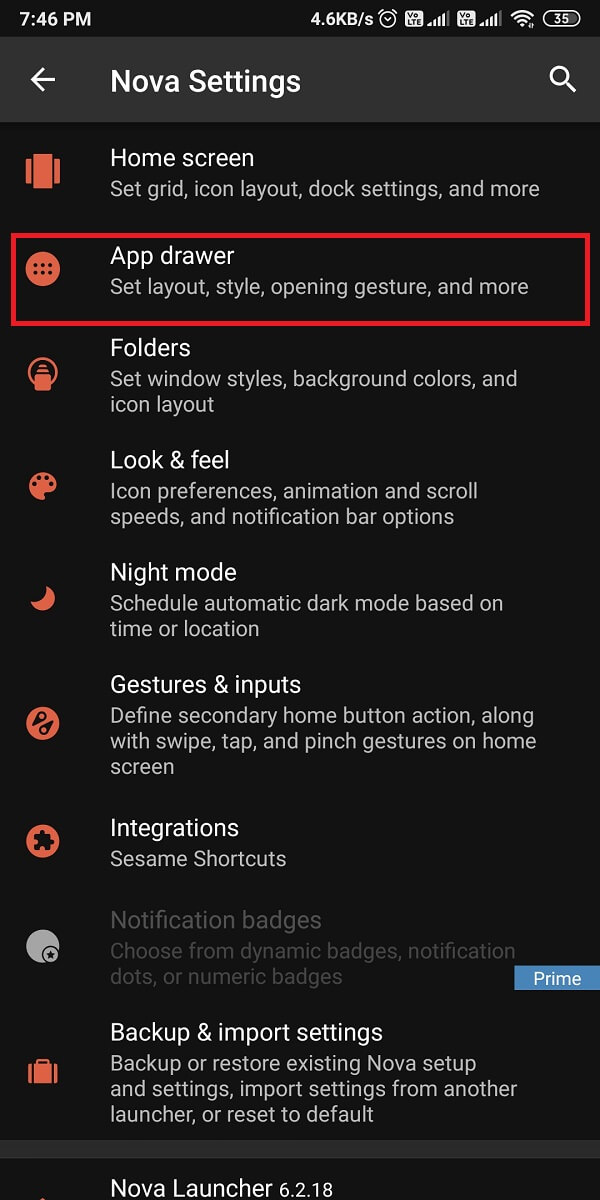
![]()
6. Finally, in the icon layout section, change the Font Size and Style. Drag the slider to change the font size and similarly tap on the pull-down arrow under the font to change the font style.
![]()
しかしながら、 the Nova launcher only comes with four fonts, but it provides you the feature to change the font size, color, shadow effect, and much more.
3.ランチャーに行く
Go launcher is also a fantastic app that you can use to change font type on your Android device. Follow these steps for using the Go launcher app:
1。 に行く Google Playストア インストールして 囲launchランチャー お使いのデバイス上で。
2. After installing the app, 必要な権限を付与する.
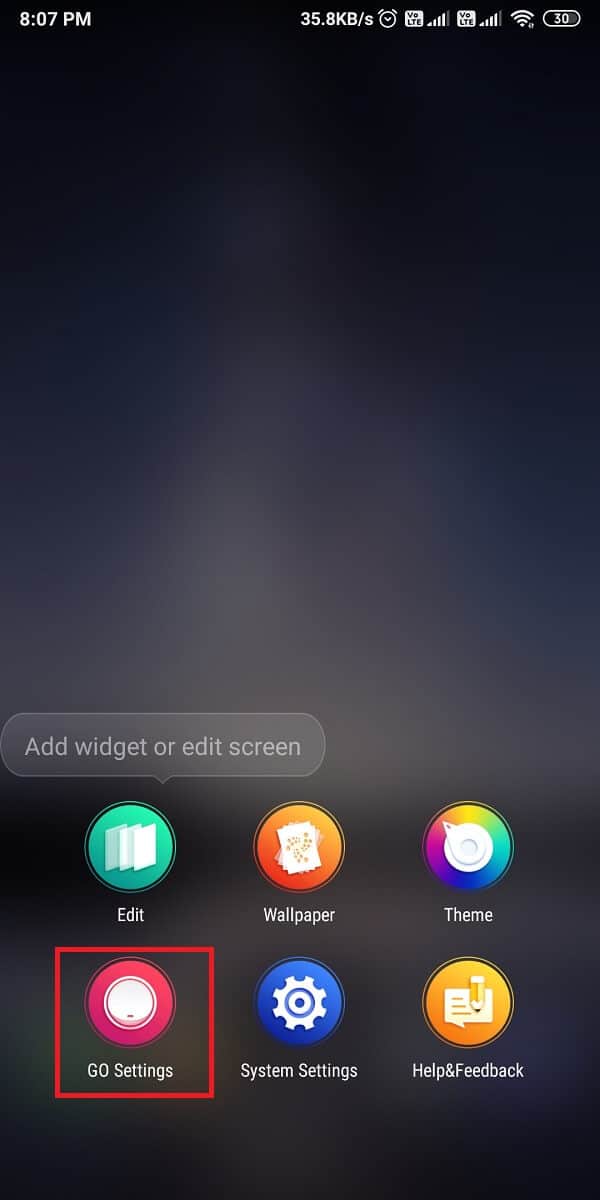
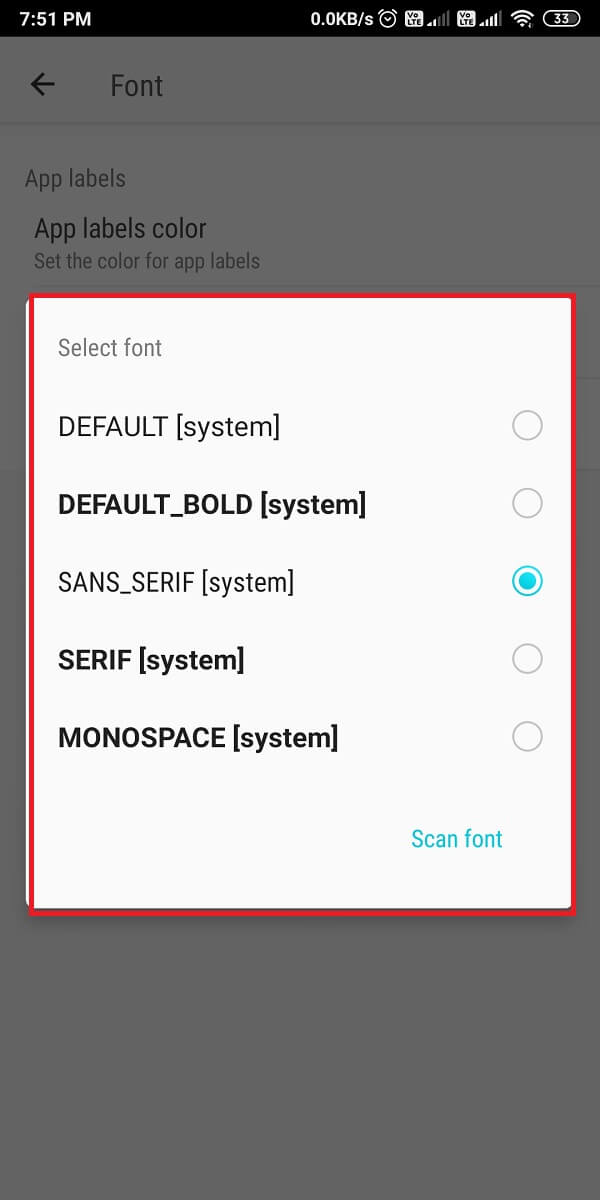
3. Swipe up and select 設定に移動 次に、 フォント section from the Settings.
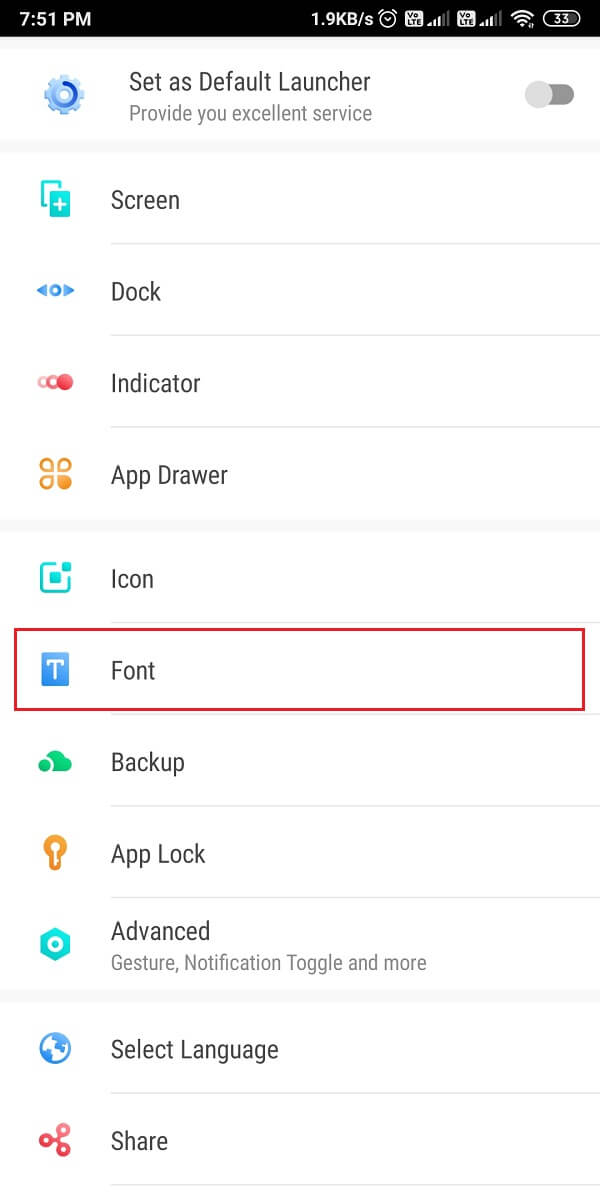
4. 'をタップしますSelect font‘ to choose from 5 different fonts. You can also scan for fonts on your device, the ones you have downloaded or the ones from other apps.
よくある質問(FAQ)
Q1: How do I get different fonts on my Android?
To change the fonts on your Android device, use the in-built fonts that come with your device. Go to Settings > Display > Fonts. However, if you don’t have in-built font settings, use サードパーティのアプリ to change the fonts of your device. Some of these apps are Nova launcher, Go launcher, and action launcher.
Q2: How do I install downloaded fonts on Android?
To install the downloaded fonts on Android, use a third-party app called はiFont that allows you to install fonts on your device at a click. iFont is a pretty great app that even lets you download the fonts from the app itself.
推奨:
このガイドがお役に立てば幸いです。 change the font type on your Android Phone. A simple change in fonts can really change the appearance of your device. それでも、疑問がある場合は、コメント欄でお気軽に質問してください。

![10 Ways To Back Up Your Android Phone Data [GUIDE]](https://lbsite.org/wp-content/uploads/2023/01/10-Ways-to-Back-up-your-Android-Phone-Data.jpg "10 Ways To Back Up Your Android Phone Data [GUIDE]")