- in ウィンドウズ by
Windows 11にグラフィックツールをインストールする方法

DirectX Graphics Tools is not installed by default in Windows 11. But, it can be added via operating system Optional features. Today, we bring to you a helpful guide that will teach you how to install or uninstall Graphics Tool in Windows 11, as need be. A few noteworthy features of this tool include:
- It is essential for performing graphics diagnostics and other related functions.
- それはまた使用することができます create Direct3D debug devices.
- Moreover, it can be used to develop DirectX games & applications.
- In addition to 3D-related functions, this technology also allows you to track real-time GPU consumption and when & which apps or games employ Direct3D technology.
How to Install In-built DirectX Graphics Tool in Windows 11
Follow the given steps to install Graphics Tool on Windows 11 PC:
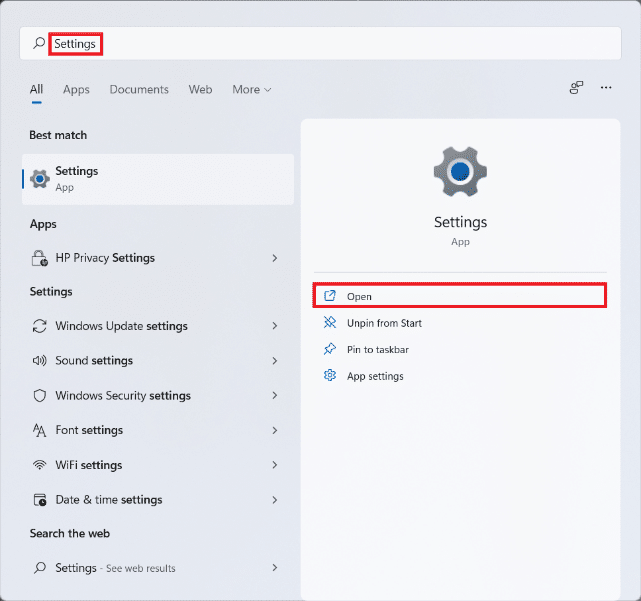
1。 クリックしてください 検索アイコン とタイプ 設定、次にクリックしてください Open、図のように。
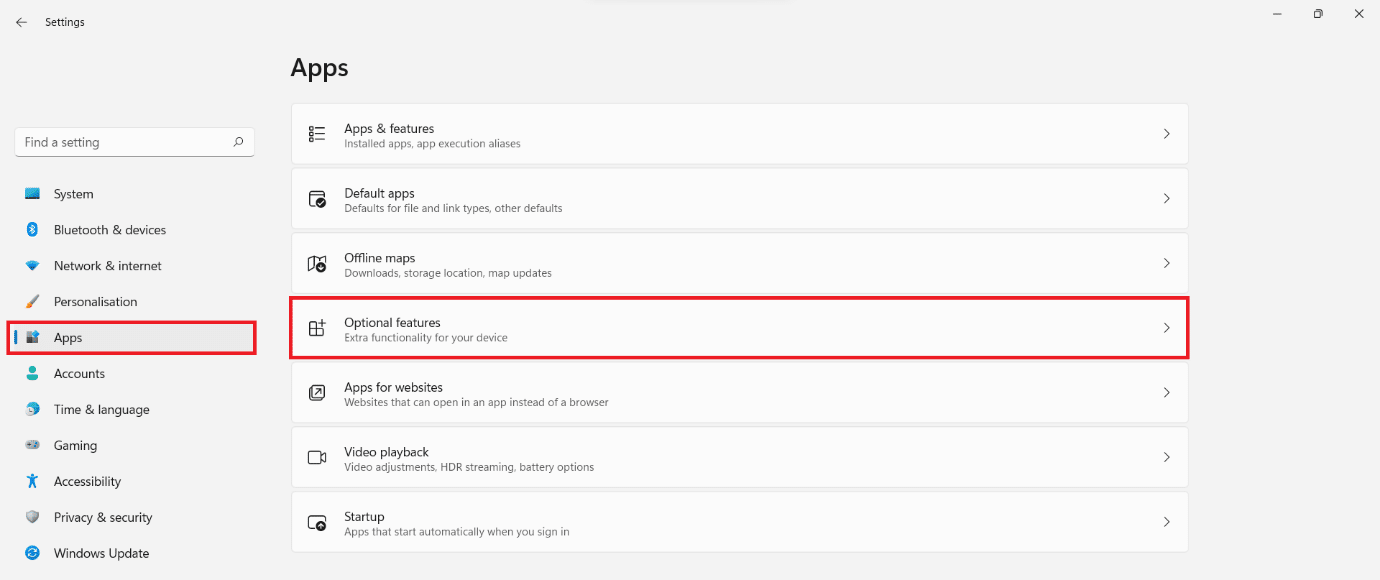
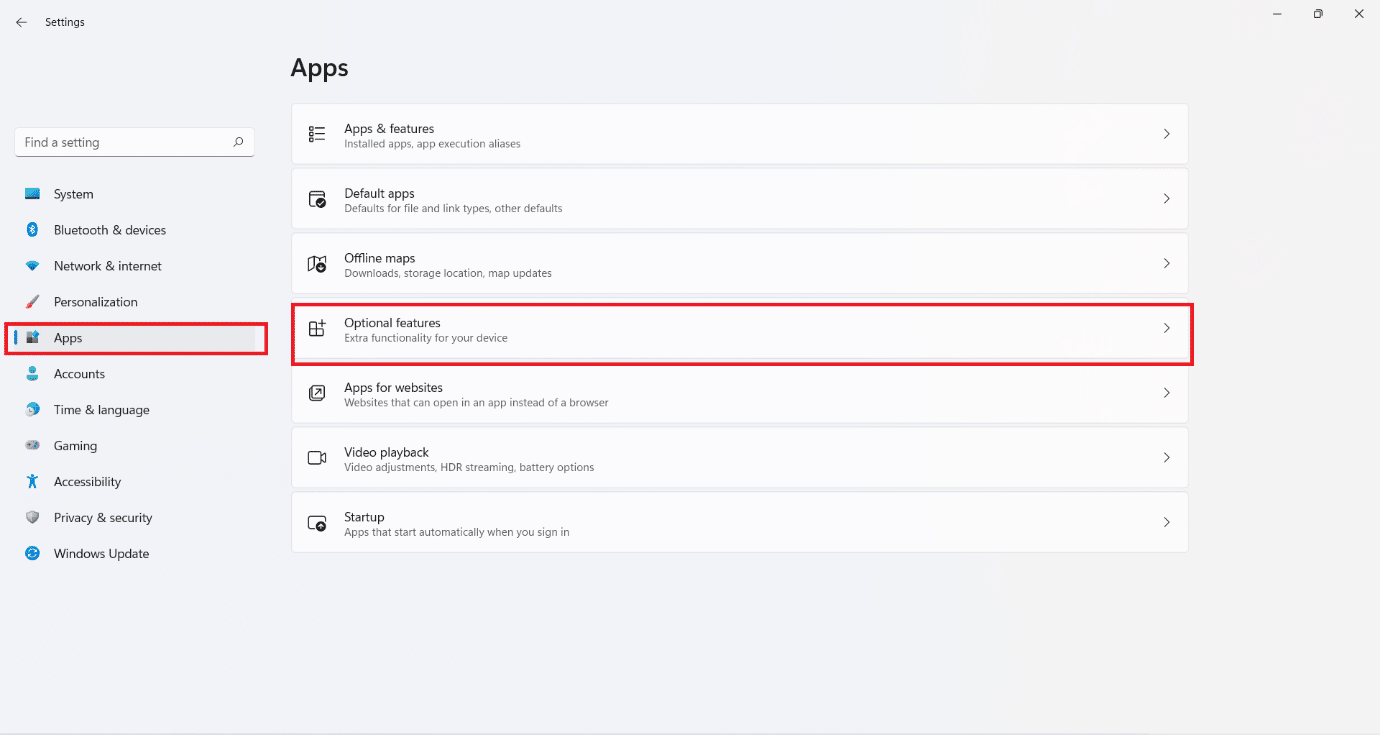
2。 クリック アプリ 左ペインに表示されます。
3.次に、をクリックします オプション 機能を使用、以下に示すように。
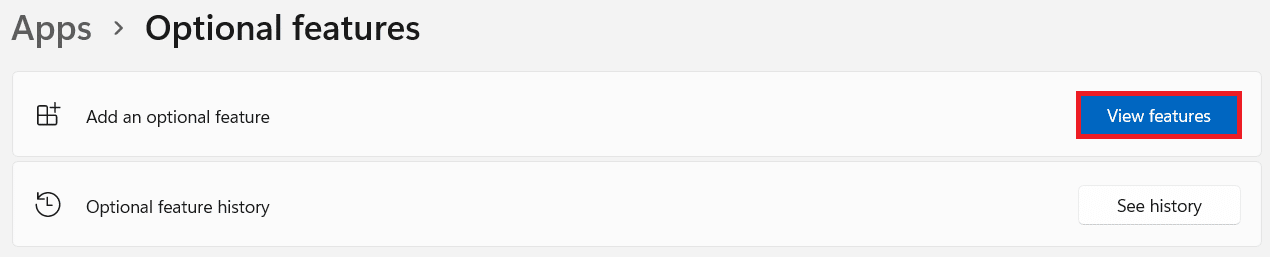
4.次に、をクリックします 詳しく見る 機能を使用.
5。 タイプ graphics tools in the search bar provided in the オプション機能を追加する 窓。
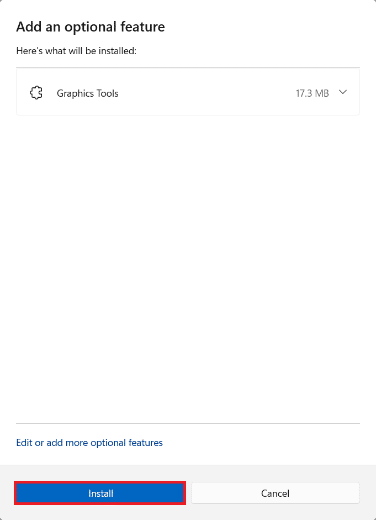
6. マークが付いているボックスにチェックを入れます グラフィックツール をクリックします。入力したコードが正しければ、MFAの設定は正常に完了します Next以下に示すように。

7.次に、をクリックします。 インストールを開始する
8. しましょう グラフィックツール be インストール. You can see the progress under 最近のアクション のセクションから無料でダウンロードできます。

また読む: How to Install XPS Viewer in Windows 11
How to Use DirectX Graphics Tools on Windows 11
Microsoft hosts a dedicated page on DirectX Programming. Here are the steps to use Windows 11 Graphics Diagnostic Tools:
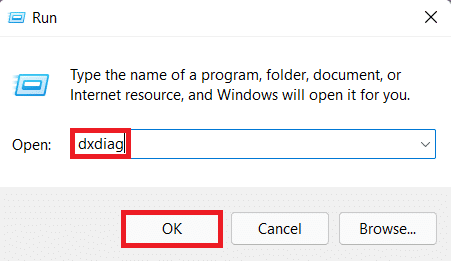
1。 押す Windows + Rキー 同時に開く ラン ダイアログボックス。
2。 タイプ DXDIAG をクリックします。入力したコードが正しければ、MFAの設定は正常に完了します OK 打ち上げへ DirectX診断ツール 窓。
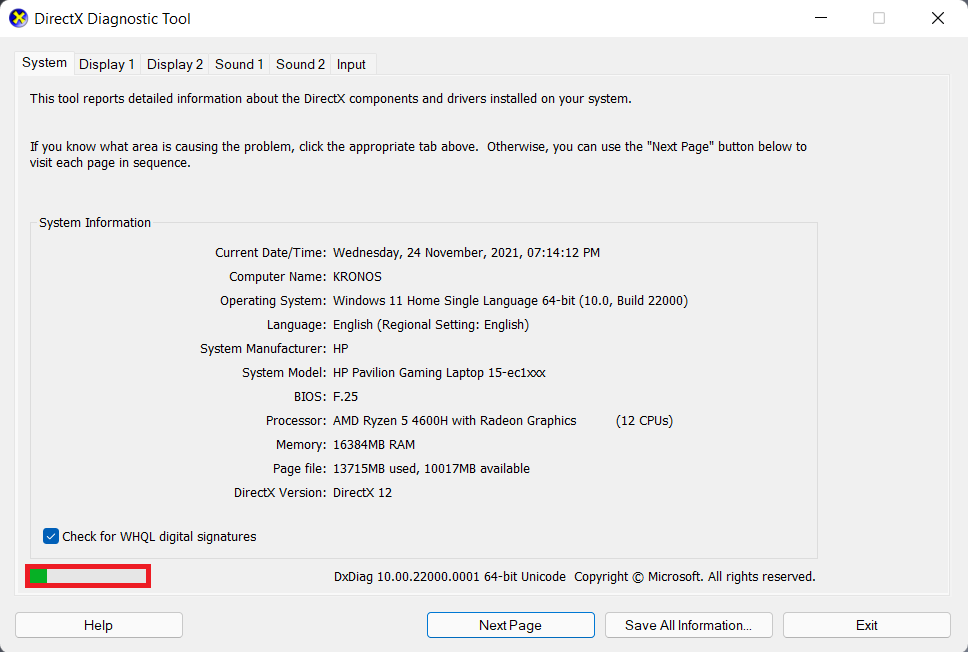
3. You may notice a green progress bar at the bottom left corner, shown highlighted. This means that the diagnostic process is active. Wait for the process to be completed.
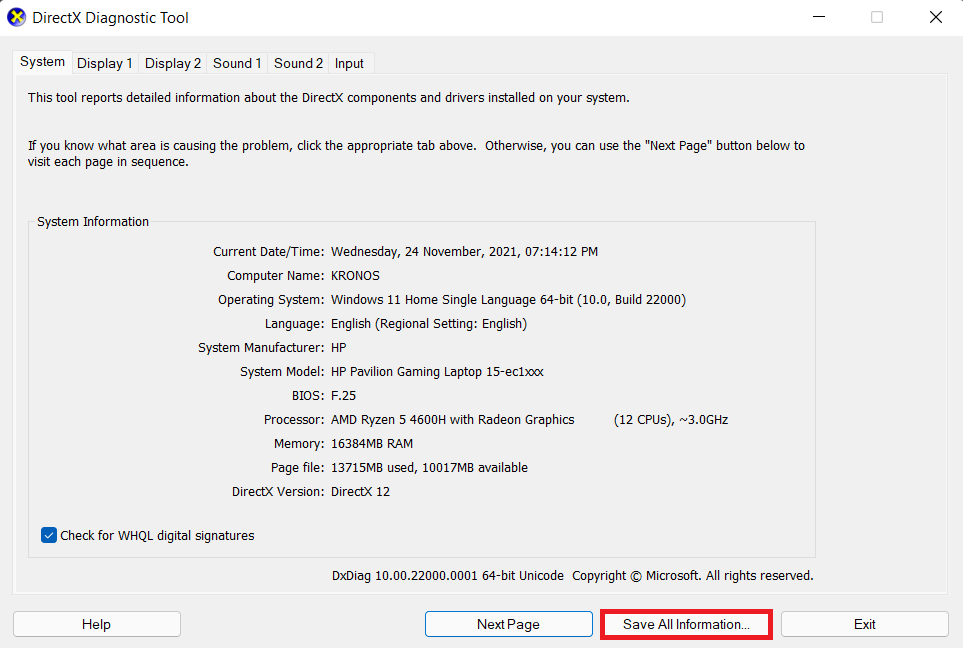
4. When the diagnosis is complete, the green progress bar will disappear. Click on Save All Information… 下図のようなボタンをクリックします。
また読む: Windows 11 で PowerToys を使用する方法
How to Uninstall DirectX Graphics Tools
To uninstall Windows 11 Graphics Tools, follow the steps mentioned below:
1。 打ち上げ 設定 示されるように。
2。 に行く アプリ > オプション、示されているように。
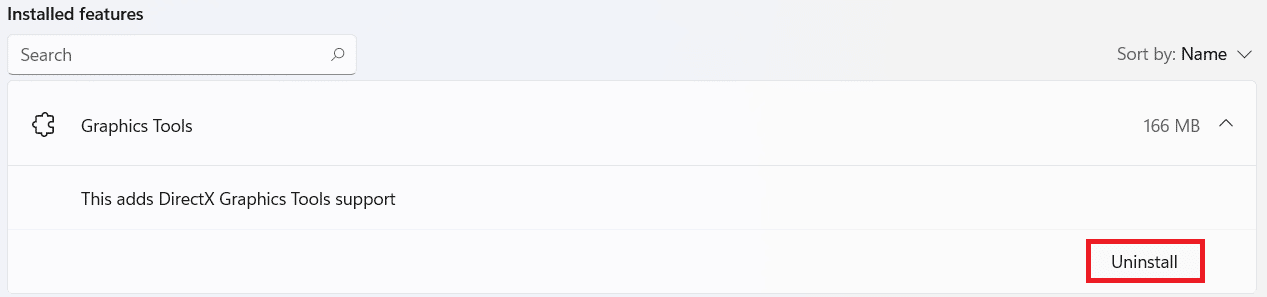
3. Scroll down the list of 搭載機能 またはを検索 グラフィックツール in the search bar provided to locate it.
4。 クリック downward-pointing arrow セクションに グラフィックツール tile and click on アンインストールする、図のように。
5. Once the uninstallation process is finished, you will see アンインストール 下のタグ 最近のアクション のセクションから無料でダウンロードできます。

推奨:
We hope you found this article helpful about how to install, use or uninstall DirectX Graphics Tool in Windows 11. Drop your suggestions and queries in the comment section below. We would love to hear from you. Stay tuned for more such info!