როგორ შევცვალოთ ფონი Windows 11-ზე

New Windows 11 focuses heavily on the appearance aspect of Graphical User Interface i.e. GUI. The first impression of a computer is greatly influenced by the Desktop Wallpaper. So, Windows 11 has made various changes to it which may confuse new users. In this article, we are going to explore different ways on how to change wallpaper on Windows 11. In addition, we have explained how to change desktop background on Windows 11 and customize wallpapers and colors. While some of these may seem familiar, others are totally new. Let us begin!
How to Change Desktop Wallpaper or Background on Windows 11
მეთოდი 1: Windows პარამეტრების მეშვეობით
Settings app is the hub of all customizations and changes you could do on your computer. Changing wallpaper is also a part of it. Here’s how to change wallpaper on Windows 11 through Windows Settings:
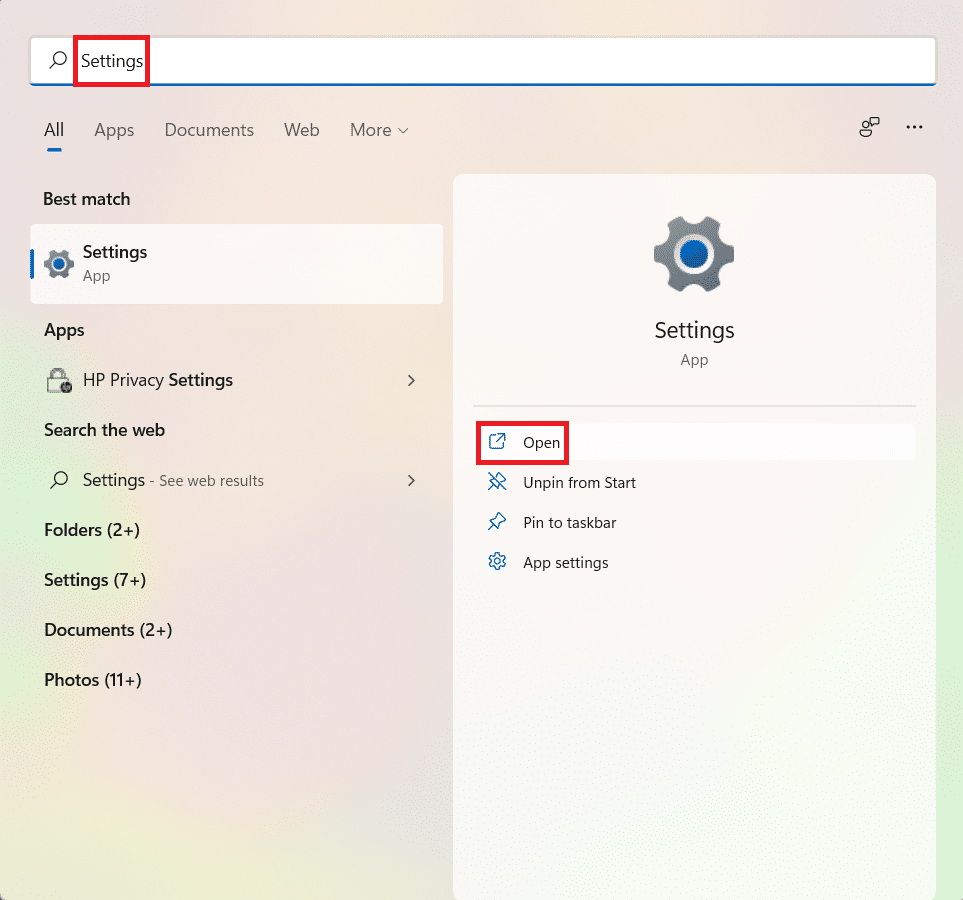
1. დაწკაპეთ ძიება ხატულა და ტიპის პარამეტრები. შემდეგ, დააჭირეთ ღილაკს ღიაა, როგორც ნაჩვენებია.
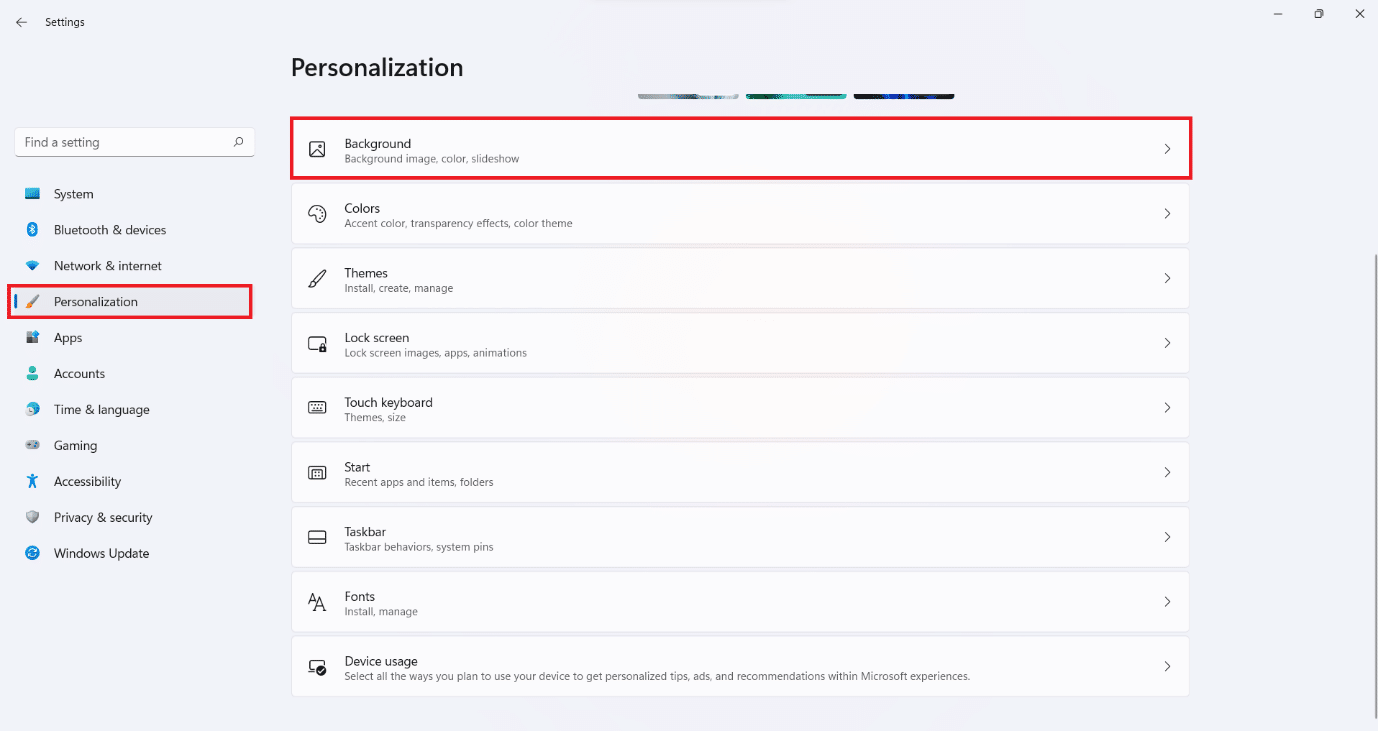
2. დაწკაპეთ პერსონალიზაციის მარცხენა პანელში და აირჩიეთ ಹಿನ್ನೆಲೆ ვარიანტი, როგორც ხაზგასმულია ქვემოთ.
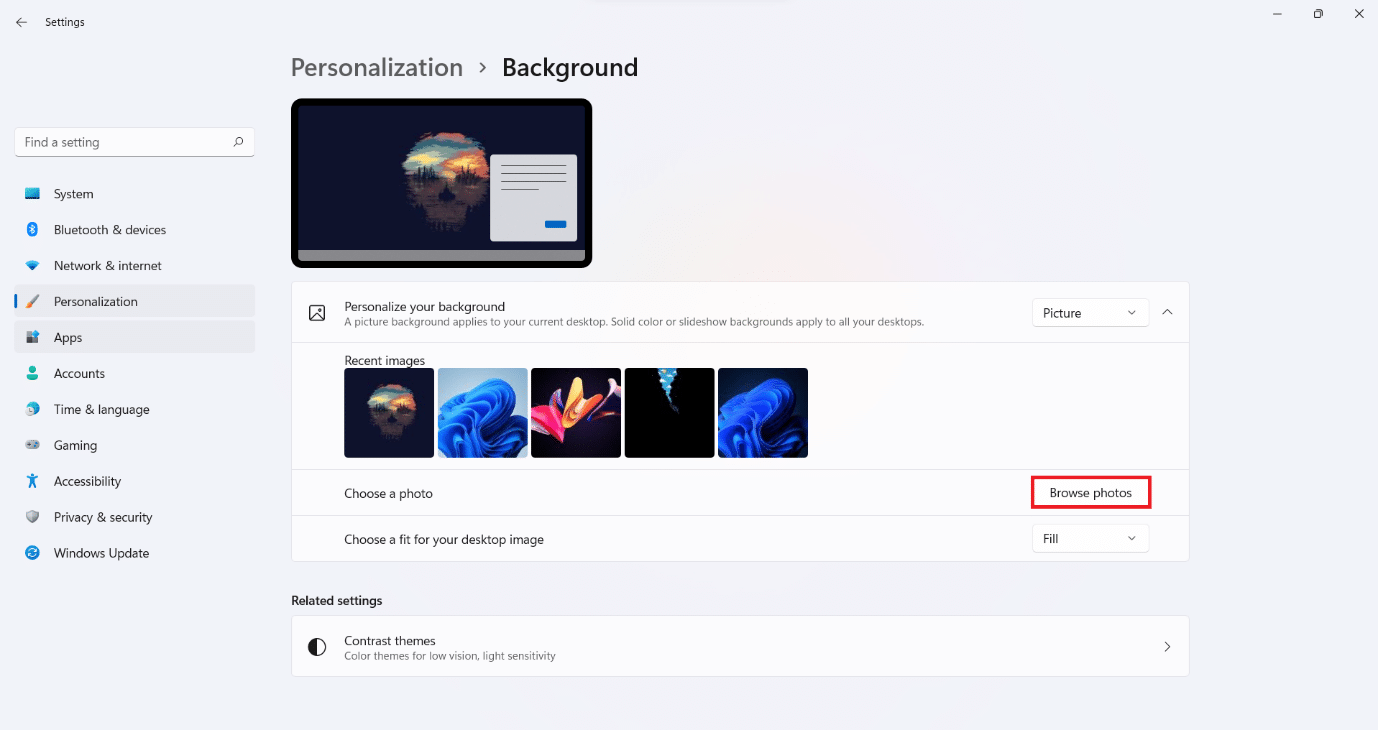
3. ახლა, დააჭირეთ ღილაკს დაათვალიერეთ ფოტოები.
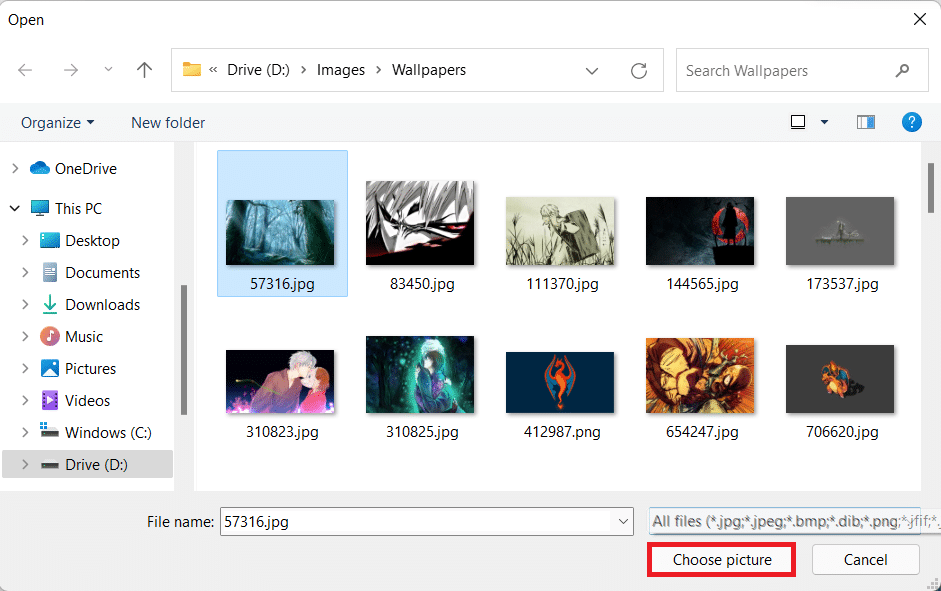
4. Browse through your file storage to find the ფონი you want to set as Desktop background. Select the file and click on აირჩიეთ სურათი, როგორც ნაჩვენებია ქვემოთ.
Method 2: Via File Explorer
Alternately, you could set wallpaper while browsing through your file directory, as follows:
1. დაჭერა Windows + E კლავიშები ერთდროულად გასახსნელად File Explorer.
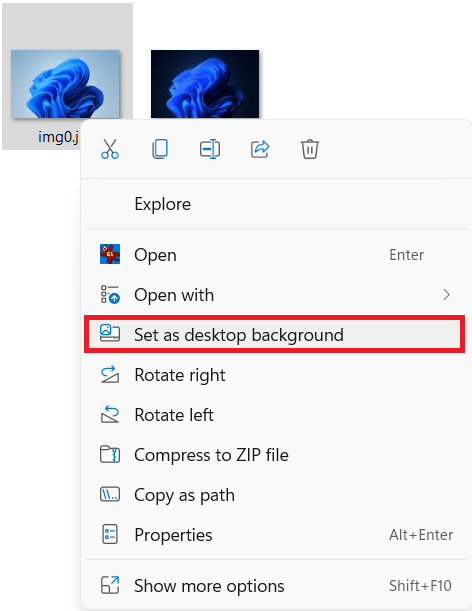
2. Browse through the directories to find the Image you want to set as Desktop background.
3. Now, right-click on the image file and select შექმენით როგორც დესკტოპის ფონზე ვარიანტი.
ასევე წაიკითხე: [მოგვარებულია] Windows 10 File Explorer-ის ავარია
Method 3: Using Default Wallpapers
Windows 11 comes pre-equipped with all new wallpapers and themes that you could possibly need. Here’s how to change desktop wallpaper on Windows 11 through File Explorer:
1. დაჭერა Windows + E კლავიშები ერთად გასახსნელად File Explorer, როგორც ადრე.
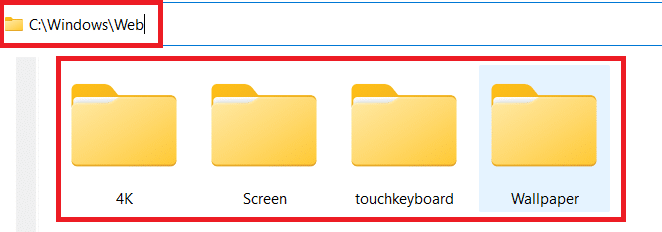
2. In სამისამართოტიპი X:WindowsWeb და დააჭირეთ შეიყვანეთ გასაღები.
შენიშვნა: აქ, X წარმოადგენს primary drive where Windows 11 is installed.
3. აირჩიეთ ა wallpaper category from the given list and select your desired ფონი.
შენიშვნა: There are 4 wallpaper folder categories: 4K, Screen, touchkeyboard, და ფონი. გარდა ამისა, ფონი folder has sub-categories like Captured Motion, Flow, Glow, Sunrise, Windows.
4. Lastly, right-click on the image file and select შექმენით როგორც დესკტოპის ფონზე ვარიანტი.
Method 4: Through Photo viewer
Found a perfect wallpaper while going through your photos using Photo Viewer? Here’s how to set it as dekstop background:
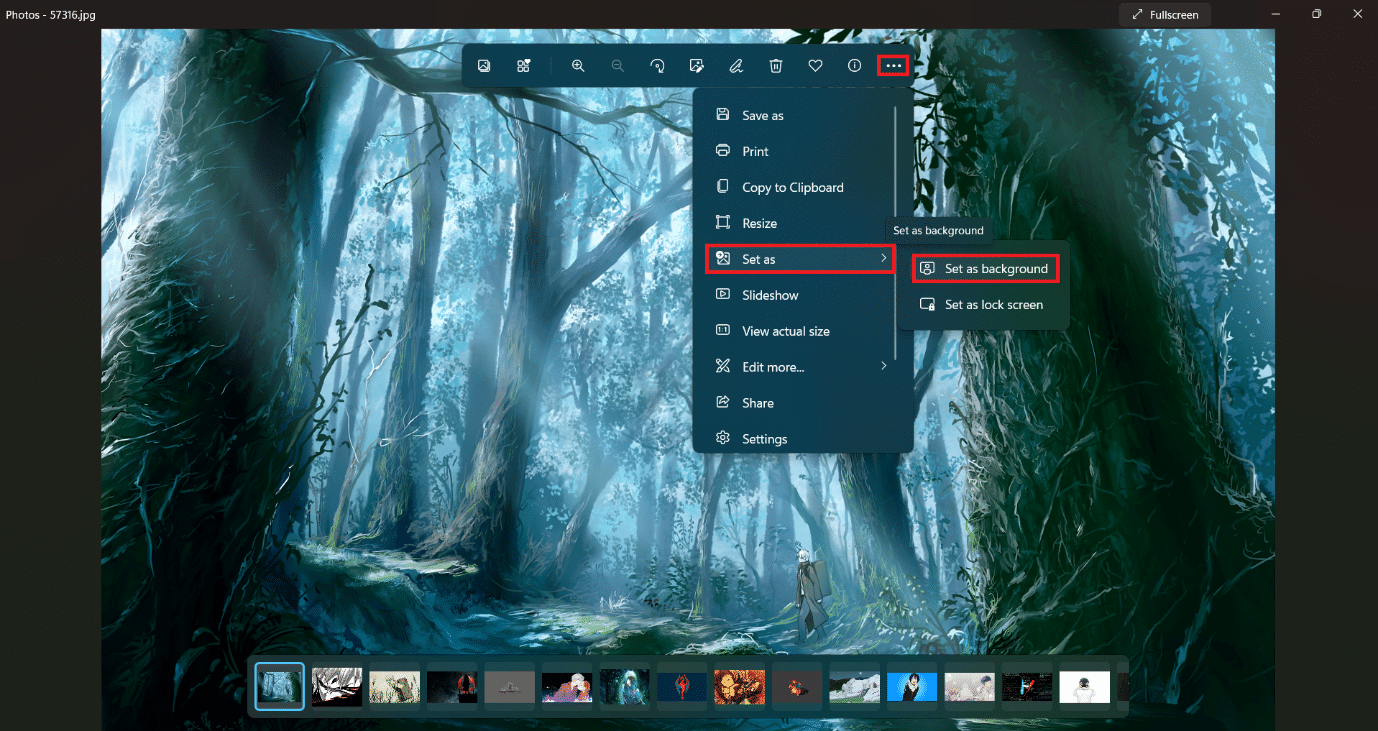
1. Browse through the saved images using ფოტო სანახავი.
2. შემდეგ დააწკაპუნეთ სამ წერტილიანი ხატი ზედა ზოლიდან.
3. აქ აირჩიეთ Set as > Set as background ვარიანტი, როგორც ილუსტრირებულია ქვემოთ.
ასევე წაიკითხე: დააყენეთ ყოველდღიური Bing სურათი, როგორც ფონი Windows 10-ზე
Method 5: Through Web Browsers
Internet is the perfect place for your next desktop background. If you come across an image that is perfect for your next desktop background, you could set it as your desktop wallpaper using these steps:
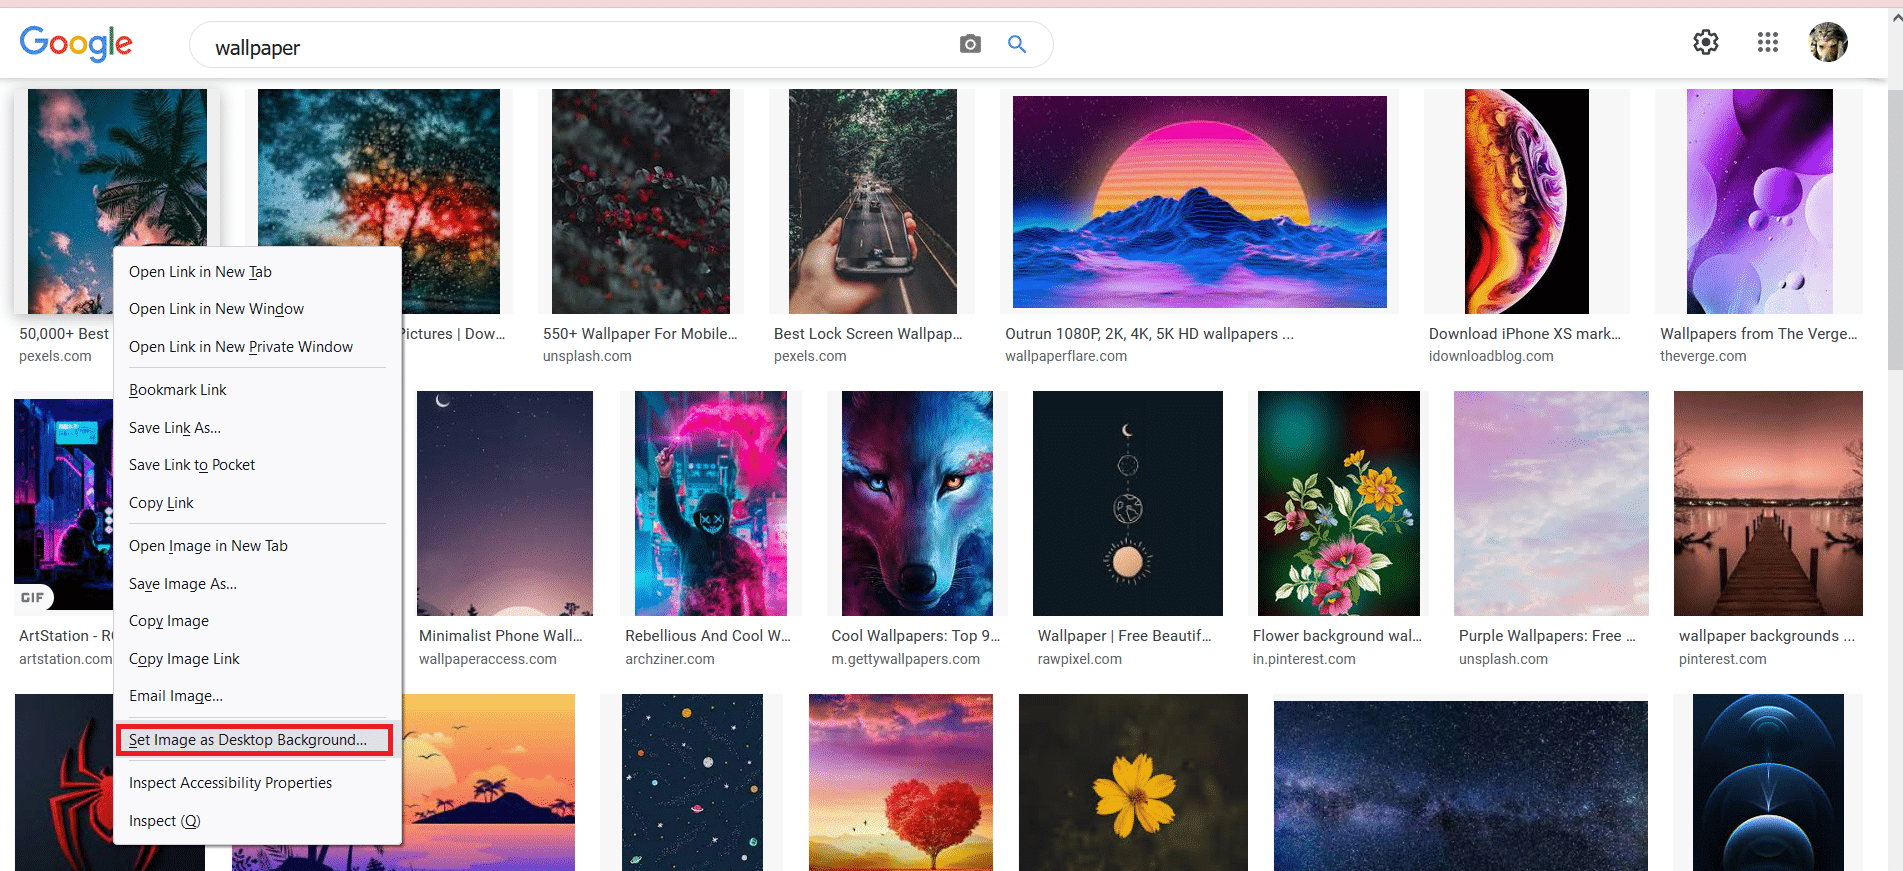
1. Launch a web browser such as Google Chrome მდე ძიება for your desired image.
2. მარჯვენა ღილაკით დააჭირეთ ღილაკს Image you like and select Set Image as Desktop background… ვარიანტი, როგორც ნაჩვენებია.
How to Customize Desktop Background
Now, that you know how to change desktop background on Windows 11, follow given methods to customize it.
Method 1: Set Solid Color as Desktop Background
Setting a solid color as your desktop background is one of many ways you could give a minimalistic look to your computer.
1. დაიწყე პარამეტრები from the search results, as shown.
2. დაწკაპეთ პერსონალიზაციის > ಹಿನ್ನೆಲೆ, როგორც ნაჩვენებია ქვემოთ.
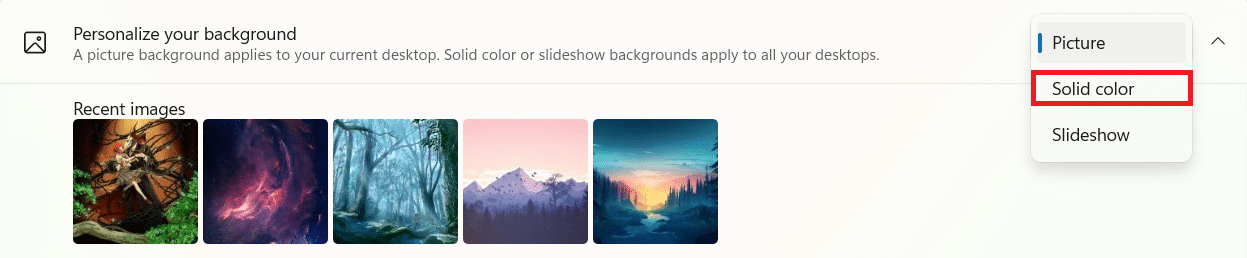
3. აირჩიეთ მყარი color საწყისი თქვენი ფონის პერსონალიზაცია ჩამოსაშლელი სია.
4A. Select your desired color from the color options given under Choose your background color სექცია.
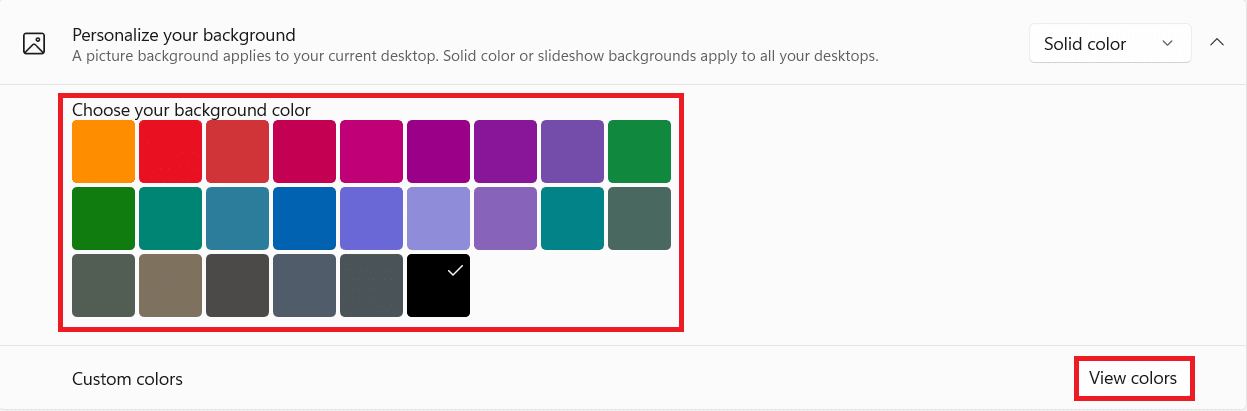
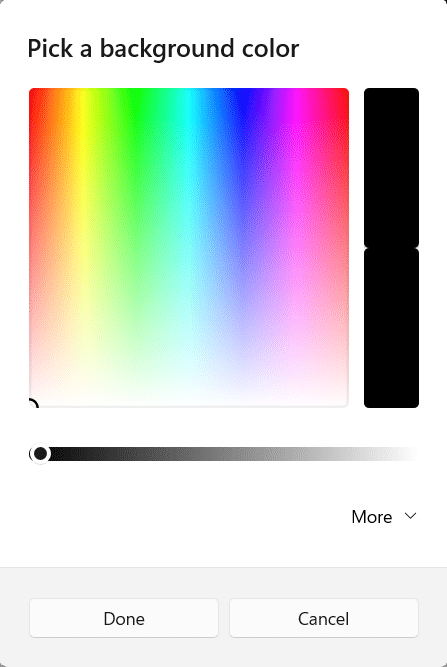
4B. Alternatively, click on ფერების ნახვა to choose a custom color instead.
ასევე წაიკითხე: დააფიქსირეთ შავი დესკტოპის ფონი Windows 10-ში
Method 2: Set Slideshow in Desktop Background
You could set a slideshow of your favorite photos of your family or friends or vacation as well. Here’s how to change wallpaper on Windows 11 by setting slideshow as the background:
1. წადი Settings > Personalize > Background as instructed in the previous method.
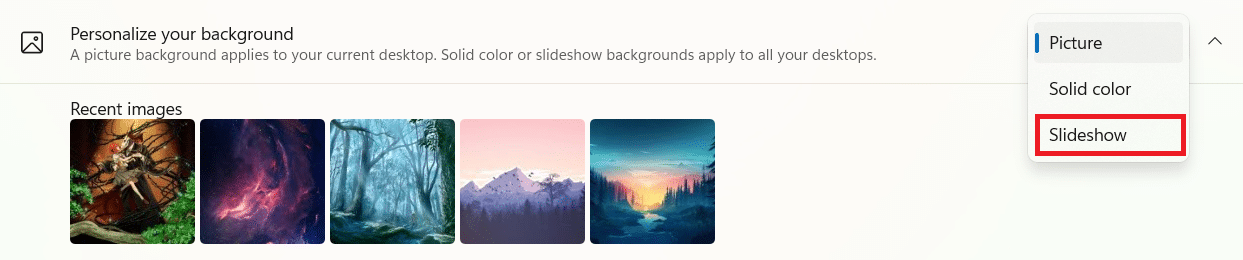
2. This time, choose Slideshow იმ თქვენი ფონის პერსონალიზაცია drop-down menu, as illustrated below.
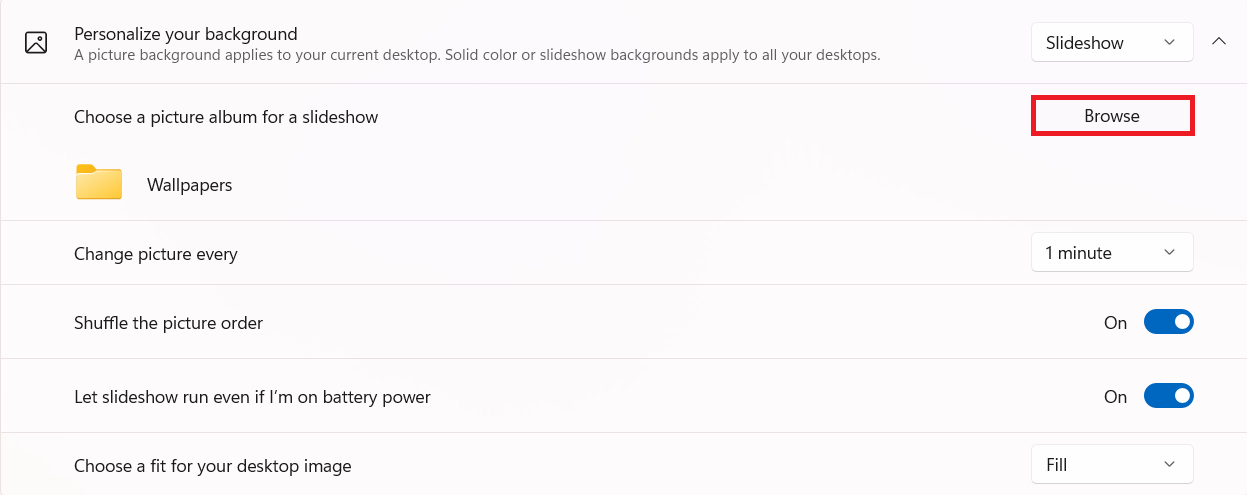
3. In Choose a picture album for a slideshow ვარიანტი, დააჭირეთ ღილაკს იხილე ღილაკს.
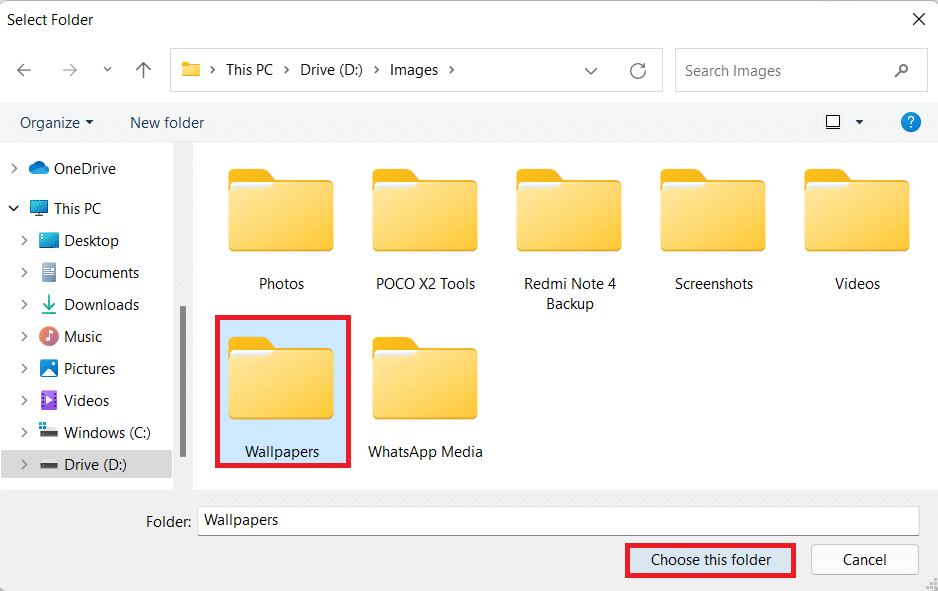
4. Browse through the directories and select your Desired folder. შემდეგ, დააჭირეთ აირჩიეთ ეს საქაღალდე როგორც ნაჩვენებია.
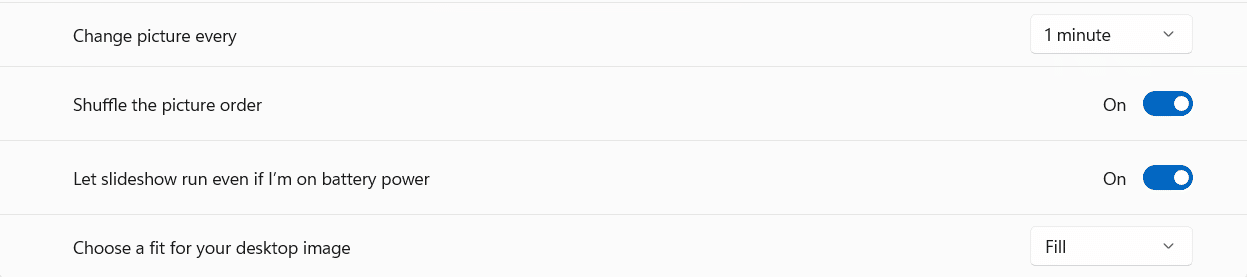
5. You can customize the slideshow from the given options viz:
- Change picture every <t> minutes: You can choose the time period after which pictures will change.
- Shuffle the picture order: The pics will not appear in chronological order as saved in the folder, but will be shuffled randomly.
- Let slideshow run even if I’m on battery power: Turn it off when you want to save battery, otherwise it can be kept turned on.
- Choose a fit for your desktop image: We recommend using Fill option to view pics in full screen mode.
რეკომენდებული:
We hope you found this article interesting and were able to learn how to change Desktop Wallpaper or Background on Windows 11. Let us know which method did you find the best. You can send your suggestions and queries in the comment section down below. We would love to know which topic you want us to explore next.