Windows 10 жүйесінде Rainmeter қос монитор мұқабасын қалай орнатуға болады

Rainmeter is a fantastic software for modifying Windows. Its skins are picked by users based on the information they provide and how attractive they make your desktop. Users can pick from a variety of skins to give their PC a different look. Rainmeter skins are not designed to be used on multiple displays but there is a way to do it. If you are someone looking for tips about the same, we bring to you a helpful guide that will teach you how to set up dual monitor Rainmeter skins.
Windows 10 жүйесінде Rainmeter қос монитор мұқабасын қалай орнатуға болады
Here is how you can set up dual monitor Rainmeter skins on Windows 10.
Ескерту: Using several Rainmeter skins will hamper your system performance if it lacks proper hardware.
Step I: Download and Install Rainmeter
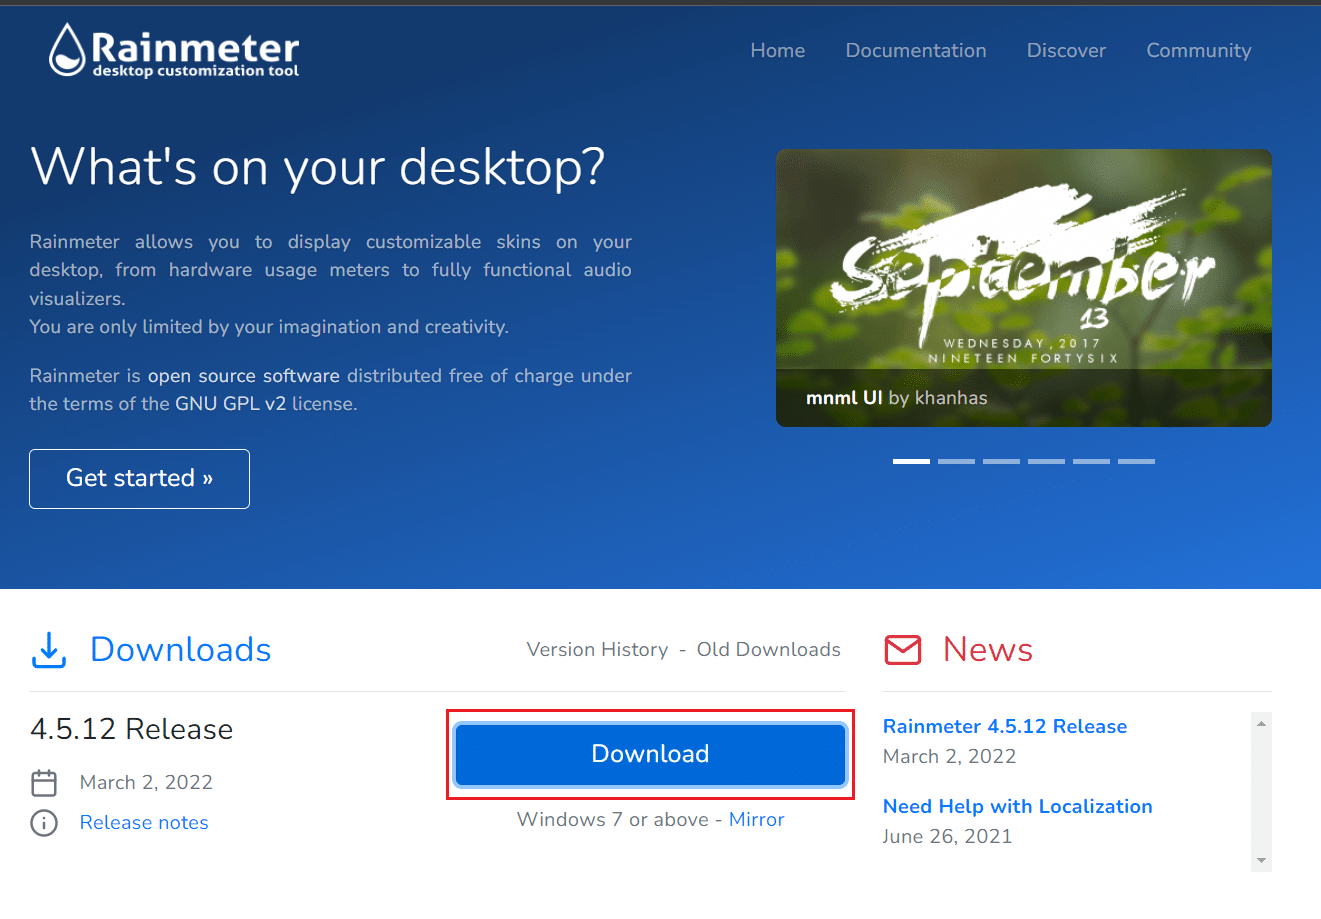
Follow these steps to download Rainmeter.
1. Жүктеп алыңыз Радармер қосымшасы ресми сайты.
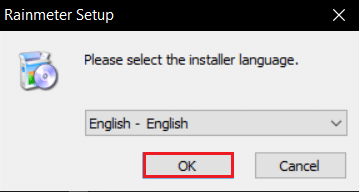
2. Жүктелгенді іске қосыңыз Rainmeter Setup файлын басыңыз және басыңыз OK after selecting the language.
3. Таңдаңыз Standard installation (recommended) параметрін таңдап, шертіңіз Келесі.

4. Then, choose the installation location жолы.
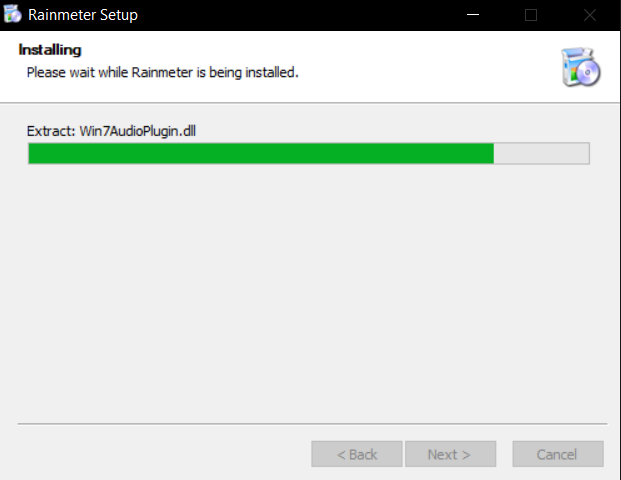
5. Күтіңіз Радармер орнату.
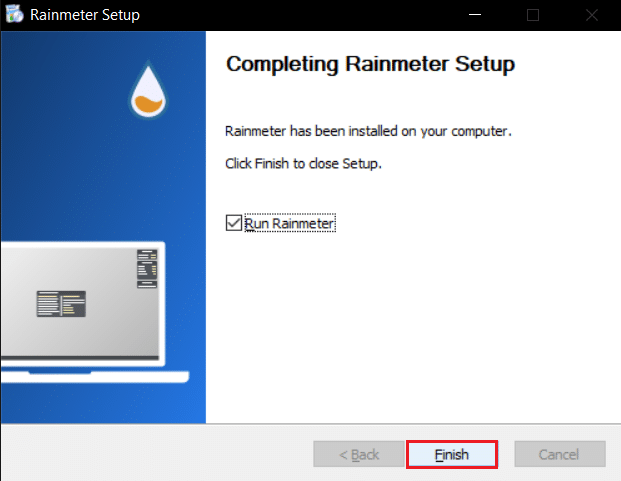
6. Басыңыз Аяқтау after completing Rainmeter Setup.
Сондай-ақ оқыңыз: Windows 10 үшін тақырыптарды қалай жүктеп алуға болады
Step II: Set Up Rainmeter Skins
Select the Rainmeter skins you wish to use on multiple displays. If you’re using several skins, filter the ones you wish to use on all of your displays. Follow the given steps to set up Rainmeter dual monitor skins.
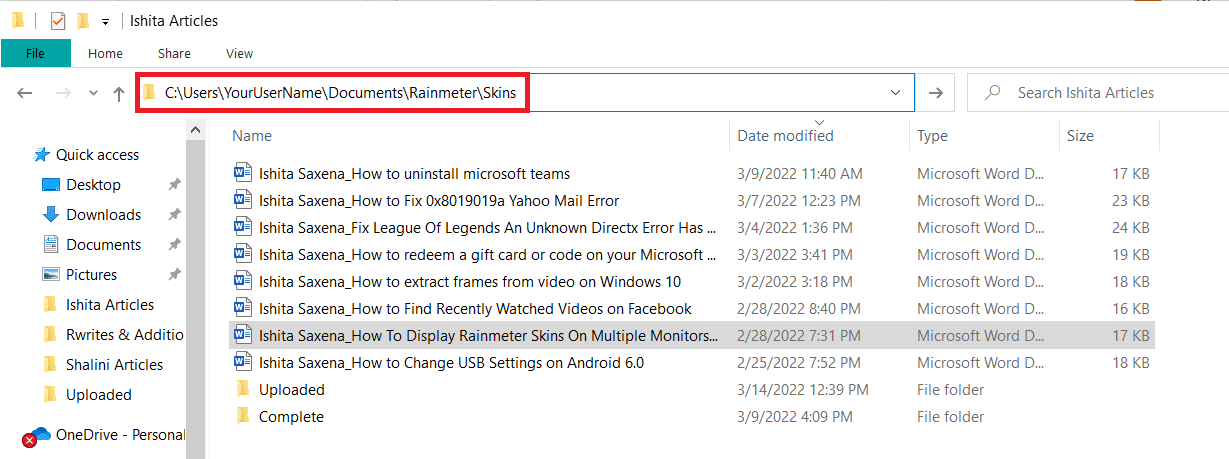
1. Go to the given location жолы in File Explorer бағдарламасы.
C:UsersYourUserNameDocumentsRainmeterSkins
2. Duplicate all folders containing Радармердің терісі that you want to be displayed on multiple screens.
Ескерту: You may rename it to identify it easily as a copy. It won’t interfere with system UI.
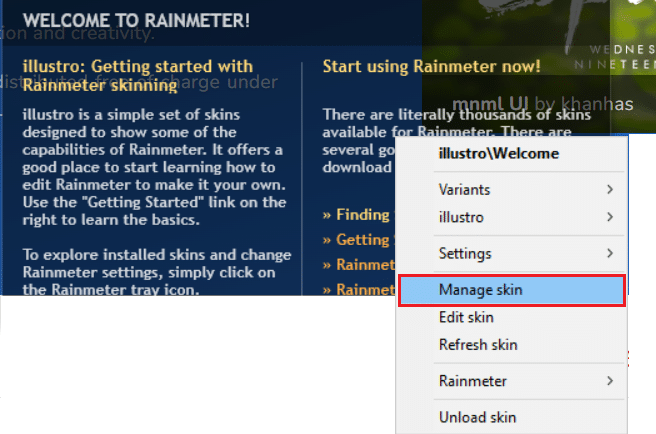
3. түймесін басыңыз Windows кілті, теріңіз Радармер, және нұқыңыз ашық.

4. Right-click on Rainmeter and select the Manage skin опция.
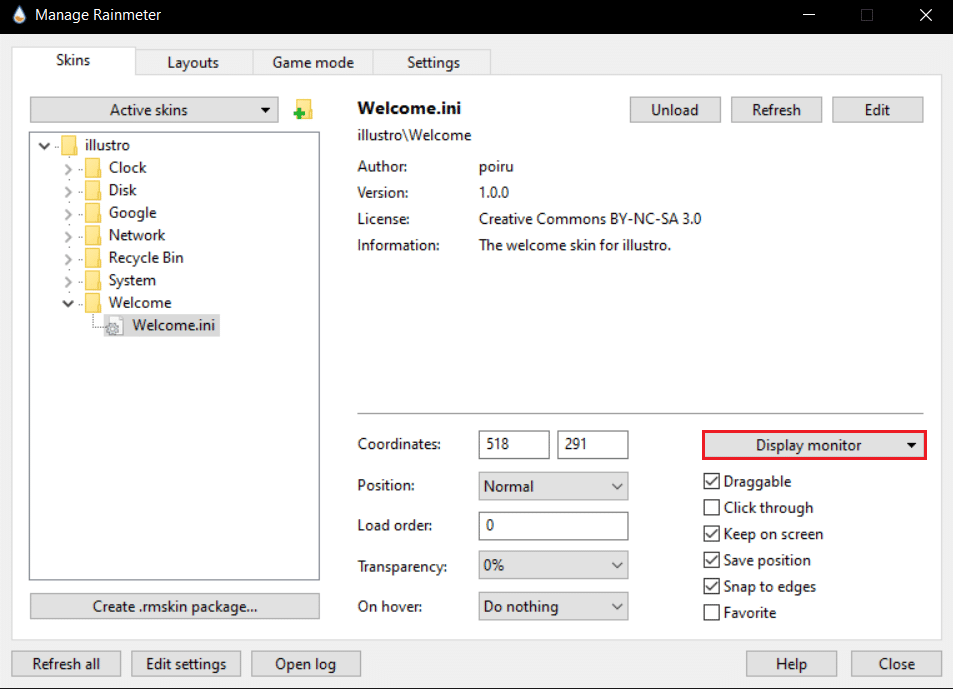
5. Басыңыз Мониторды көрсету опция.
6. Таңдаңыз монитор from the dropdown option and apply the skins.
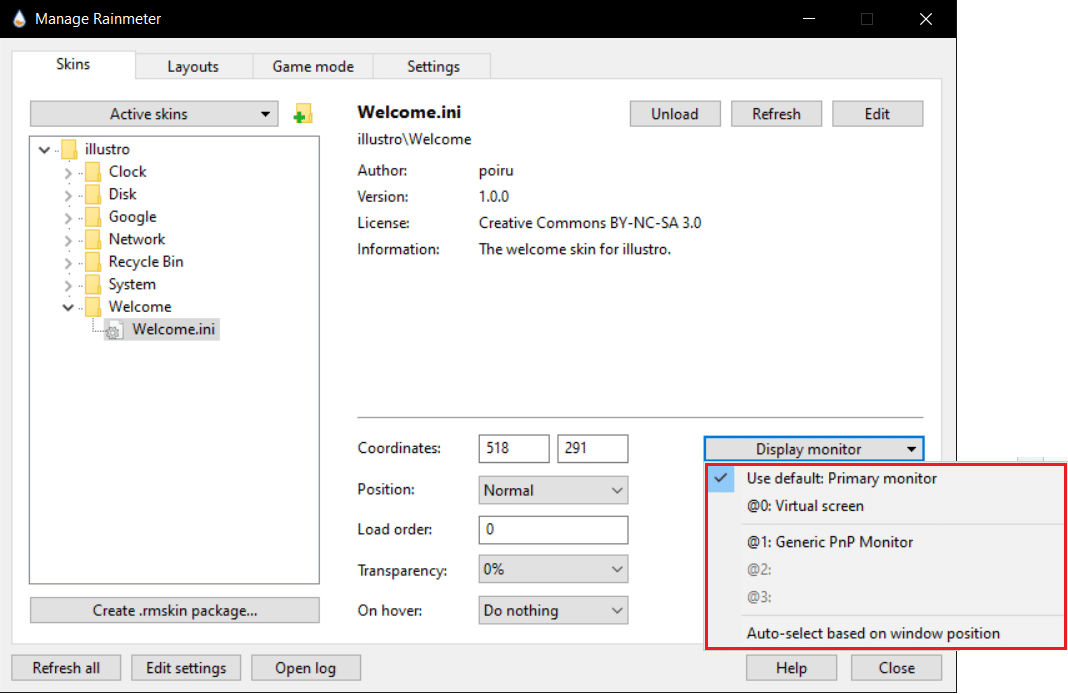
You can use this method on several monitors simultaneously. Skins can be duplicated without limitation. This method will only reproduce the skin in its current state. It won’t change its appearance. You can copy a modified skin though as the INI file remains the same. The changes will show in other monitors which are using the modified skin.
Жиі қойылатын сұрақтар (ЖҚС)
Q1. Is it safe to use Rainmeter skins?
Жауап: They are entirely safe because they are only made available for download after comprehensive verification on authorized websites. However, if your system setup is inadequate, you may encounter difficulties in operating them. It depends on the system.
Q2. Does Rainmeter consume a large amount of RAM?
Жауап: Иә, because of the animations it requires roughly 35 МБ of Жедел Жадтау Құрылғысы and will consume 5% процессор performance. Most Rainmeter themes utilize a fraction of that and it can be reduced further by disabling animations.
Q3. What’s the best way to get rid of Rainmeter skins?
Жауап: Simply delete skins you want to get rid of from Documents/Rainmeter/skins (which is the default folder). Then open Rainmeter and go to the bottom of the page and select Refresh skins. And they will be removed.
Ұсынылған:
Бұл нұсқаулық пайдалы болды және сіз жасай алдыңыз деп үміттенеміз set up Rainmeter dual monitor skins on Windows 10. If you have any queries or suggestions then feel free to drop them in the comments section.