Change Diagnostic and Usage Data Settings in Windows 10

Change Diagnostic and Usage Data Settings in Windows 10: You must be aware of the Diagnostic and Usage Data Settings which allows Microsoft to collect performance and usage information which helps Microsoft to troubleshoot issues with Windows and improve their product & services and resolve bugs as soon as possible. But the best part of this feature is that you can actually control the amount of diagnostic and usage data sent to Microsoft from your system.
You can select to only send basic diagnostic information which contains info about your device, its settings, and capabilities or you can select the Full diagnostic information which contains all the information about your system. You can also delete the Windows Diagnostic Data that Microsoft has collected from your device. Anyway, without wasting any time let’s see How to Change Diagnostic and Usage Data Settings in Windows 10 with the help of the below-listed tutorial.
Change Diagnostic and Usage Data Settings in Windows 10
혹시라도 문제가 생길 경우를 대비해 복원 지점을 만들어 두시기 바랍니다.
The initial settings can be configured during the Windows Setup when you get to Choose privacy settings for your device simply enable the toggle for Diagnostics to select “Full” and leave it disabled if you want to set Diagnostic and usage data collection policy to “Basic”.
Method 1: Change Diagnostic and Usage Data Settings in Settings App
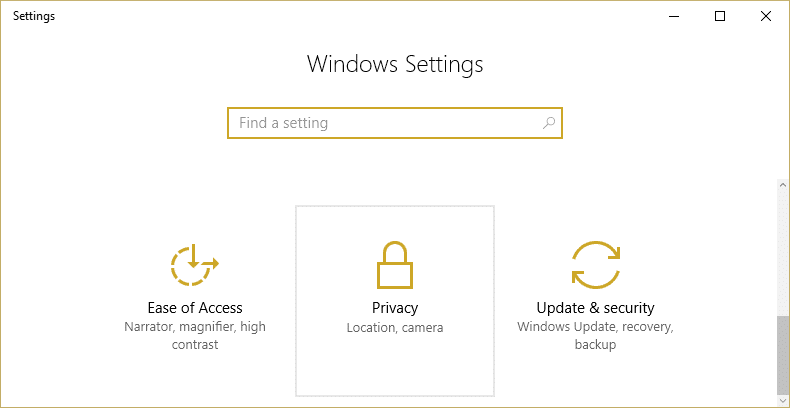
1. Windows 키 + I를 눌러 엽니다. 설정 다음을 클릭하십시오 개인 정보 보호 아이콘.
2.왼쪽 메뉴에서 진단 및 피드백.
3.Now either select Basic or Full for the Diagnostic and usage data.
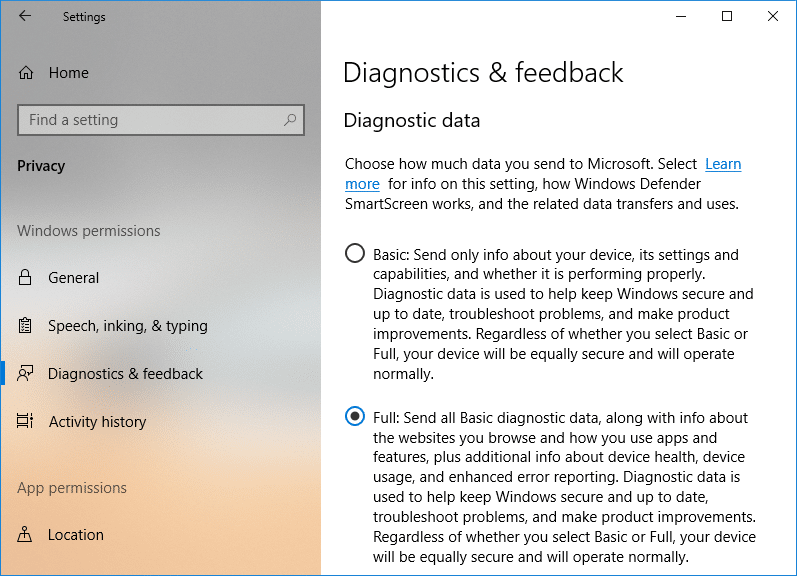
참고 : By default, the setting is set to “Full”.
4.Once finished, close the setting and reboot your PC.
또한 읽기 : Quest Diagnostics는 워크인을 지원합니까?
Method 2: Change Diagnostic and Usage Data Settings in Registry Editor
1. Windows 키 + R을 누른 다음 입력 regedit를 Enter 키를 눌러 엽니 다. 레지스트리 편집기.

2. 다음 레지스트리 키로 이동합니다.
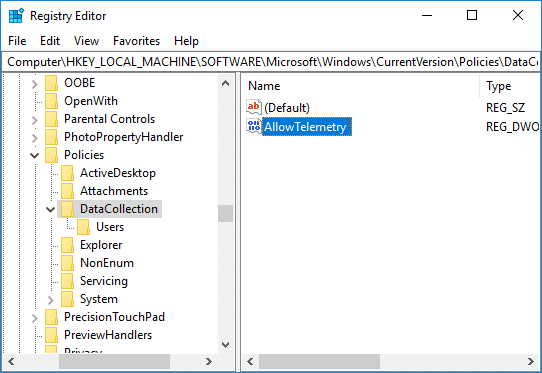
HKEY_LOCAL_MACHINESOFTWAREMicrosoftWindowsCurrentVersionPoliciesDataCollection
3. 꼭 선택하세요 데이터 수집 그런 다음 오른쪽 창에서 다음을 두 번 클릭하십시오. AllowTelemetry DWORD.
4.Now make sure to change the value of the AllowTelemetry DWORD according to:
0 = Security (Enterprise and Education editions only)
1 = Basic
2 = Enhanced
3 = Full (Recommended)
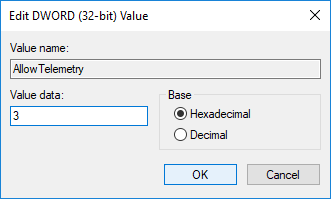
5.Once done, make sure to click OK and close registry editor.
Method 3: Change Diagnostic and Usage Data Settings in Group Policy Editor
1. Windows 키 + R을 누른 다음 입력 gpedit.msc를 Enter 키를 눌러 엽니 다. 그룹 정책 편집기.
2.다음 경로로 이동합니다.
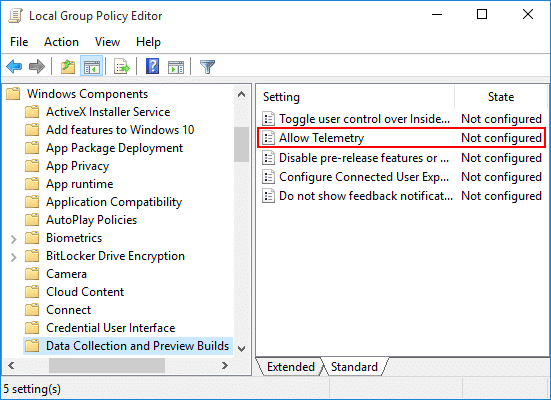
Computer ConfigurationAdministrative TemplatesWindows ComponentsData Collection and Preview Builds
3.Make sure to select Data Collection and Preview Builds then in right window pane double-click on Allow Telemetry Policy.
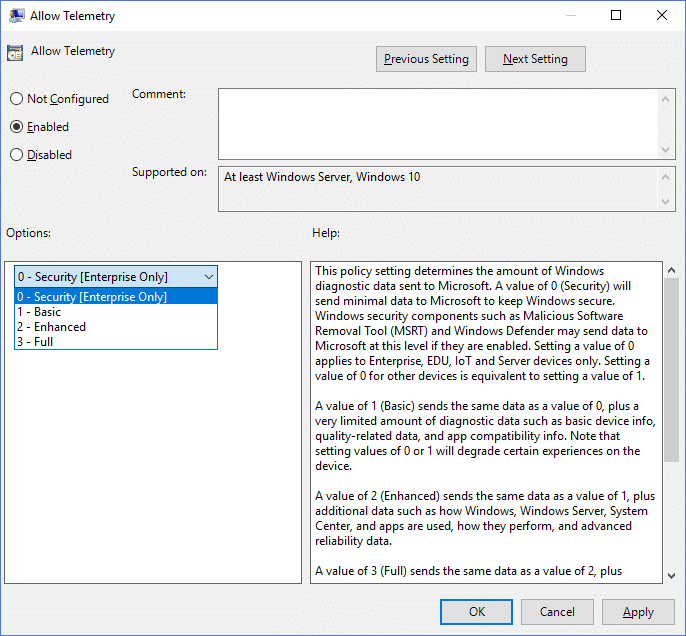
4.Now to restore default diagnostic and usage data collection setting simply select Not Configured or Disabled for Allow Telemetry policy and click OK.

5.If you want to force a diagnostic and usage data collection setting then 사용을 선택하십시오 for Allow Telemetry policy and then under Options select Security (Enterprise Only), Basic, Enhanced, or Full.
6. 적용을 클릭한 다음 확인을 클릭합니다.
7.When finished, reboot your PC to save changes.
권장 사항 :
그것이 당신이 성공적으로 배운 것입니다. How to Change Diagnostic and Usage Data Settings in Windows 10 하지만 이 튜토리얼에 관해 여전히 궁금한 점이 있으면 댓글 섹션에서 자유롭게 질문하세요.