Windows 10에서 Credential Guard 활성화 또는 비활성화

Enable or Disable Credential Guard in Windows 10: Windows Credential Guard uses virtualization-based security to isolate secrets so that only privileged system software can access them. Unauthorized access to these secrets can lead to credential theft attacks, such as Pass-the-Hash or Pass-The-Ticket. Windows Credential Guard prevents these attacks by protecting NTLM password hashes, Kerberos Ticket Granting Tickets, and credentials stored by applications as domain credentials.
By enabling Windows Credential Guard the following features and solutions are provided:
하드웨어 보안
가상화 기반 보안
Better protection against advanced persistent threats
Now you know the importance of the Credential Guard, you should definitely enable this for your system. So without wasting any time let’s see How to Enable or Disable Credential Guard in Windows 10 with the help of the below-listed tutorial.
Windows 10에서 Credential Guard 활성화 또는 비활성화
혹시라도 문제가 생길 경우를 대비해 복원 지점을 만들어 두시기 바랍니다.
Method 1: Enable or Disable Credential Guard in Windows 10 using Group Policy Editor
참고 : This method only works if you have Windows Pro, Education, or Enterprise Edtion. For Windows Home version users skip this method and follow the next one.
1. Windows 키 + R을 누른 다음 입력 regedit를 Enter 키를 눌러 엽니 다. 그룹 정책 편집기.

2.다음 경로로 이동합니다.
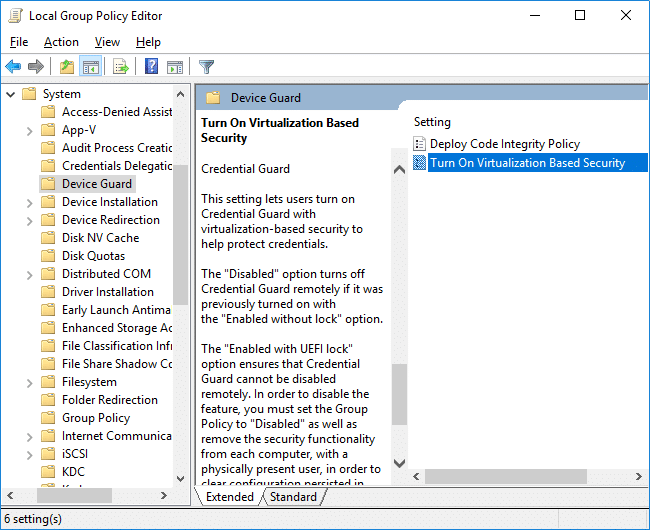
Computer Configuration > Administrative Templates > System > Device Guard
3. 꼭 선택하세요 장치 보호 장치 than in right window pane double-click on “Turn On Virtualization Based Security” 정책.
4.In the Properties window of the above policy make sure to select 사용함.
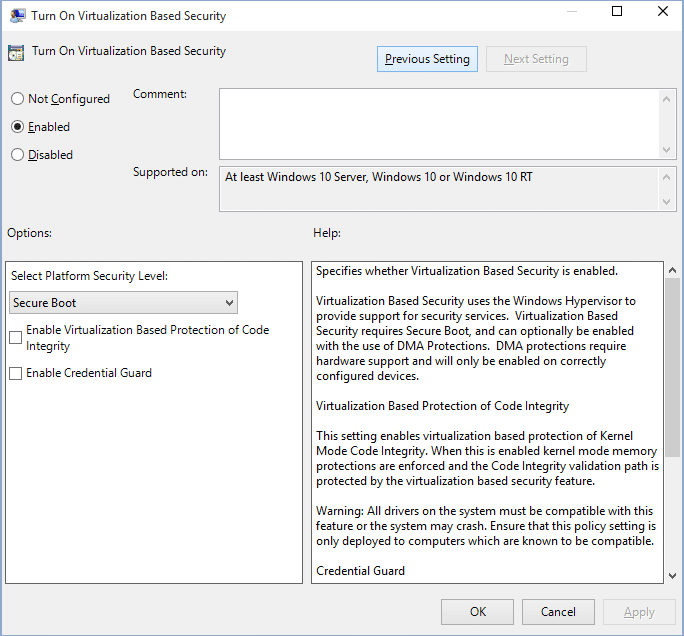
5.Now from the “플랫폼 보안 수준 선택” drop-down select Secure Boot or Secure Boot and DMA 보호.
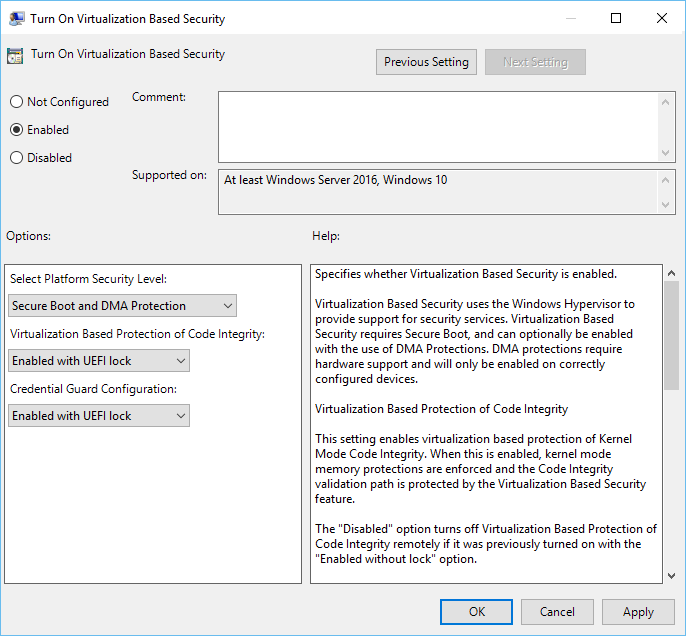
6.Next, from “Credential Guard Configuration” drop-down select Enabled with UEFI lock. If you want to turn off Credential Guard remotely, choose Enabled without lock instead of Enabled with UEFI lock.
7.Once finished, click Apply followed by OK.
8. PC를 재부팅하여 변경 사항을 저장합니다.
Method 2: Enable or Disable Credential Guard in Windows 10 using Registry Editor
Credential Guard uses virtualization-based security features which have to be enabled first from Windows feature before you can enable or disable Credential Guard in Registry Editor. Make sure to only use one of the below-listed methods to enable virtualization-based security features.
프로그램 및 기능을 사용하여 가상화 기반 보안 기능 추가
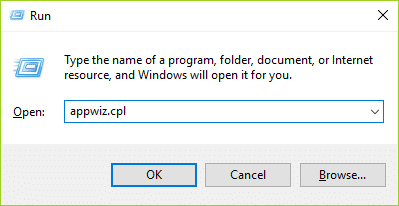
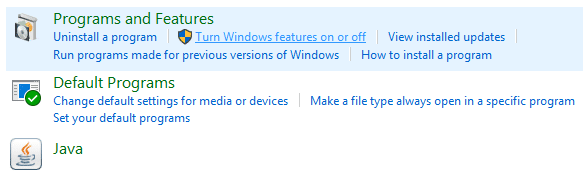
1. Windows 키 + R을 누른 다음 입력 appwiz.cpl을 Enter 키를 눌러 엽니 다. Program and Features.
2.From the left-hand window click on “Windows 기능 켜기 또는 끄기".
3.Find and expand 하이퍼-V then similarly expand Hyper-V Platform.
4.Under Hyper-V Platform 체크 표시 "Hyper-V Hypervisor".
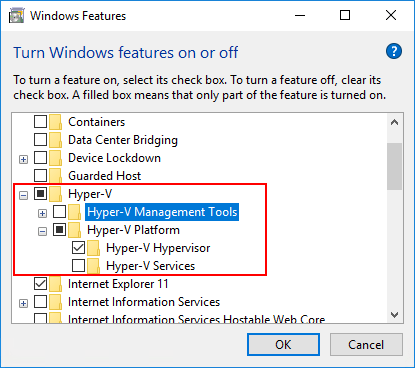
5.Now scroll down and checkmark “Isolated User Mode” 확인을 클릭하십시오.
DISM을 사용하여 오프라인 이미지에 가상화 기반 보안 기능 추가
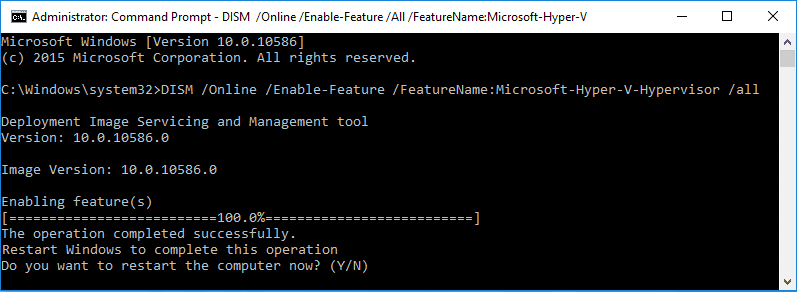
1. Windows 키 + X를 누른 다음 선택 명령 프롬프트 (Admin).

2.Type the following command into cmd to add the Hyper-V Hypervisor and hit Enter:
dism /image:<WIM file name> /Enable-Feature /FeatureName:Microsoft-Hyper-V-Hypervisor /all
OR
dism /Online /Enable-Feature:Microsoft-Hyper-V /All
3.Add the Isolated User Mode feature by running the following command:
dism /image:<WIM file name> /Enable-Feature /FeatureName:IsolatedUserMode
OR
dism /Online /Enable-Feature /FeatureName:IsolatedUserMode
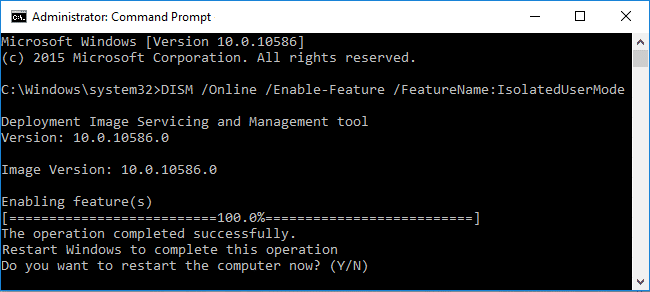
4.Once finished, you can close the command prompt.
Windows 10에서 Credential Guard 활성화 또는 비활성화
1. Windows 키 + R을 누른 다음 입력 regedit를 Enter 키를 눌러 엽니 다. 레지스트리 편집기.
2. 다음 레지스트리 키로 이동합니다.
HKEY_LOCAL_MACHINESystemCurrentControlSetControlDeviceGuard
3.오른쪽 클릭 DeviceGuard 그 다음에 새로 만들기 > DWORD(32비트) 값.
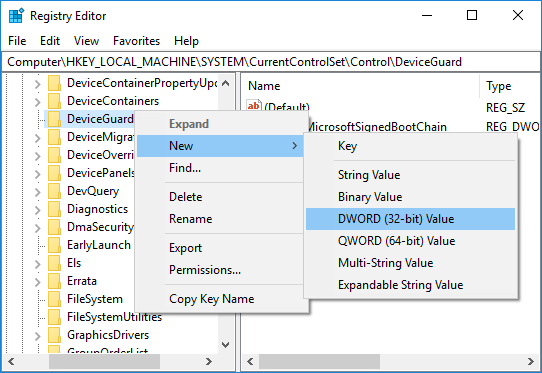
4. 새로 생성된 DWORD의 이름을 다음과 같이 지정합니다. 가상화 기반 보안 활성화 Enter를 누르십시오.
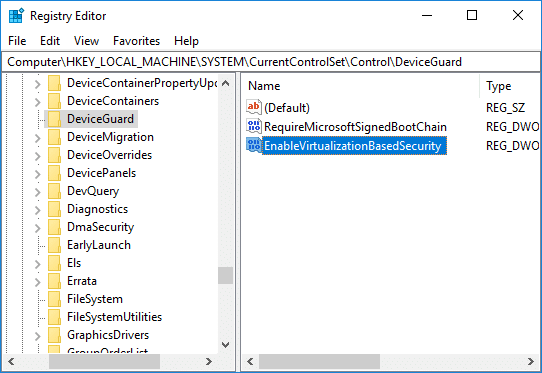
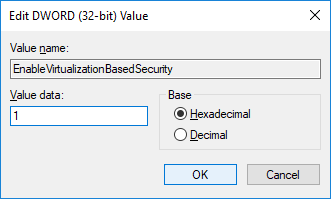
5.Double-click on EnableVirtualizationBasedSecurity DWORD then change its value to:
To Enable Virtualization-based Security: 1
To Disable Virtualization-based Security: 0
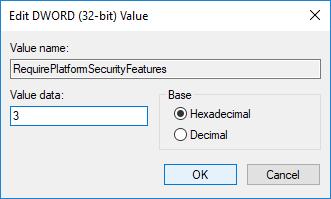
6.Now again right-click on DeviceGuard then select 새로 만들기> DWORD (32 비트) 값 이 DWORD의 이름을 다음과 같이 지정합니다. RequirePlatformSecurityFeatures 그런 다음 Enter를 누르십시오.
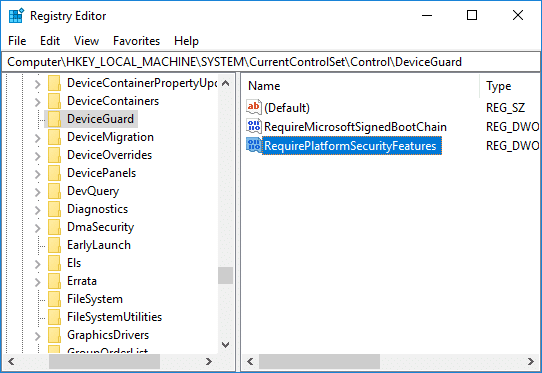
7.Double-click on RequirePlatformSecurityFeatures DWORD and change it’s value to 1 to use Secure Boot only or set it to 3 to use Secure Boot and DMA protection.
8.이제 다음 레지스트리 키로 이동합니다.
HKEY_LOCAL_MACHINESystemCurrentControlSetControlLSA
9.Right-click on LSA then select 새로 만들기> DWORD (32 비트) 값 then name this DWORD as LsaCfg플래그 Enter를 누르십시오.
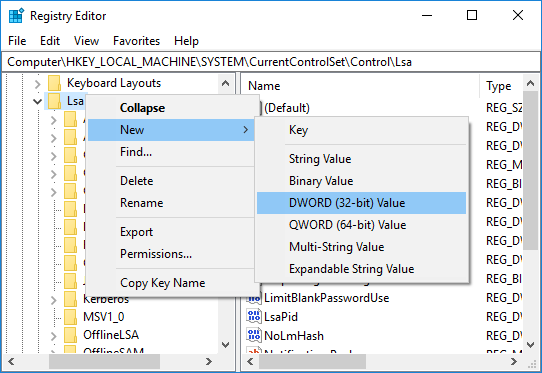
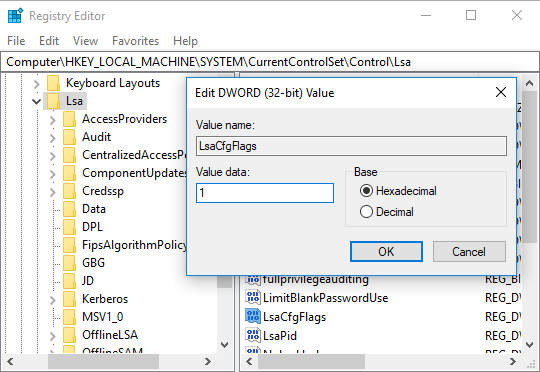
10.Double-click on LsaCfgFlags DWORD and change its value according to:
Disable Credential Guard: 0
Enable Credential Guard with UEFI lock: 1
Enable Credential Guard without lock: 2
11.Once finished, close Registry Editor.
Disable Credential Guard in Windows 10
If Credential Guard was enabled without UEFI Lock then you can Disable Windows Credential Guard 를 사용하여 Device Guard and Credential Guard hardware readiness tool or the following method:
1. Windows 키 + R을 누른 다음 입력 regedit를 Enter 키를 눌러 엽니 다. 레지스트리 편집기.
2.Navigate and delete the following registry keys:
HKEY_LOCAL_MACHINESystemCurrentControlSetControlLSALsaCfgFlags
HKEY_LOCAL_MACHINESoftwarePoliciesMicrosoftWindowsDeviceGuardEnableVirtualizationBasedSecurity
HKEY_LOCAL_MACHINESoftwarePoliciesMicrosoftWindowsDeviceGuardRequirePlatformSecurityFeatures

3.Delete the Windows Credential Guard EFI variables by using bcdedit. Press Windows Key + X then select 명령 프롬프트 (Admin).
4. cmd에 다음 명령을 입력하고 Enter 키를 누릅니다.
mountvol X: /s
copy %WINDIR%System32SecConfig.efi X:EFIMicrosoftBootSecConfig.efi /Y
bcdedit /create {0cb3b571-2f2e-4343-a879-d86a476d7215} /d "DebugTool" /application osloader
bcdedit /set {0cb3b571-2f2e-4343-a879-d86a476d7215} path "EFIMicrosoftBootSecConfig.efi"
bcdedit /set {bootmgr} bootsequence {0cb3b571-2f2e-4343-a879-d86a476d7215}
bcdedit /set {0cb3b571-2f2e-4343-a879-d86a476d7215} loadoptions DISABLE-LSA-ISO
bcdedit /set {0cb3b571-2f2e-4343-a879-d86a476d7215} device partition=X:
mountvol X: /d
5.Once finished, close command prompt and reboot your PC.
6.Accept the prompt to disable Windows Credential Guard.
권장 사항 :
그것이 당신이 성공적으로 배운 것입니다. How to Enable or Disable Credential Guard in Windows 10 하지만 이 튜토리얼에 관해 여전히 궁금한 점이 있으면 댓글 섹션에서 자유롭게 질문하세요.