How to Add a Picture Password in Windows 10

Windows 10 has a lot of security features which are very useful for all users. Still, today we are talking about a particular feature which makes it easier for users to authenticate themselves while logging into their PC. With the introduction of Windows 10, you could now use password, PIN or picture password to log in to your computer. You could also set all three of them and then from the sign-in screen, and you could switch between any of these options to authenticate yourself. The only problem with these sign-in options is that they don’t work in Safe Mode and you have to only use the traditional password to login to your computer in safe mode.
But in this tutorial, we would be talking specifically about Picture Passwords and how to set it up in Windows 10. With picture password, you don’t need to remember the long password instead you sign in by drawing different shapes or making the right gesture over an image to unlock your PC. So without wasting any time let’s see How to Add a Picture Password in Windows 10 아래 나열된 가이드의 도움으로.
How to Add a Picture Password in Windows 10
혹시라도 문제가 생길 경우를 대비해 복원 지점을 만들어 두시기 바랍니다.
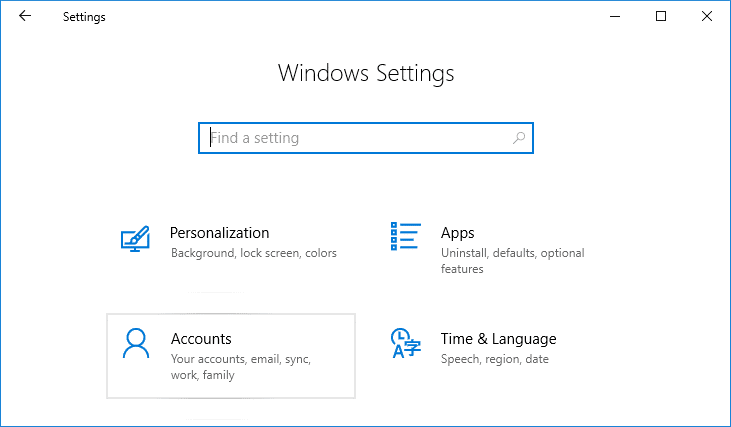
1. Windows 키 + I를 눌러 설정을 연 다음 계정.
2. 왼쪽 메뉴에서 로그인 옵션.
3. 이제 오른쪽 창에서 “를 클릭하세요.추가" 아래에 Picture Password.
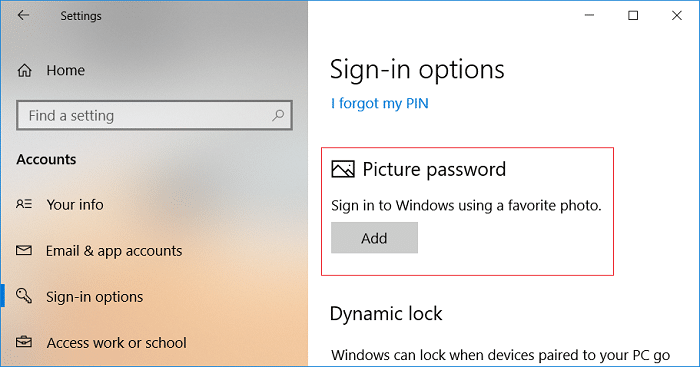
참고 : A local account must have a password to be able to add a picture password. A Microsoft account will be password protected by default.
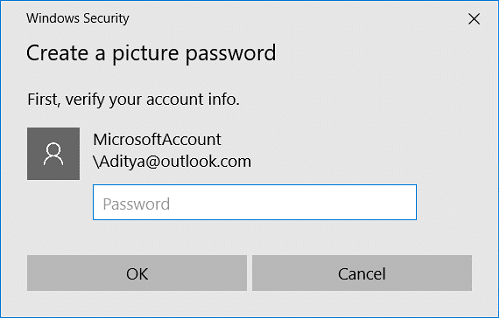
4. Windows에서 신원 확인을 요청합니다., so Enter your account password and click OK.
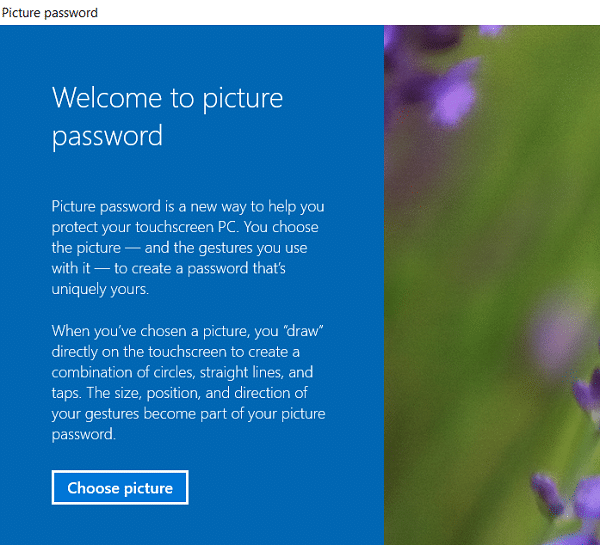
5. A new picture password window will open, 클릭 "사진 선택".
6. 다음 것, navigate to the picture’s location in Open dialog box then select the picture and click 여십시오.
7. Adjust the image by dragging it to position it the way you want then click “이 사진을 사용".
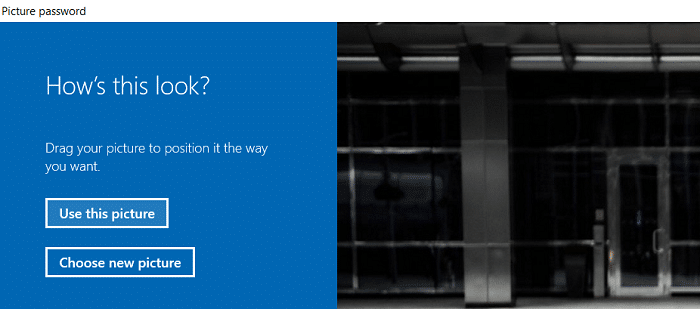
참고 : If you want to use a different picture, click on “Choose new picture” then repeat the steps from 5 to 7.
8. 이제 해야 할 일 draw three gesture one by one on the picture. As you draw each gesture, you will see the numbers will move from 1 to 3.
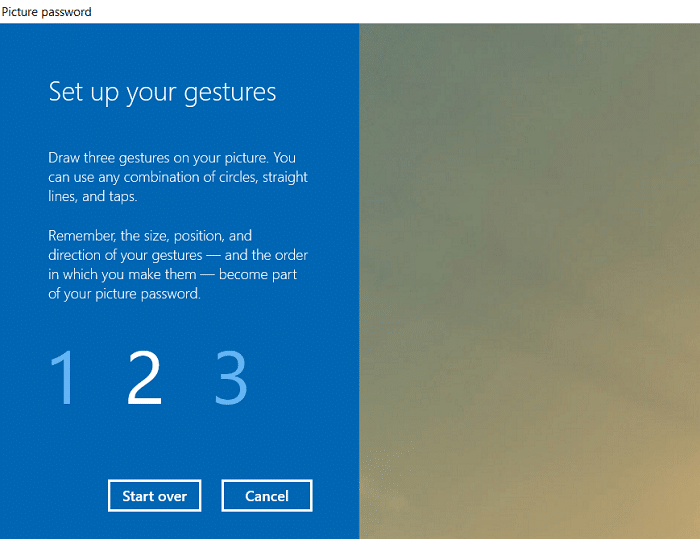
참고 : You can use any combination of circles, straight lines, and taps. You can click & drag to draw a circle or triangle or any shape you like.
9. Once you draw all the three gestures, you will be asked to draw them all again to confirm your password.
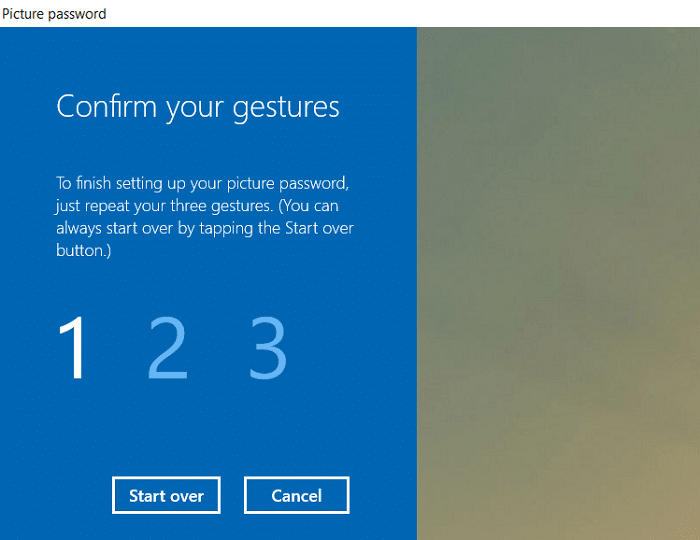
10. If you mess up your gestures, you could click on “다시 시작하다” to start the process again. You would need to draw all the gestures from the beginning.
11. 마지막으로, after adding all the gestures click Finish.
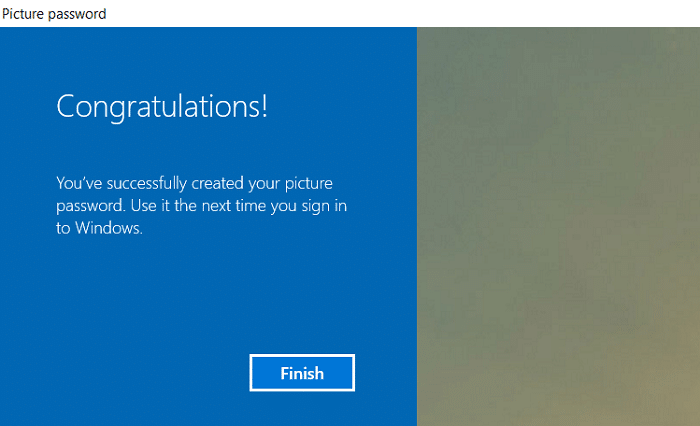
12. That’s it, your picture password has now been added as a sign-in option.
How to Change Picture Password in Windows 10
1. Windows 키 + I를 눌러 설정을 연 다음 계정.
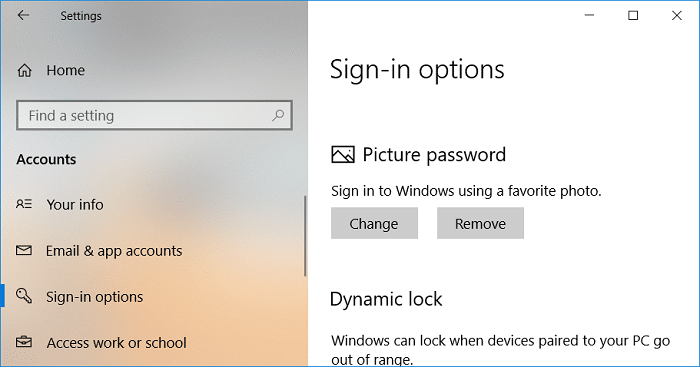
2. 왼쪽 메뉴에서 로그인 옵션.
3. 이제 오른쪽 창에서 “를 클릭하세요.변화” 버튼 아래 Picture Password.
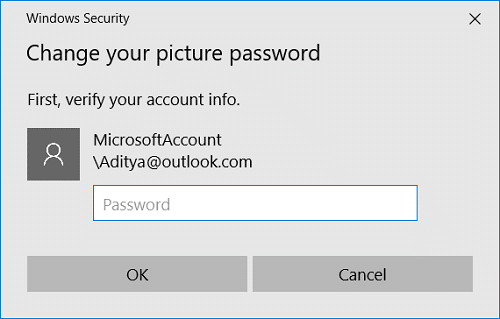
4. Windows will ask you to verify your identity, so 계정 비밀번호를 입력하십시오 확인을 클릭하십시오.
5. 지금 두 가지 옵션이 있습니다, either you could change the gestures of your current picture, or you could use a new picture.
6. To use the current picture, click on “이 사진을 사용” and if you want to use a new image, click “새 사진 선택".
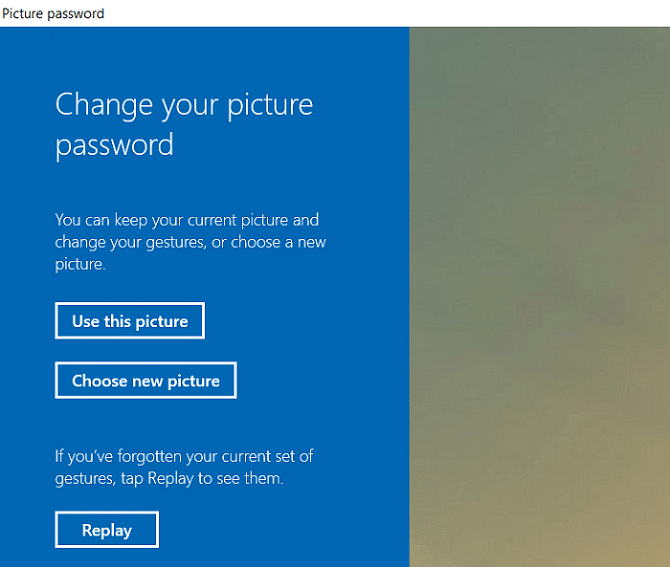
참고 : If you click “Use this picture” then skip the steps 7 and 8.
7. Navigate to and select the picture file you want to use then click 여십시오.
8. Adjust the image by dragging it to position it the way you want then click “이 사진을 사용".
9. 이제 해야 할 일 draw three gesture one by one on the picture.
참고 : You can use any combination of circles, straight lines, and taps. You can click & drag to draw a circle or triangle or any shape you like.
10. Once you draw all the three gestures, you will be asked to draw them all again to confirm your password.
11. Finally, after adding all the gestures click 마침.
12. PC를 재부팅하여 변경 사항을 저장합니다.
How to Remove a Picture Password in Windows 10
1. Windows 키 + I를 눌러 설정을 연 다음 계정.
2. 왼쪽 메뉴에서 로그인 옵션.
3. 이제 오른쪽 창에서 “를 클릭하세요.제거” 버튼 아래 Picture Password.
4. That’s it, your picture password has now been removed as a sign-in option.
5. 모든 것을 닫고 PC를 재부팅하여 변경 사항을 저장합니다.
권장 사항 :
그것이 당신이 성공적으로 배운 것입니다. How to Add a Picture Password in Windows 10 그러나 이 튜토리얼과 관련하여 여전히 질문이 있는 경우 의견 섹션에서 자유롭게 질문하십시오.