Bypass ADB Device
Android Debug Bridge (ADB) is a handy tool that lets a user control their android device from a computer or laptop. It provides features such as installing apps through the computer and also lets us debug apps. By default, ADB functionality is disabled on Android phones.
They need to be turned on manually from the Android phone by the User. Android Users report errors in ADB and face issues like ADB device unauthorized messages. If you are searching the internet for an article to explain how to solve this particular problem and/or if you are wondering if is there a way for ADB device unauthorized bypass, then keep reading, Here I will show you the methods and fixes to bypass ADB unauthorized errors and ADBlink device unauthorized. Let’s get started!
Let us see some of the causes of this issue before we move on to the methods to fix the issue
- Faulty USB connection
- RSA fingerprint prompt not appearing
- Incorrect ADB Connection
- USB drivers issue
- ADB drivers issue
참고 : Since smartphones do not have the same settings and may vary from device to device hence, ensure the correct settings before changing any. The following methods were tried on Moto g(8) Power lite Android 10 (스톡)
참조 :
현재 Android 기기에 다운로드할 수 없는 문제를 해결하는 12가지 방법
8 Ways to Fix Android Text Messages Stuck Downloading Error
How to Install Apple Mobile Device Support on Windows 10
How to Install APK Using ADB Commands
Method 1: Change USB Connection
Android Users reported they could not receive proper prompts when performing ADB activities, if the USB is interrupted in middle then there is a chance for an ADB device unauthorized message to occur, this could be due to a possible fault in the USB connection (in USB hub or USB cable). Try changing the USB cable and the USB hub to see if that solves your issue.
방법 2: USB 드라이버 업데이트
When you have connected your mobile with the PC, chances are that it wasn’t recognized by the PC due to faulty USB drivers. Thus, updating USB drivers might be helpful in this scenario.
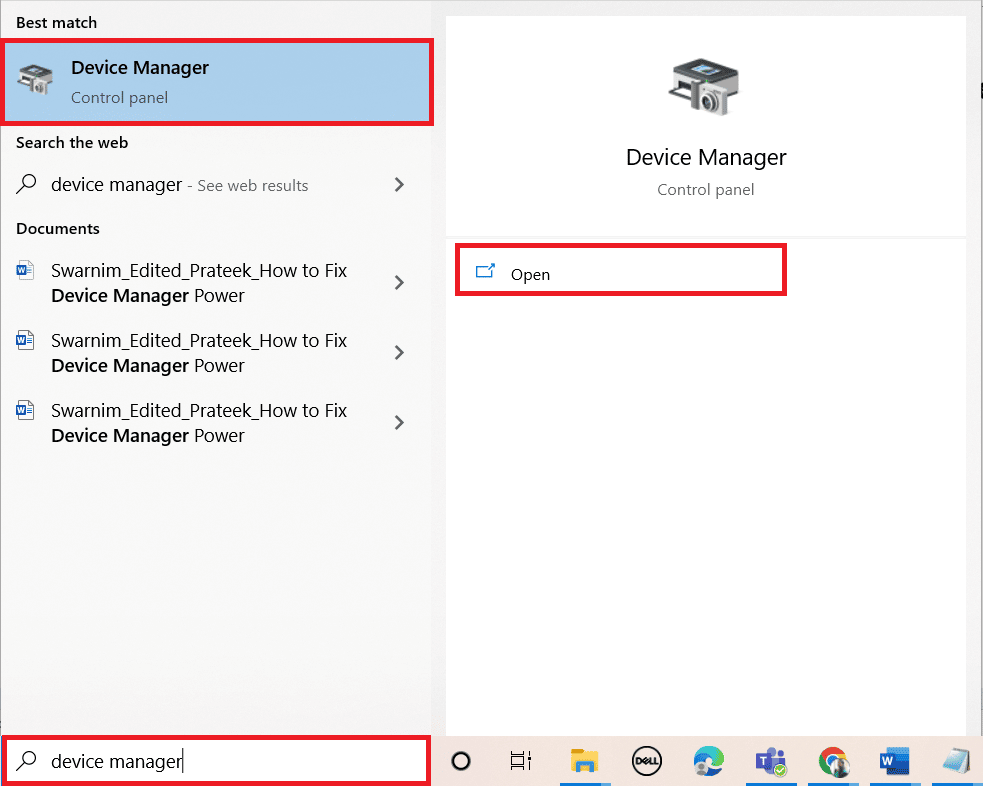
1. 히트 Windows 키입력 장치 관리자, 다음을 클릭하십시오. 엽니다.
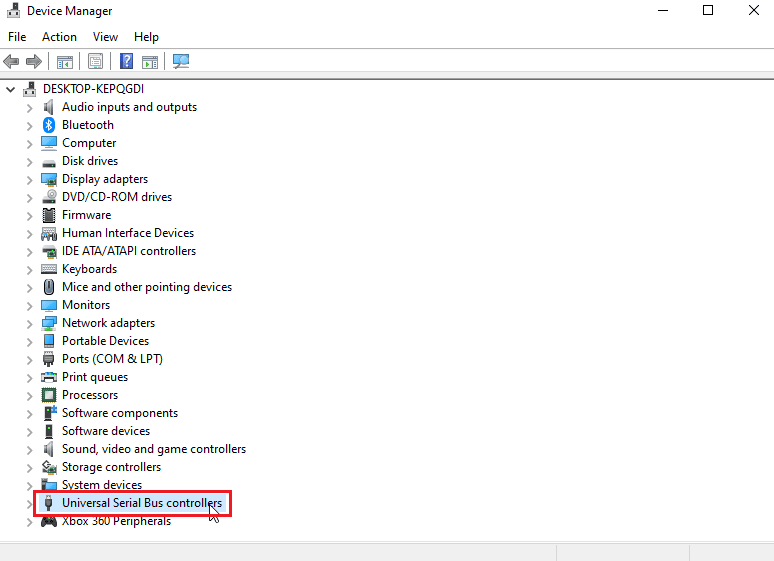
2. 더블 클릭 범용 직렬 버스 컨트롤러.
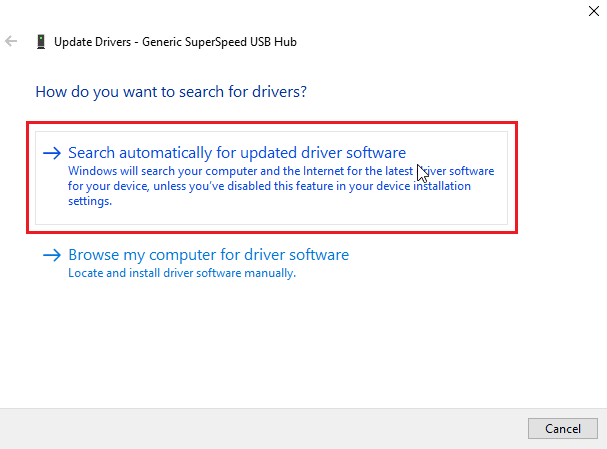
3. Right-click on your USB driver and select the 드라이버 업데이트 옵션을 선택합니다.
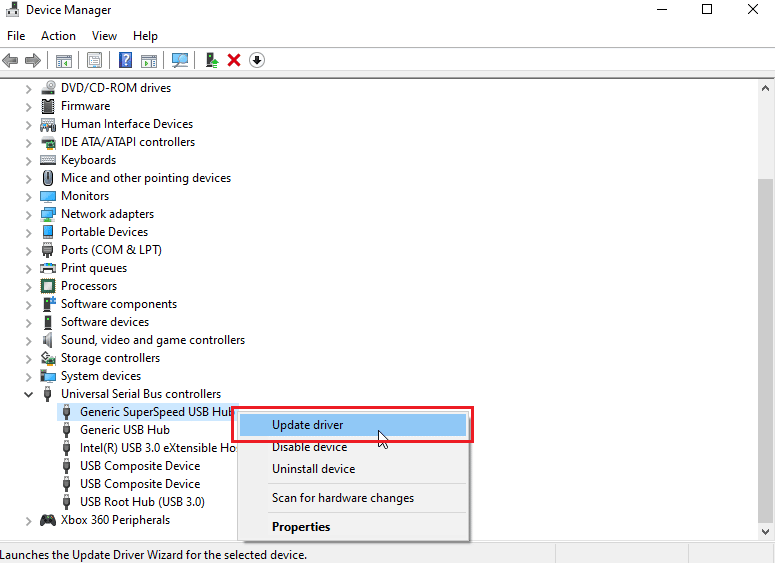
4. 이제 클릭하십시오. Search automatically for Updated driver software to let Windows install the drivers automatically.
5. Repeat the above steps for all USB 드라이버 아래 Universal serial bus controllers 섹션에 있어야 합니다.
또한 읽기 : How to Install ADB (Android Debug Bridge) on Windows 10
Method 3: Android SDK
Make sure you have downloaded and extracted the Android SDK to avoid an ADB device unauthorized message. Following are the steps to download Android SDK to bypass ADB device unauthorized message.
1. 이동 안드로이드 SDK 다운로드 페이지로.
2. 아래로 스크롤하여 SDK platform tools for Windows

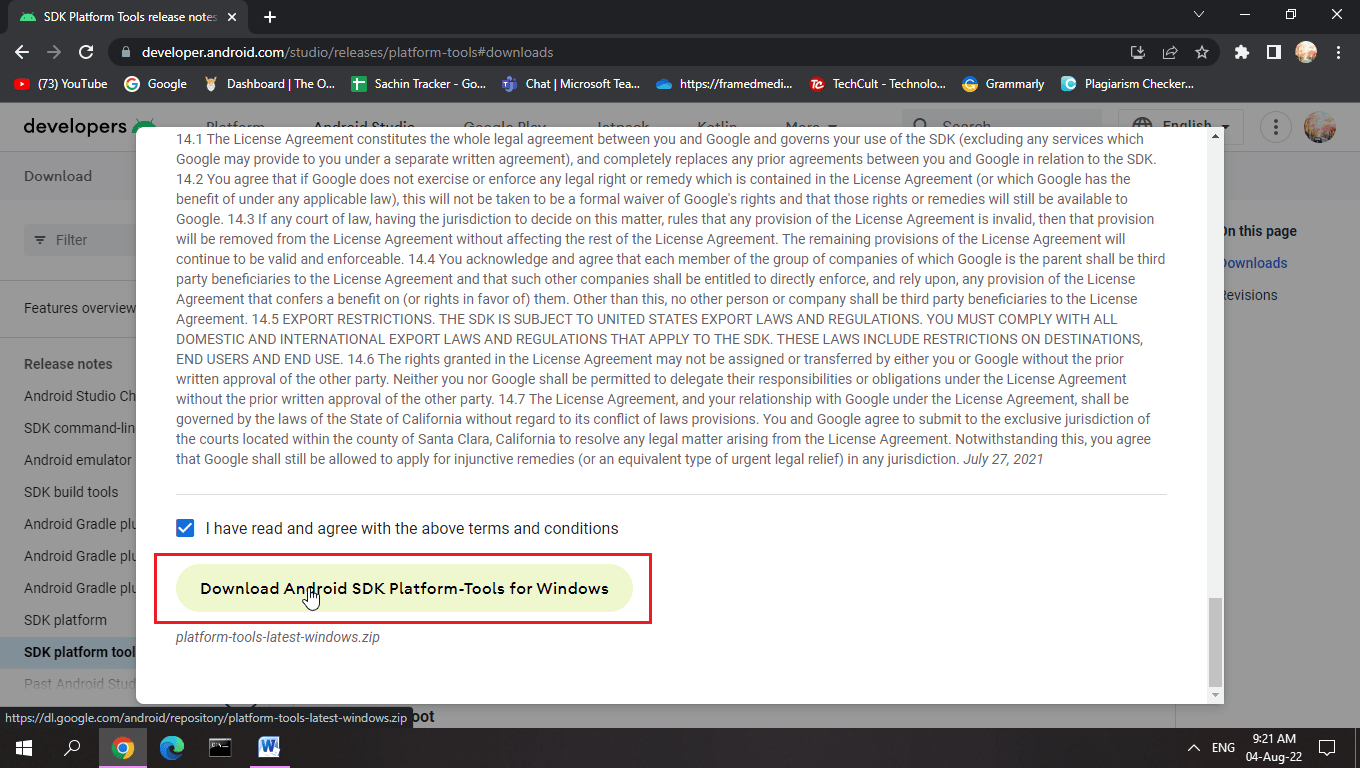
3. 읽기 이용약관, scroll down and check 위 이용약관을 읽었으며 이에 동의합니다. 옵션을 선택합니다.
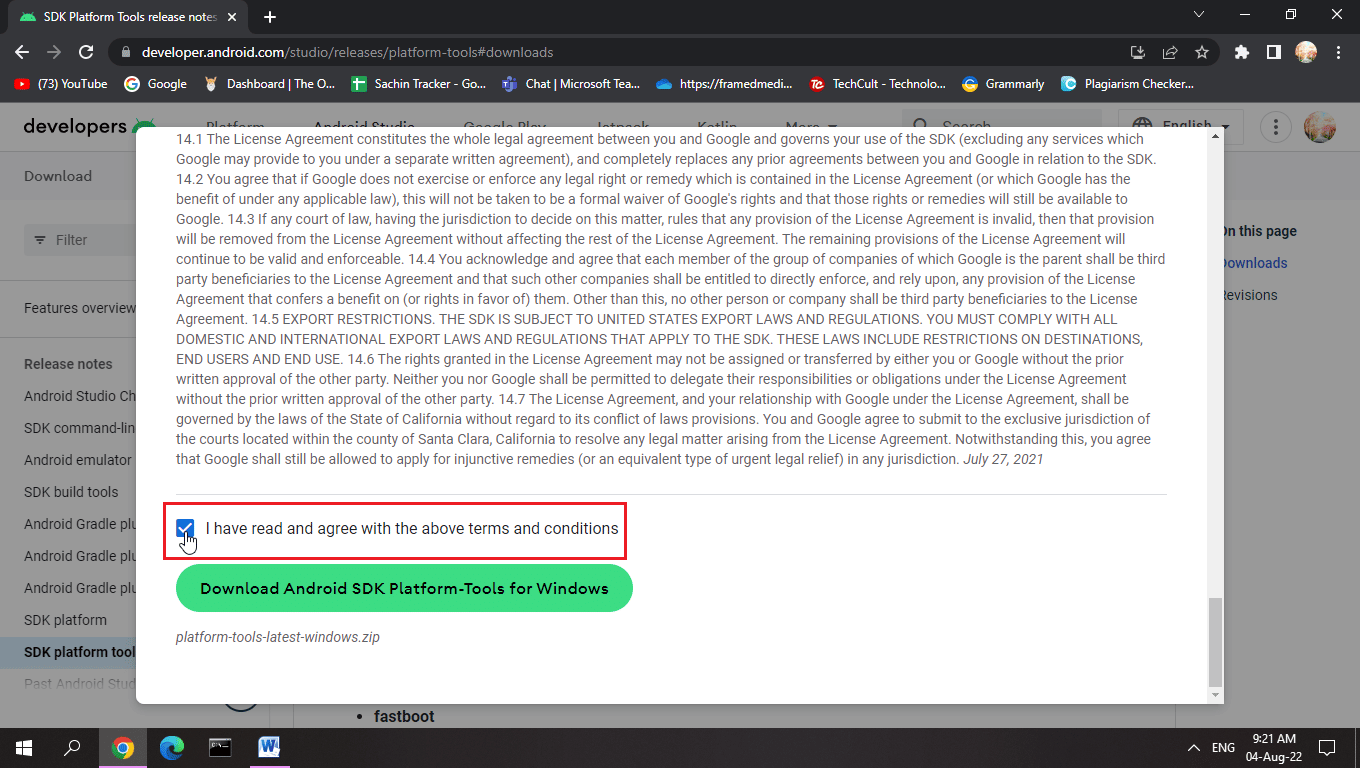
4. 을 클릭 Windows용 Android SDK 플랫폼 도구 다운로드. The Android SDK will be downloaded.
5. Navigate to the download folder and extract the Android SDK files.
With this SDK, you will have all the required ADB files.
Method 4: Enable USB Debugging
USB Debugging allows an Android device to be controlled by a computer through a USB connection, this function allows applications to be installed from a computer and a couple of other functions too. To make sure if you have enabled USB debugging. Here are the steps to enable USB debugging to bypass ADB device unauthorized message.
1. 아래로 스와이프 알림 표시 줄 귀하의 홈 화면.
2. 꼭지 장부 아이콘 열 수 설정.
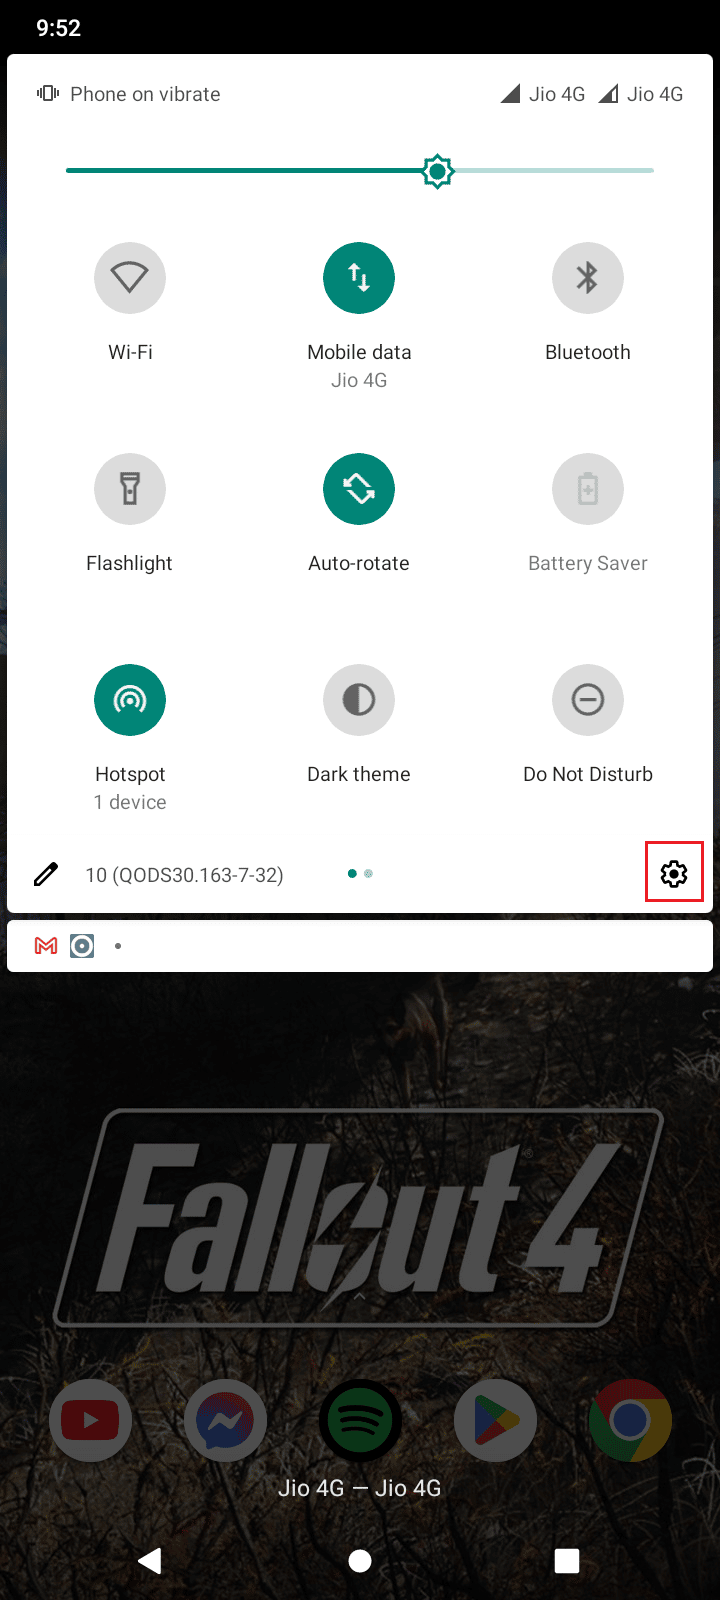
3. 그런 다음 환경.

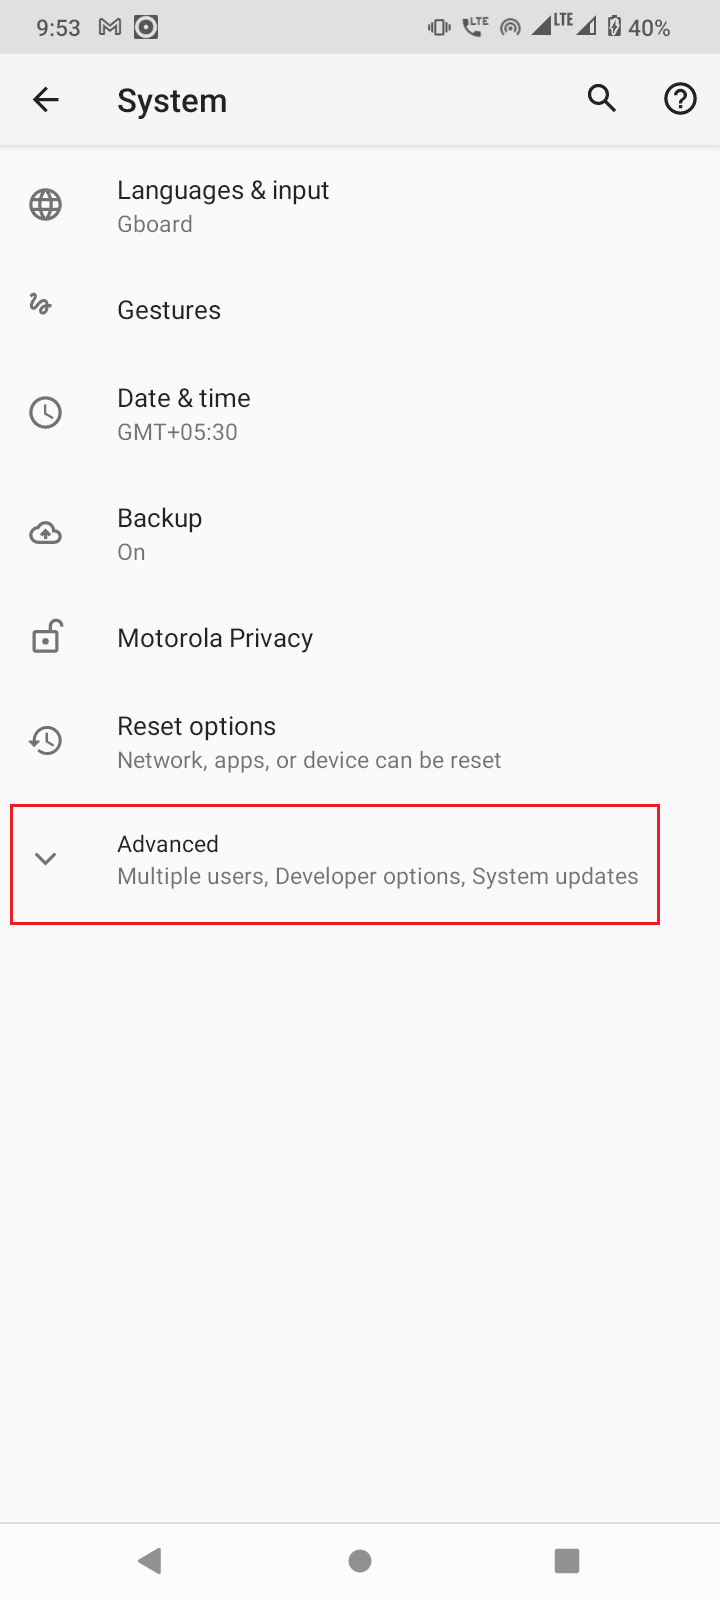
4. 를 선택합니다 Advnaced 옵션을 선택합니다.

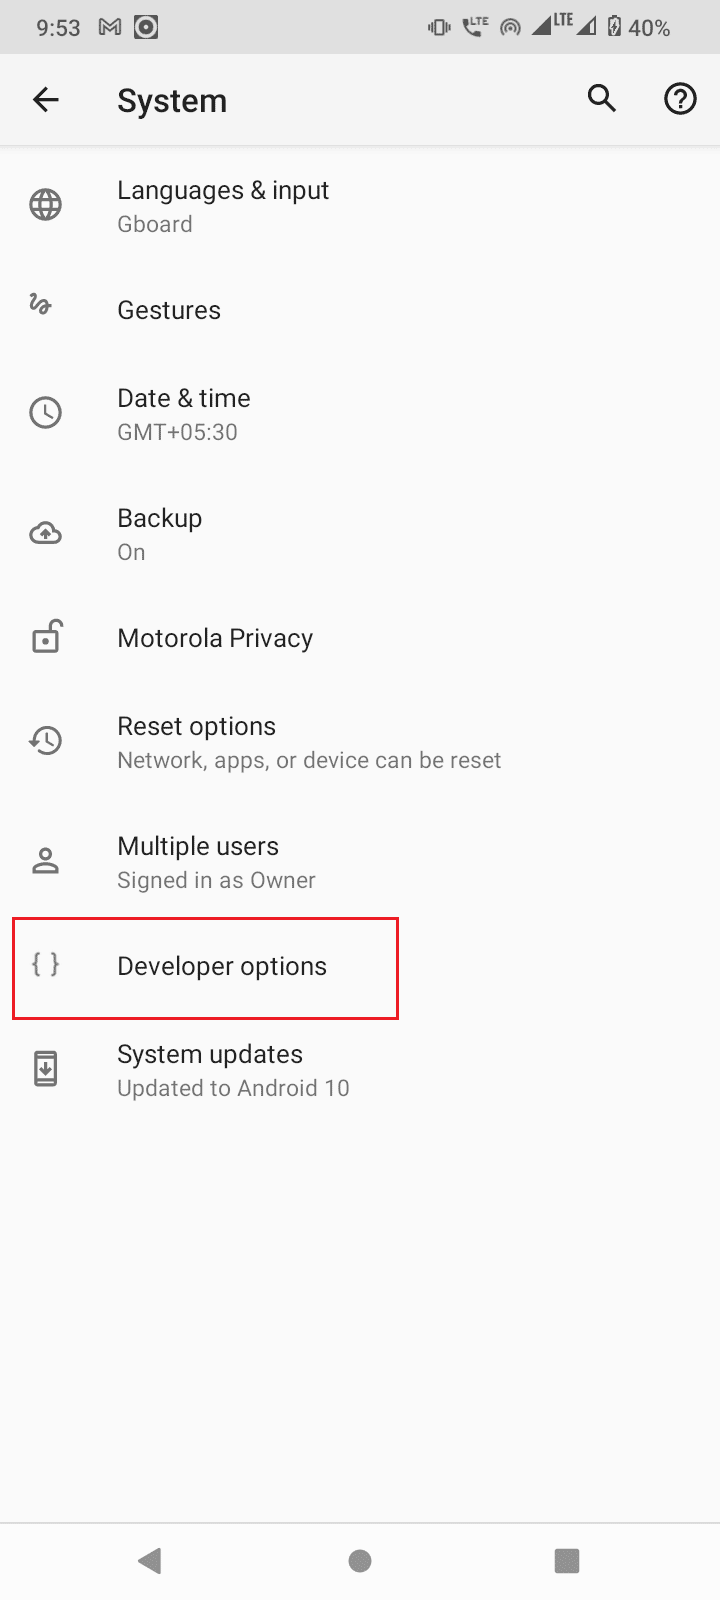
5. 이제 개발자 옵션.

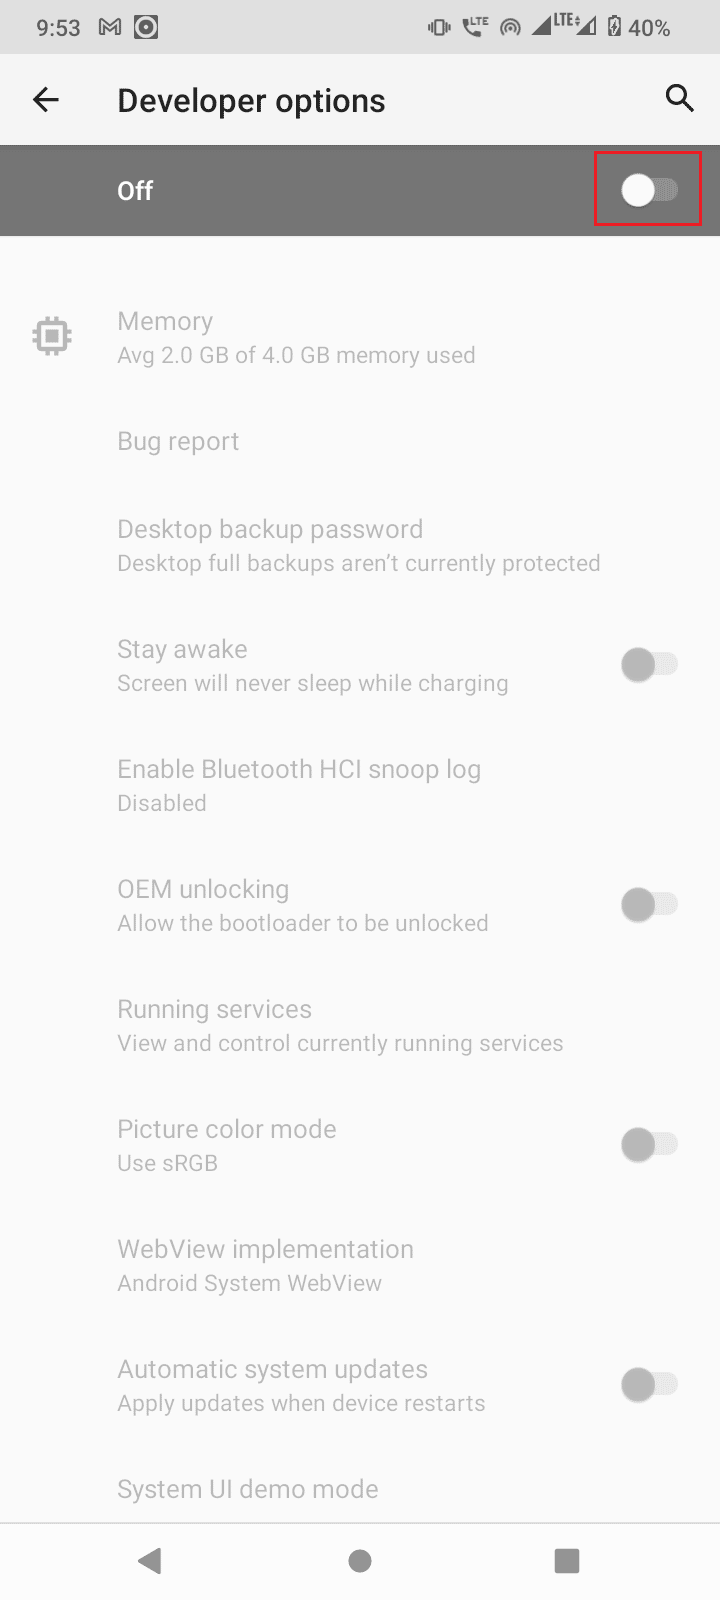
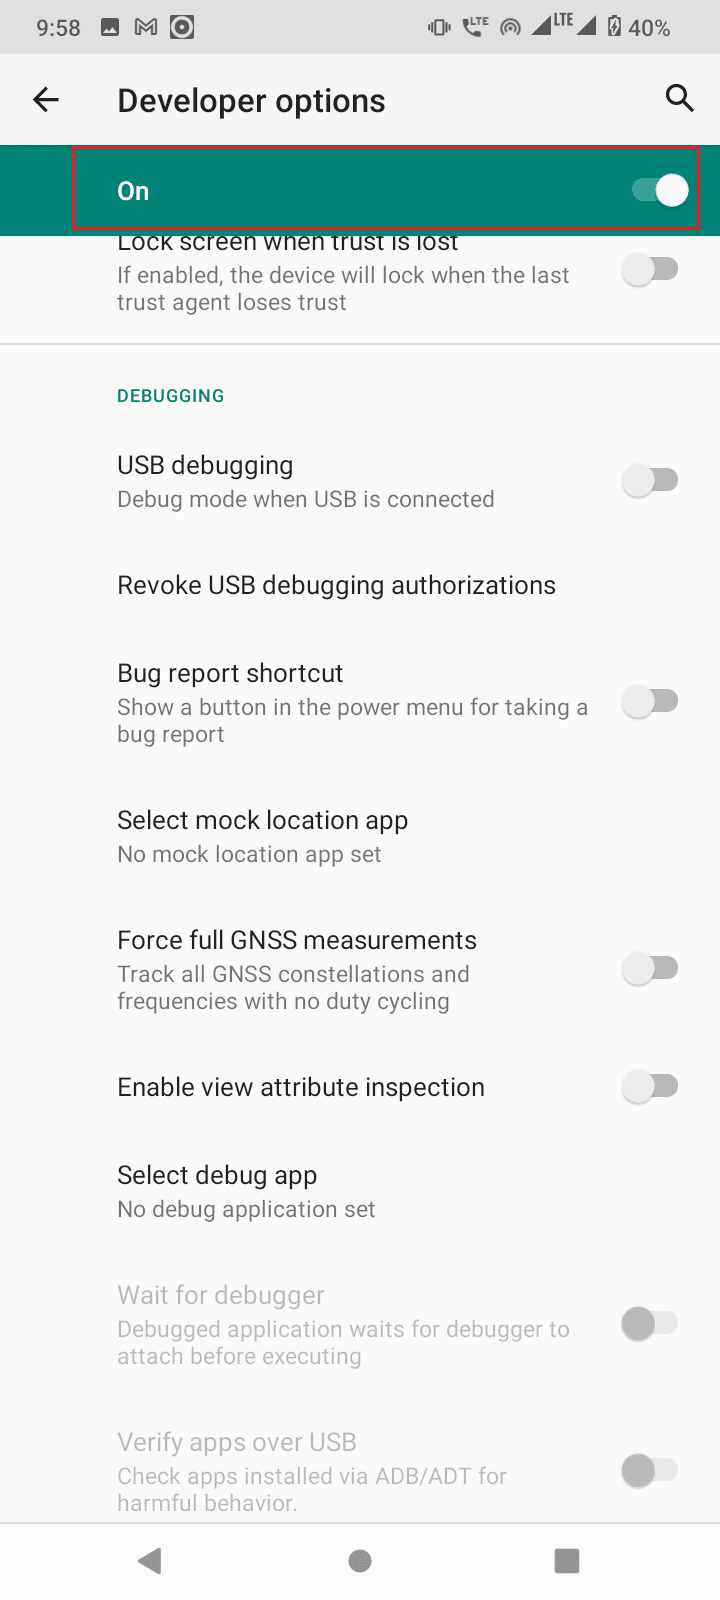
6. 스위치 On 토글 개발자 옵션.
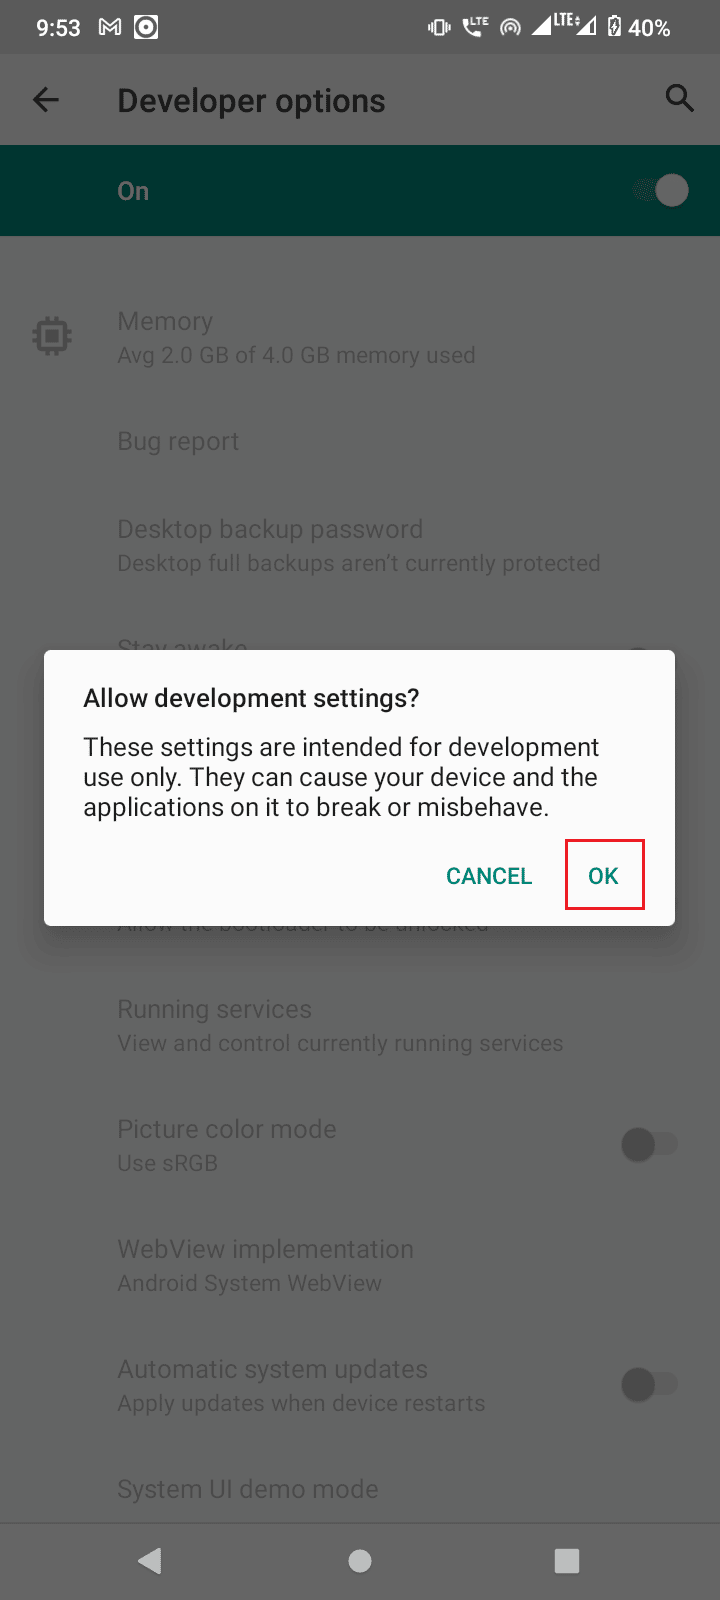
7. 누르세요. OK 에 Allow development settings?
또한 읽기 : How to Change USB Settings on Android 6.0
In case you cannot see the 개발자 옵션 then you might not have enabled it, to enable developer options,
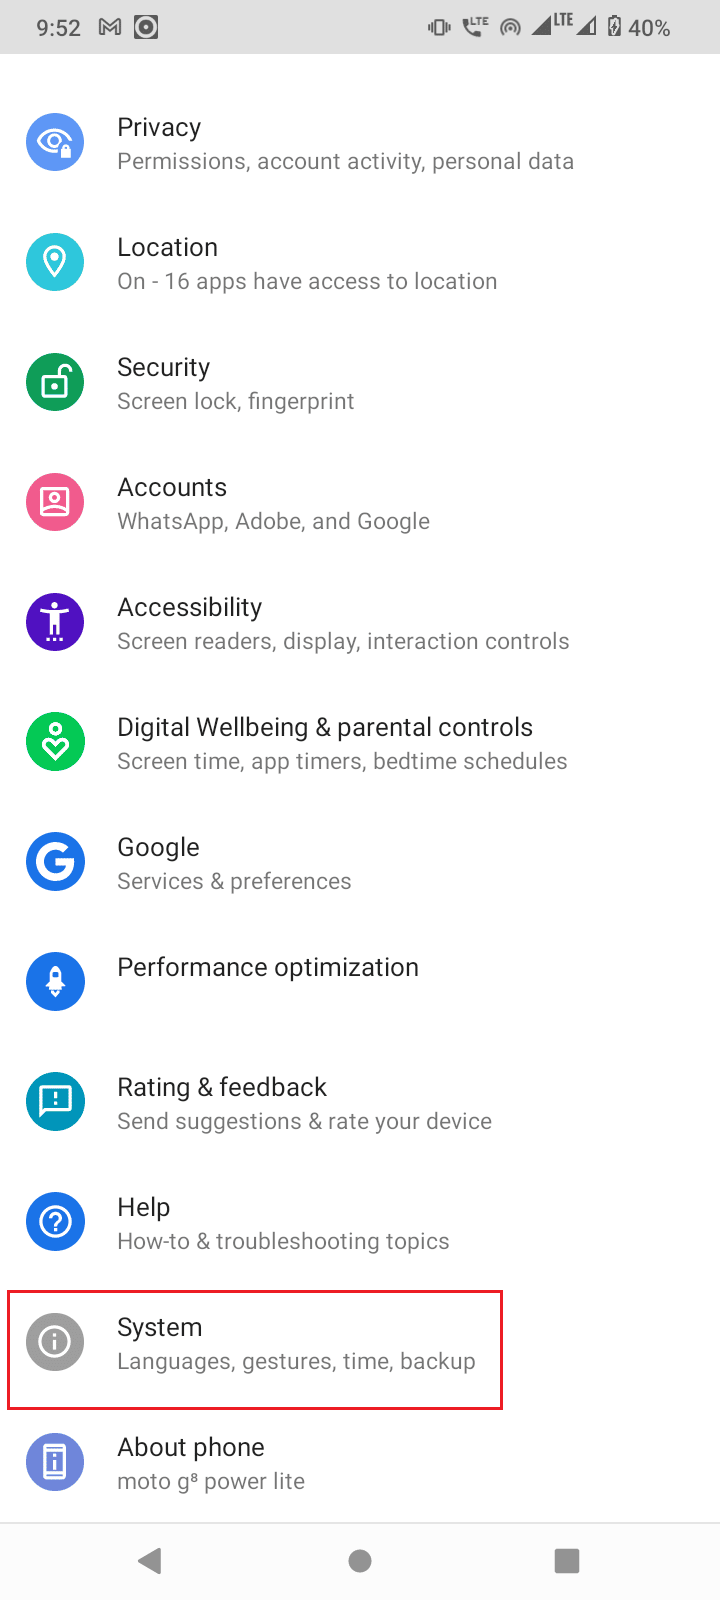
1. Launch your device 설정.

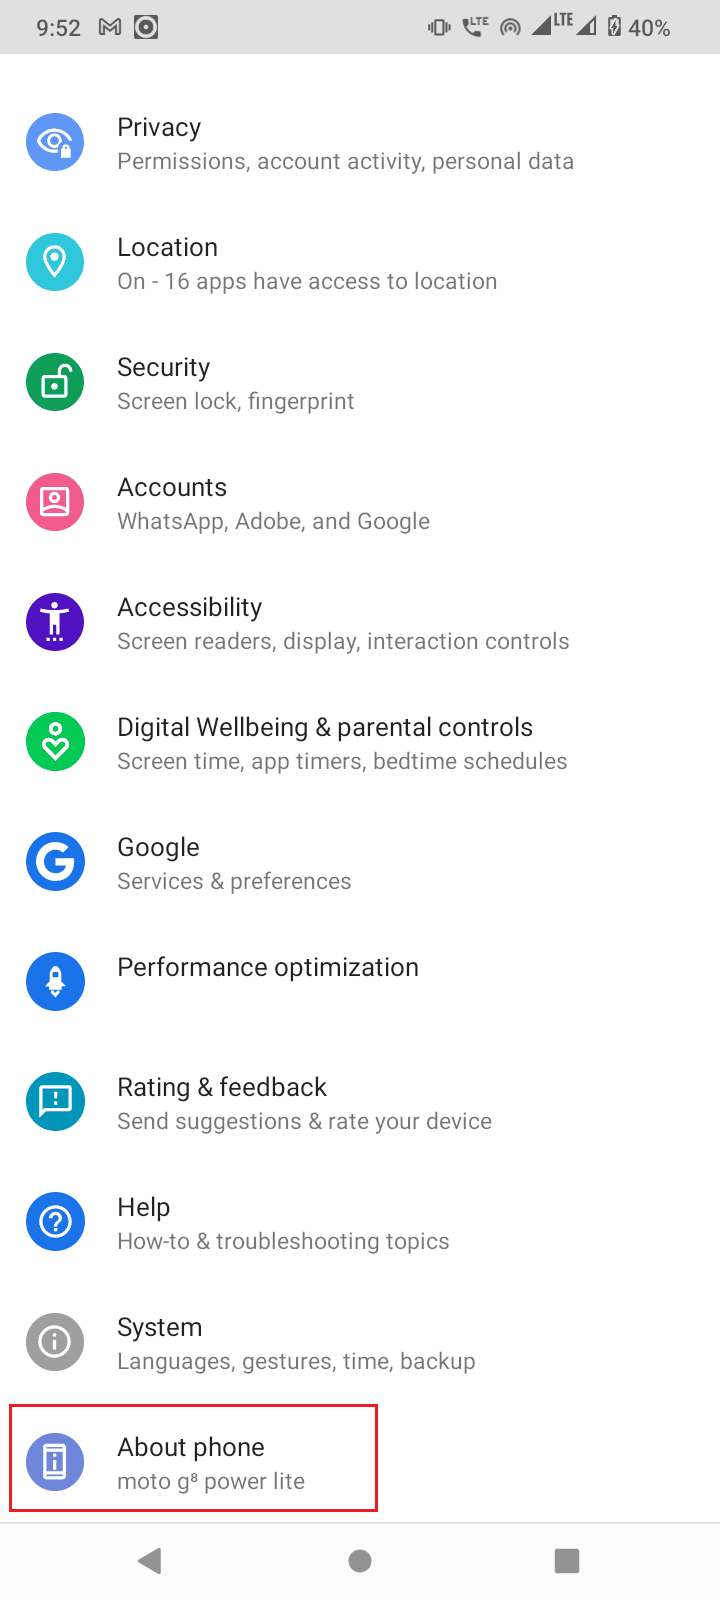
2. 그런 다음 전화 정보 옵션을 선택합니다.
3. 탭 빌드 번호 5-7 times to activate 개발자 모드.
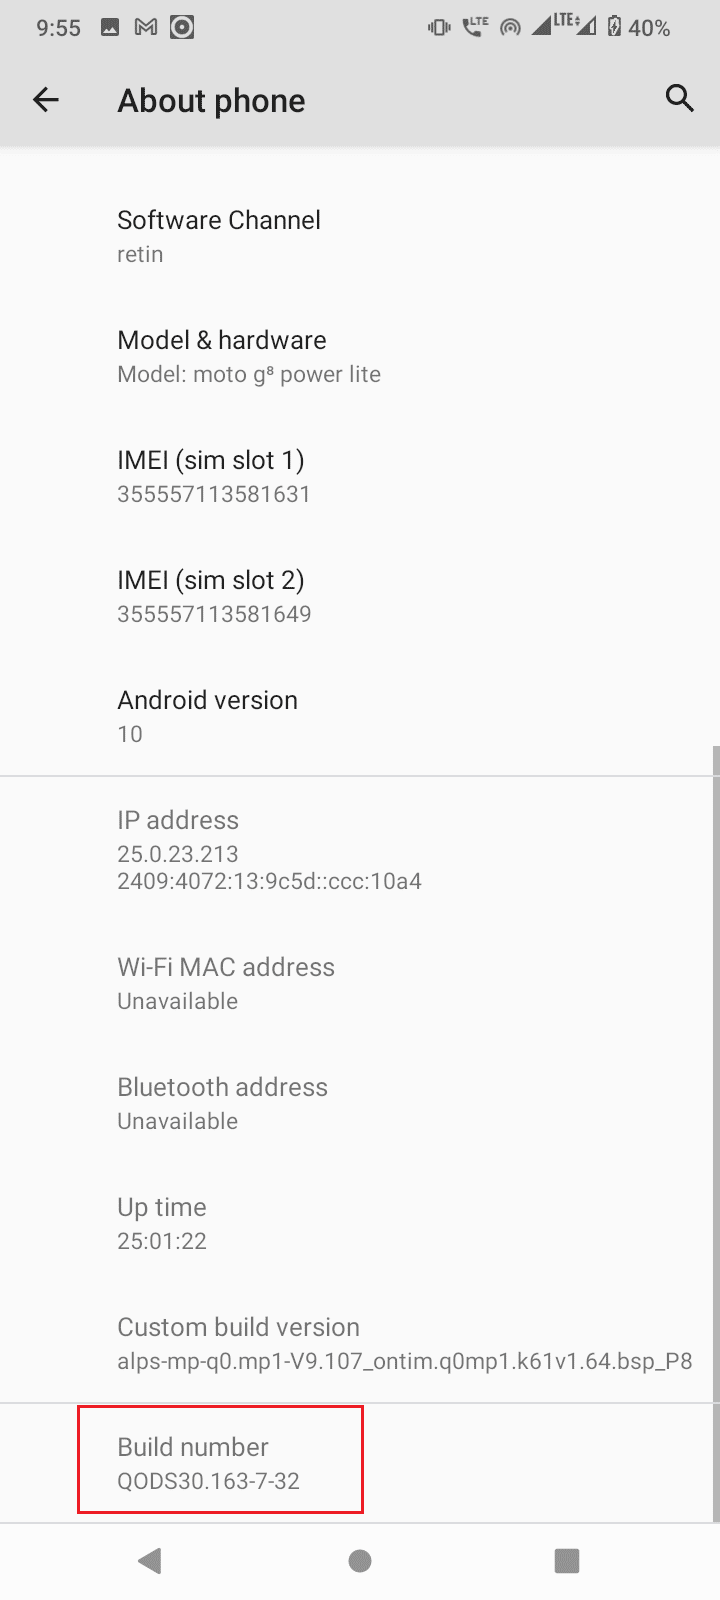
4. A prompt mentioning 당신은 이제 개발자입니다 메시지가 표시됩니다.
If your developer mode is visible then no need to follow the above step.
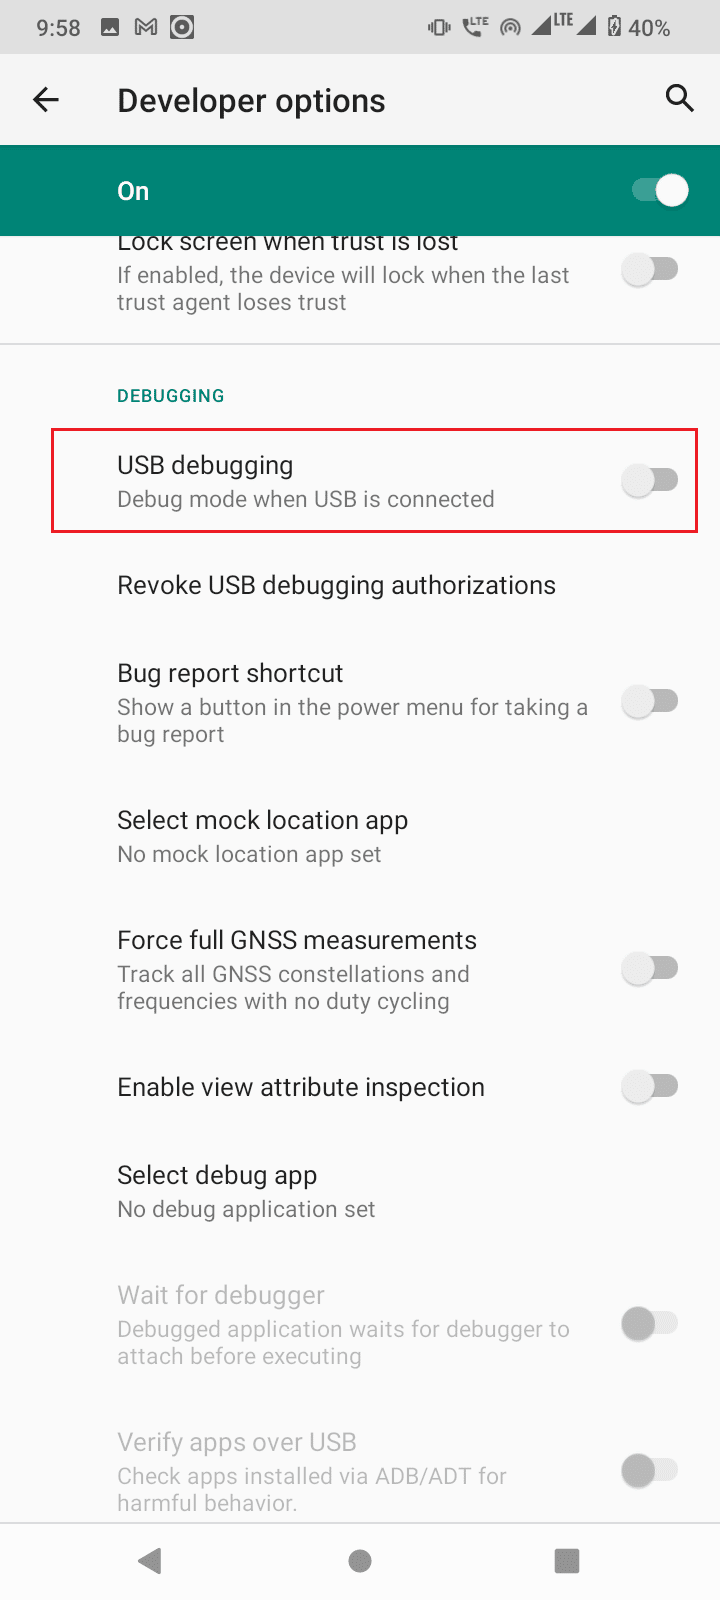
1. 에 개발자 옵션, scroll down and switch On the toggle for USB 디버깅.
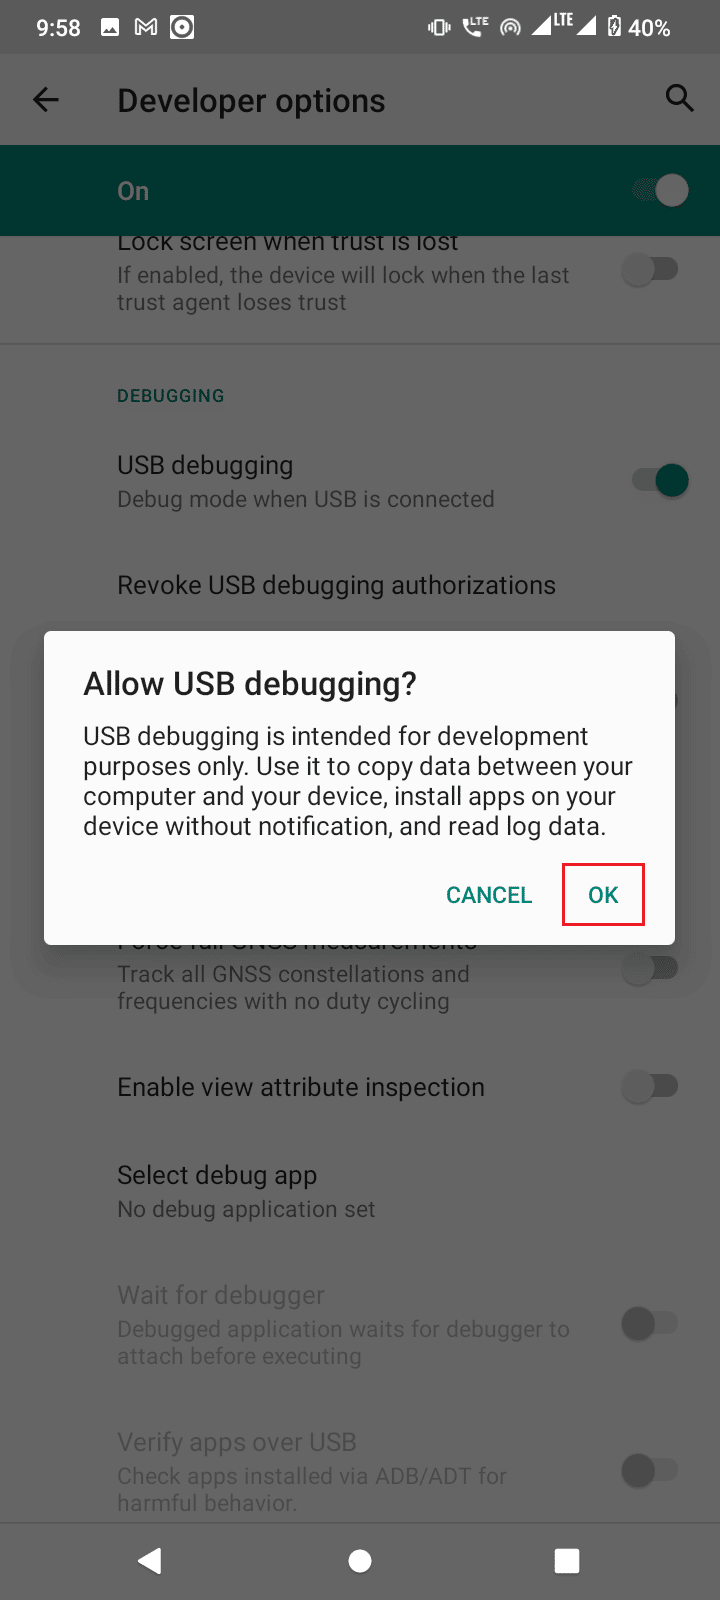
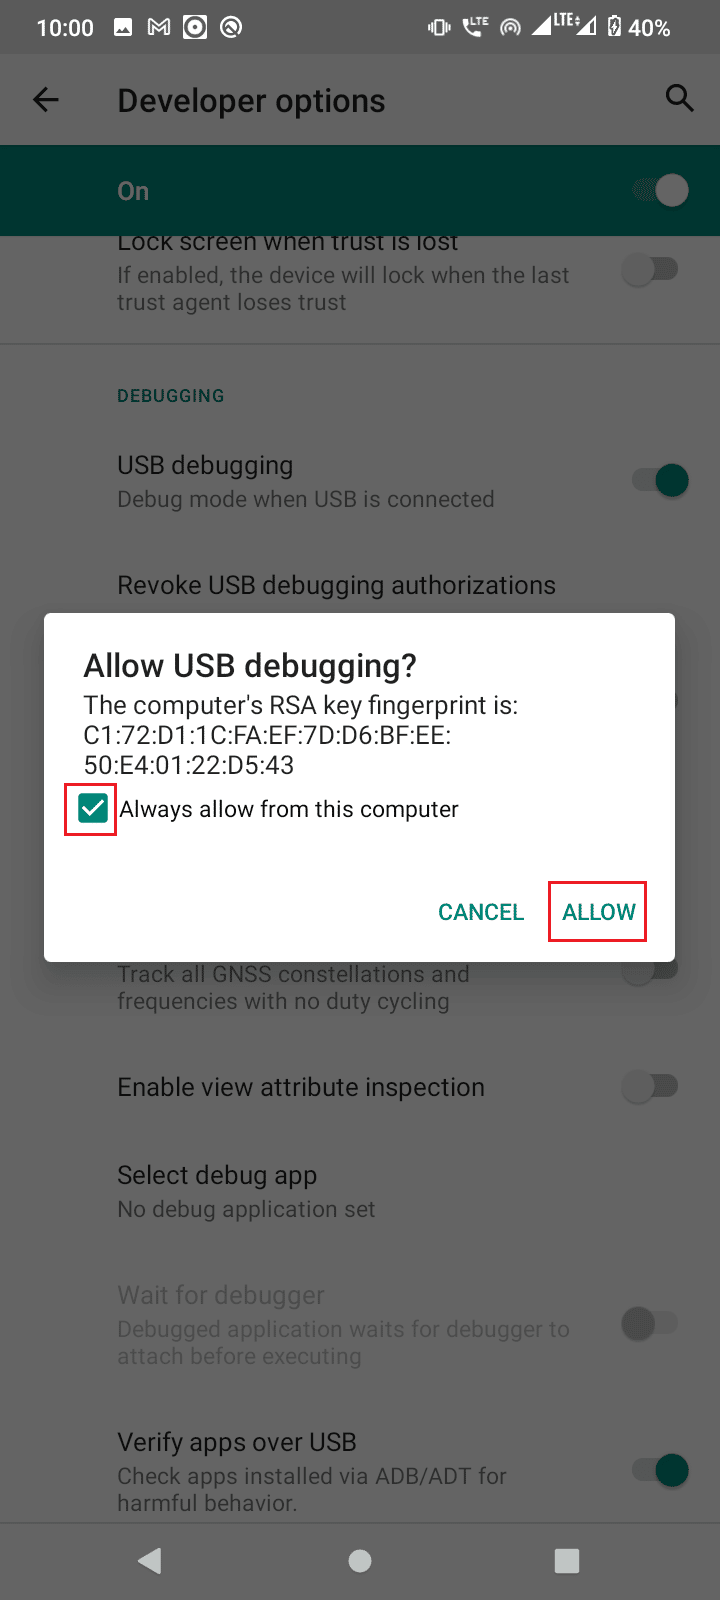
2. 누르세요. OK in the prompt asking to 허용 USB debugging?
또한 읽기 : Fix USB OTG Not Working On Android Devices
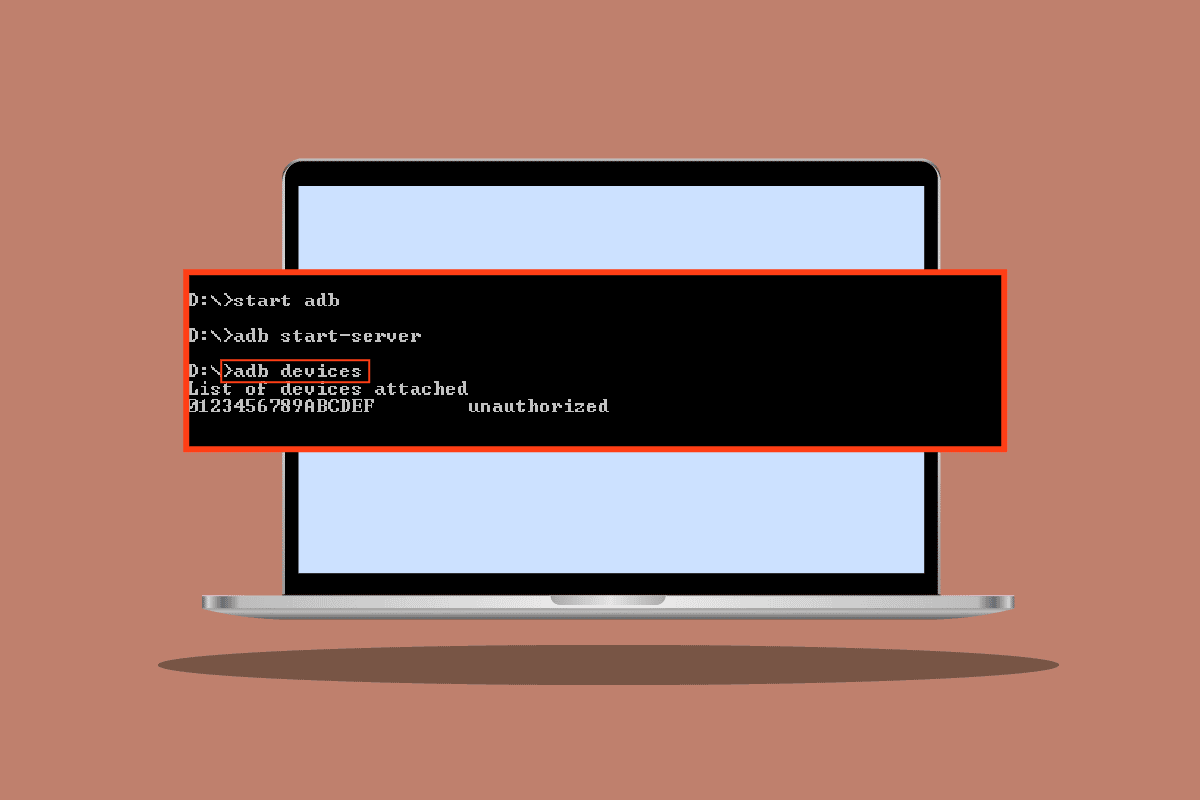
Method 5: Request Access from CMD
If you connected your device and enabled USB debugging but did not receive the request from the PC, then follow the below steps.
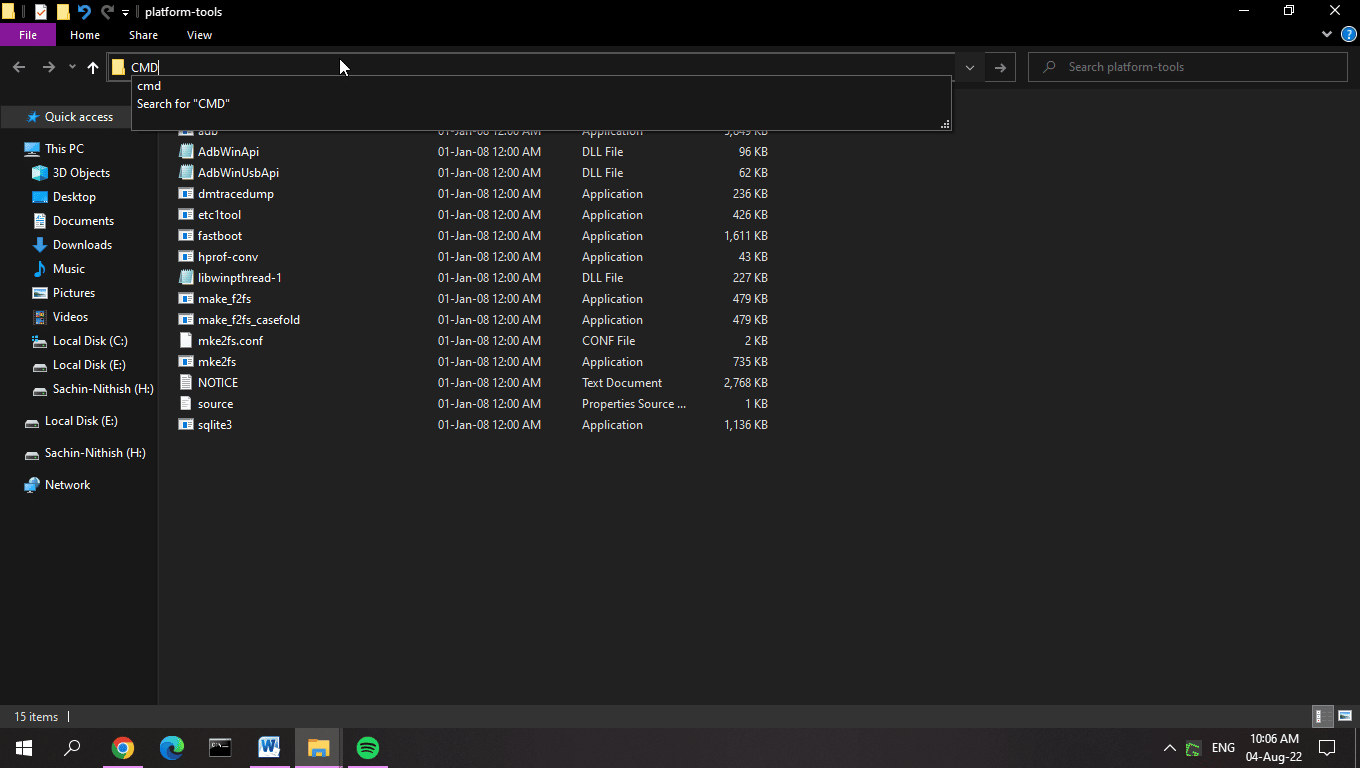
1. 다음으로 이동하십시오. platform-tools folder 어디안드로이드 SDK 추출됩니다.
2. 유형 CMD on the address bar and hit 키를 입력하십시오.
3. 유형 ADB 장치 명령을 내리고 Enter 키.
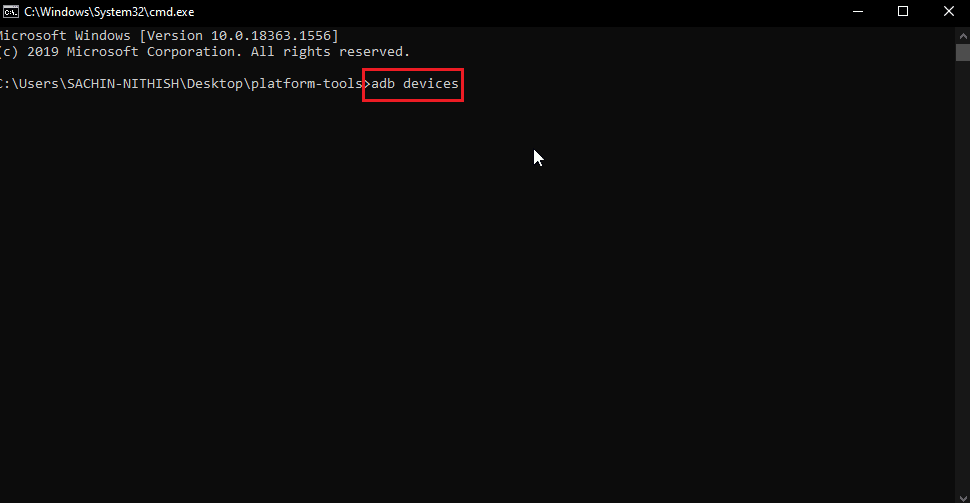
4. If you didn’t get the request now after entering the command you will receive the prompt on your 안드로이드 전화.
5. 을 체크하다 이 컴퓨터에서 항상 허용 옵션을 선택합니다.
6. 누르세요. 허용 프롬프트에서.
Method 6: Restart ADB Connection
Sometimes ADB device unauthorized message occurs due to a faulty connection with the Android device. This can be fixed by re-connecting the ADB connection by revoking the USB connection.
In the previous solution if you still did not get the prompt or still getting ADB device unauthorized message, follow these steps to ADB device unauthorized bypass.
1. 로 이동 공지사항 패널.
2. 누르세요. 장부 아이콘 열 수 설정

3. 그런 다음 환경.
4. 다음으로 Advnaced 환경.

5. 이제 개발자 옵션.

6. 에 개발자 옵션 비녀장 오프 전에, USB 디버깅 옵션을 선택합니다.
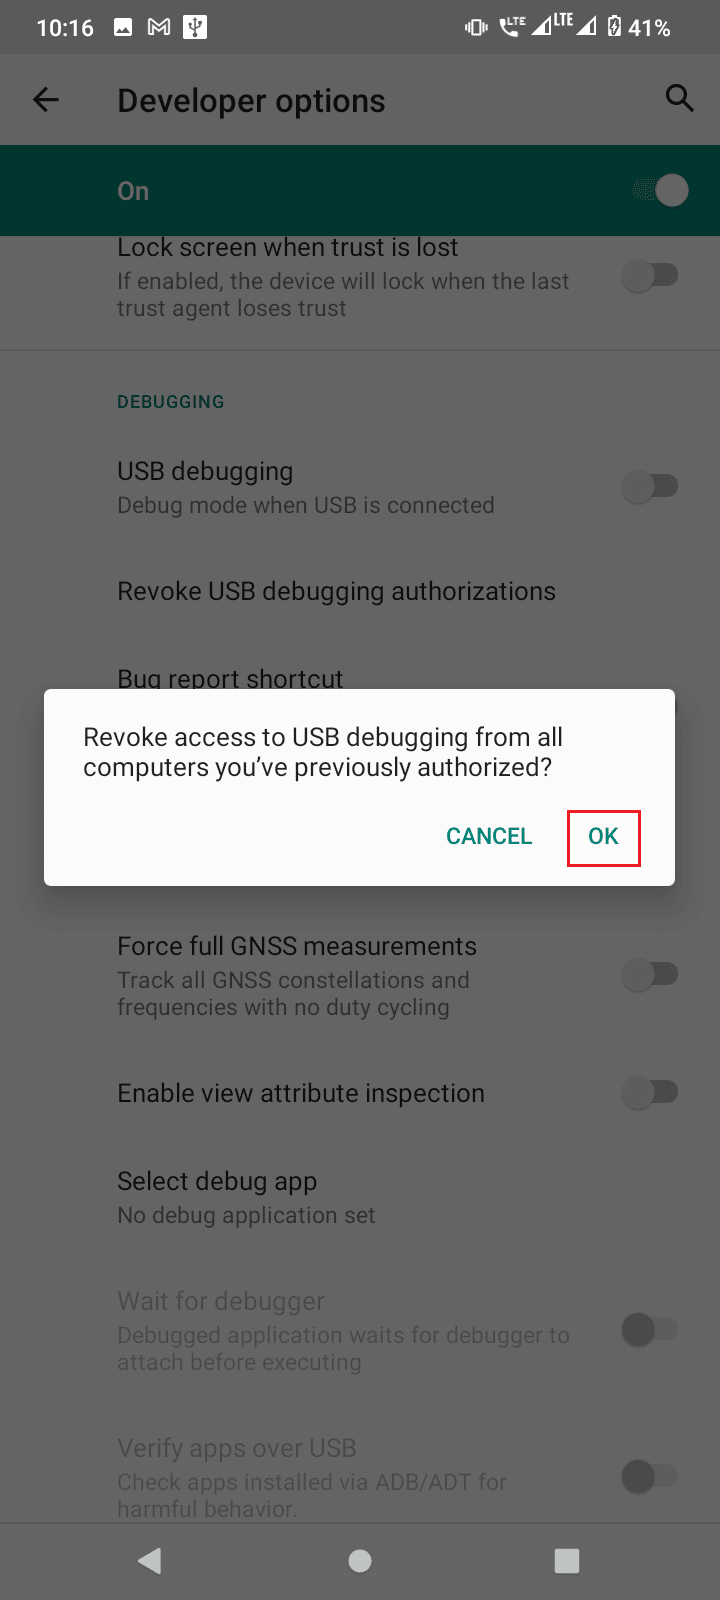
7. 아래에 USB 디버깅을 탭하십시오 Revoke USB debugging authorizations.
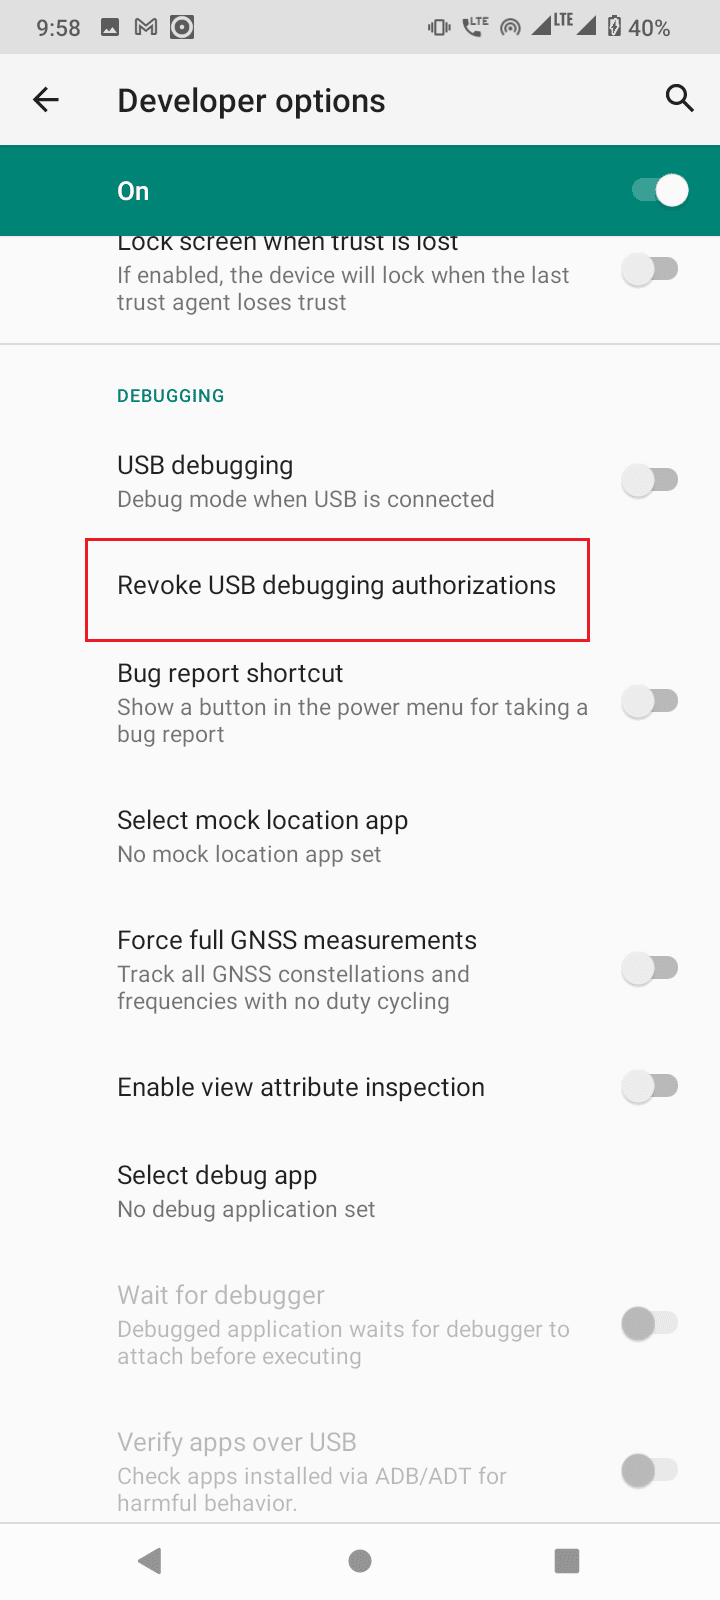
8. 누르세요. OK 확인
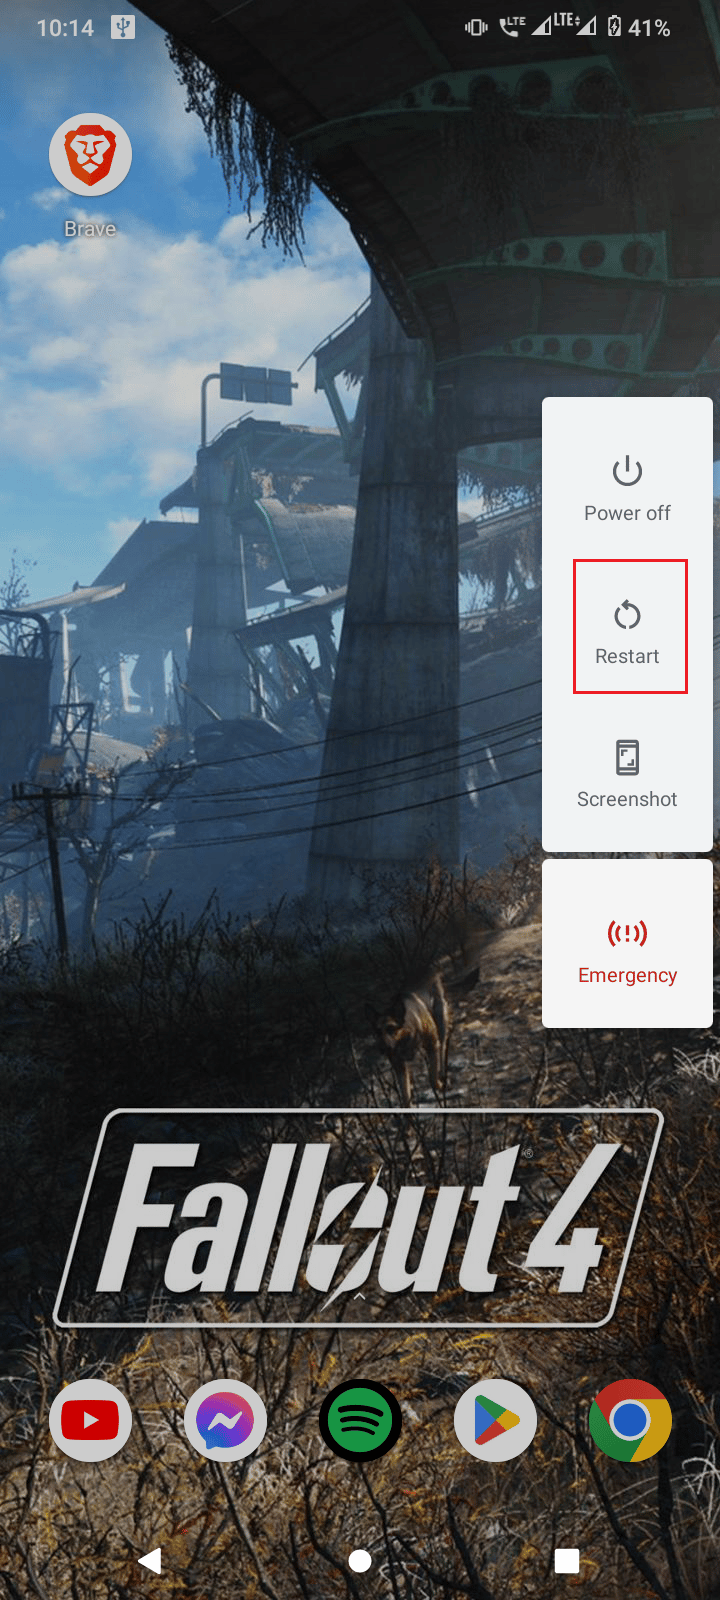
9. Restart your phone by holding the 출력 버튼을 누르고 다시 시작.
10. Finally, remove your phone from the USB 연결.
또한 읽기 : Android에서 Fastboot를 통해 부트로더를 잠금 해제하는 방법
After the above procedure, follow these steps.
1. Now connect your Android mobile to your computer again.
2. Launch your Android device 설정.

3. 그런 다음 환경.

4. 다음으로 Advnaced 환경.
5. 이제 개발자 옵션.
6. Then, turn on USB 디버깅.

7. 아래로 스와이프 알림바 where it shows charging mode, tap on it.
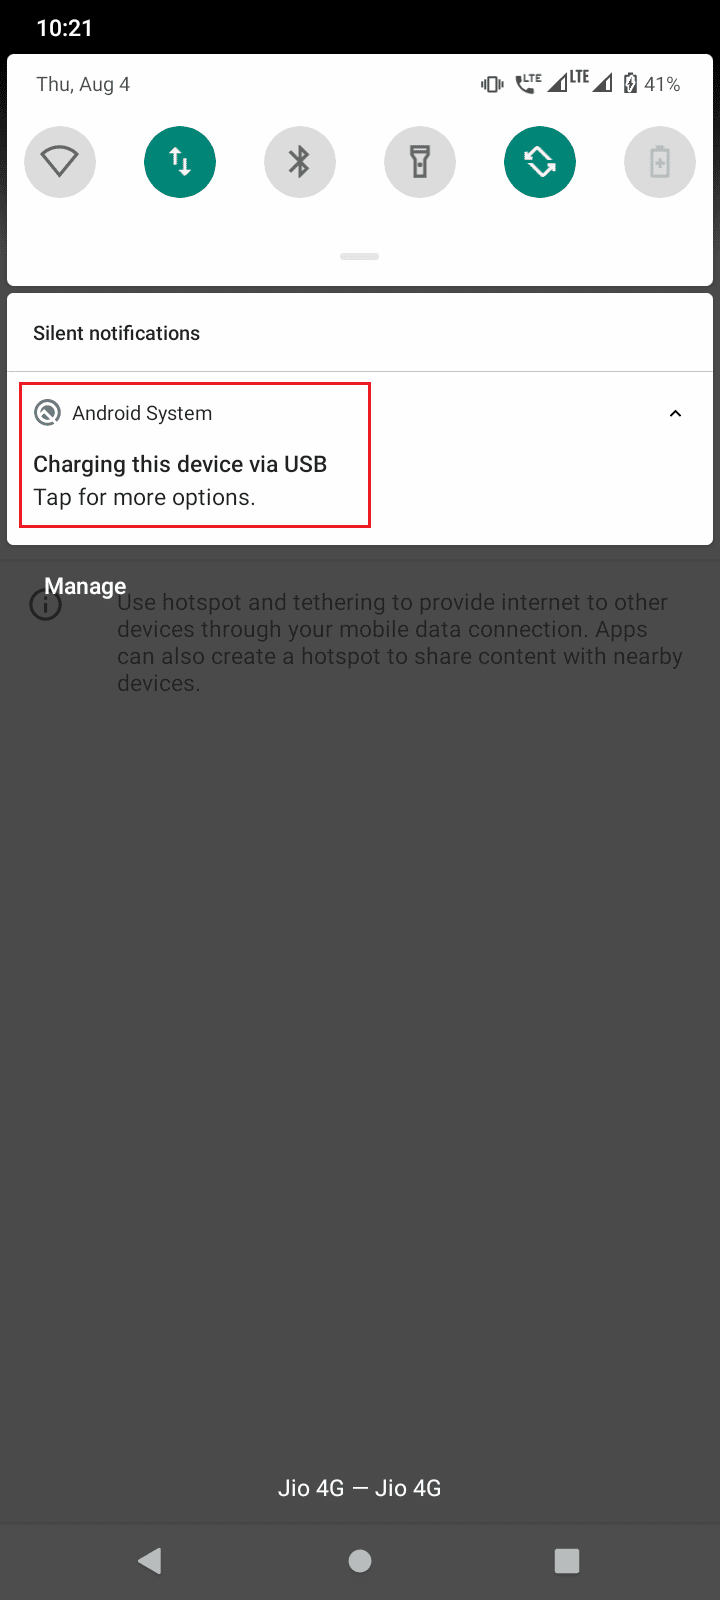
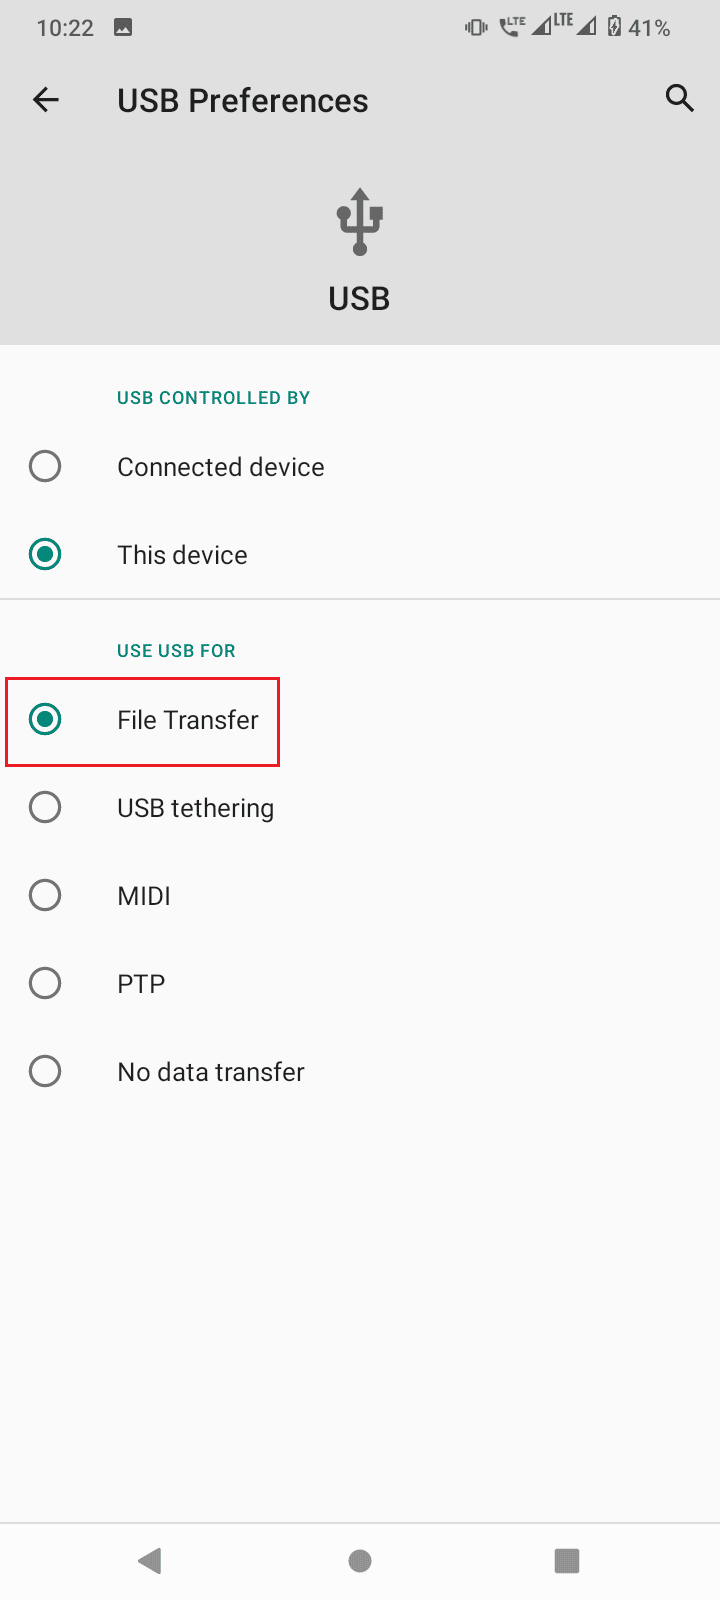
8. 를 선택합니다 파일 전송 옵션을 선택합니다.
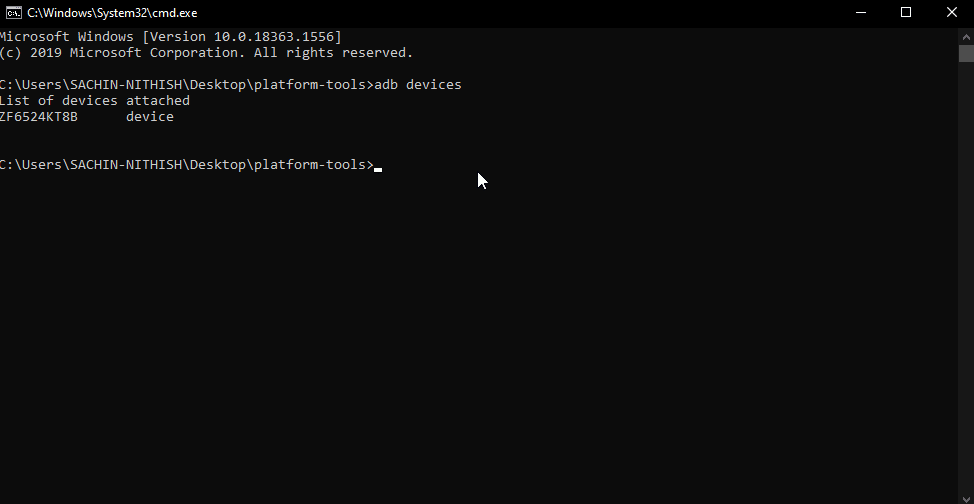
9. Then, run ADB 장치 command in CMD at the platform-tools folder.

10. This will fix the ADB device unauthorized message
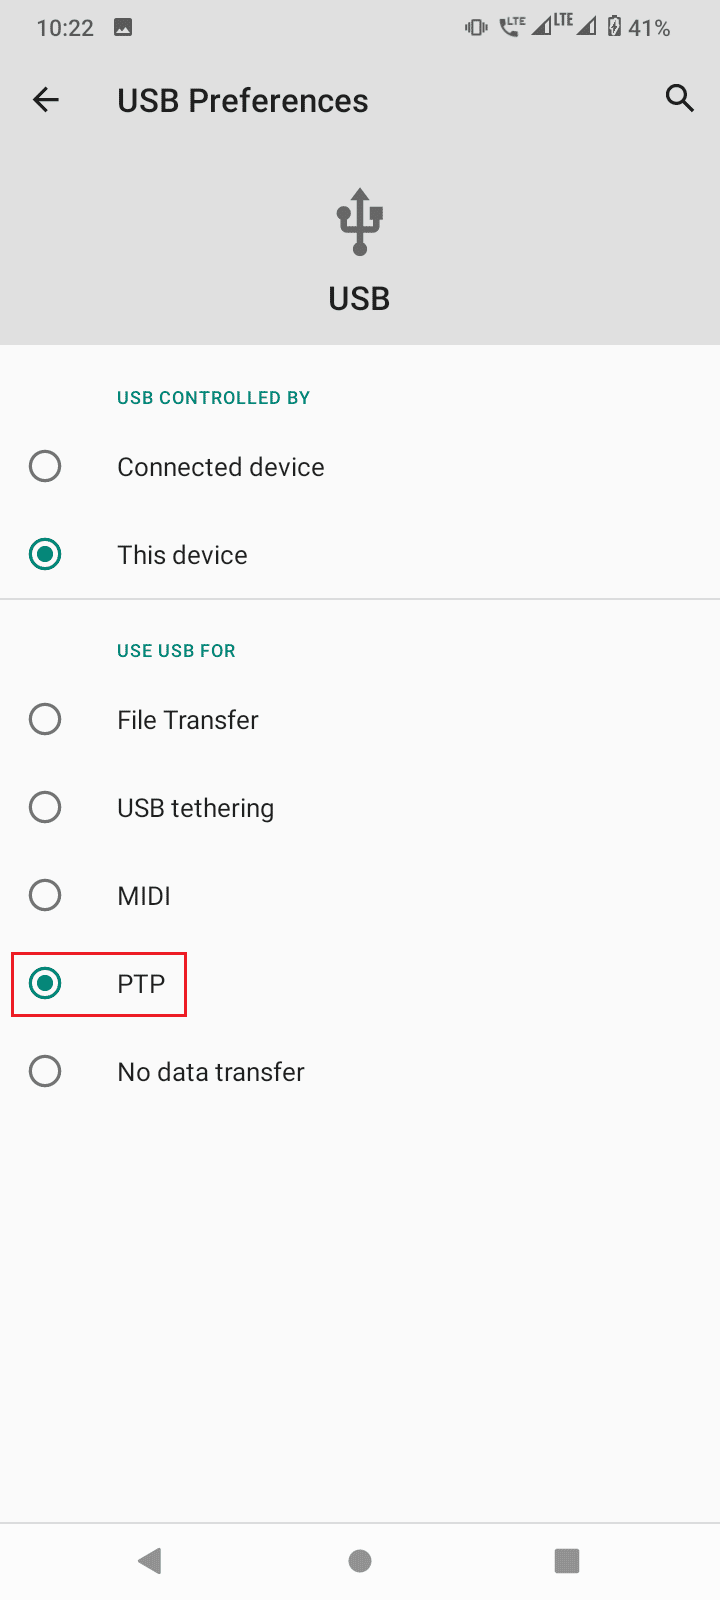
11. Alternatively, choose PTP 대신 파일 전송 in 7단계 and continue the above steps.
또한 읽기 : 13가지 최고의 Android용 파일 전송 프로토콜 클라이언트
자주 묻는 질문
Q1. Why do I get an Unauthorized device error?
Ans. It simply means that the user did not give a permit to access the Android device through ADB for use with a computer, follow the guide to fix this issue.
Q2. Can ADB run without enabling USB debugging?
답변. 아니요, ADB requires USB debugging to be turned on by the user to get authorization from and an Android device and further communicate with it. Also with this USB debugging and RSA fingerprint of the computer only will the connection between the computer and android will be successfully be established.
Q3. Can I remove ADB devices without disconnecting my devices?
답변. 예, you can do so by just turning off USB debugging.
Q4. I don’t have developer options, Why?
Ans. Android developer options are disabled by default, to enable it you need to tap build number 6-7 times. Refer to your manufacturer’s website to know your particular model setting.
권장 사항 :
We hope that the above article on how to bypass ADB device unauthorized message was helpful to you and you were able successfully to fix your issue, don’t forget to mention which one of the methods worked for you. If you have queries and/or suggestions about the article feel free to drop them down in the comment section below.

